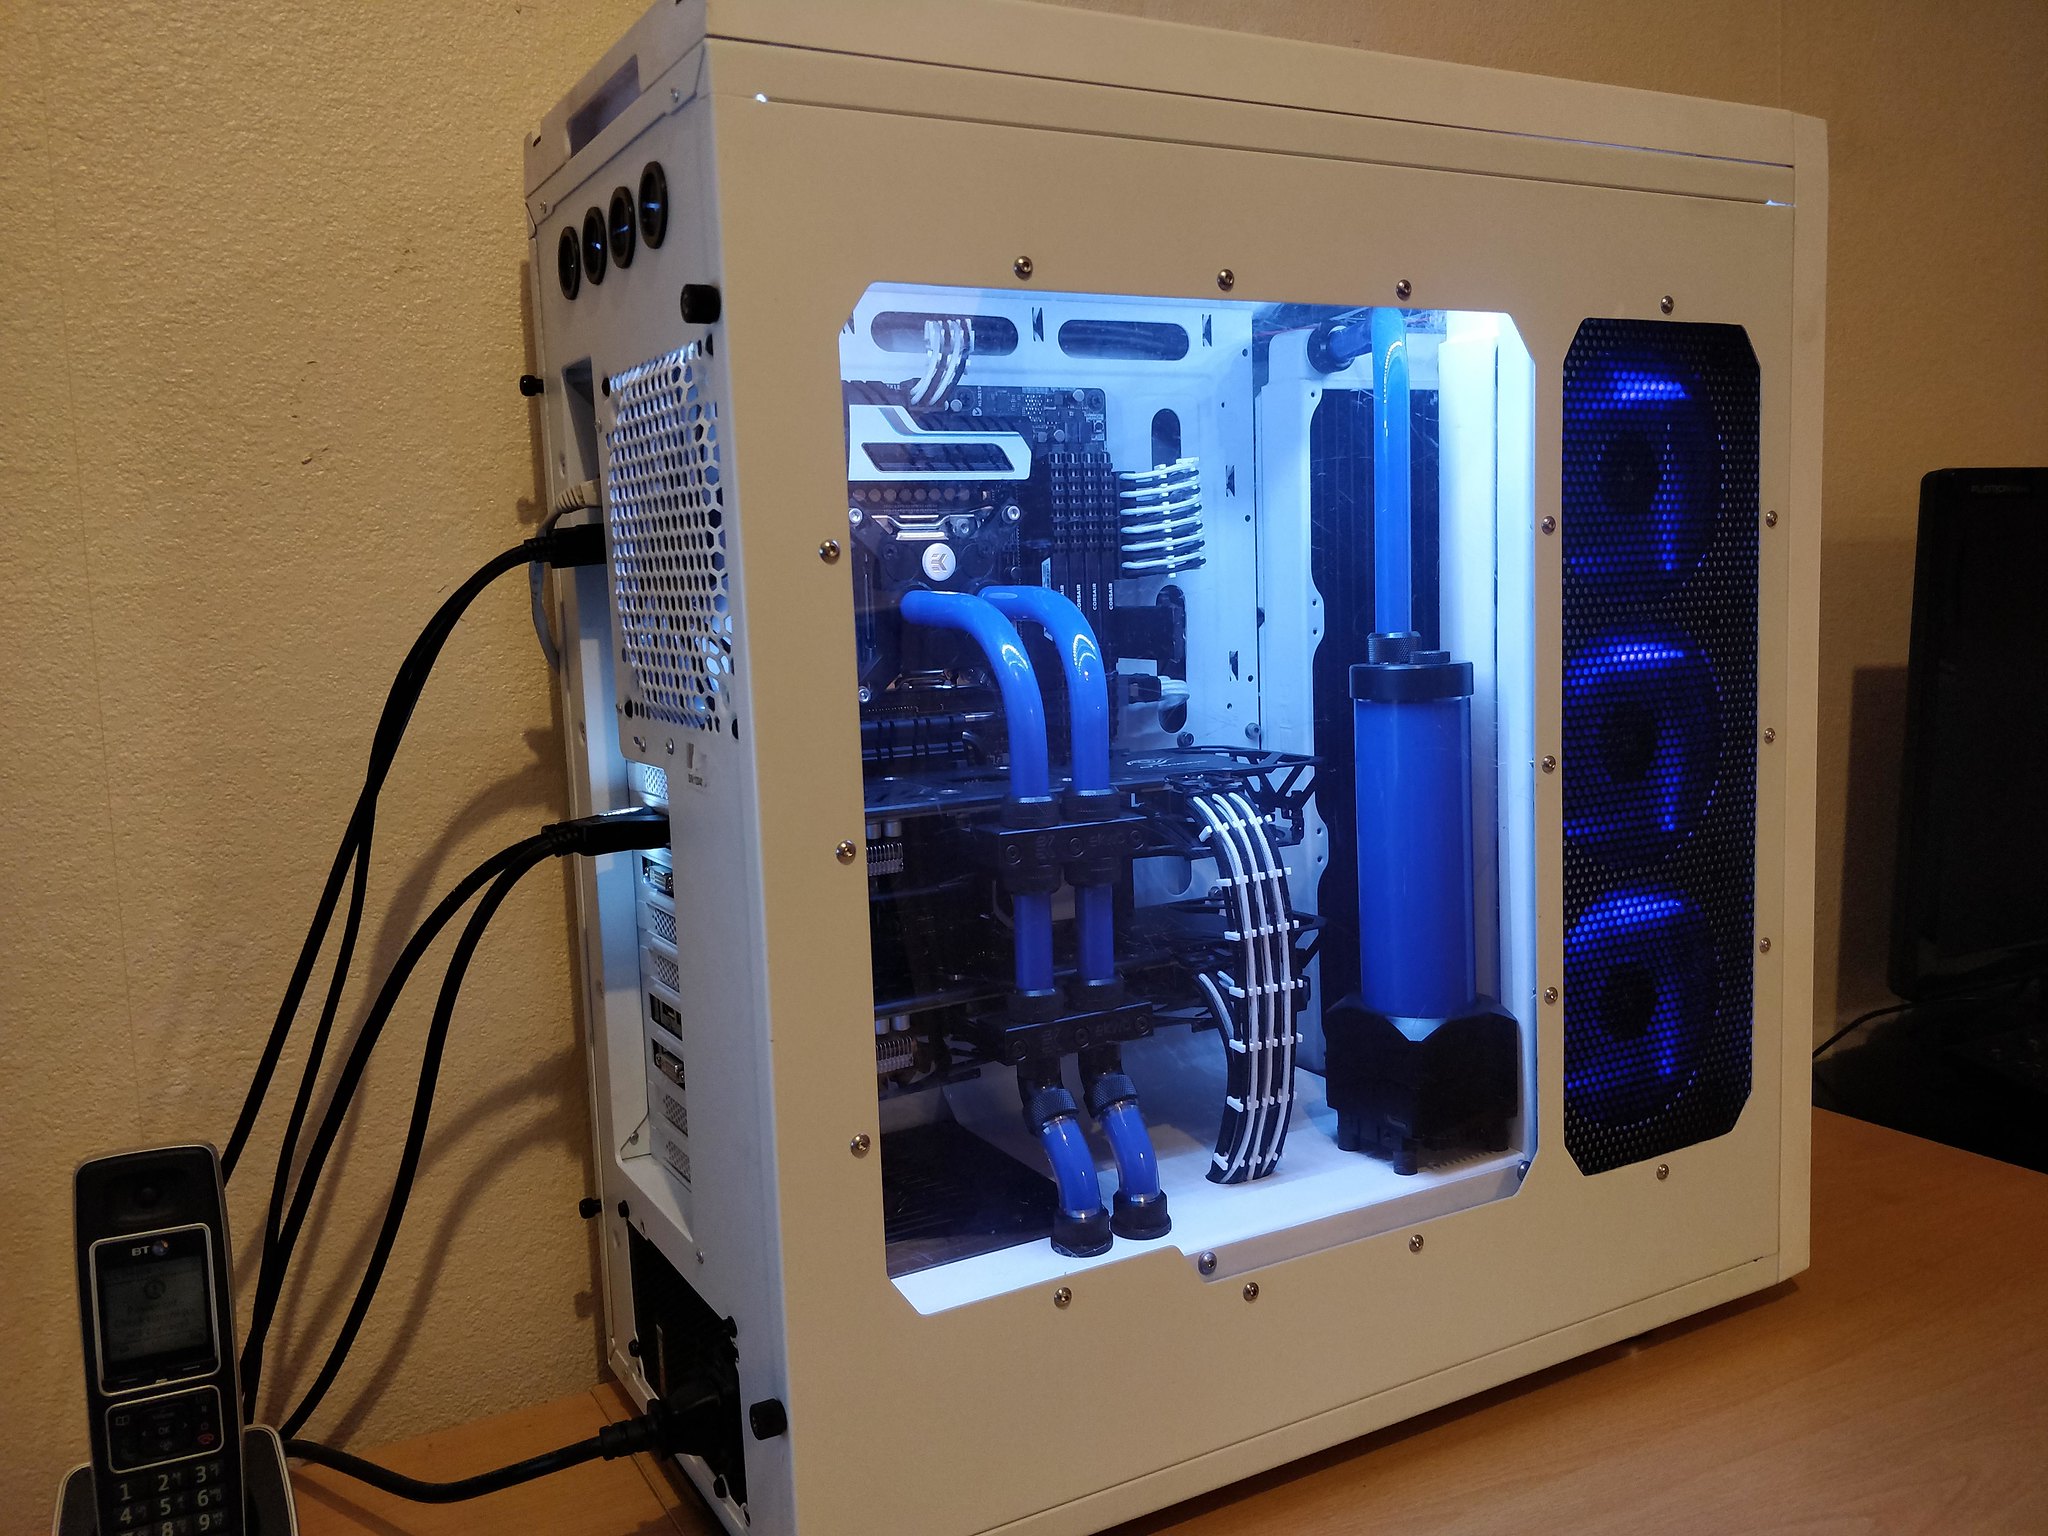
Intro
After running linux for 3 years and only playing Minecraft I heard that GTAV was finally out for PC and decided it was time to update my rig. The reason for the name is that at my old job, all of the computers and servers were named after memes, and I never stopped doing it!
All that remains from my old build (build log here) is the case, 2 fans, the SSD (for booting Xubuntu from) and the CPU cooler.
I've always loved the looks of this case, but the airflow through the front was nothing like enough, so I decided it was time to solve that issue and fill the case with new hardware.
Spec
Side Panel Intake
I've always disliked how much space is used up by HDD and optical bays in most cases, because I only ever had a handful of drives, so got thinking about putting watercooling radiators in place instead blowing across the case. I ended up deciding to do make an intake there anyway to aid air cooling this rig.
I covered the whole sidepanel in tape, marked out my intake hole trying to use the window edge as a guide for the shape, then cut it out using a drill, hacksaw, angle grinder and a dremel, then filed to the lines. Took a total of about 14 hours and I think it looks OK, not perfect but good enough for me.
I then mounted a Phobya triple 120mm radiator bracket to the front of the case and fitted the 3 Corsair AF120 purple LED fans. I connected these up on a switch so that I can have them either on at 12v, being all bright and making a racket, or I can switch them off and it all quietens down.
Pictures
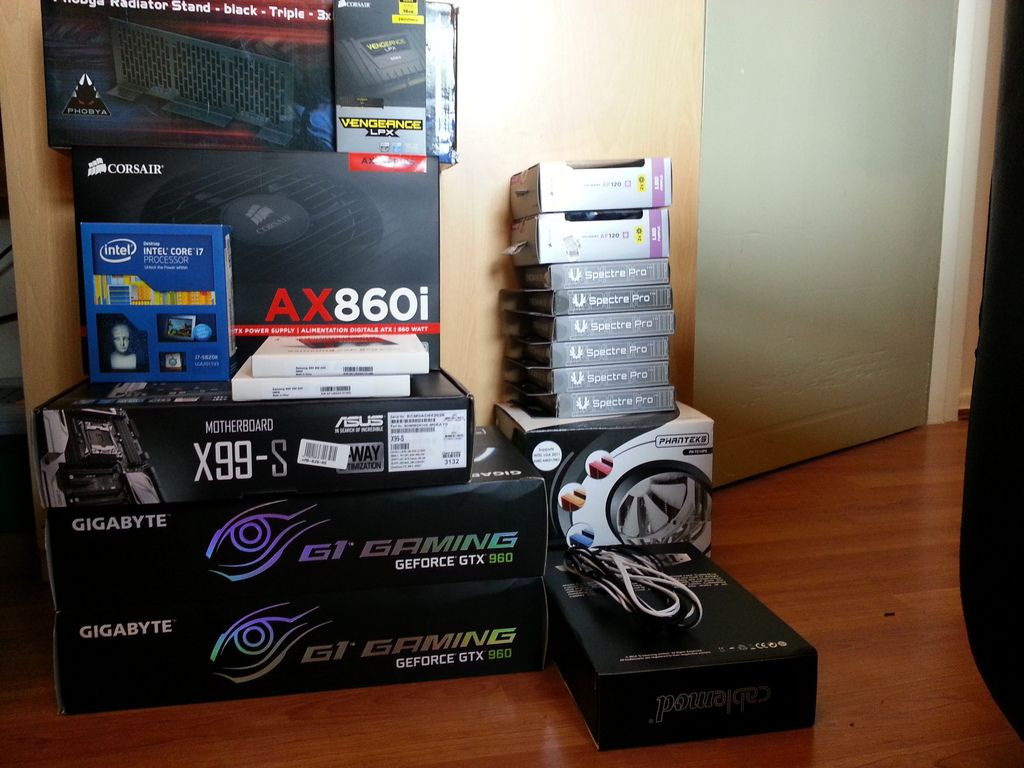
Mandatory shot of the boxes first!
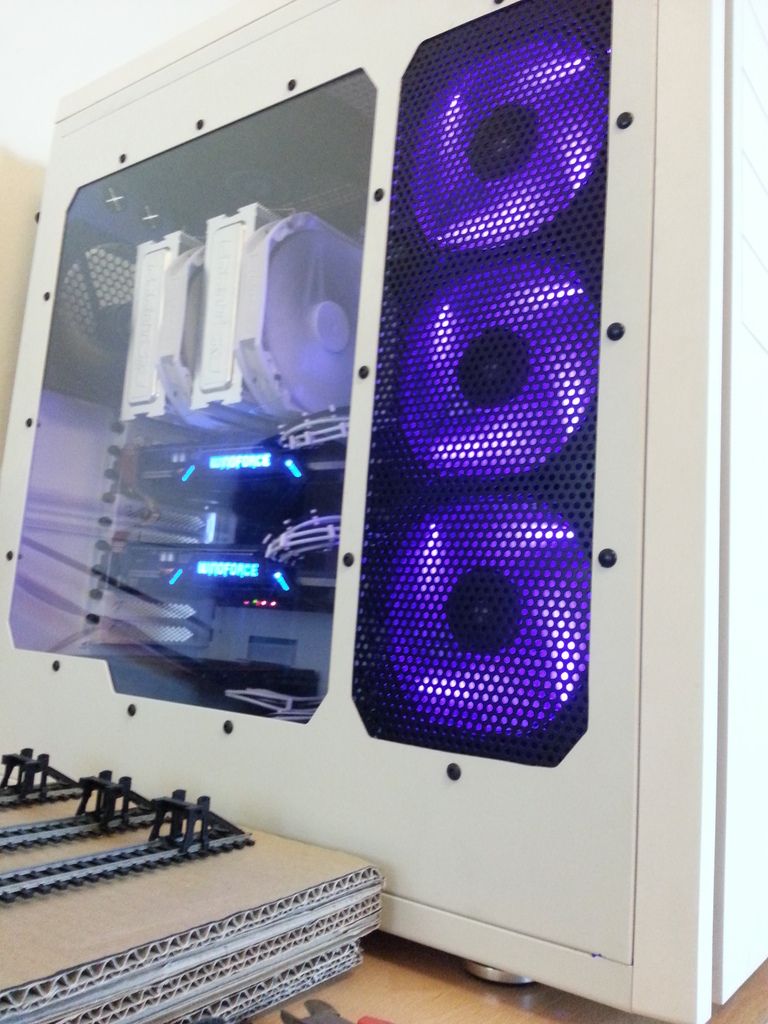
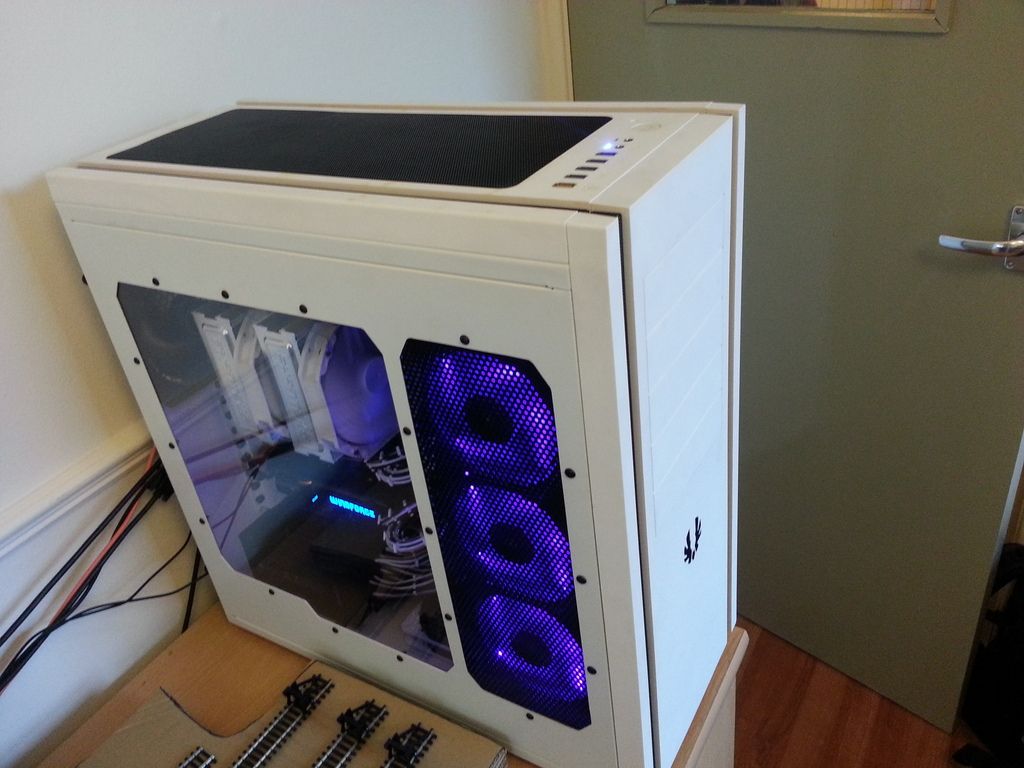
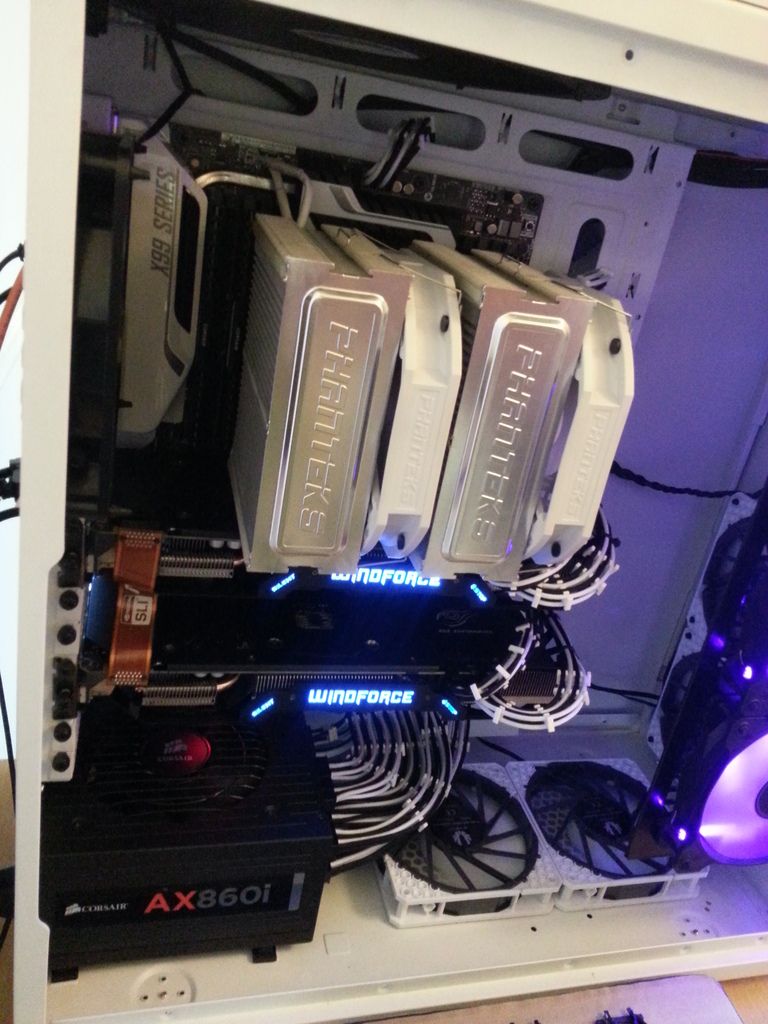
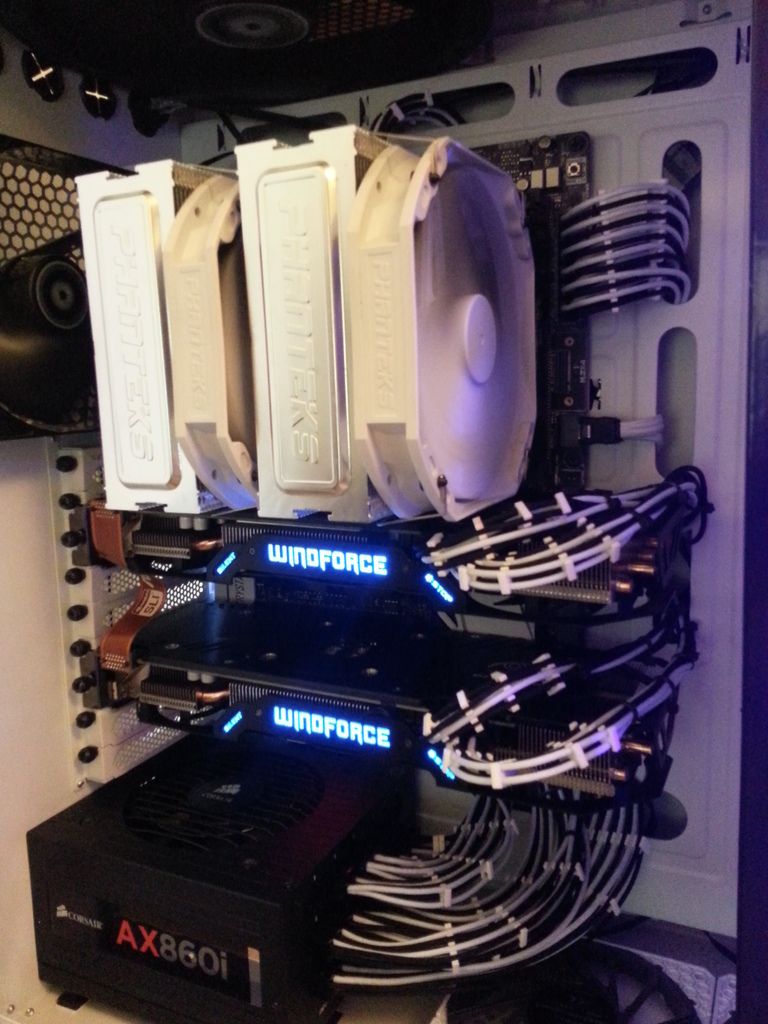
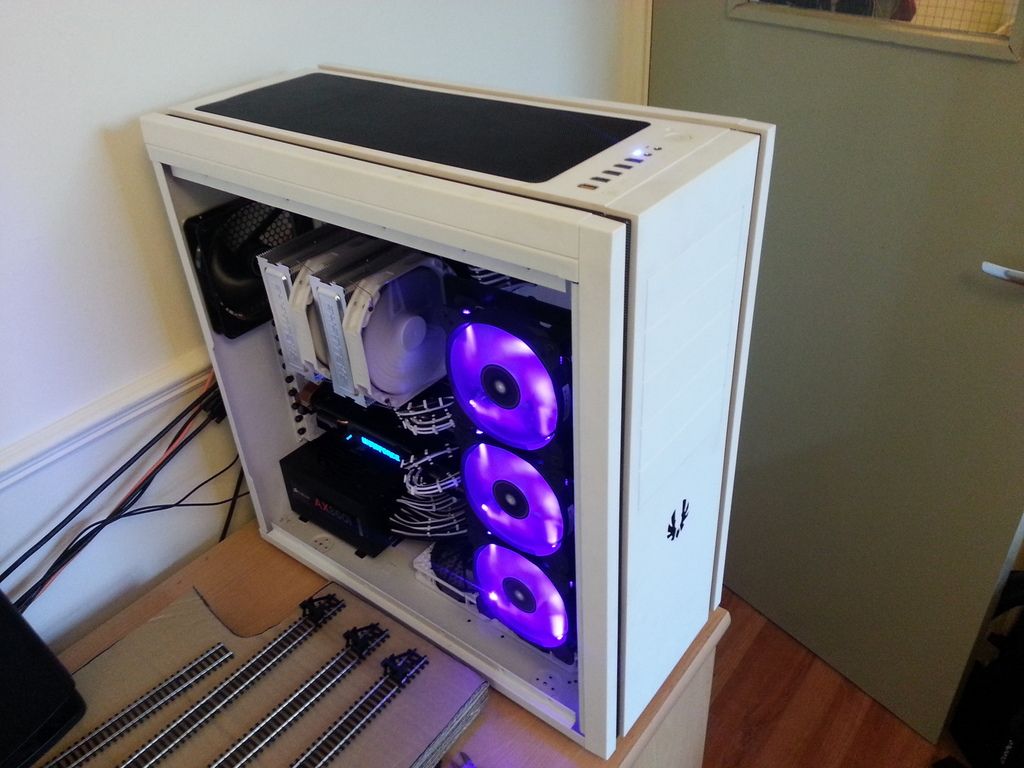
Pretty happy with it for the time being, although I think I am going to watercool it at some point. Spec wise though I'm very happy.
After running linux for 3 years and only playing Minecraft I heard that GTAV was finally out for PC and decided it was time to update my rig. The reason for the name is that at my old job, all of the computers and servers were named after memes, and I never stopped doing it!
All that remains from my old build (build log here) is the case, 2 fans, the SSD (for booting Xubuntu from) and the CPU cooler.
I've always loved the looks of this case, but the airflow through the front was nothing like enough, so I decided it was time to solve that issue and fill the case with new hardware.
Spec
- CASE: Bitfenix Shinobi XL
- CPU: Intel 5820K
- MOTHERBOARD: Asus X99-S
- RAM: Corsair Vengeance 4x4gb 2800mhz
- GPUs: 2x Gigabyte GTX960 G1 Gaming 4gb
- PSU: Corsair AX860i with Cablemod black/white cables
- CPU COOLER: Phanteks PH-TC14PE White
- FANS: 4x Bitfenix Spectre Pro, 3x Corsair AF120 Purple LED
- SSDs: 2x Samsung 850 EVO 500gb RAID0 for WIndows, Crucial M4 128gb for Xubuntu
Side Panel Intake
I've always disliked how much space is used up by HDD and optical bays in most cases, because I only ever had a handful of drives, so got thinking about putting watercooling radiators in place instead blowing across the case. I ended up deciding to do make an intake there anyway to aid air cooling this rig.
I covered the whole sidepanel in tape, marked out my intake hole trying to use the window edge as a guide for the shape, then cut it out using a drill, hacksaw, angle grinder and a dremel, then filed to the lines. Took a total of about 14 hours and I think it looks OK, not perfect but good enough for me.
I then mounted a Phobya triple 120mm radiator bracket to the front of the case and fitted the 3 Corsair AF120 purple LED fans. I connected these up on a switch so that I can have them either on at 12v, being all bright and making a racket, or I can switch them off and it all quietens down.
Pictures
Mandatory shot of the boxes first!


Pretty happy with it for the time being, although I think I am going to watercool it at some point. Spec wise though I'm very happy.


