[Project Log] ------- *Project 105*

Associate
Joined
8 Aug 2012
Posts
92
Location
Plymouth, UK
Untitled-2_zpsc915745c.png


Hi all.

After spending hours upon hours drooling over build logs I have finally decided to make my own. I thought about making my own case from Aluminium or Perspex but I was struggling to be imaginative, and its expensive!

So after trawling the interwebs I found the wall mounted builds. I love the look of some of these. Now practically, I have to nowhere to put it or have the money to create a fully watercooled rig.

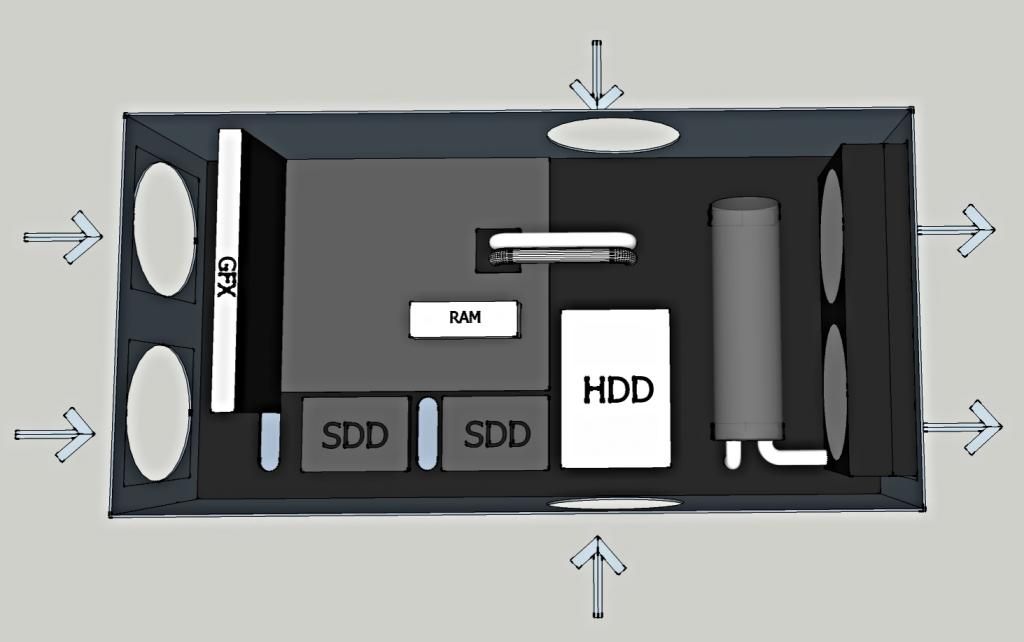
With a little thinking I have mashed my love of computers and military stuff together. Here is a mock up of my idea. I'm planning on mounting the motherboard hard drives and a reservoir on a piece of 5mm acrylic, with the PSU, Pump and Disc drive all underneath.
Untitled_zpsec48be64.jpg


Still working out how to manage airflow, the cooling loop and how to access the underpart for maintenance etc. So any comments are welcome.

Now funding for this build is limited, and as its my first one I'd be hard pushed to find sponsorship, so I'll be using my existing components. I'm hoping to complete it for around the £100-£150 mark. Inc. Paint, tools, materials etc.

____________________________________________________________


Awaiting the Main case structure, arrives 19th, In the form of an old 105mm shell box! Pictures when it arrives.
 
Last edited:
Component List:

Current:

Ammo Box 650mm x 330mm x 200mm

PSU:Corsair CX750
Motherboard: MSI 970a-G46
CPU: AMD FX 8230 @4.2Ghz
RAM: Kingston Hyper Fury White 16GB (4x4GB)
GPU: ASUS Stryx 970
Sound Card: Creative Z OEM
Cooling: Raystorm EX240
Corsair SP120 x 7
Storage: 2x Kingston 3K SSD
1x Seagate 1TB

_________________________________________________

To Buy:

Mayhems Pastel - Ice White Coolant 1L
New Reservoir OPEN TO SUGGESTIONS
XSPC G1/4" 90° Rotary Fitting (Black Chrome) x4
XSPC 7/16" ID [16/11mm] High Flex Hose - Clear [1m Length] x2
Toggle Switch - Missile Cover + Cables
Grommet Kit
Mesh for fan holes
5mm Acrylic Sheet 1000mmx500mm
Battleship Grey Spray Paint x A lot
Copious amounts of screws and random bits.


I'm getting really excited. Can wait to get the box tomrrow and get started!
 
Last edited:
Thanks mate!

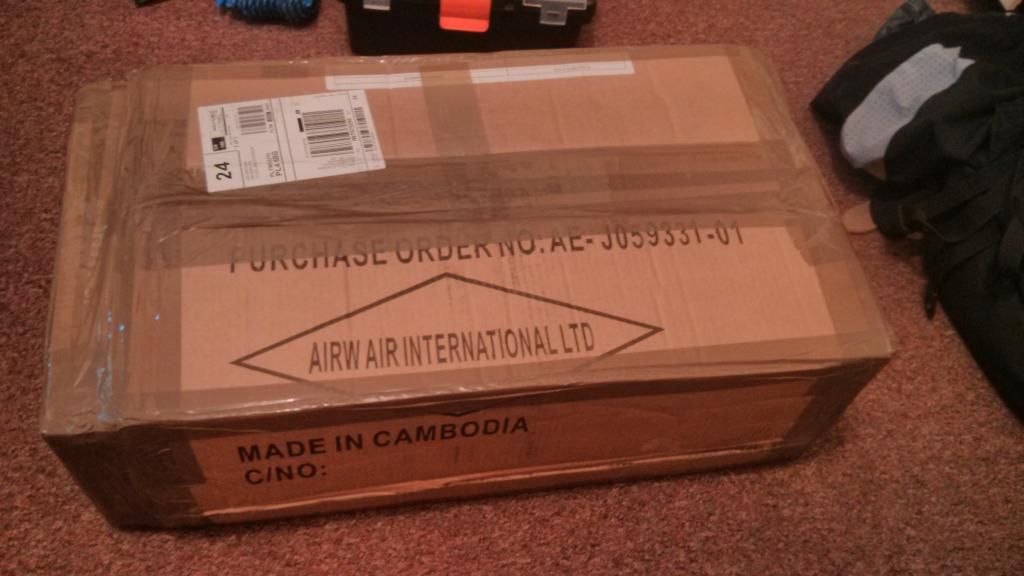
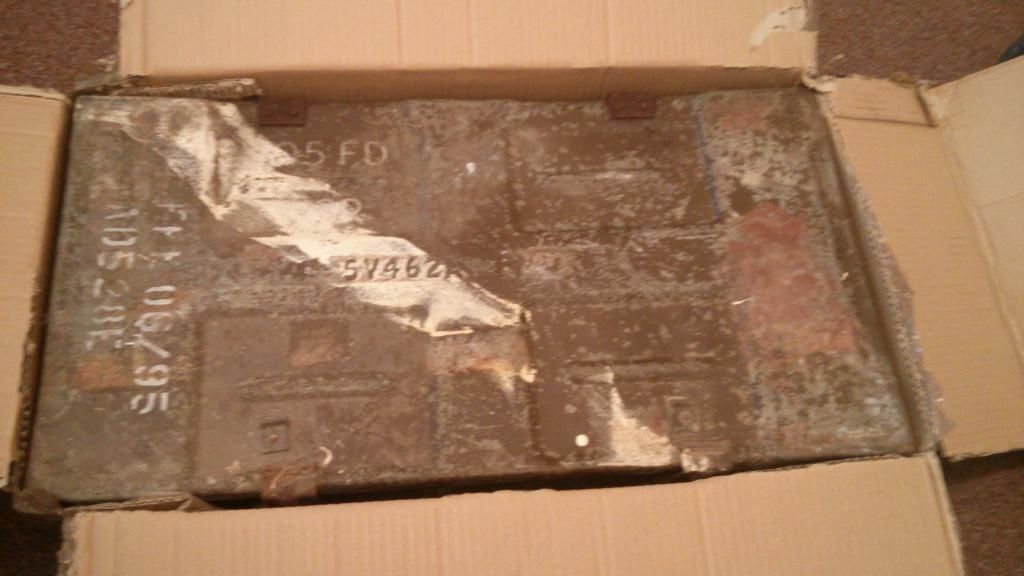
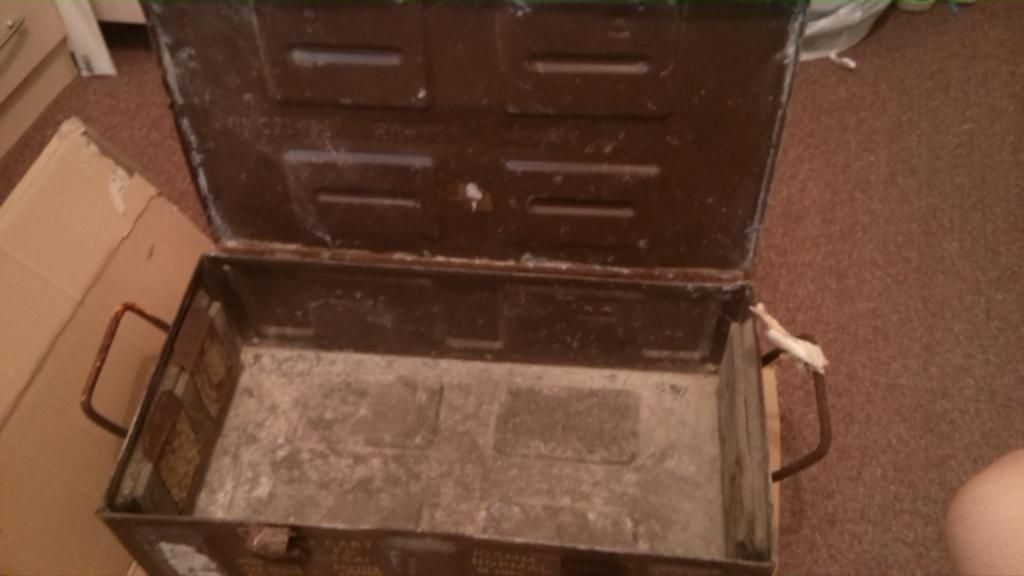
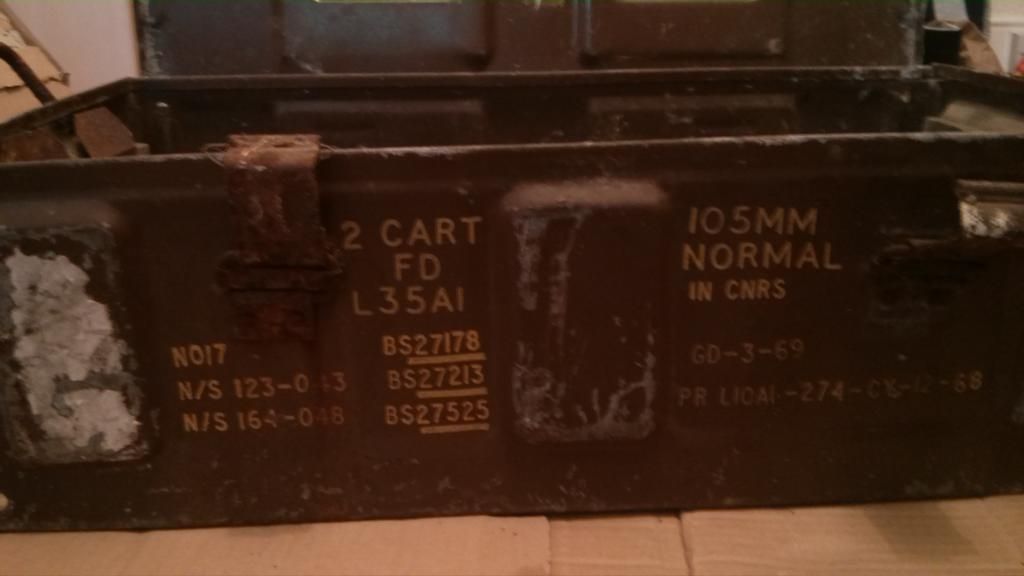
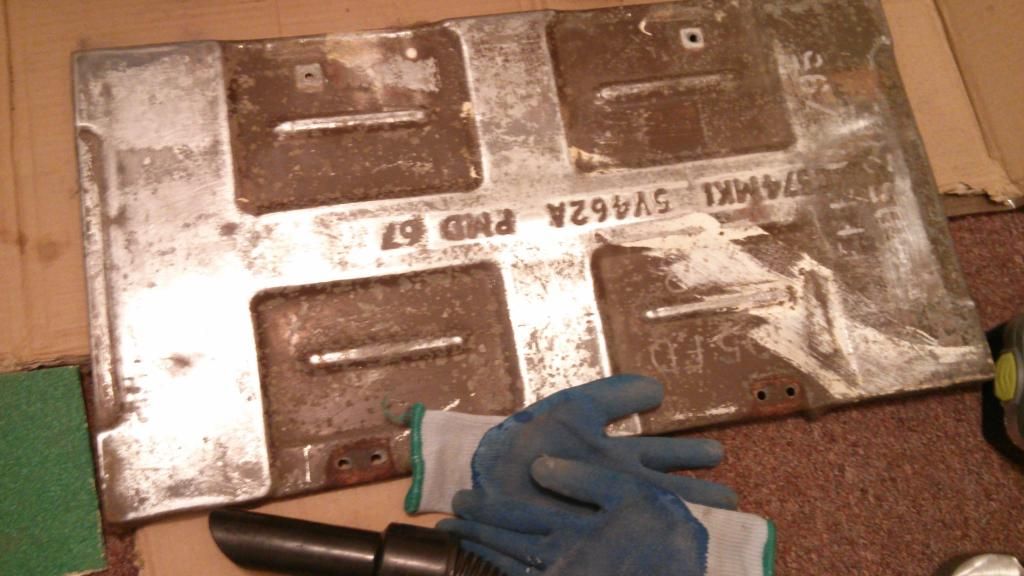
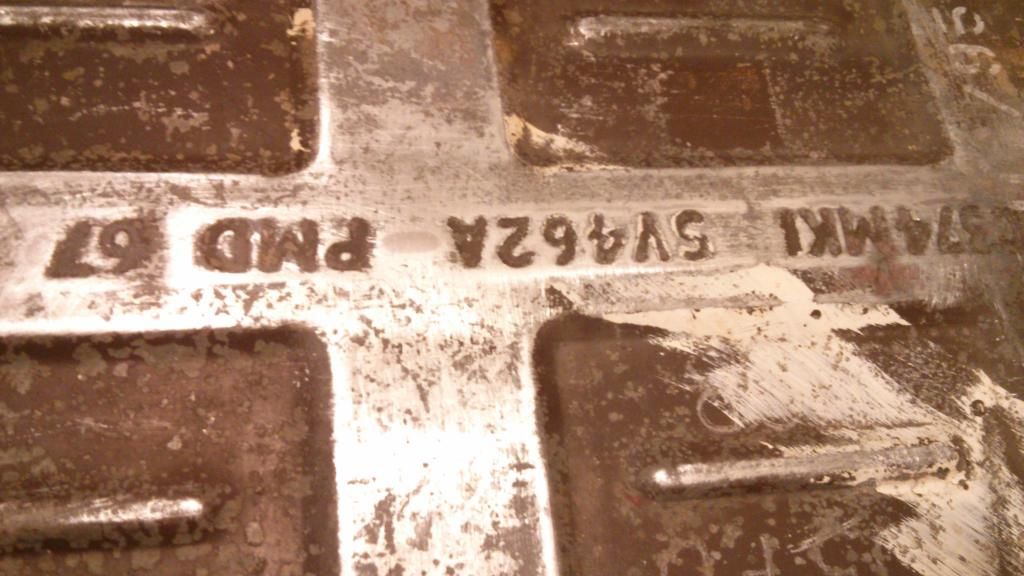
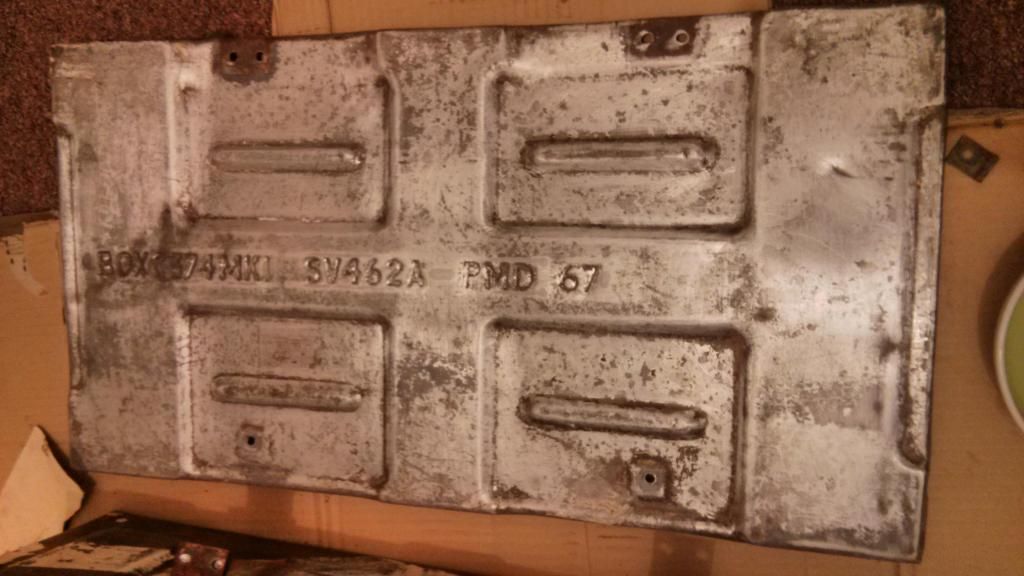
I got the box today. Looks like i'm going to have to rearrange some components. The original idea was to mount the psu, disk drve and pump under the acrylic. Its looking like I won't have enough room to do that. Sooo any ideas on where I can put them? I'm thinking remove the HDD from sight (doesn't look pretty anyway) And cut a slot allowing the PSU to poke through. Then maybe buying a new pump... At the moment I have the Raystorm bay pump/res combo.

Here are some Pics of the box. Its filthy. Need to start cleaning it this evening.

Its an old 105mm Shell Container. Will sand it down, bash out the dents and start marking out hole and slot positions. Hopefully will start attacking it with a dremel in the next few weeks.

IMG_20150119_092137_zps5bf94c01.jpg


IMG_20150119_092259_zps473806a0.jpg


IMG_20150119_092624_zps231e5209.jpg


IMG_20150119_092641_zps2dca7e85.jpg


I apologise for the potato quality. Focus isn't great. I'm too excited!
 
Last edited:
Is it necessary to have the two fans on the side? I think if you just had 2 in 2 out that the front aesthetics of the case won't be touched.

I'm not sure 4 fans will create enough air flow. I'm planning on relocating the radiator and fan holes anyway. Turns out its shallower than I expected so I need to reshuffle the components.
 
Started sanding it down this evening.

Drilled the rivets out on the hinges and took off the paint and the huge amount of dirt and rust off the top.

I was going to scrub all the paint work off but it will take so long! Just the top took an hour... Just going to wash it and take off the majority of the rusty bits. Then I will prime it after its cut.

IMG_20150119_180037_zps9rhclejr.jpg


IMG_20150119_175944_zpsbstci34i.jpg


IMG_20150119_200007_zpsagluvgzb.jpg
 
Those sides are 330mm. Not long enough for more than 2 x 120mm fans :(

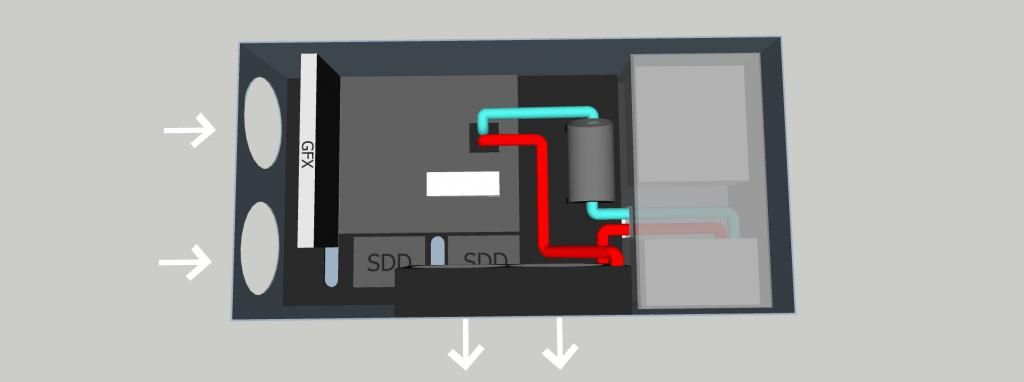
Was thinking about moving the radiator to the rear of the box as shown. That way I can get everything to fit. Does compromise the look of the box though, but it is at the rear so won't be easily seen.

1_zps1e847b3d.jpg
 
From your picture there, there your intake fans would be pushing at least twice as much cold air into the case as what is being exhausted out, and if the case is air tight, no vent holes anywhere, well they wont be doing there job as air intakes

The case isn't air tight. Would you suggest having all the fans as exhaust so that cool air is puled in through holes? There are 4 5p coin sized holes on each of the long panels and the top doesn't fit flush. I do personally prefer negative pressure. Less dust!
 
also use tights wrapped around the fans as make shift dust filters for intakes, check my project dinosaw in my cig, I used tights on the fans on that project, iv not had to clean inside the case yet its dust free, and also you just rub the tights and the dust gathers in a ball to easily remove :)

Thanks for the tip. :)
 
Going to have to take a break from this for a week or so. Have my dissertation due on Monday!

Hopefully by the end of next week it will all be sanded down and I can start marking out the cut lines.
 
Back
Top Bottom