Project: Lounge transformation...

Soldato
Joined
17 Jan 2006
Posts
4,313
Hi All

Having done quite a bit of work on the back garden and front lawn/parking area of the house we moved into 6 months ago, as the weather is getting worse and the evenigns are drawing in, we are now going to concentrate on the inside of the house which while liveable needs a good bit of decoration.

In the coming weeks we shall be concentrating on the lounge which is going to involve:

  • moving everything out
  • riping out the old carpet
  • stripping the remaining wallpaper(my girlfriend has already made a start on this...much to my surprise when I got home from work one day...)
  • filling, sanding and painting the walls
  • painting the coving
  • Painting the skirting
  • Painting door architrave
  • Having new carpet fitted


Then comes the big work...

  • fitting shelves into the alcoves either side of the chimney breast
  • building cupboards into the alcoves
  • building a false wall to go in front of the chimney breast
  • building an av rack to go into the fireplace
  • wall-mounting tv

Lots of planning has been done but it's a lot of work, made more difficult by the fact that we can only really get on with things when people are looking after our little boy...

In light of this I am taking a couple of Fridays off when my parents can look after the little man and we can get on, then my gf's parents can have him on Saturday, then her sister can take him on Sunday, both of these days my parents (who are very experienced diyers) will come and help us in return for a bit of food and plenty of tea!

The first Friday I'm taking is the 26th October so I need to get preparing!!!

As the previous owners were heaver smokers, one of the things I'd like to get done before then would be to paint the ceiling, skirtings where possible and coving with a sealant to prevent any nicotine staining coming through the final paint.

We have washed the ceilings a couple of times and got rid of a lot of the staining but we want to make sure it doesn't come back through when we've painted!!

Any got any experience with such stain prevention products/any recommendations of what to use?
 
Sugarsoap is very good for removing nicotine staining.
Might need to do it a couple of times depend how bad it is, then paint a area which has been clean, & see the results, it could save you from having to seal it.

Do all the 'big jobs' before fitting carpets.
 
Last edited:
Sugar soap is very good for cleaning but make sure you totally wash it off afterwards.

Good luck, we have done the same as our house was bought with every room needing to be done - 5 years on and just finishing the first room 100% and even then thats the second time we have done said room!!!!
 
We have been using sugar soap to get rid of the nicotine and we've gotten rid of loads but I think it'd take a miracle to get rid of it entirely. I've seen various products which claim to absorb any nicotine stains and trap them so they can't come through to the paint layer. I'd rather use a sealer just to be on the safe side.

As for doing the big jobs before having the carpet fitted...I'd love to but I want the carpet in place before we build the cupboards etc so if we decide to remove the cupboards at a later date the area of floor where the cupboards were will have carpet in place so we don't need to recarpet.

We are going for a hard wearing, stain-resistant, bleach cleanable carpet (due to the messy little boy! ;)) so it should cope fine with us doing building works - nothing major, just wooden framework etc - for the doors / false wall...

 
Thanks, I shall have a read up on that...

Over the weekend we ordered our new carpet...which is going to be fitted on the 30th...which means we really have to crack on now and get as much done as possible in the next 1 1/2 weeks to ensure that we can get all the decorating done over the weekend of diy (friday 25th - Sunday 27th)!!!
 
If you are in a Victorian property please don't remove the original fire place in the lounge if there is one.

Don't have a 'feature' wall and do not let laminate flooring anywhere near your property.
 
If you are in a Victorian property please don't remove the original fire place in the lounge if there is one.

Don't have a 'feature' wall and do not let laminate flooring anywhere near your property.

Don't worry it's not a Victorian fireplace, it was a horrible mdf/plastic all in one electric unit that didn't even throw out any heat (due to age and condition - I'm sure at some point it might have worked), essentially it was just a big and elaborate light...

It was also poorly installed and the wiring was merely a plug on a wire coming out of the side and plugging into a socket. It really was a horrid thing!!!

As for laminate, having come from a flat with laminate flooring, there is no way we will have it here, neither of us like it as it's cold and hard on the feet, nice carpet with a decent underlay to make it warm and comfy is the way forward for us!!! :)
 
No progress as yet apart from beginning to buy paint etc ready for Friday which will be the start of a weekend of decorating!

One quick question, what caulk should I use to fill any gaps around skirting and architrave?
 
After a busy weekend of buying paint etc ready for a solid three day stint of diy this weekend, and finally moving all the boxes from the spare room up into the loft meaning we can begin clearing the lounge into the spare room so we can decorate the lounge, we feel we are getting there and the excitement/anticipation has started to build!!!

I'm going to spend much of this week finalising plans etc so we know exactly what we are going to do and how so when friday comes we can hit the ground running and get as much as possible done.

This means I will probably be asking lots of questions this week, starting now.

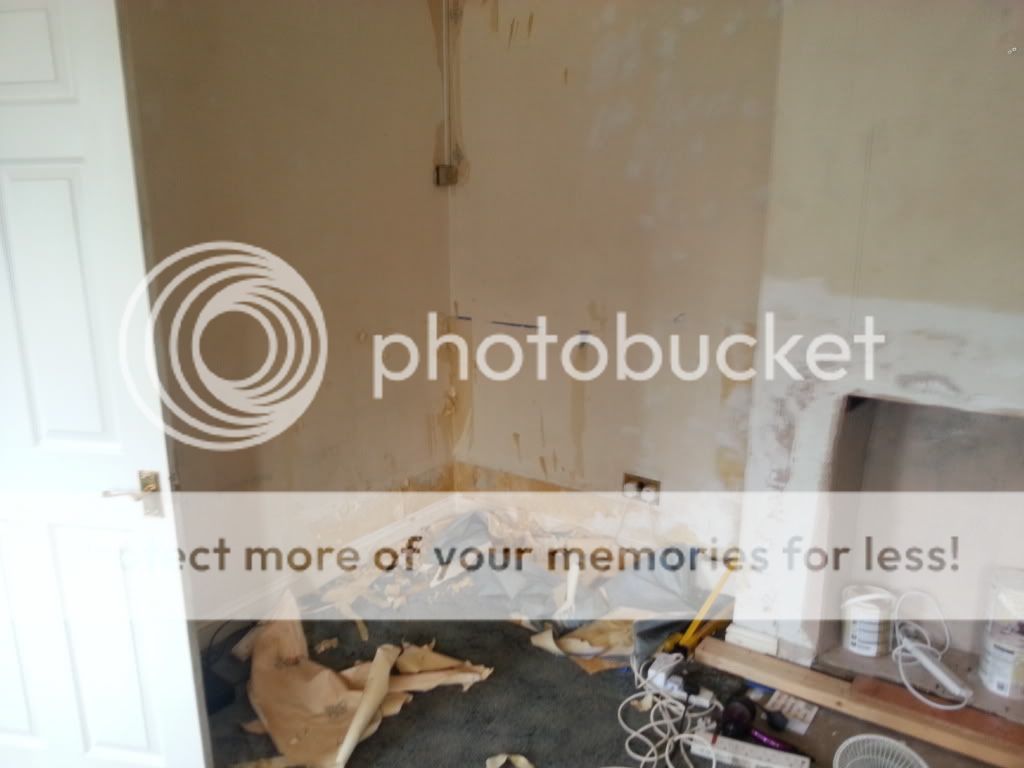
1) Drilling holes in the side of the chimney breast??

20131021_082302_zps79893d97.jpg


20131021_082312_zps922eed47.jpg

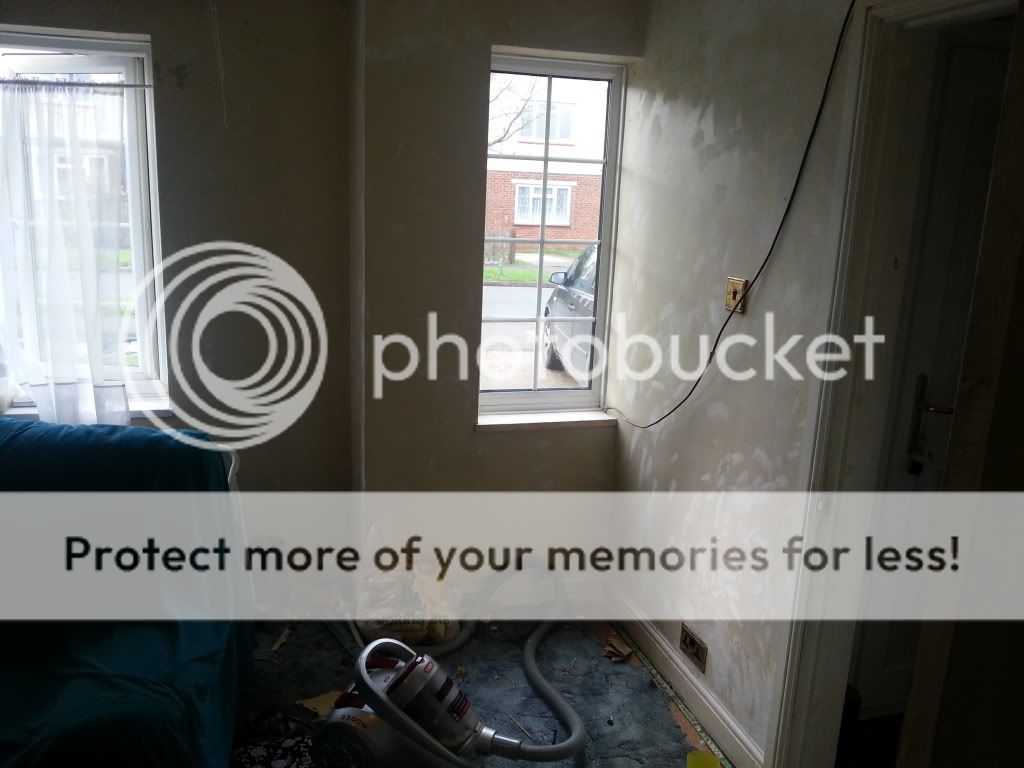
(excuse the mess, we were in the middle of moving everything out of the lounge when I took these pics)

We will be making shelves to fit into the chimney opening to house amp, cd player, digibox etc etc. Obviously we need to be able to run cables out of the fireplace area for power speakers etc.

My plan was to drill 3 or 4 large holes in the side of the chimney breast for cables etc.

Will this be ok structurally? Looking at 30 or 40 mm holes most likely.

2) Blocking up chimney?

Having done a lot of reading I have come across all sorts of opinions on this, everything from completely blocking up chimney top and bottom to leaving it open to allow air movement to prevent damp.

My plan is to leave it open but create a timber frame with boarding to box it in so it looks neat and tidy. There will be holes in the sides for cables etc so there will be enough gapes etc for air to flow. Does this sound like it will be ok?
 
Well, after some days off and lots of work...we are getting there...


Day 1:

Forgot to take many before photos but the pics in the post above give a bit of an impression of the state of the lounge when we started.

After removing most of the stuff from the lounge we finished stripping the wall paper which my girlfriend hadn't been able to reach.

20131025_113424_zps93cb7133.jpg


With the paper gone we filled all the little dents and scratches in the wall, which was a bit of a job as there were rather a lot but overall the walls weren't too bad.

20131025_113417_zps3892c88b.jpg


With the filler drying on the newly stripped walls we concentrated on the walls which my girlfriend had filled a few weeks ago. So lots of sanding later and we had some lovely smooth(ish) walls.

We set about doing the ceiling. Now, this needed a lot of attention as the previous owners were heavy smokers and despite lots of washing down the ceilings were still discoloured and horrible looking and we really didn't want any nicotine staining to come through. As such we went down the route of applying a stain blocking coat.

What a horrible task it was, I can only liken it to trying to spread primula over the entire ceiling, it was so thick and gloopy it was impossible to apply with a brush and using a roller was really hard work as you needed to apply a lot of pressure to get it to come off the roller!!! It took a long time but we finally managed to get the ceiling covered.

We then got a coat of paint on two of the walls and called it a day... we were exhausted having done a 14 hour day of solid grafting but it felt sort of good.

Day 2:

Day 2 started with painting the ceiling to go over the stain block, this process ended up being very time consuming as we ended up needing to apply three coats as it was drying very patchy and also in a few places where the stain block didn't seem to be working we reapplied it and then had to repaint over those areas again!!! If I never have to paint a ceiling again it will be too soon!!! lol


We then painted the skirtings, door frame and radiator with a nice coat of satinwood (we don't like gloss) so they are all looking nice and fresh and clean

20131027_163210_zps892165b8.jpg


We then got on with rubbing down and painting the walls. Which took a fair time as although the plaster was pretty good in most places there were areas which had lots of little pock marks so much filling and smoothing was required but it was worth it as the walls are now looking good.

In addition, we worked on the window sills. They are tiled and not very nice looking but it would be too much work at this stage to replace them. Instead we are filling and rubbing down to fill all the hoints etc to give a nice flat surface with the appearance of it being all one piece. We did a fair bit of work on this and it started to look good.


Day 3:
Day three started with yet more painting of the ceiling... to get rid of a few patches and to make sure the little areas where staining had come through and we'd re stain blocked were covered enough.


Although a lot of work, the ceiling does actually look very nice now!

20131029_080835_zps36eb7635.jpg


We then finished off the walls and skirting/coving etc.

More work was done on the window sills, and we removed the sealant round the windows as it was horribly discoloured. This was then resealed with some nice brilliant white and made the whole window look much cleaner and fresher.

Lots of other little bits and pieces were done and then we moved onto the hardest part...

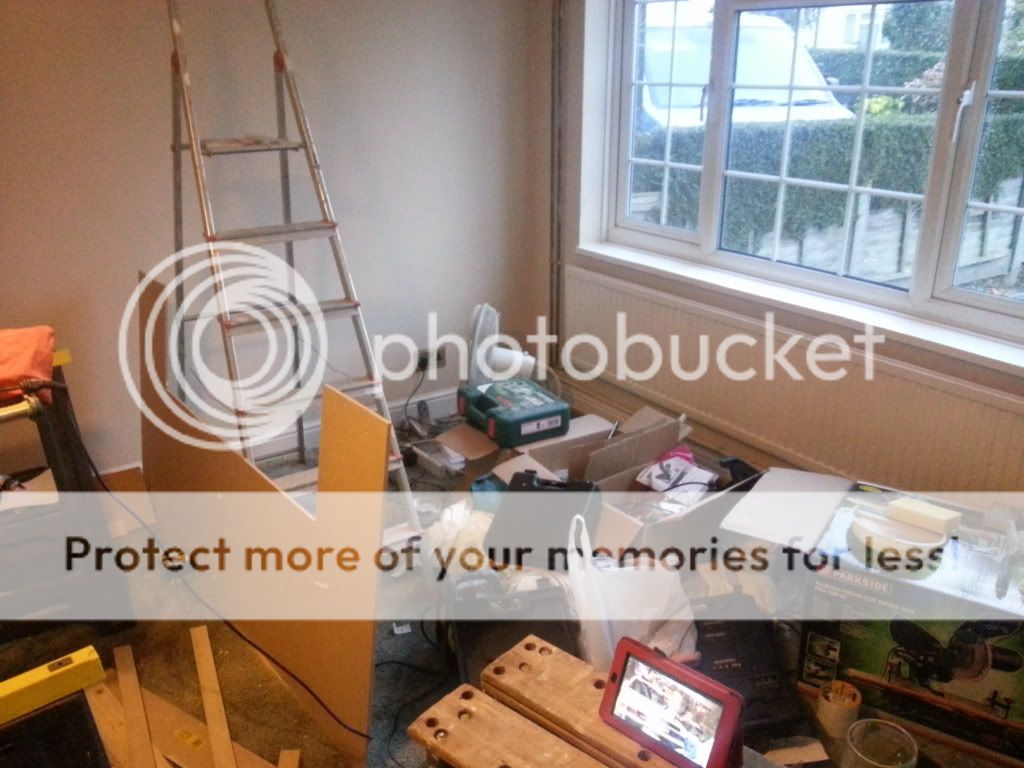
... the beginning of the construction phase of the project. We want built in cupboards either side of the chimney, with shelves above as well. In addition to this, we want the television wall mounted with a false wall standing out from the chimney breast a little, and shelves built into the fireplace to house all the av equipment... It was oh so easy to put together in sketchup...

However it is always harder when it actually comes to doing it as walls aren't square, wood is perfect, gass pipes are in the way etc etc...

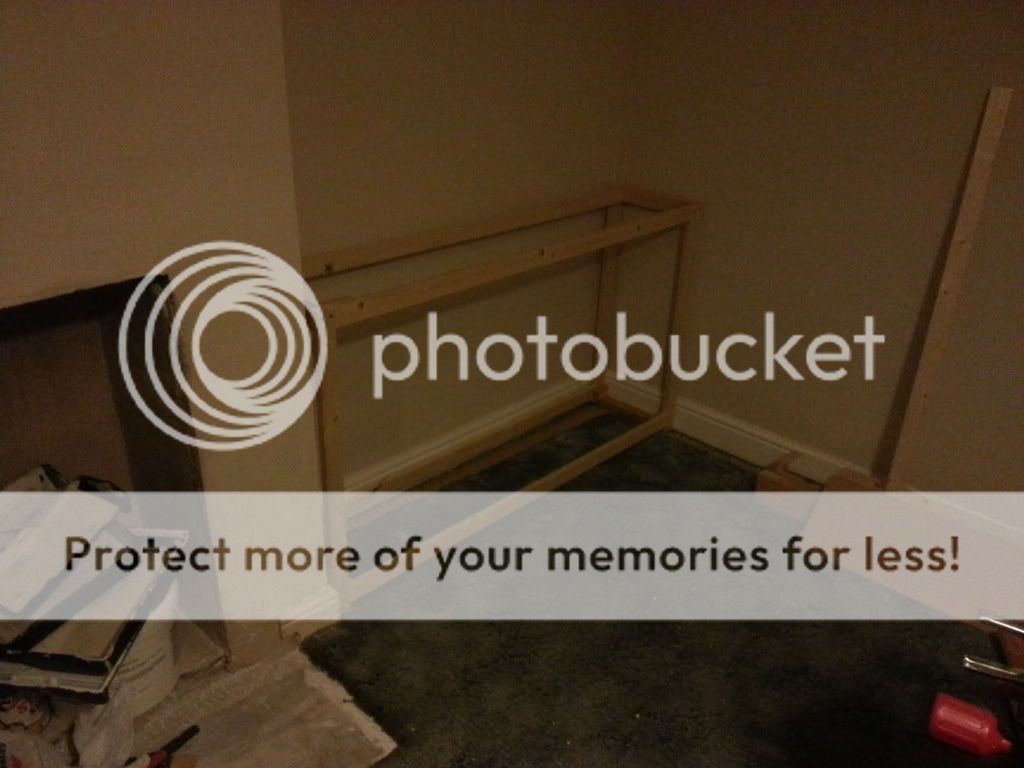
That said, we got on fairly well and ended the day with the basic framework for the cupboards each side of the chimney breast.
20131027_173354_zps238ccd54.jpg


20131027_173402_zpscb41cfec.jpg


After all the work and having shipped the little boy off to different babysitters for three days in a row, on the Monday we had a nice family day and took him to a play centre and then swimming which he really enjoyed.


The following day I went to work for a bit of a rest...
 
Looking good, making progress, ceiling came up well.

I noticed you also have a ridiculously long radiator in front room, had one in the bedroom 2400mm long & 600mm high, took three of us to get it down the stairs, so heavy.
 
Last edited:
On the Tuesday evening though we had to take up the carpet and underlay ready for the new carpet to be laid on Wednesday morning.

This is how it started in the morning:

20131029_080818_zpsd1741093.jpg


Although a terrible photo, it does show how horrible the carpet is - the brown ish looking bits are where the carpet is grubby and it won't come up clean, despite us having used a carpet shampooer three times!!!

We carefully cut a small area of the carpet to keep for temporary use in our outhouse over the winter, the rest we justcut into strips and bagged up ready to go to the tip ....which annoyingly is closed for 5 weeks so the bags are sitting at the side of the house with the rest of our stuff for the tip...making the place look untidy...

We did the same for the underlay.

Leaving us with a nice dark damp proof coated solid floor...


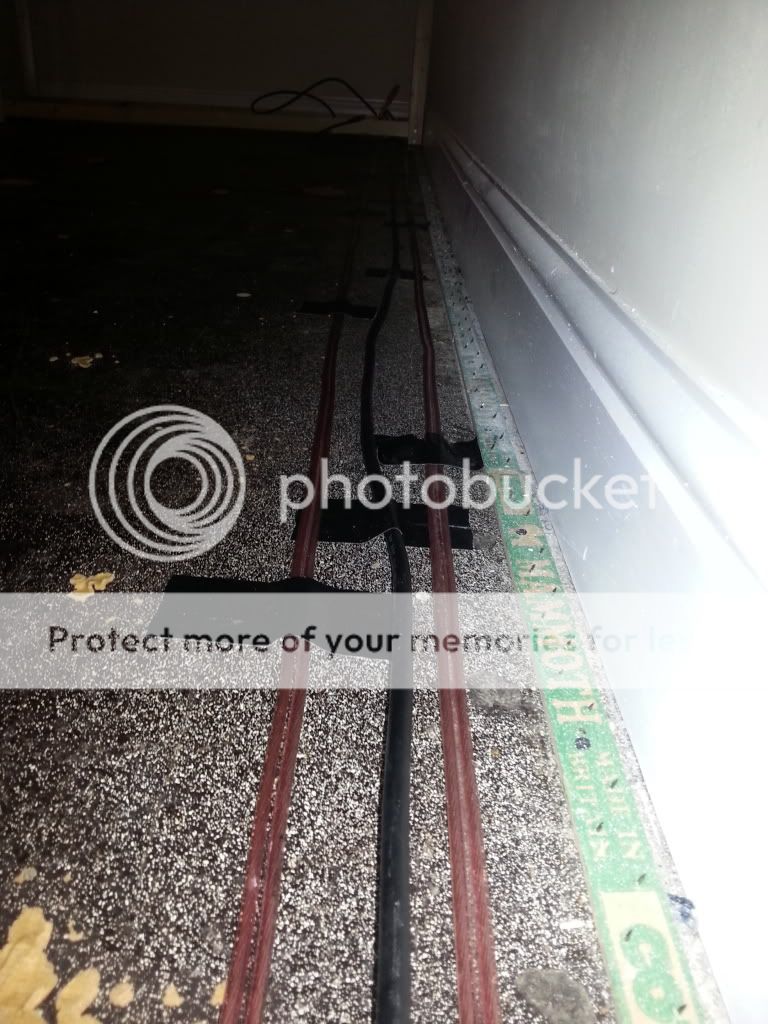
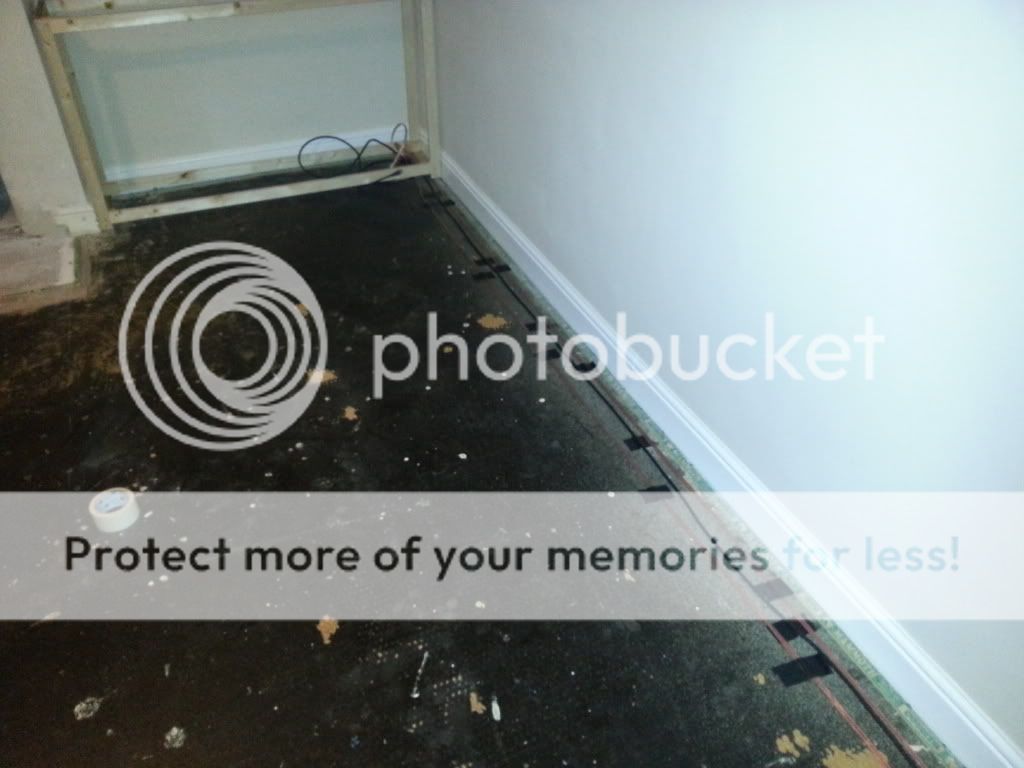
Then we ran the rear speaker cables and a long HDMI lead, which one day might be used for a projector, around the edge of the room taped in place and marked as to where we wanted them to emerge.

20131029_190356_zps1d13153f.jpg


20131029_190346_zps6cee2690.jpg


Wednesday came and so did the carpet fitter.

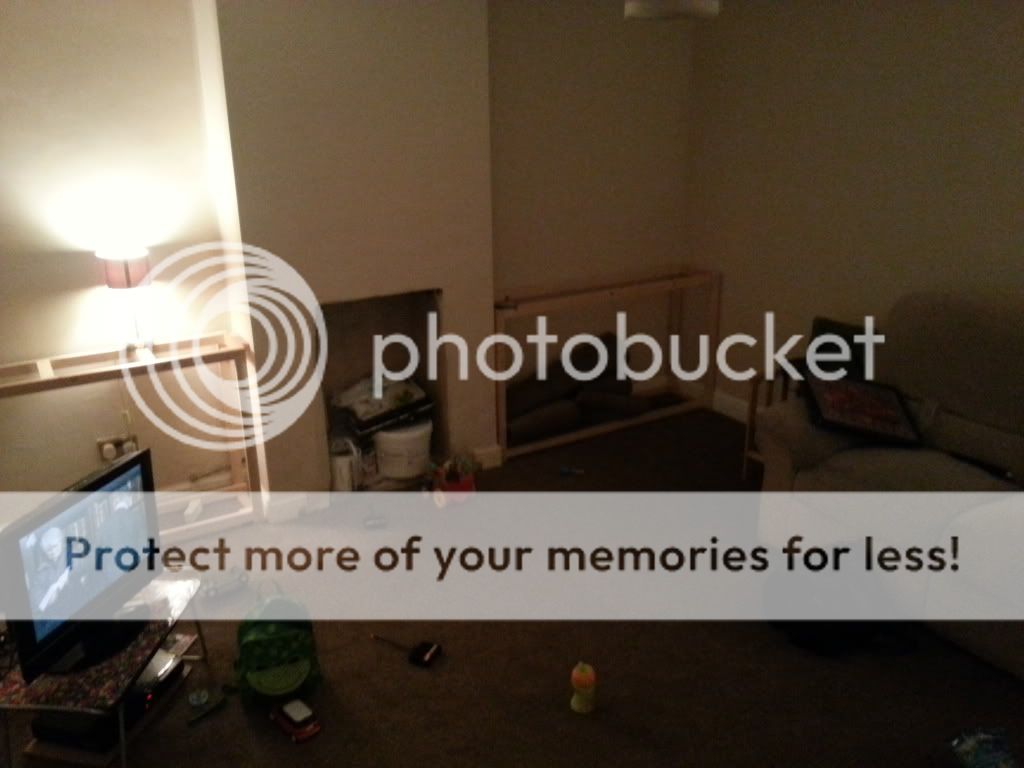
With the carpet fitted we were able to move our sofas (sadly very grubby...but we can't afforde to replace at the moment) back into the lounge along with a temporary tv and of course some ofour little boys toys.

20131030_210253_zps0703c2ea.jpg


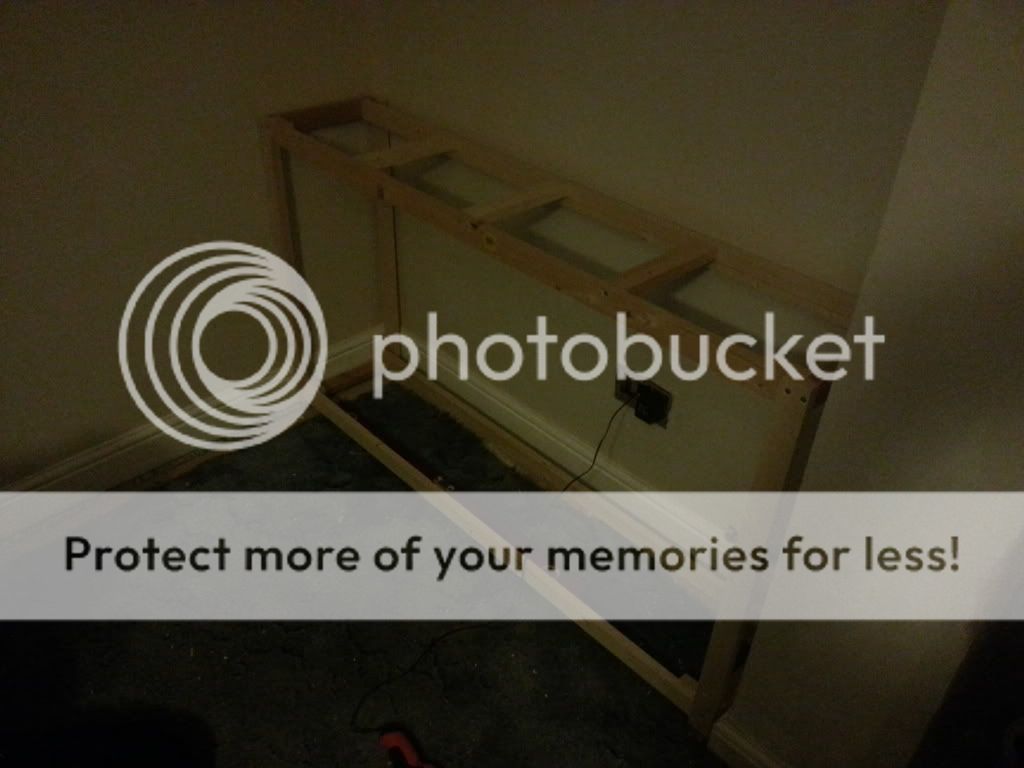
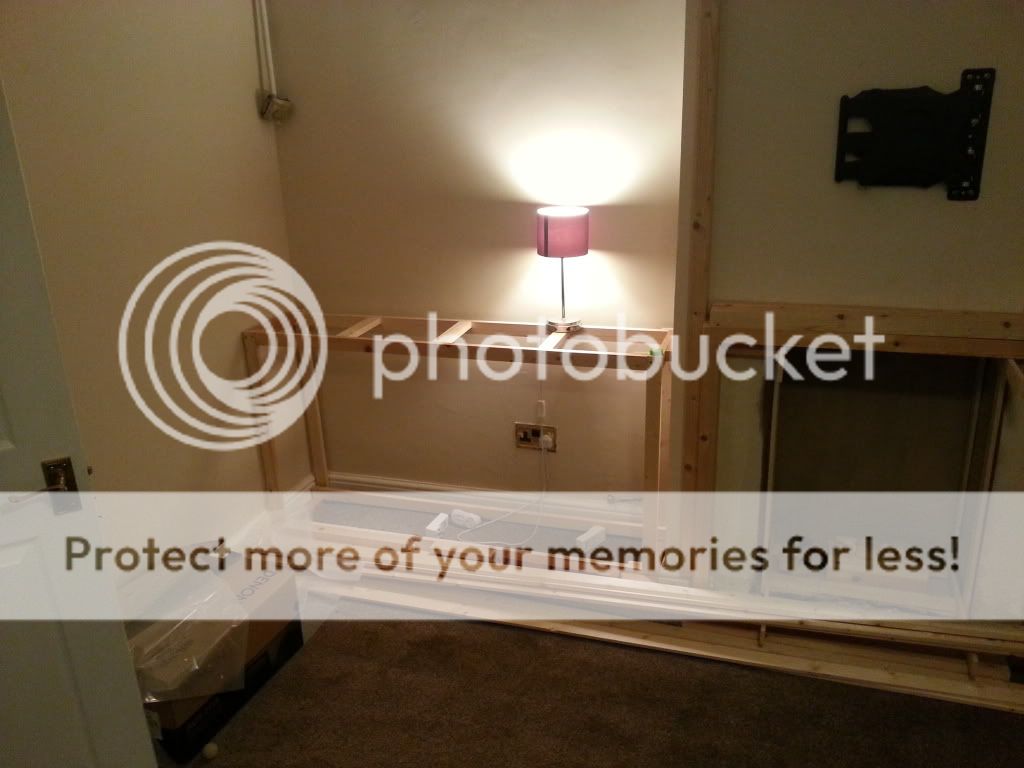
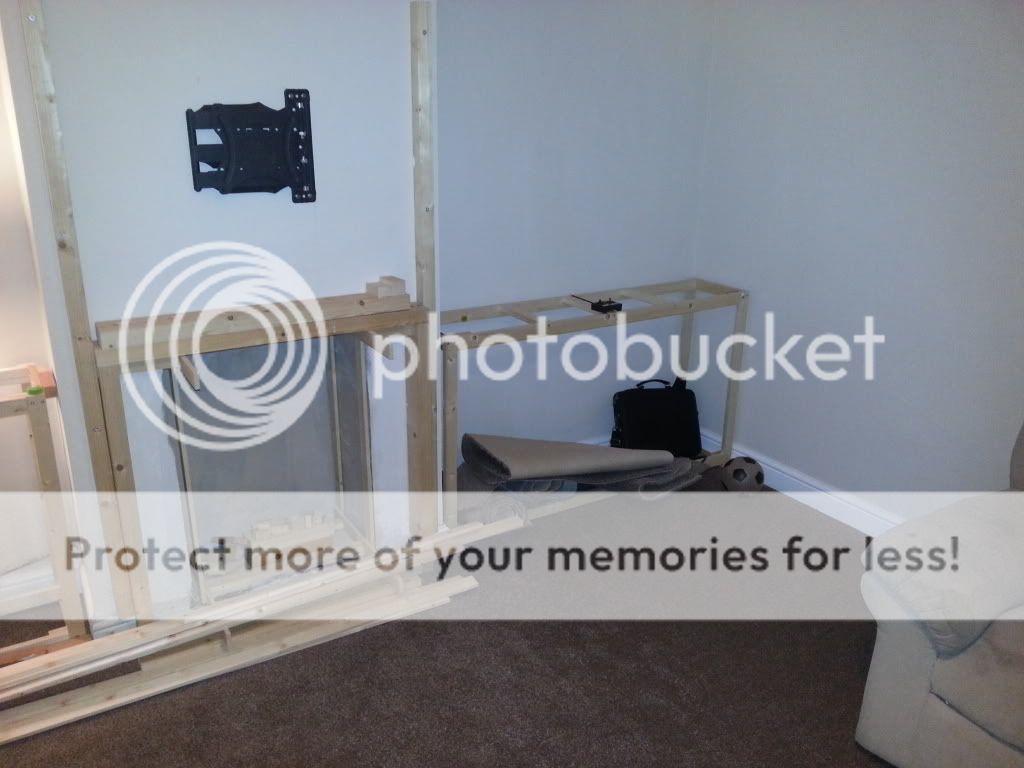
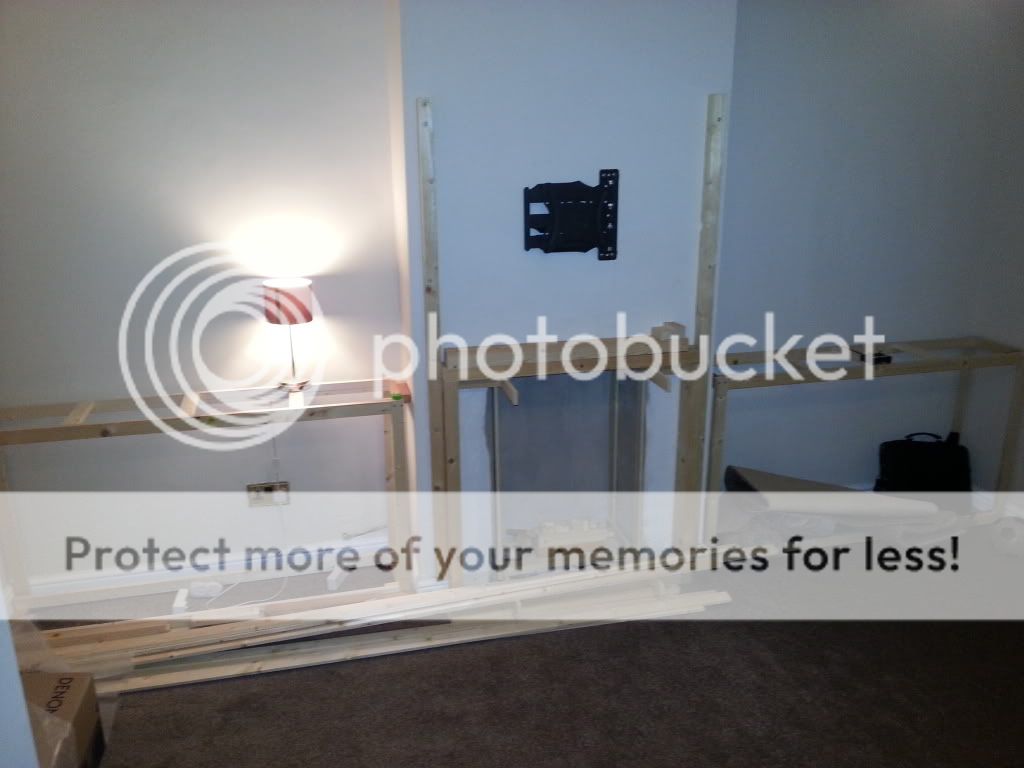
This weekend just gone, more work was done this time we built up the framework for the fireplace which will attach to the false wall and will hold the shelves which will house the av equipment.

We also fitted the slim mount wall bracket and began the framework for the false wall front.

20131102_170727_zps47f8bc61.jpg


20131102_170733_zpsa32e16cd.jpg


20131102_170739_zps490d11a3.jpg


The room is already looking a lot better than it did, the clean walls and the much nicer carpet have made the world of difference!

There is still a lot of work to be done on the cupboards, false wall and shelves, which we would love to have fininshed before christmas but it's hard to find time with the little boy about, and at a time when we can call upon my parents to help as they have years of diy experience to call upon!
 
Looking good, making progress, ceiling came up well.

I noticed you also have a ridiculously long radiator in front room, had one in the bedroom 2400mm long & 600mm high, took three of us to get it down the stairs, so heavy.

Yeah, it is a huge radiator and mainly just heats the back of the sofa. In an ideal world I'd move it from under the window and onto the other wall so it wasn't behind the sofa but there are power sockets there so it's not very pratical to do so at the moment.
 
Back
Top Bottom