

You are using an out of date browser. It may not display this or other websites correctly.
You should upgrade or use an alternative browser.
You should upgrade or use an alternative browser.
Project : Obsidian Ruby
- Thread starter _lecro_
- Start date
More options
Thread starter's posts


Soldato
- Joined
- 3 Oct 2009
- Posts
- 19,896
- Location
- Wales
Love these builds, good luck with it
Love these builds, good luck with it
+1 to that, can't wait to see more pics

heres a few ..
Gonna start the build proper next week while im on holiday
must remember to by a load of batteries for my cam


PSU sticker is in red as per previous pics but not perfect.
hopefully getting a better version done soon

Heatkiller with Bitspower matt black fittings,

Gonna start the build proper next week while im on holiday
must remember to by a load of batteries for my cam


PSU sticker is in red as per previous pics but not perfect.
hopefully getting a better version done soon

Heatkiller with Bitspower matt black fittings,

Last edited:
Associate
- Joined
- 22 Feb 2010
- Posts
- 1,088
cant wait for an update! looks good so far (Y)
Same here, I do love case logs<3
Maybe post the pics on the forums tho lol, *currently has 8 tabs open*
Well yea can please some of the people some of the time but .....
Ive done it like that so people can have a full size image of only the bits there interested in, instead of a huge page full of images that take ages to load..
Plus it stops stupid people quoting the huge images
")
Next installment
£300 quid of perfectly good gpu


£300 quid pile of bits !

Painfully tedious thermal pad application

Ready for action

Some big pictures !!
I think the Admin should add a resize mod to this forum so they can be a manageable size . then go full size when clicked </rant>
Did have a bit of an accident with a scalpel,
a bit of paint should cure it though.
Did a bit of a colour change on the NB fan looked a bit tacky in clear plastic.
Hopefully ill get round to doing the leak test tomozz
So far so good. Regarding the pics, just download Irfanview and batch resize them all to have the longest side 1024px. Will still be big enough to show the detail, but will fit well on the site.
To do them in a batch is simple...
1 - File>Batch Conversion
2 - Press 'Advanced'
3 - Set 'long side to' 1024 px in RESIZE
4 - Select which images to resize and press 'Add'
5 - Make sure to set an output directory
6 - Press Start Batch
The next time you use the batch feature in Irfanview it will automically default to the previously used settings, so you won't have to change anything and you can miss out steps 2-5
Good point m8 and i do respect your thoughts but i really cant be arsed to DL new software to alter something an admin could do in seconds just by uploading a MOD to the site.
Anyway new pics.. BIG .. to keep peeps happy lol


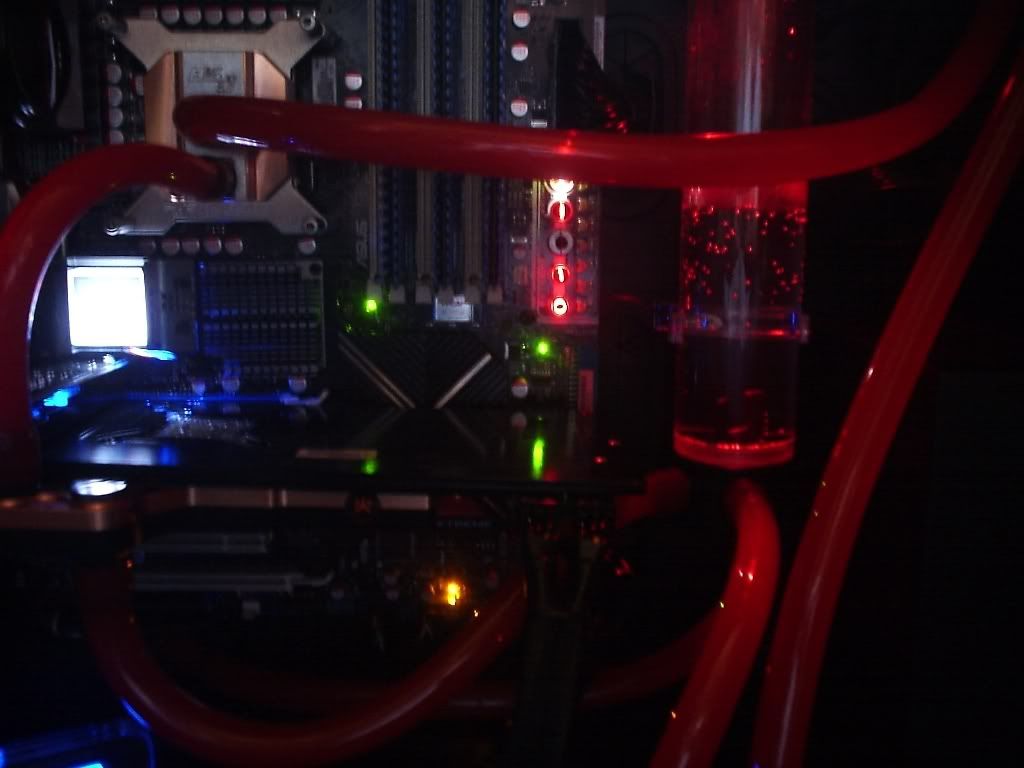
ITS ALIVEEEE... MUHHaaaaa
HER LIFE BLOOD FLOWS


Anyway new pics.. BIG .. to keep peeps happy lol
ITS ALIVEEEE... MUHHaaaaa
HER LIFE BLOOD FLOWS
Last edited:
Respect everyone's thoughts and resize the images. I for one love looking at build pics, but I couldn't care less when they're this big.
+1. Even on my 1920x1080 screen, it's too big!


Associate
- Joined
- 25 Dec 2009
- Posts
- 2,044
- Location
- London, UK
nice..looking good =)
Thanks guys.
Its all but finished now just waiting for some drivers to stop the dual screen flicker and it will be perfect
.
Been running at 4ghz for the last month and cant fault it
Heres some final pics with the obligatory cable braiding and temp gauge/light switch fitted . The protective film is still on the front panel hence the shabby appearance but you cant really see it in normal conditions .