Project: Obsidiswap

Associate
Joined
4 Dec 2009
Posts
1,669
Location
Worcestershire
Sorry for the unimaginative name, I just can't think of anything else at the moment :p.

O.k. so back in January I decided to watercool my Lancool K62 rig (Project: Cool Dragon) and I had a bit of a nightmare. Leaks all over the place and broken 5850. Also, when I fired up the rig, I had the GPU temps I wanted but my CPU temps were actually higher than my Venomous-X I had had before :eek:

Therefore I have learned from my mistakes and have put my partial failure down to a few things. 1) I rushed it. I tried to do the whole thing on my own in 1 day and for a first time watercooler this was a bad move. 2) Lack of research. I thought a 280 slim rad would be fine for a CPU and GPU....I was wrong :( Also in order to use a bigger rad I would either mount it externally or buy a new case. I opted for the latter as I want a clean looking exterior.

Anyway, I did some thinking and earned a bit of money and have bought the following:

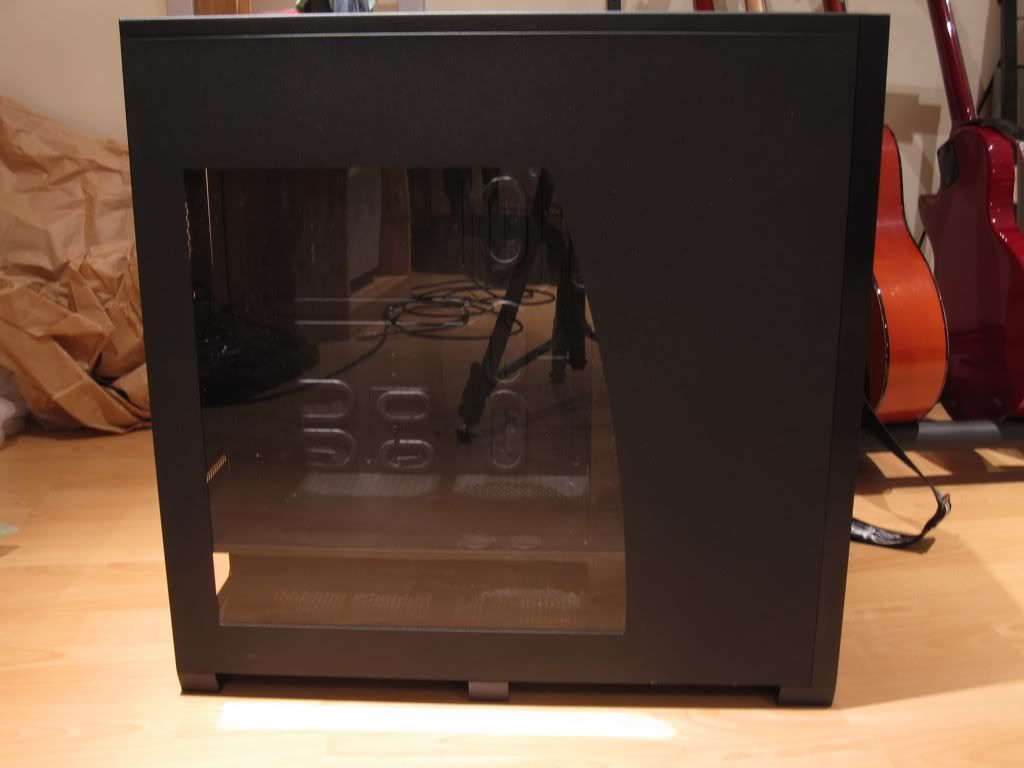
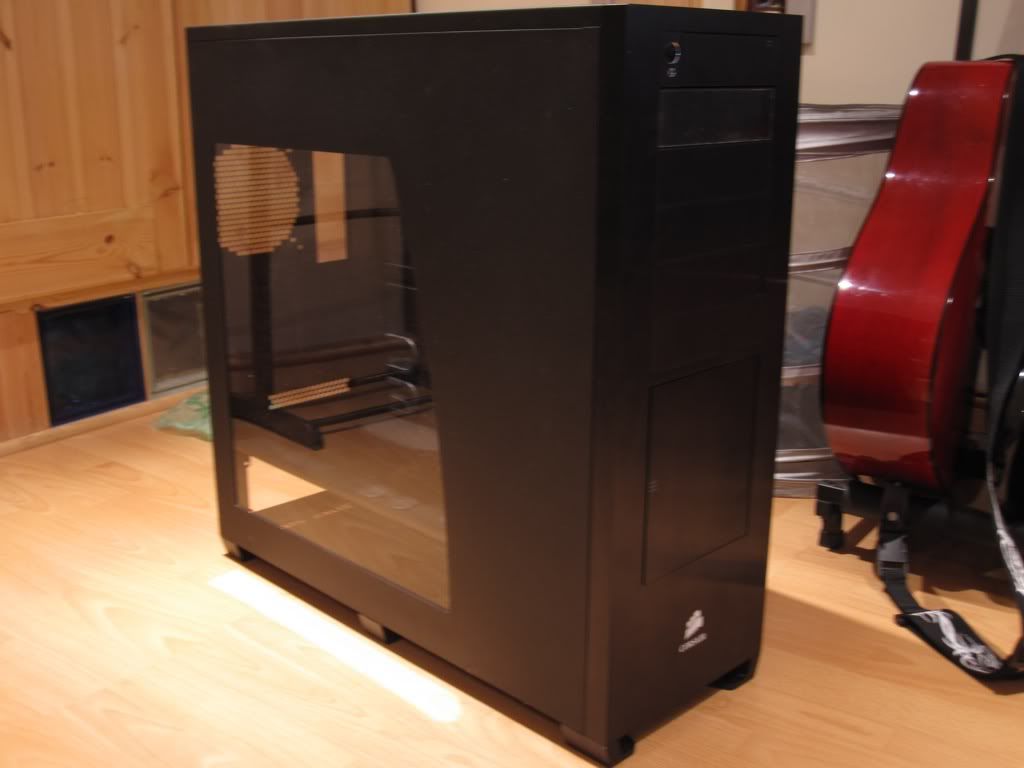
Corsair 800D (thanks to BringTheRain in the MM)

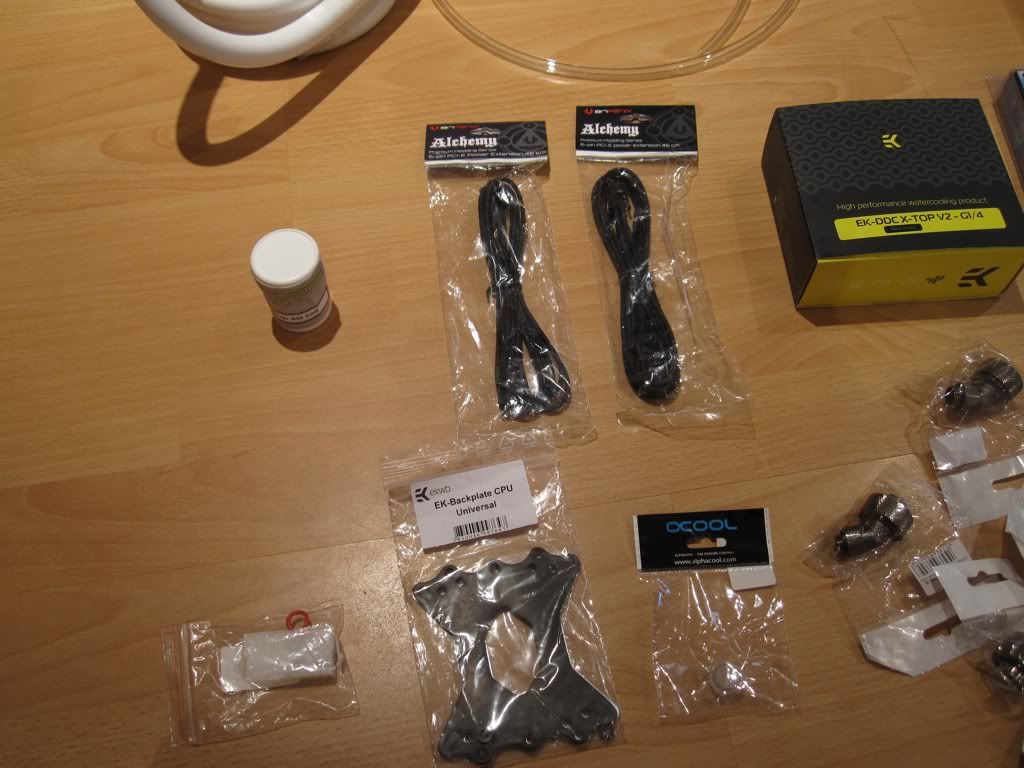
1x Black 1/2" compression fitting

3m White XPSC 1/2" tubing

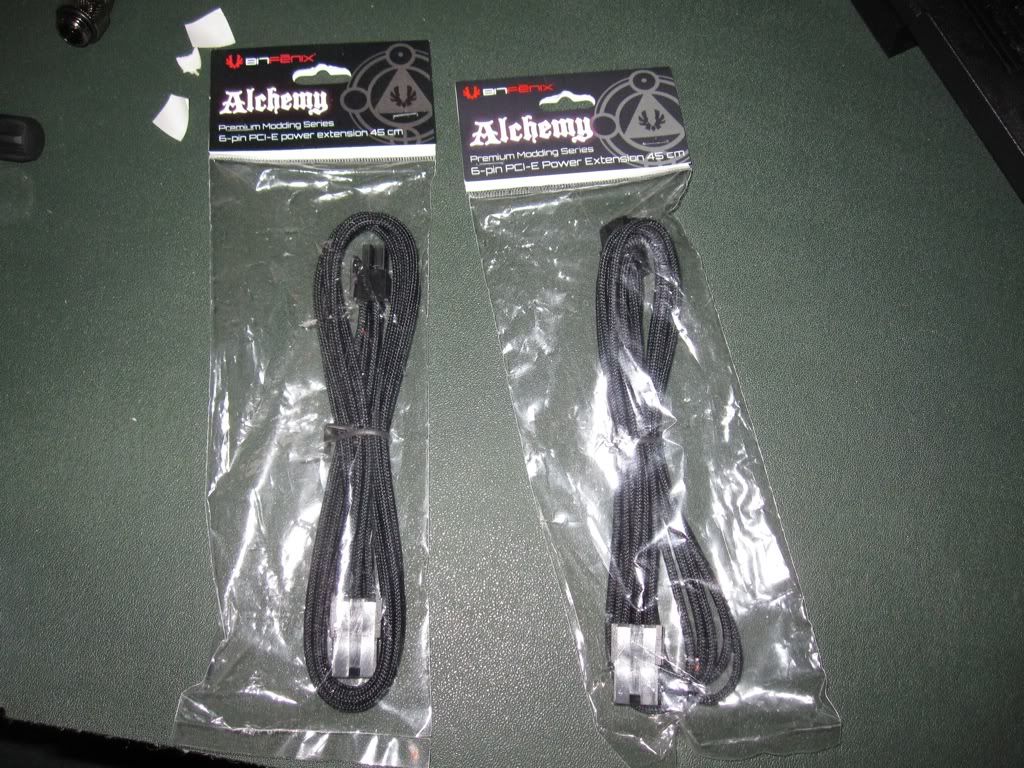
2x black bitfenix 6 pin PCIe extensions

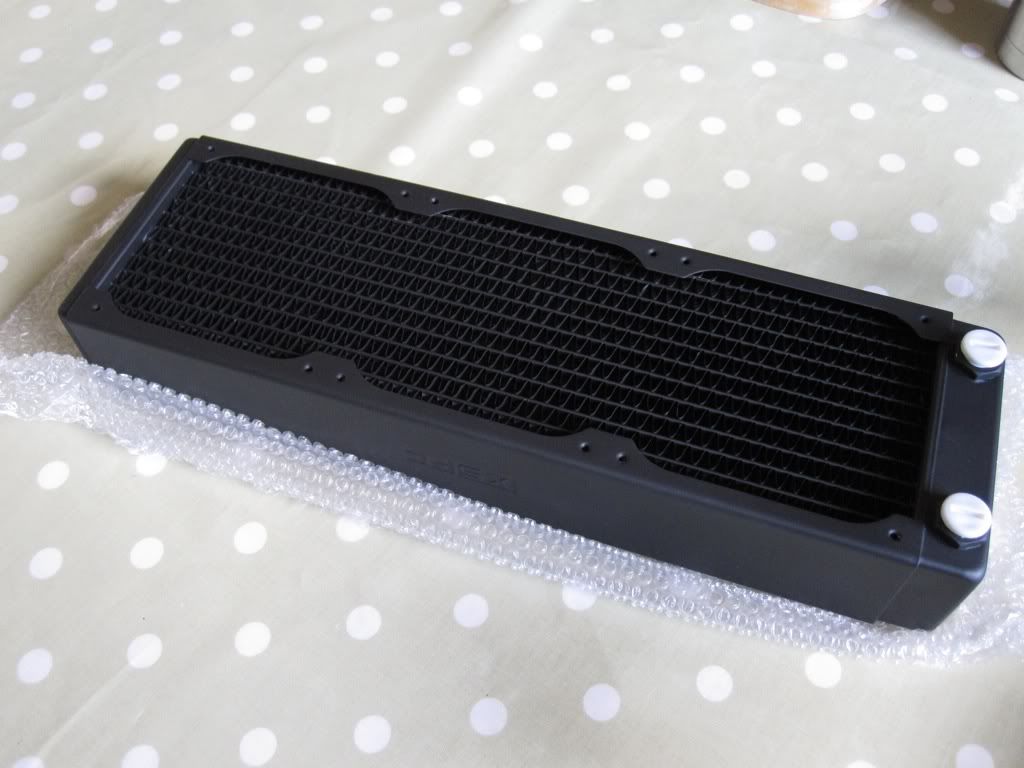
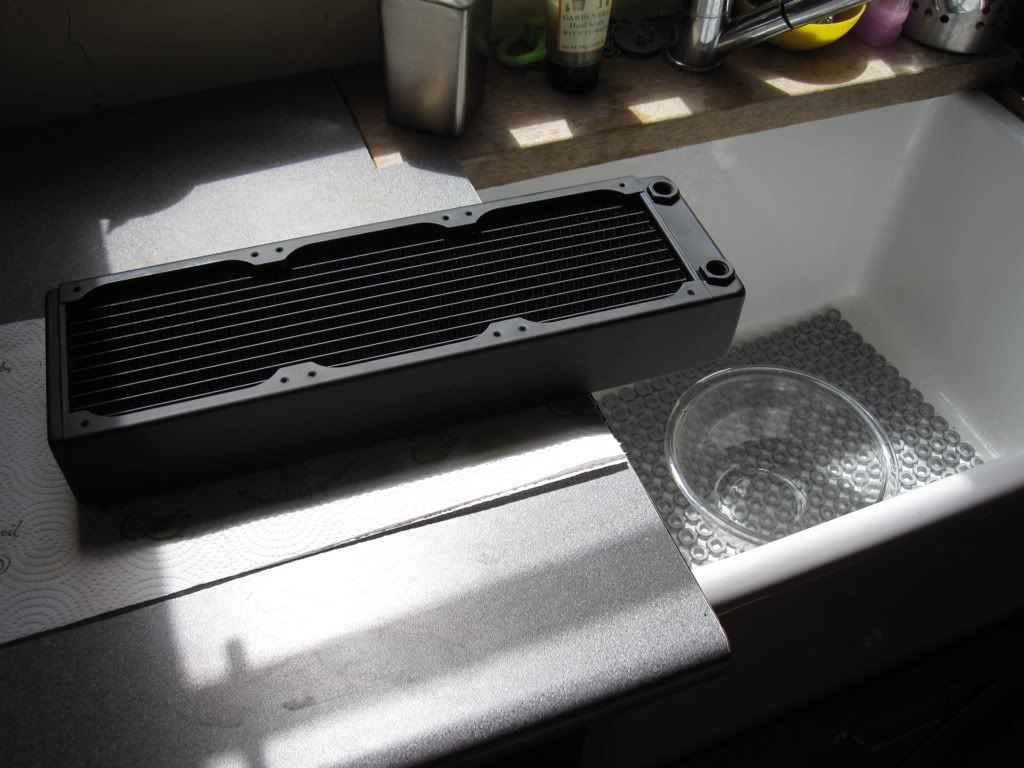
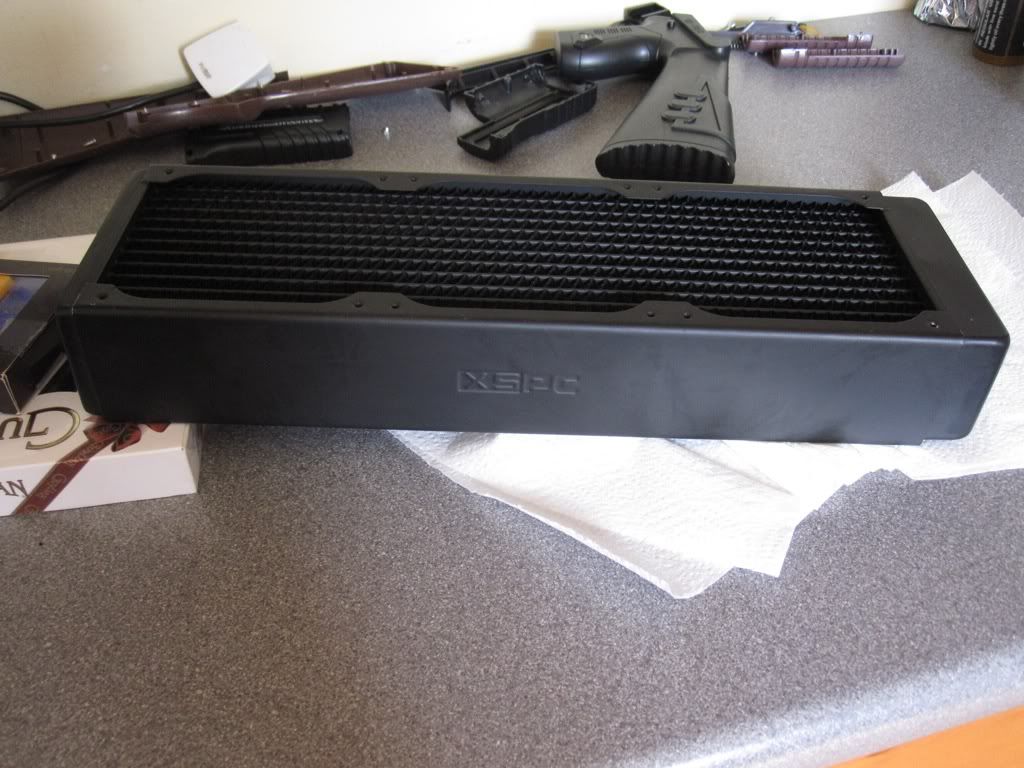
XSPC RX360 radiator

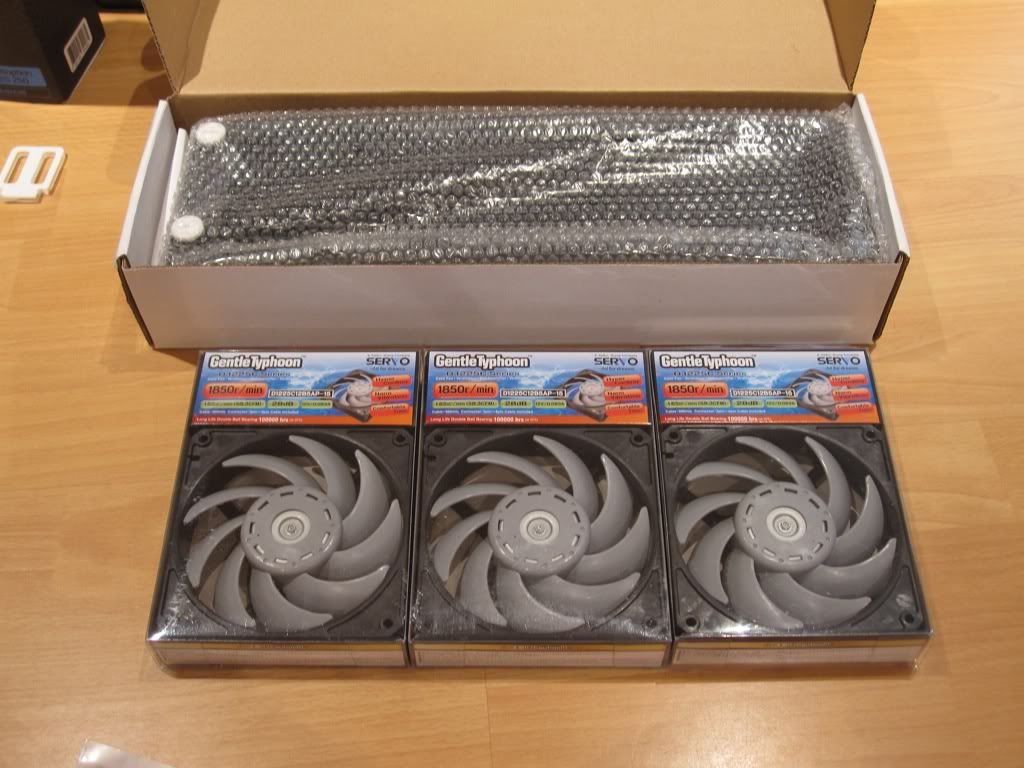
3x Scythe Gentle Typhoon 1850rpm

1x Silver Kill Coil

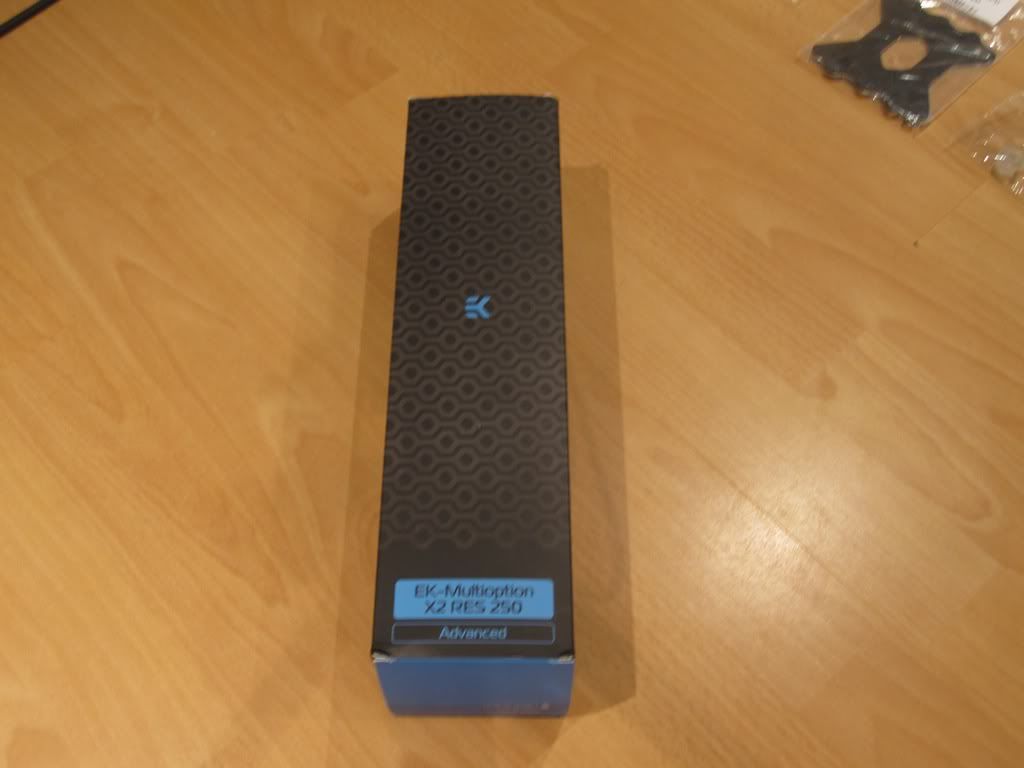
EK Multioption 250 Reservoir V2 Advanced

XSPC acetal pump top V3

LED Cap (basically a 1/4" plug but with space for an LED so I can use it in the res)

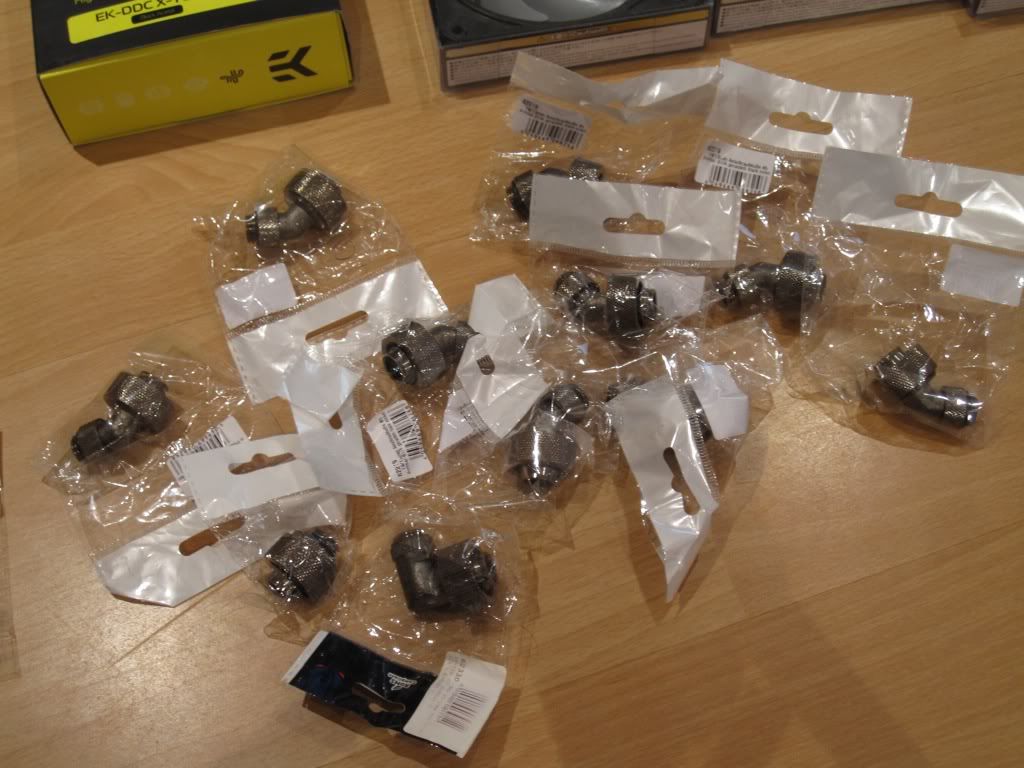
9x 45 Degree black 1/2" compression fittings

1x EK Anti-cyclon

PSU bridge Fpug (for jumpstarting the PSU as I find the paper clip really annoying :P)

8mm Tubing (for draining my current system)

CPU Backplate (my EK block never came with one so I have made do with my custom one. This was cheap so I though I might as well throw it in to my order )

90 degree 1/2" compression fitting.


This will be used with my EK Plexi Copper 5850 full cover block, my Laing DDC-1T and my EK Supreme LT AMD CPU block.


I will most likely start ripping my PC apart this weekend but here are some pics to get this going :D
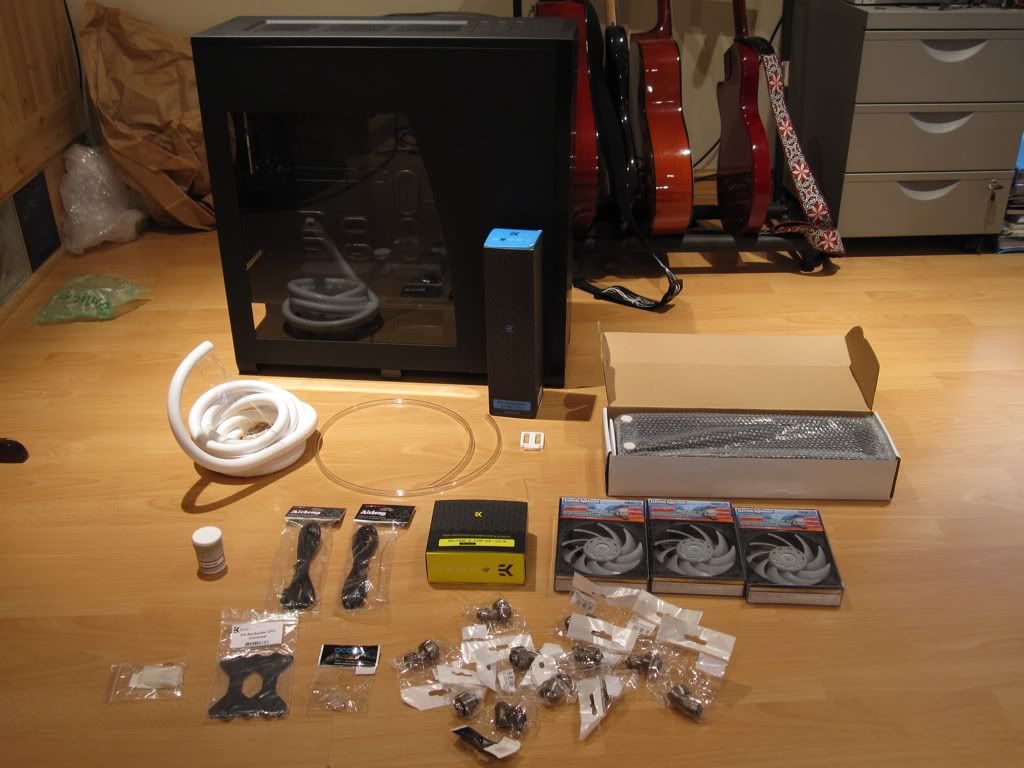
cadd8bc4.jpg


Lotsa Compressions :)
554bfc16.jpg


094d7a39.jpg


XSPC RX360 and my 2850rpm Gentle Typhoons
47bebe75.jpg


885ee00d.jpg


1df12870.jpg


10e20479.jpg
 
You still need airflow for water-cooling lmao :P.
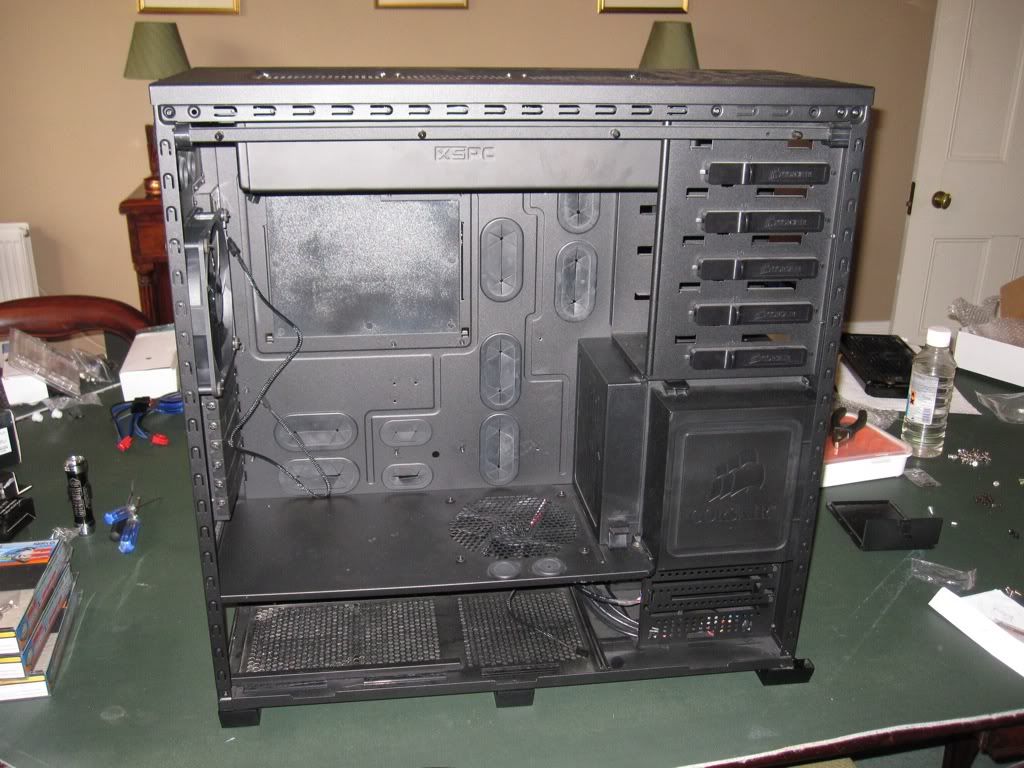
For watercooling this case is difficult to beat. Airflow is poor through the mid section of the case but I will have 3 scythe gentle typhoons drawing cool air across the rad and then a Noiseblocker PK-3 at the back removing the hot air so airflow won't be a problem. Also I will change the bottom 140mm fan to another Noiseblocker PK-3.
 
Update :)

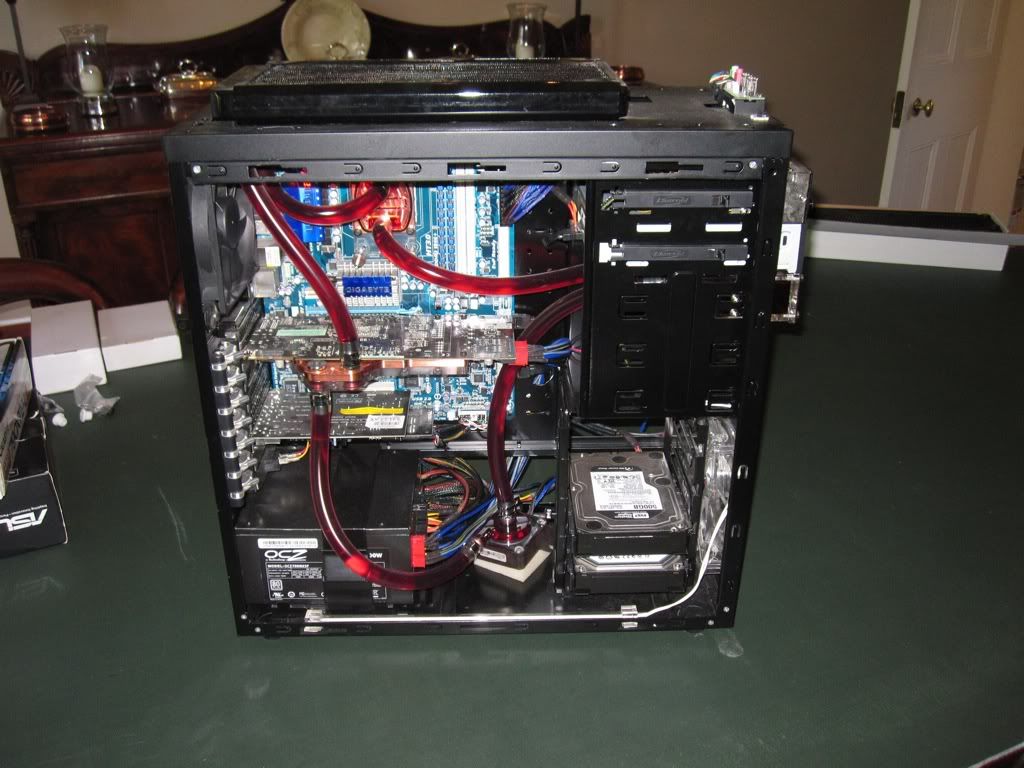
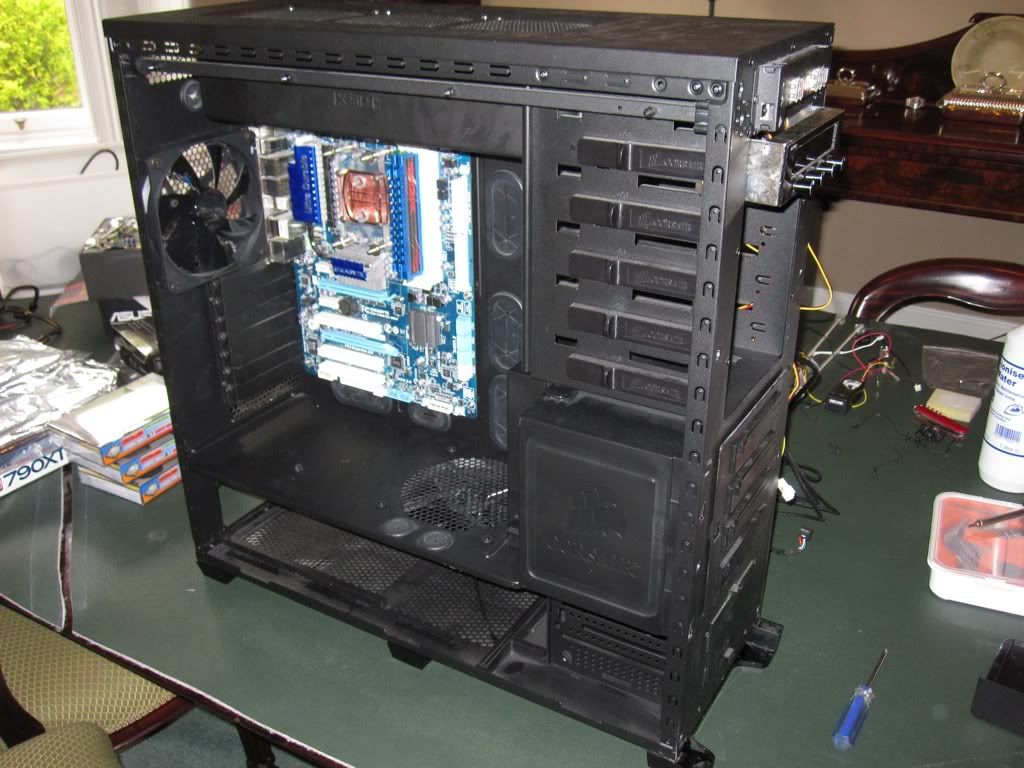
This is what my rig looks like at the moment....
ef2eee54.jpg


I stripped out as much as I could before draining just incase :)
6049179c.jpg


Ready to drain :)
9ce4d831.jpg


Drained
0a9deb56.jpg


c1bfb9f7.jpg


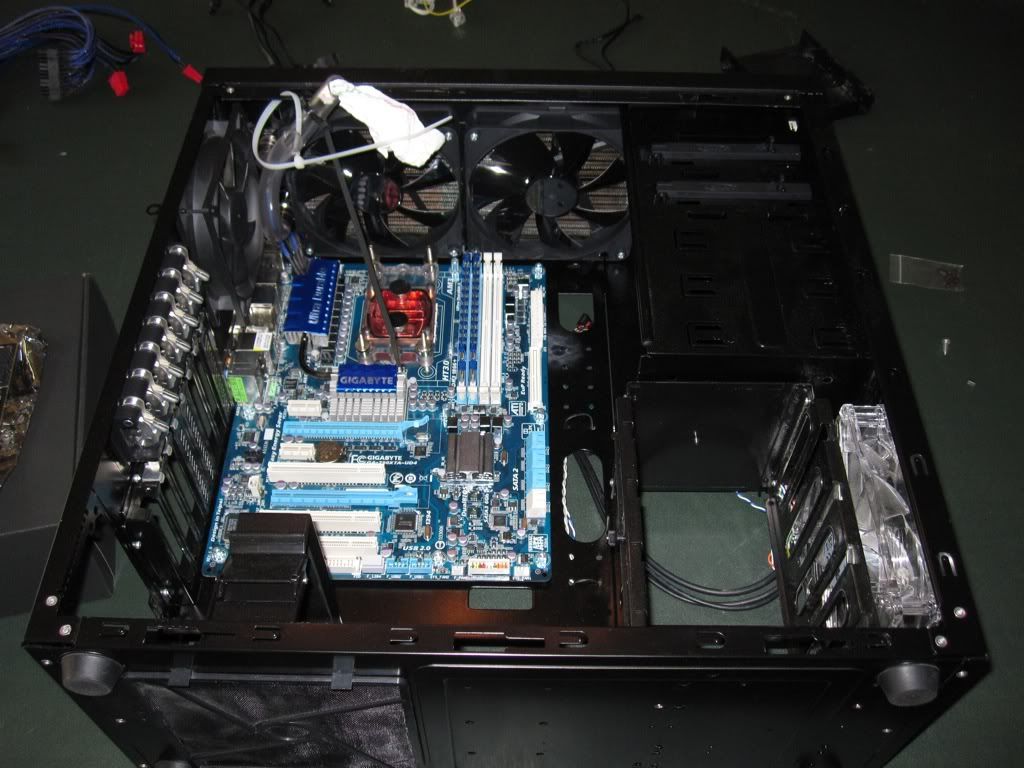
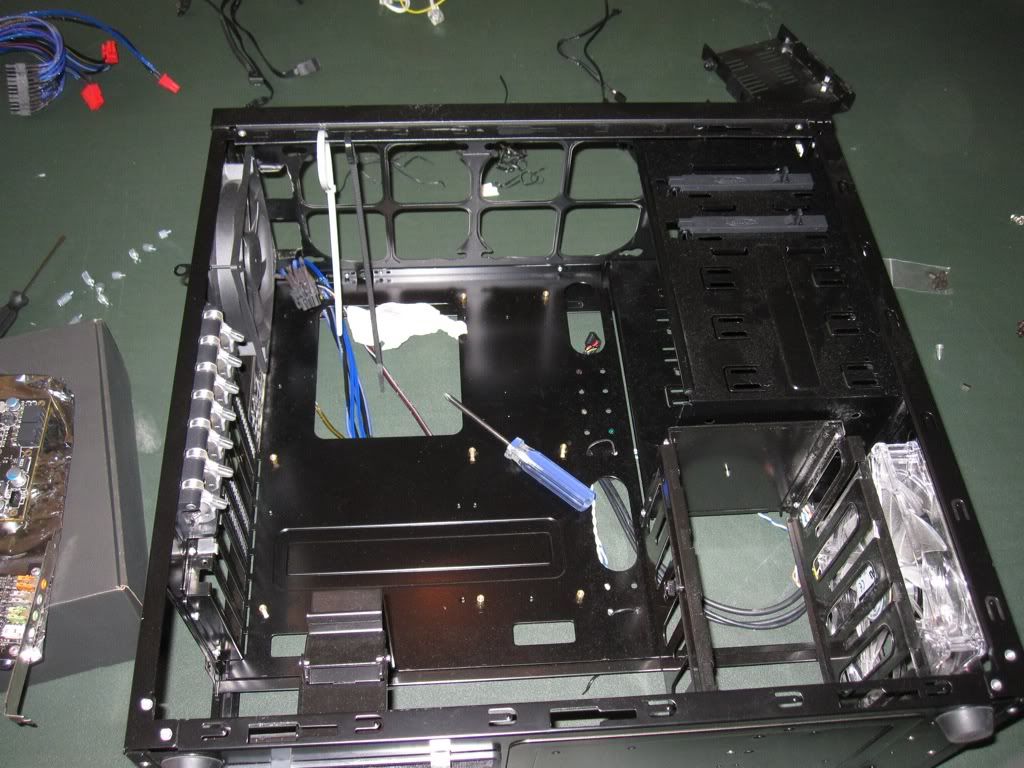
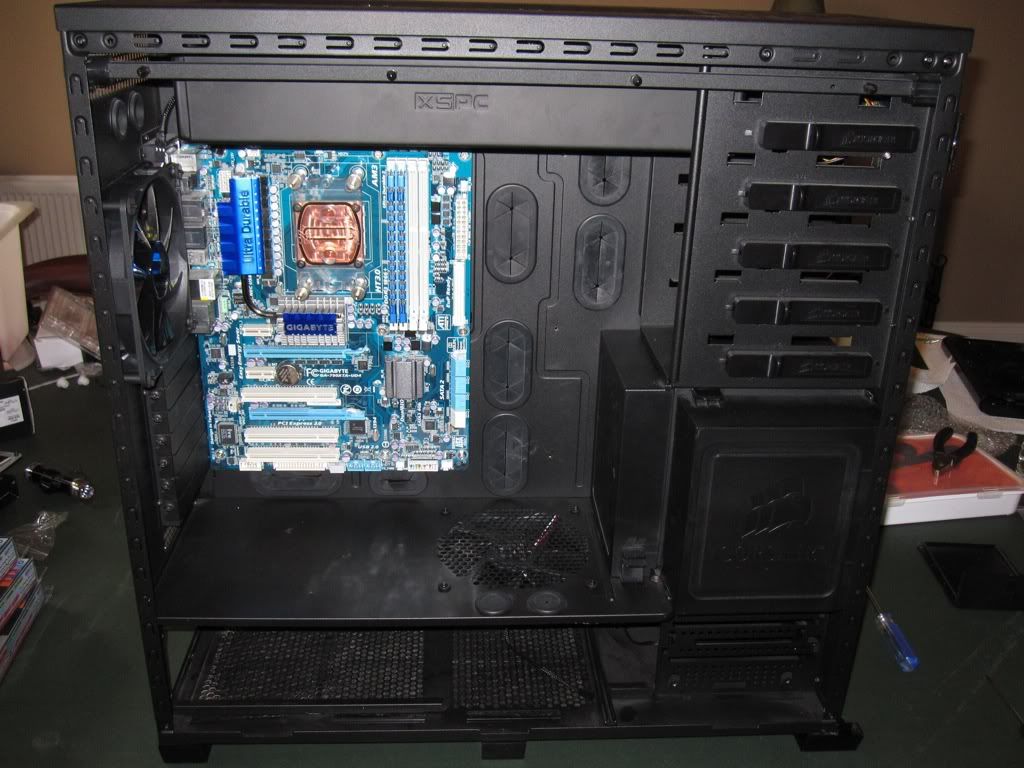
Empty K62 :)
130463d2.jpg


To drain I used a new method. I bought some really small tubing (8mm I think) and basically put one end over the nozzle of a bottle, squezed the bottle, then put the other end in the res. The suction power sucked the water out :) This method was a lot easier than what I did last time (tip the case all over the place lol).

More to come.....
 
Final update for today:

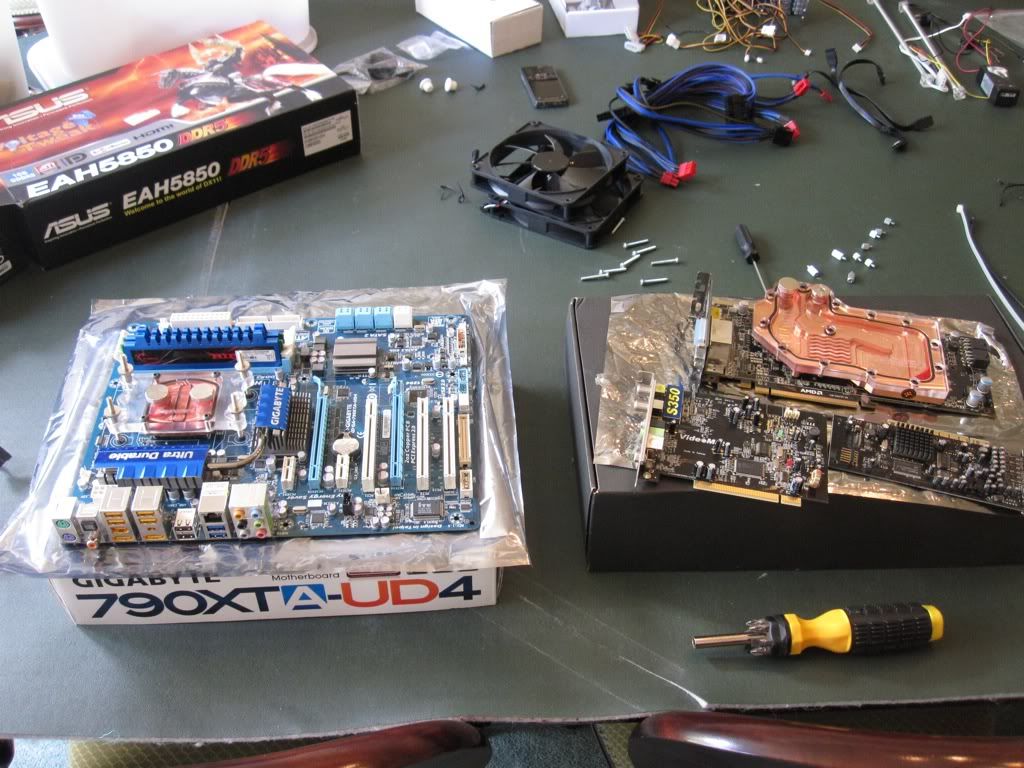
Components :D
5e4366a6.jpg


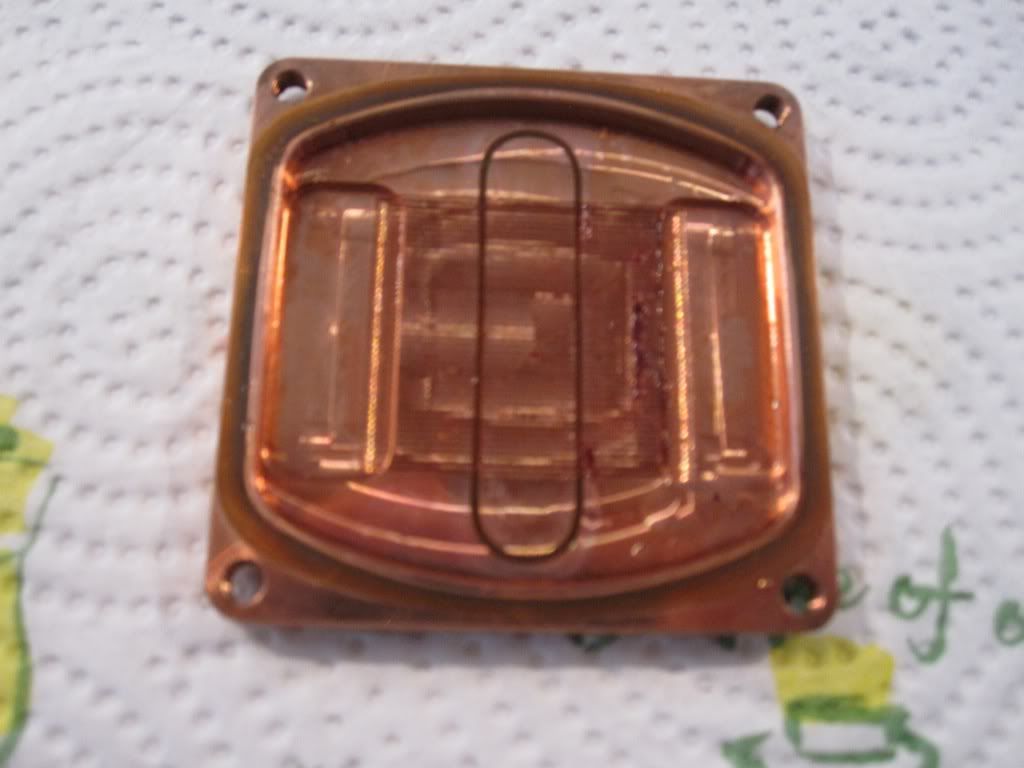
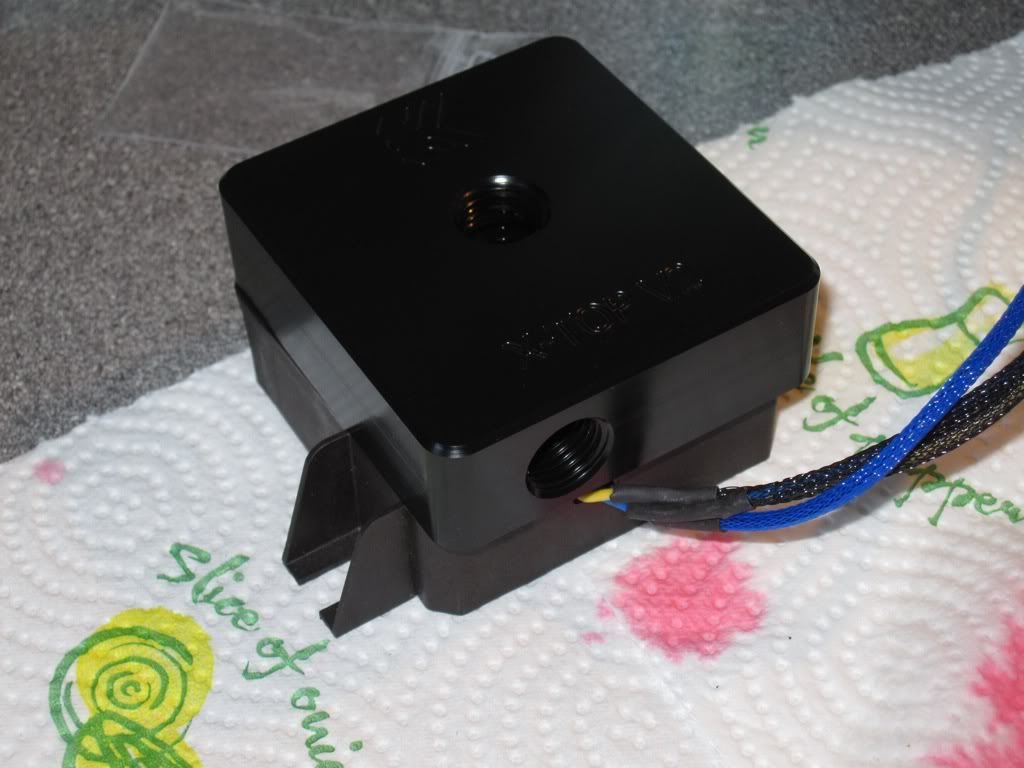
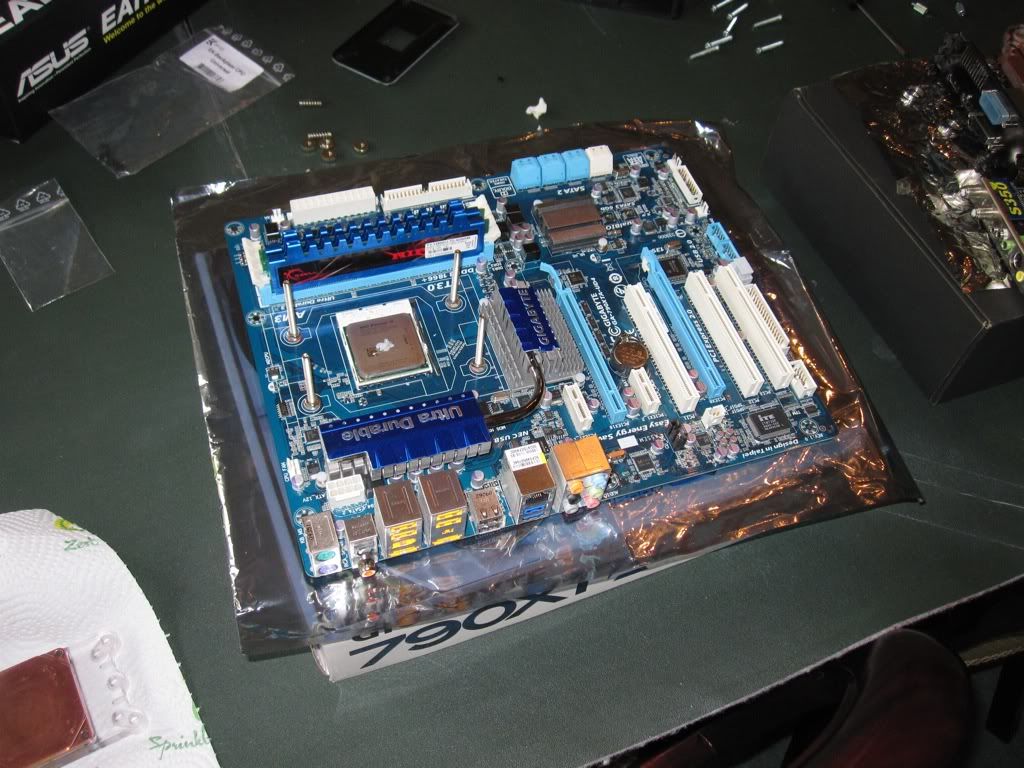
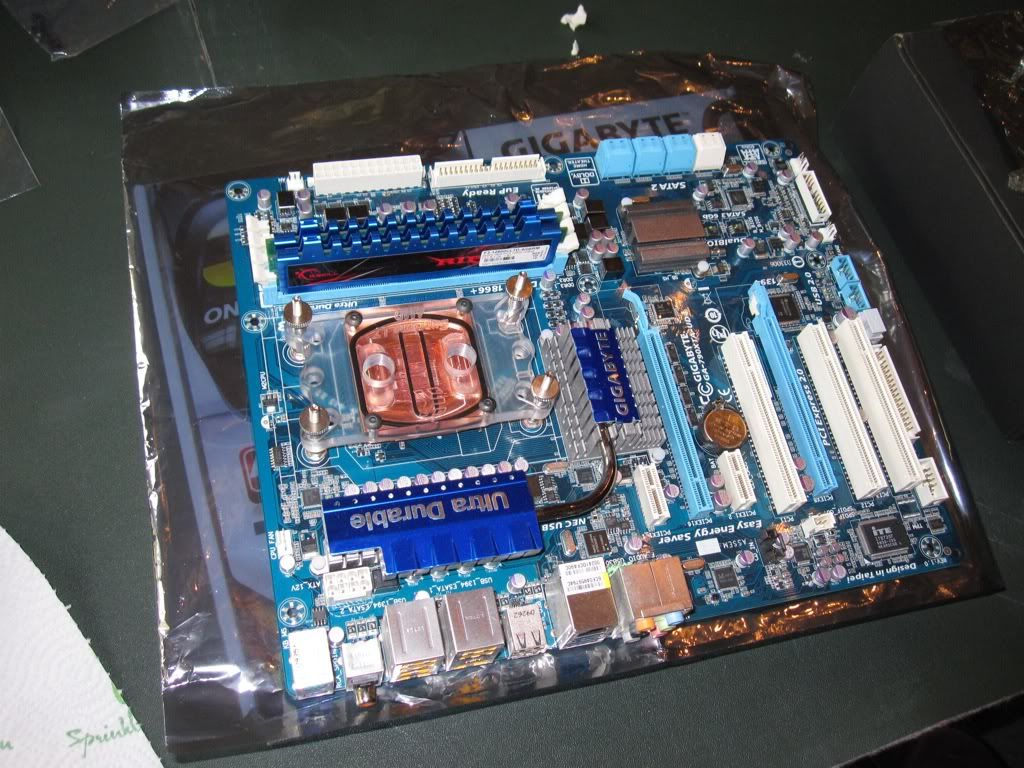
My CPU block was disgusting so I took it apart and gave it a clean. Sorry for the awful photo!
P.s. this photos was taken before cleaning.
7bf49756.jpg


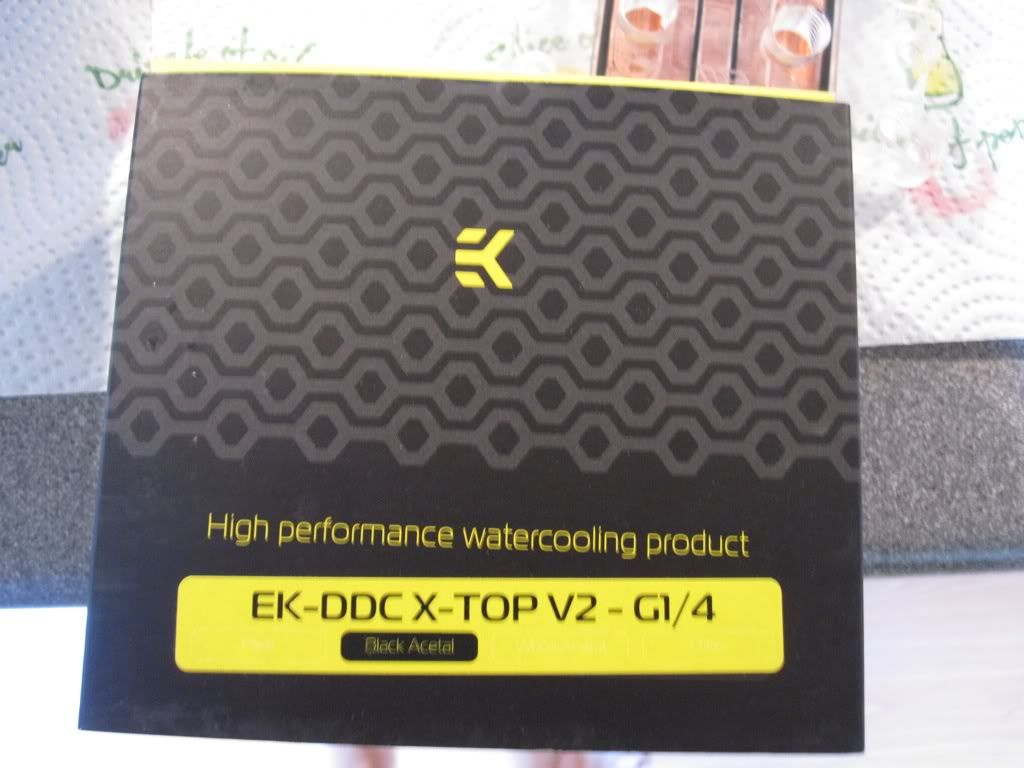
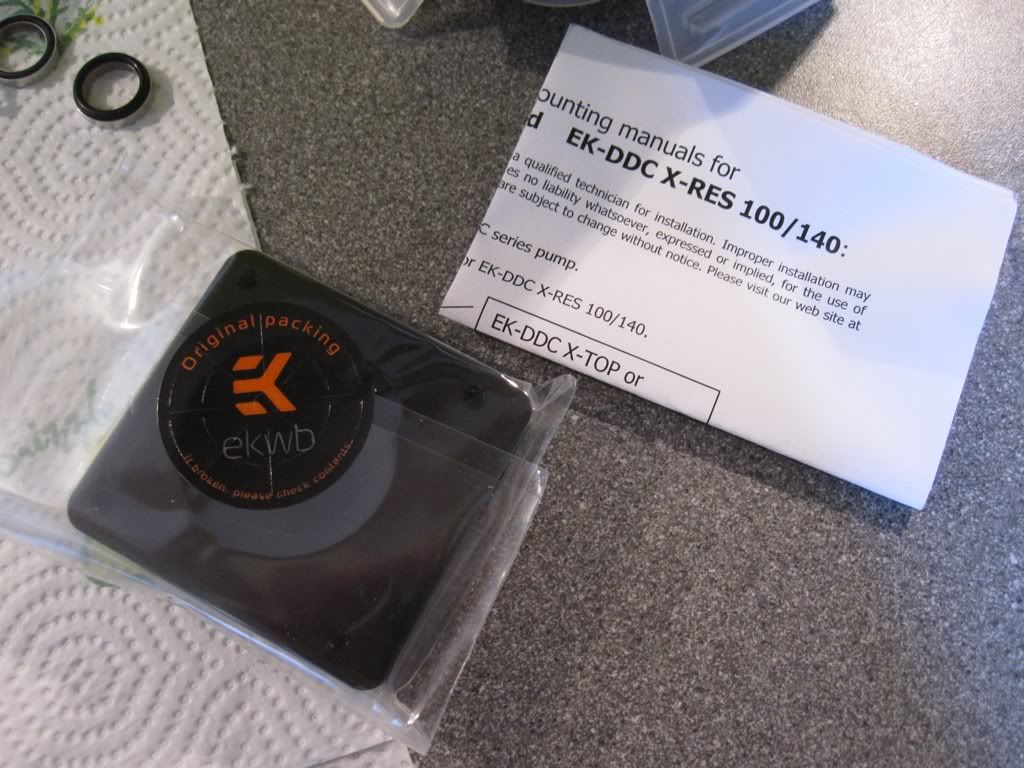
Gotta love EK packaging :)
58b4ed74.jpg


61cef5bd.jpg


Fitted
6653bbb8.jpg


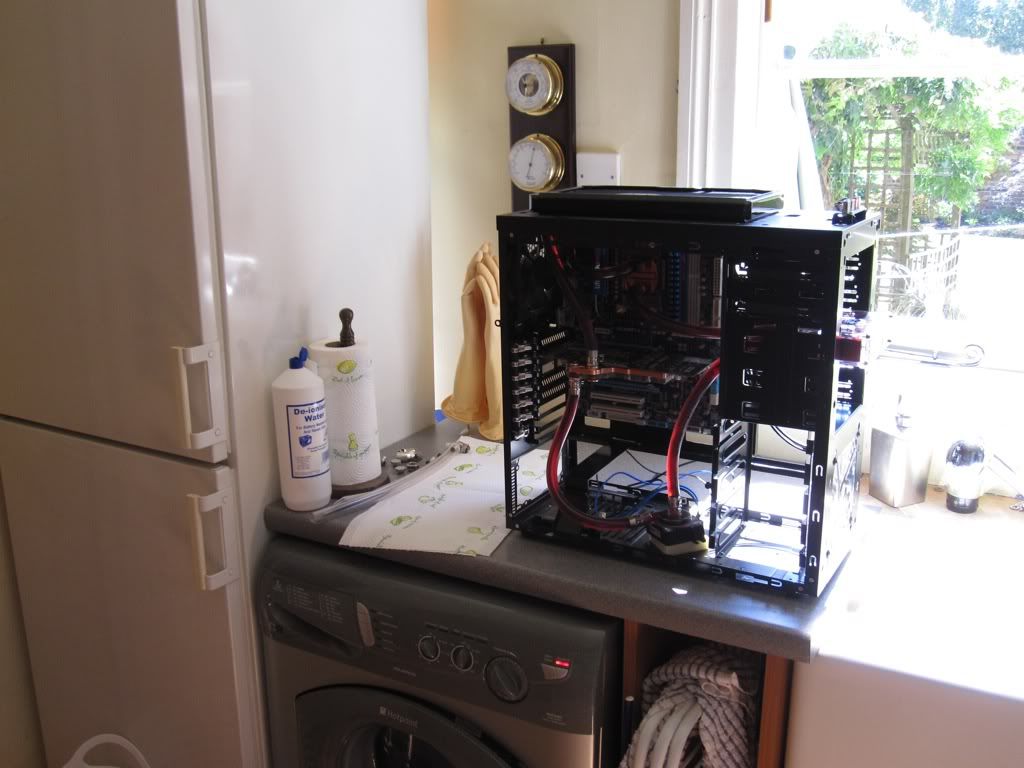
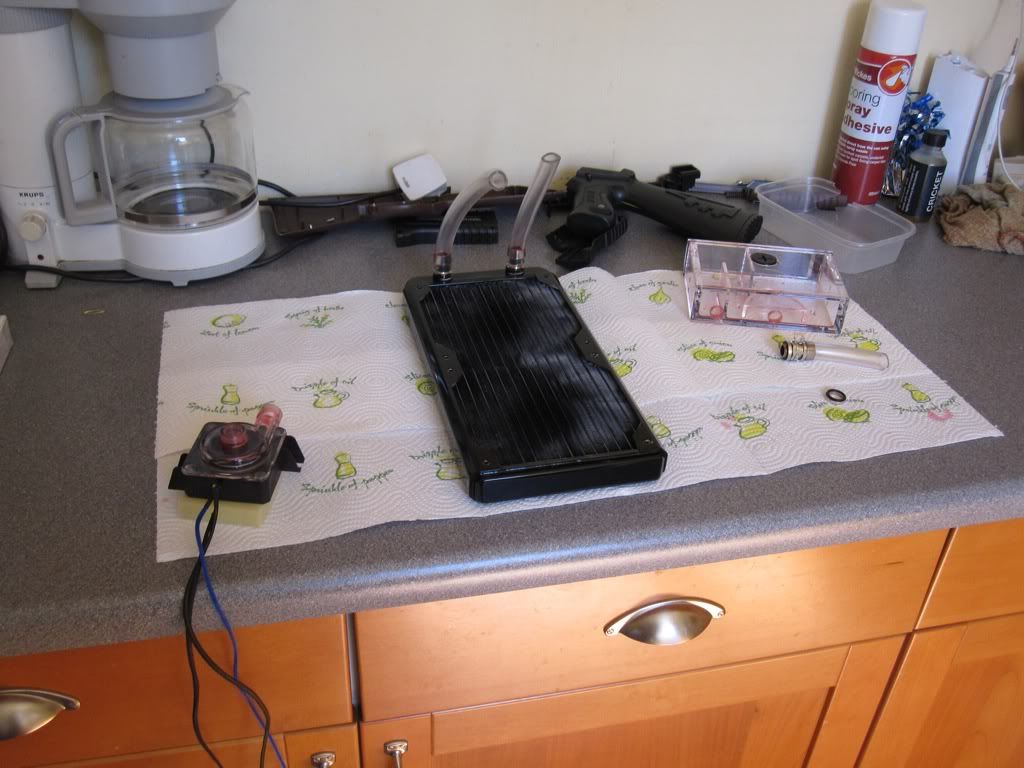
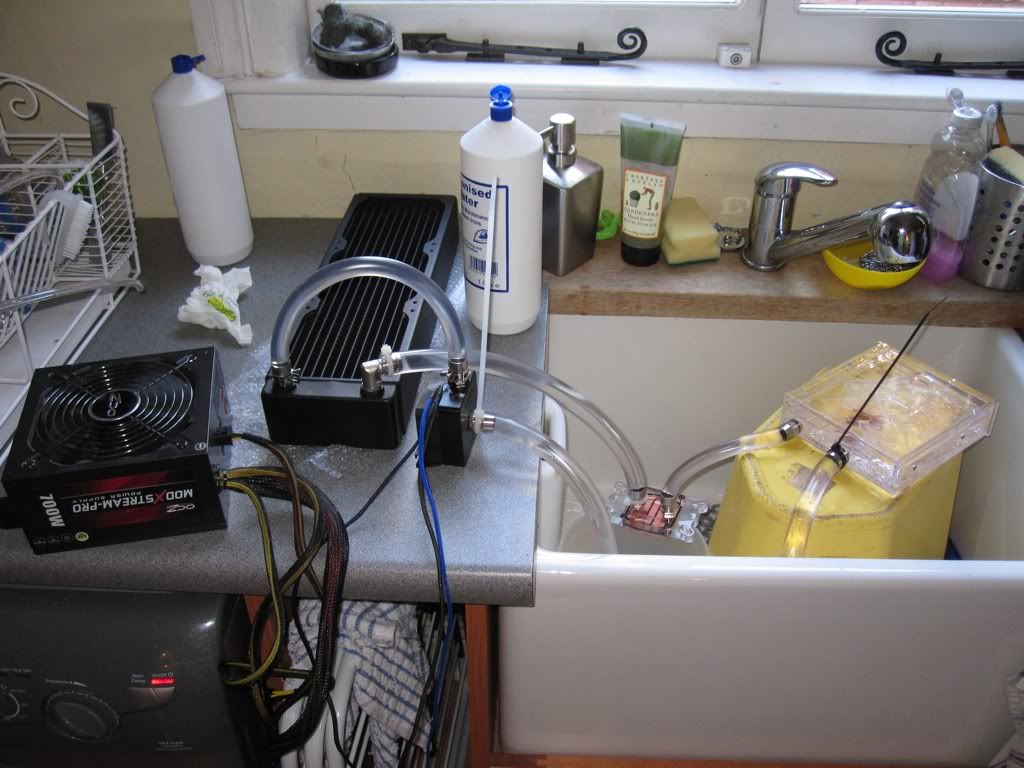
I build a loop with the rad, pump and CPU block to test for leaks. I had no leaks :)
1c3df0db.jpg


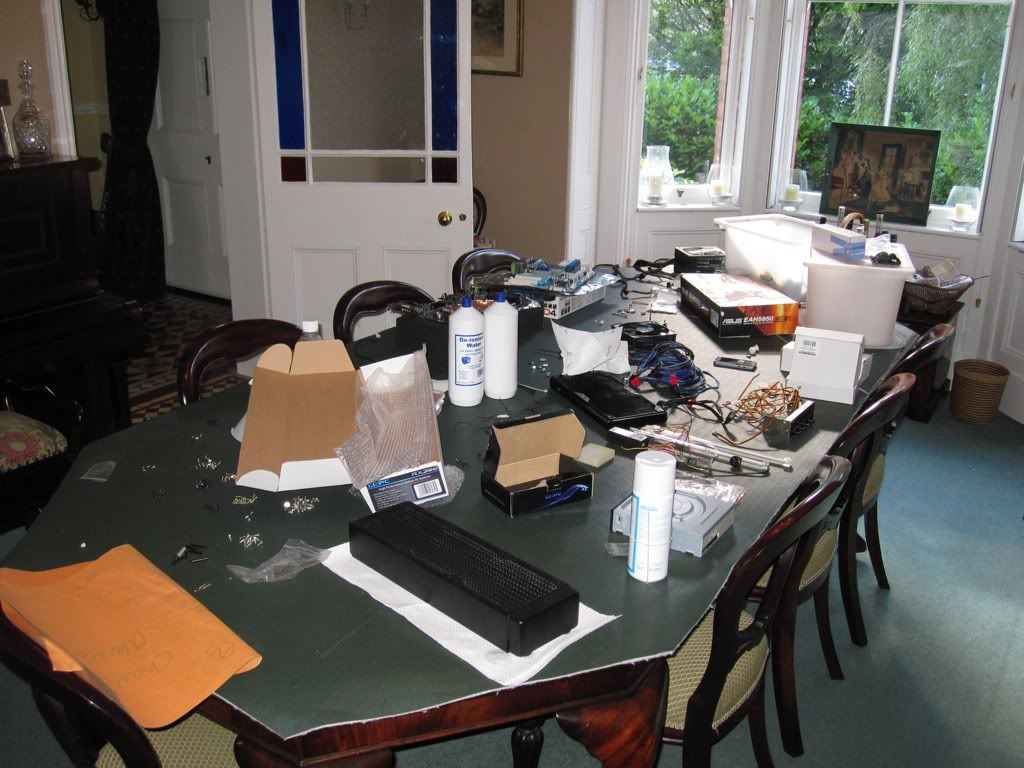
But on the down side, I have turned my dining room into a bomb site lol
72b48df8.jpg


More updates tomorrow :)
 
Looking good

Thanks :)

Update:

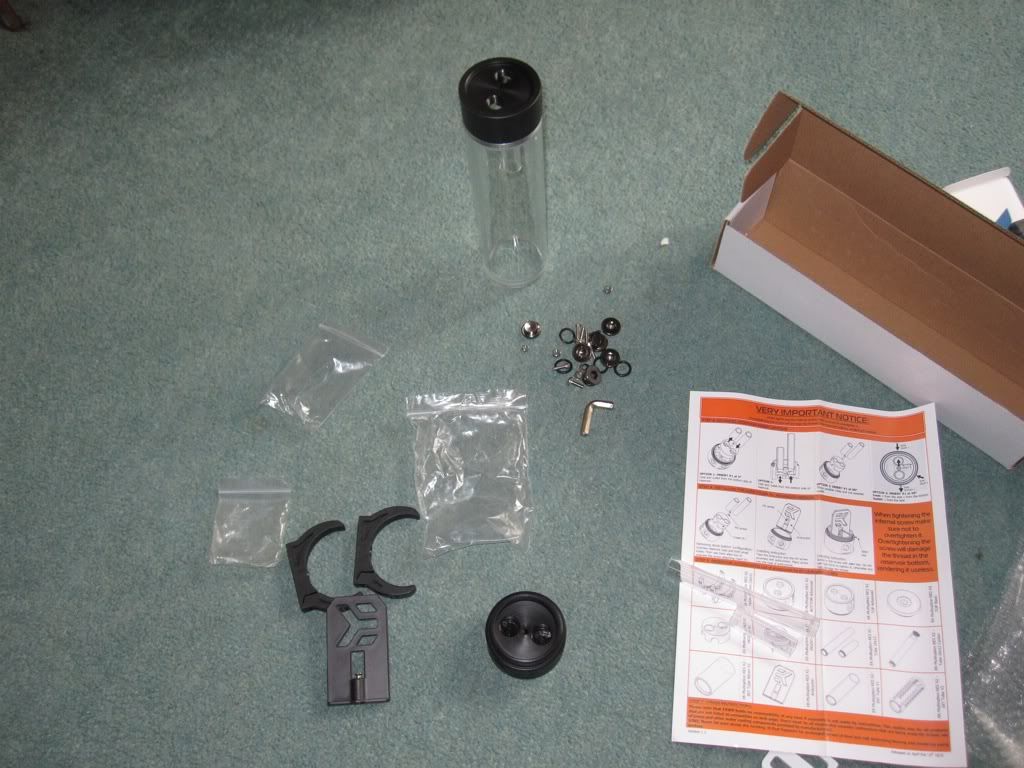
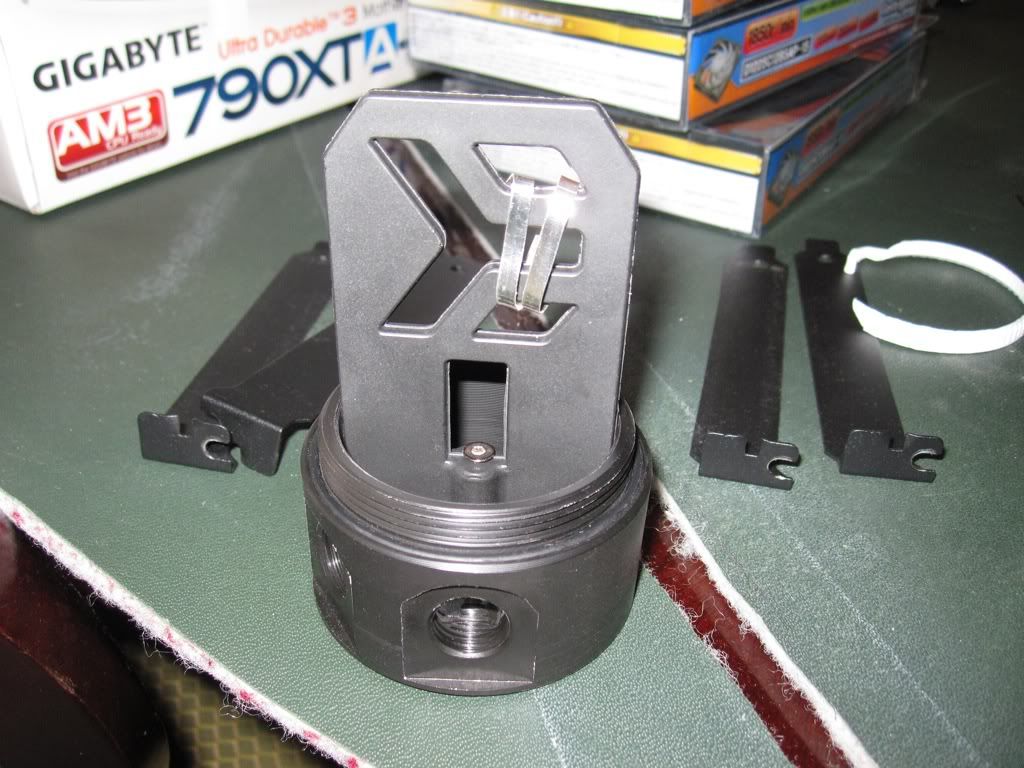
I opened the res
cc0c121c.jpg


Fitting the anti-cyclone and silver kill coil :)
b5ad212c.jpg


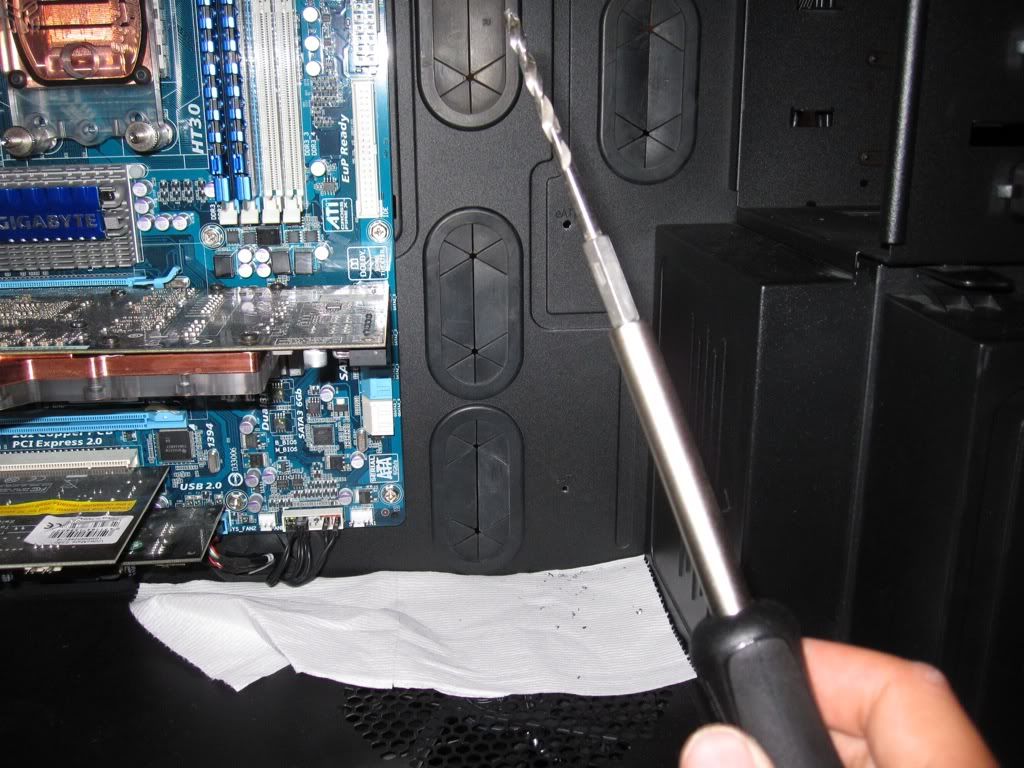
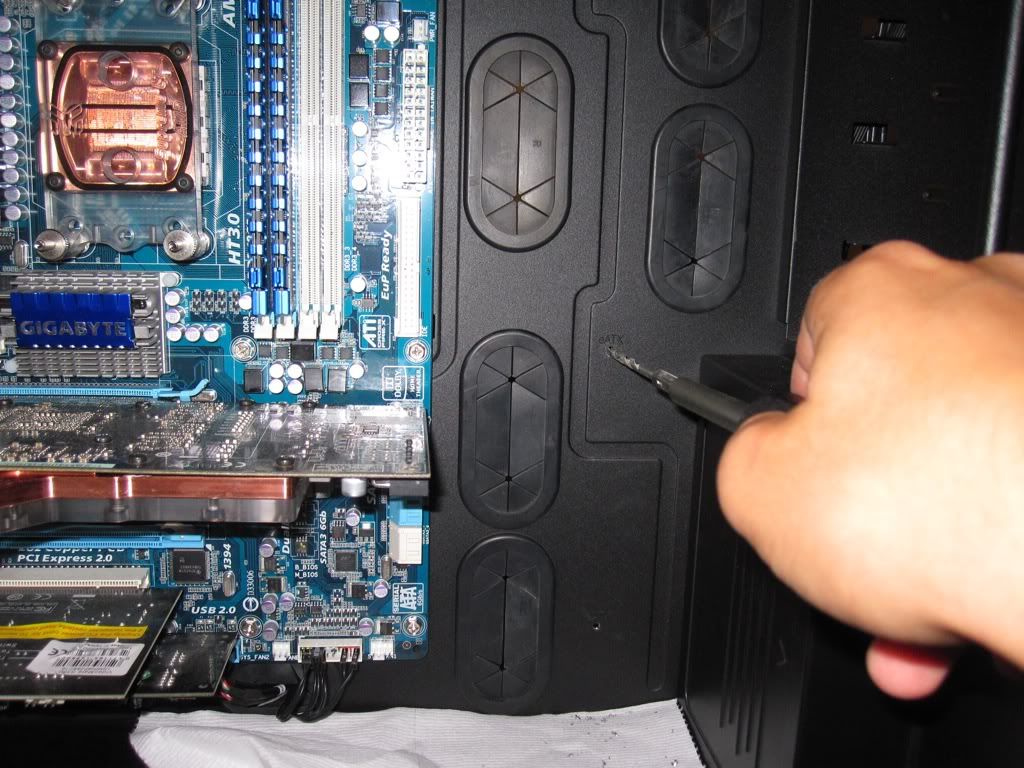
The EATX holes were too small to pass the res mounting screws through so I made them a little larger with my new screwdriver drill lol
9b10e0ec.jpg


e43b09da.jpg


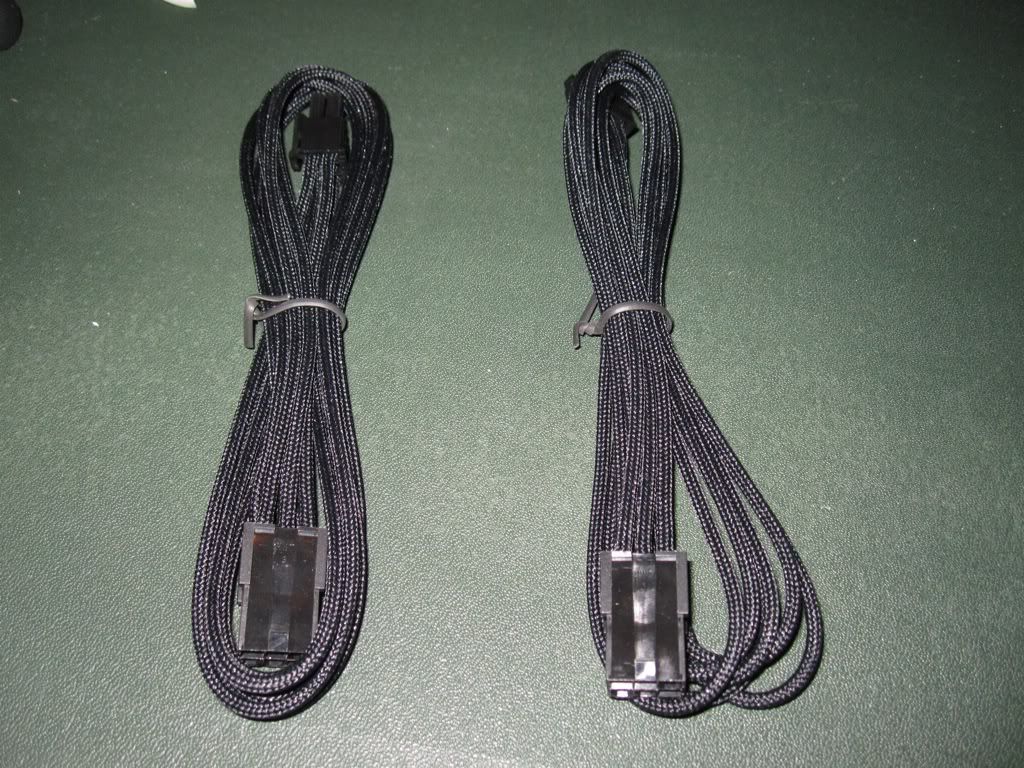
These are the two bitfenix alchemy GPU extensions I am using. They are brilliant! No heatshrink can be seen nor cable colours. Also, the braid is more of a cloth braid than a plastic one so in my opinion it looks less tacky :)
5a723854.jpg


97f4ed13.jpg


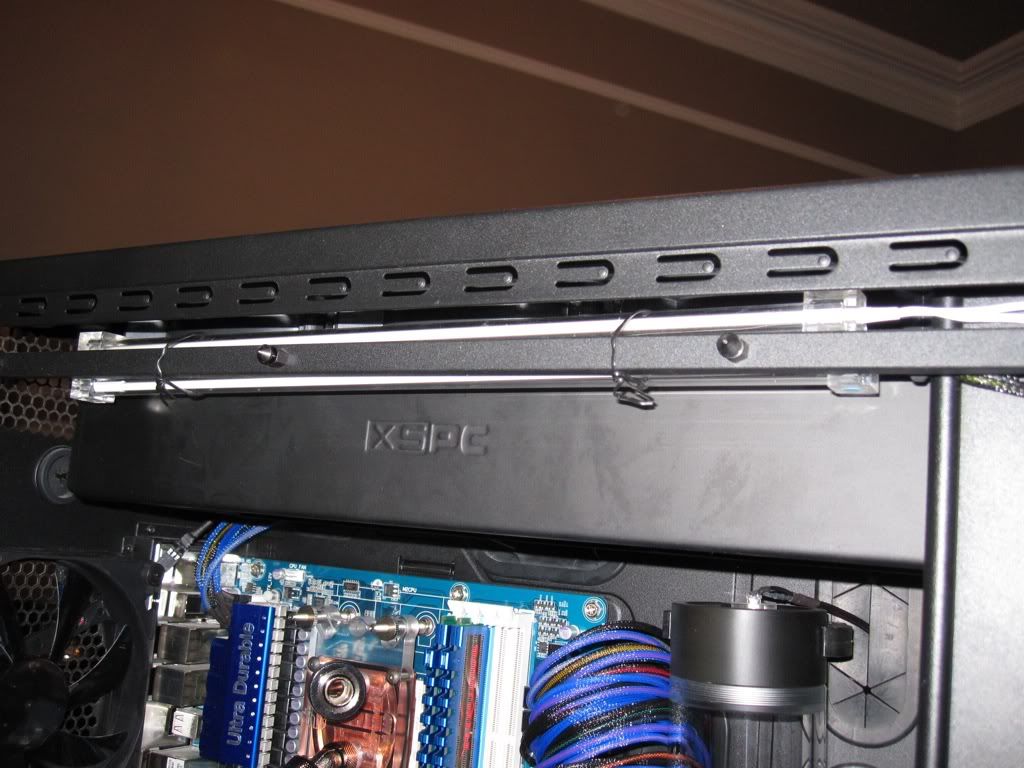
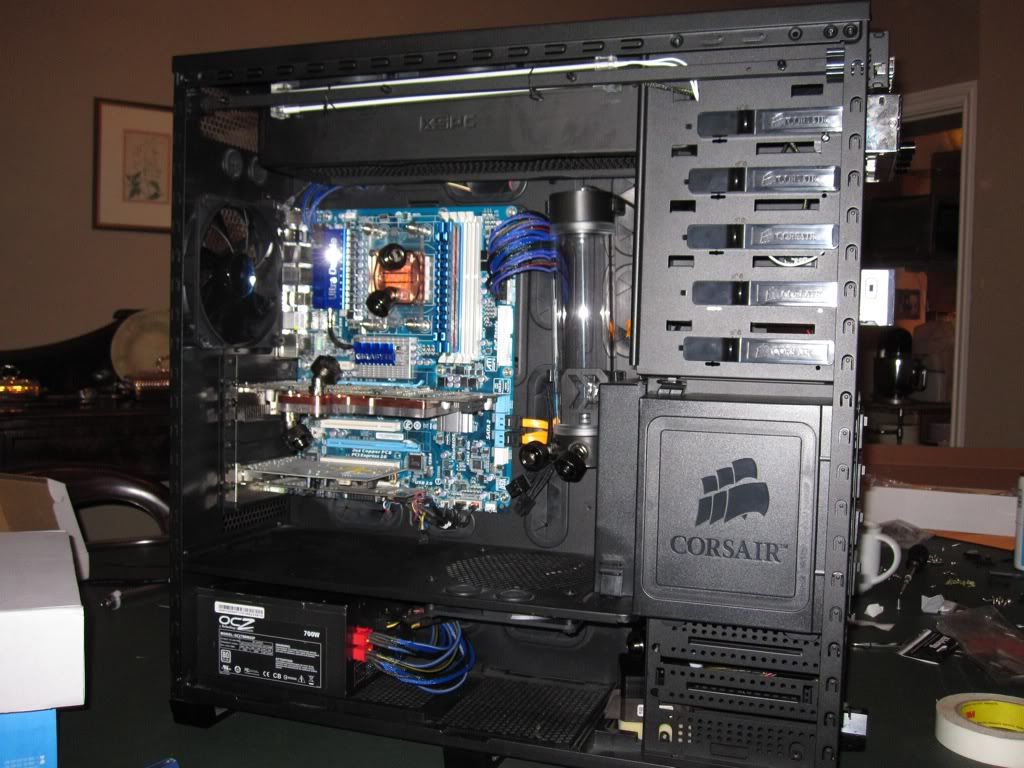
I have mounted my cathodes out of view up by the rad. I will probably change these out for LED strips in the future. If you look at the top of the res you can also see my LED which goes into the clear blanking cap I have at the top of the res. This will give the water a nice blue glow hopefully ;)
34cf15c8.jpg


So here we are at the end of today. Unfortunately the res doesn't quite hang straight due to the EATX holes being misaligned but I really don't fancy drilling a new hole and potentially wreck the case so I am going to leave it for now.
89844d6a.jpg


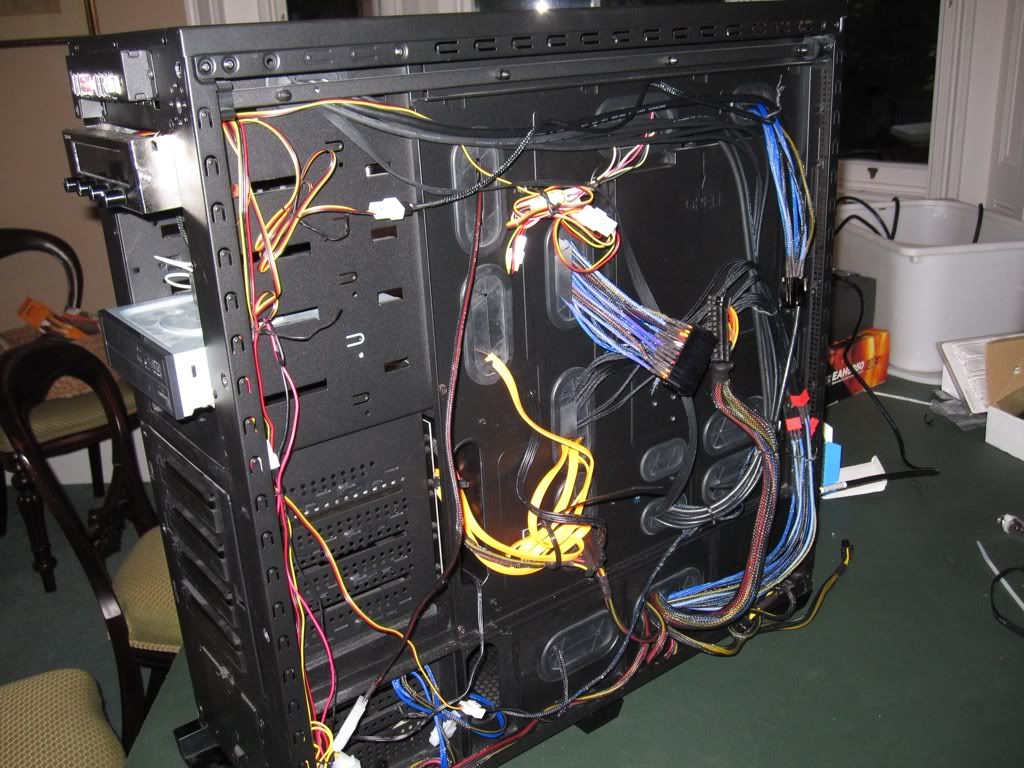
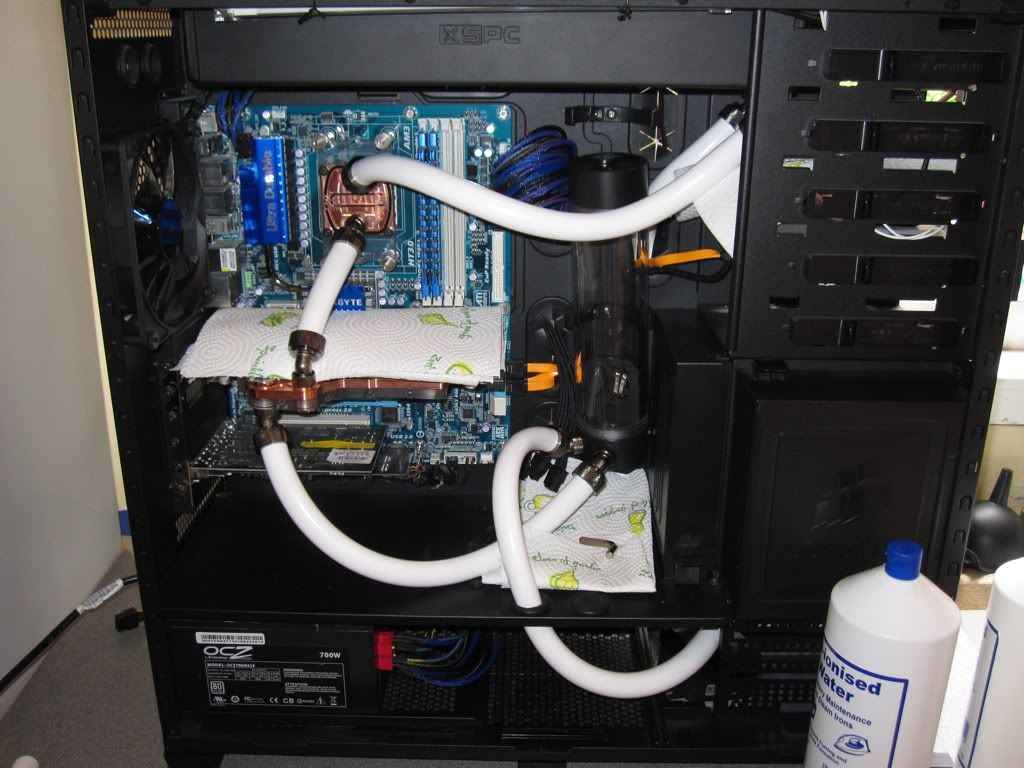
I had a go at the cable management. Round the front I think it looks good. It is a mess round the back but I had to keep a section as clear as possible for routing tubing round the back.
ef3a20ac.jpg


I am having to use these horrible orange sata cables at the moment as I have nothing else. Does anyone have any black SATA-II or SATA-III cables with one end right angled spare?

More updates tomorrow :)
 
Last edited:
looking good, to get round the res not being straight, you could use these http://www.overclockers.co.uk/showproduct.php?prodid=WC-093-EK&groupid=962&catid=1534&subcat= they work well as i have mine mounted with these.
It isn't really worth it. The res only hangs ever so slightly angled. Thanks for the link though :)

Just to let you guys know, I have the system filled with no leaks and am running it pump only overnight to help with bleeding. Will update pics tomorrow if I get time :D
 
Another update:

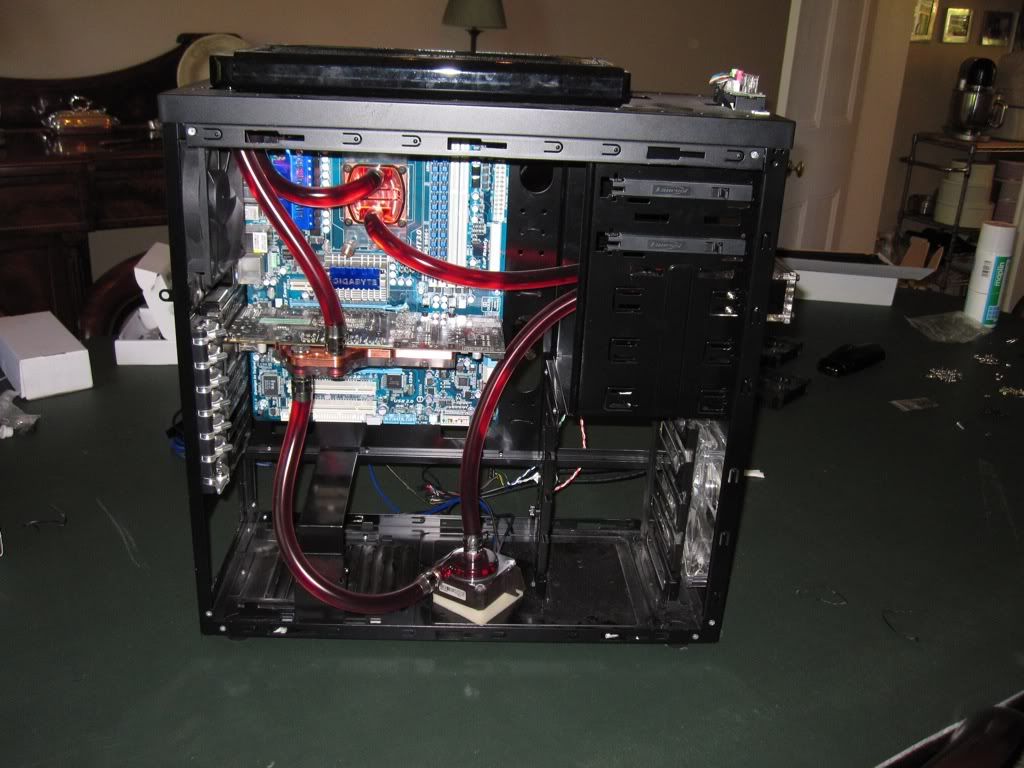
So, after lots of cutting I sorted the tubing and prepared it for a leak test
25ef7cf3.jpg


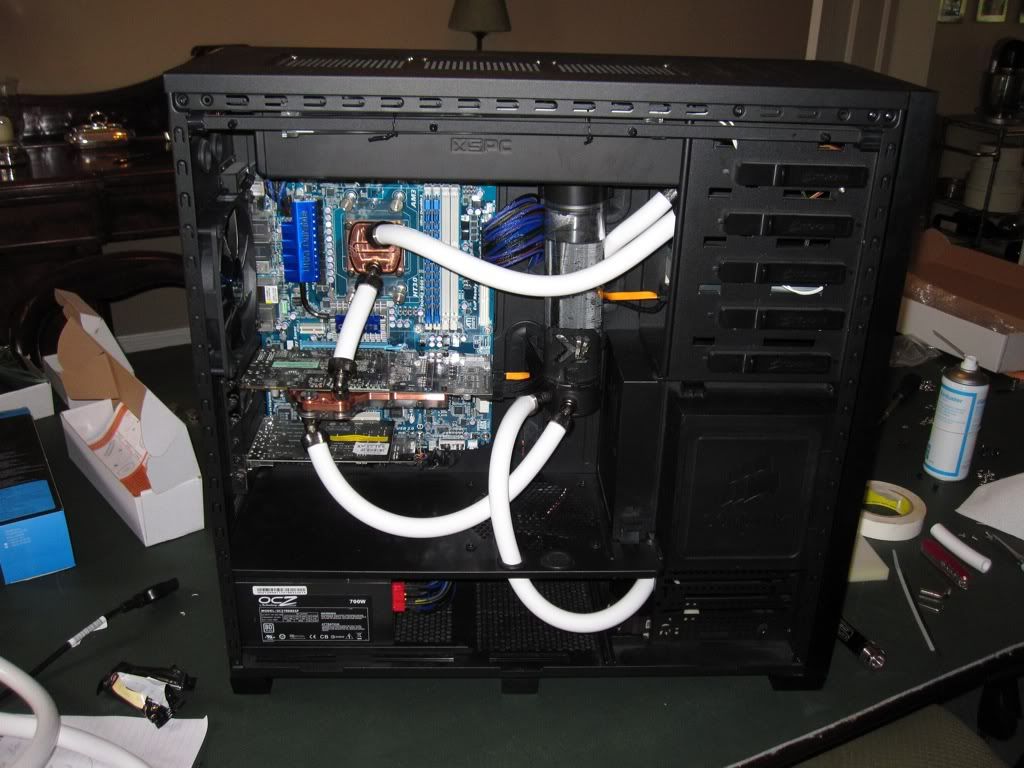
Filling. I had no leaks :D
986cc061.jpg


System powered off after an overnight leak test. I tell you what the radiator literally took ages to bleed! It was a right pain.
18dbd63a.jpg


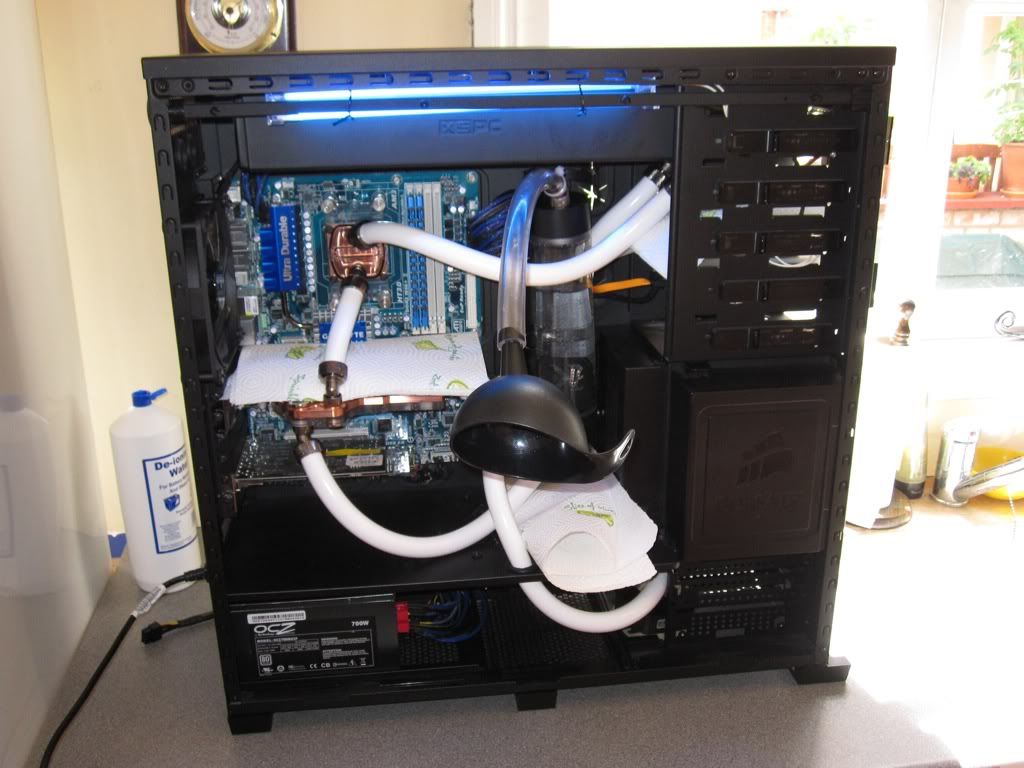
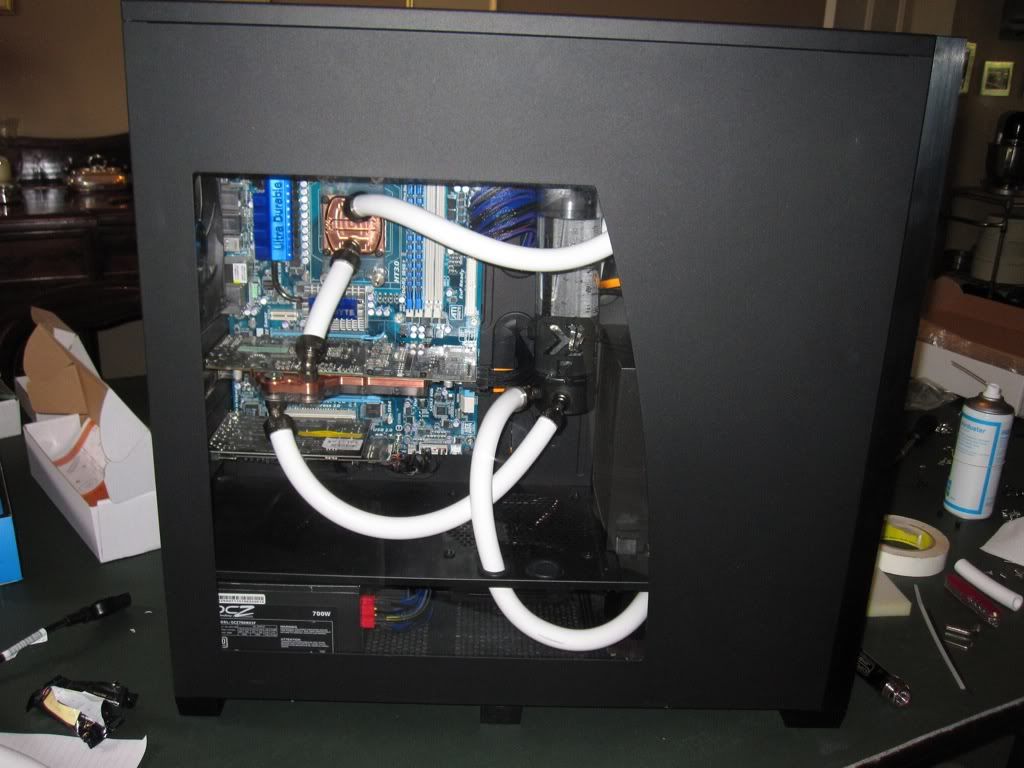
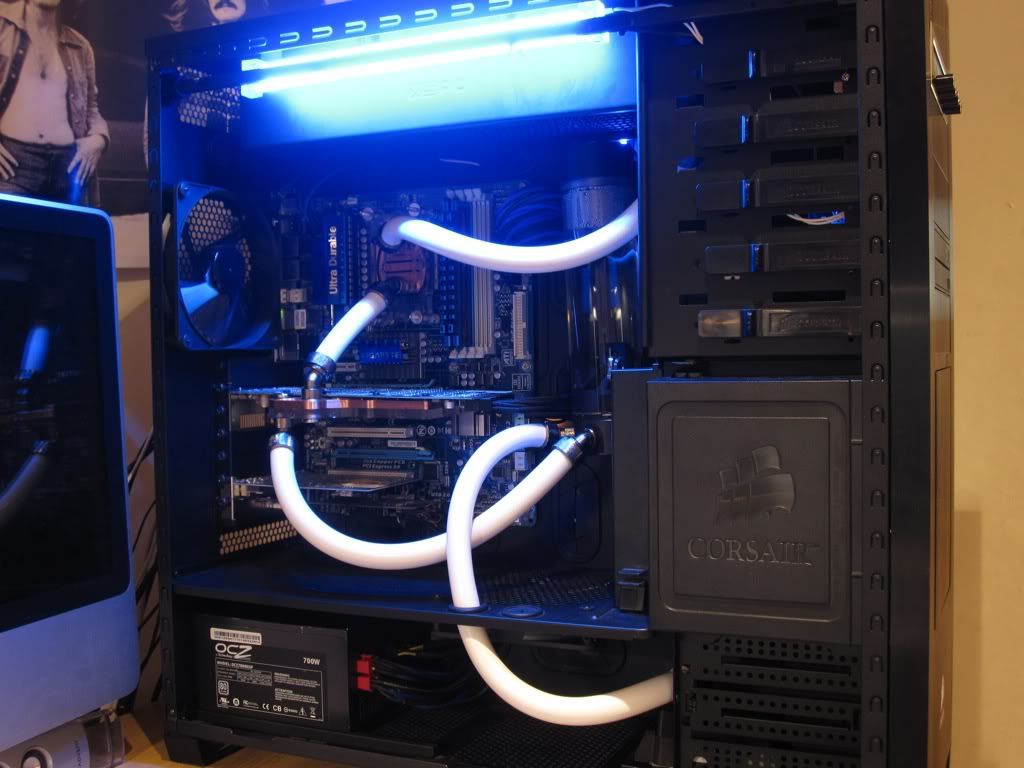
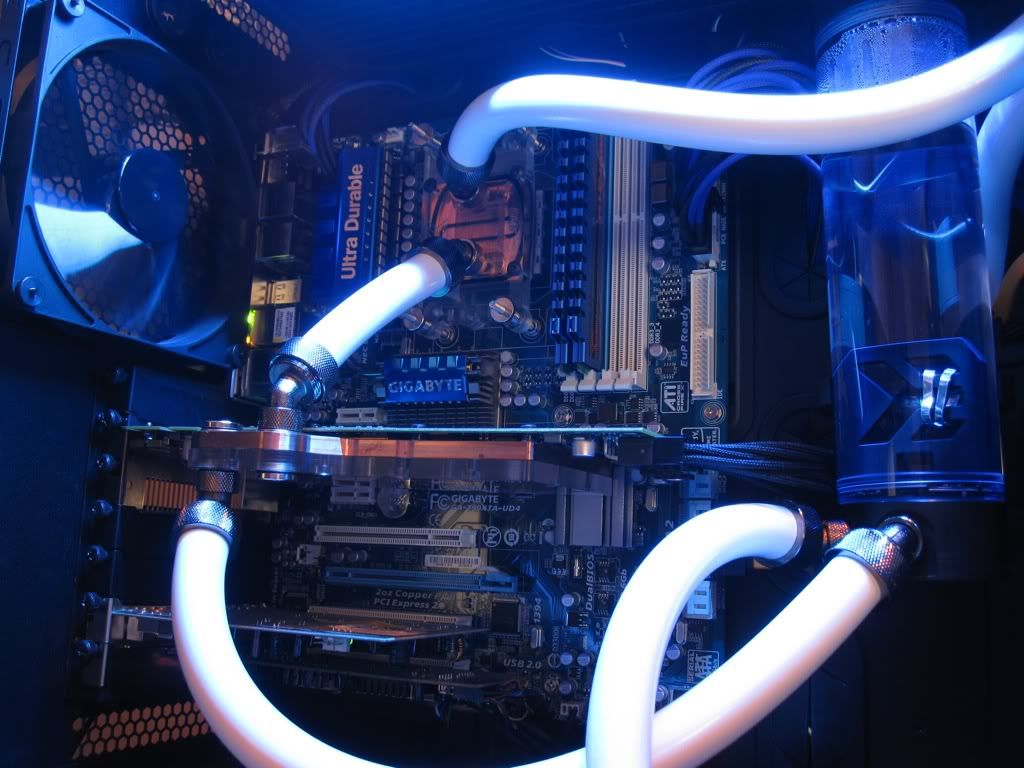
And with the side panel on
fc537f63.jpg


I will get some final pics up with night shots later this week/early next week and try and get some overclocking done in the next week. I did a quick prime 95 test and I have managed to knock 10 degrees off my CPU and 15 degrees off my GPU from my last rad. I am very happy :)
 
nice job m8ty. looks really good.

what temps are you getting now?
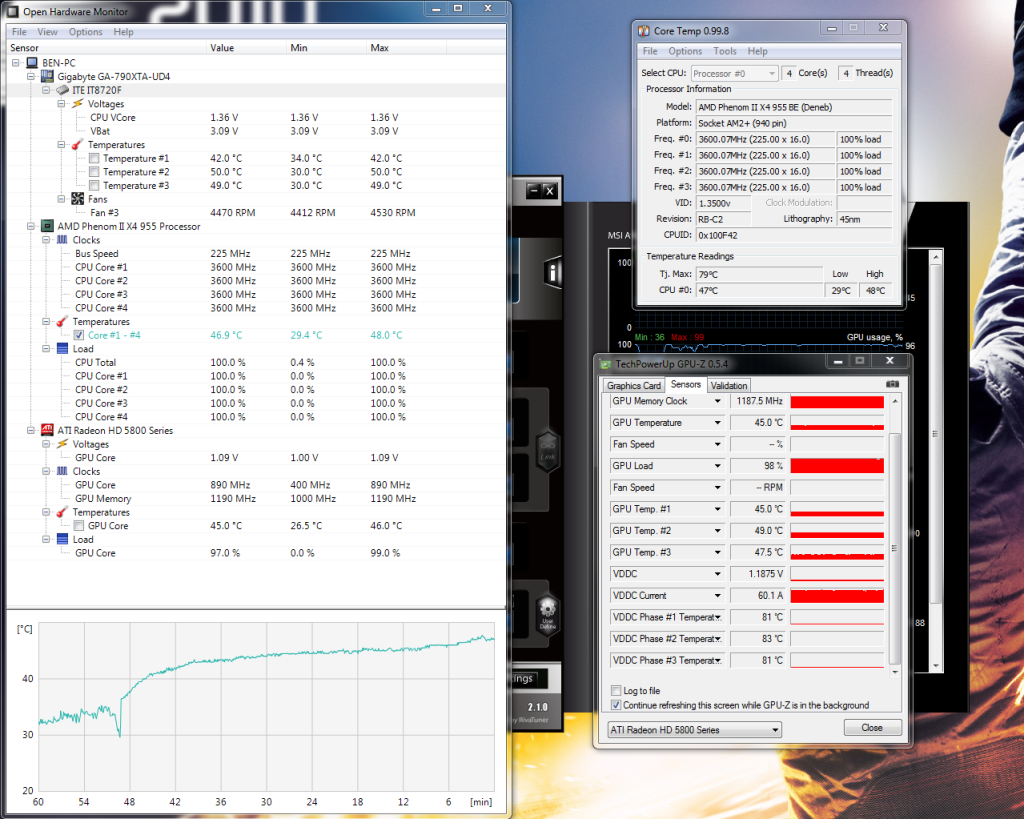
46.9 degrees on the CPU and 45 degrees on the GPU with prime95 blend and furmark running at the same time. I should also add that is with the GPU and CPU both overclocked. It is a big improvement over the 57 degrees CPU and 54.5 GPU I was getting before :) I will try to get some overclocking done in the next week and get some results then :D


Quick update:

I noticed there was horrible interference when using the front panel headphone jack so I emailed corsair and they are going to send me another. Many people have said they have done the same but received the USB3 upgrade panel so *fingers crossed* :)
 
Temps

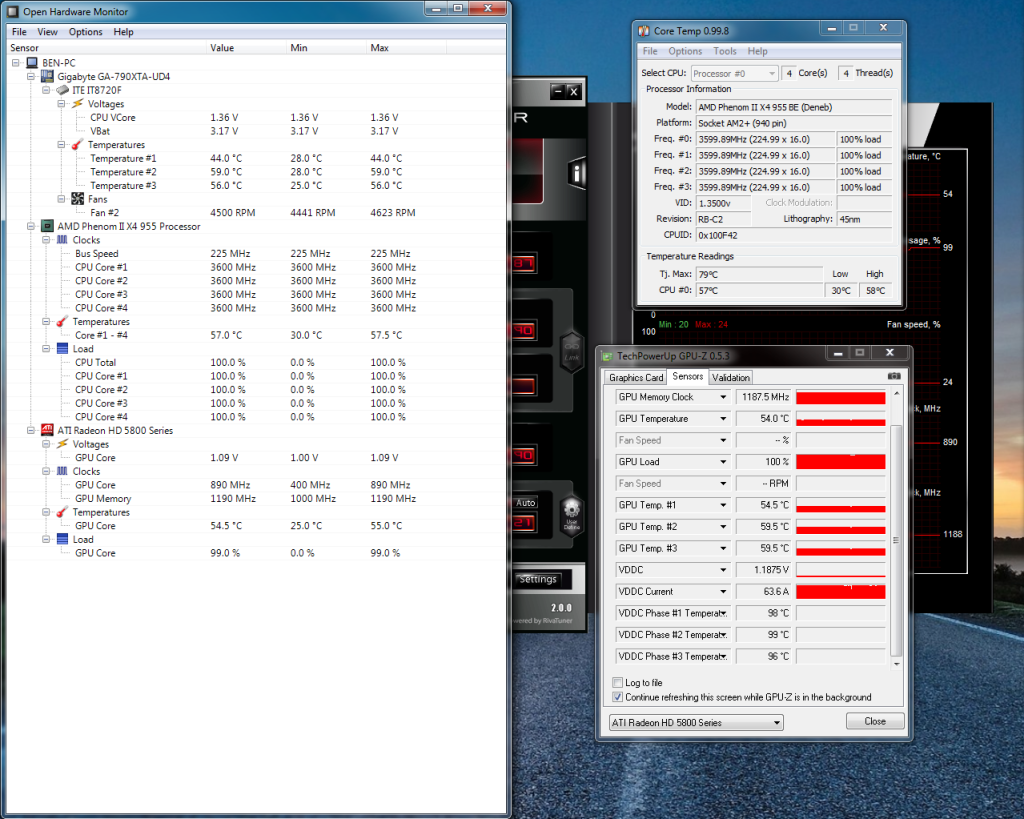
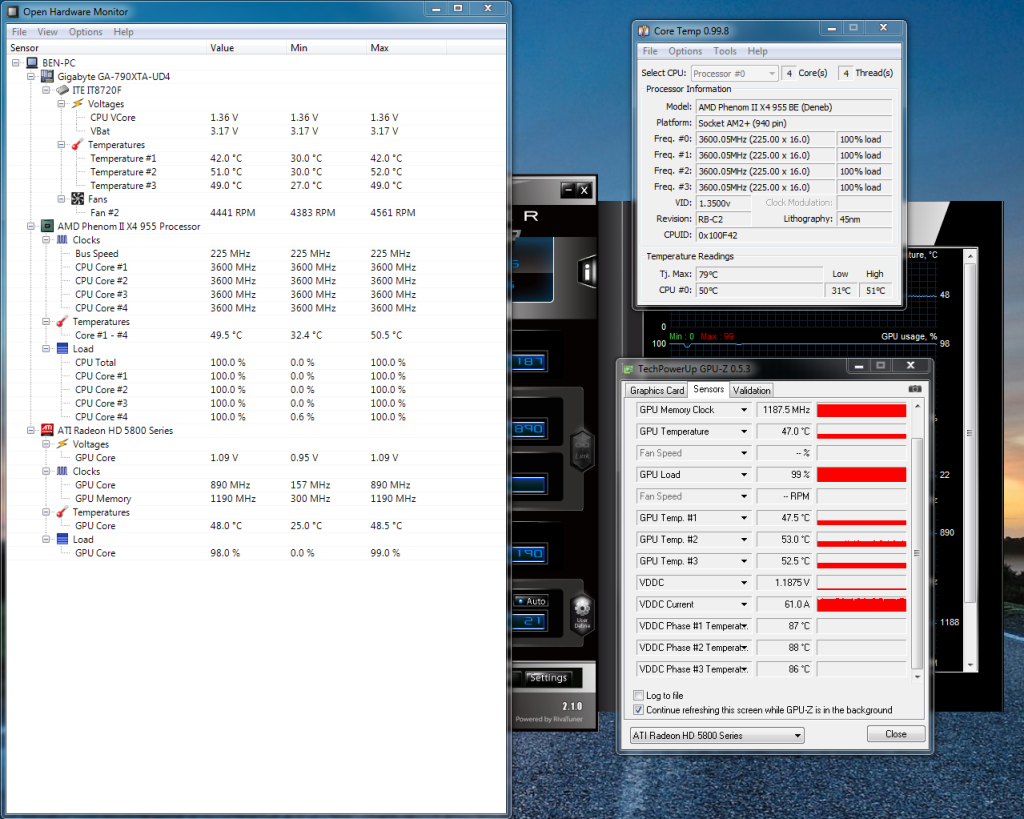
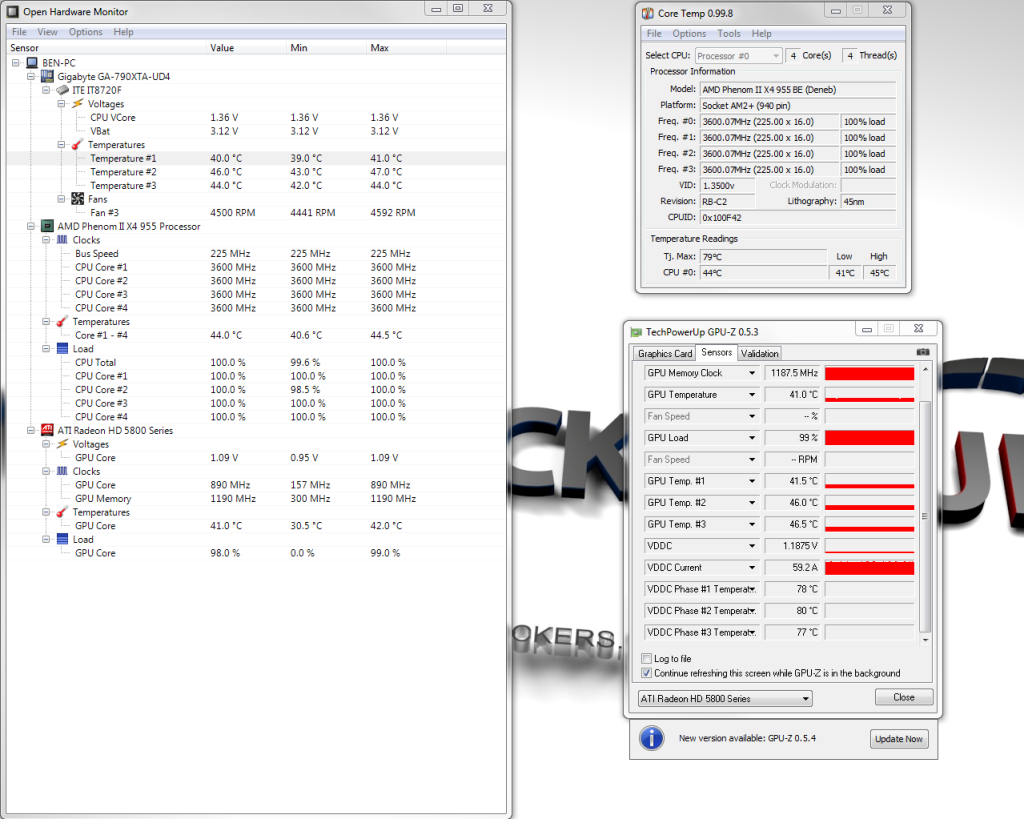
I haven't had time as yet to do any more overclocking or take any nice "final" pics but I did manage to do some testing to see how much my temps have improved.

In all of the tests I fired up p95 blend test and furmark. I recorded the temps after around 30 mins.

Just remember all of the "before" results were using a black ice stealth 280 rad with Noiseblocker PK-3s. The black ice rad had a much higher fin density so would benefit more from faster fans than my XSPC rad would. However, I run my fans at 50% almost all of the time so the 50% fans results were the ones I cared about.
Test 1 - All fans (including case fans) at 50%

Before
Pre-Upgrade30minStressTempsFans50.png


After
Post-Upgrade30minStressTempsFans50.png


Test 2 - All fans (including case fans) at 100%

Before
Pre-Upgrade30minStressTempsFans100.png


After
Post-Upgrade30minStressTempsFans100.png


Overall I am really happy with the results. It has given me quite a bit more headroom for overclocking which is nice :)

What has really surprised me though is that my mobo temps have dropped by up to 9 degrees in some instances from when it was in my Lancool K62. Considering airflow in an 800D is supposed to be awful, I am very happy and surprised by this :D

I will try to get some final photos done some time later this week and possibly some overclocking :)
 
Small update:

So after starting up my PC I put in my headphones and noticed some horrendous interference through the front panel audio jack. I emailed corsair about this and without hesitation they sent me a replacement. Little did I know until it arrived that they sent me the USB3 upgrade panel for free. Big thumbs up for corsair support!
 
This looks really nice :D

Thanks mate :)

Anyway, some good and bad news.

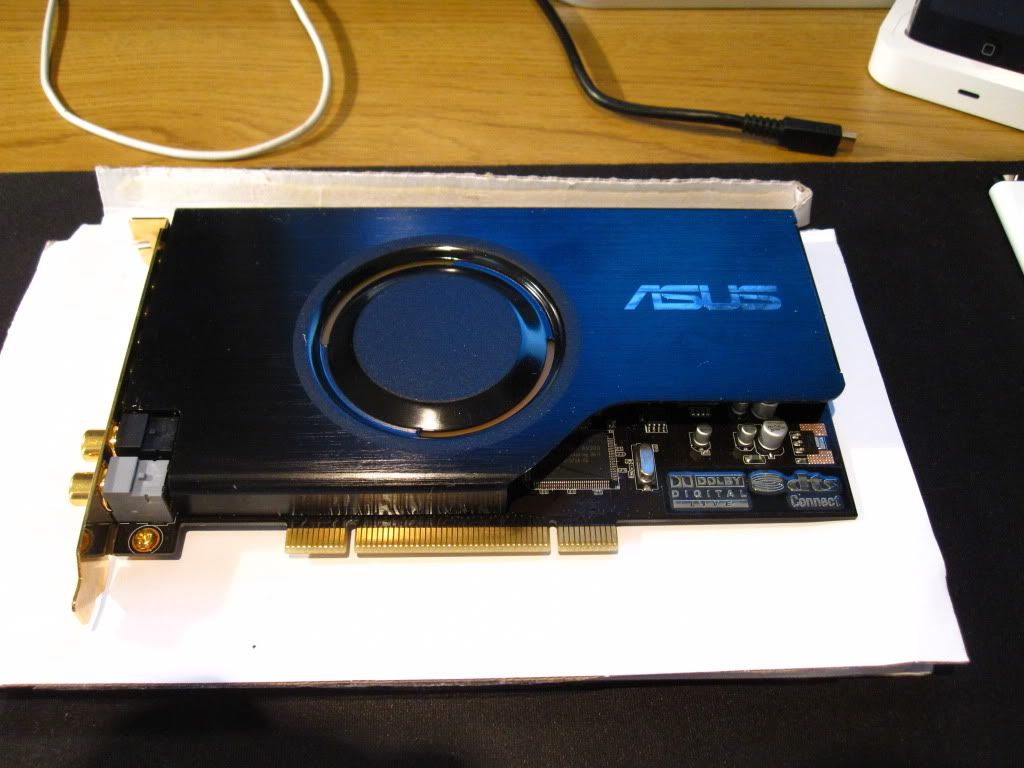
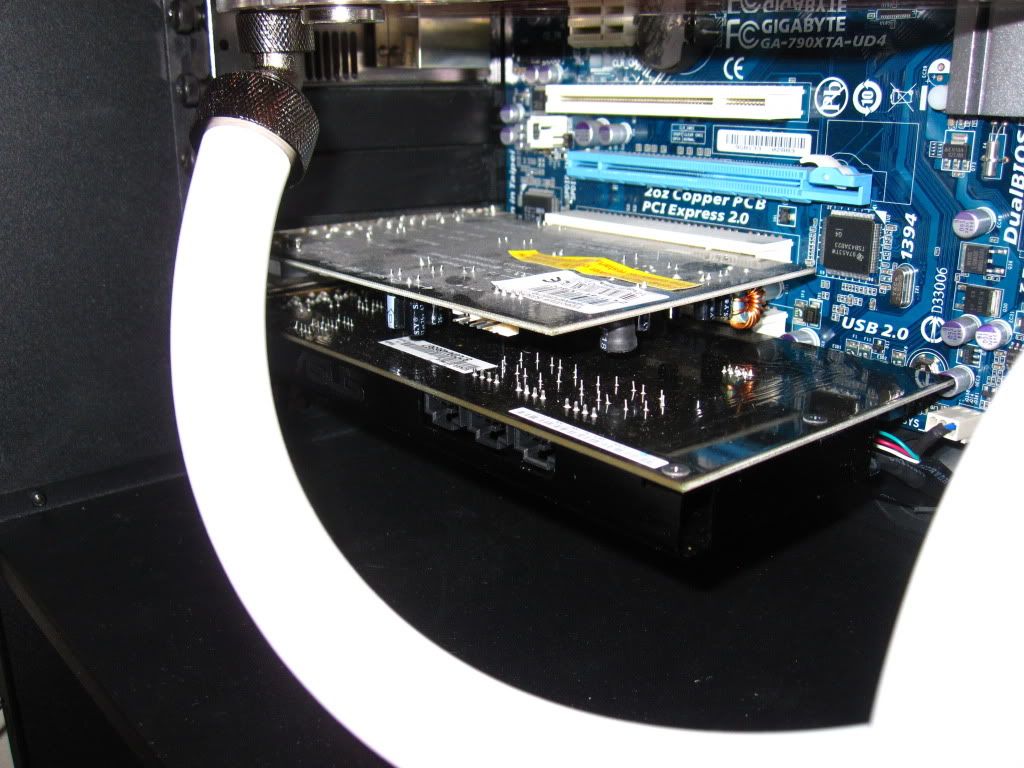
Well, as I was installing the USB3 front panel kit I somehow managed to break my Creative X-Fi XtremeGamer card :(. Anyway, I did some looking round the forums and managed to get an ASUS Xonar D2 thanks to Jokester.

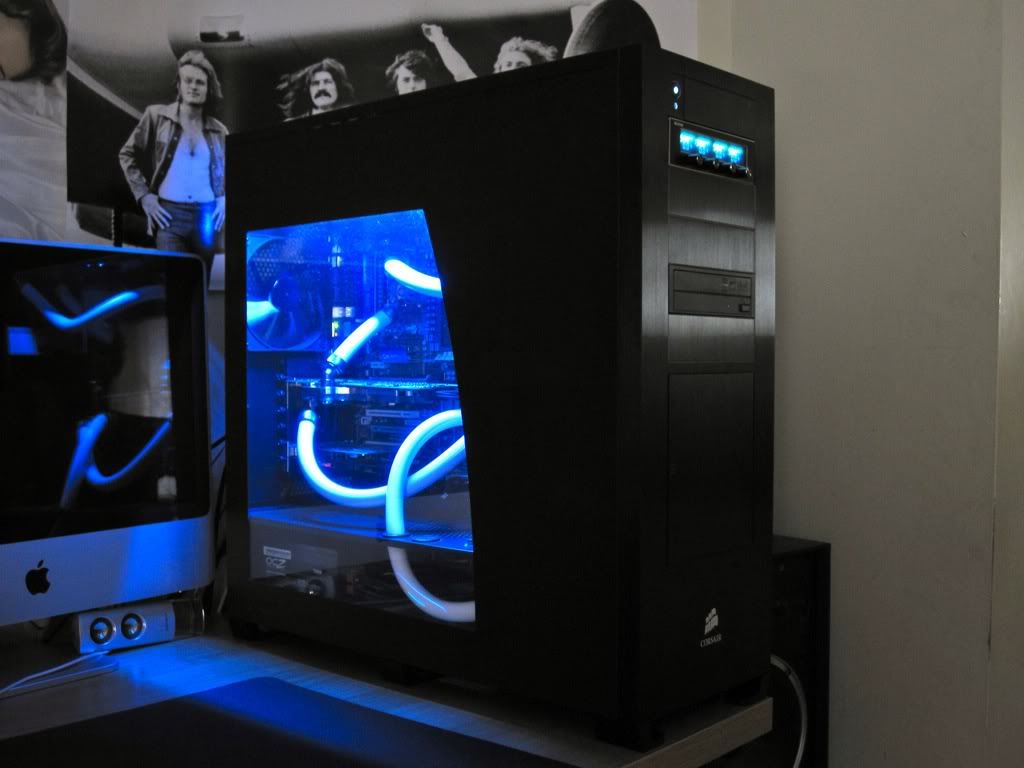
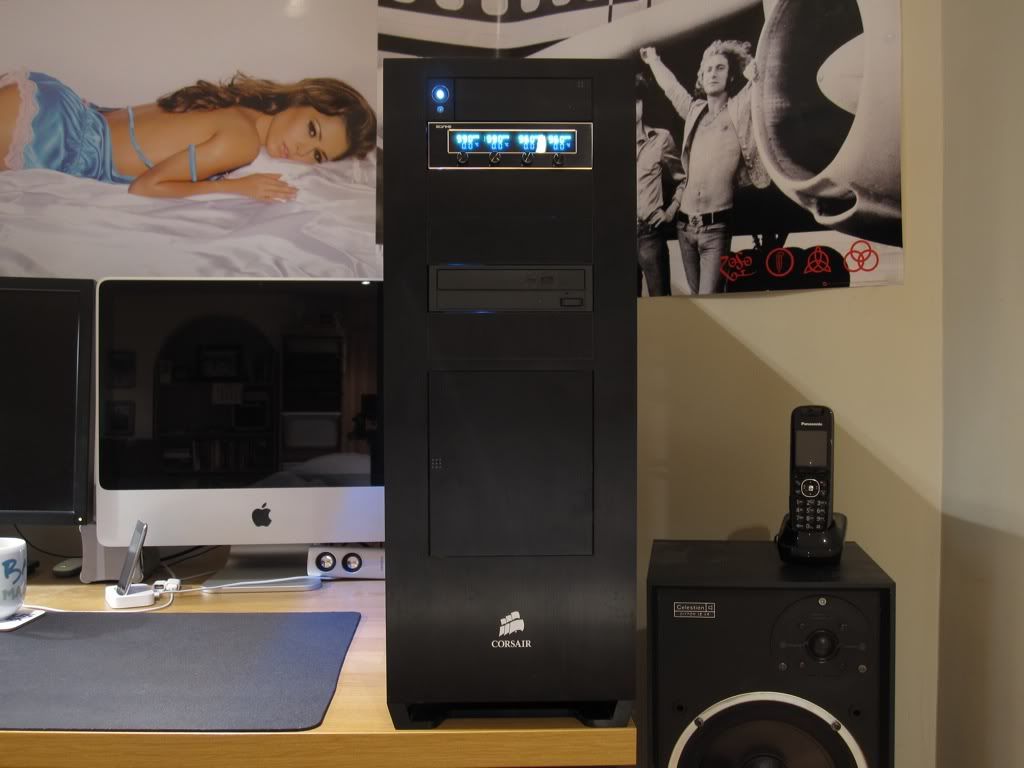
IMG_3770.jpg


IMG_3771.jpg


I love the way it lights up at the back :)
IMG_3773.jpg
 
Back
Top Bottom