Associate
- Joined
- 17 Oct 2012
- Posts
- 354
- Location
- Fortunately Mars
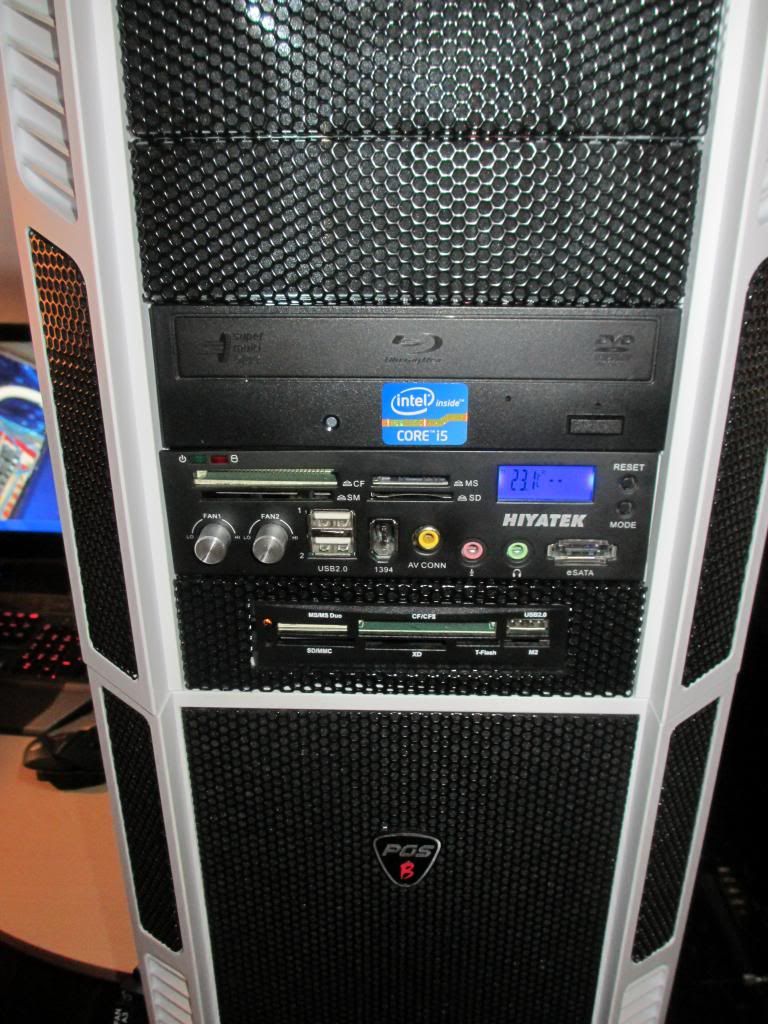
Hey there peeps, over the past three months i had been trying to find a case that had decent air flow, loads of room, white and looked amazing, i finally planned out what i was going to get and i went for it, here is the list of items that i baught:
1 x Aerocool X-Predator Ultimate Gaming Case - White
6 x Zaward Golf II Fans 140mm - white
2 x Artic F9 92mm fans
2 x white cold cathodes
1 x 4 pin PSU extension cable
1 x white medium size pack of white sleeving and heat shrink
So where to start, i ordered all of the parts at 11:00 at night and all of them where delivered by 10:00 the next day (this being friday) i have seen big cases but this one is huge!
i succsessfully hauled all of the stuff upstairs (3rd floor) and got myself set up for the work ahead:
First off was the case


then all of the other bits and bobs


So theres all of the stuff that i had baught, now after taking all of the pics i started to install the fans and the easy stuff


I was really impressed with how strong and decent the skrews where, not cheap and not easy to cheese
So after i had installed the simple items i decided that it was finally time to "kill" my gaming rig


After doing so, it was time to bring back my machine from the dead
I succsessfully installed my motherboard without any problems

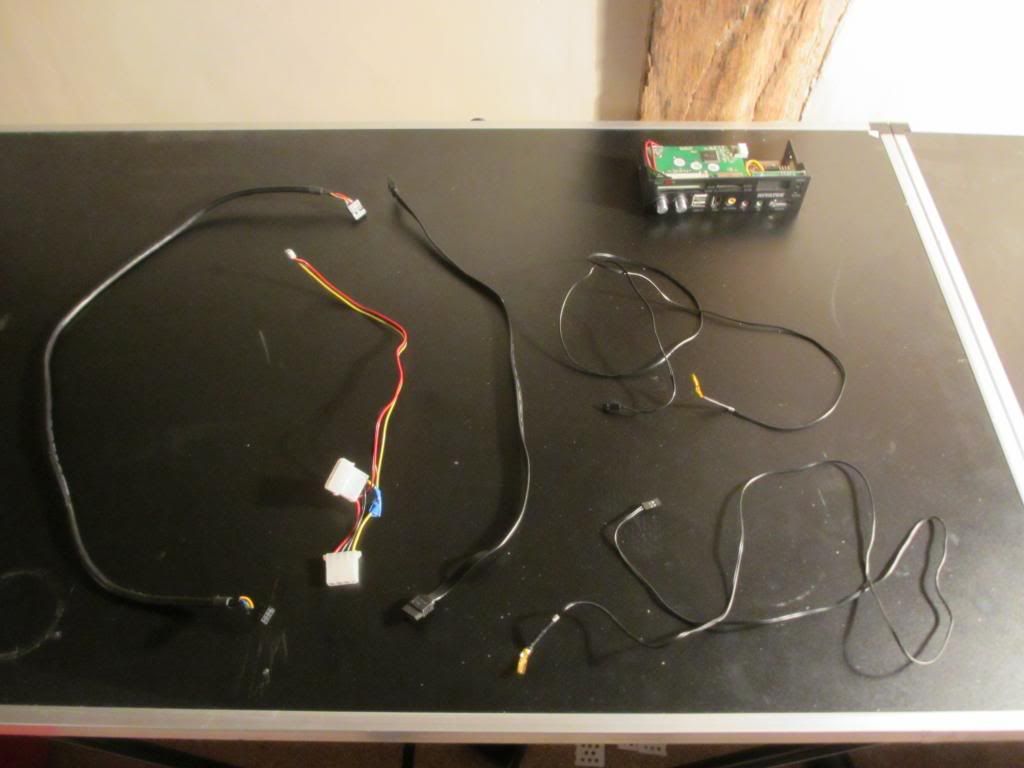
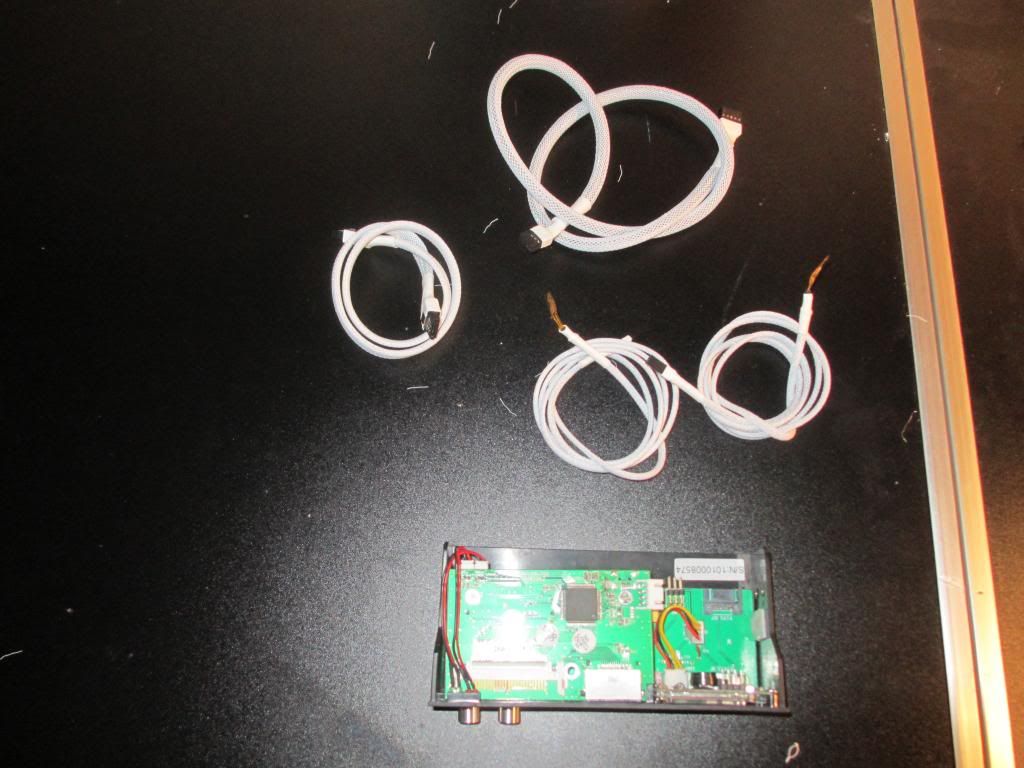
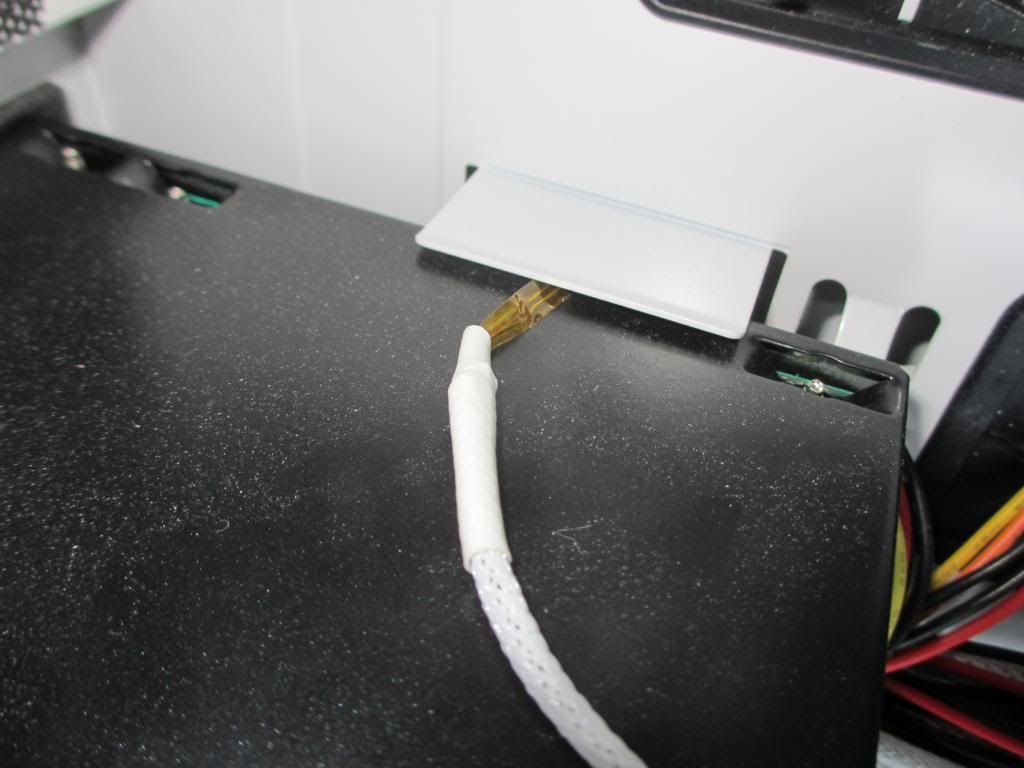
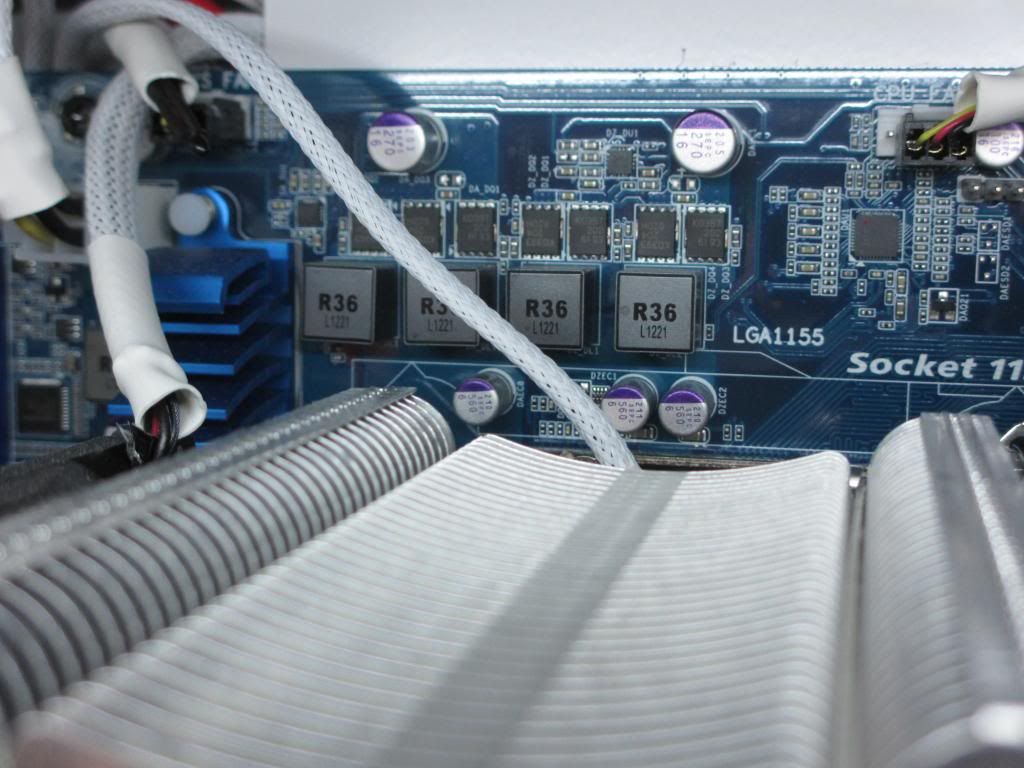
I have been watching and reading mant tutorials on how to "sleeve" cables, so i thought i would have ago, i went with white sleeving so that it would go with the computer case and theme in general, i tried to sleeve as many cables in the computer as possible to make it look good, here is what happened
One sata cable


So far so good, then i tried to cable some more items like the 4 pin extension cable


SUCCSESS!!!
Then i went on to the PSU cables

THEN!!!

I slipped when trying to pull one of the cables out, my thumb succsessfully got married to one of the staples that i was using, i can tell you for sure that it hurt

 after i cleaned off the blood and took a deeper inspection i found a decent 1cm clean slice

So after cleaning off my wounds i carried on and installed some other sleeved items

My new CPU fans with white sleeving


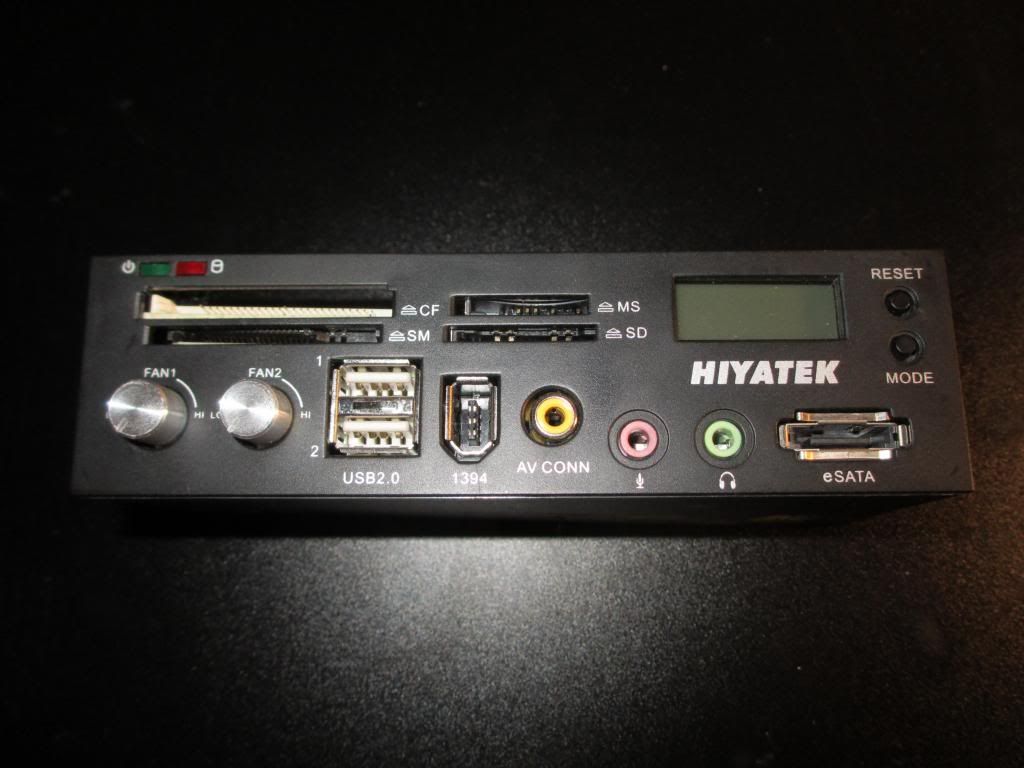
I wanted to install my cold cathode switch somewhere that would look cool and would be easy to use


Almost near the end of the build and i thought i would see if the PSU would reach the 24 pin through the back of the case...... guess what....... it didnt!!!


So until i can get some more cables that are long enough my system will look like this

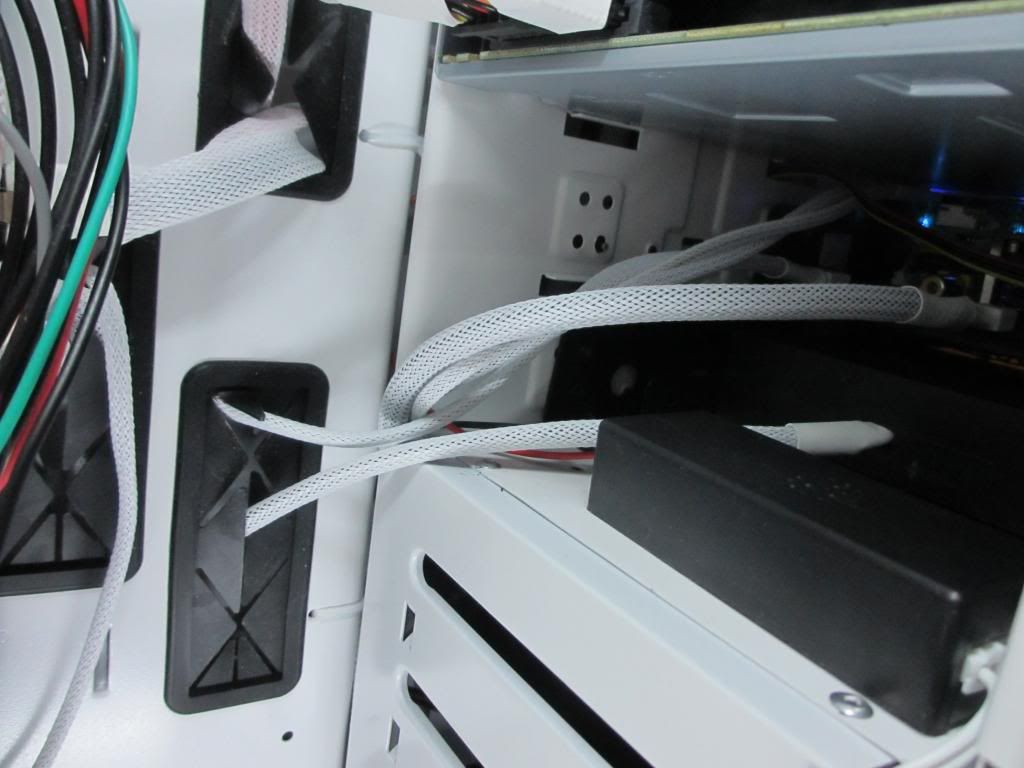
the final wiring setup on the back of the case

I had finally installed the rest of the stuff for my system and was ready to start her up

As you can see i was writing this up as i took the pictures


Well there you go peeps, i hope you enjoyed looking and reading, have a great christmas
cheers
1 x Aerocool X-Predator Ultimate Gaming Case - White
6 x Zaward Golf II Fans 140mm - white
2 x Artic F9 92mm fans
2 x white cold cathodes
1 x 4 pin PSU extension cable
1 x white medium size pack of white sleeving and heat shrink
So where to start, i ordered all of the parts at 11:00 at night and all of them where delivered by 10:00 the next day (this being friday) i have seen big cases but this one is huge!
i succsessfully hauled all of the stuff upstairs (3rd floor) and got myself set up for the work ahead:
First off was the case


then all of the other bits and bobs


So theres all of the stuff that i had baught, now after taking all of the pics i started to install the fans and the easy stuff


I was really impressed with how strong and decent the skrews where, not cheap and not easy to cheese
So after i had installed the simple items i decided that it was finally time to "kill" my gaming rig


After doing so, it was time to bring back my machine from the dead

I succsessfully installed my motherboard without any problems

I have been watching and reading mant tutorials on how to "sleeve" cables, so i thought i would have ago, i went with white sleeving so that it would go with the computer case and theme in general, i tried to sleeve as many cables in the computer as possible to make it look good, here is what happened
One sata cable


So far so good, then i tried to cable some more items like the 4 pin extension cable


SUCCSESS!!!
Then i went on to the PSU cables


THEN!!!

I slipped when trying to pull one of the cables out, my thumb succsessfully got married to one of the staples that i was using, i can tell you for sure that it hurt


 after i cleaned off the blood and took a deeper inspection i found a decent 1cm clean slice
So after cleaning off my wounds i carried on and installed some other sleeved items

My new CPU fans with white sleeving


I wanted to install my cold cathode switch somewhere that would look cool and would be easy to use


Almost near the end of the build and i thought i would see if the PSU would reach the 24 pin through the back of the case...... guess what....... it didnt!!!


So until i can get some more cables that are long enough my system will look like this


the final wiring setup on the back of the case

I had finally installed the rest of the stuff for my system and was ready to start her up

As you can see i was writing this up as i took the pictures


Well there you go peeps, i hope you enjoyed looking and reading, have a great christmas

cheers


 (i know) so i have baught a 60cm light strip to go on the left hand side of the case:
