Hi All.
Thought I would detail my first ever experience into a full custom water loop. Hopefully this will inspire those who have always wanted to step into water cooling but never had the confidence.
So first off the equipment:
Case + PSU + Fans
Phanteks Enthoo Luxe Full Tower Case - Black
Super Flower Leadex GOLD 750W Fully Modular "80 Plus Gold"
Corsair Air Series AF120 1500RPM LED Red Quiet Edition x3
CPU
Intel Core i7-6700K 4.0GHz (Skylake) Socket LGA1151 Processor - Retail
Mobo + Memory + HDD
Gigabyte GA-Z170X-Gaming 7 Intel Z170 (Socket 1151) DDR4 ATX Motherboard
Team Group Delta 16GB (2x8GB) DDR4 PC4-19200C15 2400MHz Dual Channel Kit - Red Light (TDTRD416G2400H
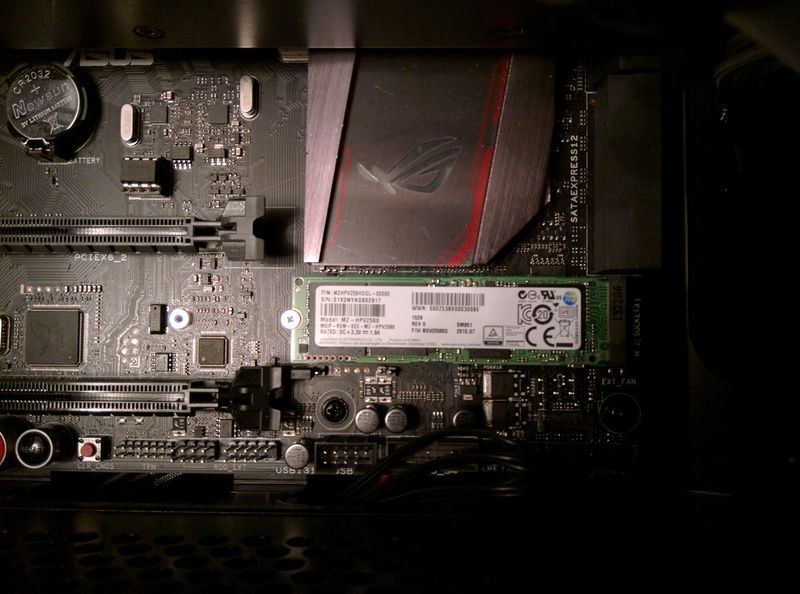
Samsung PM951 512GB M.2 PCI-e 3.0 x 4 NVMe Solid State Drive X 2
Some old SSD for OS out of old PC
Graphics
MSI GeForce GTX 1080 SEA HAWK EK X 8192MB GDDR5X Watercooled
Watercooling
OcUK Tech Labs - V12 Watercooling Kit 360
Primochill Primoflex Advanced Tubing 16/11 - Clear
Mayhems X1 UV Red Premixed Watercooling Fluid 1L
EK Water Blocks EK-CoolStream PE 360 (Triple)
EK Water Blocks EK-XRES 140 Revo D5 PWM (incl. pump)
EK Water Blocks EK-Supremacy EVO - Nickel
EK Water Blocks EK-Vardar F4-120 (2200rpm)
EK Water Blocks EK-AF Ball Valve (10mm) G14 - Black
EK Water Blocks EK-AF T-Splitter 3F G14 - Nickel
EK Water Blocks EK-ACF Fitting 12/16mm - Red
EK Water Blocks EK-ACF Fitting 12/16mm - Nickel
The graphics card is being delivered this afternoon with everything else being delivered Saturday. Big thank you to OCUK who allowed me to modify their V12 water-cooling kit and pick an EK res/pump combo rather than the XPSC.
The theme of the build is going to be red/white to match with the color scheme of the motherboard. Tubing is going to be clear with Mayhems UV red coolant. Hopefully have full pics of equipment and first build shots up Sat/Sun.
One thing i did forgot is the PSU jumper.. so will have to get out the old paper clip.
Last edited:


