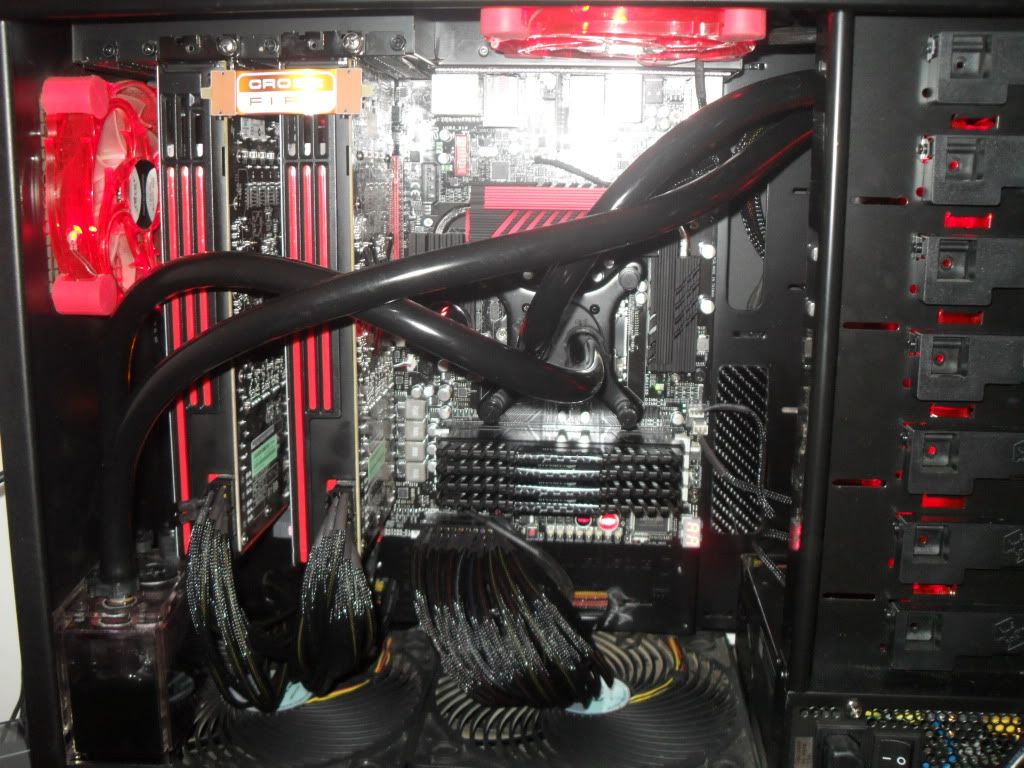
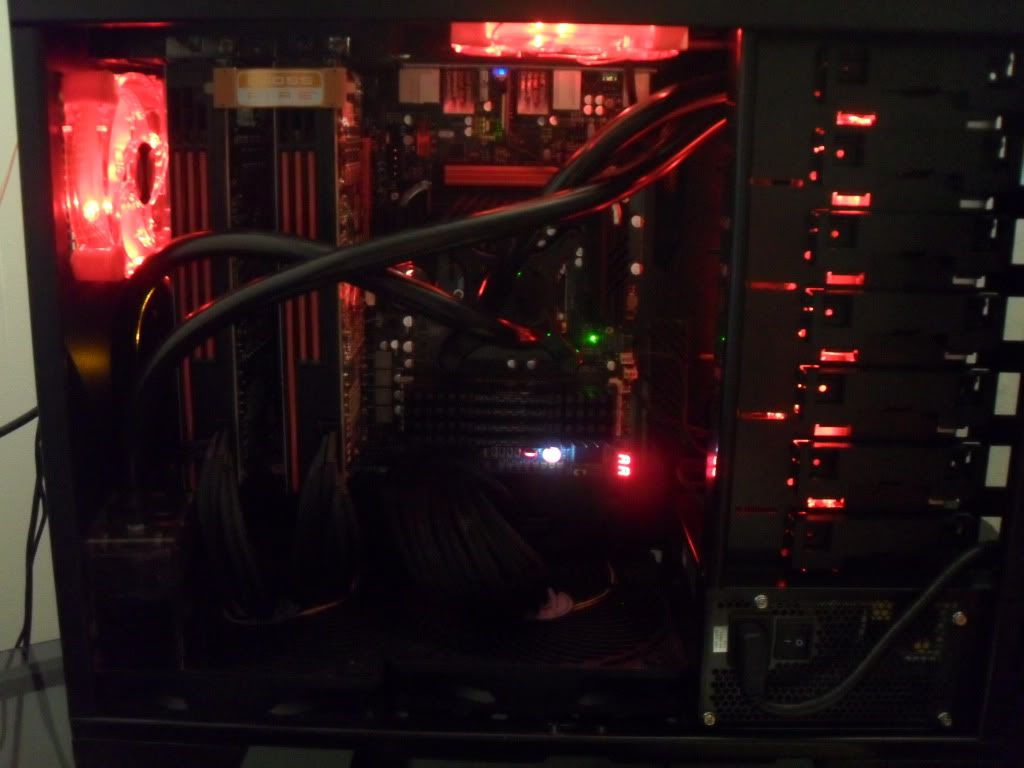
Project: ROG

Associate
Joined
17 Apr 2011
Posts
57
This build started off life as A bit of a project to see how much I could fit in a relativly small case.

Unfortunatly this all had to change as you will see through out the build log.

Ok so Basically i started off with a realy nice Coolermaster Storm Scout case.
Iremoved all my old hardware (later installing into my 6 year olds PC) And striped the case right back.

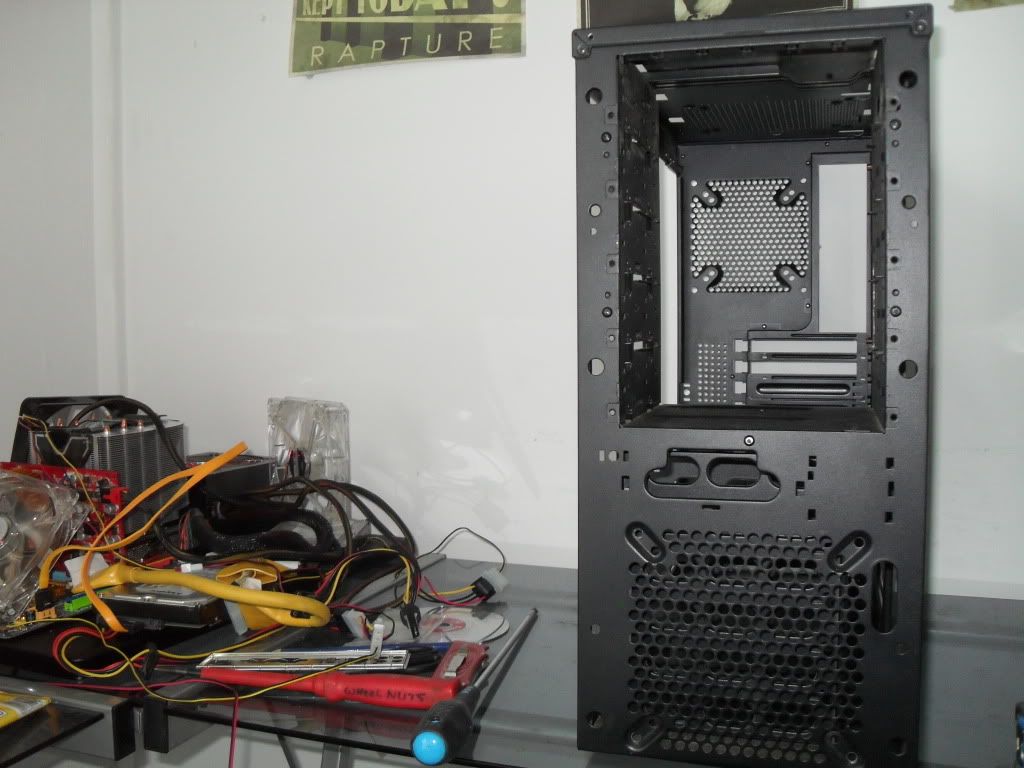
SDC11665.jpg


SDC11666.jpg


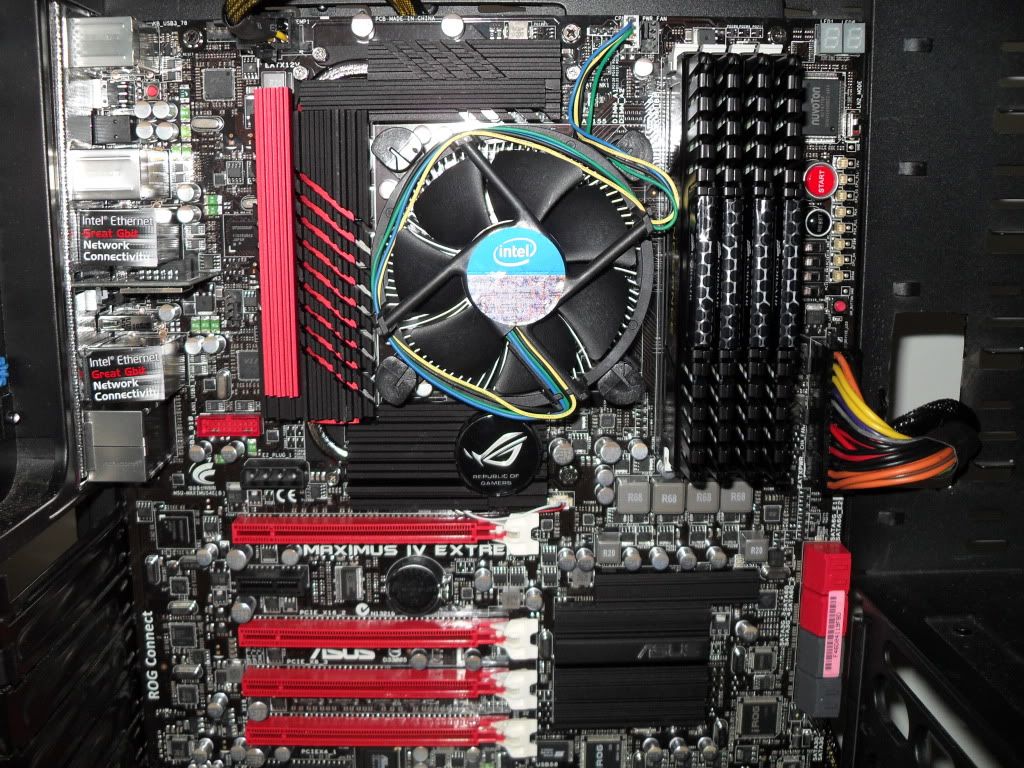
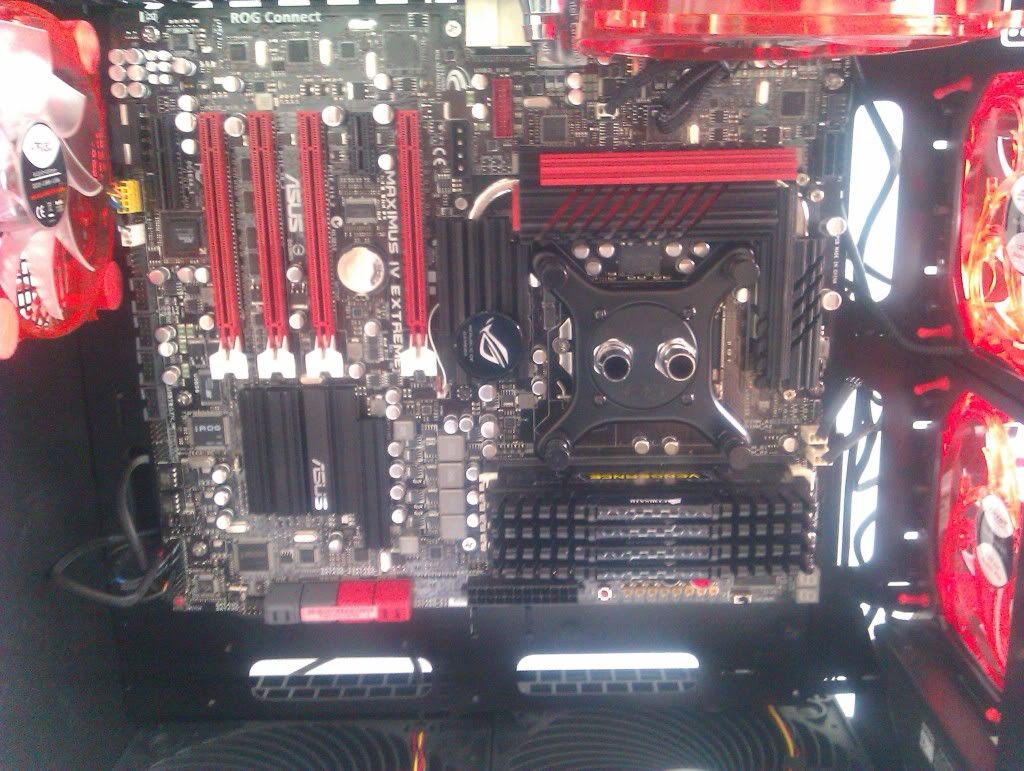
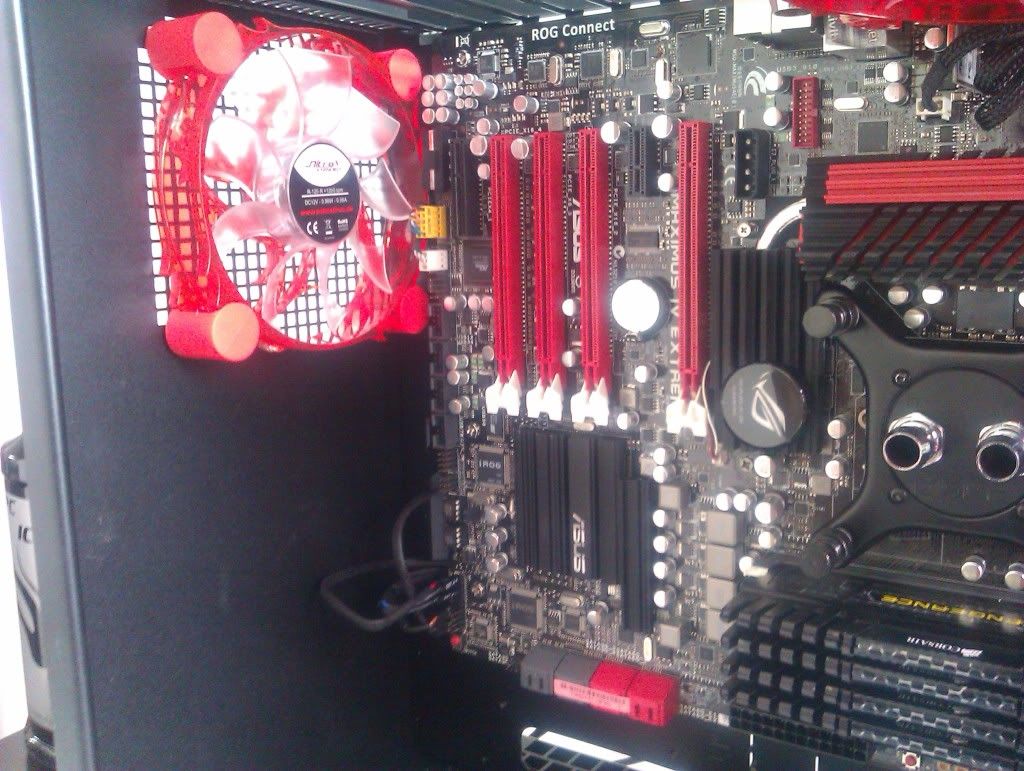
Now I knew i wanted to go red and black for this build. so i decided to go for the ASUS maximus IV extream MB as the basis. Now the only problem with this MB is it oversized. its not a EATX MB as it still only has 7 slots but its width is extended to take into account the probe start/reset buttons LN2 switch, lcd poster.

And this prooves to be a problem in a case specifically desighned for a standerd ATX MB. As I worked out i was going to loose my cable managemeant holes So I had to have a rethink and then cut some new ones.

So i cut one on the drivebay, using a lan drawing of the MAXIVE i marked out where the powercabel will comeinto the MB. and used the dremel to cut it out.
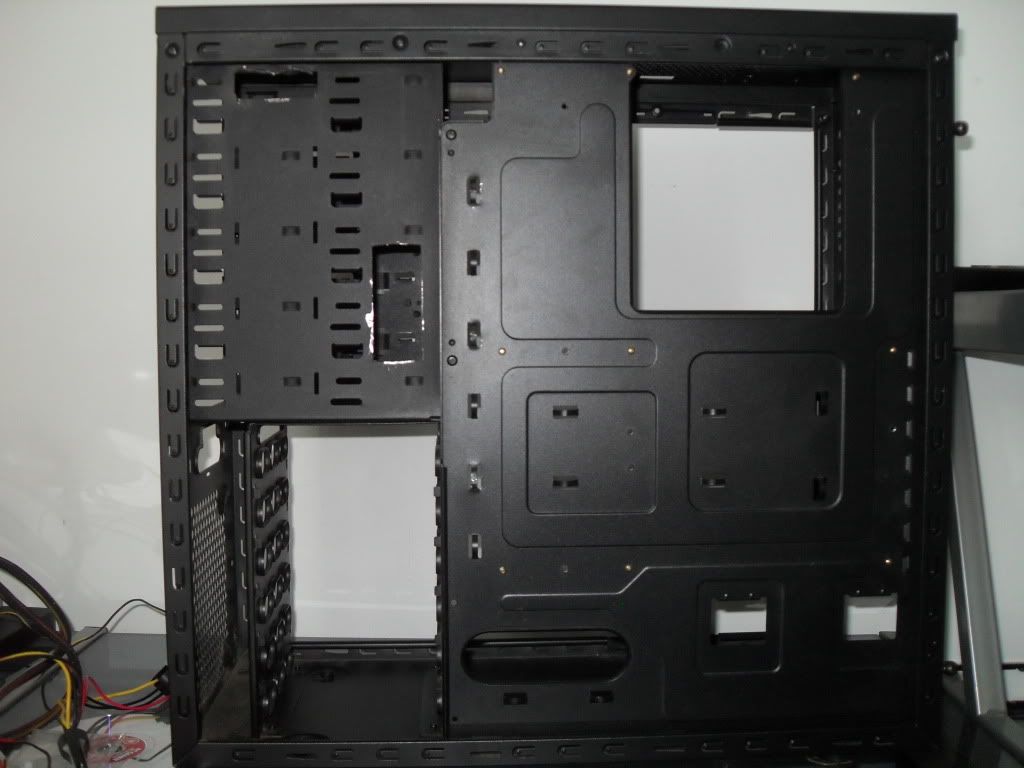
SDC11667.jpg


Also a small slot in the top of the drave bays to allow all the USB stuff to go behined the MB tray.
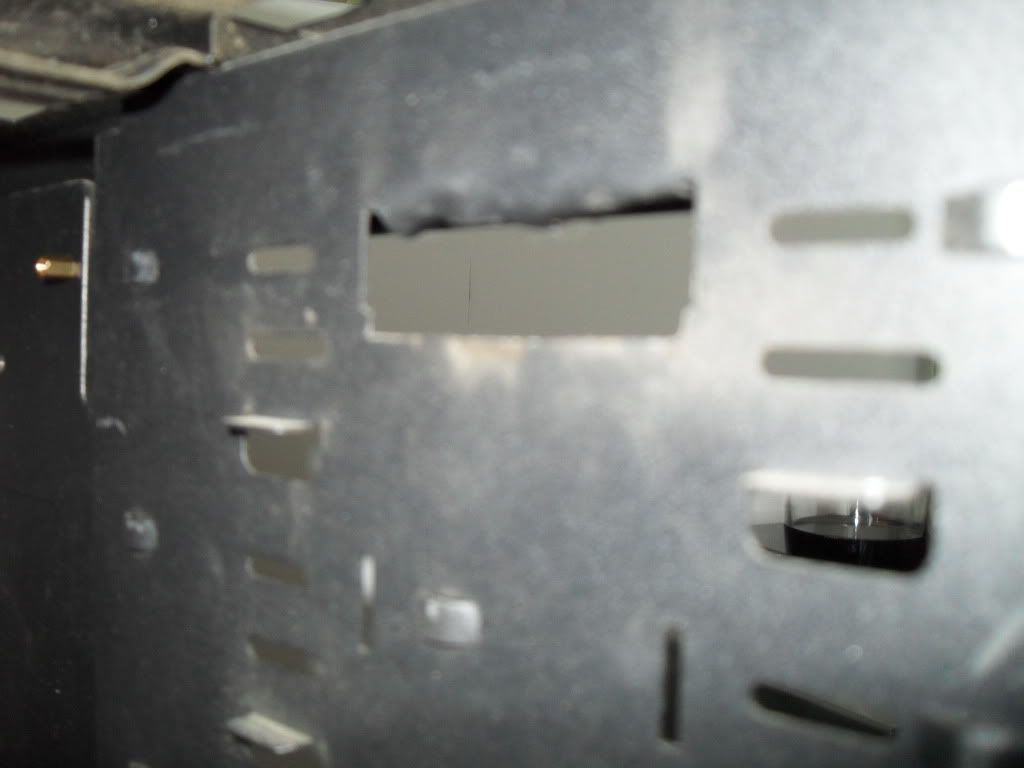
SDC11669.jpg


Then using some carbon fibre sheet i had left over, I used to make a HDD cover.
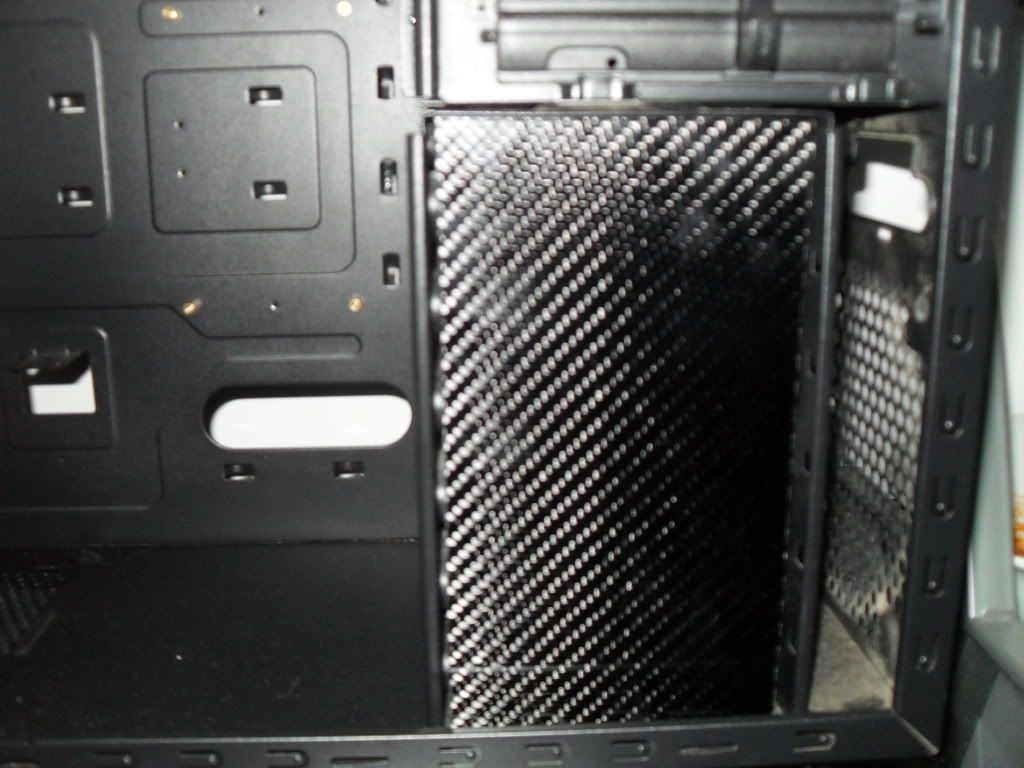
SDC11670.jpg


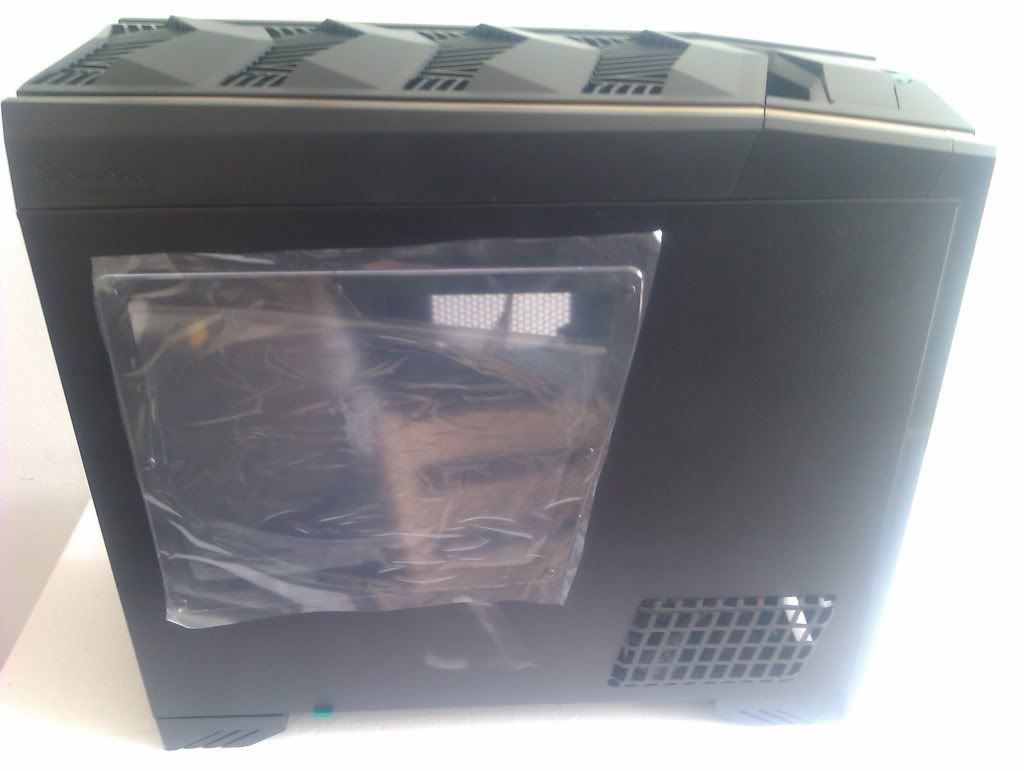
And then I decided to try a bit of window etching. As I was tempted to replace the window on the case anyway I thought. Why not give it a go.

Used CS2 to make the writing and fliped it so it was reversed.

http://i93.photobucket.com/albums/l55/cerbrus2/PC build/SDC11681.jpg

Then I removed the window from the side panel. Only pushclips so its very easy.
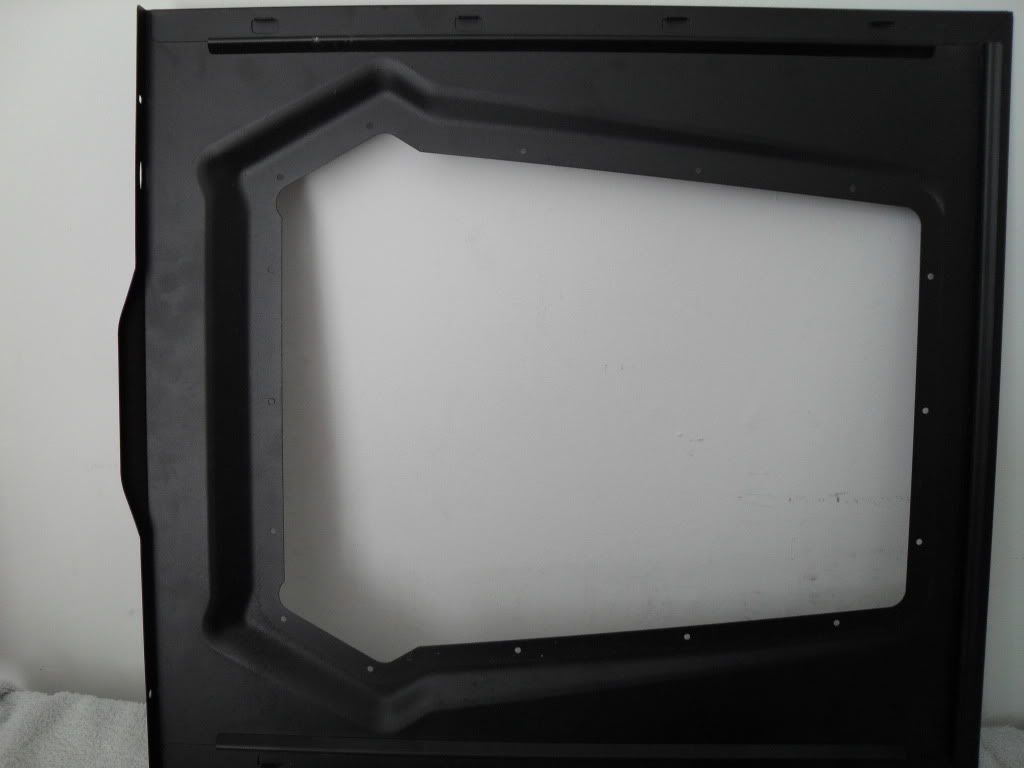
SDC11682.jpg


I then taped the log to the outside of the window. and using a dremel with a etching cutter I slowly traced the outlines and then shaded the letter.
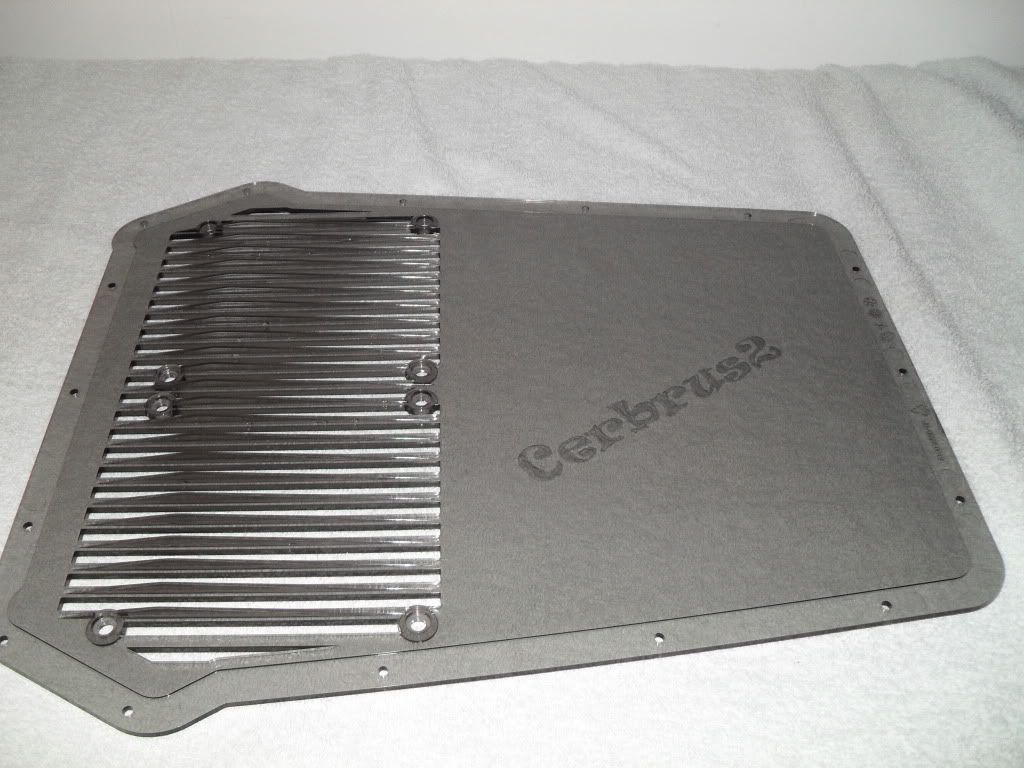
SDC11680.jpg


SDC11684.jpg


Coming up next: Shopping day.
 
Shopping time.

So It was time to go and do a spot of Hardware shopping. So I took the day off work and ventured out to get all my goodies.

So a grand or something later and

SDC11689.jpg


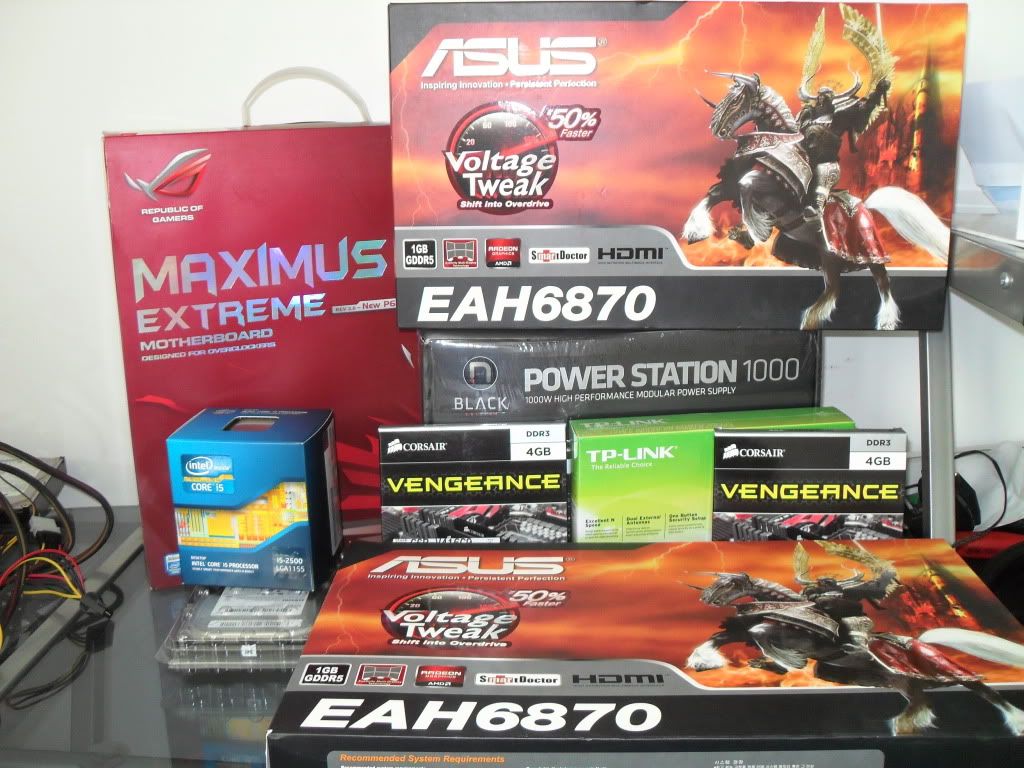
The spec i came home with:

  • Maximus IV extream
  • intel i5 2500
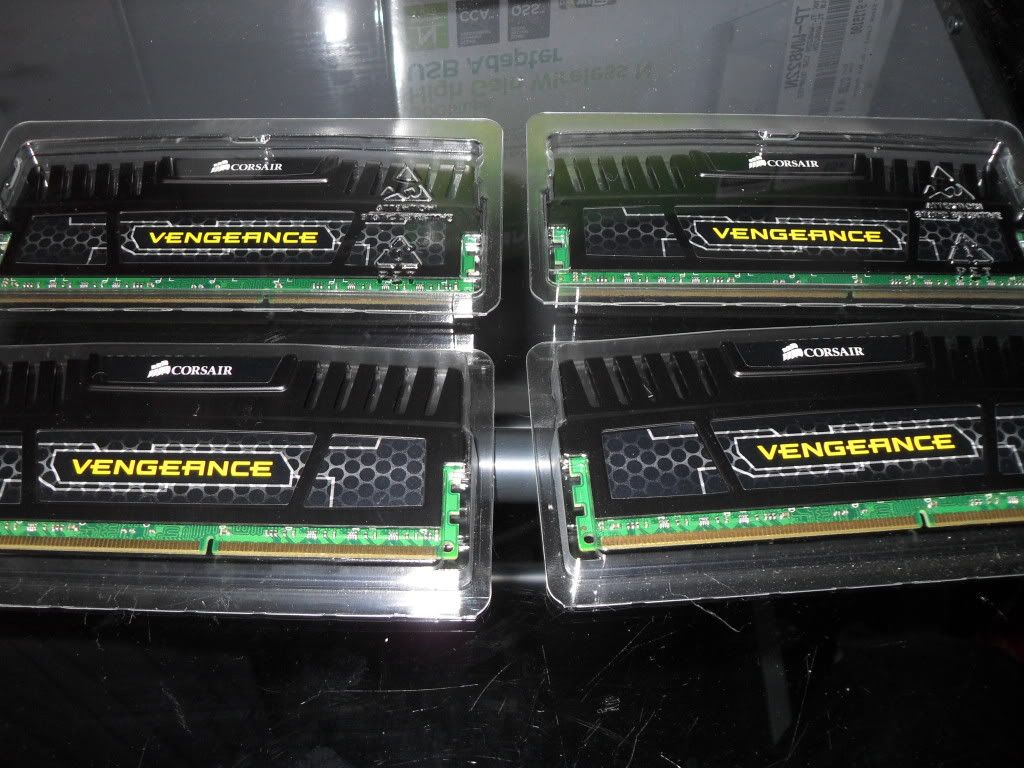
  • 8gb of Corsair vengance
  • 1tb samsung spinpoint hdd
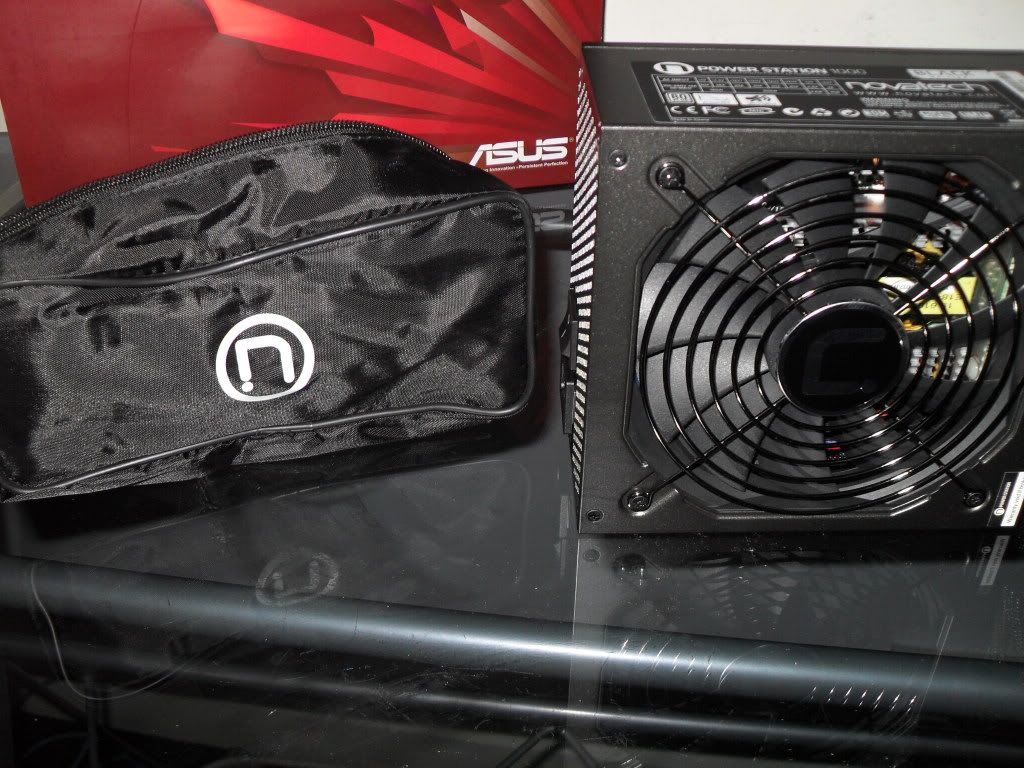
  • 1000watt powersupply
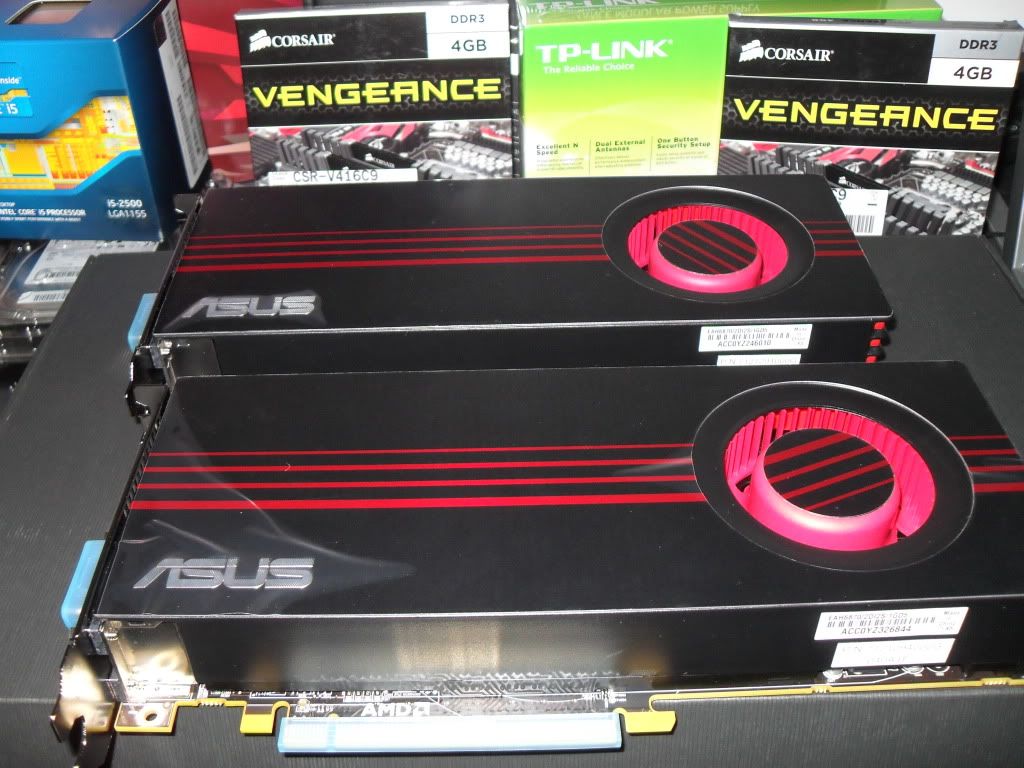
  • 2X ASUS 6870 graphics cards
  • tp link usb wireless adaptor dont have room with both gpu's to use my PCIE one)

So i imediatly started tearing open boxes and sticking things togeather like a kid at xmass.

SDC11700.jpg


SDC11702.jpg


SDC11692.jpg


SDC11695.jpg

SDC11696.jpg


SDC11704.jpg


I would just like to say at this point. BUT OMG what a horrid sound the CPU socket makes when you try to clamp down the cpu on a nice new boared. I had to check 3 times in the book to make sure i was actualy doing it right lol.

SDC11691.jpg


Next time: the actualy build working.
 
The build

Ok now you are about to witness one of the tightest MB fitmeant ever.

SDC11705.jpg


their is exactly 1mm of space between the motherboared and the drivecage :eek:

Powersupply hole lined up ok. not bad considering I got a picture of the mb off the internet. and used PS to blow it up to the actual size so i could lay it in the case lol

SDC11706.jpg


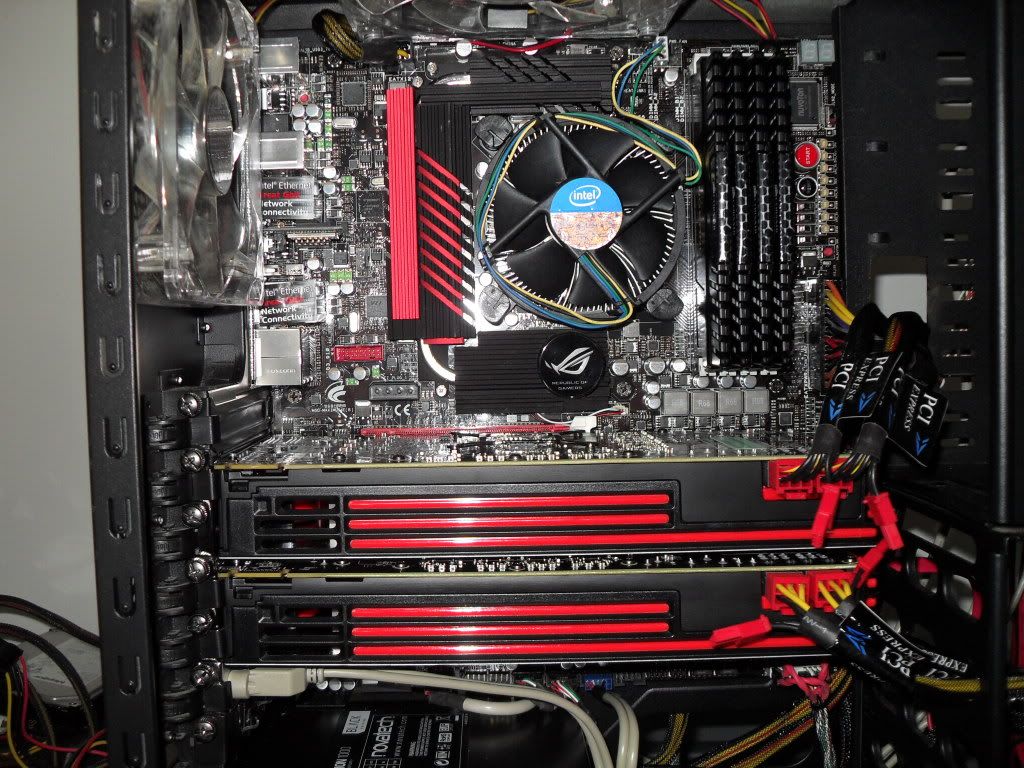
Graphics cards installed.

SDC11708.jpg


:mad: CABLES :mad:

SDC11710.jpg


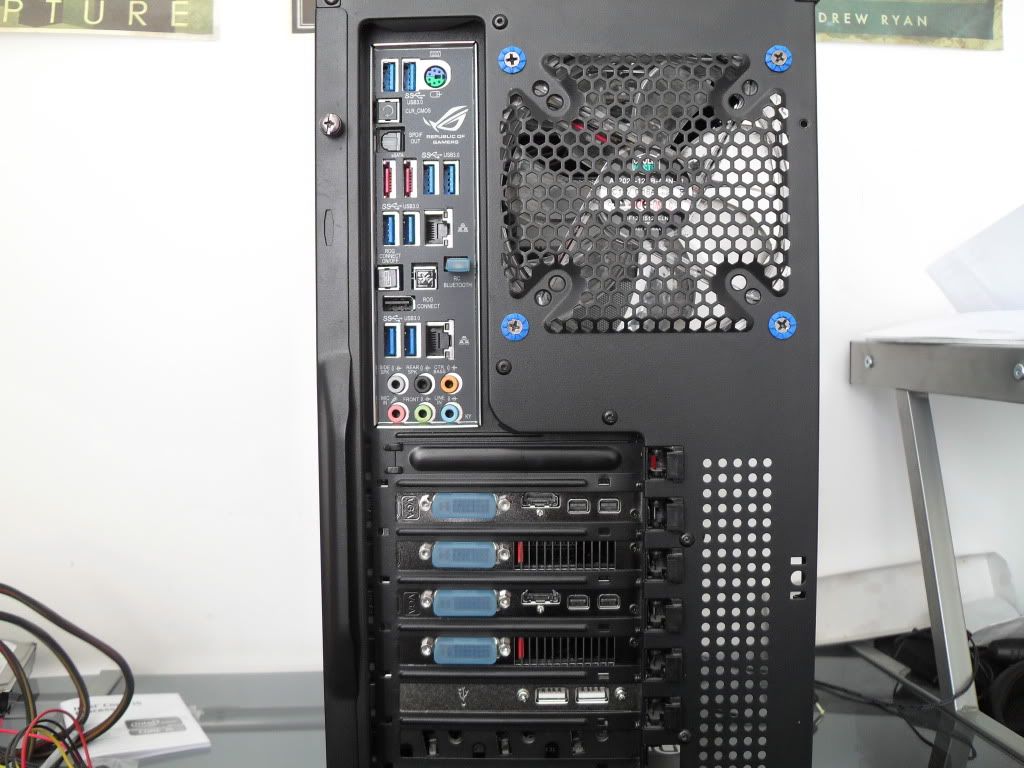
back of the case

SDC11709.jpg


smexy io plate

SDC11707.jpg


Next time: Watercooling
 
Ok so i orderd an XSPC 120mm watercooling Kit.

As their is only room for a 120mm radiator in this case.

The kit arrived promptly and i was pretty impressed this is the first time i had done a watercooling kit for 5 years since i had my old rig with a thermaltake kandalf LCS case.

SDC11730.jpg


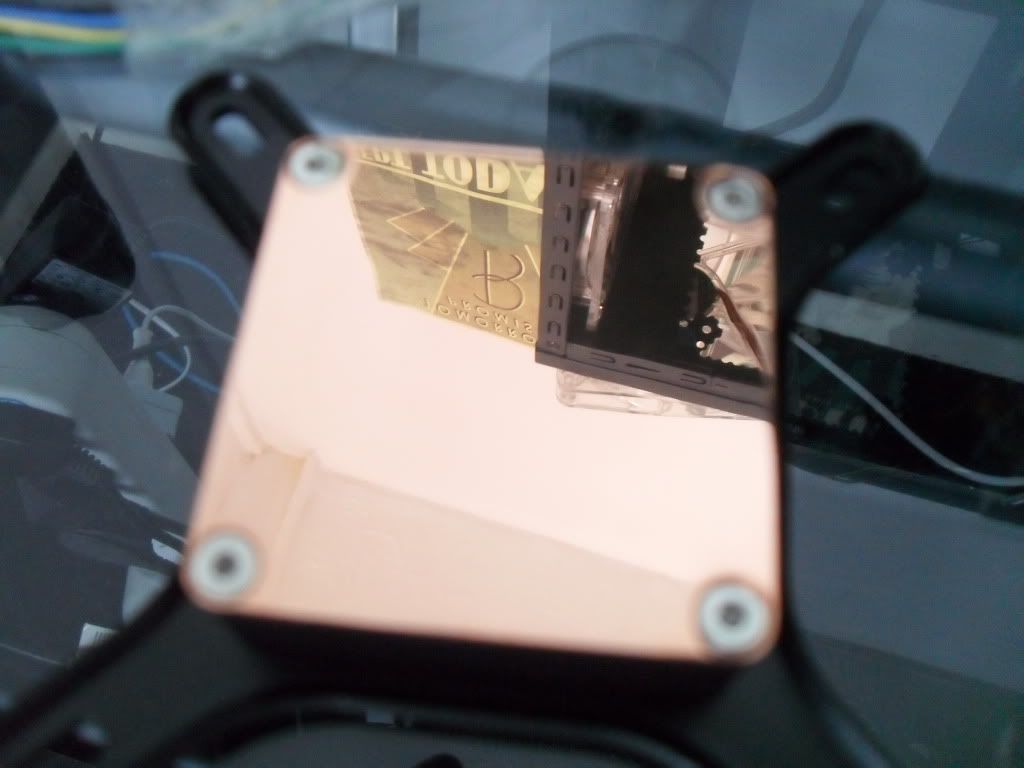
Now I was going to lap the CPU block but after seeing it there was no need it was very well polished.

SDC11731.jpg


So CPU block installed

SDC11732.jpg


Rad and fan installed

SDC11733.jpg


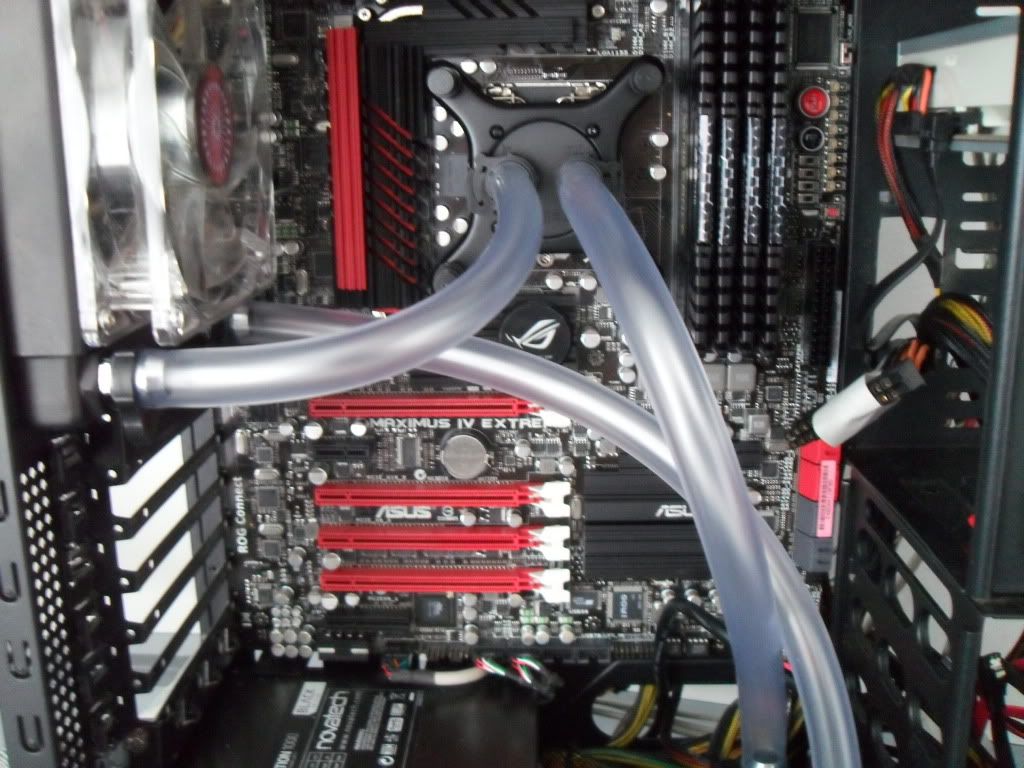
Tubing fitted

SDC11734.jpg


then i filled the system and leak tested it for a whole day.

SDC11735.jpg


And after no leaks where found i installed everything backinto the case and started her up.

SDC11736.jpg


I then went into the Bios and did a quick OC to the 2500 using the turboV mode and speedstep. Giving 4.2ghz oc and the ram oced to 1866mhz

And ran a few benchmarks

Untitled-1.png


And then I tested out the watercooling kit to see what it performed like with only a 120mm rad.

Untitled-25.jpg


Next time: :confused: To much heat from the GPU's in such a small case.
 
Well after having the PC like this for a few weeks. It cam to my attention that allthough the CPU was being cooled nicely. The amount of heat umped out by the two GPU's was causing themselfs issue's.

So their was only one thing for it realy.


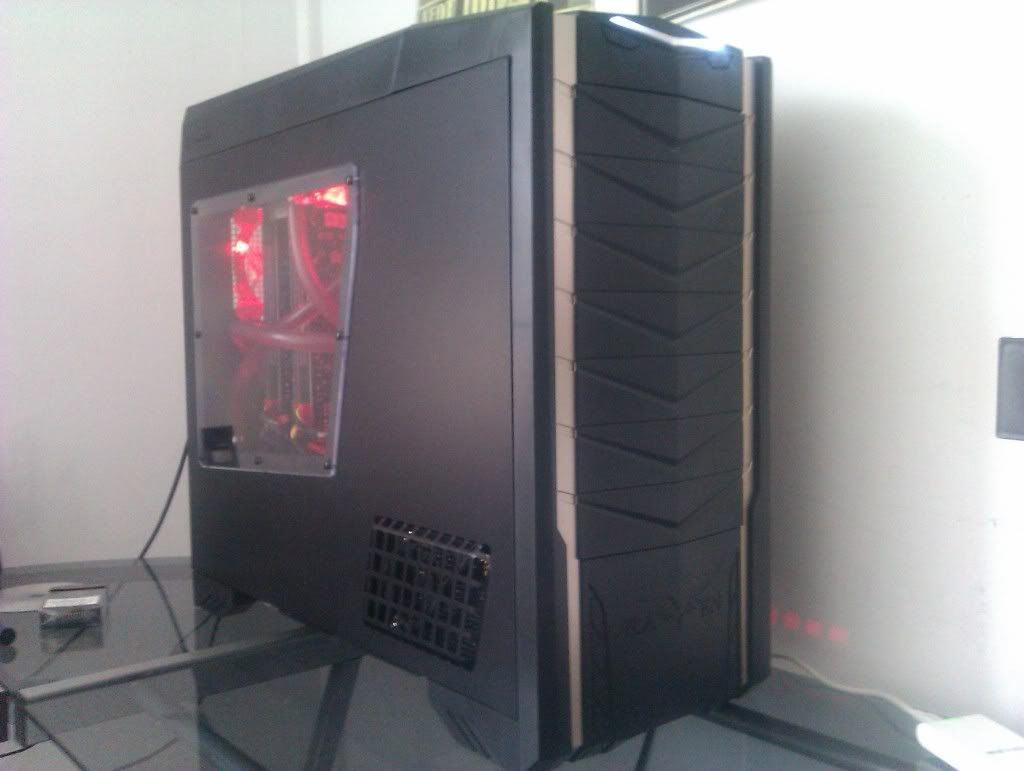
THE RAVEN RV03

:D

IMAG0023.jpg


IMAG0022.jpg


IMAG0024.jpg


IMAG0025.jpg


IMAG0028.jpg


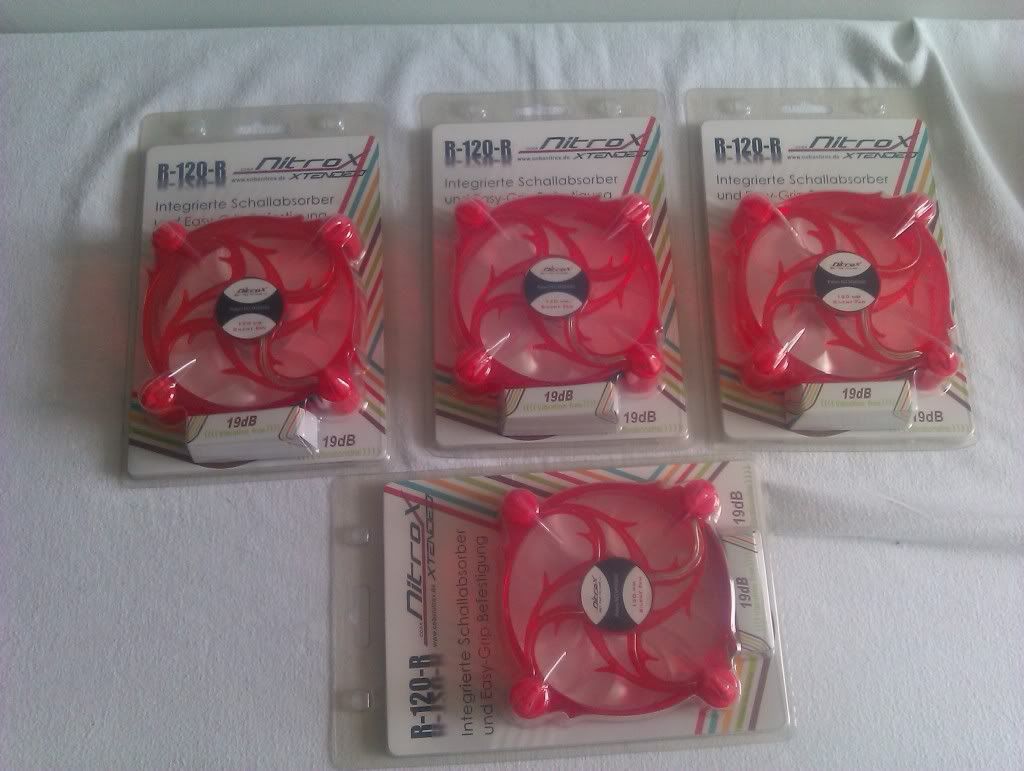
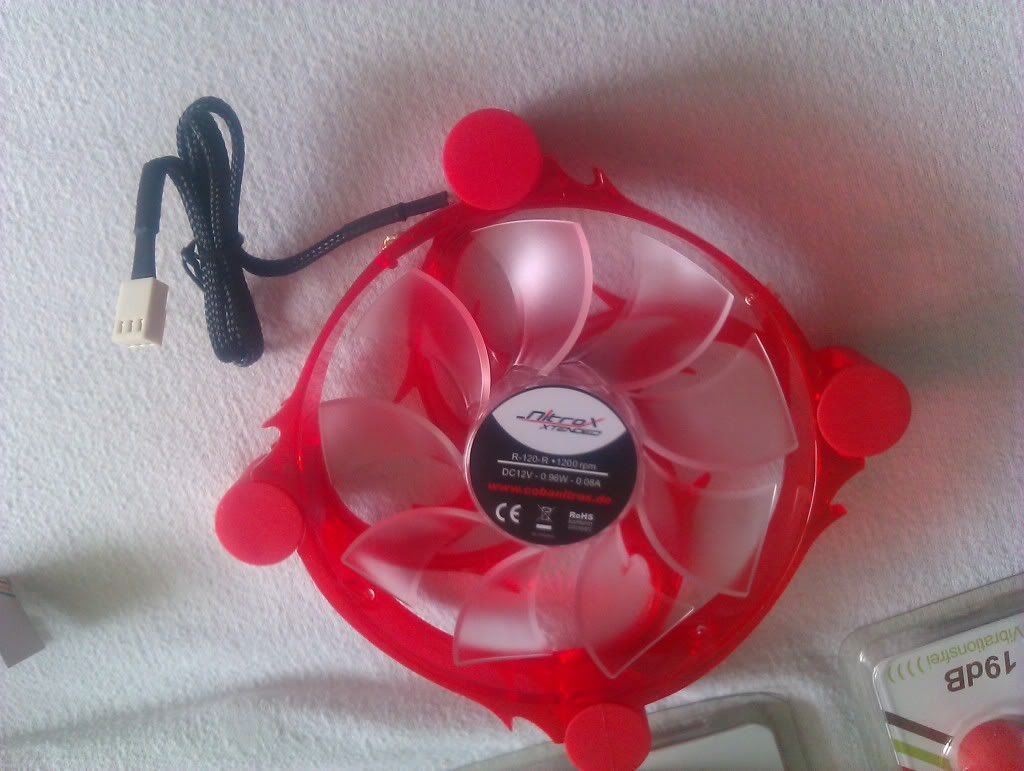
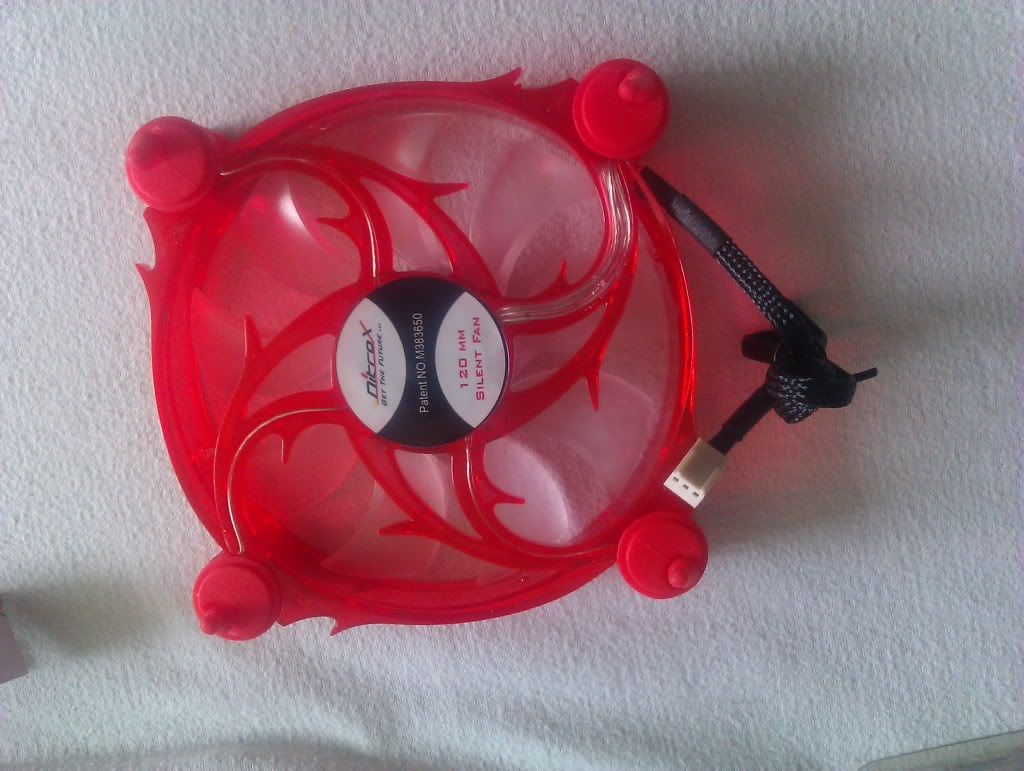
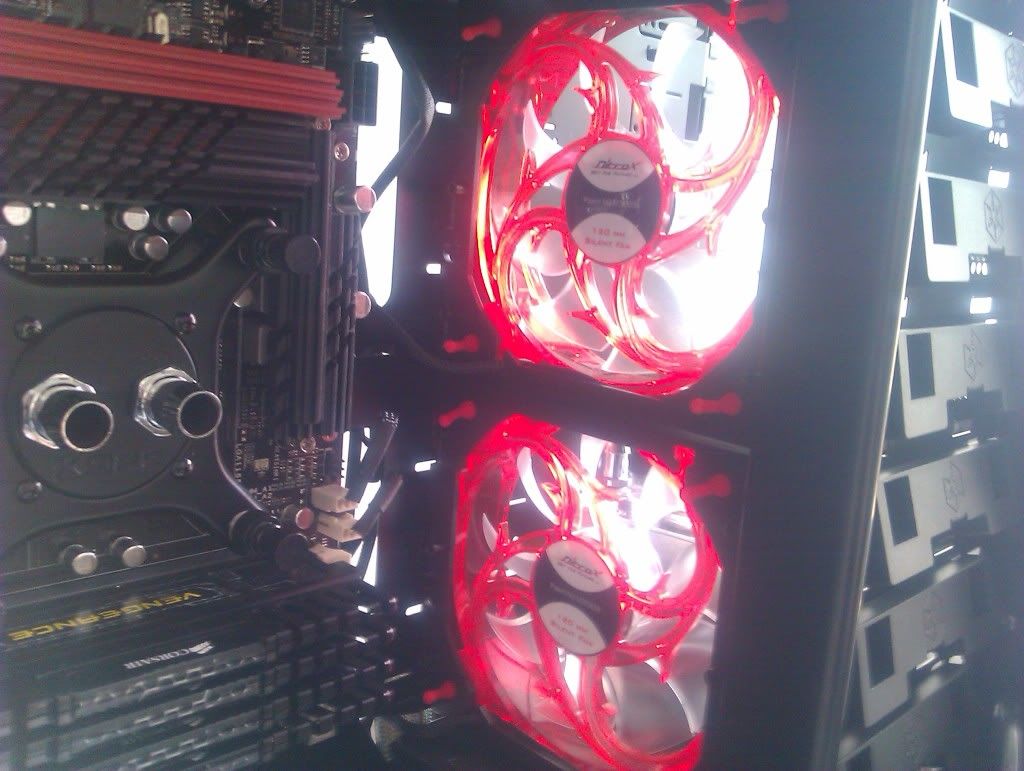
And some smexy looking fans to go in it as well

IMAG0029.jpg


IMAG0030.jpg


IMAG0031.jpg


IMAG0033.jpg


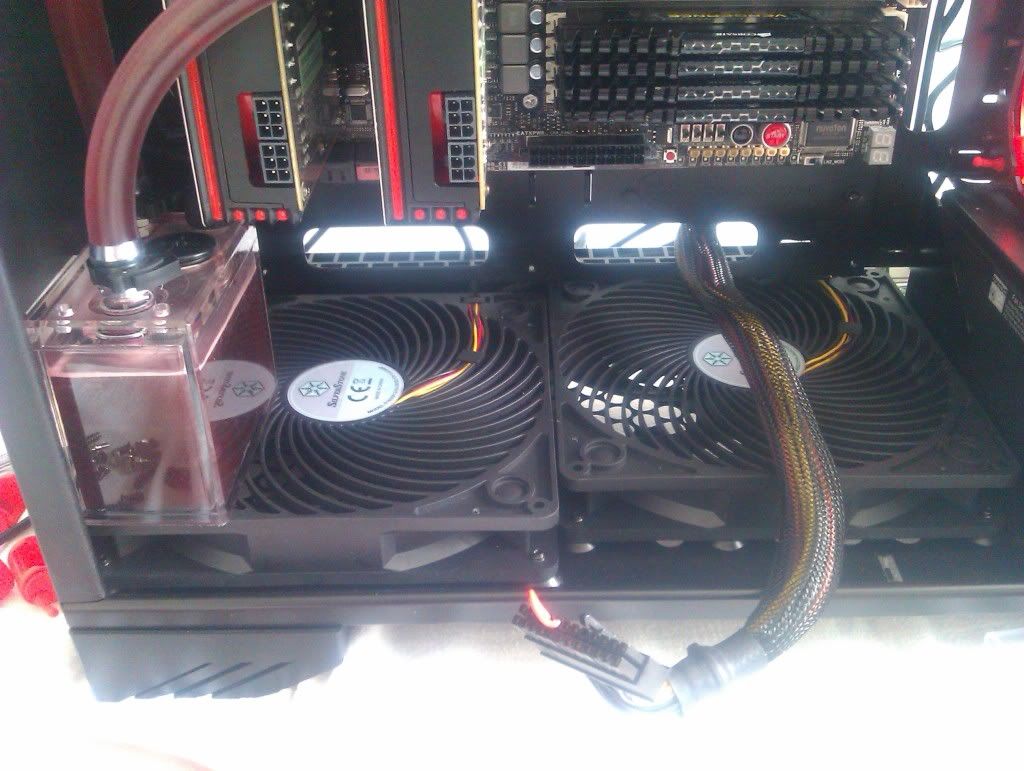
Well theirs deffinatly a lot more room

IMAG0035.jpg


IMAG0036.jpg


IMAG0034.jpg


IMAG0038.jpg


IMAG0037.jpg


IMAG0043.jpg


Next time: Something not quite right with this case.
 
HMMMMM something is missing here

IMAG0039.jpg


I know what it is.

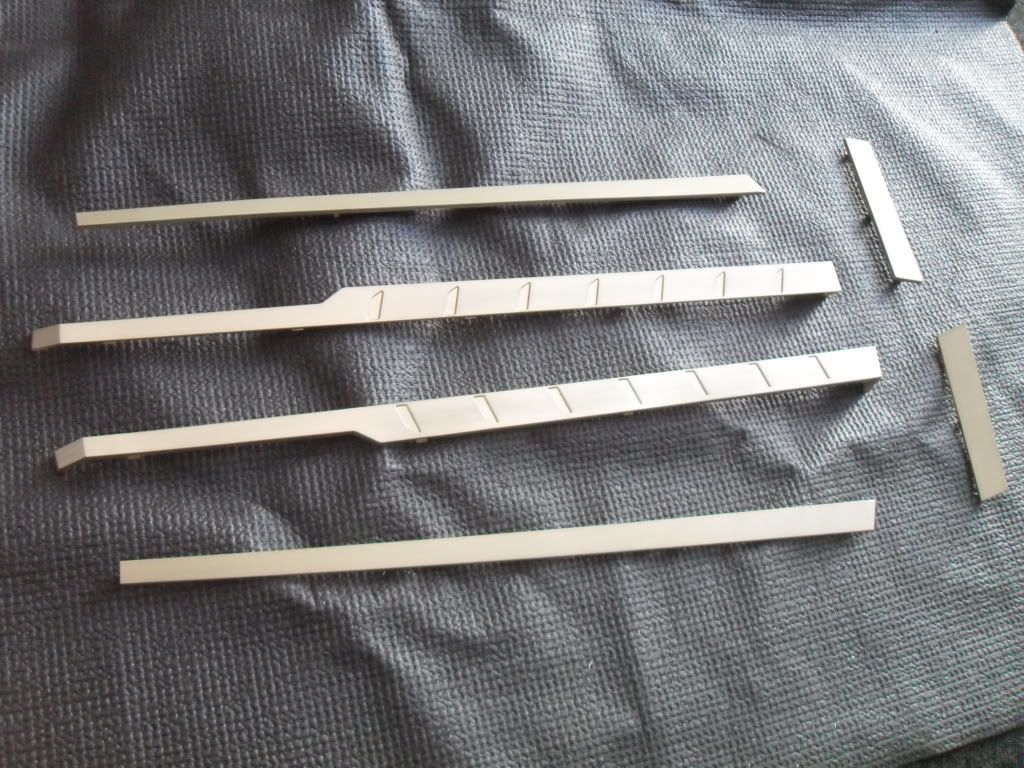
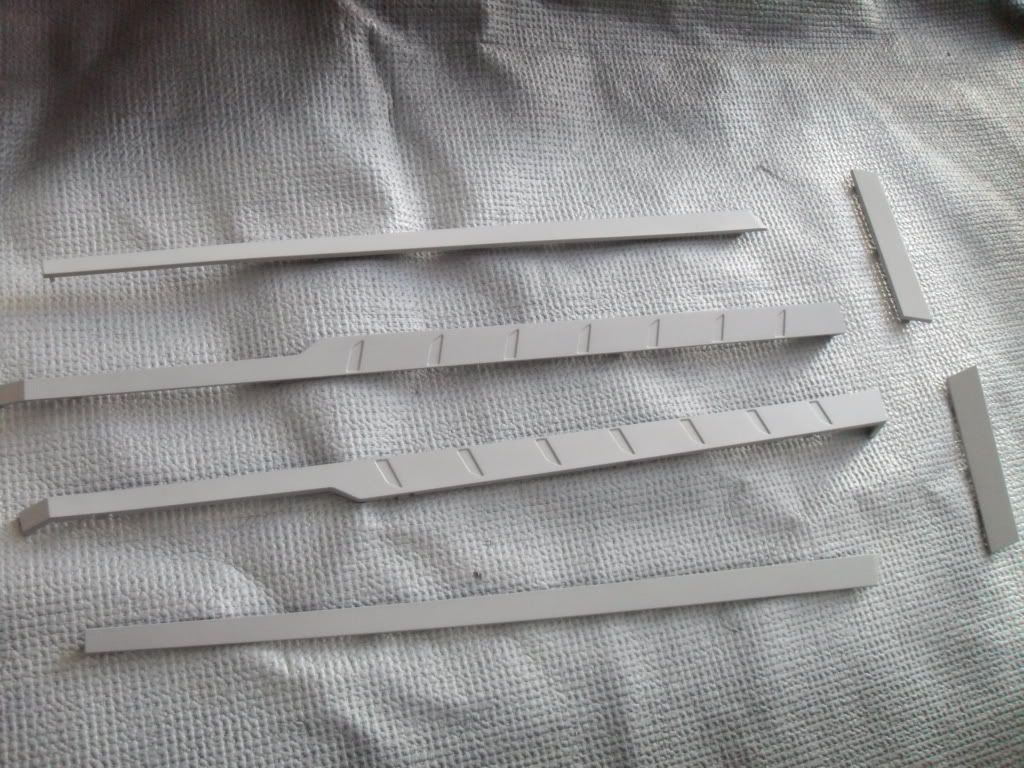
Gold stripes removed.

SDC11866.jpg


sanded down.

SDC11868.jpg


Primed up.

SDC11869.jpg


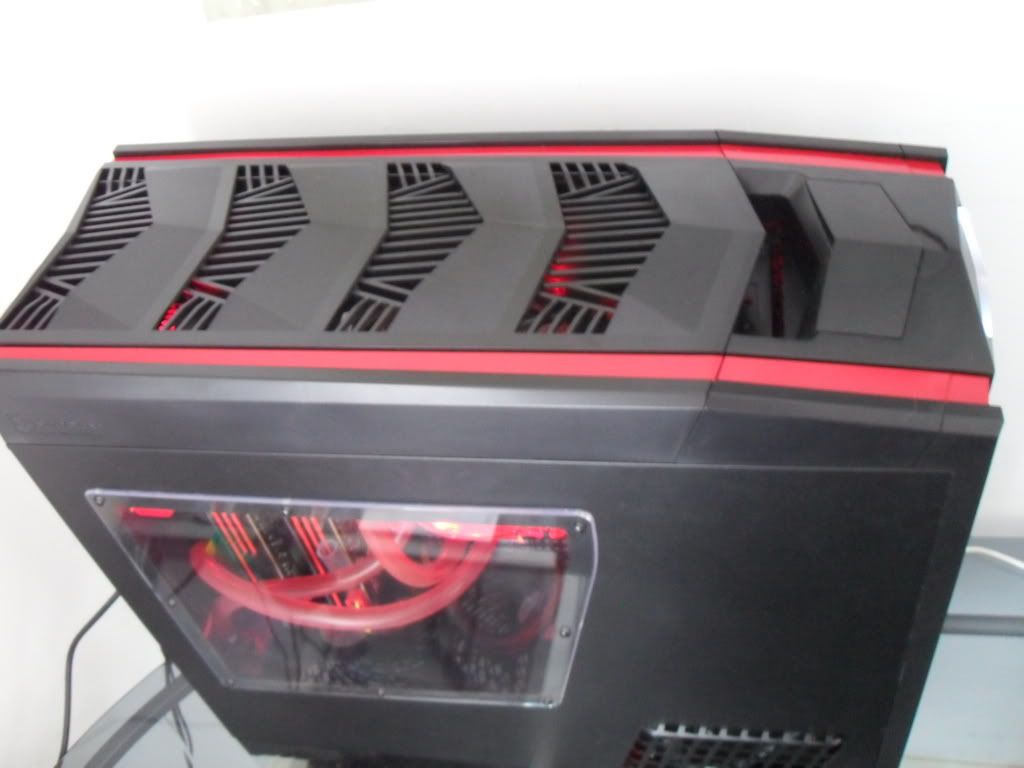
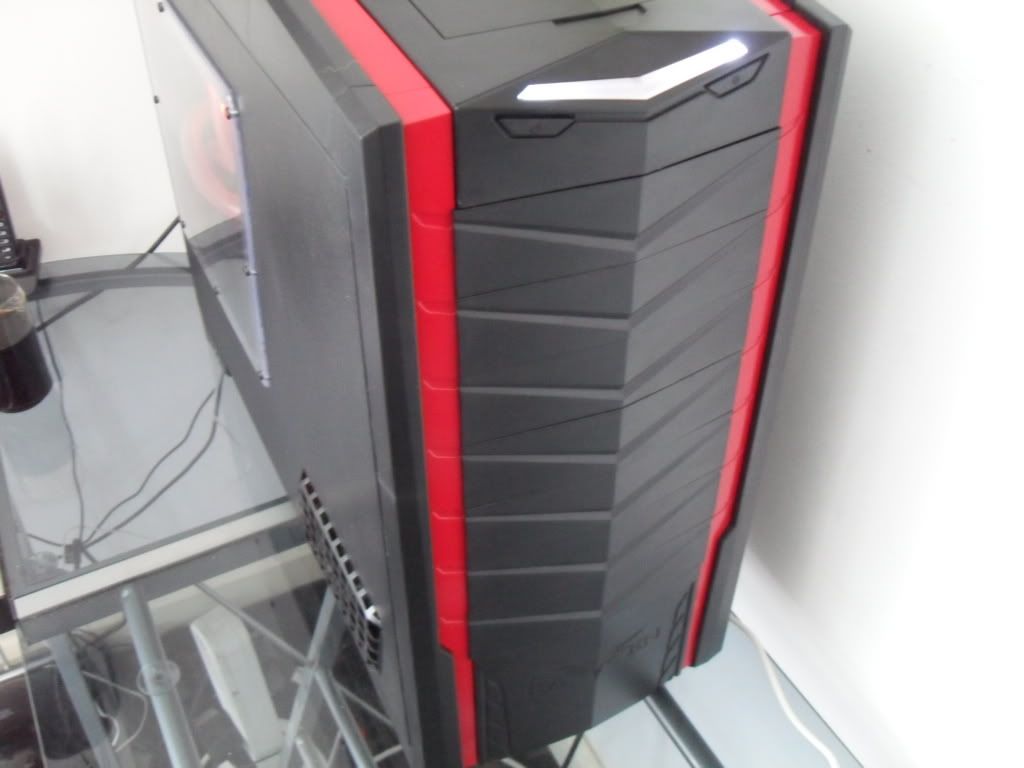
And then a few coates of shiney honda RED lol.

SDC11871.jpg


Now this is more like it.

SDC11875.jpg


SDC11874.jpg


SDC11873.jpg
 
Ok so basically I am pretty much cought up on here as to where my rig is now.

Apart from these.

SDC11882.jpg


And the addition of my new pc chair in matching colours. (modelled by my 5 month old Corey)

299461_10150356081005272_549355271_10256604_4331169_n.jpg


And it seems as though Corey is happy with it atleast.

301141_10150356080065272_549355271_10256603_5452463_n.jpg


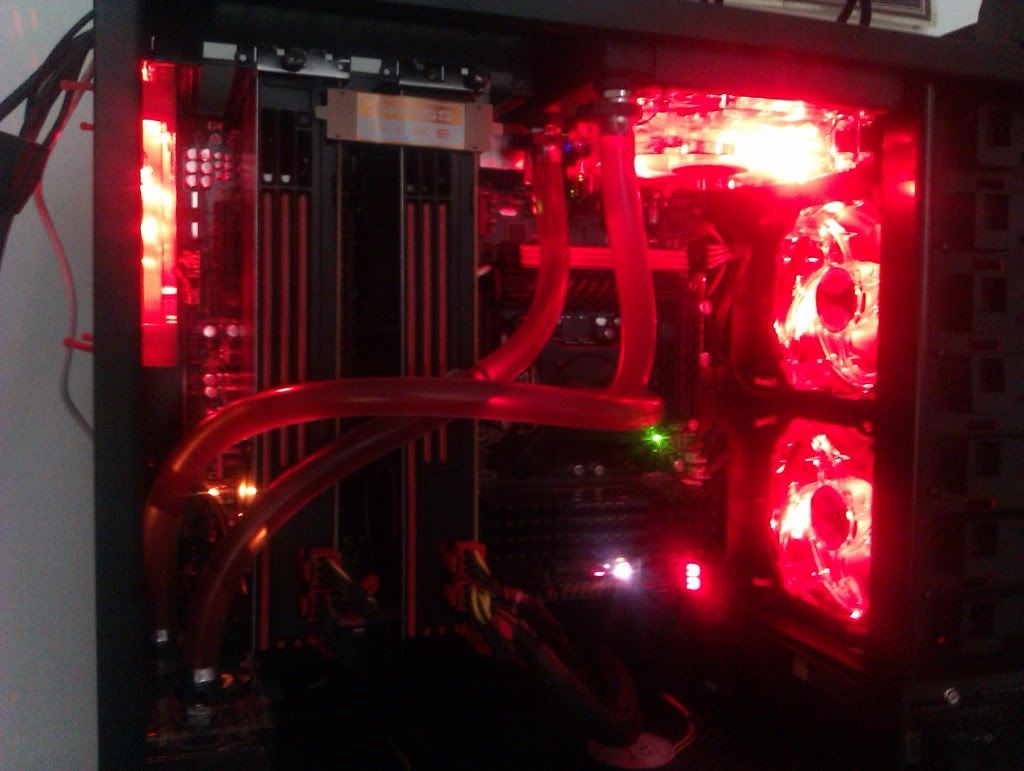
Now tomorow or tuesday I should have a ton of black tygon tubbing. A 240mm X 60mm phibya G-changer rad to replace the 120mmX30mm rad. And some black dye.

Now i just have to get some bitfenix fittings and get them chromed in red :D

Hope you like the rig so far.
 
Nicely done! what is that applications on your desktop, the bar with loads of apps/games on it.
Like the theme of it + the chair!

it is rocketdock + taskbar remover + rog skin.

then i found some icons i liked most of them from rocketdocks site and diviant art.#

he icons pop up bigger a bit like OSX icons when you mouse over them.

Untitled-26.png
 
Right, well i decided to give my self the day off today. Joys of being self employed lol. As I am expecting my delivery for my new rad and tubing anytime now..............ANY TIME NOW!!! Nope didnt work.

Anyway wile im waiting for said items. I thought i would do a few bits to the case, thgat have been bothering me.

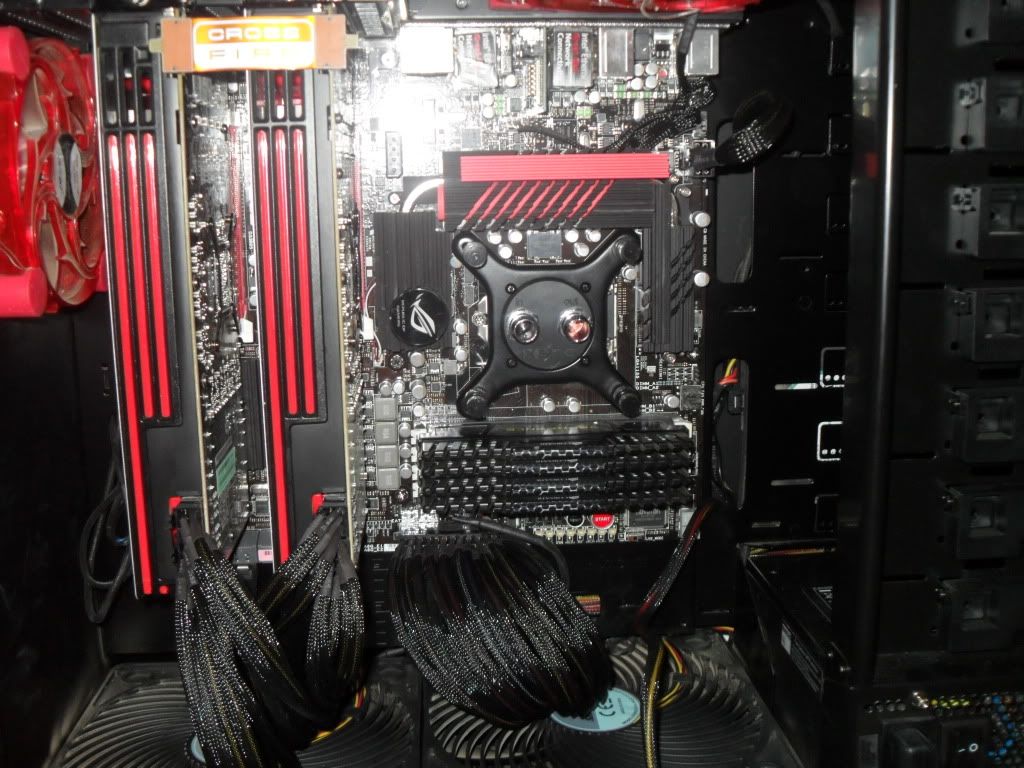
Firts of which is to fit the Phobya pre modded cables. I was going to do my own cables. But i needed extention cables for the GPU's anyway and they where so cheap it i just went for them.

SDC11996.jpg


Fitted they make such a great difference. they have a very dence weave so you can barely see the yellow wires that they are hiding.

SDC11984.jpg


And that picture brings me onto something else that has been annoying me.

On the motherboards heatsinks their is the little ROG logo that lights up. Now because i have the raven case. this logo is now on it side. Its a tiny tiny thing but its niggling at me.
After having a look it is basically just stuck on with sticky pads underneath. So I whiped it off. turned it the right way up and restuck it.

SDC11989.jpg


RESULT.


Also one thing the raven case is deffinatly lacking is rubber gromets. much cheaper cases than this supply them. so i was a bit miffed that it did not come with them.

SO what can i use to block off the holes that allow you to see into the rear of the case....................

CARBON BABY.

OH YEAH!!!!!

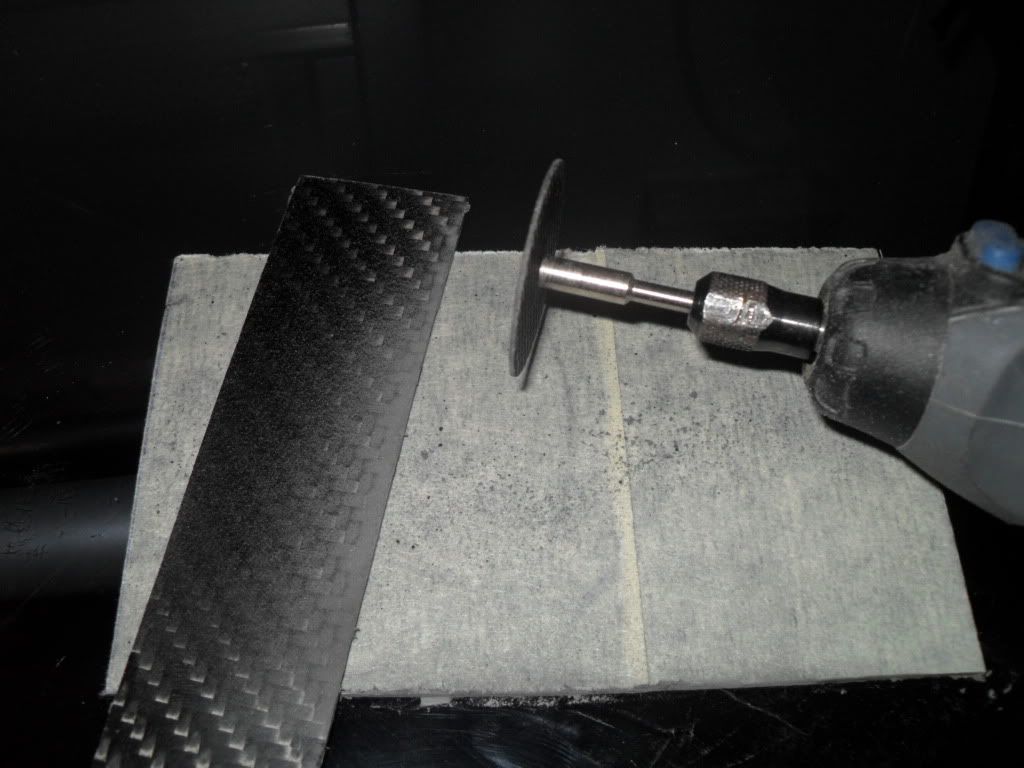
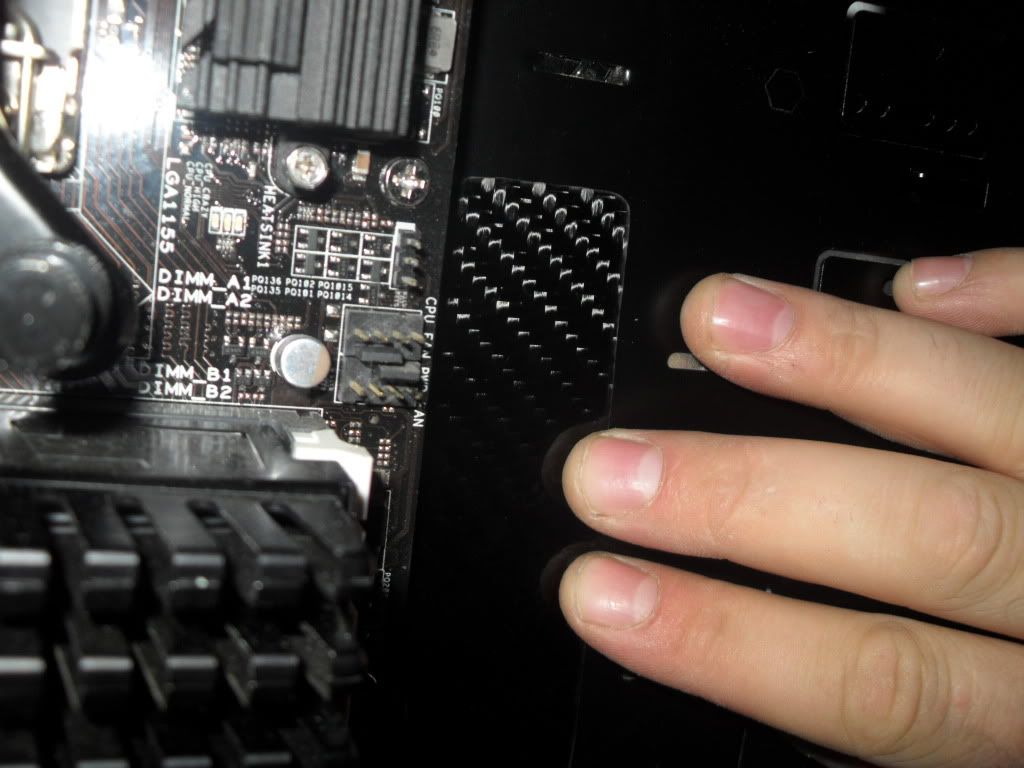
So got the dremel out and cut a few strips of it. Sanded down the edges and then used car polish to seal the edges. (very important this, as carbon fibre is like a compressed spunge. and it like nothing more than to soak up[ an moistoir in the air. so on these cut edges you need to use wax or polish to seal them up. so they dont do it. As once carbon starts to blow. their will be splinters of it all over the place if you dont get rid of it before it fully delaminates) Wow uber bracket sentence their.............. moving on.

SDC11999.jpg


SDC12000.jpg


Carbon fitted please note fingretips will be removed after the glue has gone off.

SDC12002.jpg


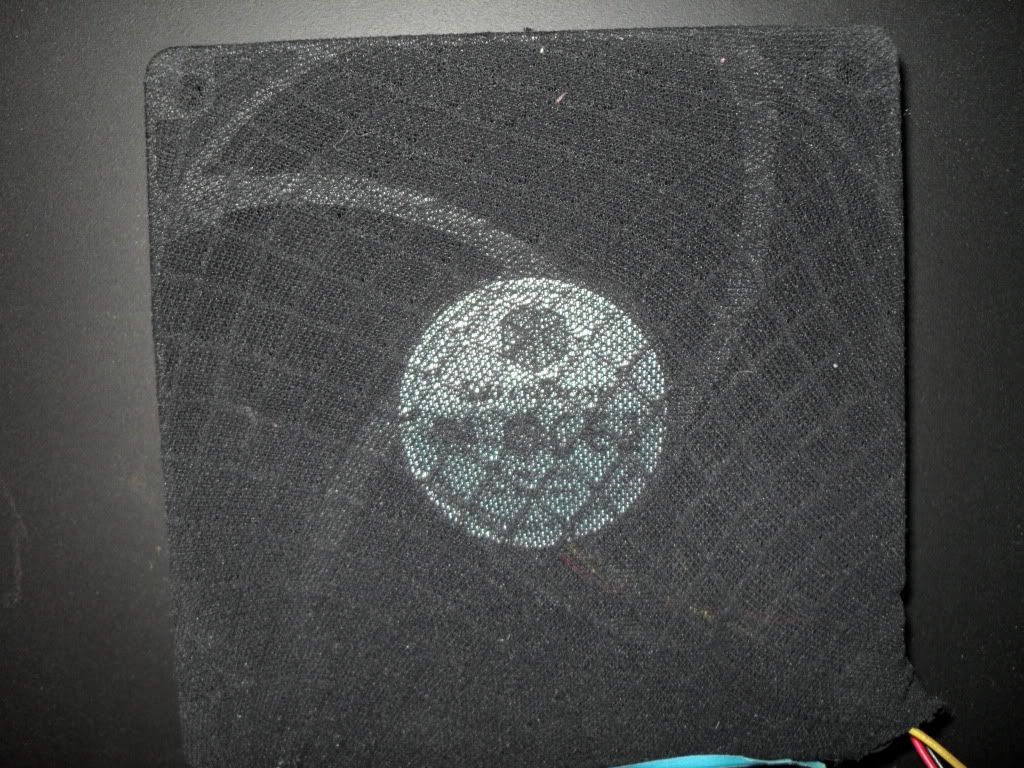
Next on the agenda is the rear fan that blows aironto the back of the MB and also provides the hdd's with some extra air to breath.

Problem is this fan is unfiltered. and so blows all sorts of dust into the back of the case. Not good.

So after a brieth stealth mission (I still got caught) I found a pair of leggins. Cut off one of the toes and streatched it over the fan. mounted the fan in place and it looks all hunky dory. She will never know. Untill she found the pair of leggins with no toe on one side and a pair of scissors next to them. :eek:


So after a breith discussion about me not needing to ut up her leggins if she would dust a bit more often, i woke up in intensive care. and am now on a soup only diet. but hey the leggins work great as a filter. lol

SDC12005.jpg


SDC12006.jpg


So now thats all done im just gonna sit here brows the forum untill me new bits turn up. :D
 
Well My nice package arrived dead on the time i was emailed from where i brought it from.

SDC12007.jpg


And its contents.

SDC12008.jpg


4m of black tygon tubing
2ltrs of mayhems oilblack coolant.
240mm X 60mm phobya g-changer

the rad

SDC12010.jpg


next to the old one

SDC12011.jpg


Fans fitted to the rad

SDC12012.jpg


Rad fitted into the drive bays

SDC12013.jpg


All piped up and ready to go

SDC12014.jpg
 
very nice build! :)

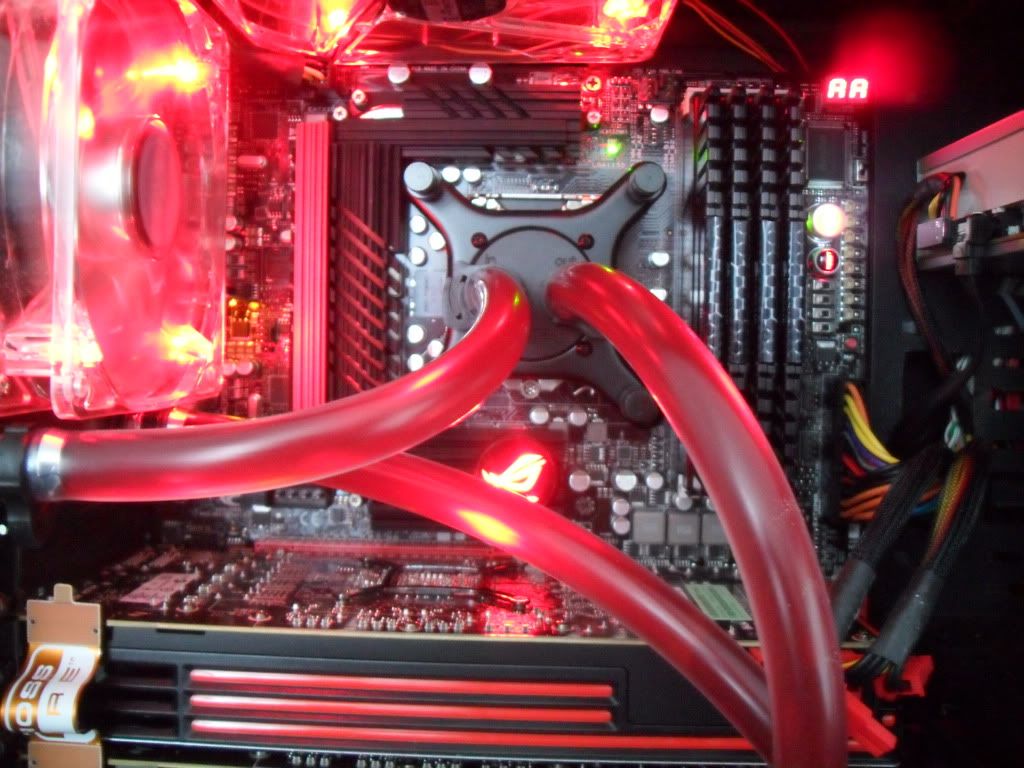
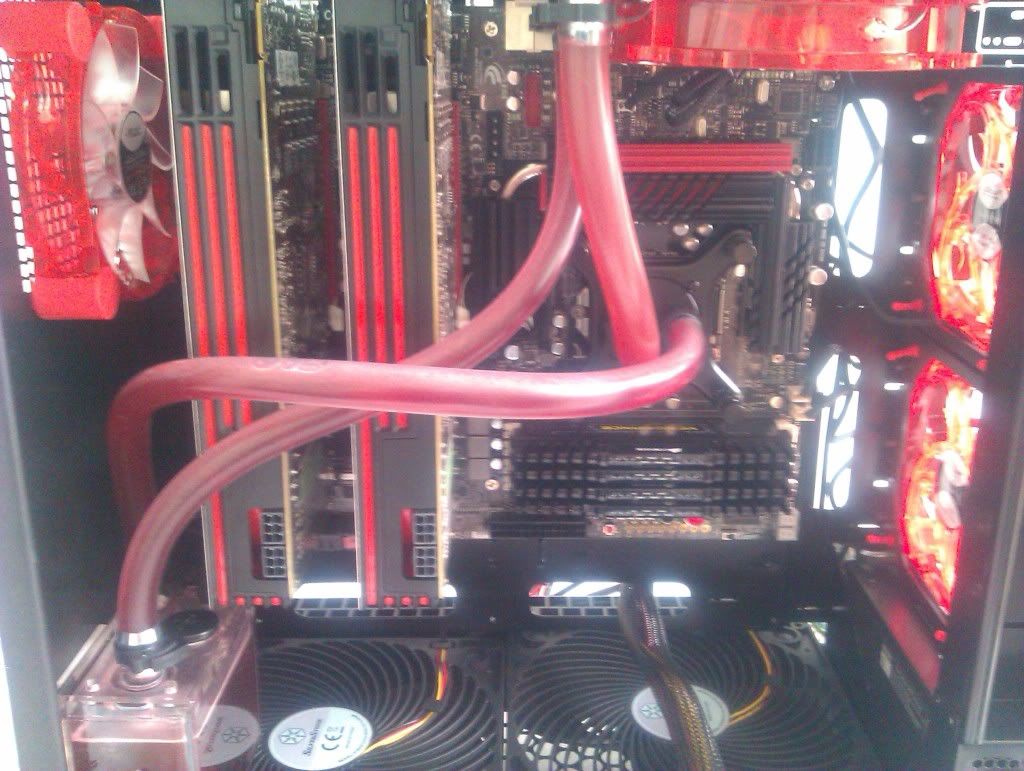
looks better with red tubing though imo

at present it does. but not by the time i have put red chrome on some bitfenix fittings.

and fitted 1 of these.

9047.jpg


:p

But on the bad side. I just had to RMA the motherboared.

Came up with 30 on the led poster. meaning "system is resuming from S3 sleepmode"

and thats all it would do. everything was working all the fans where spinning etc. tried removing ram and graphics cards. tried doing a static discharge. tried booting into the secondary bios. reset the bios. hard resetted the bios using the jumper. nothing would work.

So had to take it back to the shop i got it from. and i have been told it will be a 28 day wait. OH WONDERFULL. so i am on the lookout for a chepo 1155 mb so that at least im not having to use a damn sempron 3200+ that i dragged out of a cupboared and made a make shift computer out of lol.
 
Last edited:
Using emachineshop I desighned a bracket to properly secure the rad in the front of the drive bays.

It is being made out of 2.2mm 303 stainles. and then having a brushed finish applied to it.

I did toy with the idea to use 4mm perspex and then light up the edges with Red LED's.
Still undicided on this though. So i orderd one in stainless and one in perspex.

radbracket3.jpg


radbracket2.jpg


radbracket1.jpg
 
If the connectors are at the top how do you get them to the monitor.
Also did the PSU have any trouble reaching?

Connection's from the top to the monitor?

I assume you mean the DVI lead from the GPU to the monitor.

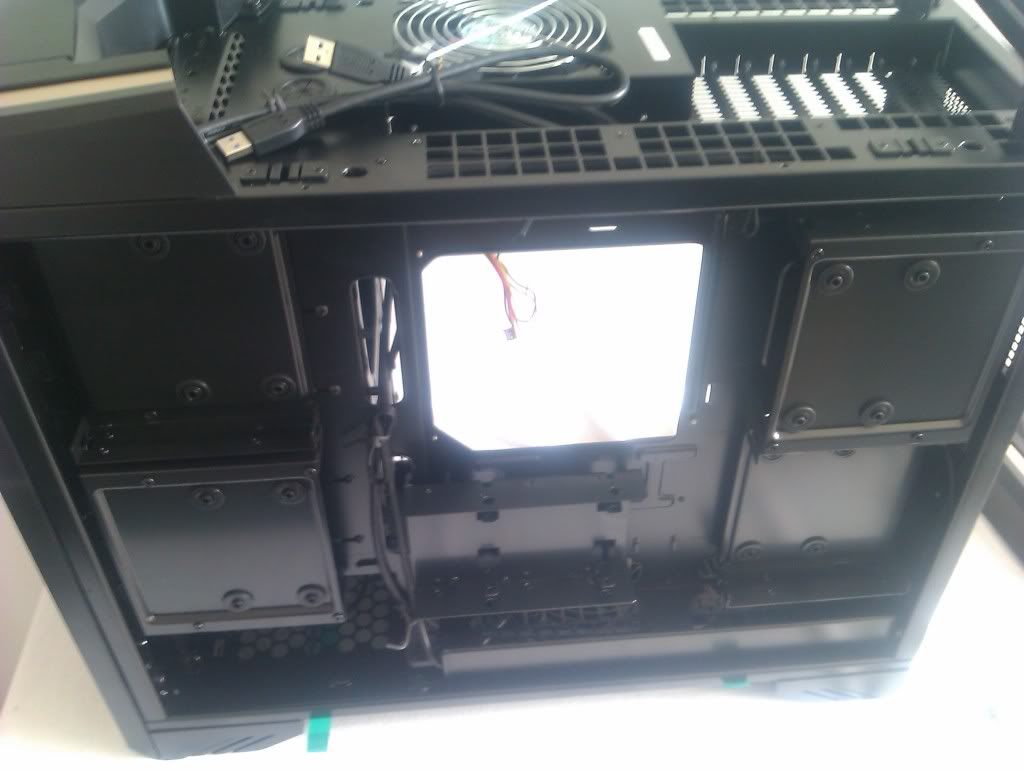
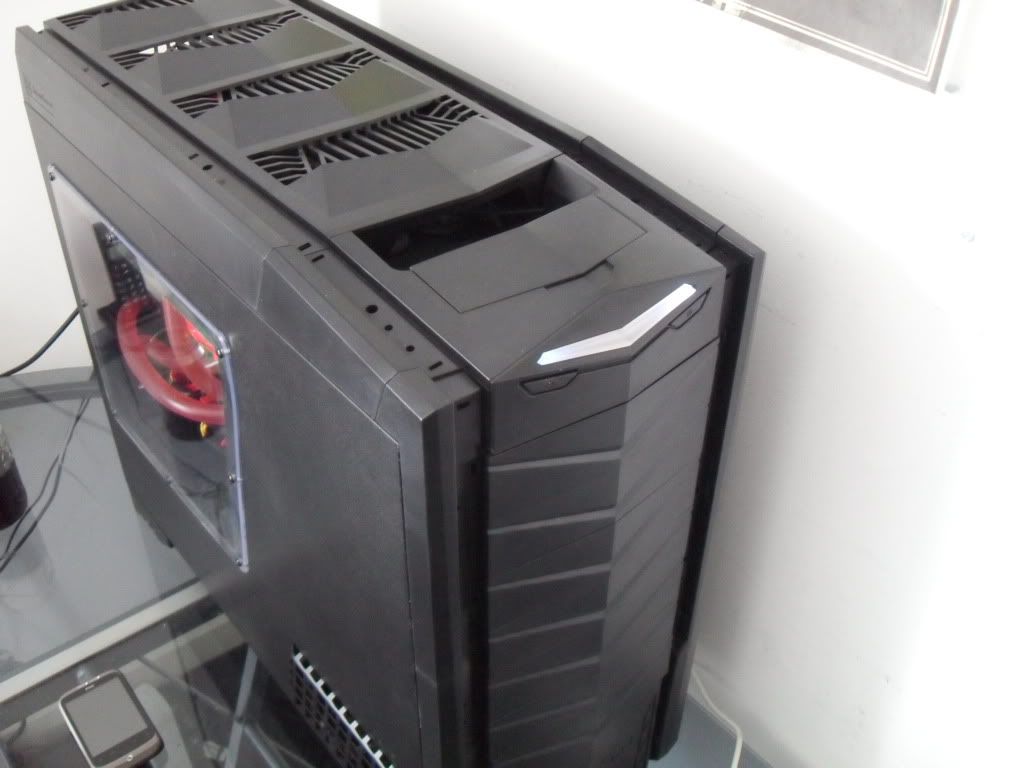
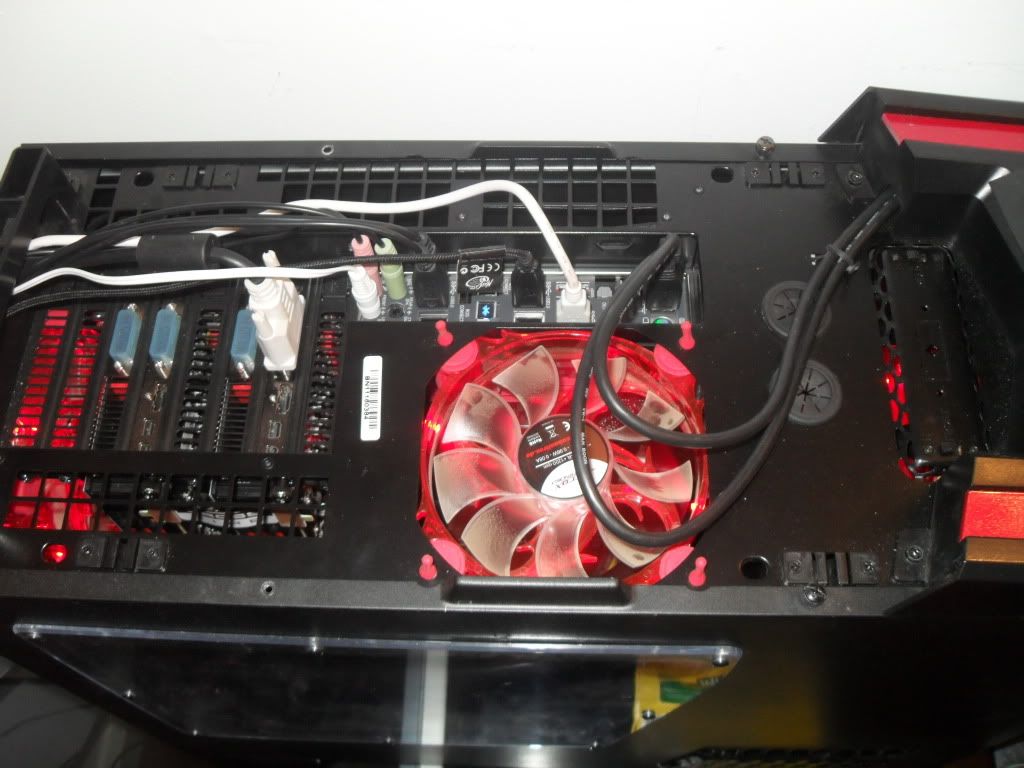
Well if your remove the lid of the Raven this is what you see. Just like the rear of any case realy.

SDC12025.jpg


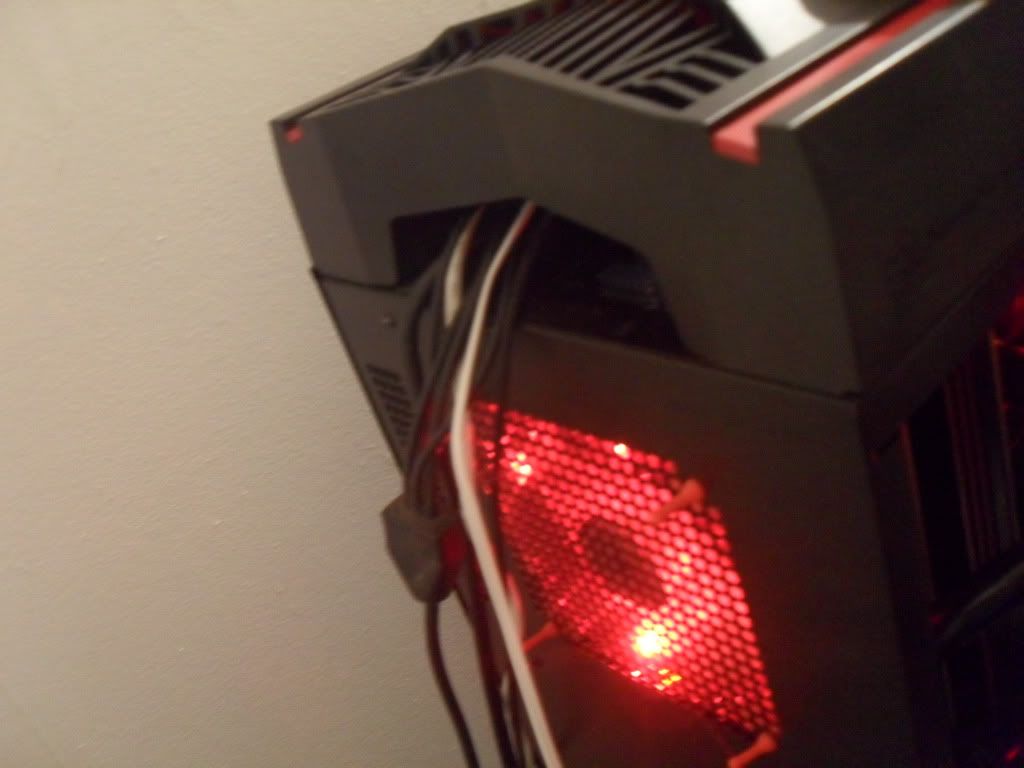
But their is pleanty of room under the lid to rout the cables to the reaer of the case where they go under the carry handle and out the back.

SDC12033.jpg


as for the PSU for the most part yes, al the cable reached however the pcie powercable where a streatch. hence why i went for some phobya pre modded cables. and being as i was buying them as extentions for the gpu's i weant and got them for all the showing cables.

BUT good news Asus sent me a nice new motherboared to replace the one that randomly died. Just so happend to die on me wilst fitting a new radiator making me think i did something wrong lol.

So a couple of random photos.

SDC12026.jpg


SDC12030.jpg


Next on the egenda is fitting my stunning res. and fittings.
 
i LOLed when i saw the intel stock cooler along with a maximus extreme :D
how come your not watercooling the 2 cards?
and tbh, i prefered the clear tubing with red dye.

The cards will be watercooled soon. its just finding the 5870 blocks that i actualy like lol.

It black as when i fit the res their will be way to much red in the case. also going to be Red fittings to go with it.
 
Back
Top Bottom