Alright, it's clearly past time I made some actual progress. So I've lopped a chunk off that bar of steel - didn't like the idea of trying to spin a 10kg block in a small machine!  Also didn't like the idea of cutting it by hand so I went rummaging in the loft for the bigger bandsaw!
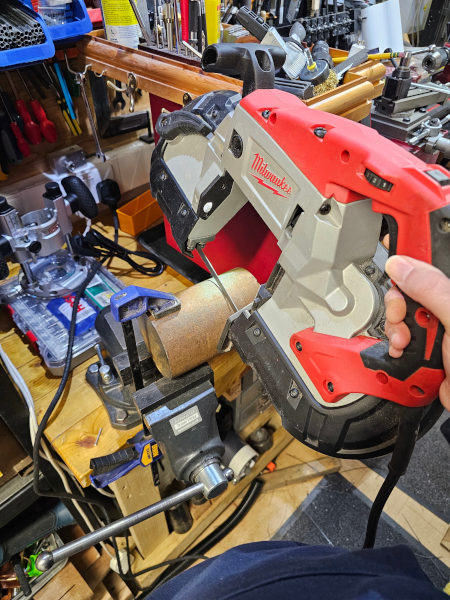
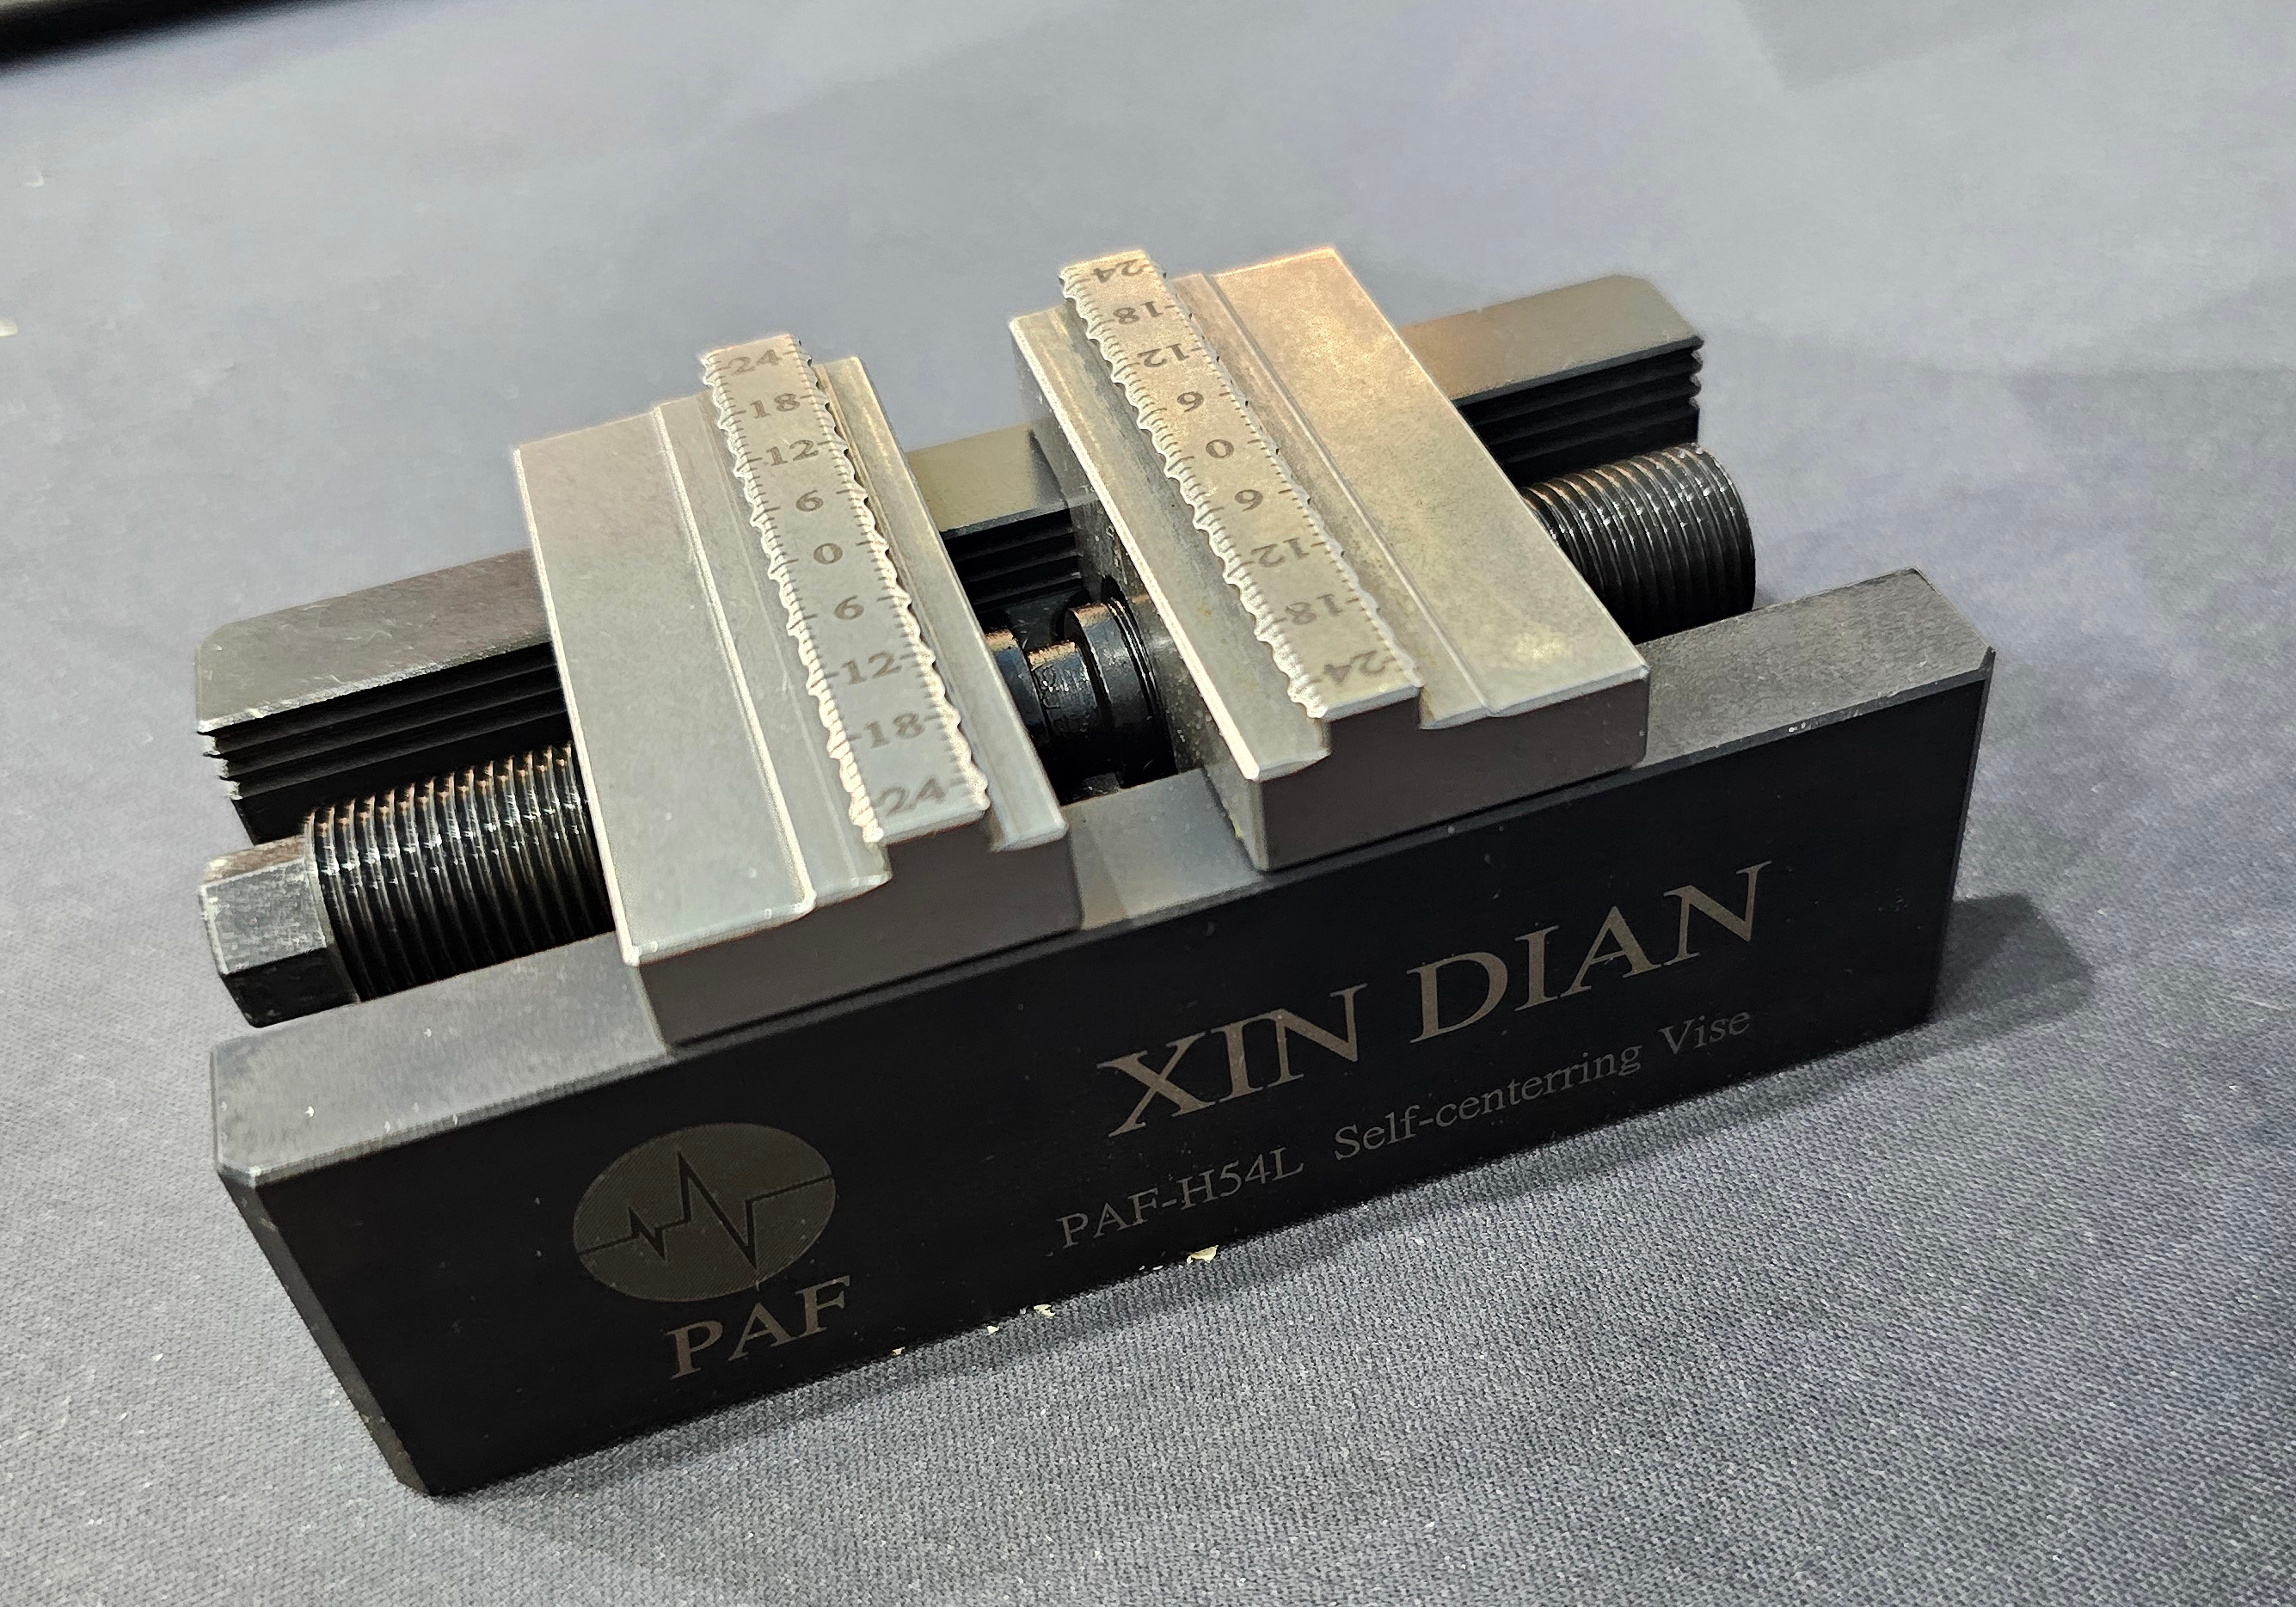
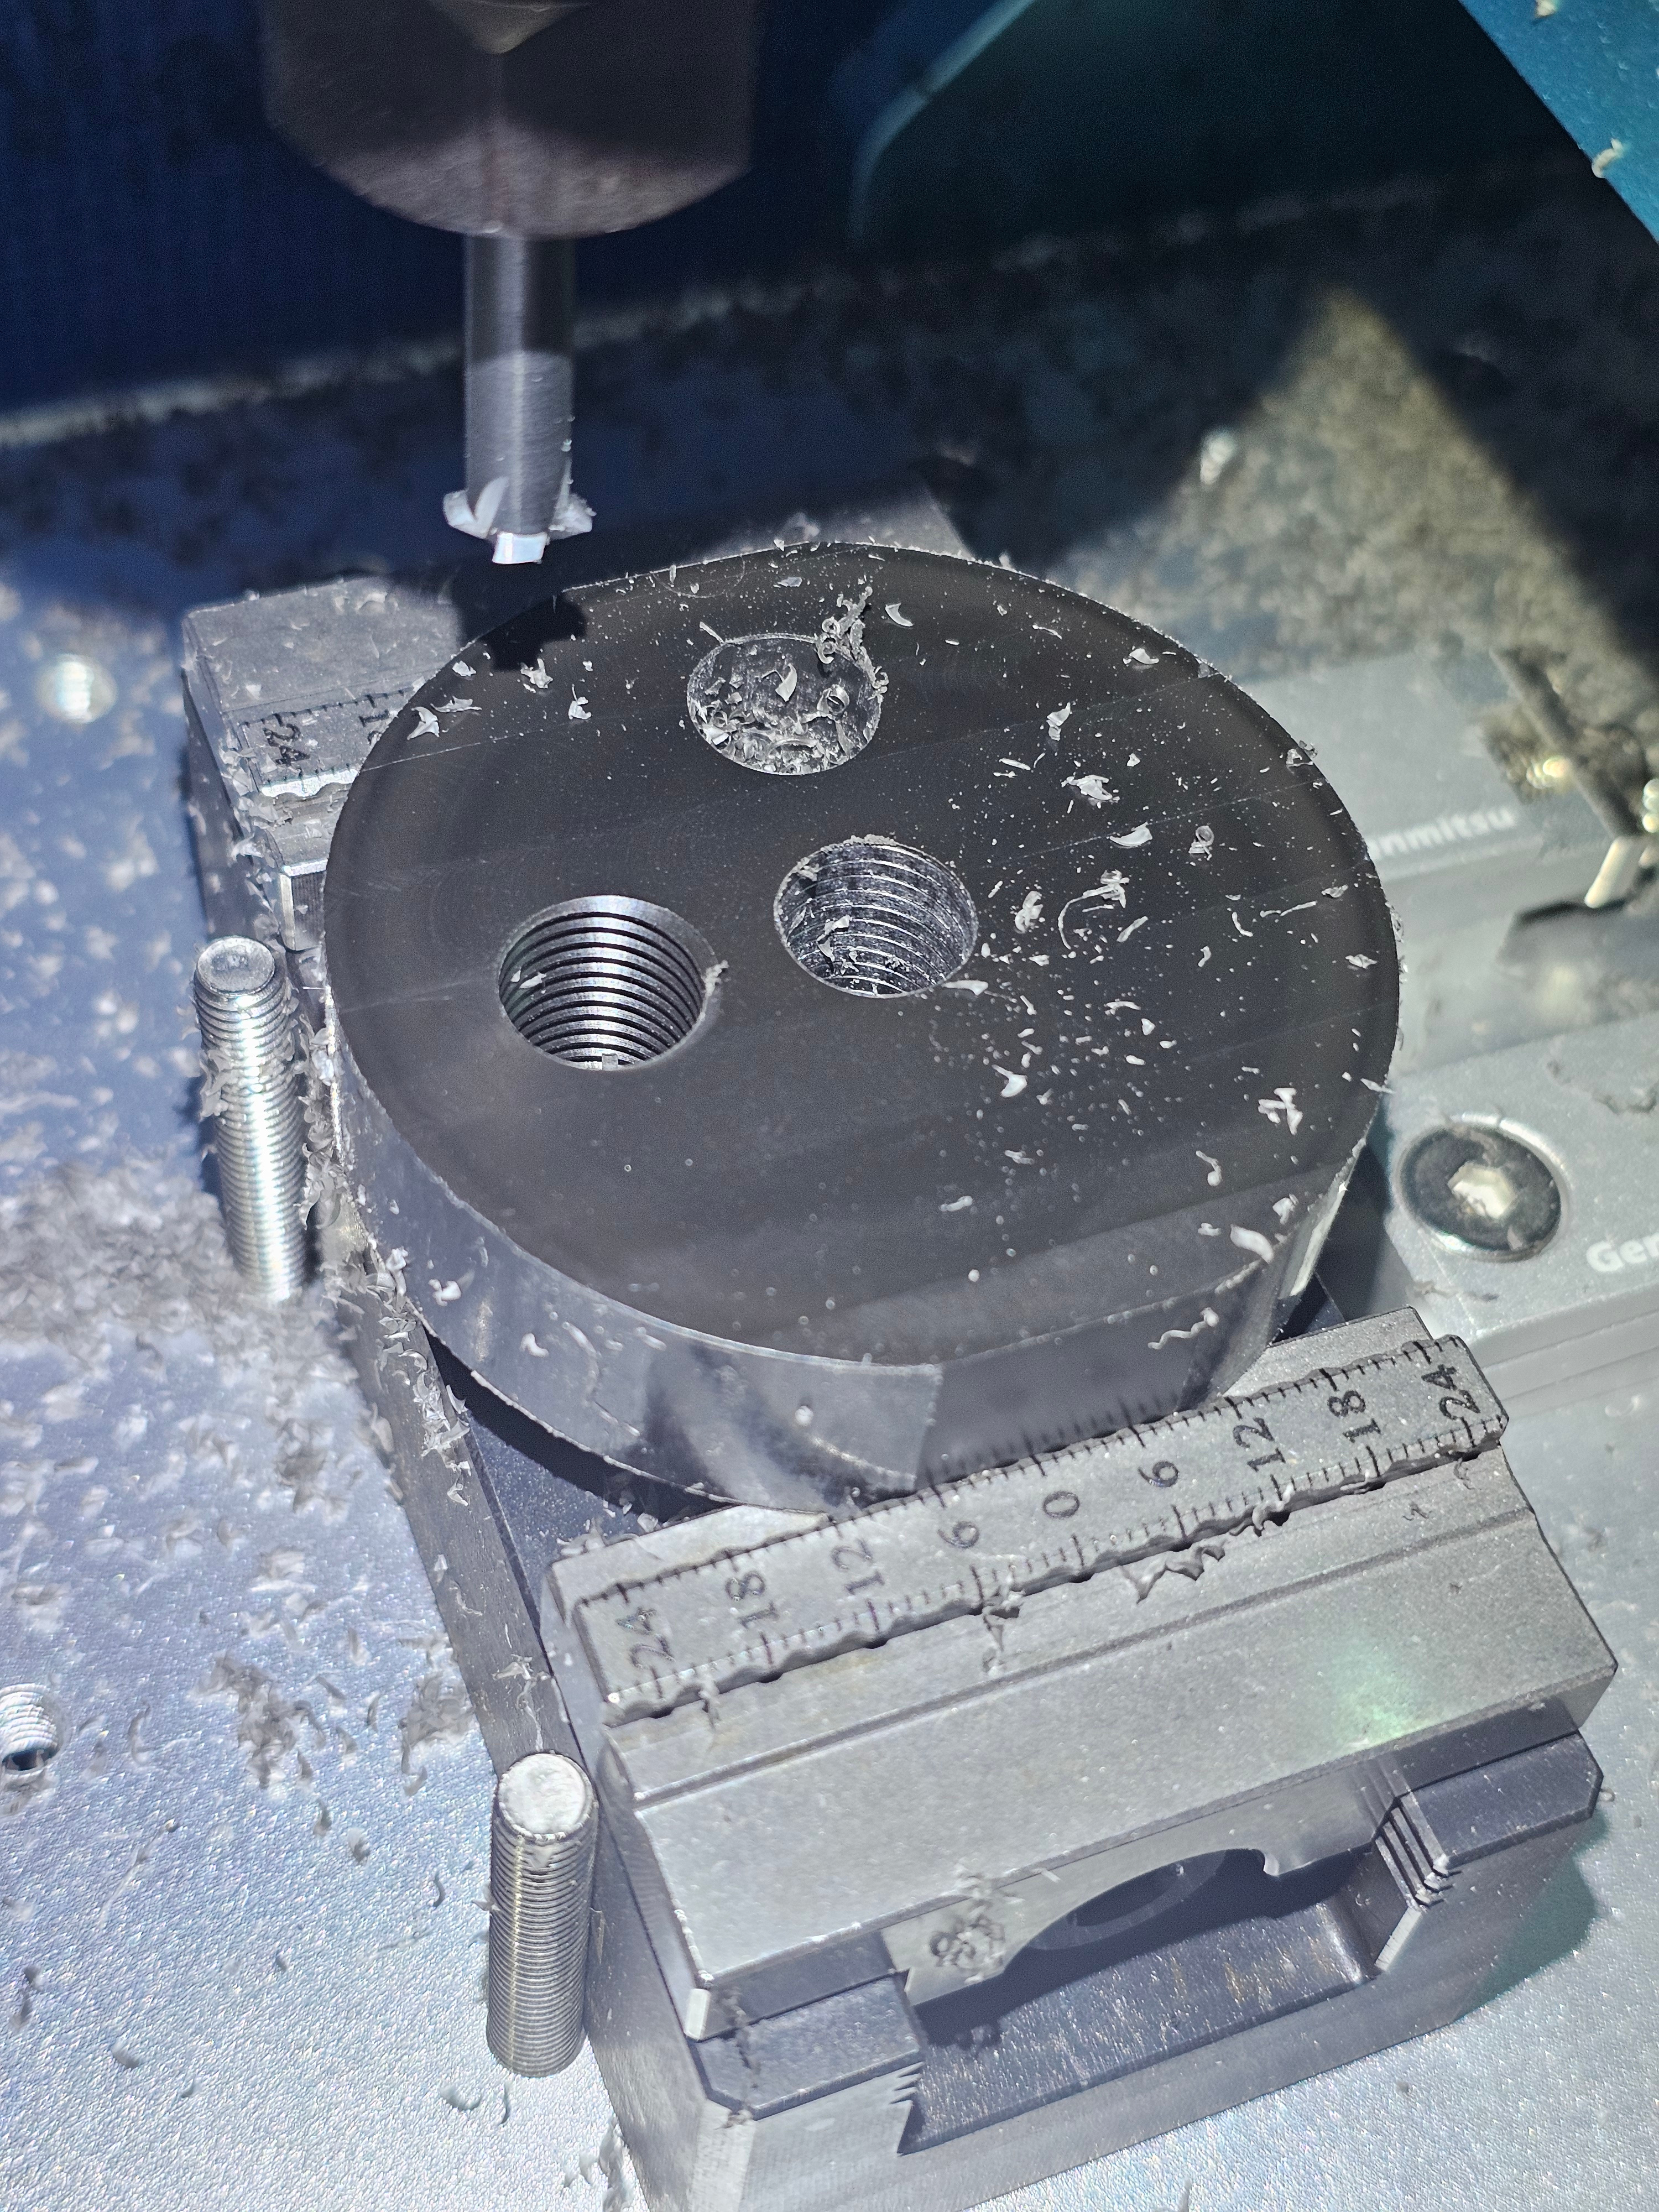
That's not how you use a vise stupid! Yeah, well it worked didn't it?! It did technically fit in the jaws if I removed the 3D printed softjaws but it was so damn heavy that it would only have stayed put if I'd clamped down on it hard enough to leave bit marks in the end. This way I get three points of contact and no marring.

You call that a clean cut? Er, no...I call that a got bored and tried to speed up the cut by rotating the piece (which does work) but it didn't track very well and the result is a rather hacked off lump....which totally doesn't come to bit me in the arse in a bit!
Let it snow, let it snow, let it snow!
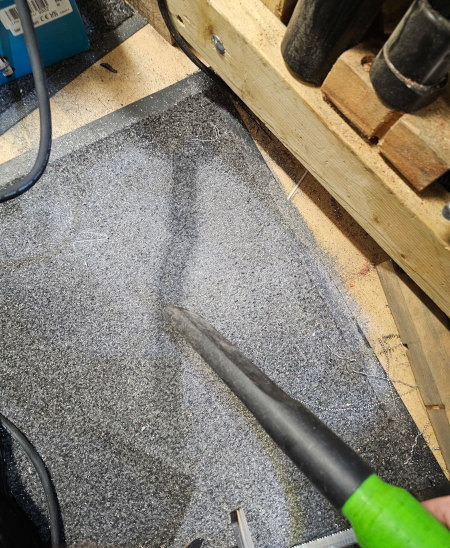
...and this is why we have a shop-vac! ...and yes, that's a 3D printed adapter to mount a cheap crevice tool and a cheap brush tool rather than whatever ridiculous amount Festool want for such things. Why Festool if price is a concern then? Well, put simply, at the time it was the only rectangular one I could find and it perfectly fit the gap between the end of my workbench and the wall. Dead useful for not dying horribly and prematurely by breathing in all the dust from various cutting/sanding/cleaning type ops. Would recommend to anyone wanting to live longer than next year!

Mounted, trued up, painted red and facing off the end. This is where it bit me. The diameter here is 100mm so with larger diameters, the outer edge (the diameter) is moving faster for any amount of rpms than a smaller diameter bar is. So you can spin a 10mm bar at 1,000+ rpm and face off the much smaller end in a flash but try that on this and things will break....in your face! So this was running just a tad over 200 rpm and because of my nasty hack-job was a horribly interrupted cut. It's flat when all the red is gone (it's easier to see when it's spinning) and as you can see, there's only a band of silver being cut at each rotation. So that basically smacks into the tool every time it comes round. That rather limits the depth of cut you can take if you don't want the carbide insert shattering in your face...which I don't! Also on the issue of paranoia vs prudence, the four-jaw chuck wasn't technically necessary for this as it doesn't need to be carefully centred or put deliberately off-centre....but an extra jaw's an extra jaw stopping several kilos of steel breaking loose in my general direction. Similarly the tail support isn't necessary....but I really want it to stay put while it's thunking against the tool!

...and done. Well, I say done but this is simply flat and ready to start making stuff with...which I shall put off to another day. Call that a nice finish?! Nope, it's a pretty terrible finish typical of lower grade steels like EN1 and EN3 (which this is) and it can be improved but there's no point until it's an actual finished surface - frankly I only cleaned up the outer edge because the rust annoyed me and to balance it as it wasn't round. Right, I shall now take bets on how long it stays 'resting' in the chuck before I make any more progress!
Also didn't like the idea of cutting it by hand so I went rummaging in the loft for the bigger bandsaw!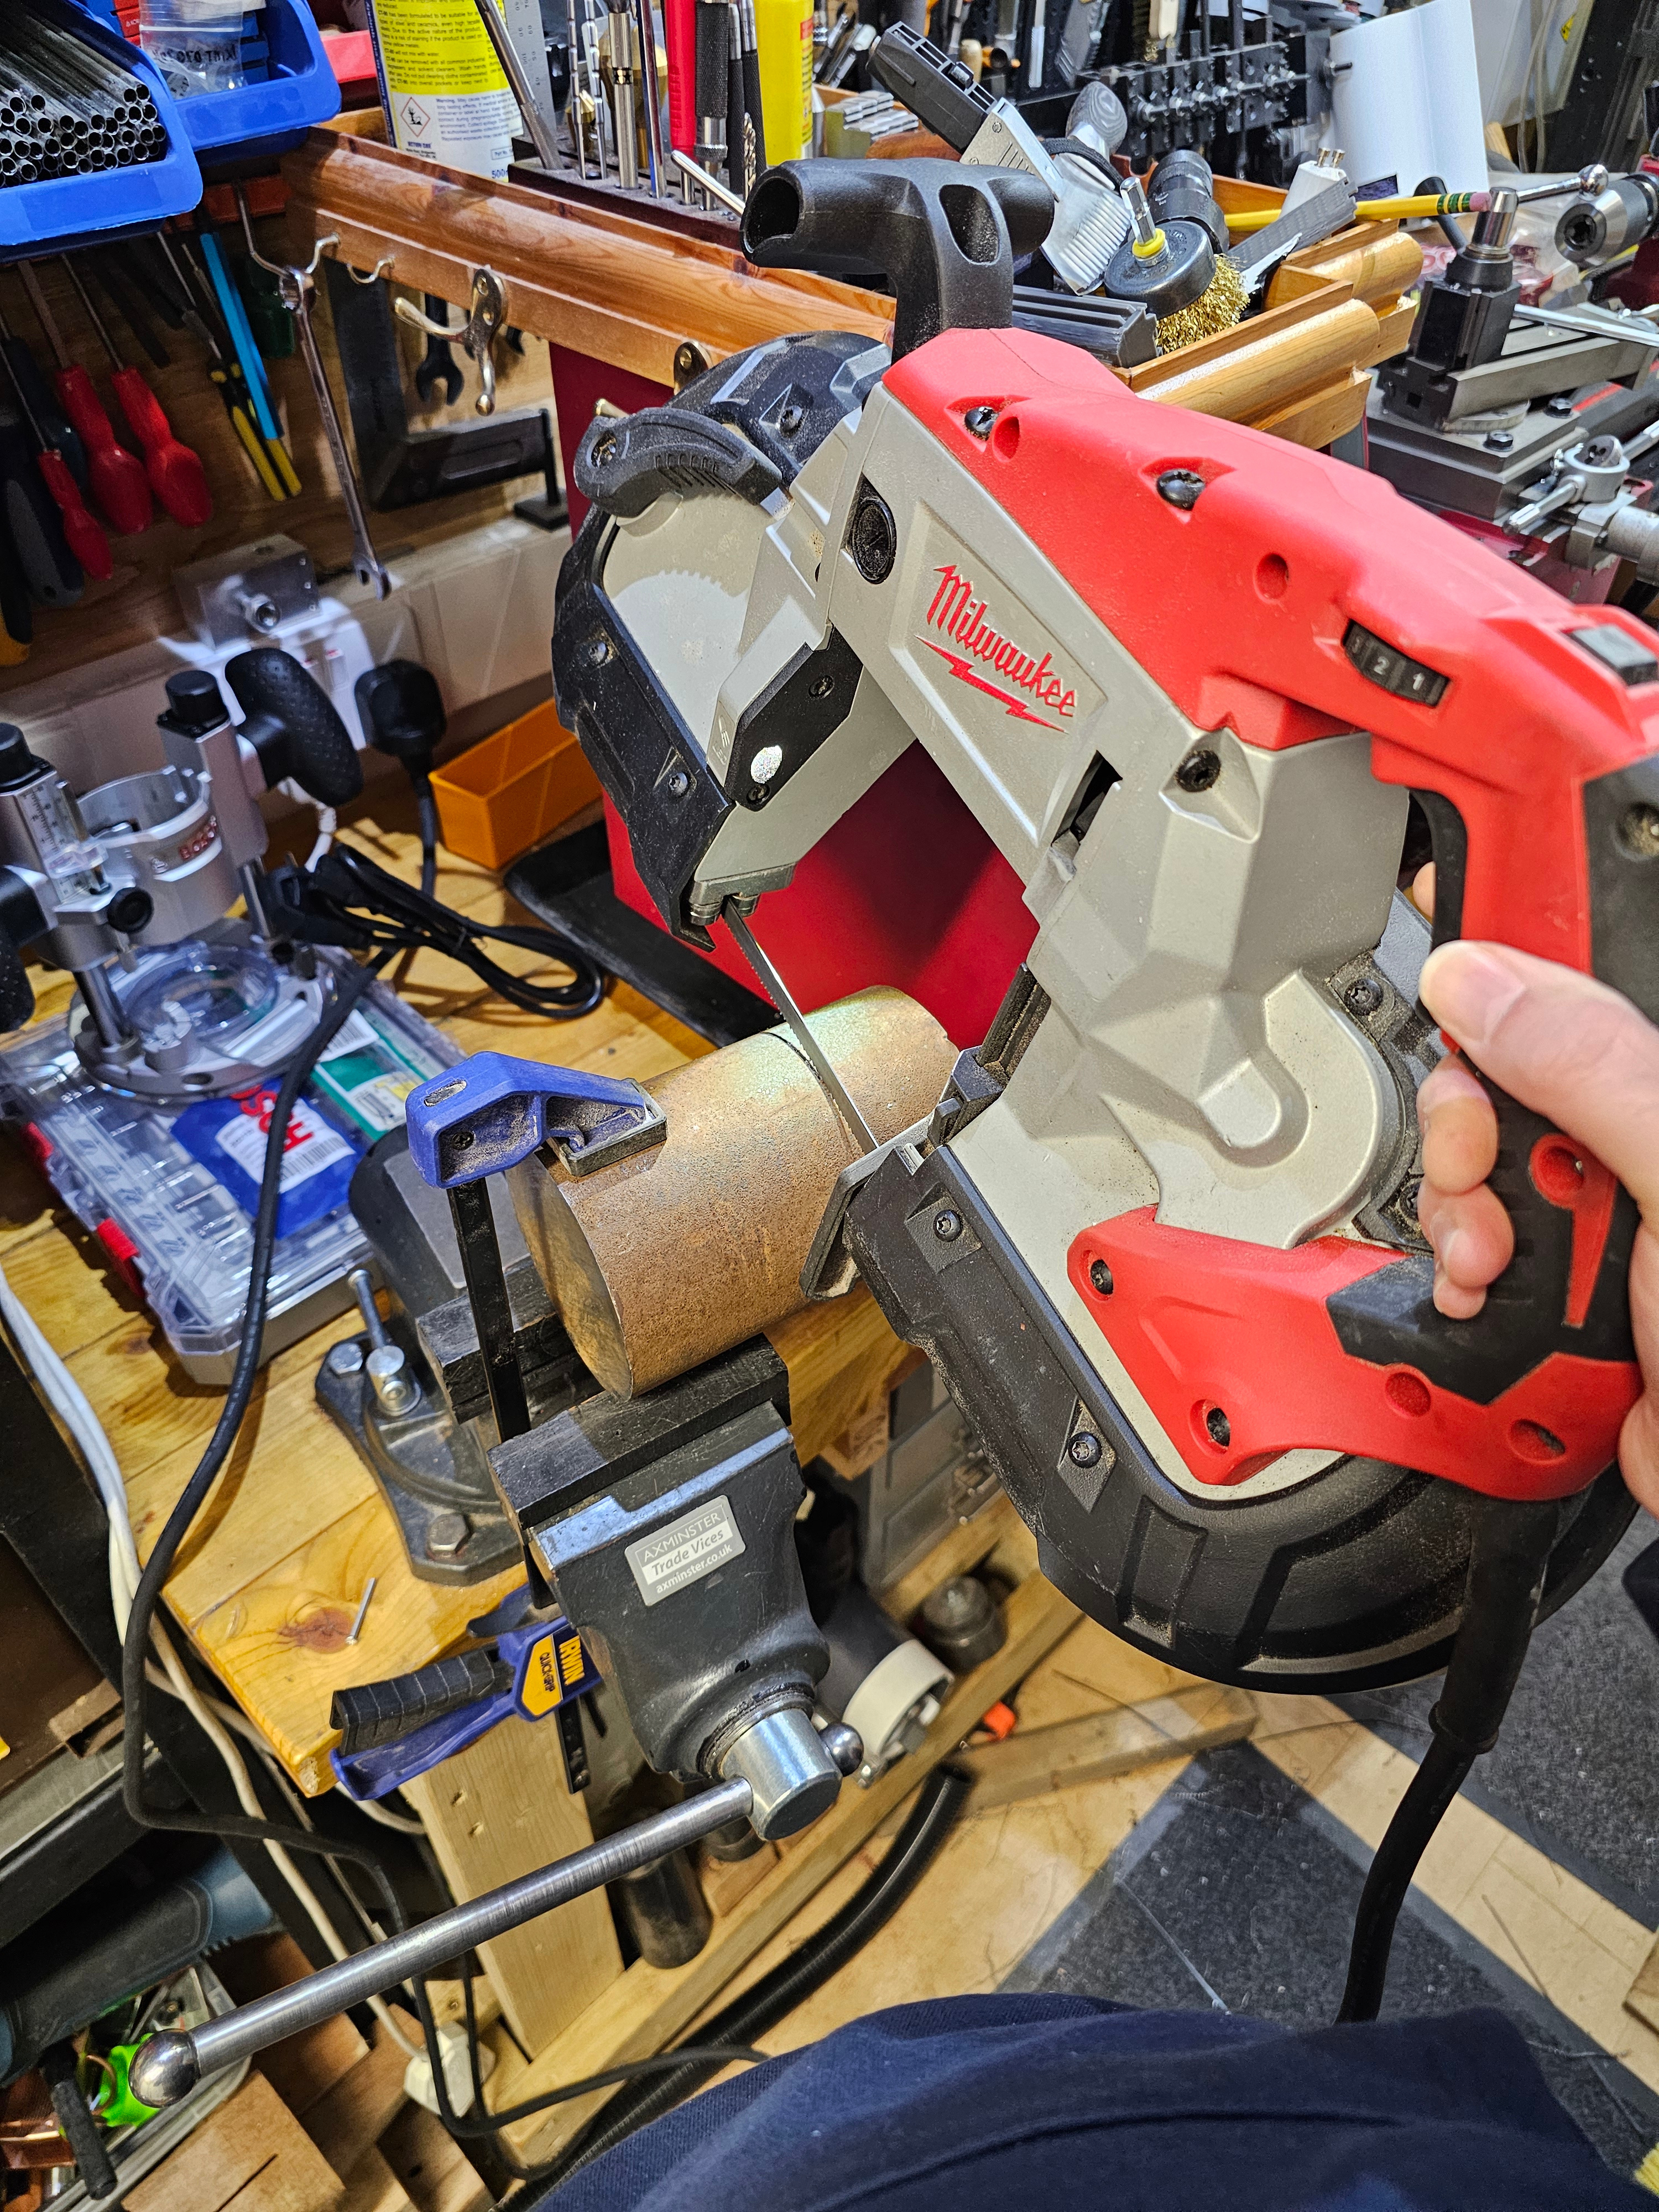
That's not how you use a vise stupid! Yeah, well it worked didn't it?! It did technically fit in the jaws if I removed the 3D printed softjaws but it was so damn heavy that it would only have stayed put if I'd clamped down on it hard enough to leave bit marks in the end. This way I get three points of contact and no marring.
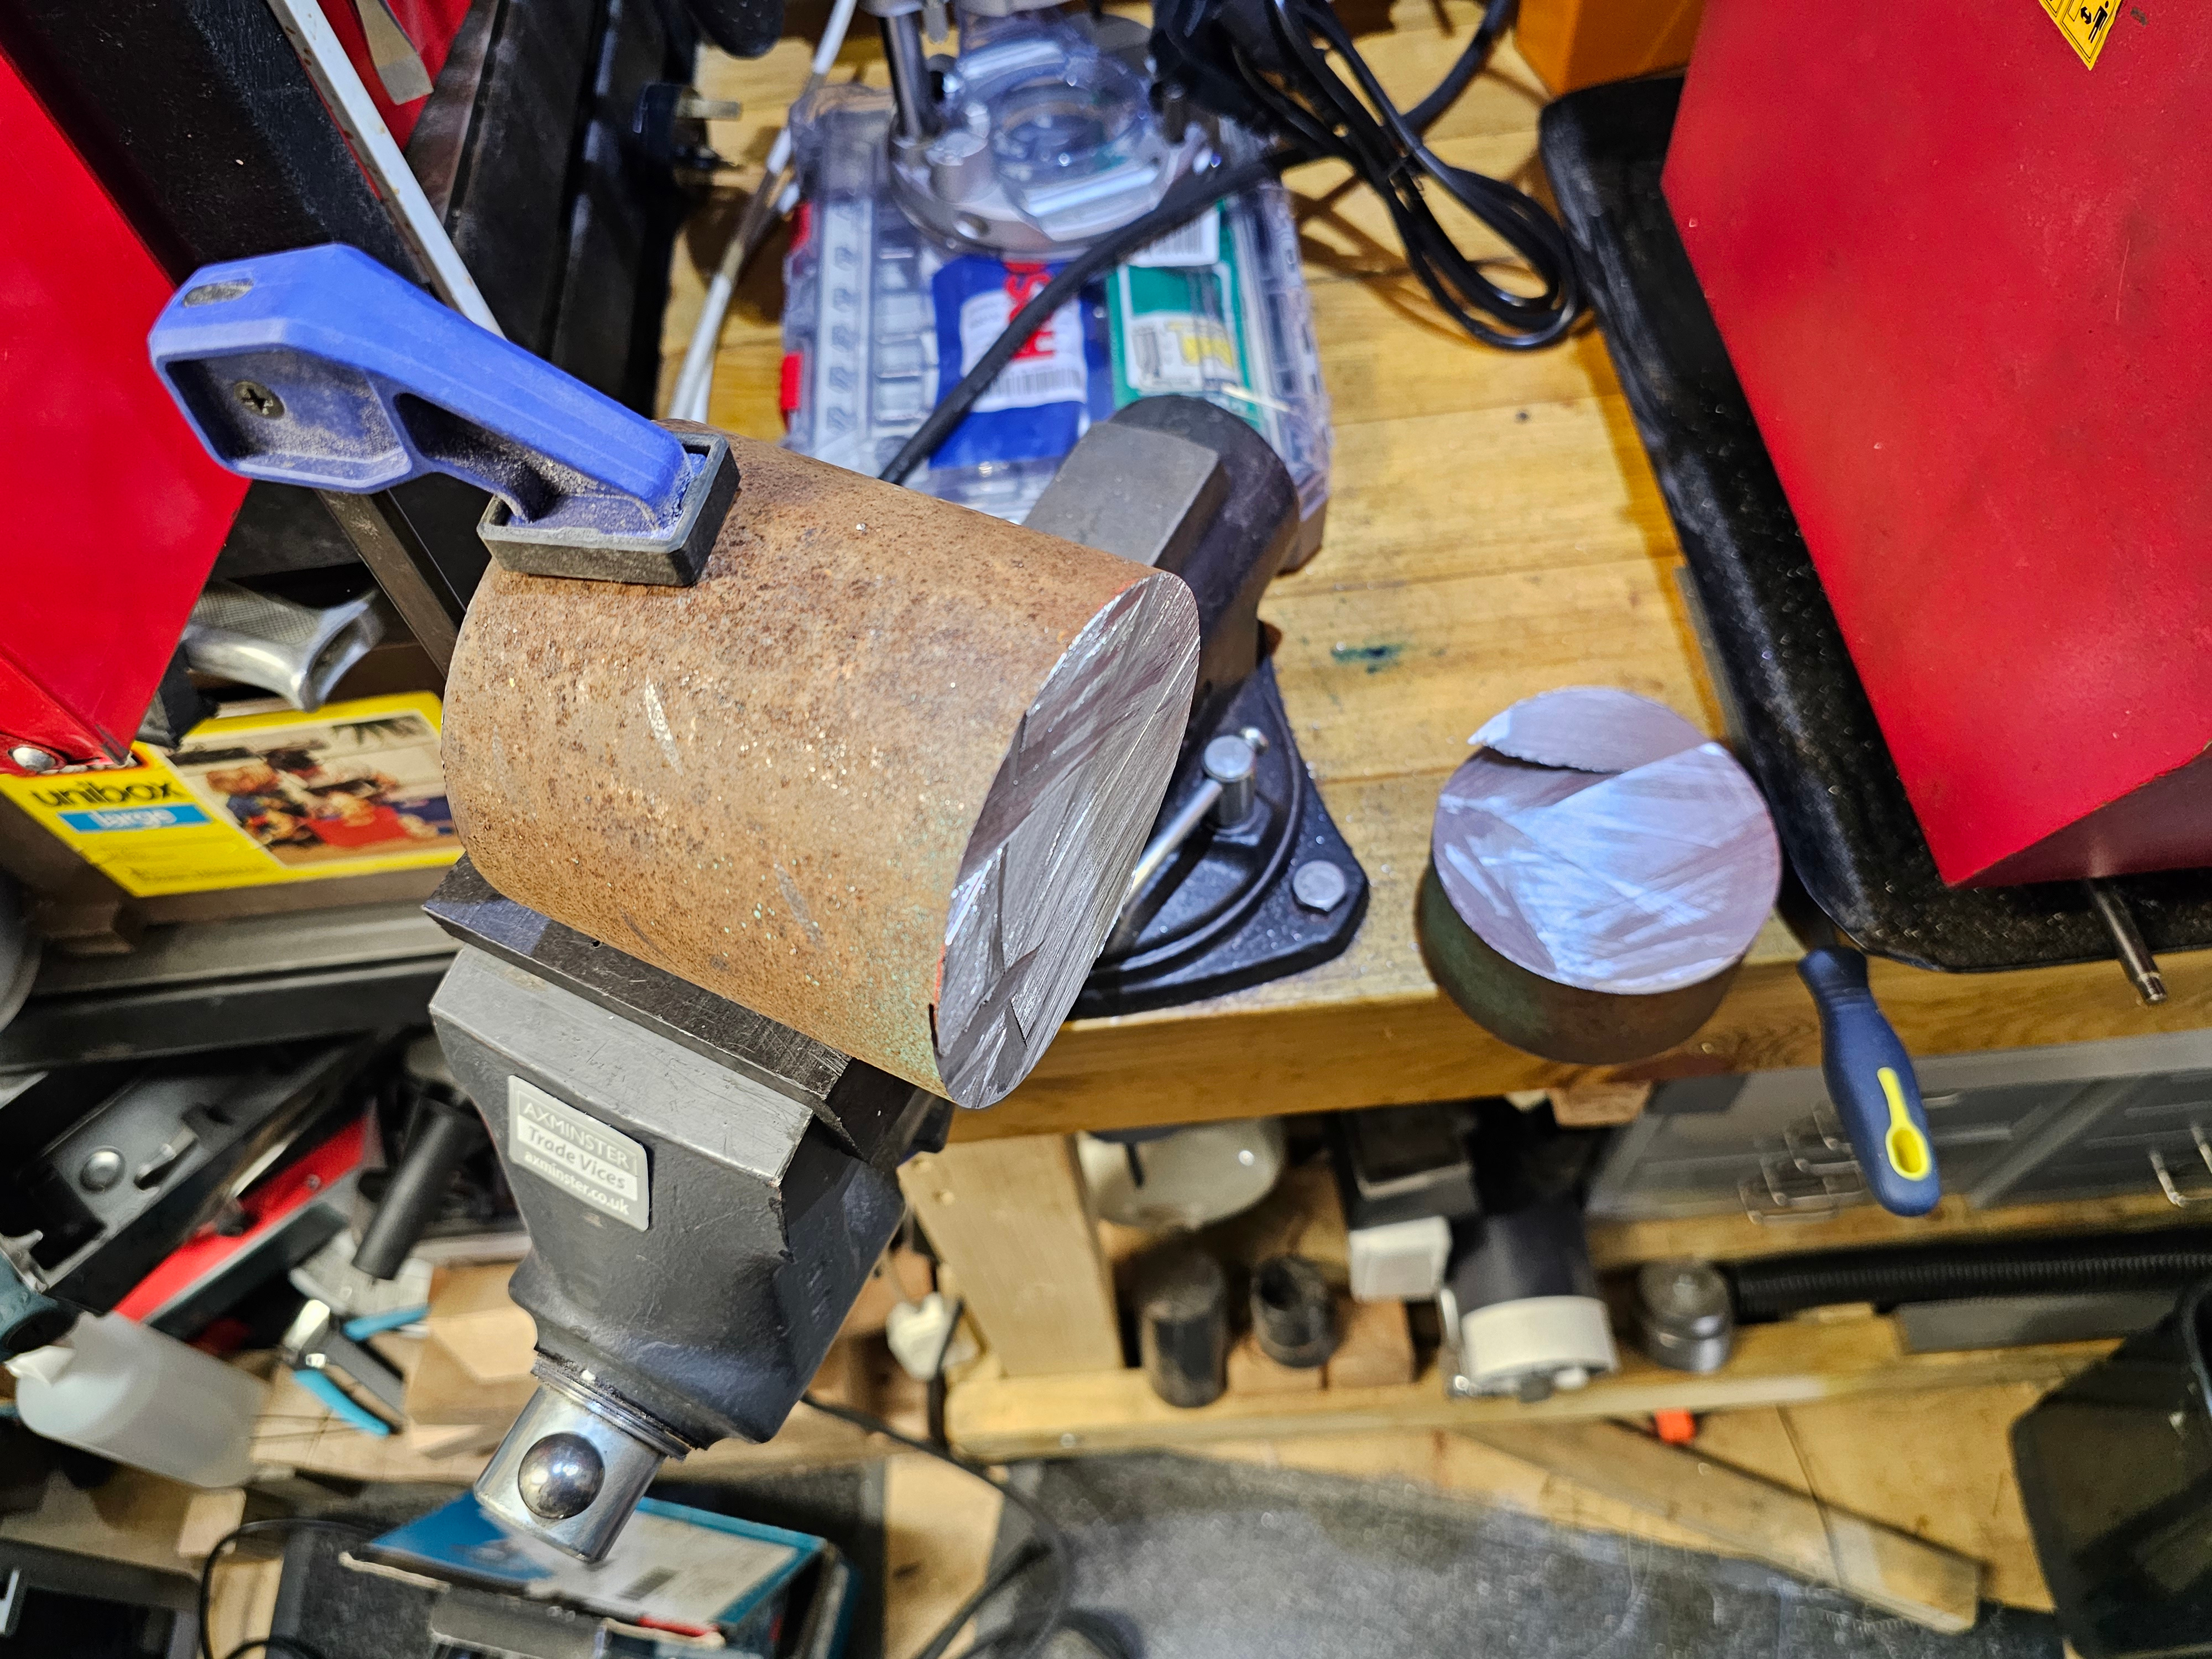
You call that a clean cut? Er, no...I call that a got bored and tried to speed up the cut by rotating the piece (which does work) but it didn't track very well and the result is a rather hacked off lump....which totally doesn't come to bit me in the arse in a bit!
Let it snow, let it snow, let it snow!
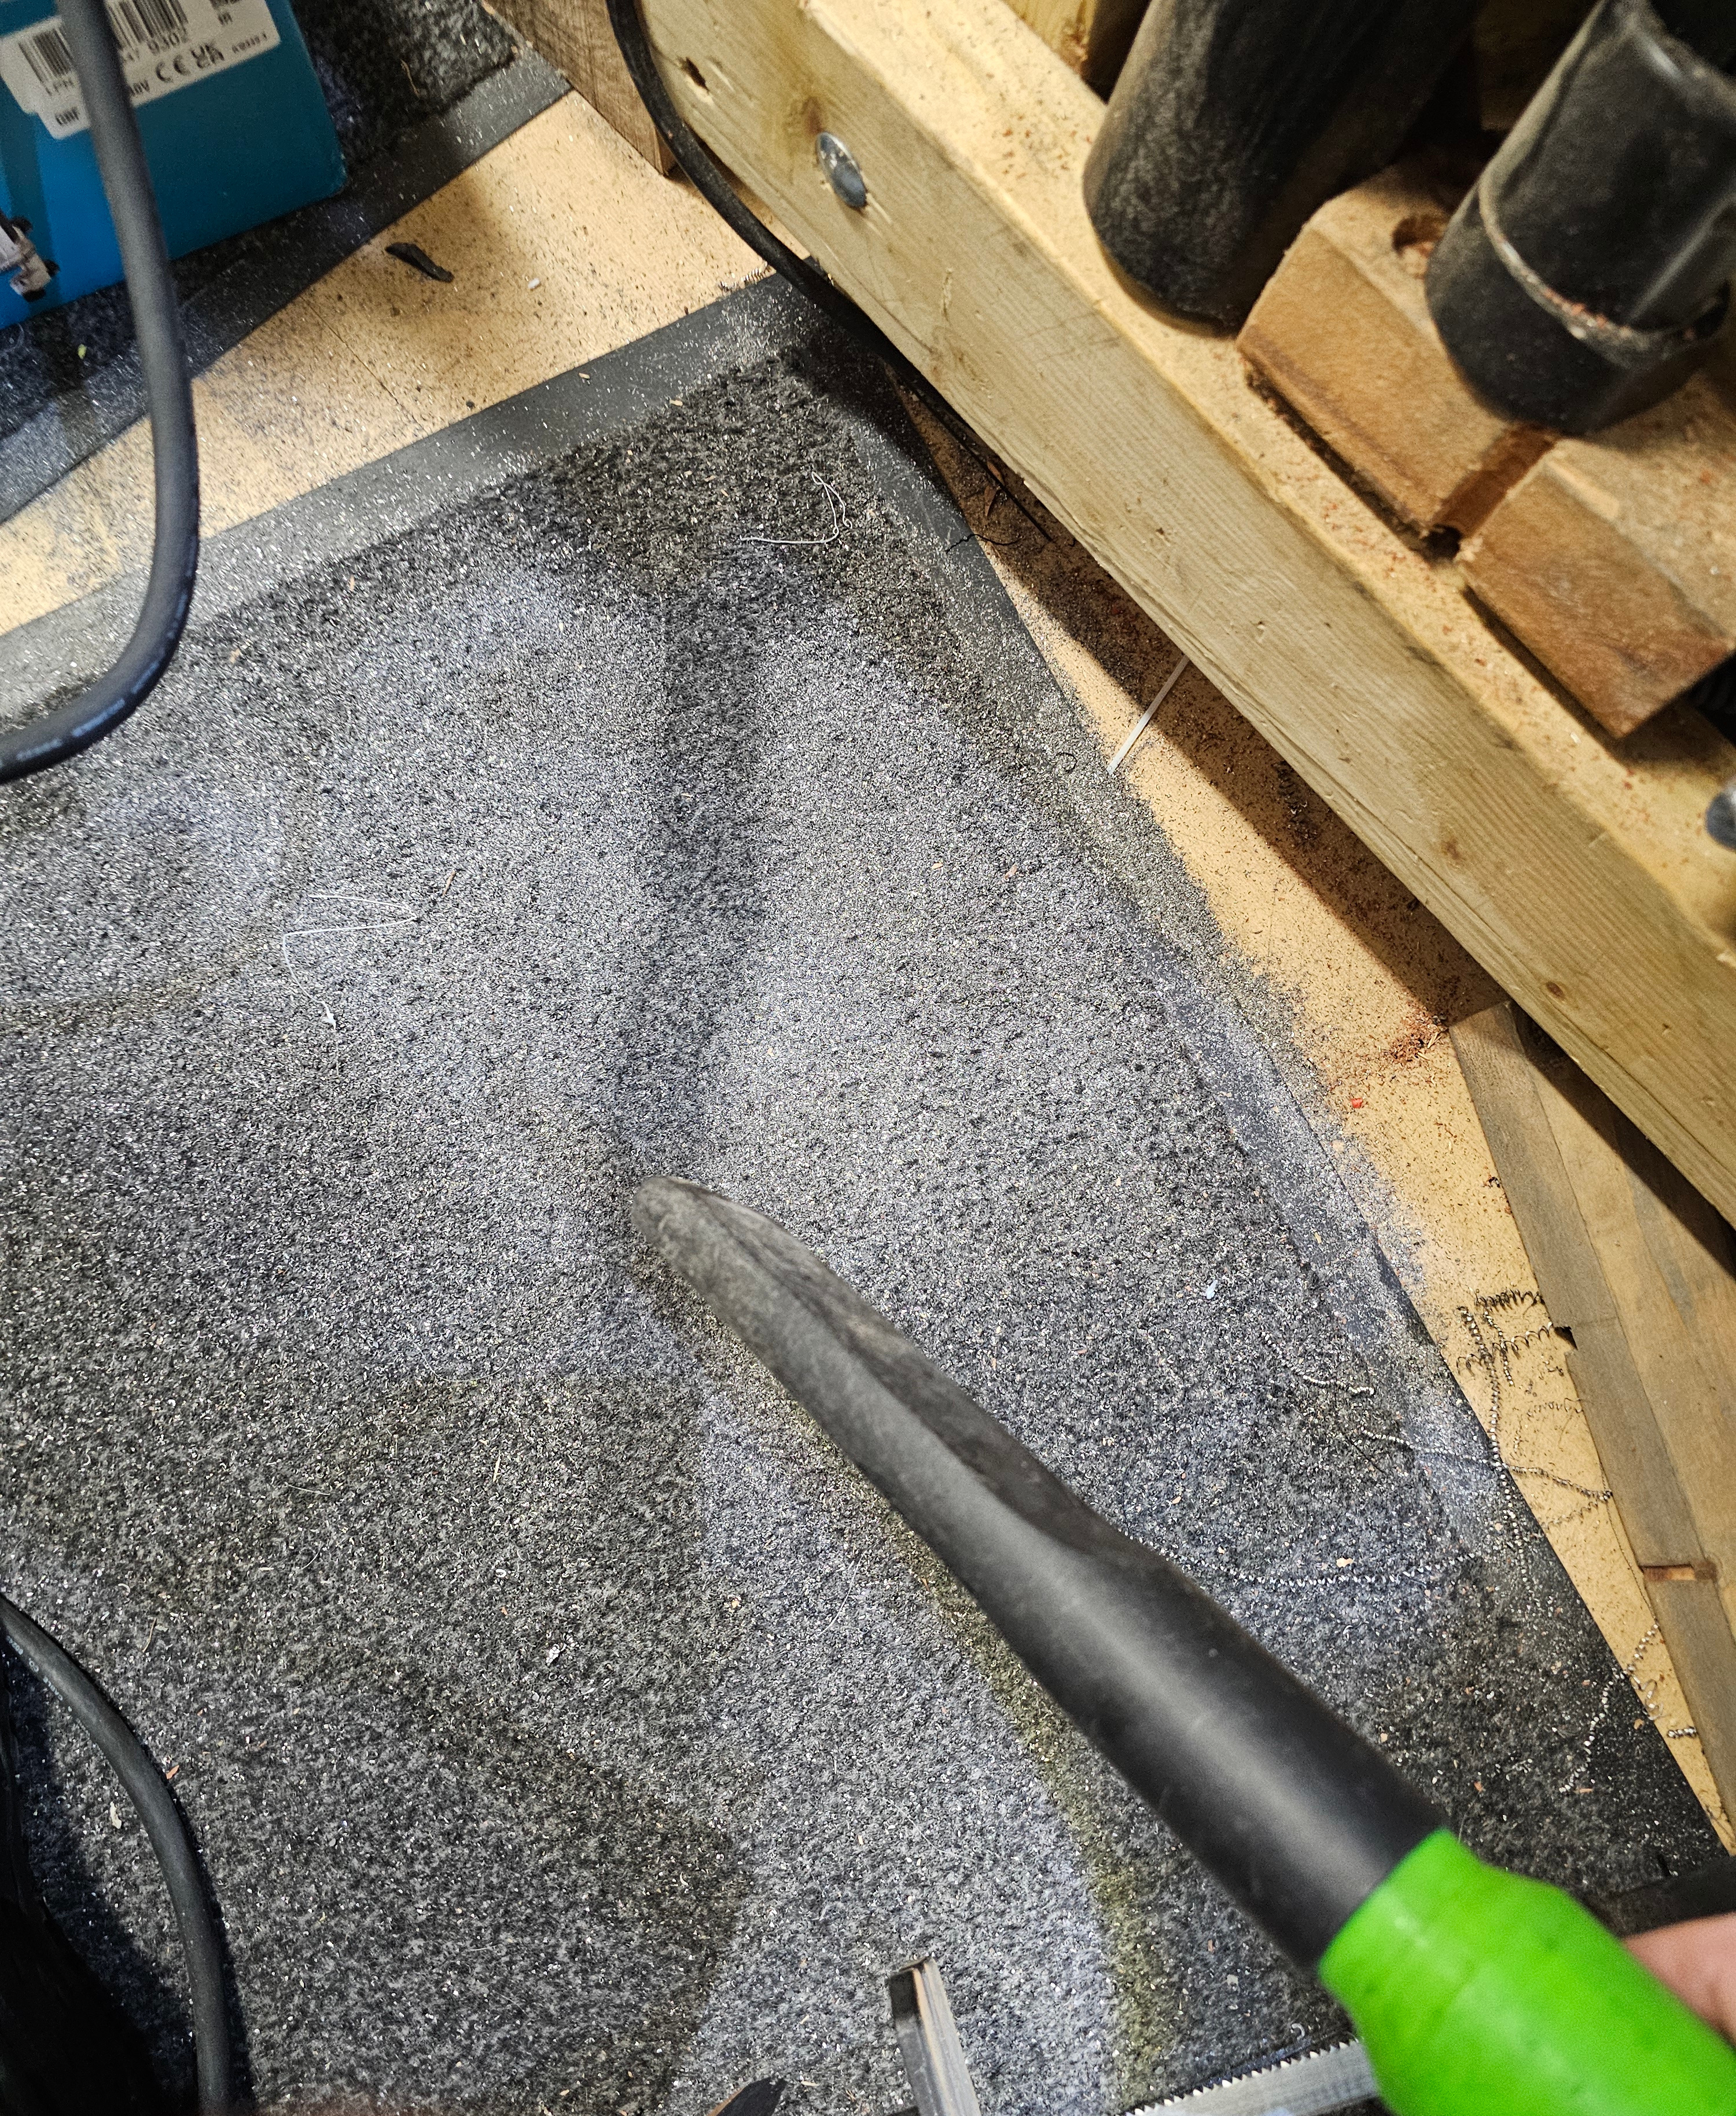
...and this is why we have a shop-vac! ...and yes, that's a 3D printed adapter to mount a cheap crevice tool and a cheap brush tool rather than whatever ridiculous amount Festool want for such things. Why Festool if price is a concern then? Well, put simply, at the time it was the only rectangular one I could find and it perfectly fit the gap between the end of my workbench and the wall. Dead useful for not dying horribly and prematurely by breathing in all the dust from various cutting/sanding/cleaning type ops. Would recommend to anyone wanting to live longer than next year!
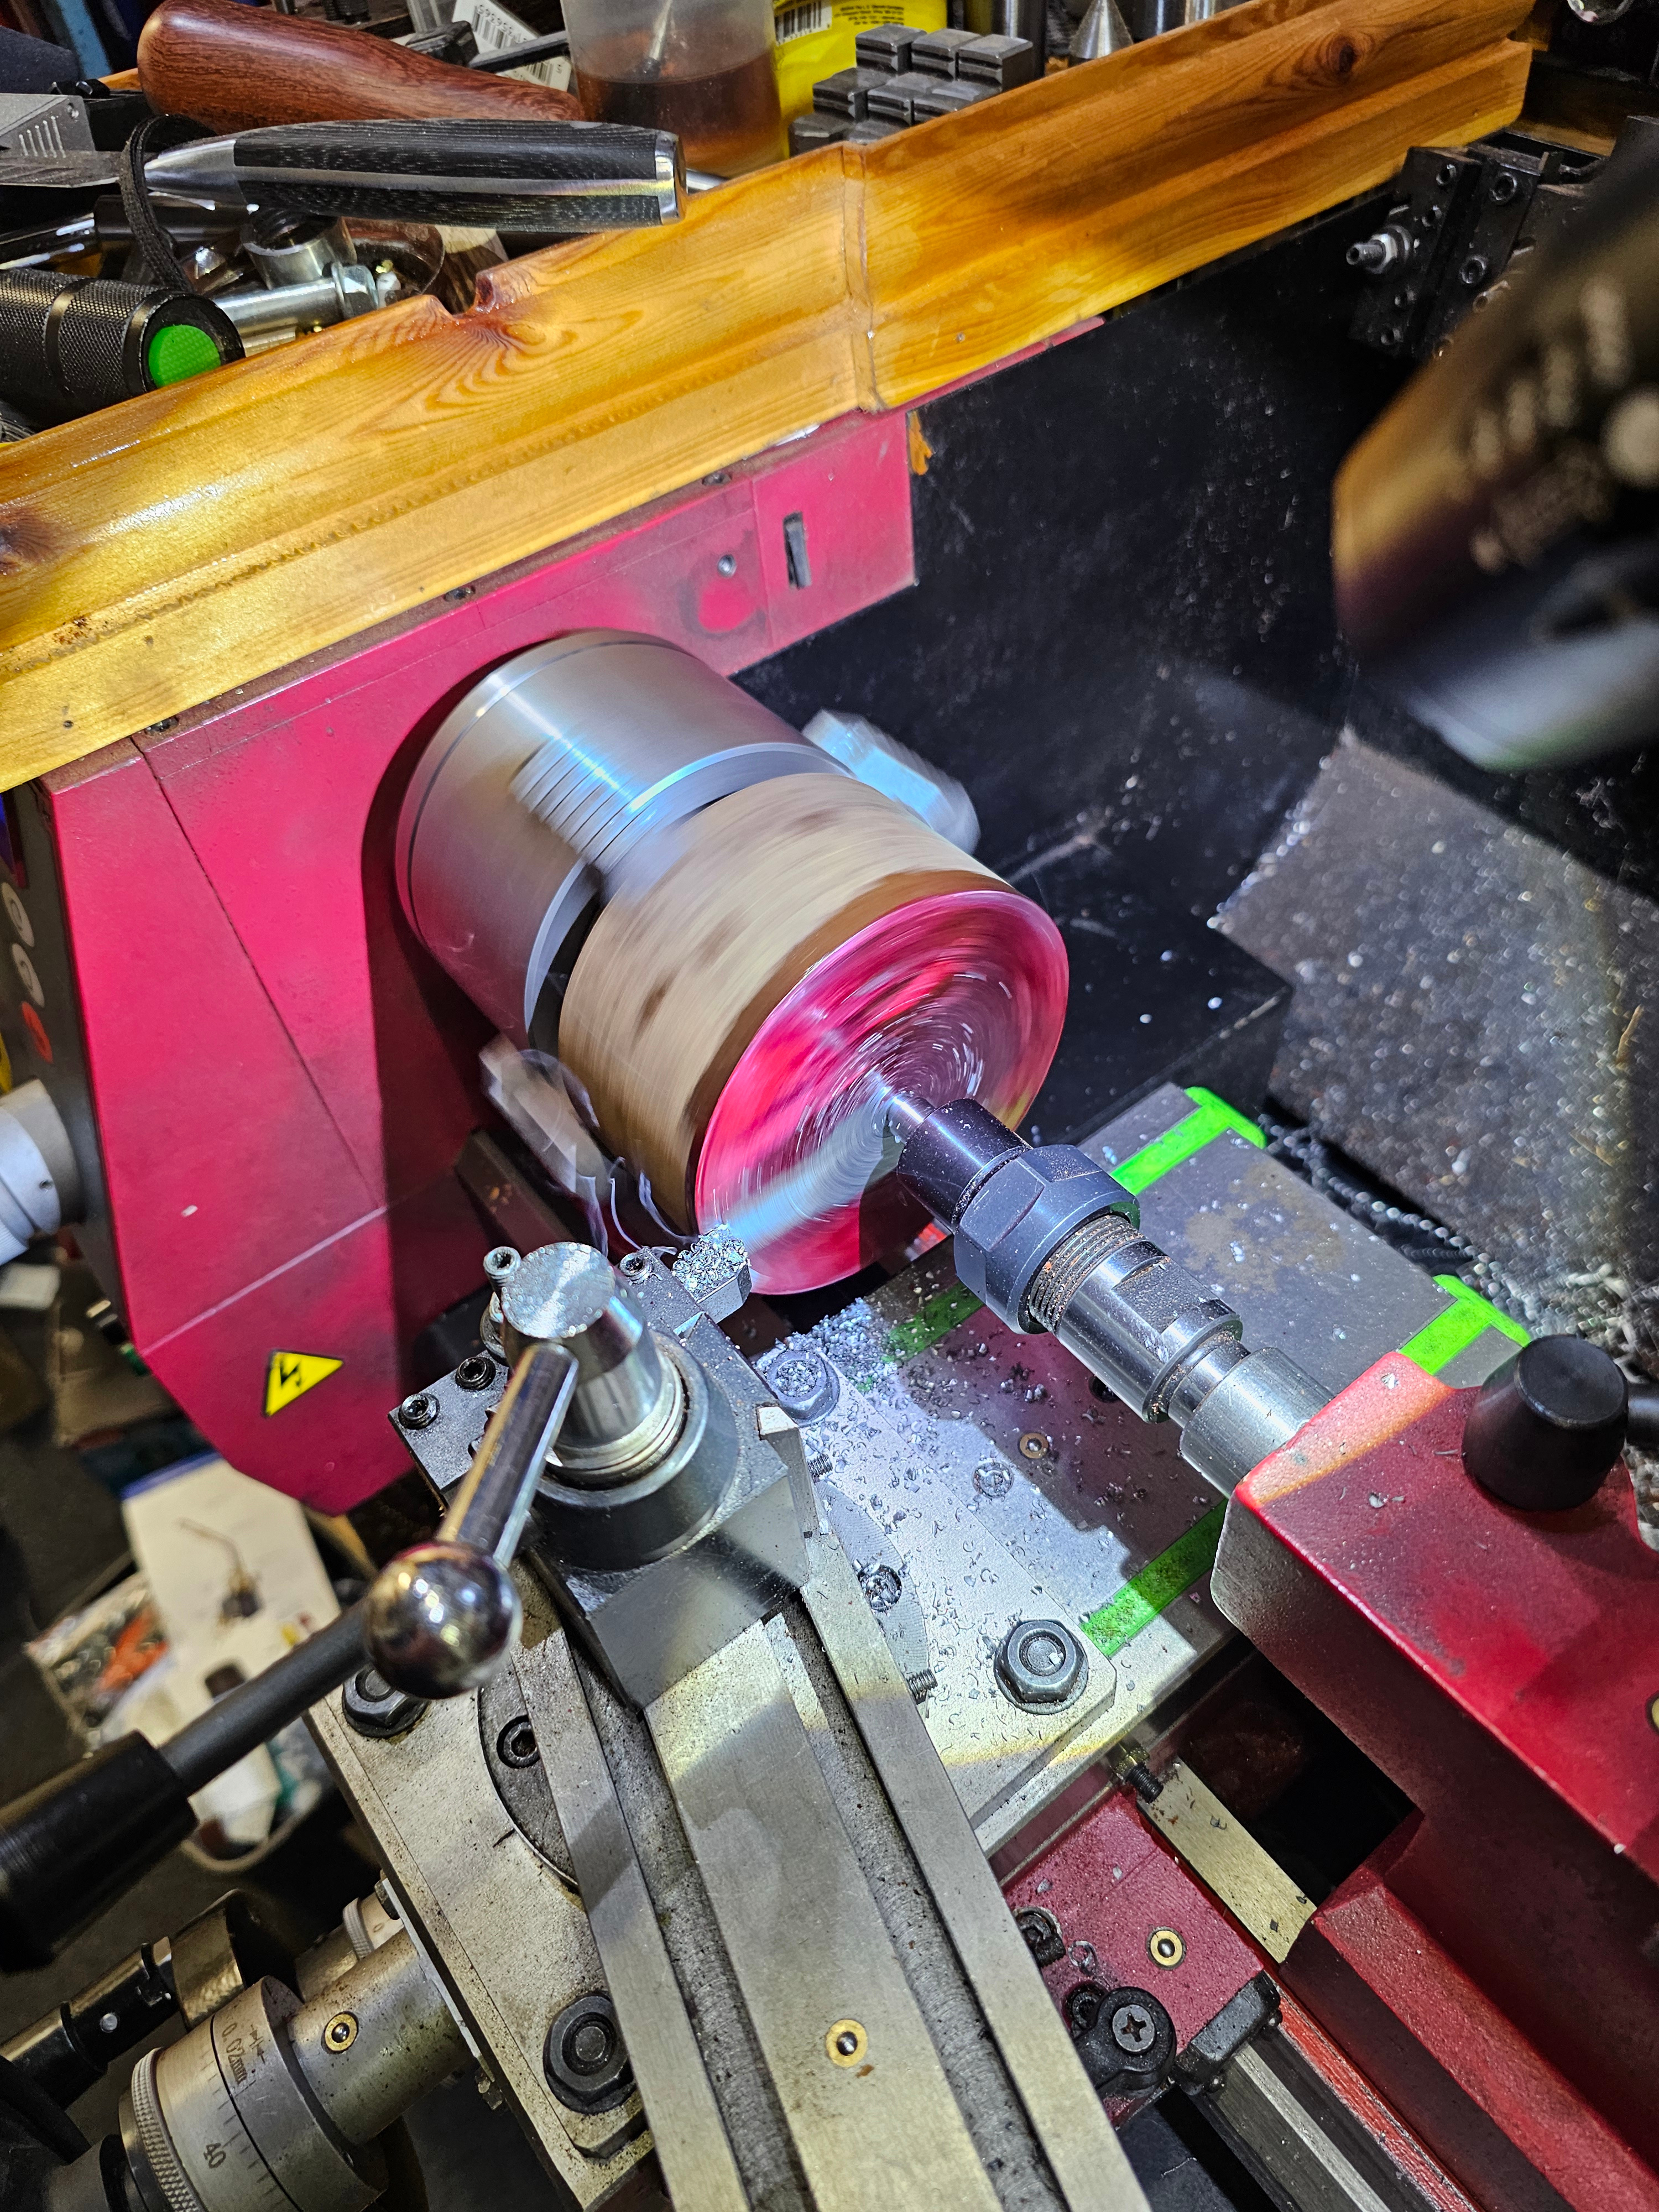
Mounted, trued up, painted red and facing off the end. This is where it bit me. The diameter here is 100mm so with larger diameters, the outer edge (the diameter) is moving faster for any amount of rpms than a smaller diameter bar is. So you can spin a 10mm bar at 1,000+ rpm and face off the much smaller end in a flash but try that on this and things will break....in your face! So this was running just a tad over 200 rpm and because of my nasty hack-job was a horribly interrupted cut. It's flat when all the red is gone (it's easier to see when it's spinning) and as you can see, there's only a band of silver being cut at each rotation. So that basically smacks into the tool every time it comes round. That rather limits the depth of cut you can take if you don't want the carbide insert shattering in your face...which I don't! Also on the issue of paranoia vs prudence, the four-jaw chuck wasn't technically necessary for this as it doesn't need to be carefully centred or put deliberately off-centre....but an extra jaw's an extra jaw stopping several kilos of steel breaking loose in my general direction. Similarly the tail support isn't necessary....but I really want it to stay put while it's thunking against the tool!

...and done. Well, I say done but this is simply flat and ready to start making stuff with...which I shall put off to another day. Call that a nice finish?! Nope, it's a pretty terrible finish typical of lower grade steels like EN1 and EN3 (which this is) and it can be improved but there's no point until it's an actual finished surface - frankly I only cleaned up the outer edge because the rust annoyed me and to balance it as it wasn't round. Right, I shall now take bets on how long it stays 'resting' in the chuck before I make any more progress!