Soldato
Hey all so going to be noting down my current build which I have called RAB. Name is quite simply Red and Black 
In this project I will have 2 loops. One for the CPU (i5 2500k) which will be on a XSPC EX 120 with a Raystorm block. This loop will have Mayhems oil black fluid in. The second loop will be for the 3x 480GTX's which will be on a XSPC EX 360 with EK waterblocks and backplates on. This loop will have Mayhems Red fluid in.
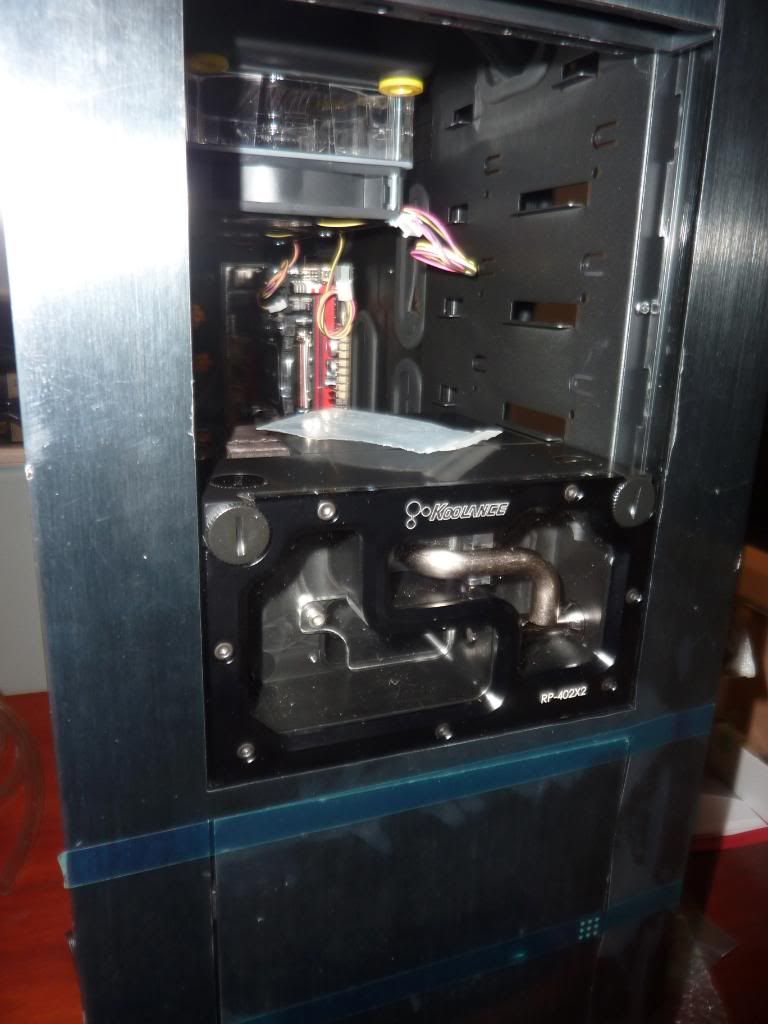
I am using a Koolance dual bay res/pump for DDC pumps.
So lets get started. First job was the fans I bought some Scythe GTs which seemed quite popular. However straight away the colour put me off I don't want no grey it my case ! So they needed a paint job. After a bit of a search on internet I found out how to take them apart so heres a few pics of me taking them apart and painting them black.
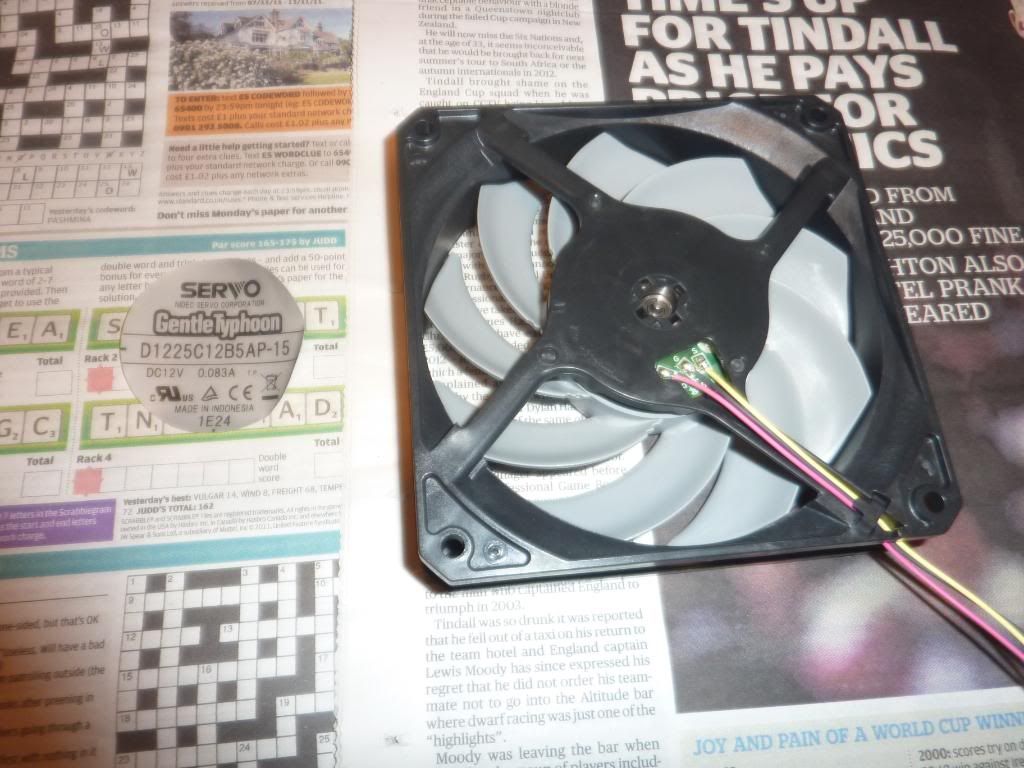
Sticker off
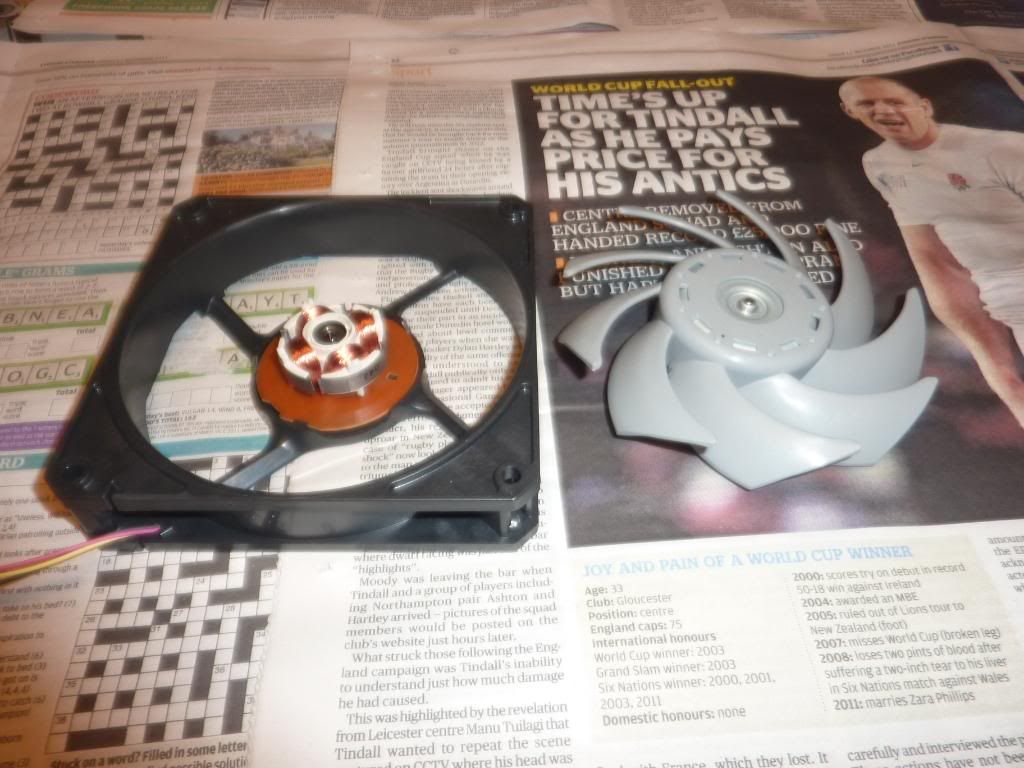
I had 4 fans heres the clips for all four fans kept safely in a little plastic bag. Tiny things !

Next tape up the back of the fan don't want any paint getting to the magnet or the centre pole.
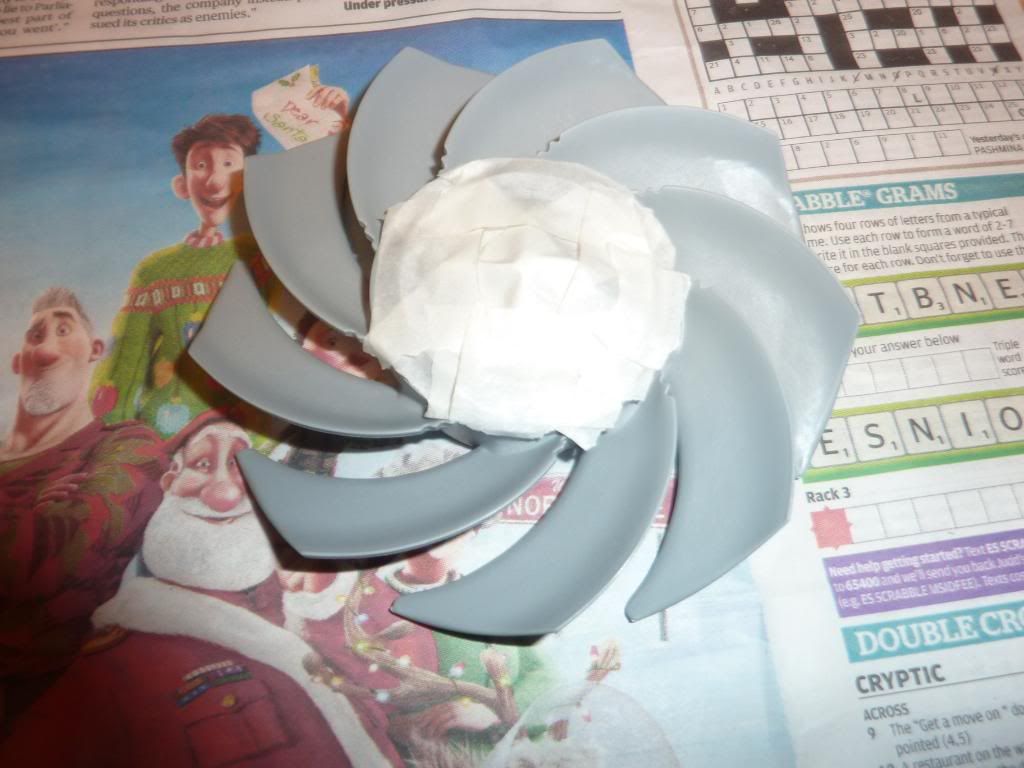
After all four fans were taped up its time to paint !
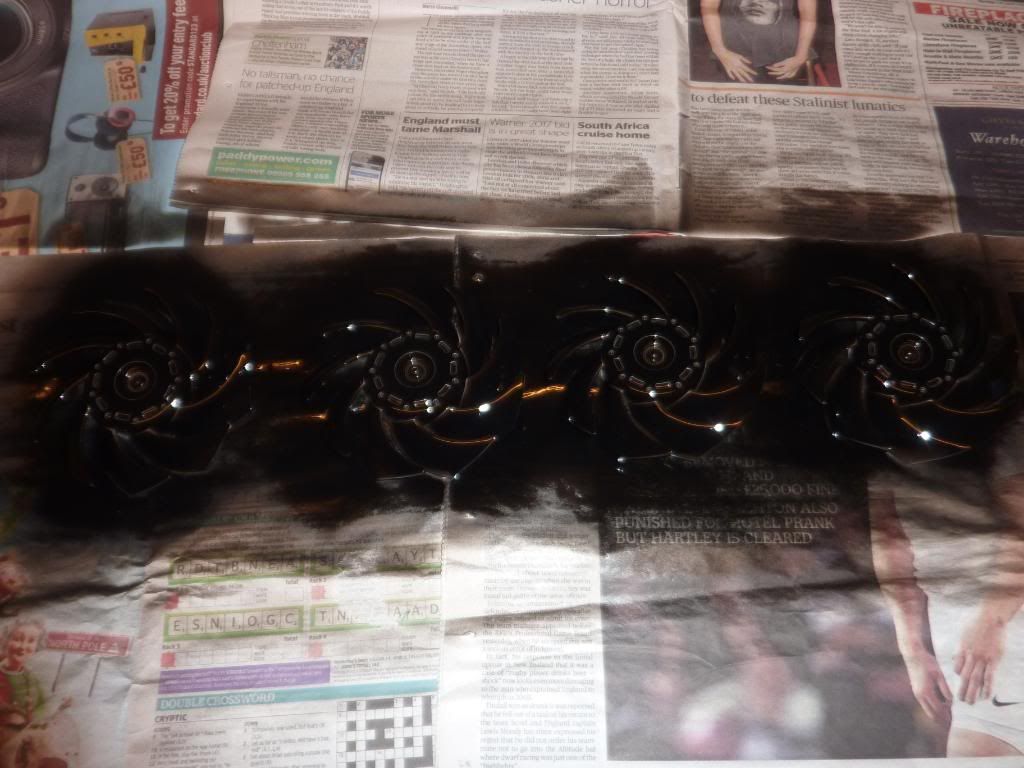
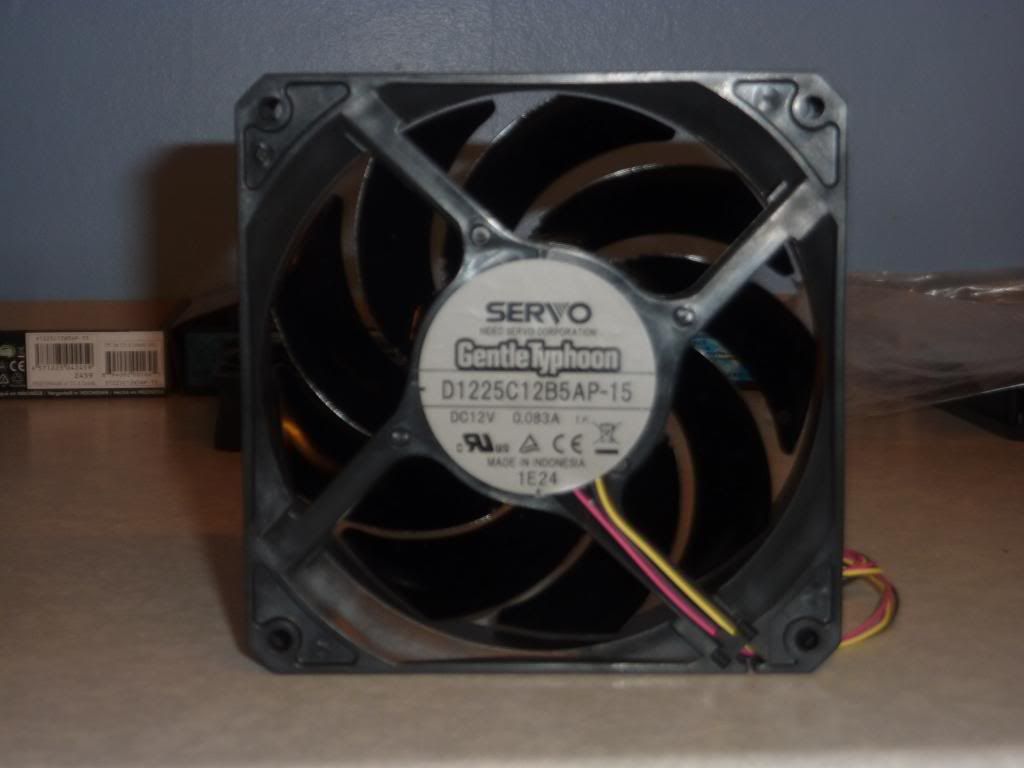
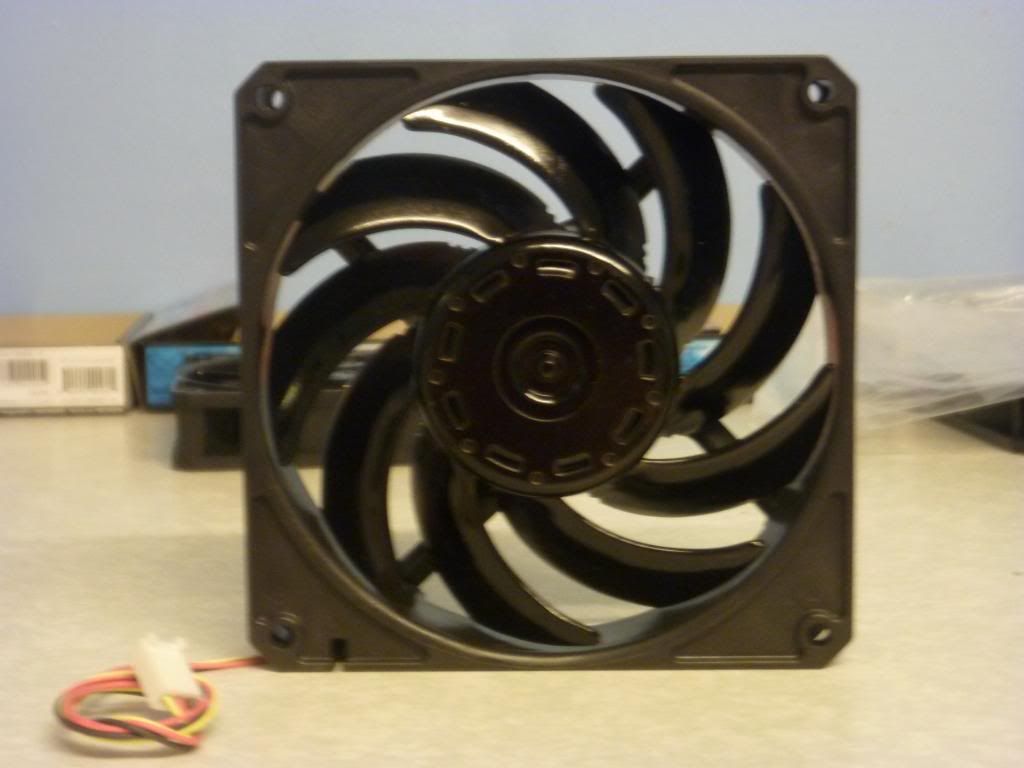
I did a couple of coats. Heres the end result after they dried.
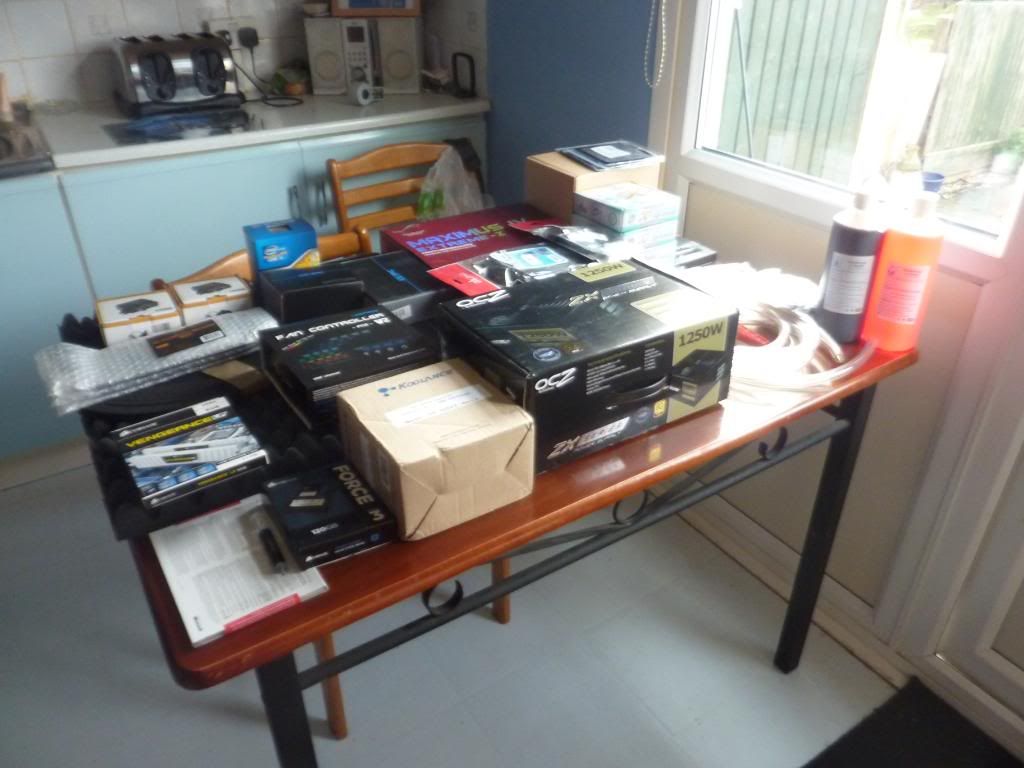
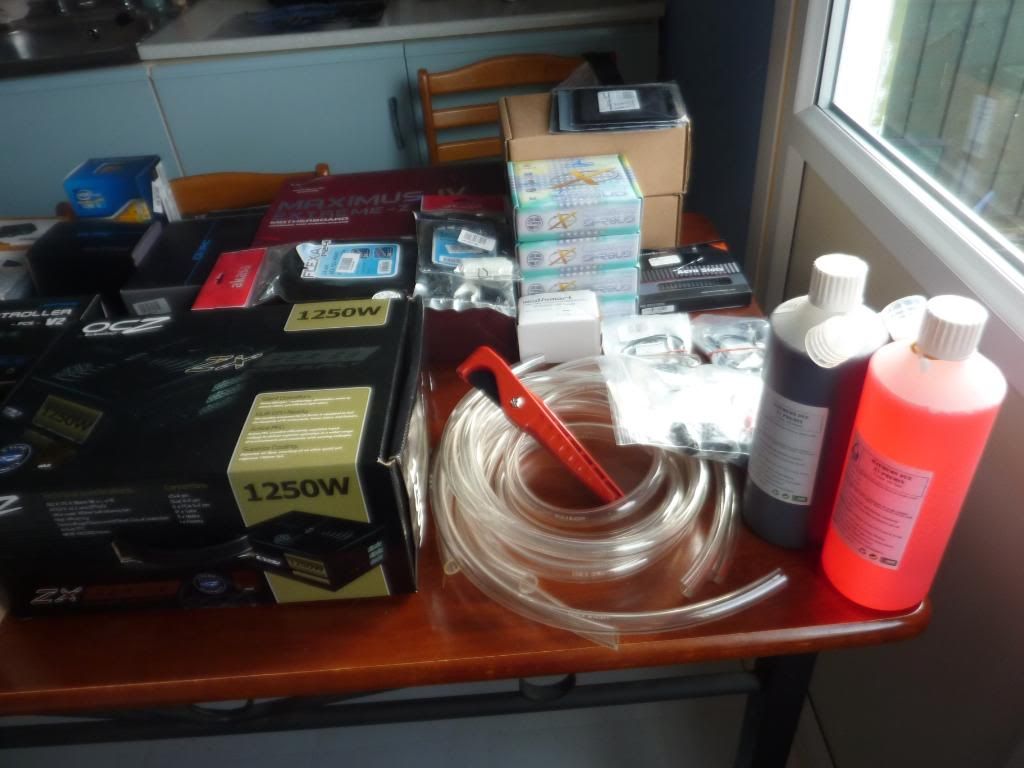
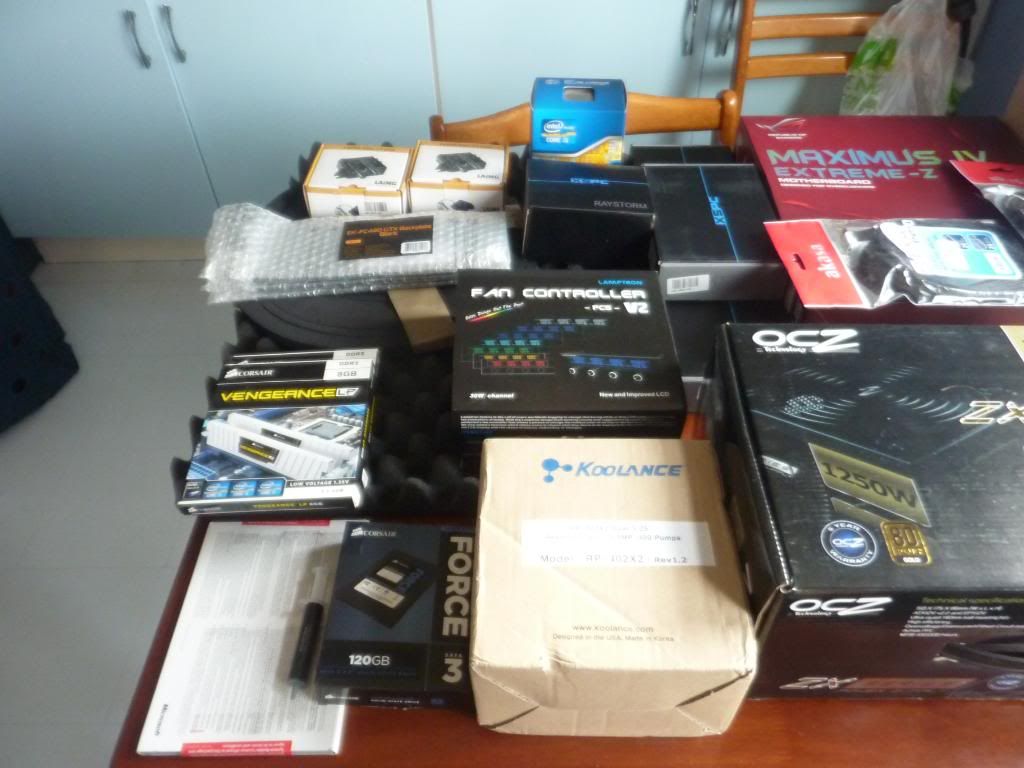
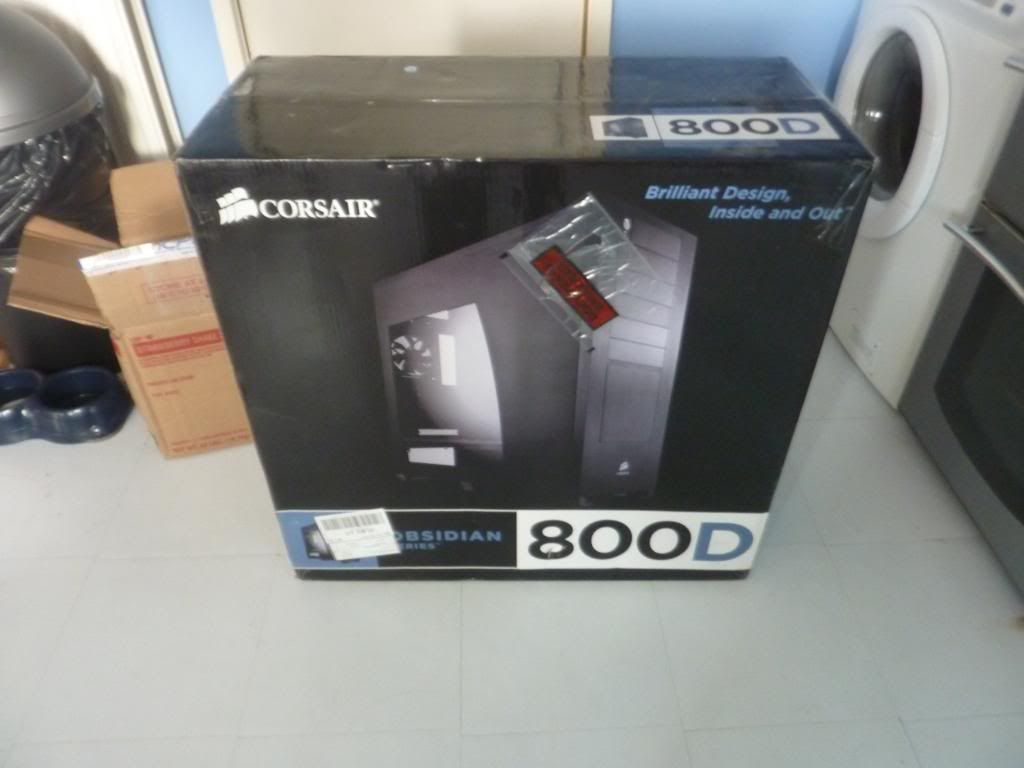
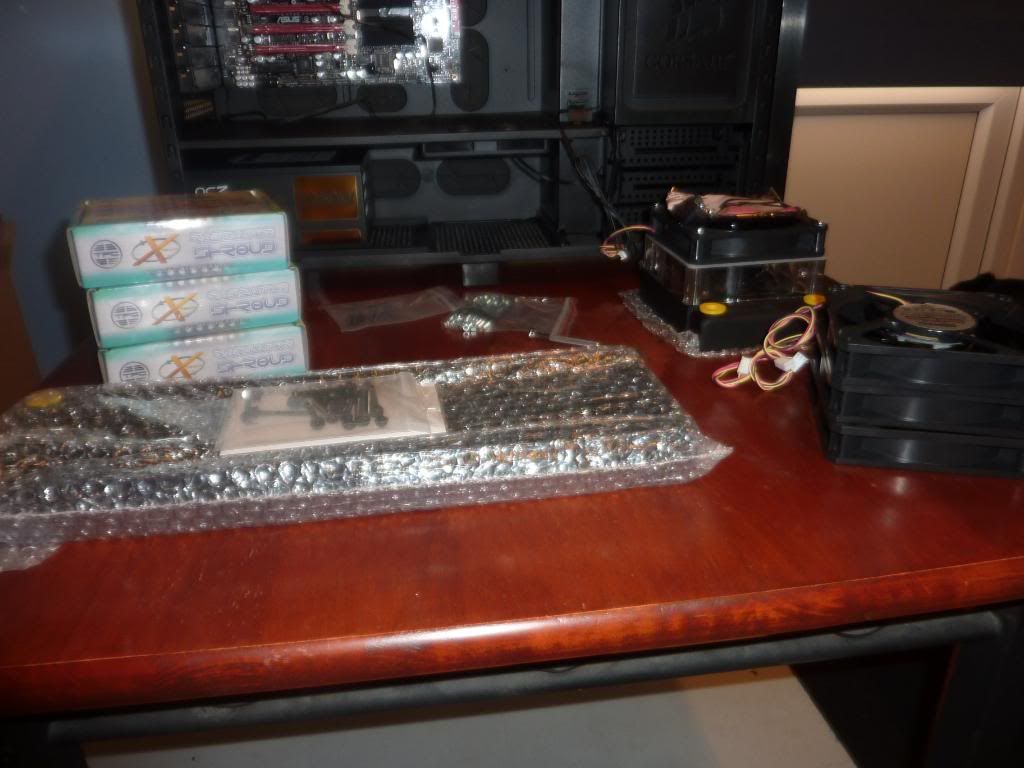
So thats the messy bit out of the way next PC build time. ! So I brought all my gear down into the kitchen ready to build away. Heres some pics of all my stuff !
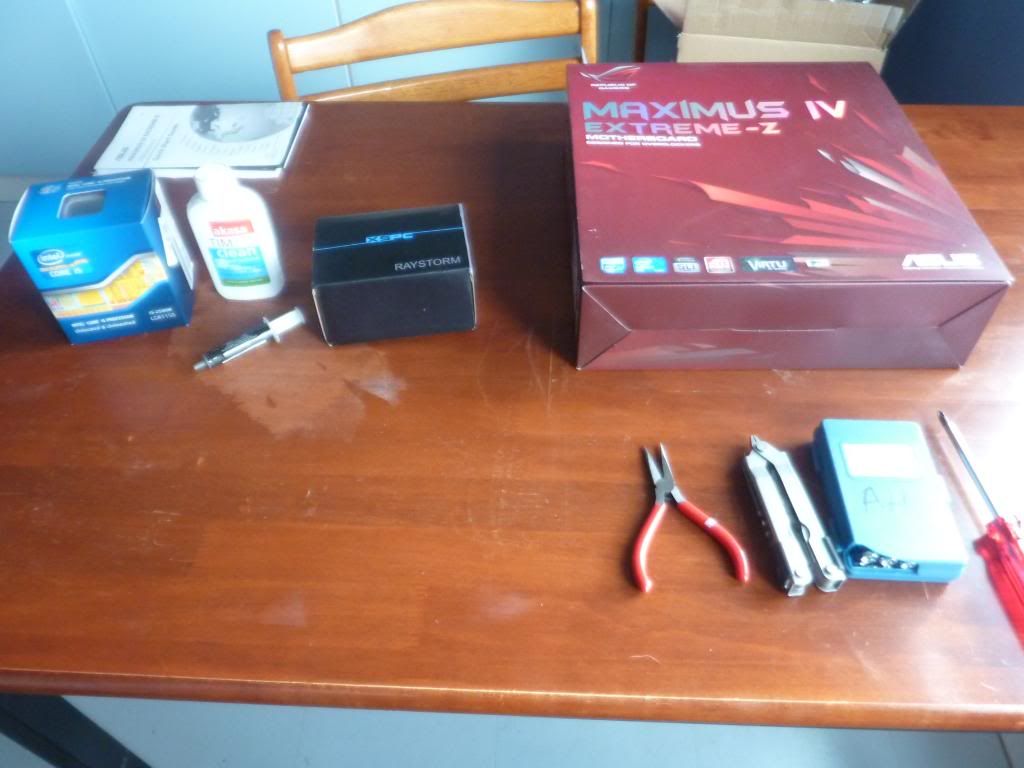
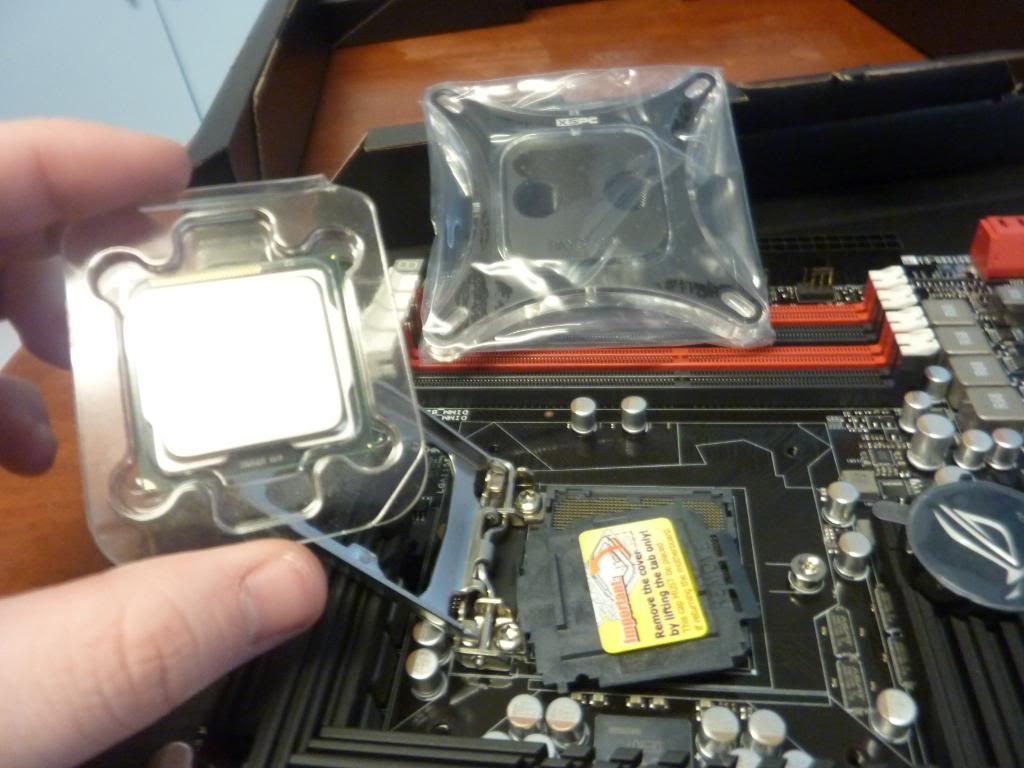
Once it did a bit of a clear up and organisation. I decided to start by putting my CPU and Raystorm block onto the Maximus IV Z board. So heres the bits on the table.
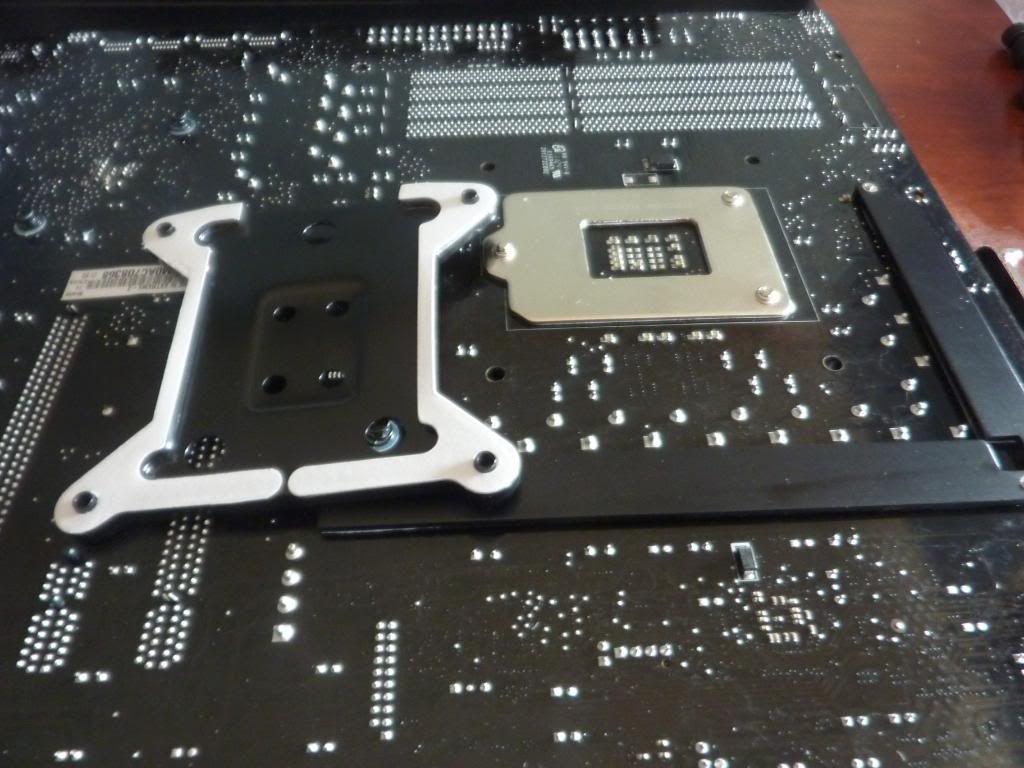
Backplate for 1155.
Heres my i5 2500k and Raystorm block now that the backplate is on.
Lastly pic of the mobo and Raystorm sitting happy in the 800d. Oh I also slotted my PSU in there at the bottom too.
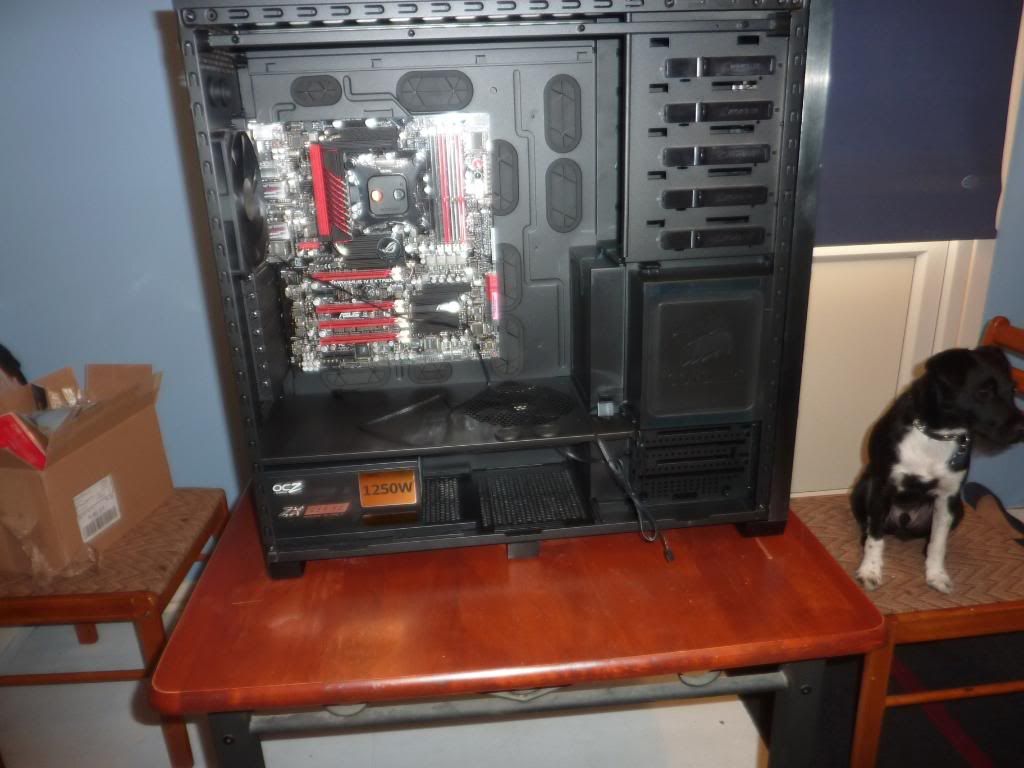
oh yea and check out Cloud (my dog) lol he sat there looking at that PC case just thinking WHAT THE HELL !
Then I moved on to the rads. I got a XSPC EX 360 and a XSPC EX 120. My Scythe GTs to sit on top and nicely slotted in was some Faser shrouds.
I took this pic after I already done the 120..
Heres the end result.
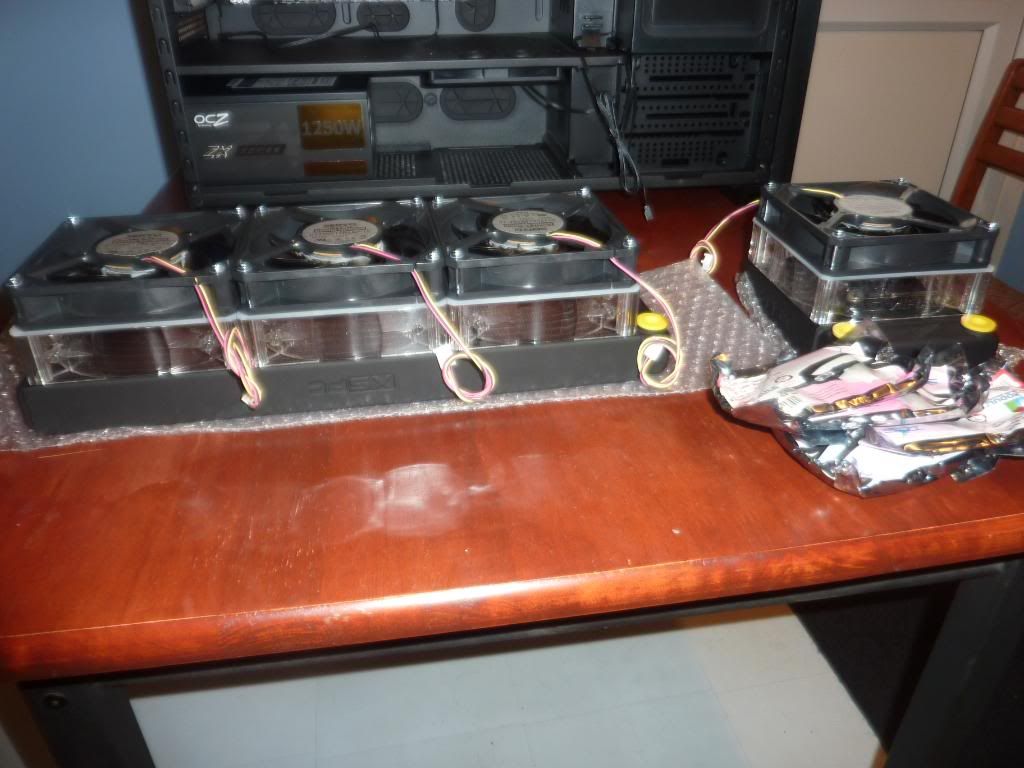
The Feser shrouds also came with some 5mm red LED's which slot into the shroud so should look nice a pretty when on.
Rads inside the 800d
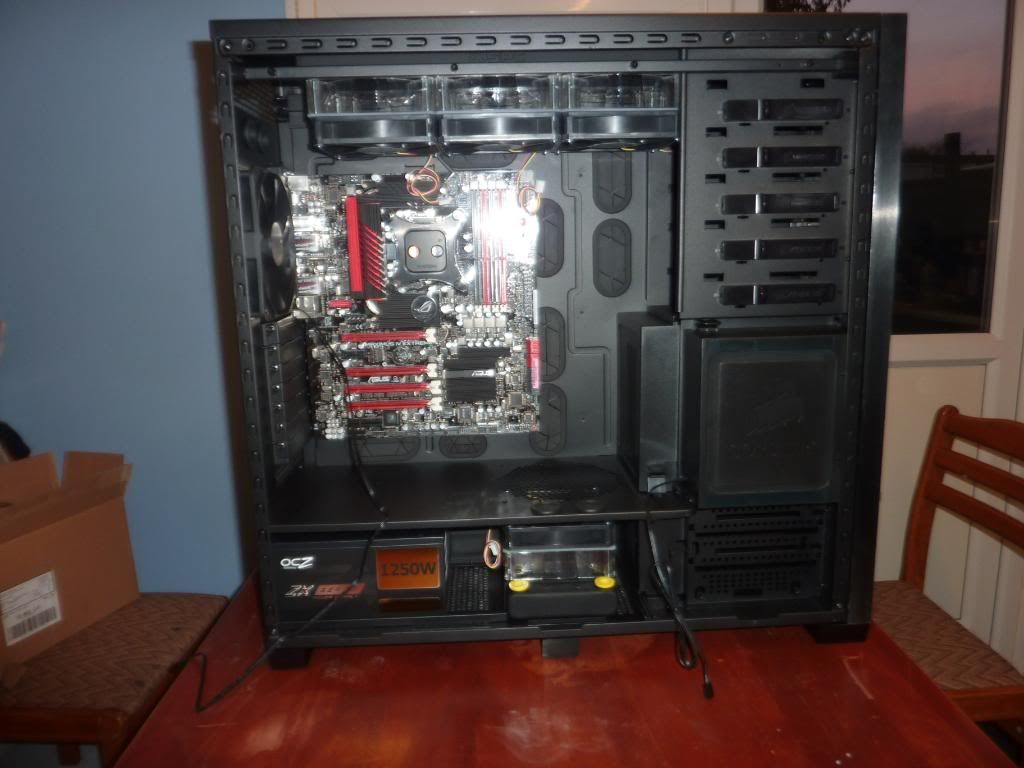
Next graphic cards ! I got 3x 480GTXs. All will have a EK waterblock and EK backplate on. So heres the one with its stock cooler on. Bit dusty from use in my old PC
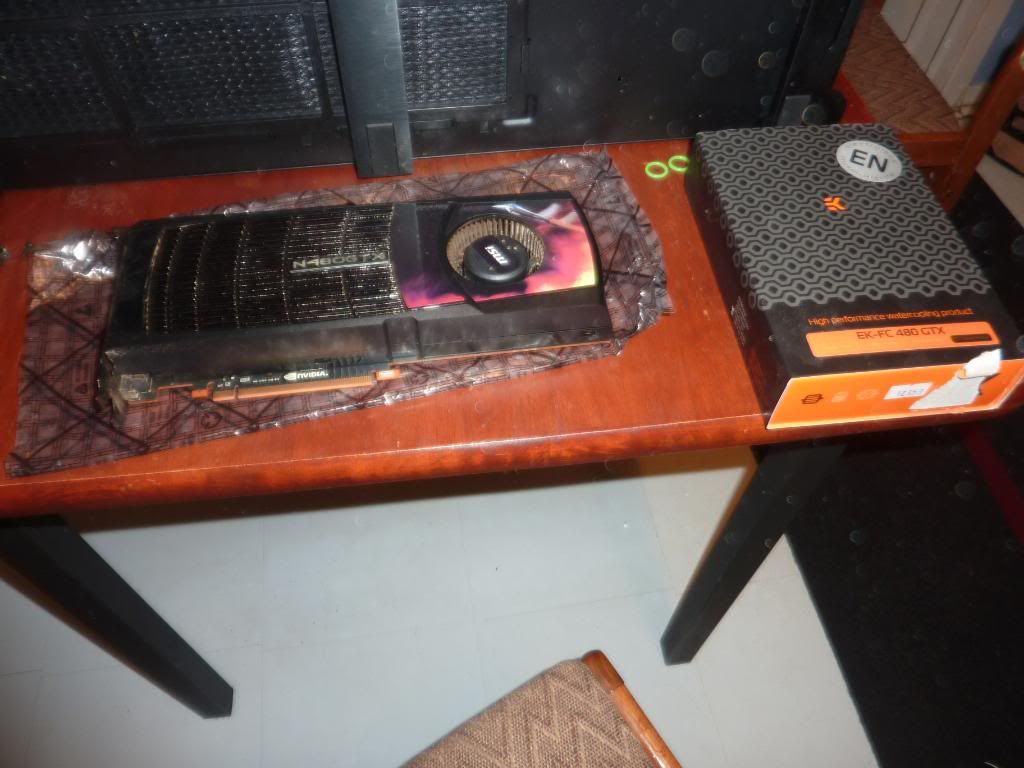
Stock cooler off.
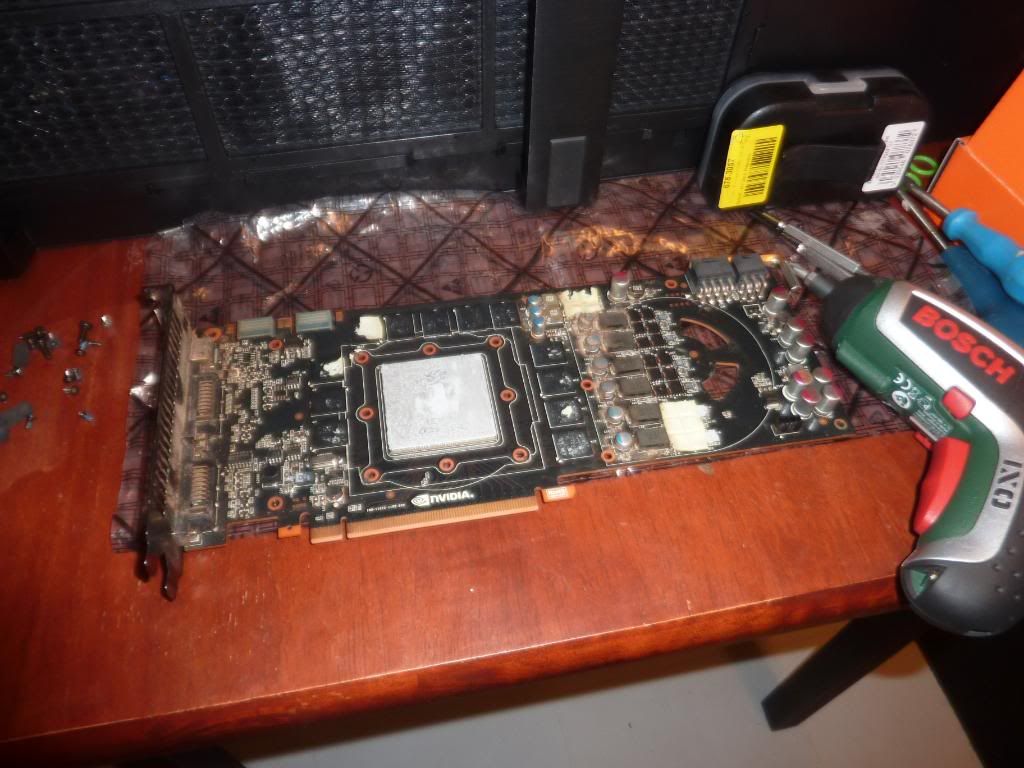
I had to resort to using my handy bosch electric screwdriver to get some of the screws out that held the stock cooler on. It really did not want to come off ! lol
Gave it a nice little clean
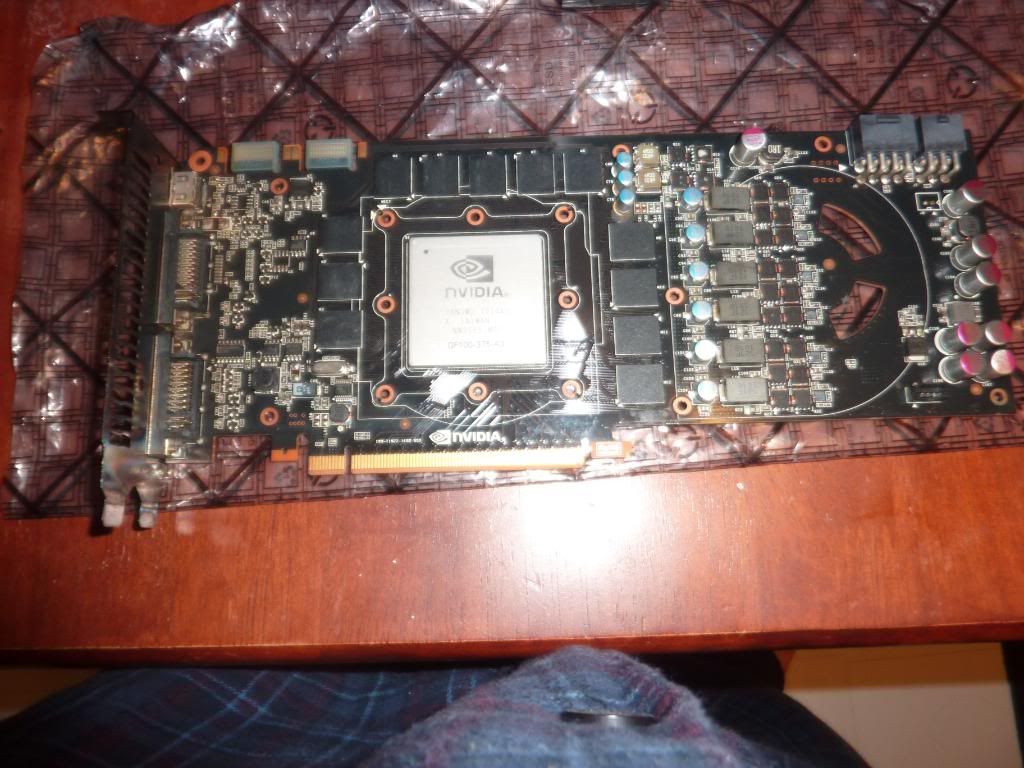
Put the thermal pads in place and the put on some paste and boom.
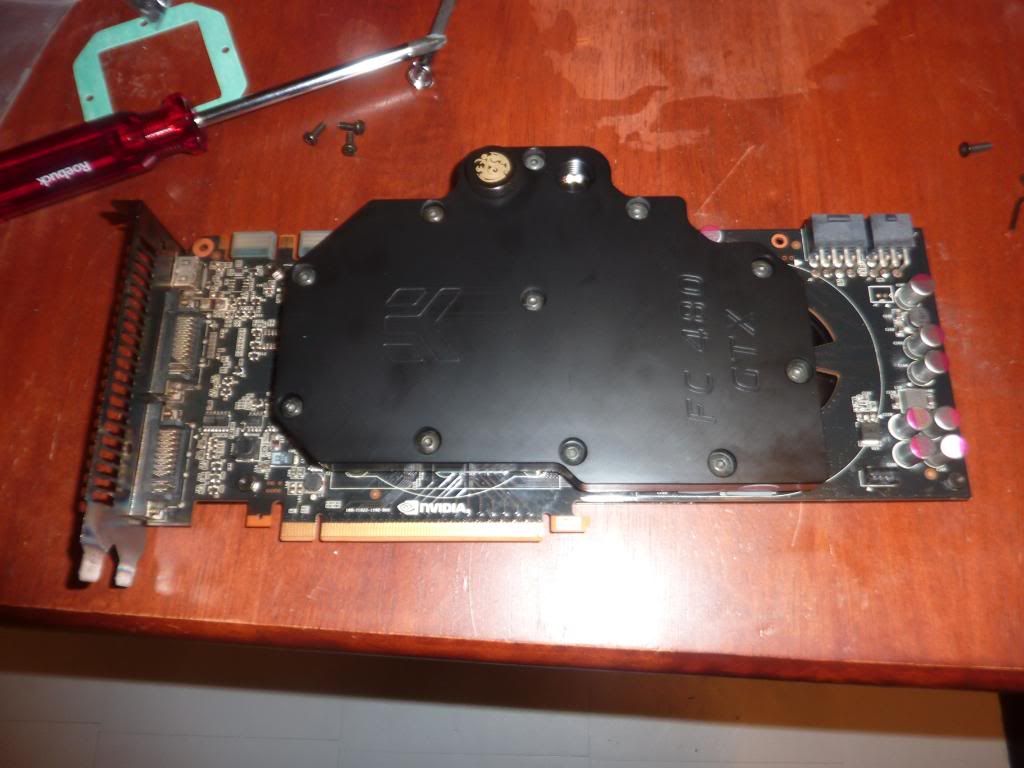
Heres a piccy with the backplate on.
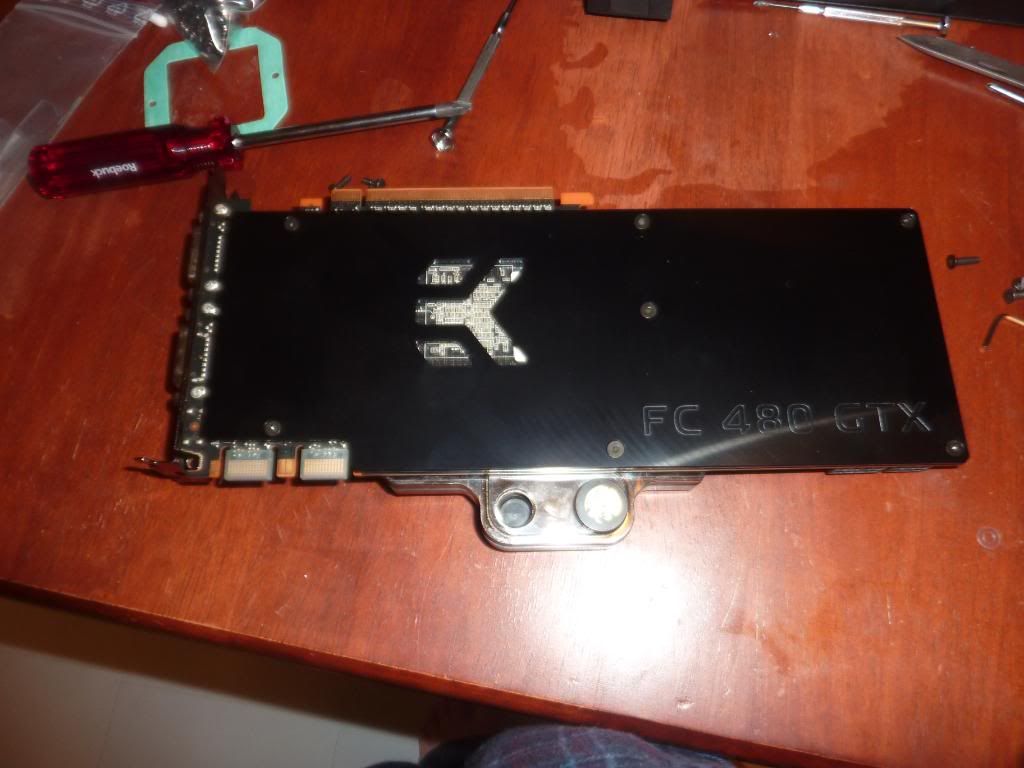
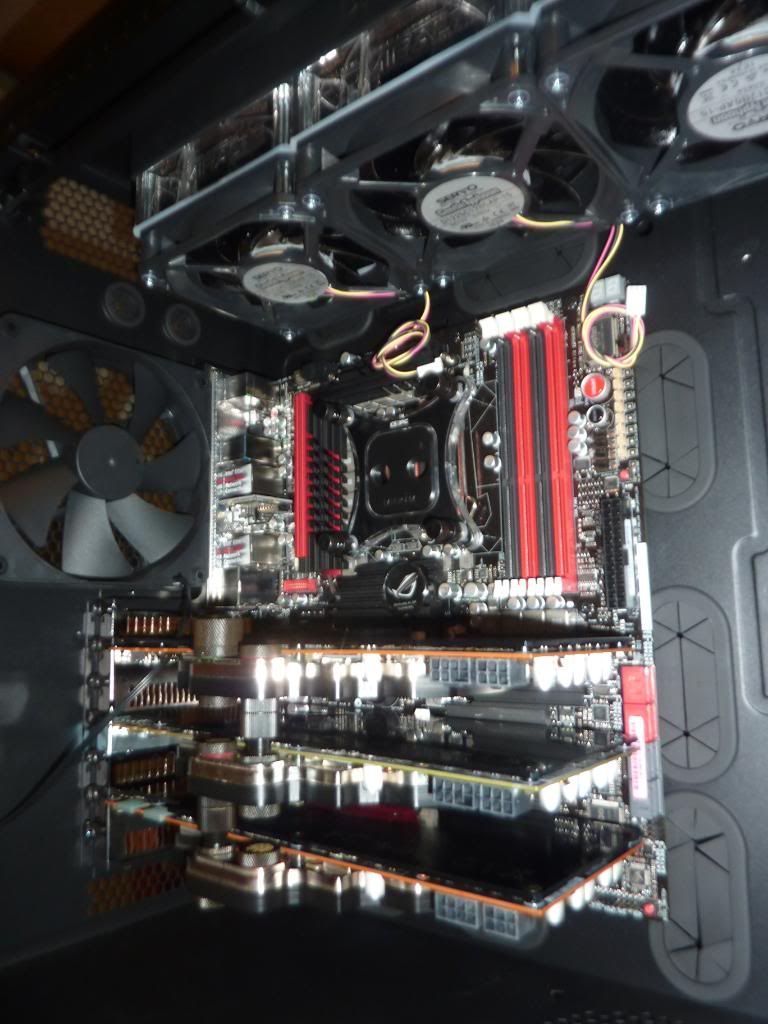
So I now have 3x 480GTXs with waterblocks and backplates on. Guess there is nothing else to do with them but put them in the case too !
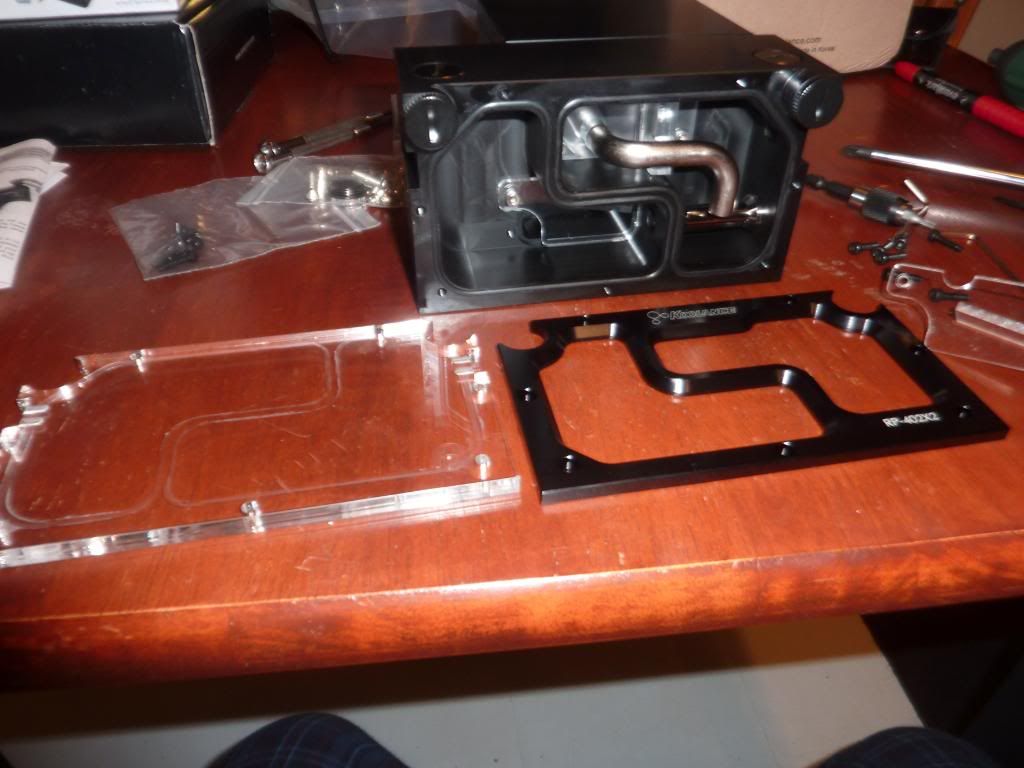
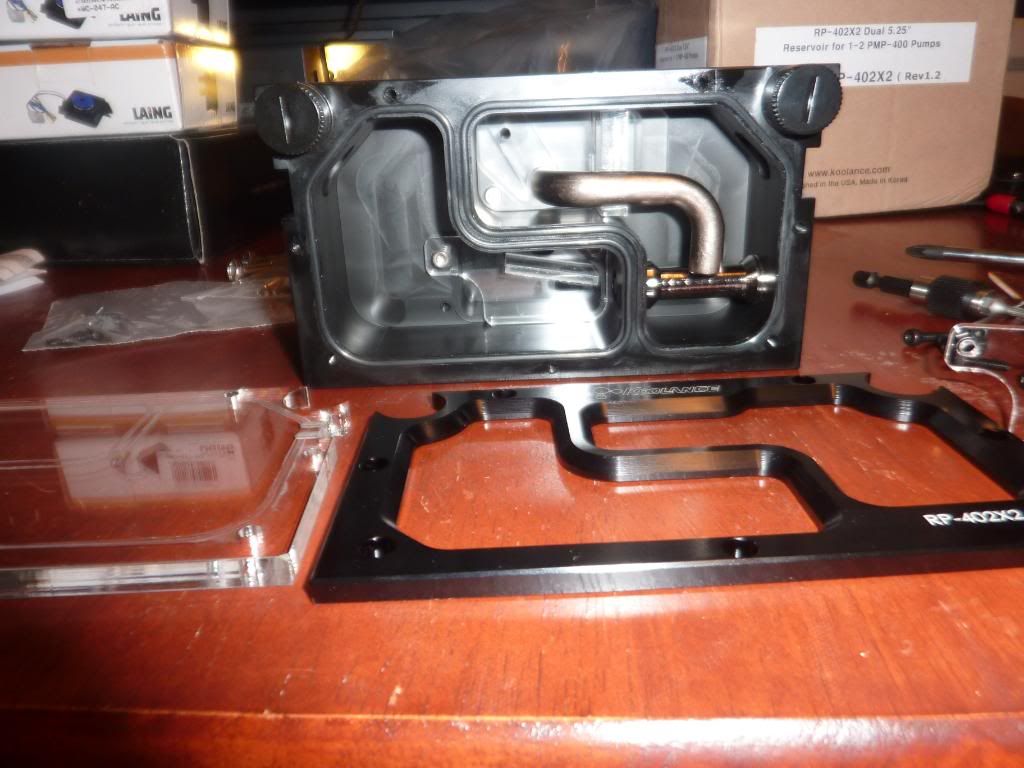
Onto the res, I got a Koolance bay res which I have to say just looks SO nice. Heres me taking the front off to put in the bleed pipe.
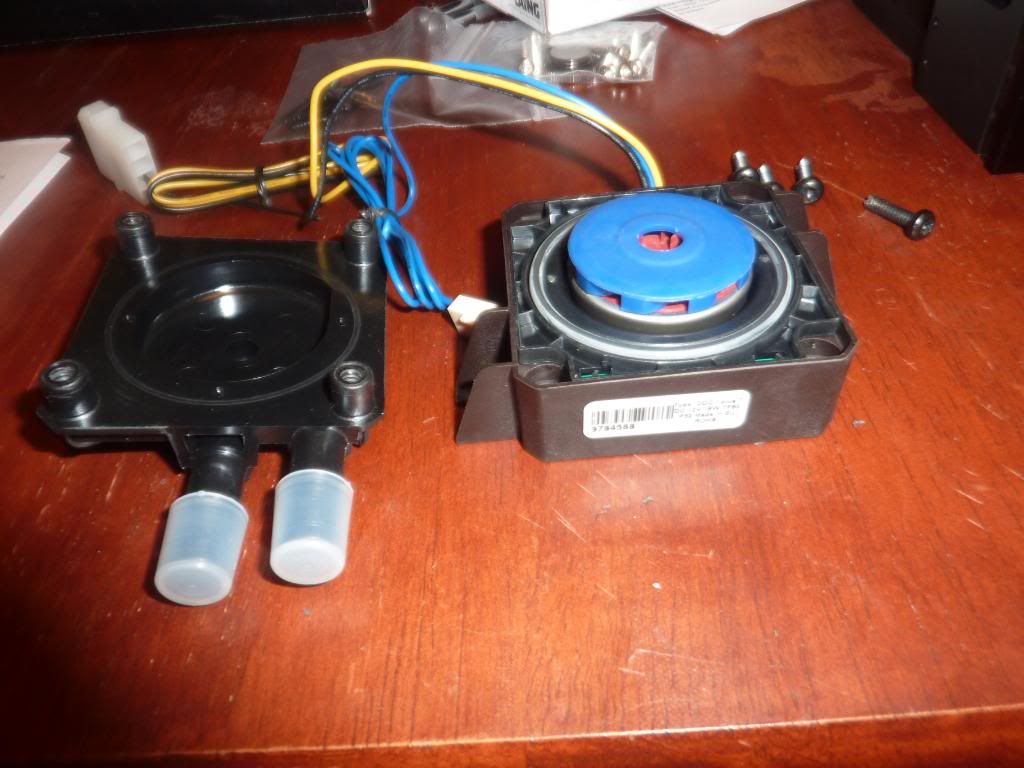
Time for the DDC pumps to lose their heads.
Then to slot them nicely into the Koolance res.
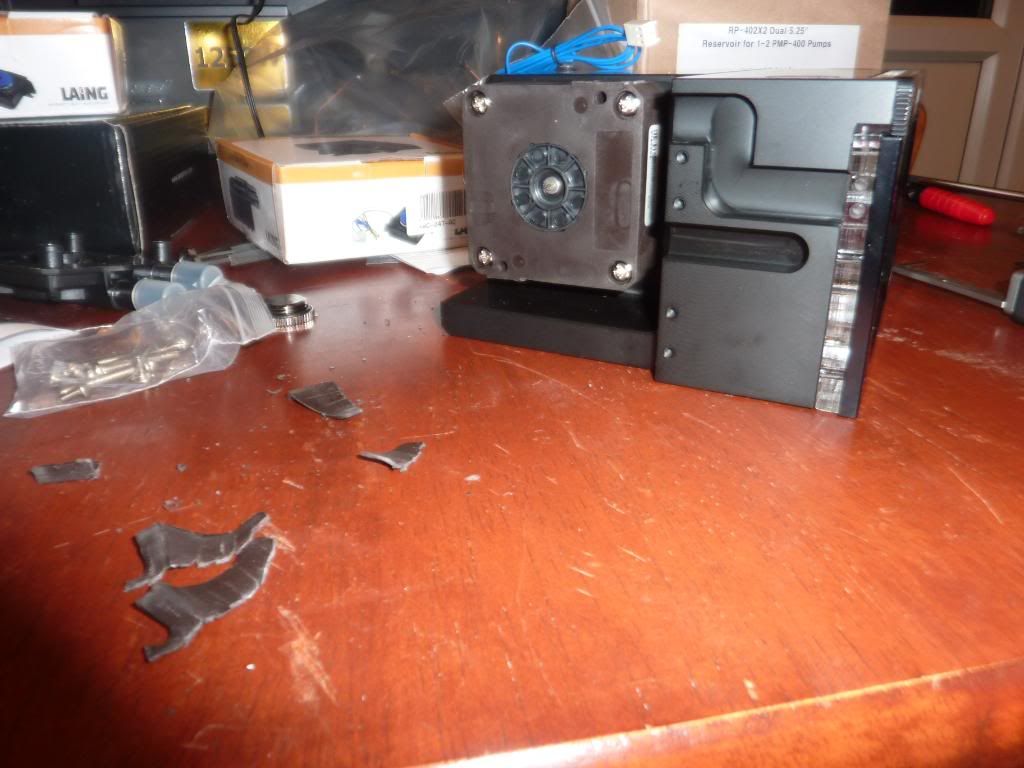
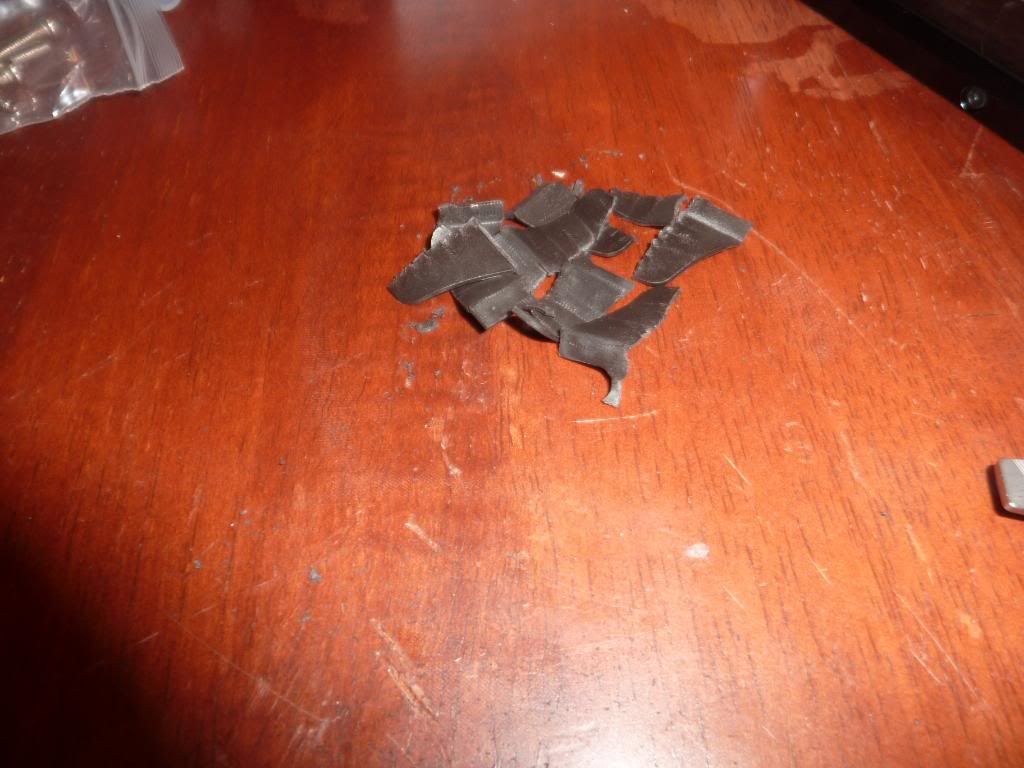
They had to lose their feet though also
 So I put that res with pumps in situ into the case too !
TUBING TIME ! Heres the stuff. I got some Tygon tubing and some bitspowers compression fittings along with some nice cutters which I borrowed from work
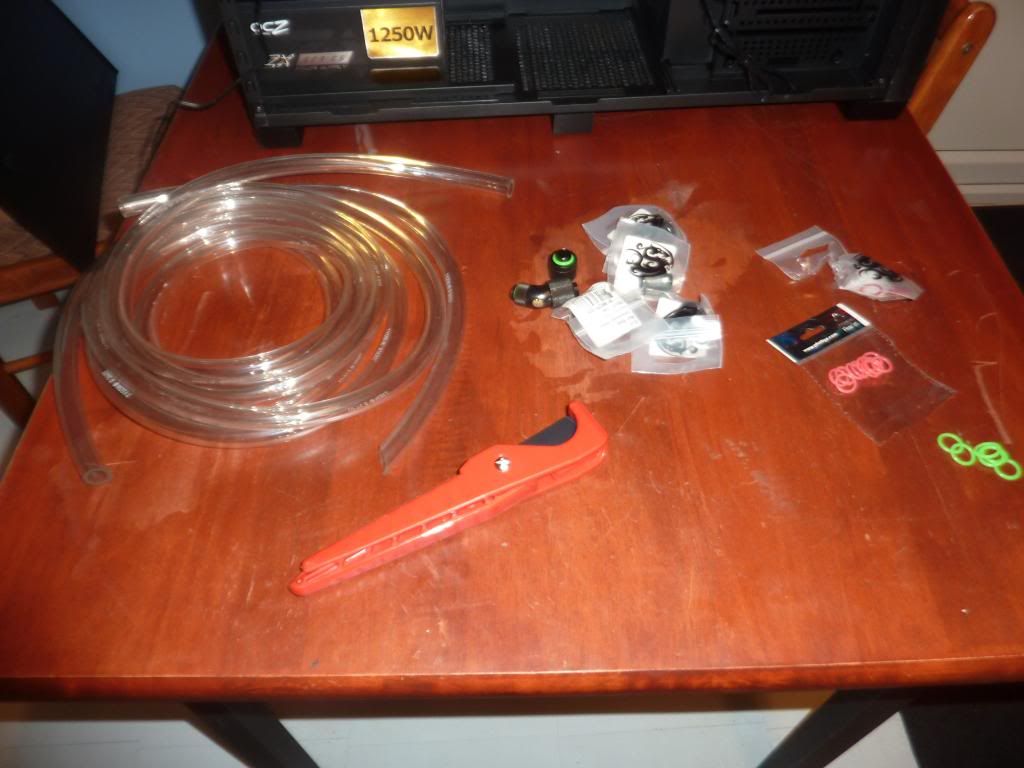
I replaced all the green O-rings with Red O-rings.
So first loop in for the graphic cards
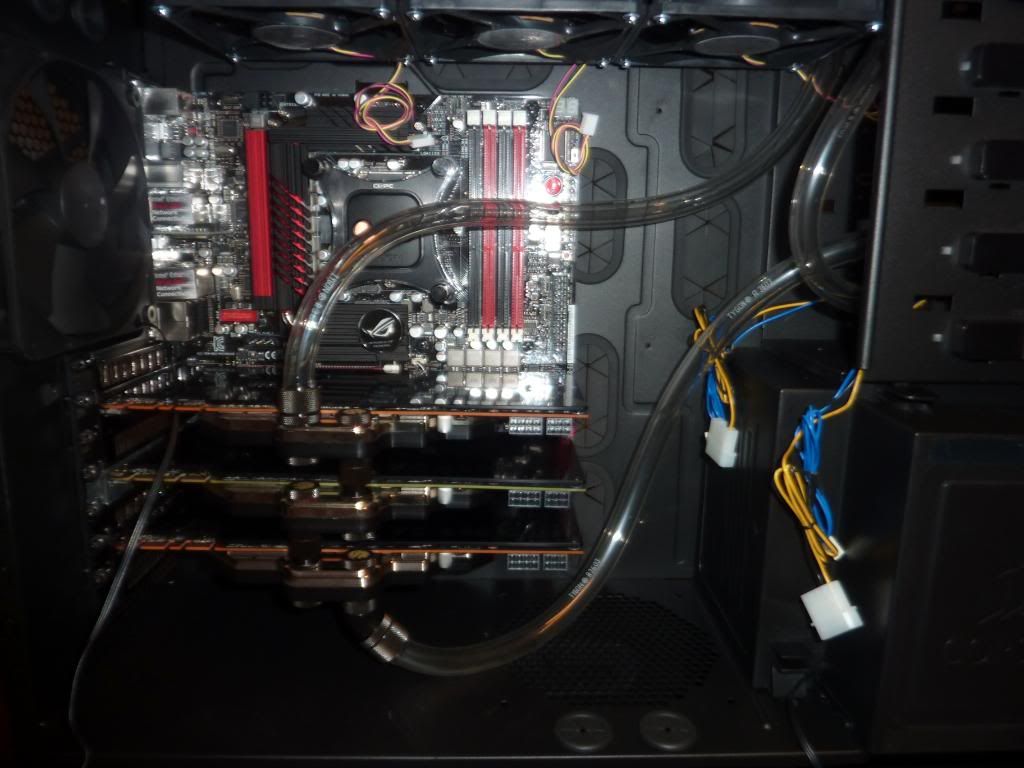
Second Loop for the CPU
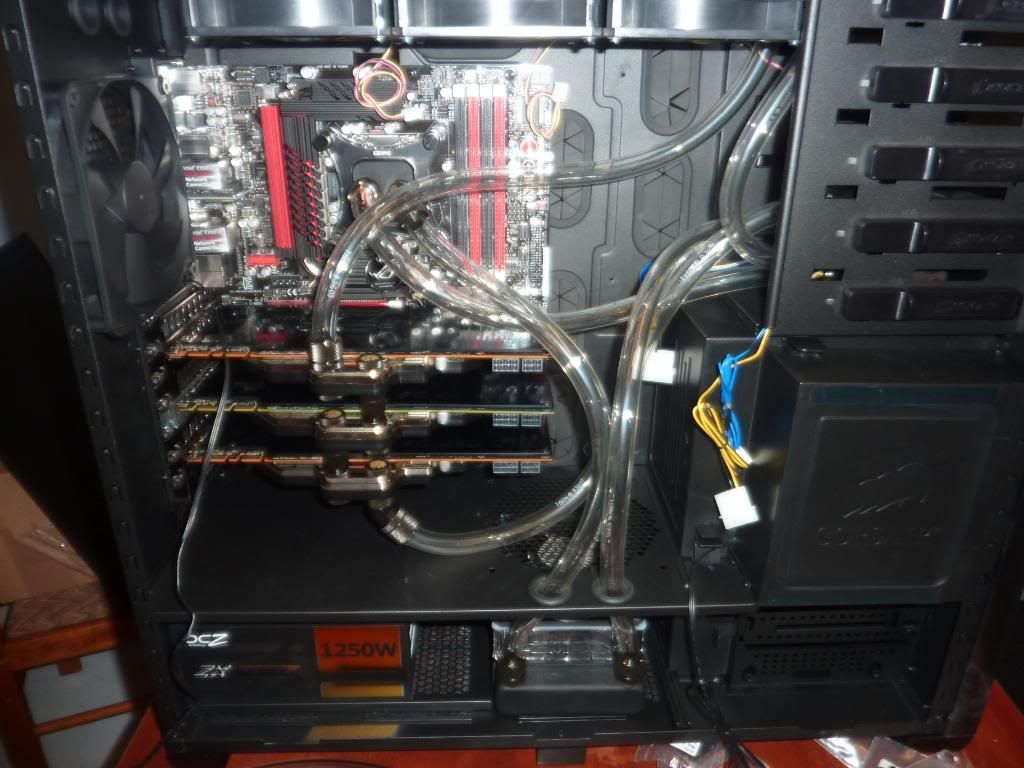
Then I had some problems. My PSU decided to blow up as I went to test the pumps it well basically popped and some smoke came out. Then when I tried to turn the power on again with just the bridging connector on it just lit up like a Xmas tree and more smoke came out. But I had a spare PSU from my previous rig so I decided to wack that on the pumps and make sure they worked. Low and behold after some messing about they were working fine
But sadly I now have to try and RMA this PSU (I bought it from MM) But as I am impatient I have bought another one which I hope will come in a day or two so I can test the whole system. If I do manage to get an RMA then I will prob just sell it on.
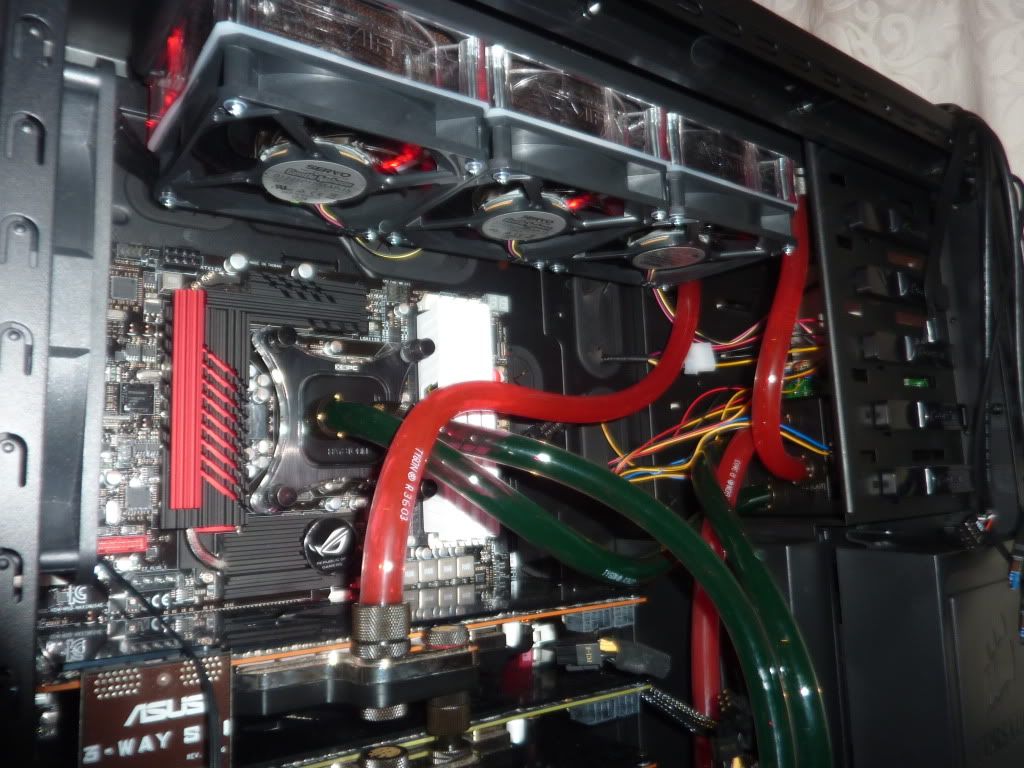
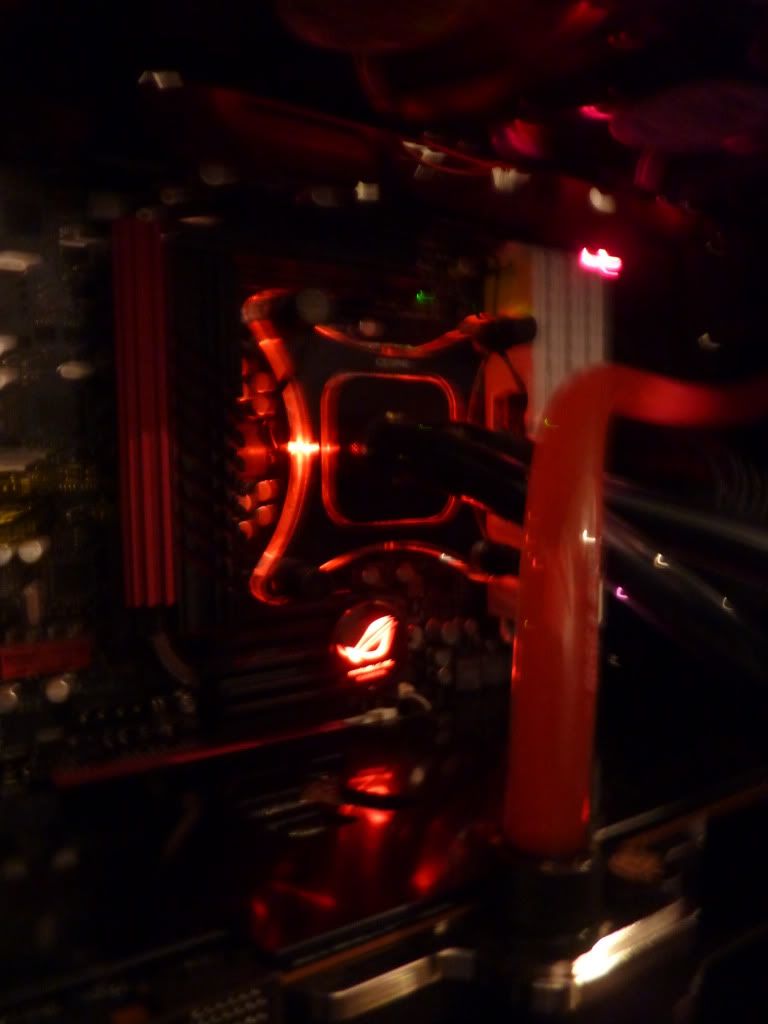
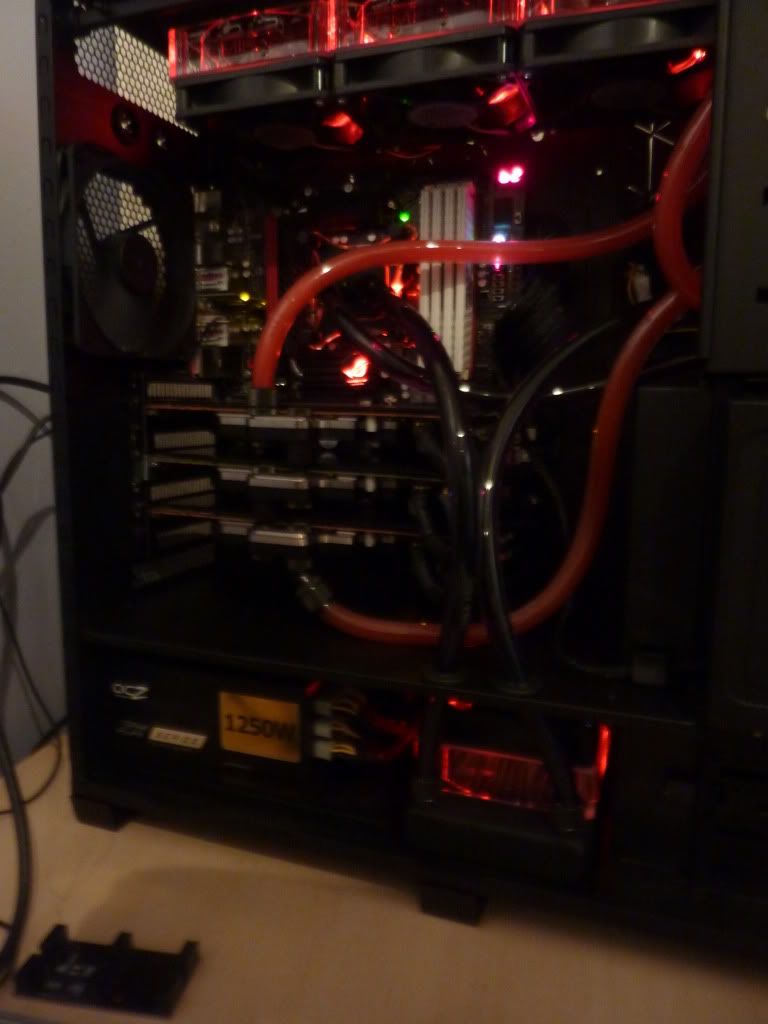
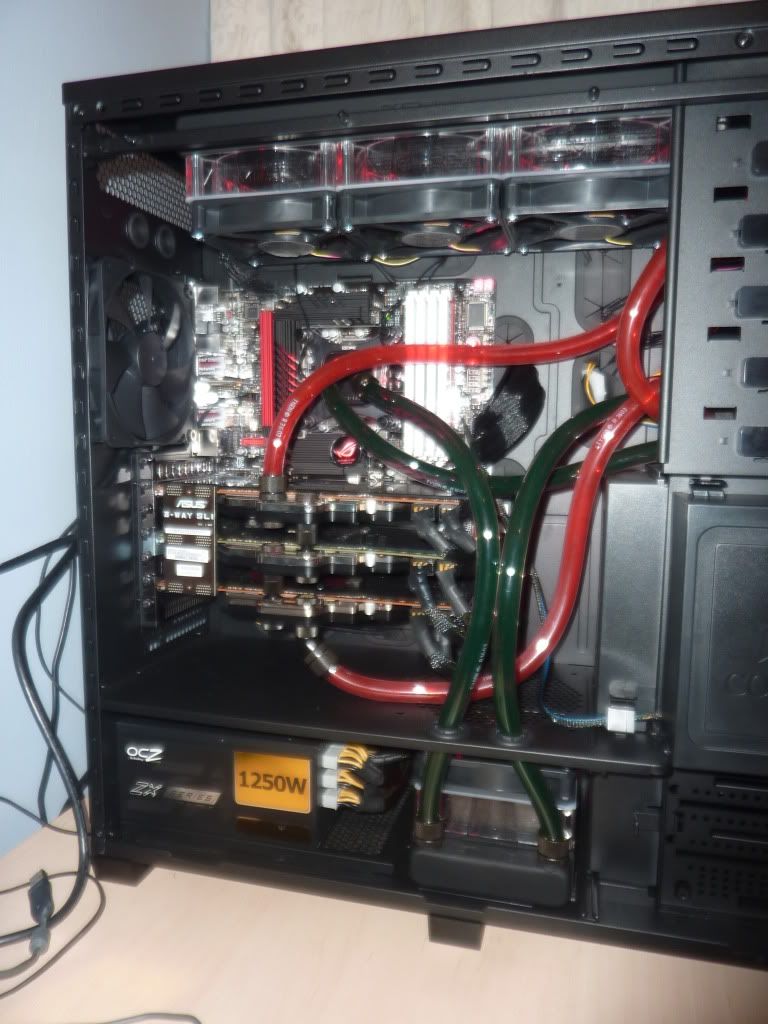
But heres some nice pics of the pumps and lush fluid running around.
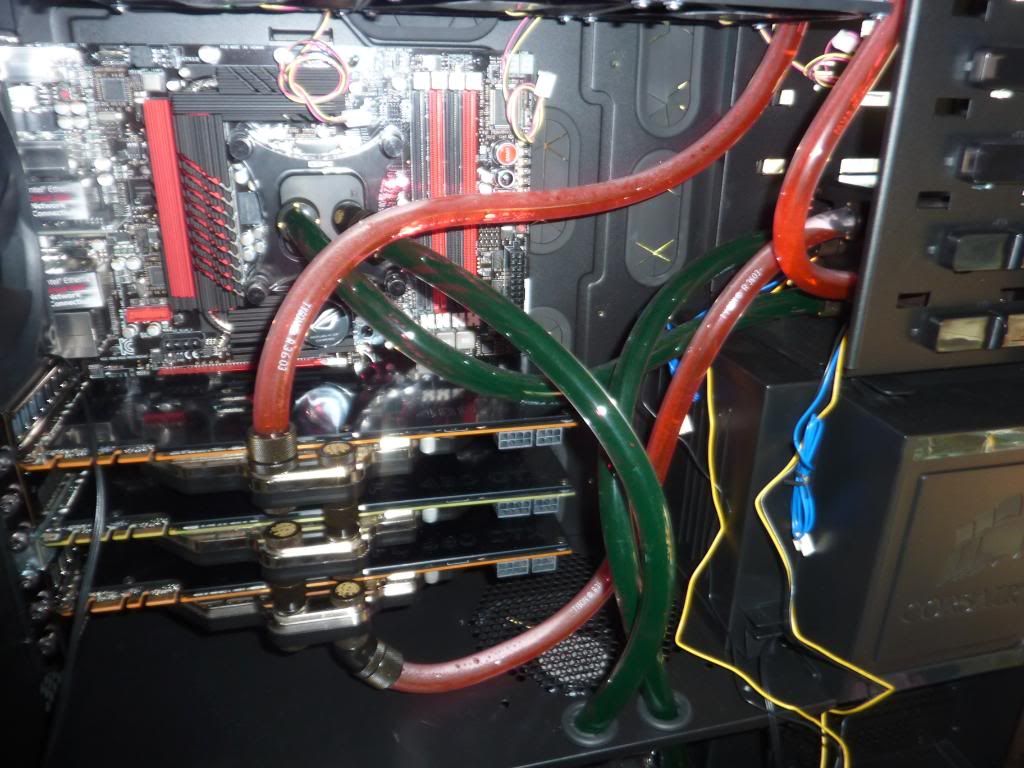
I know there is no paper down. I did the leak test with kitchen roll all around it but I forgot to take a picture .
.
Air bubbles...
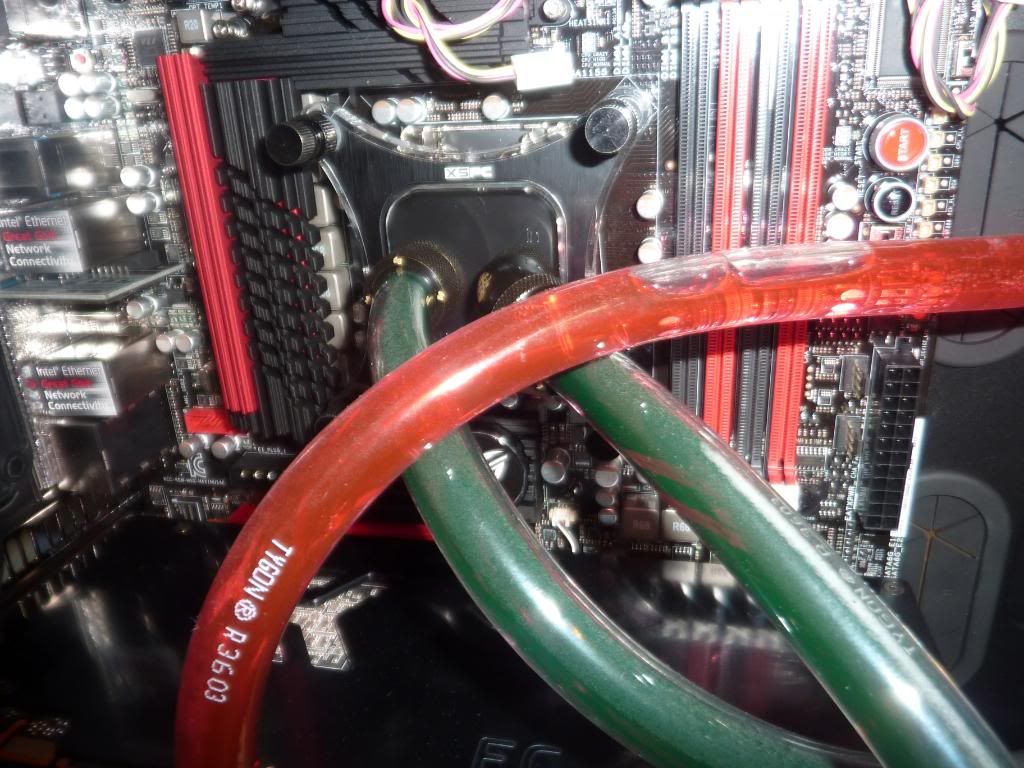
It actually took an age to bleed that air out of the gfx loop....
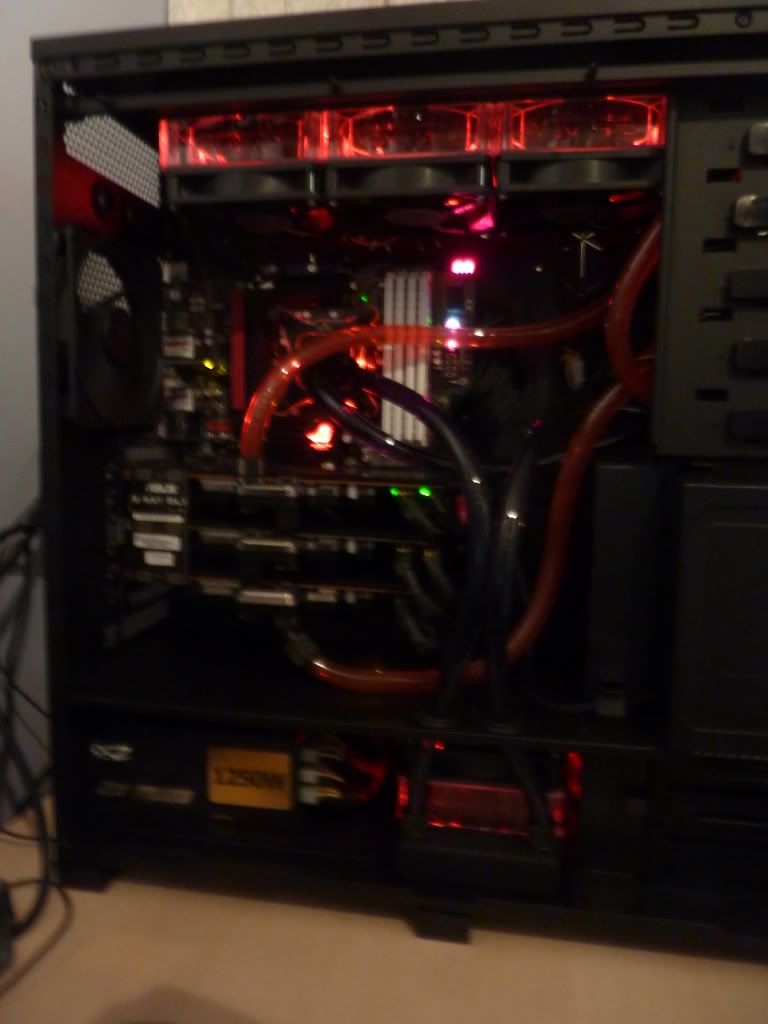
Most of the air gone now and looking pretty groovy
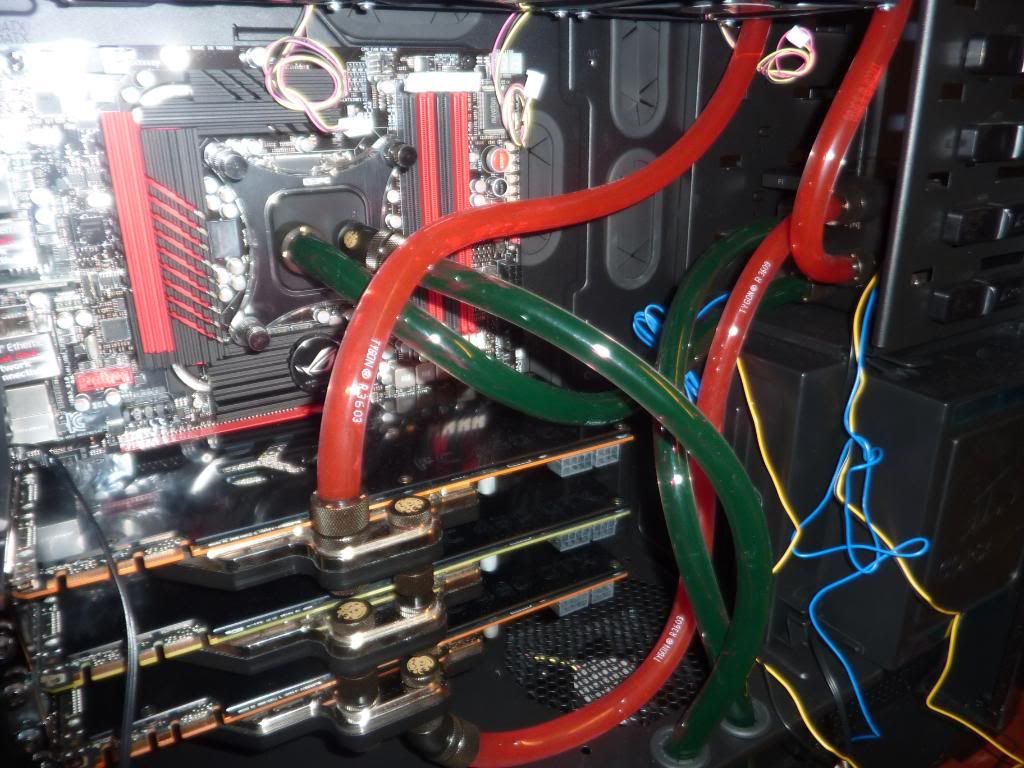
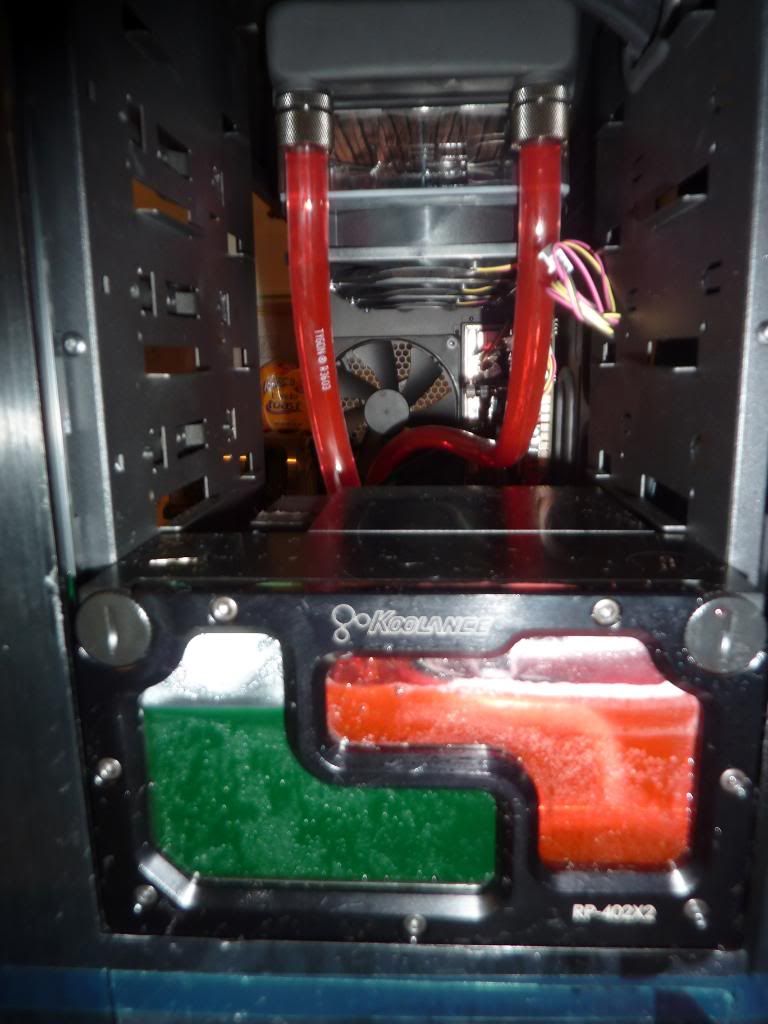
The greenish looking fluid is meant to be "oil" black. It looks a lot darker when it has not got a huge light or flash on it.
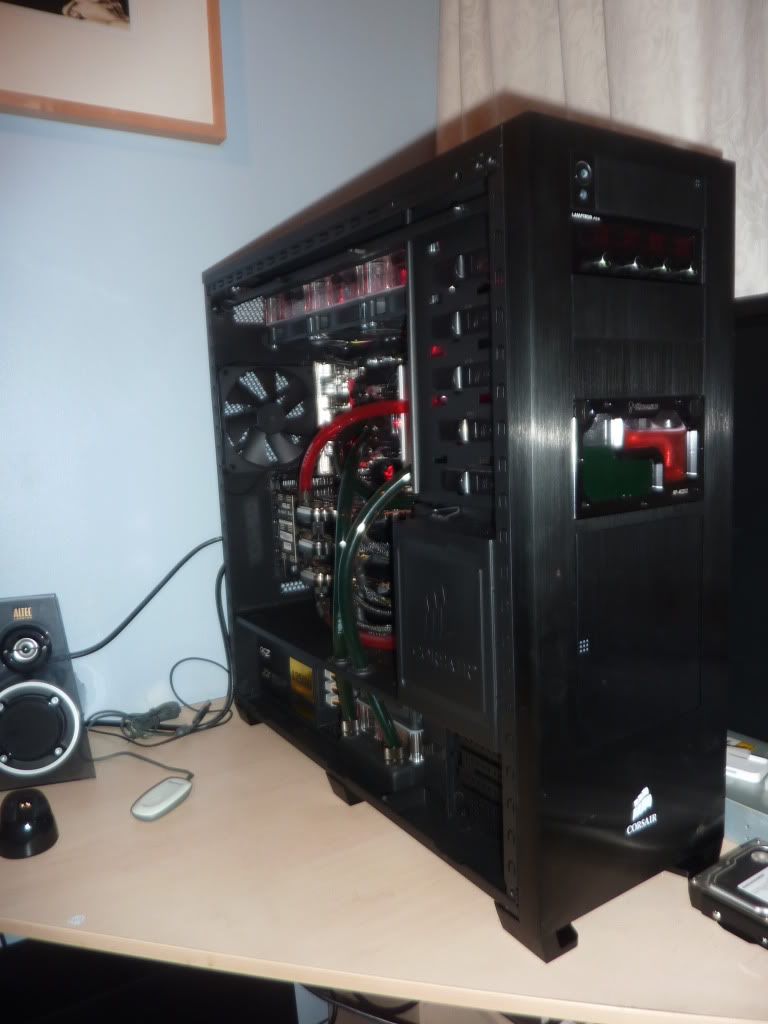
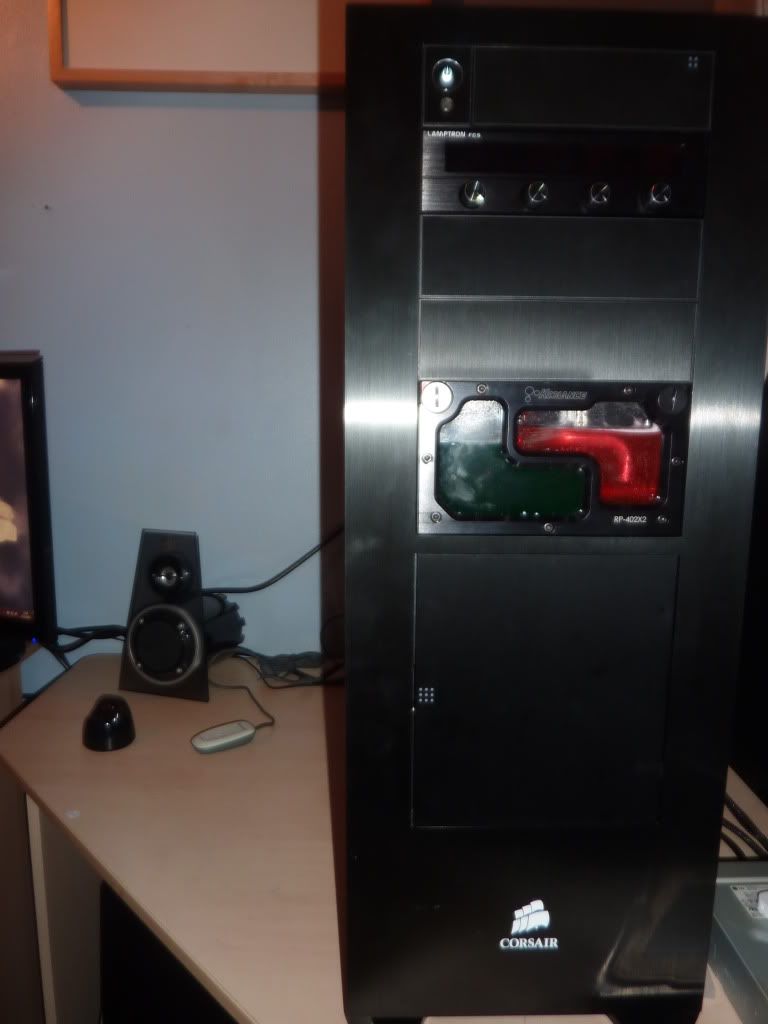
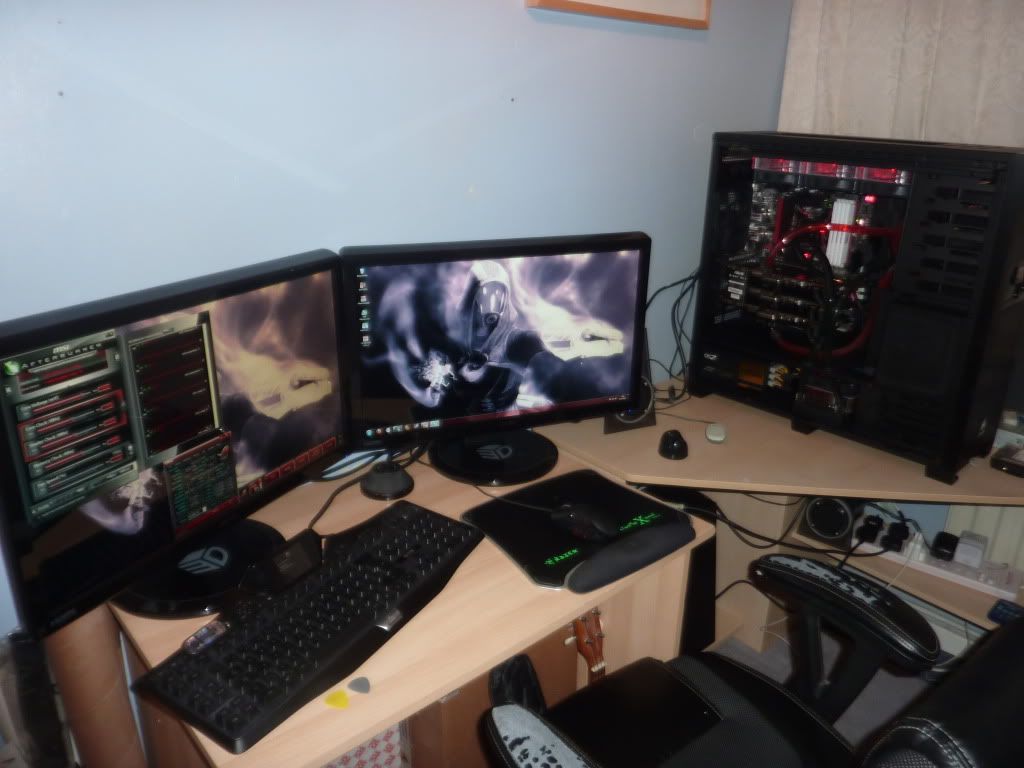
So thats where I am at. I have stopped now for today. I left the pumps running for a while and have now shifted the PC into my room as I am sure there are no leaks and stuff like installing the power cables, SSD and HDD I can do in my room and not leave the kitchen a mess !

In this project I will have 2 loops. One for the CPU (i5 2500k) which will be on a XSPC EX 120 with a Raystorm block. This loop will have Mayhems oil black fluid in. The second loop will be for the 3x 480GTX's which will be on a XSPC EX 360 with EK waterblocks and backplates on. This loop will have Mayhems Red fluid in.
I am using a Koolance dual bay res/pump for DDC pumps.
So lets get started. First job was the fans I bought some Scythe GTs which seemed quite popular. However straight away the colour put me off I don't want no grey it my case ! So they needed a paint job. After a bit of a search on internet I found out how to take them apart so heres a few pics of me taking them apart and painting them black.
Sticker off

I had 4 fans heres the clips for all four fans kept safely in a little plastic bag. Tiny things !


Next tape up the back of the fan don't want any paint getting to the magnet or the centre pole.

After all four fans were taped up its time to paint !

I did a couple of coats. Heres the end result after they dried.


So thats the messy bit out of the way next PC build time. ! So I brought all my gear down into the kitchen ready to build away. Heres some pics of all my stuff !


Once it did a bit of a clear up and organisation. I decided to start by putting my CPU and Raystorm block onto the Maximus IV Z board. So heres the bits on the table.

Backplate for 1155.

Heres my i5 2500k and Raystorm block now that the backplate is on.

Lastly pic of the mobo and Raystorm sitting happy in the 800d. Oh I also slotted my PSU in there at the bottom too.

oh yea and check out Cloud (my dog) lol he sat there looking at that PC case just thinking WHAT THE HELL !

Then I moved on to the rads. I got a XSPC EX 360 and a XSPC EX 120. My Scythe GTs to sit on top and nicely slotted in was some Faser shrouds.
I took this pic after I already done the 120..

Heres the end result.

The Feser shrouds also came with some 5mm red LED's which slot into the shroud so should look nice a pretty when on.
Rads inside the 800d

Next graphic cards ! I got 3x 480GTXs. All will have a EK waterblock and EK backplate on. So heres the one with its stock cooler on. Bit dusty from use in my old PC


Stock cooler off.

I had to resort to using my handy bosch electric screwdriver to get some of the screws out that held the stock cooler on. It really did not want to come off ! lol
Gave it a nice little clean

Put the thermal pads in place and the put on some paste and boom.

Heres a piccy with the backplate on.

So I now have 3x 480GTXs with waterblocks and backplates on. Guess there is nothing else to do with them but put them in the case too !

Onto the res, I got a Koolance bay res which I have to say just looks SO nice. Heres me taking the front off to put in the bleed pipe.


Time for the DDC pumps to lose their heads.

Then to slot them nicely into the Koolance res.

They had to lose their feet though also


 So I put that res with pumps in situ into the case too !
TUBING TIME ! Heres the stuff. I got some Tygon tubing and some bitspowers compression fittings along with some nice cutters which I borrowed from work


I replaced all the green O-rings with Red O-rings.
So first loop in for the graphic cards

Second Loop for the CPU

Then I had some problems. My PSU decided to blow up
 as I went to test the pumps it well basically popped and some smoke came out. Then when I tried to turn the power on again with just the bridging connector on it just lit up like a Xmas tree and more smoke came out. But I had a spare PSU from my previous rig so I decided to wack that on the pumps and make sure they worked. Low and behold after some messing about they were working fine
But sadly I now have to try and RMA this PSU (I bought it from MM) But as I am impatient I have bought another one which I hope will come in a day or two so I can test the whole system. If I do manage to get an RMA then I will prob just sell it on.
But heres some nice pics of the pumps and lush fluid running around.

I know there is no paper down. I did the leak test with kitchen roll all around it but I forgot to take a picture
 .
.Air bubbles...

It actually took an age to bleed that air out of the gfx loop....
Most of the air gone now and looking pretty groovy


The greenish looking fluid is meant to be "oil" black. It looks a lot darker when it has not got a huge light or flash on it.
So thats where I am at. I have stopped now for today. I left the pumps running for a while and have now shifted the PC into my room as I am sure there are no leaks and stuff like installing the power cables, SSD and HDD I can do in my room and not leave the kitchen a mess !


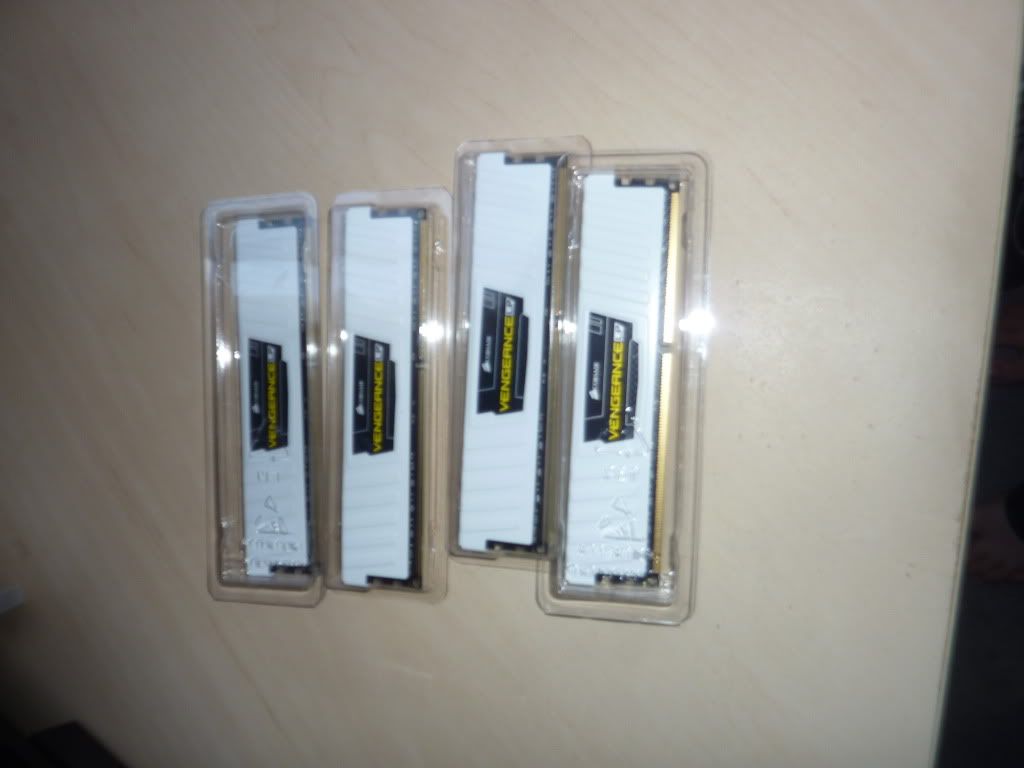
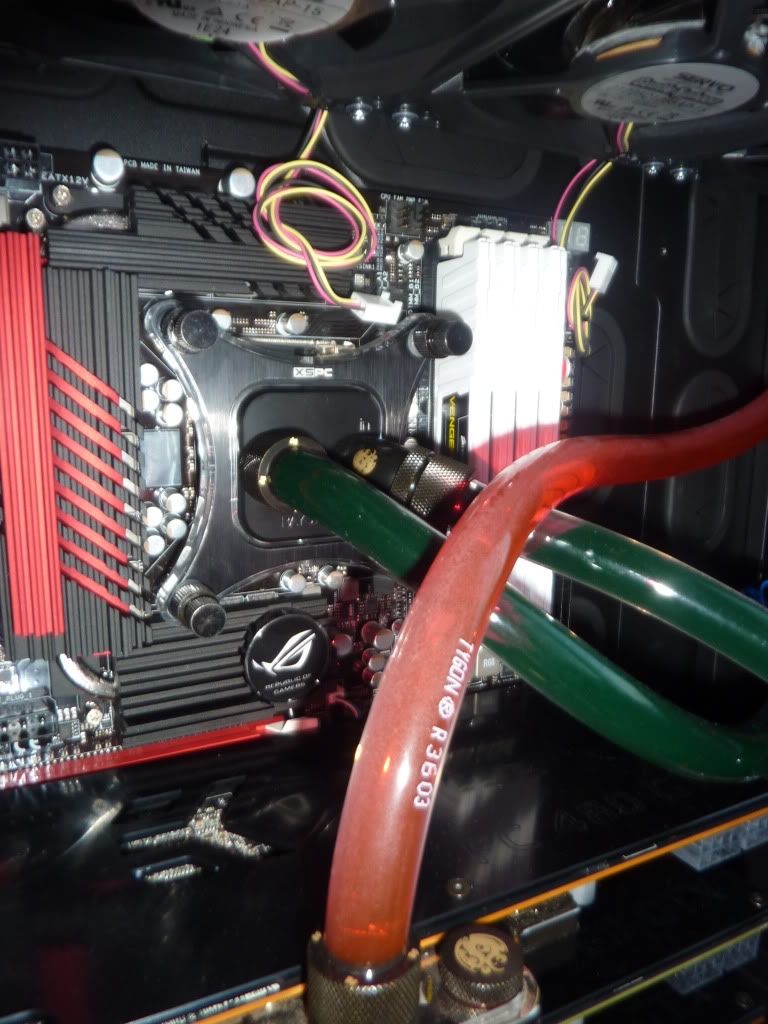
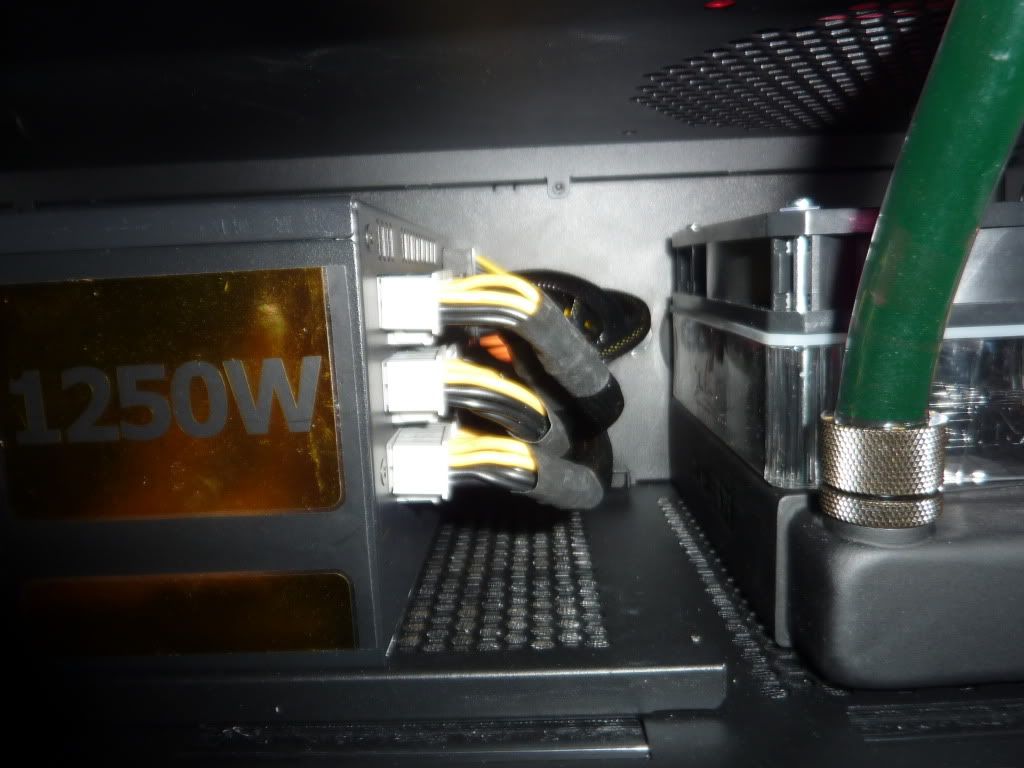
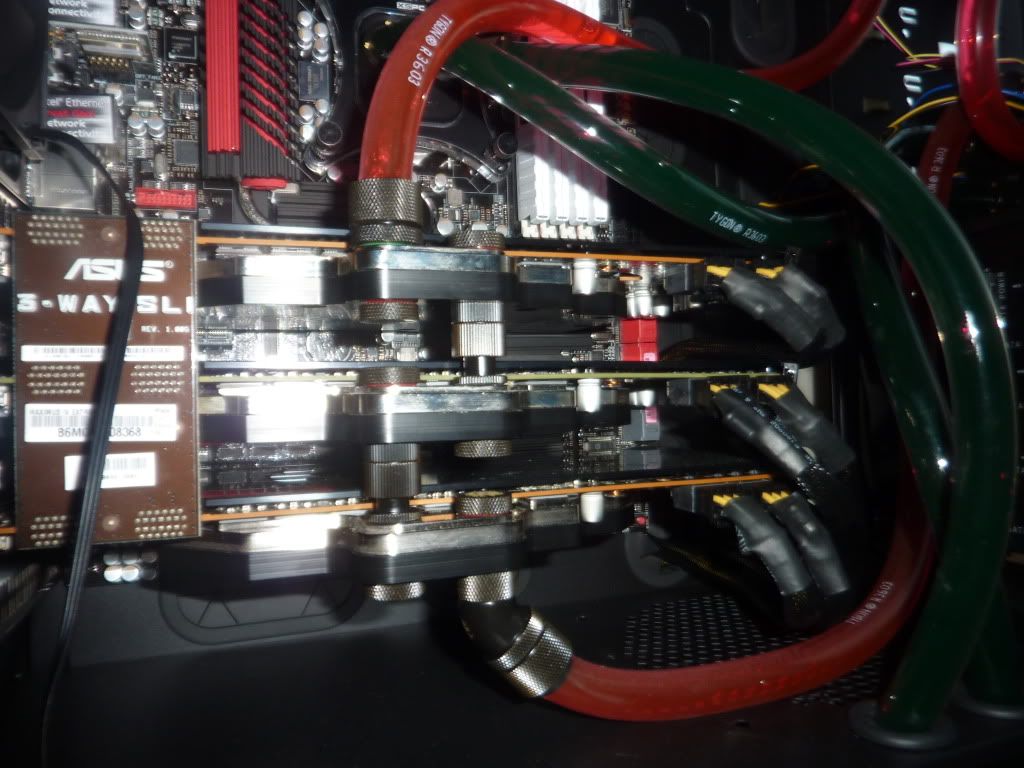

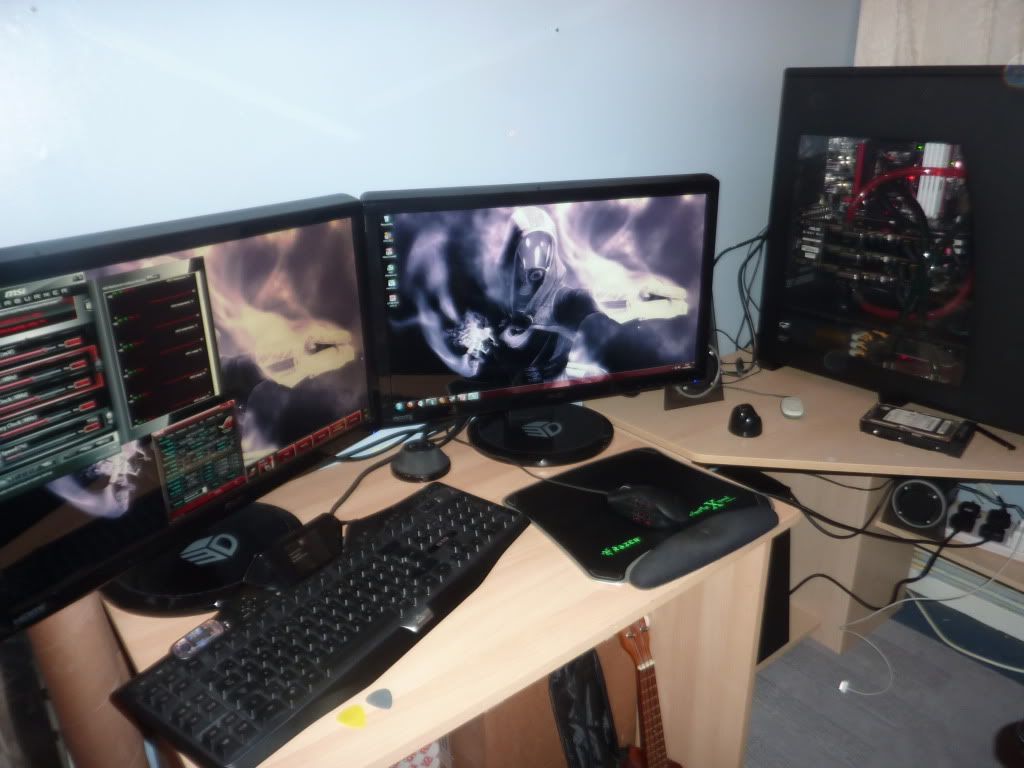
 yea it set me back a fair bit, but I have to say I am extremely happy with it. Well worth the money.