Associate
- Joined
- 8 Nov 2006
- Posts
- 1,465
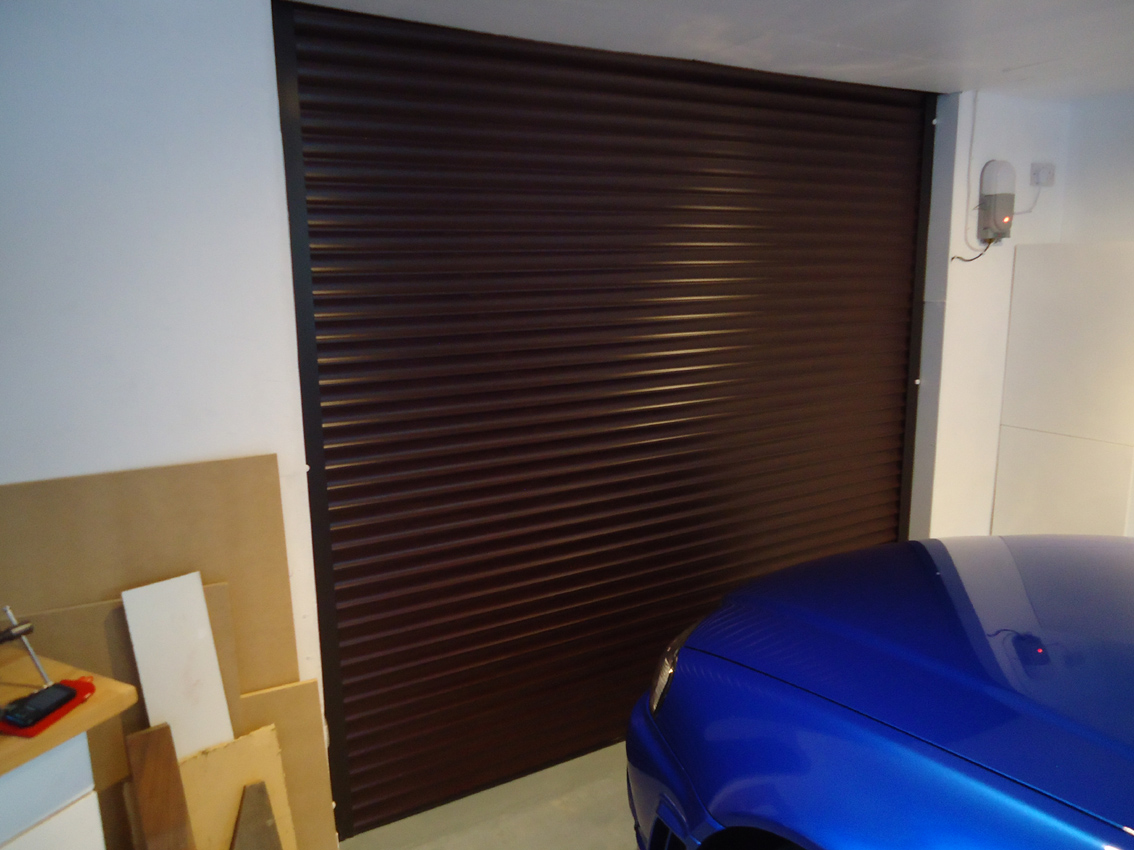
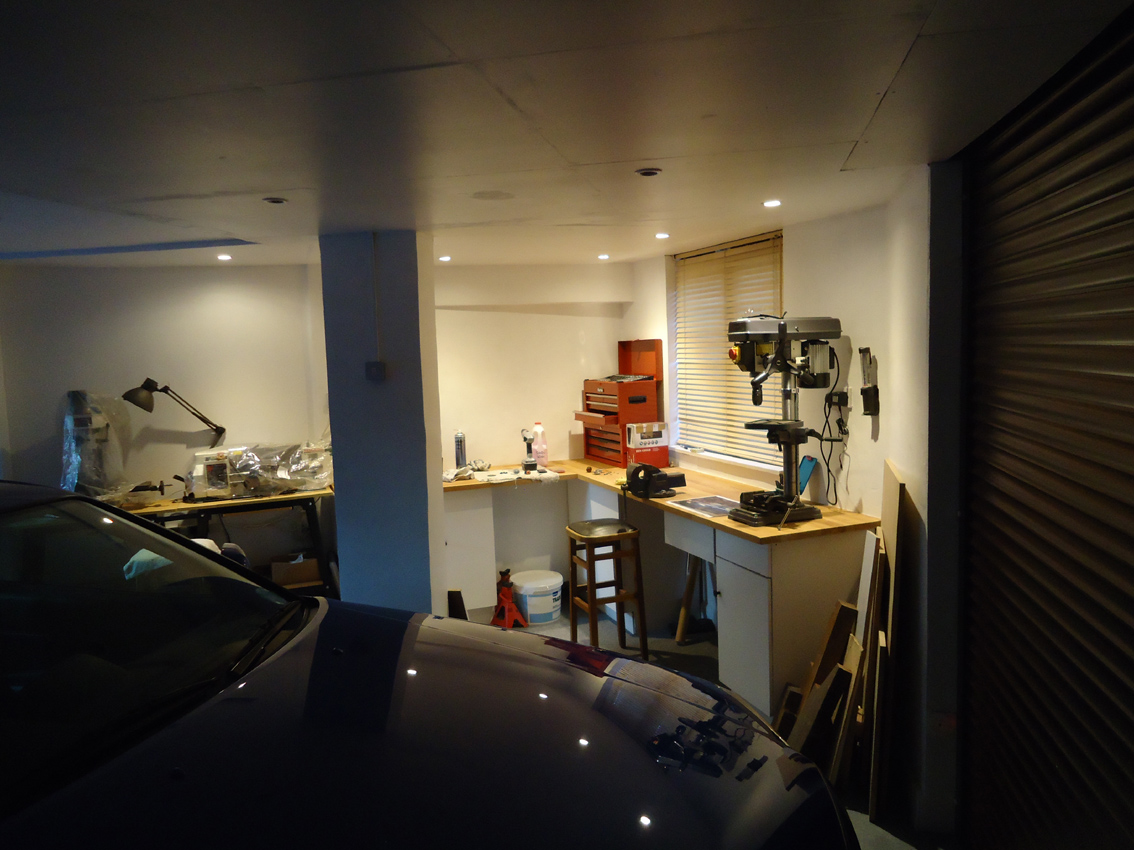
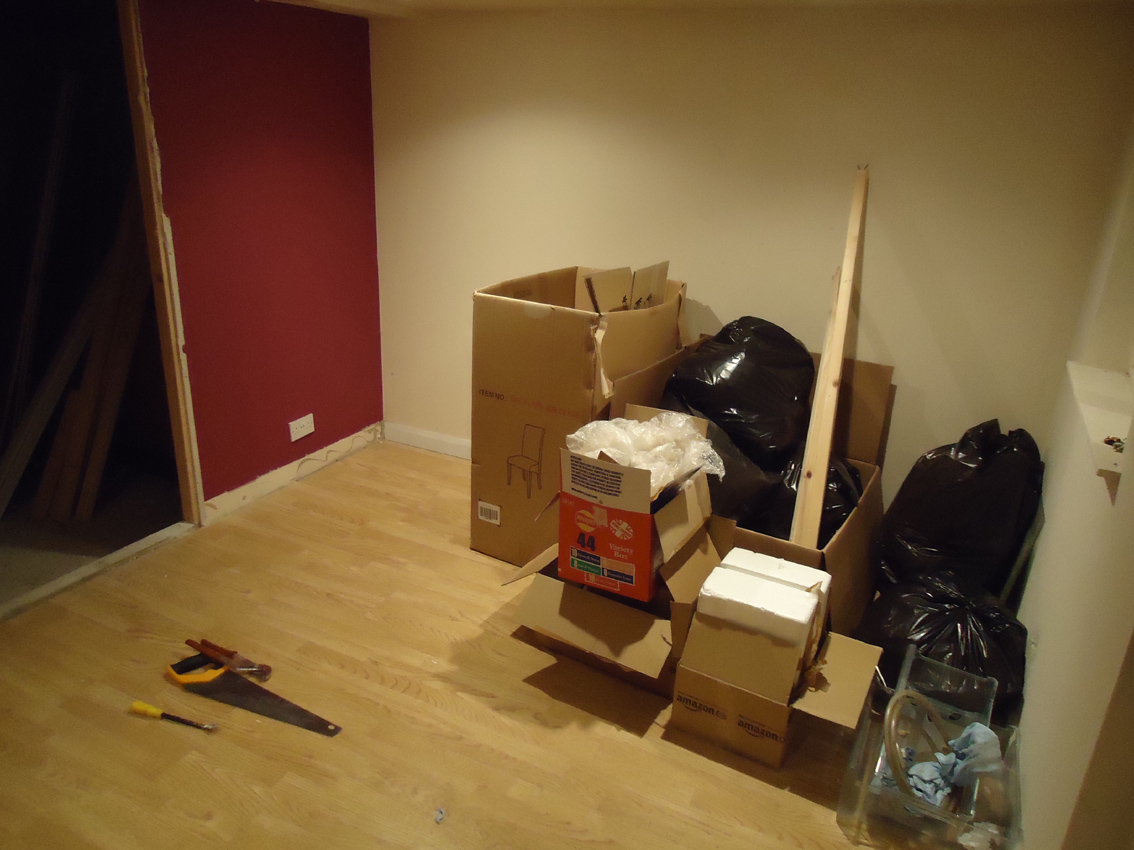
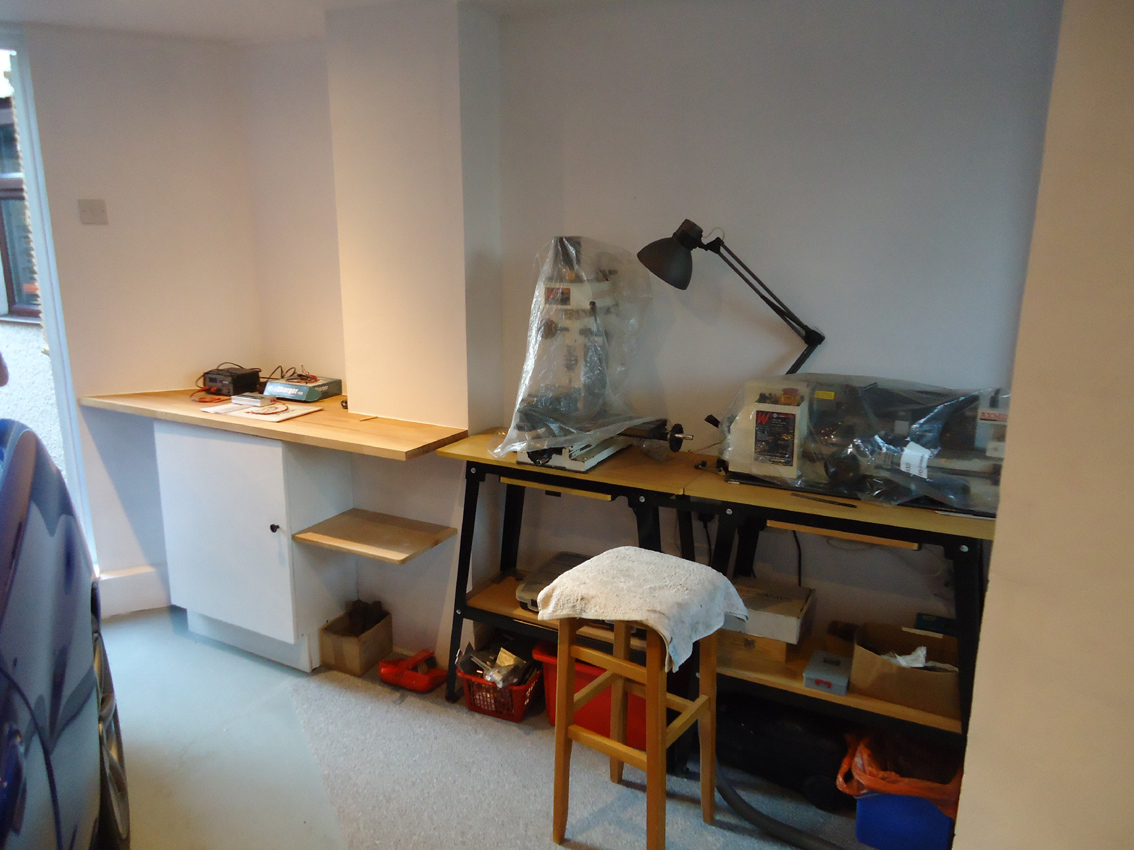
I bought the house 6 months ago and have been working away on this and that, one of the first majoy jobs was to make the garage a large clean open work area that could also house the car. The shape is a wide single with a triangle stuck on the side thats about half the size of the main garage. When I moved in the fron half was being used as a dirty dusty storage ares (he was a builder) and the rear larger half had a raised floor, laminate flooring, plaster boarded walls and was used as a play room / laundry room.
First man thing I did was to knock through the plastrboard wall into the dirty side!
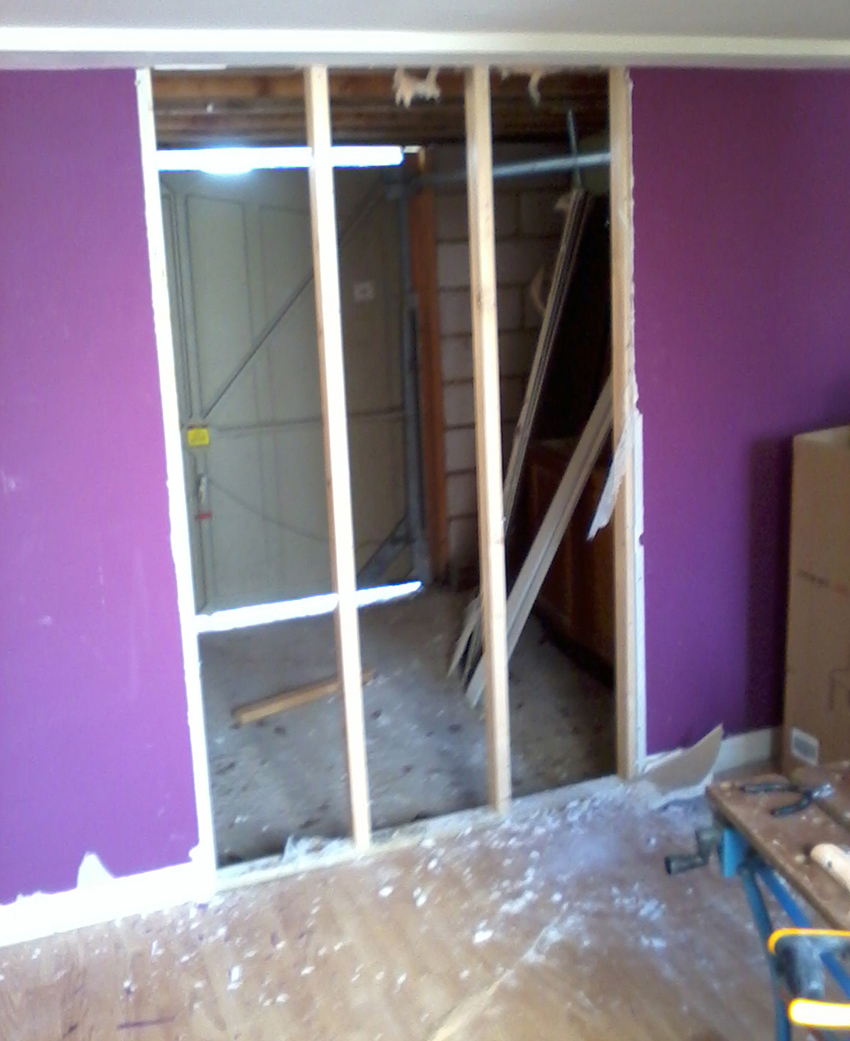
The wall I was taking out was battening floor to ceiling with plasterboard on both sides like a sandwich and wall sockets on it, it seems a mouse or two had walked along the ceiling, fell down between the boards and couldnt get out. This is what I found!
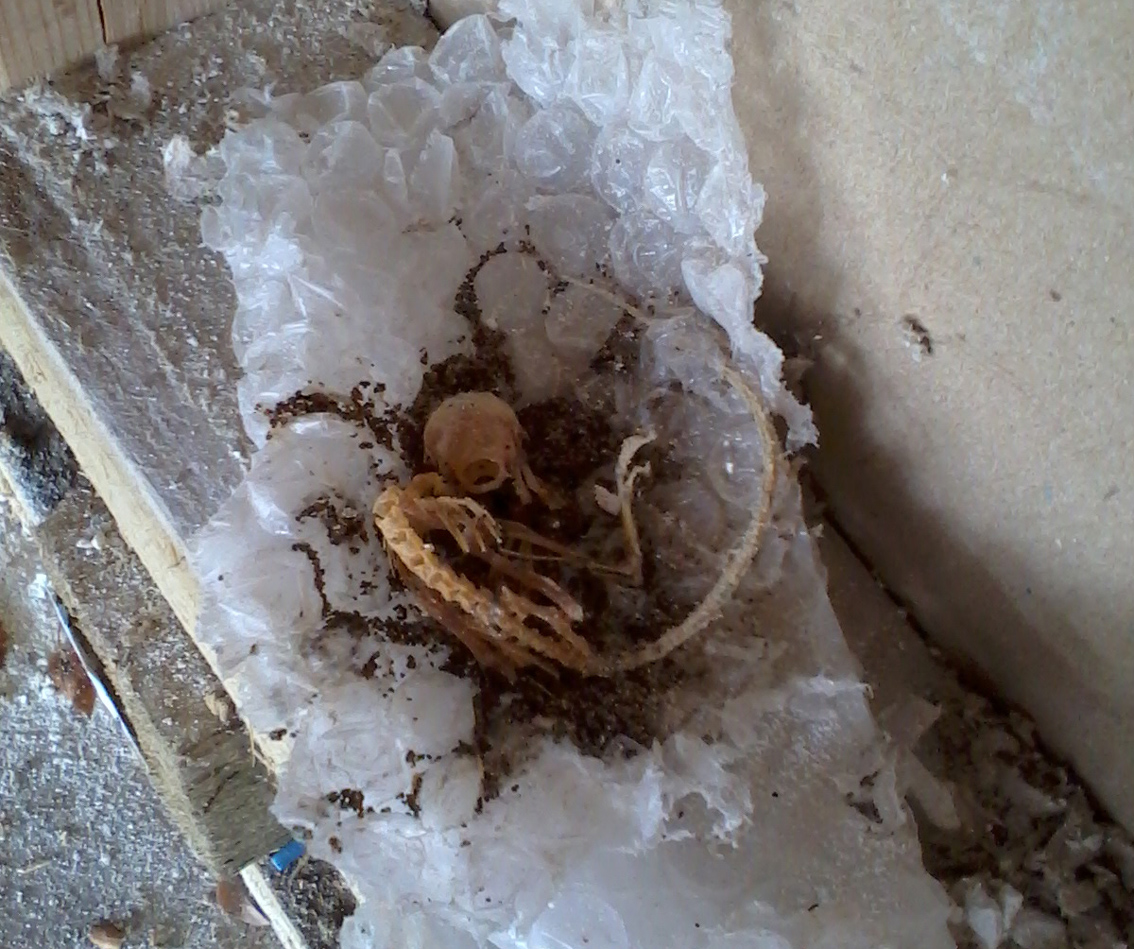
perfectly preserved, and a bit wierd. Fourtunatly the garage was all very dry and dusty and there was a noticeable lack of bugs, just the occasional dusty spider.

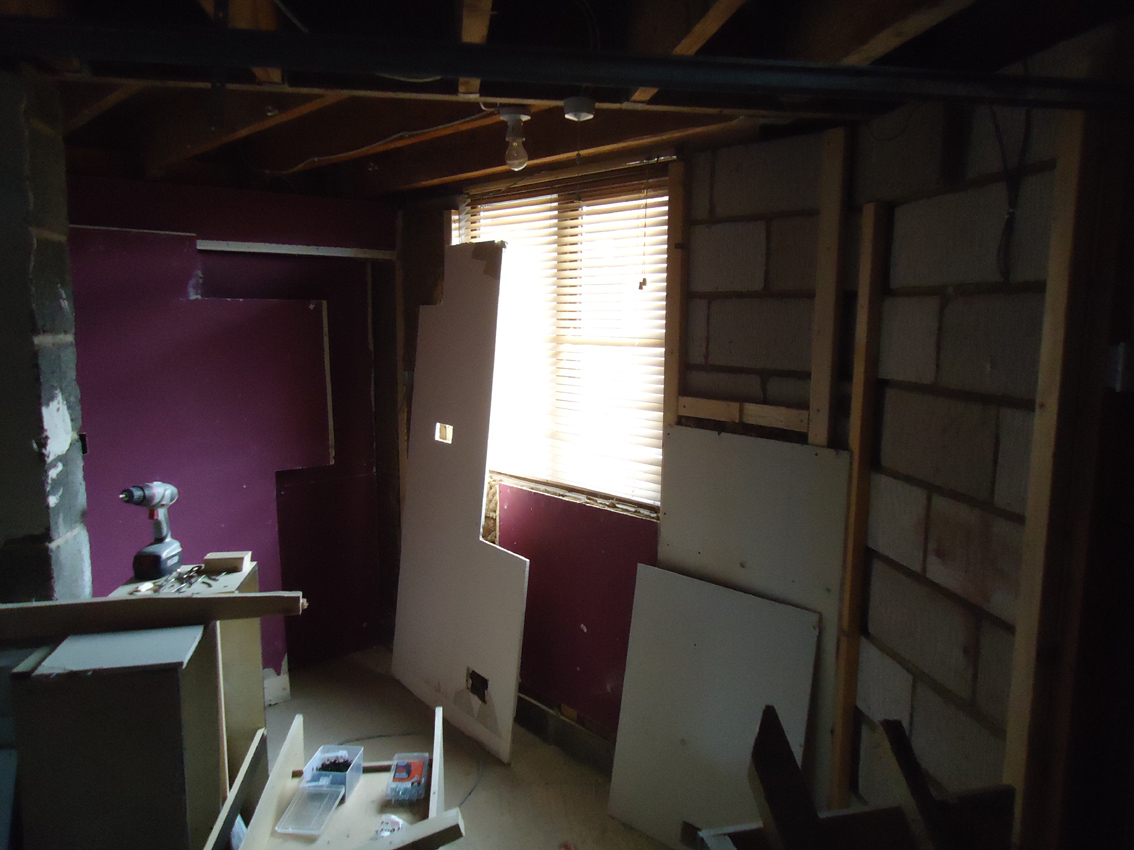
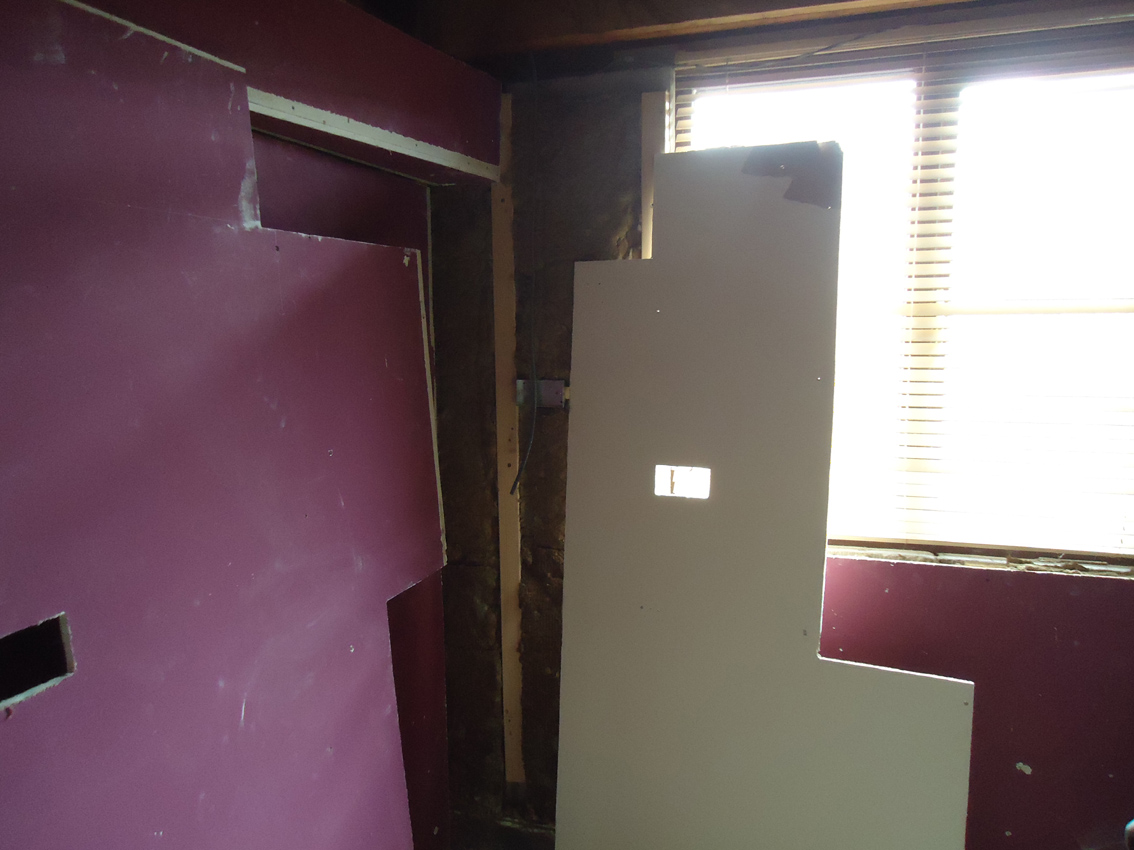
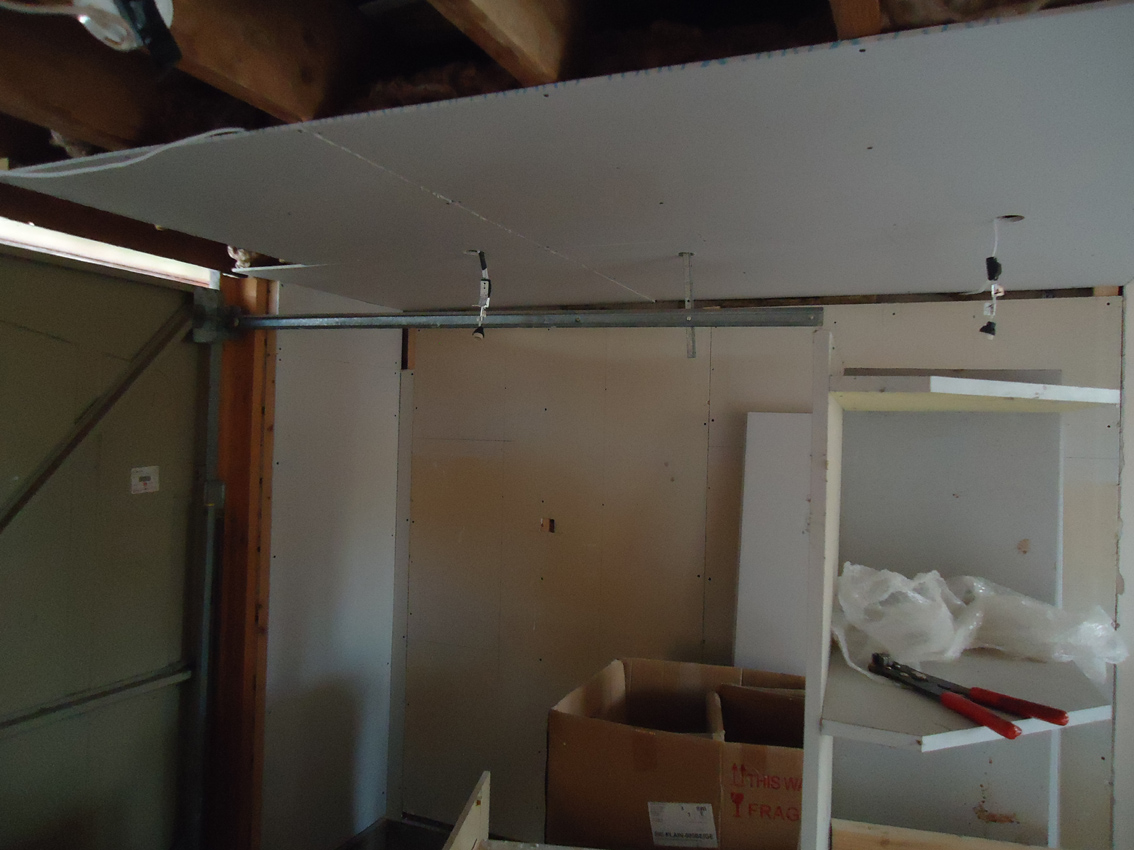
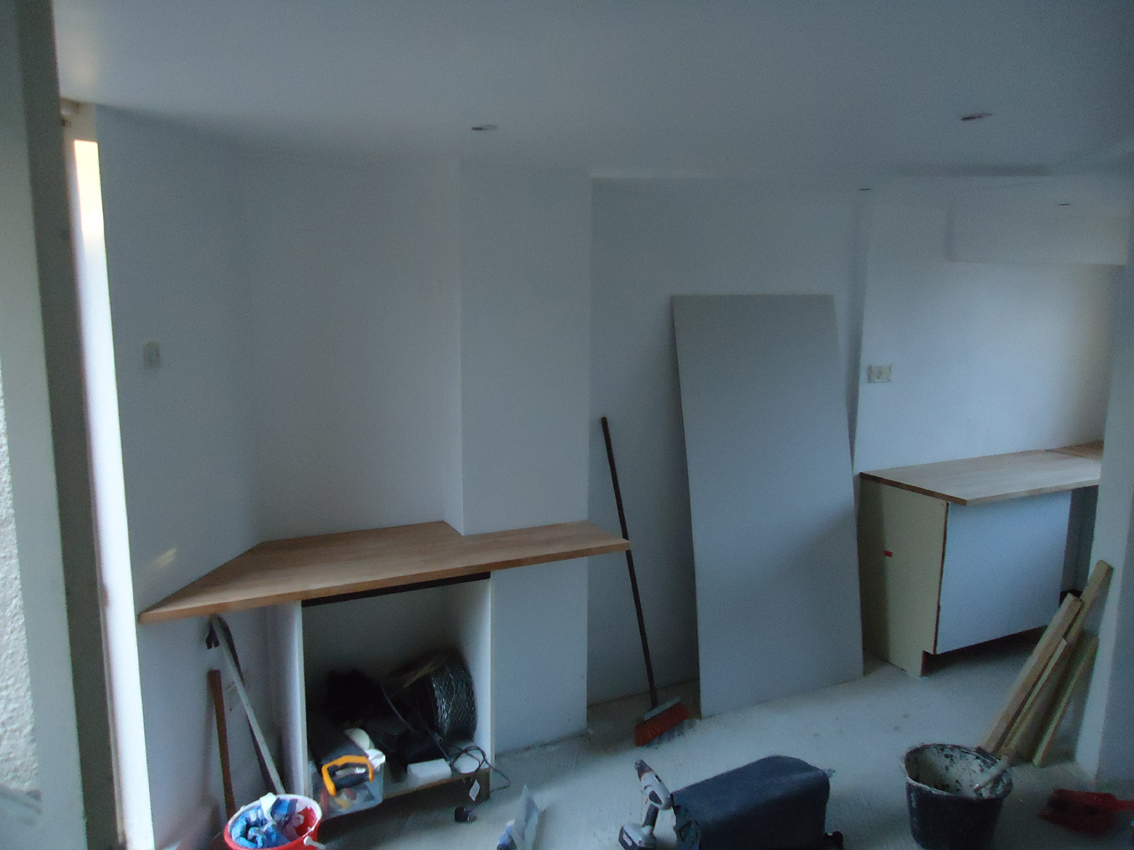
Took the next boards out, trying to save them as best I could as I had already decided to carry on with the boarding and do the whole garage. It was either that or rip out everything and be left with a huge mess.
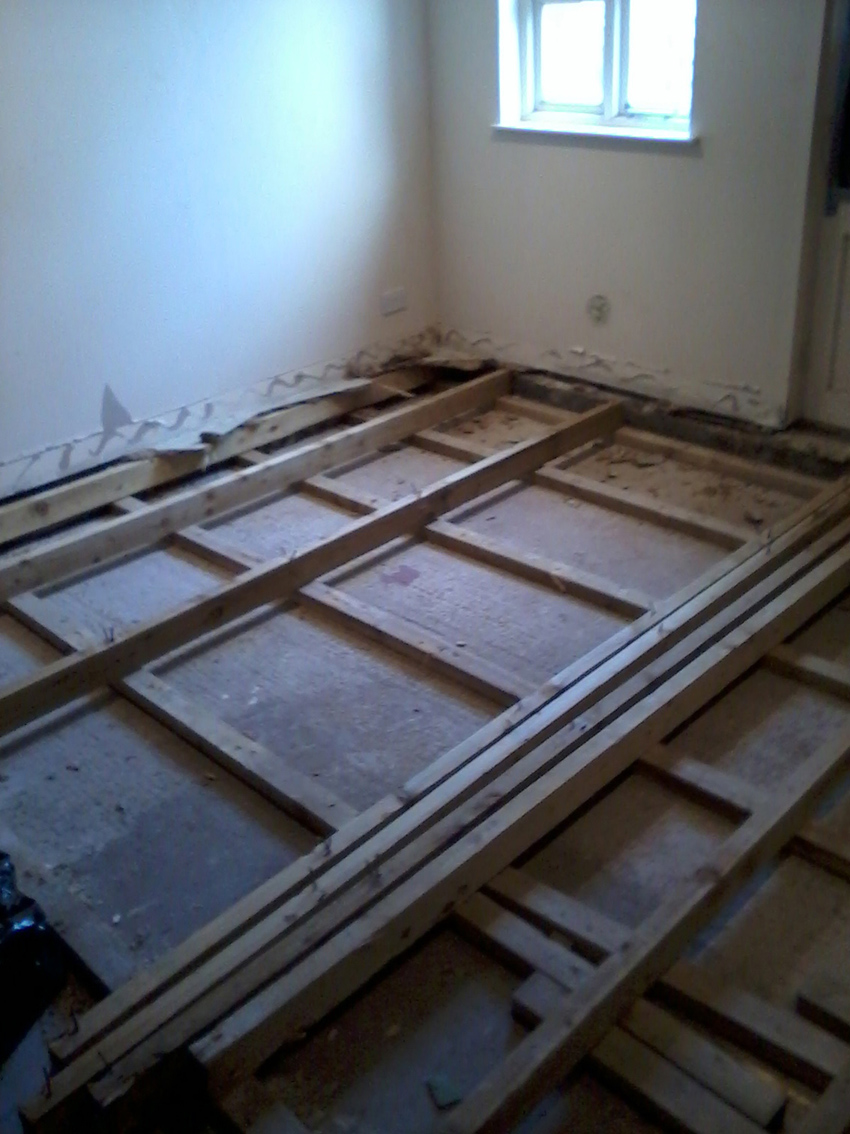
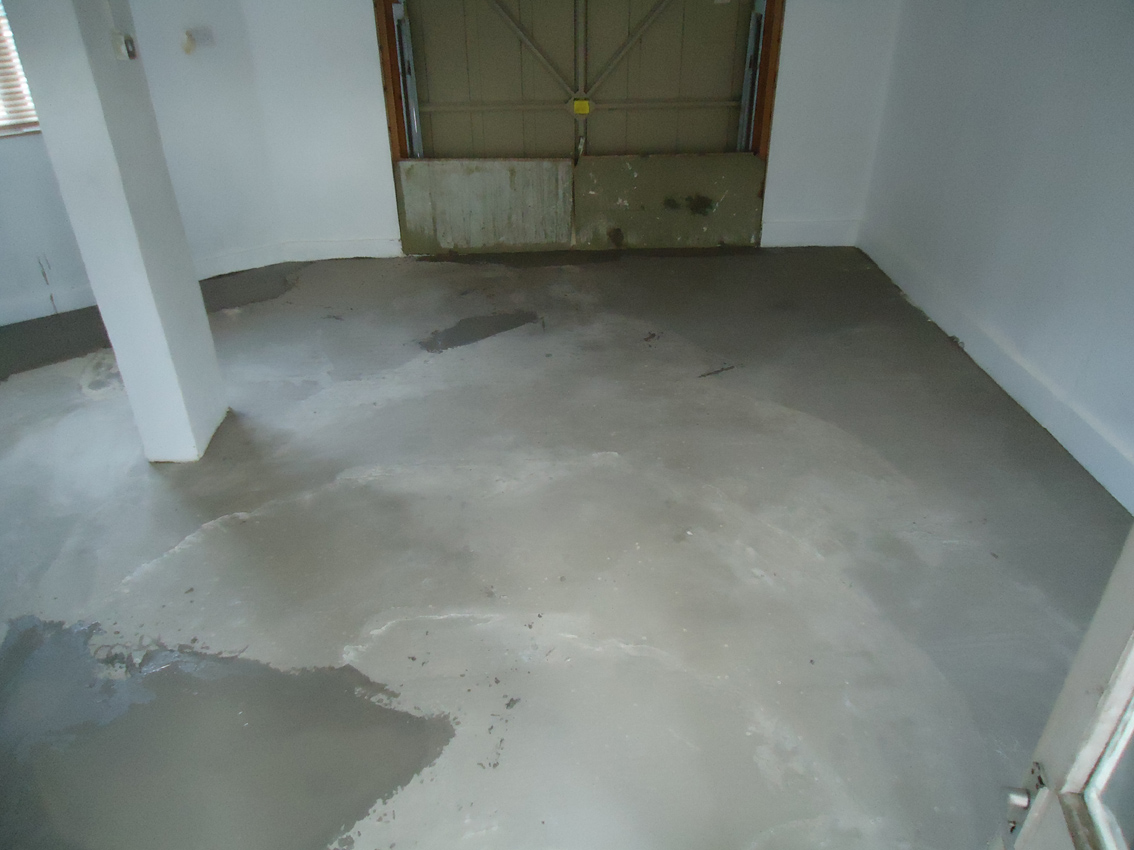
After that I took up the laminate floor and started to hoof up all the wood that was under it.

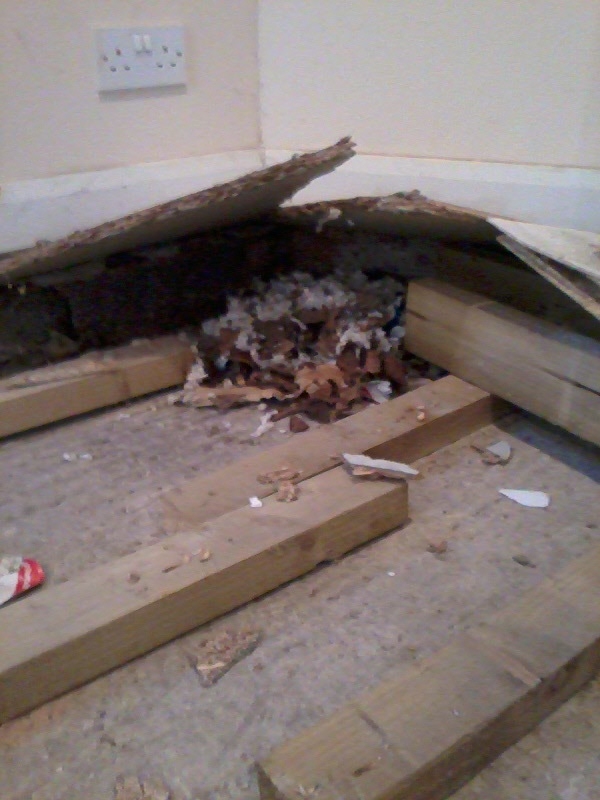
Found another mouse den, but no mice, yay

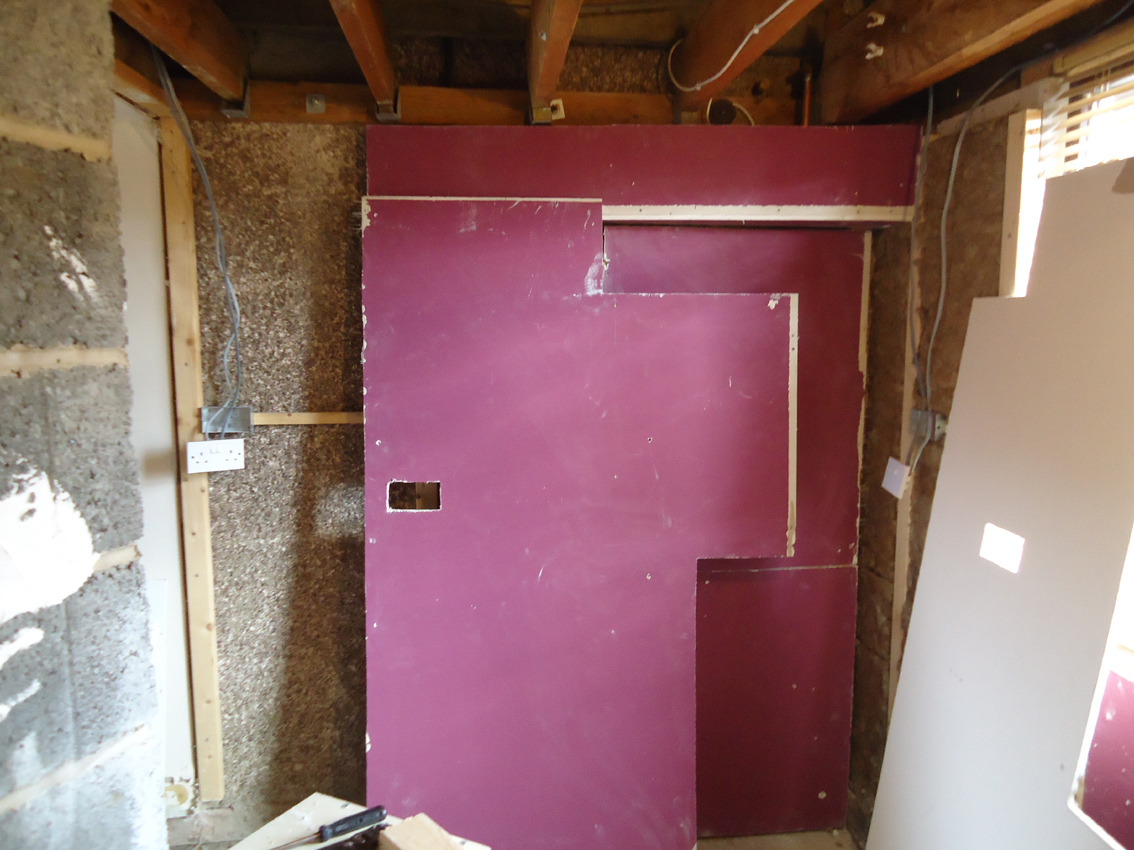
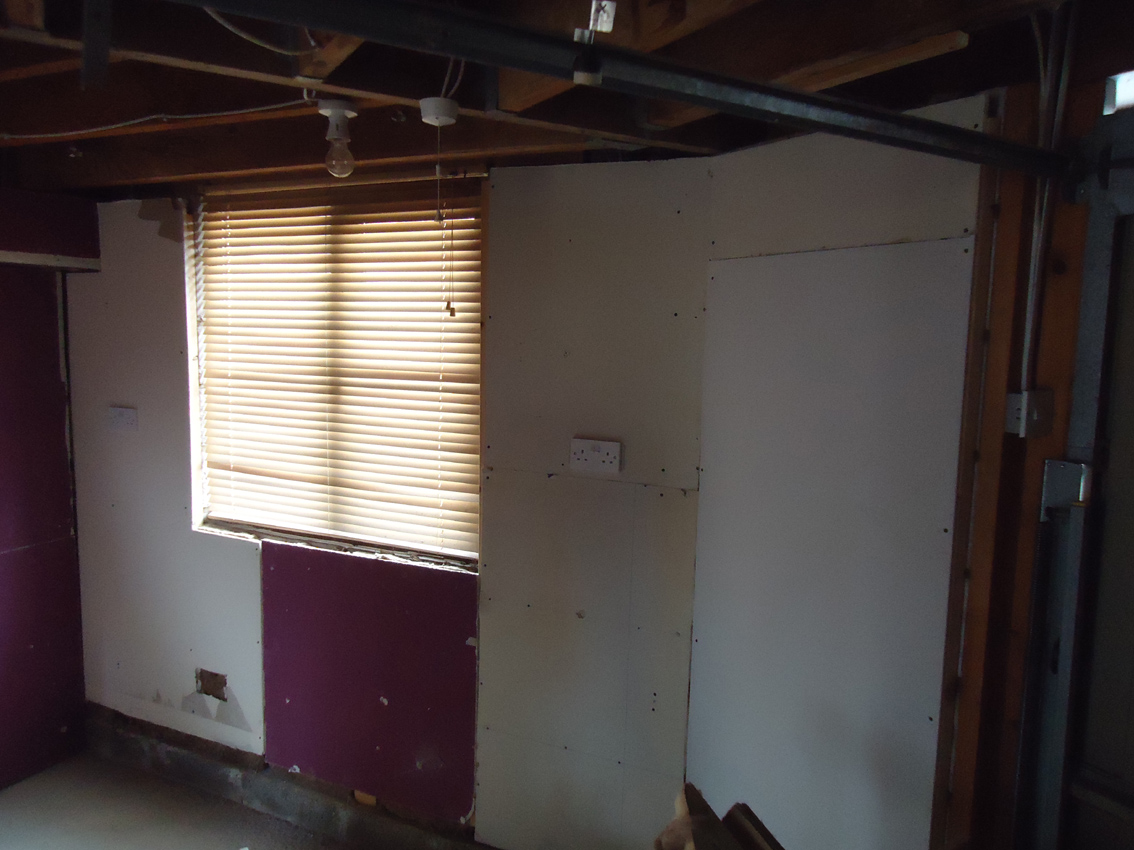
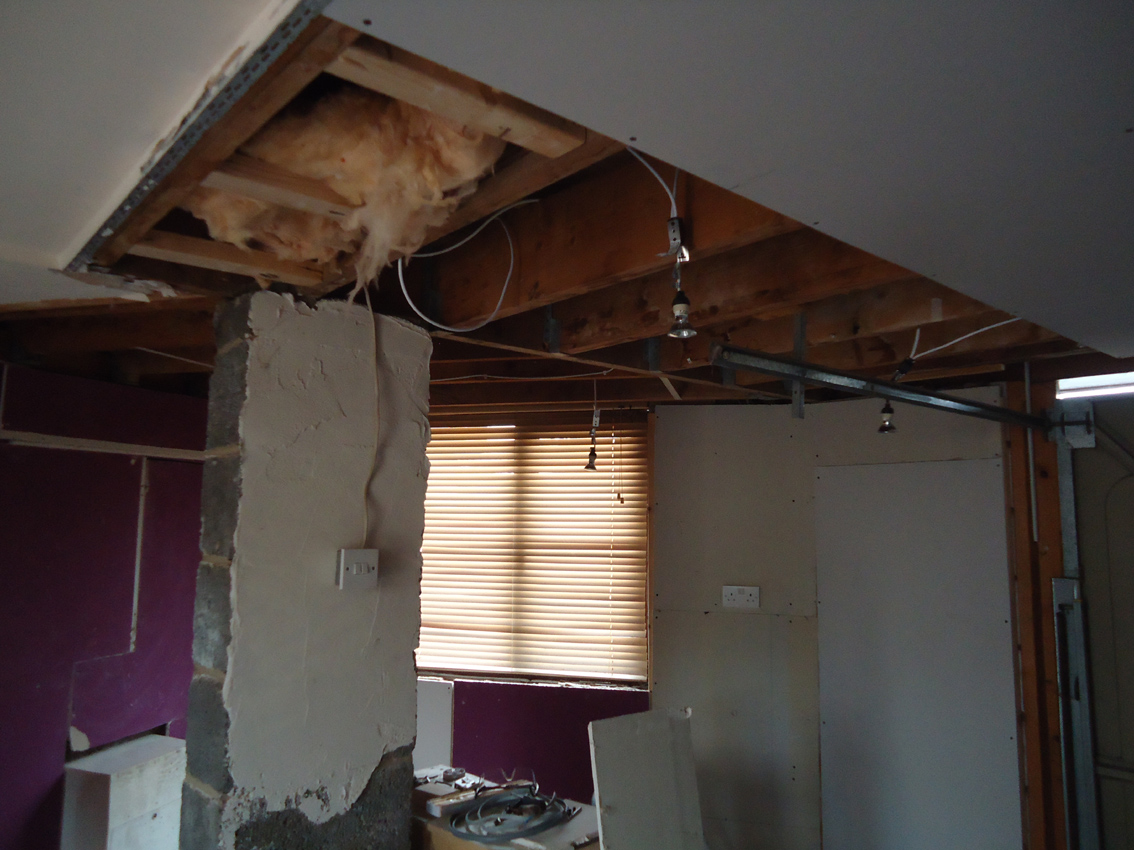
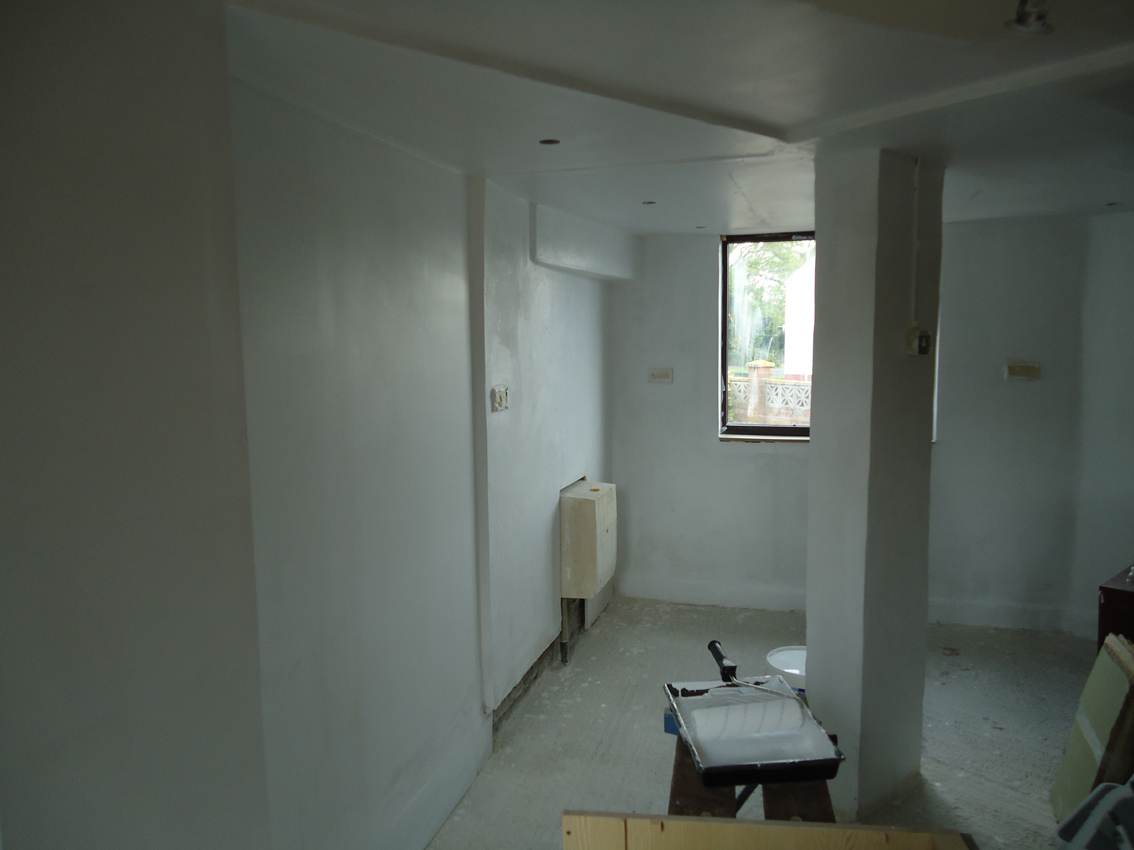
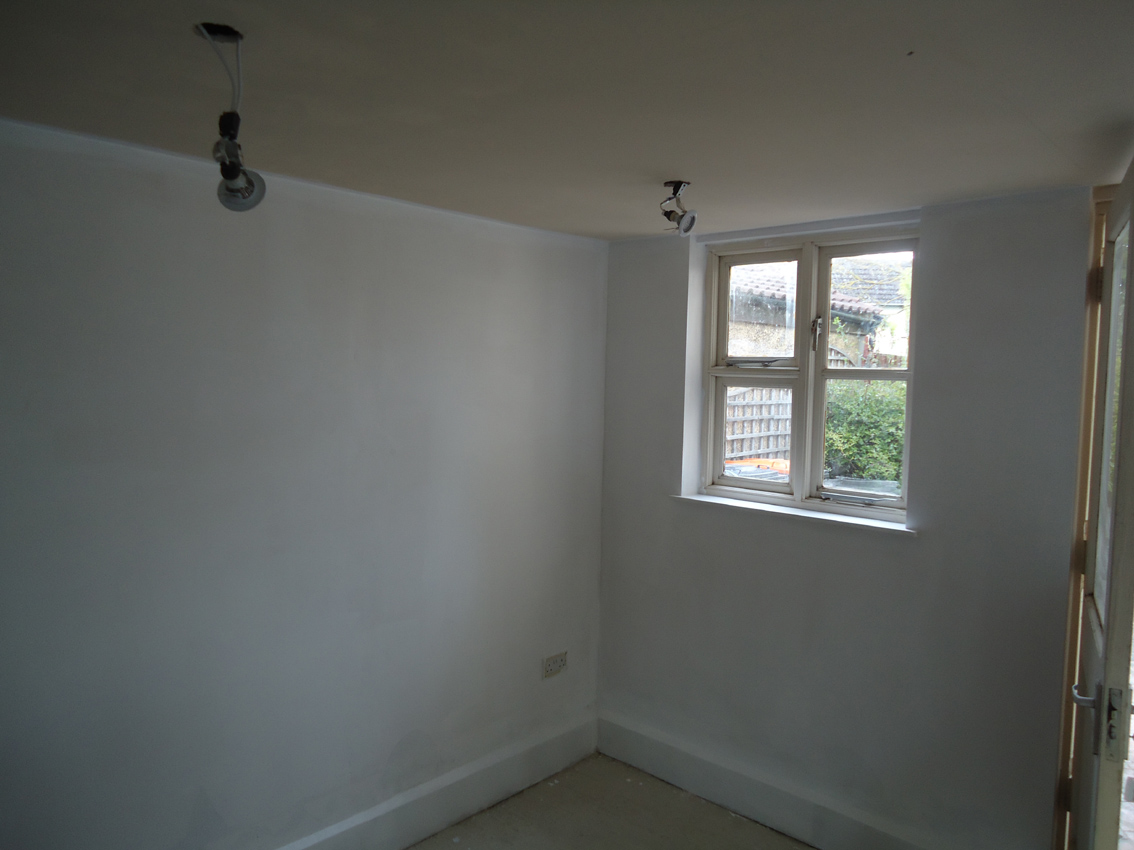
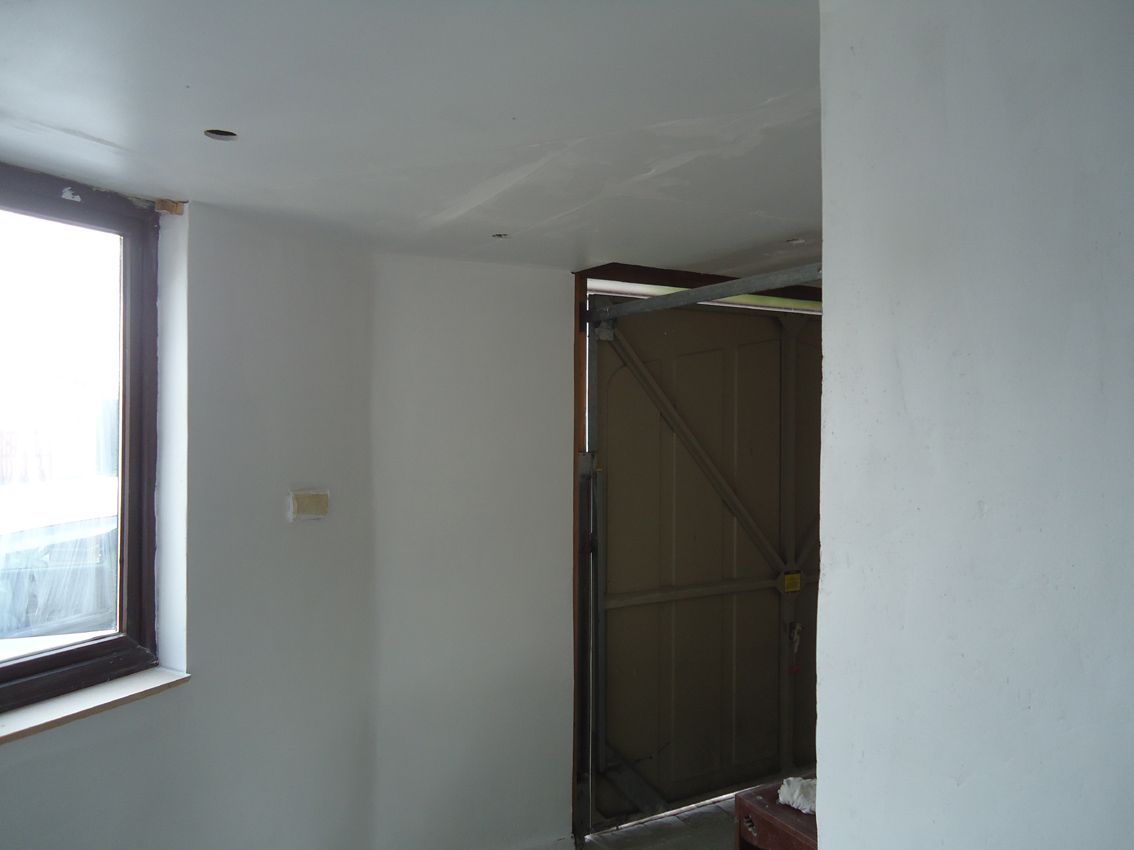
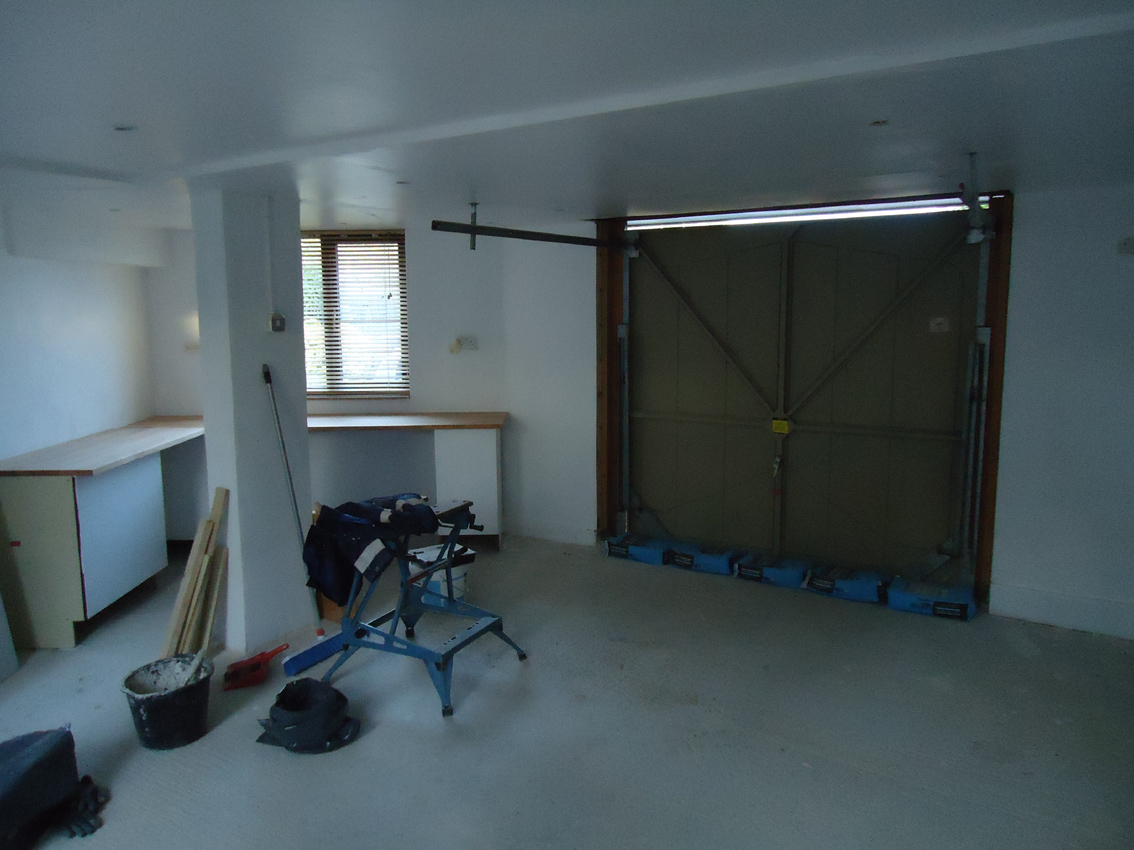
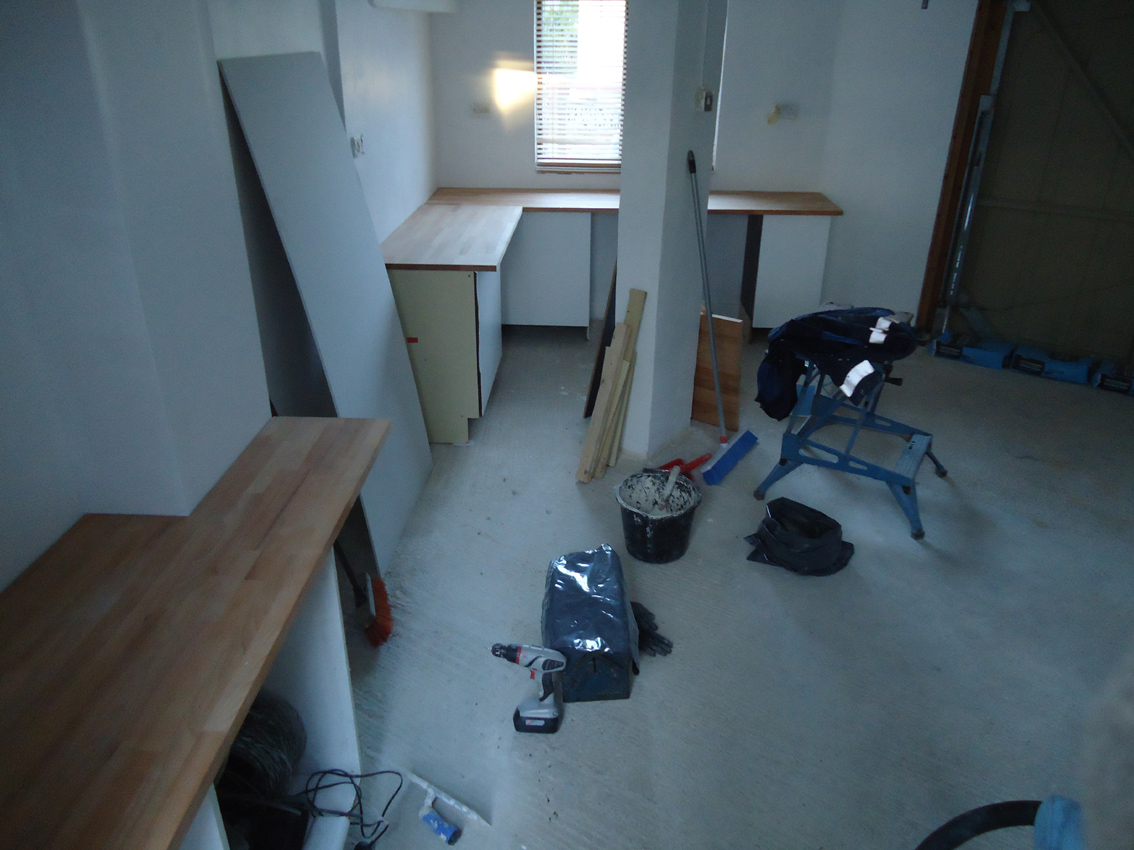
After pulling all the nails out of the wood I had salvaged and getting the nails and screw out of the board I started to baton the walls, making sure to put the batons just over the width of the plaster board. I also used insulation inbetween them to keep it cozy in the winter.
Like a big jigsaw I was making do with what I had, when I ran out of board I bought some sheets.
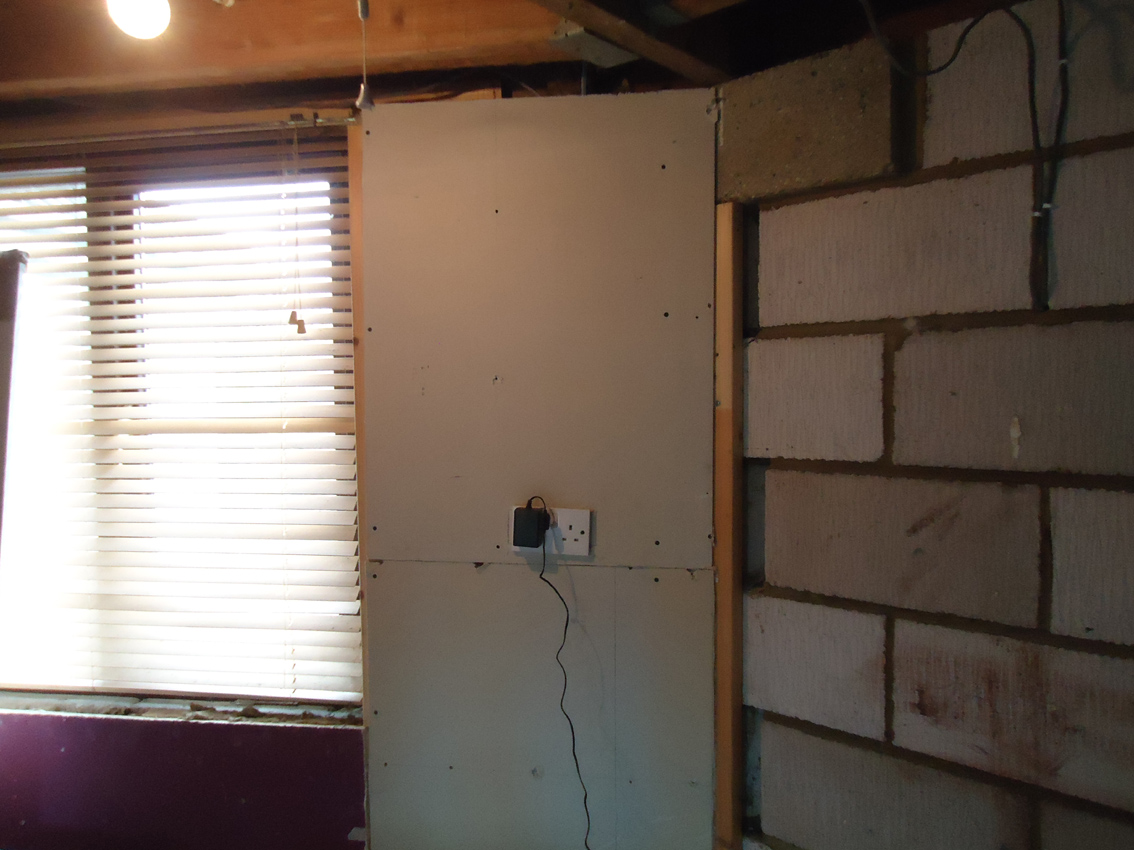
here you can see the insulation and also where I re ran the electrical sockets.
i'll finish this up later on.........
First man thing I did was to knock through the plastrboard wall into the dirty side!
The wall I was taking out was battening floor to ceiling with plasterboard on both sides like a sandwich and wall sockets on it, it seems a mouse or two had walked along the ceiling, fell down between the boards and couldnt get out. This is what I found!
perfectly preserved, and a bit wierd. Fourtunatly the garage was all very dry and dusty and there was a noticeable lack of bugs, just the occasional dusty spider.
Took the next boards out, trying to save them as best I could as I had already decided to carry on with the boarding and do the whole garage. It was either that or rip out everything and be left with a huge mess.
After that I took up the laminate floor and started to hoof up all the wood that was under it.
Found another mouse den, but no mice, yay
After pulling all the nails out of the wood I had salvaged and getting the nails and screw out of the board I started to baton the walls, making sure to put the batons just over the width of the plaster board. I also used insulation inbetween them to keep it cozy in the winter.
Like a big jigsaw I was making do with what I had, when I ran out of board I bought some sheets.
here you can see the insulation and also where I re ran the electrical sockets.
i'll finish this up later on.........

")