Hello! Finally had the time and confident to explore the world of PC Water cooling mainly the Overclockers UK stand at a gaming convention topped up my decision  . The RH Desk has a been a ongoing project for a year or so now whenever I get time and the finances to do another section.
The theme I would like to keep to is Red Vs Blue, this phase 2 of the project will bring the red team to life! Before carrying on must say a thank you to the OC forums for support of guidance when building
Hardware:
CPU – Intel i7 5820K Haswell-E 2011-3 Unlocked CPU
Motherboard – Gigabyte GA-X99-SLI
GPU – EVGA GeForce GTX 1070 SC Gaming ACX 3.0 Black Edition 8192MB GDDR5
SSD – Samsung EVO 850 3x 250Gb & 1x 500Gb
RAM – Corsair DDR4 Vengeance LPX Red
PSU – Corsair RM850I
WC List:
CPU Block - EK Water Blocks EK-Supremacy EVO X99 - Nickel + Plexi
GPU Block - EK Water Blocks EK-FC1080 GTX - Nickel+Plexi
GPU Back Plate - EK Water Blocks EK-FC1070 GTX Backplate - Nickel
Res(s) - EK Water Blocks EK-RES X3 400 Reservoir (with internal Tube and Multi port tops)
Side Rad - EK Water Blocks EK-CoolStream PE 360 (Triple)
Back Rad - EK Water Blocks EK-CoolStream PE 480 (Quad)
Pump - EK Water Blocks EK-XTOP Revo D5 PWM - Plexi (incl. pump)
Tubing - EK Water Blocks EK-HD PETG Tube 1216mm 500mm
3 Way Splitter - EK Water Blocks EK-AF T-Splitter 3F G14 – Nickel
Valve - EK Water Blocks EK-AF Ball Valve (10mm) G14 – Nickel
Pass throughs - EK Water Blocks EK-AF Pass-Through G1/4 - Black Nickel
Angles - EK Water Blocks EK-AF Angled 90° G1/4 Black Nickel
End Fittings - EK Water Blocks EK-HDC Fitting 16mm G1/4 – Black Nickel
Plug Sensor - XSPC LCD Temperature Sensor (Red) V2 + G1/4" Plug Sensor
Before:
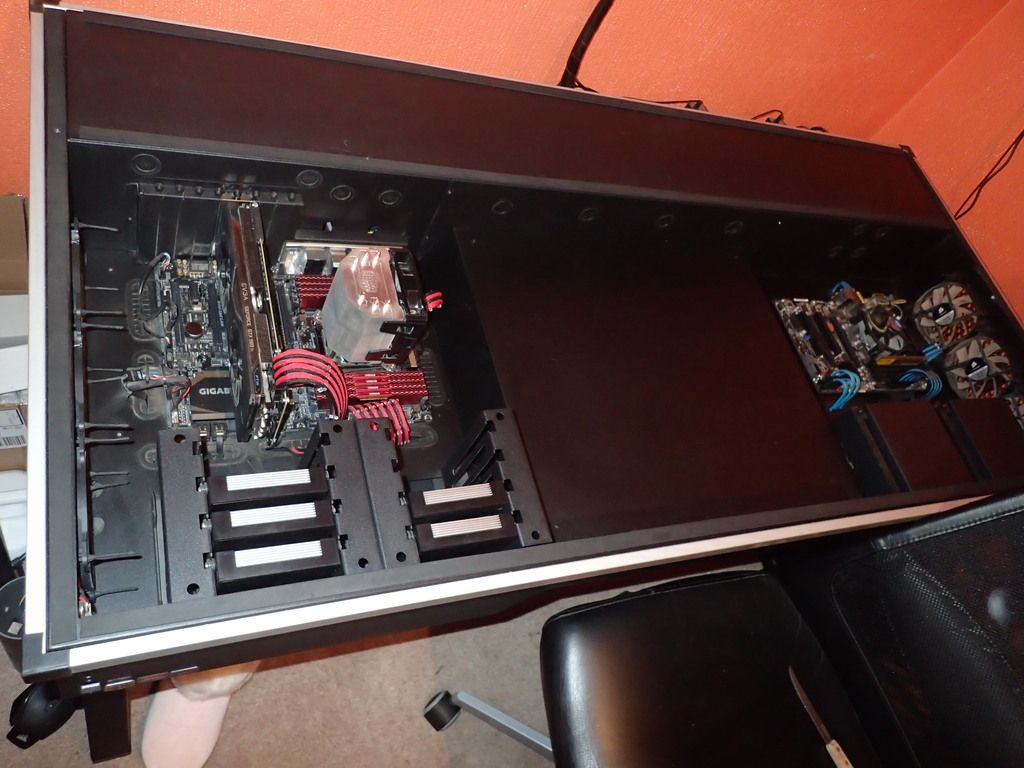
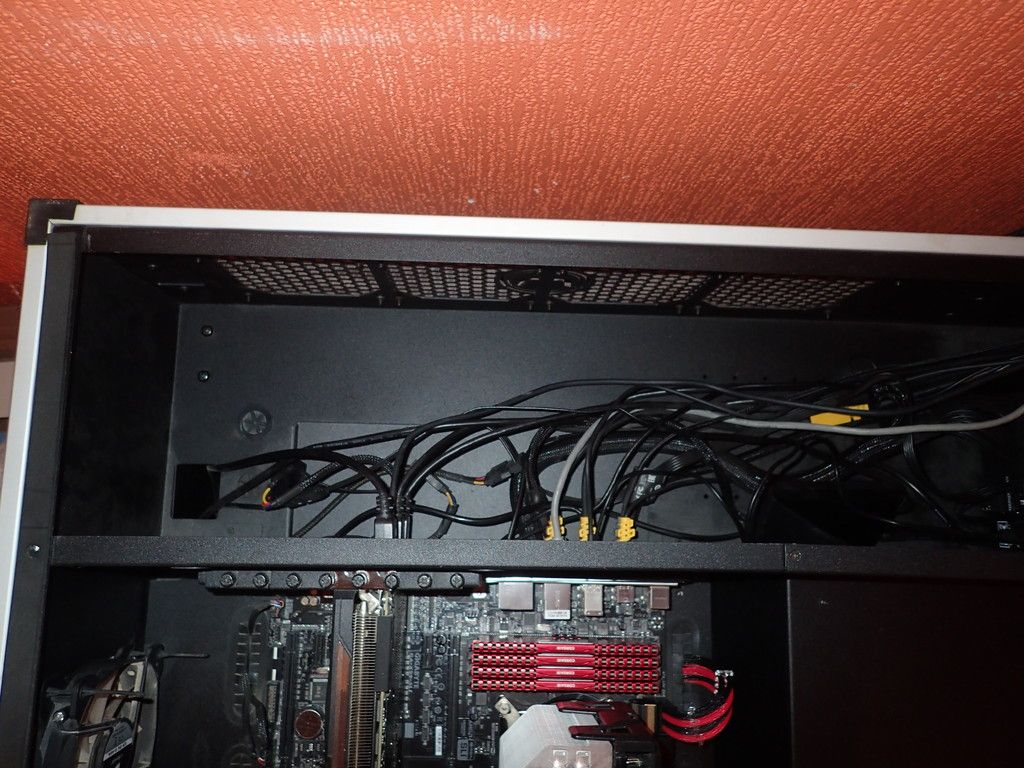
So, this being my first WC project this took a lot long than I thought! I was very impressed at the range of kit out there. I thought for my build the Plexi would be the best as the glass desk top provides the show off factor .
.
The Build
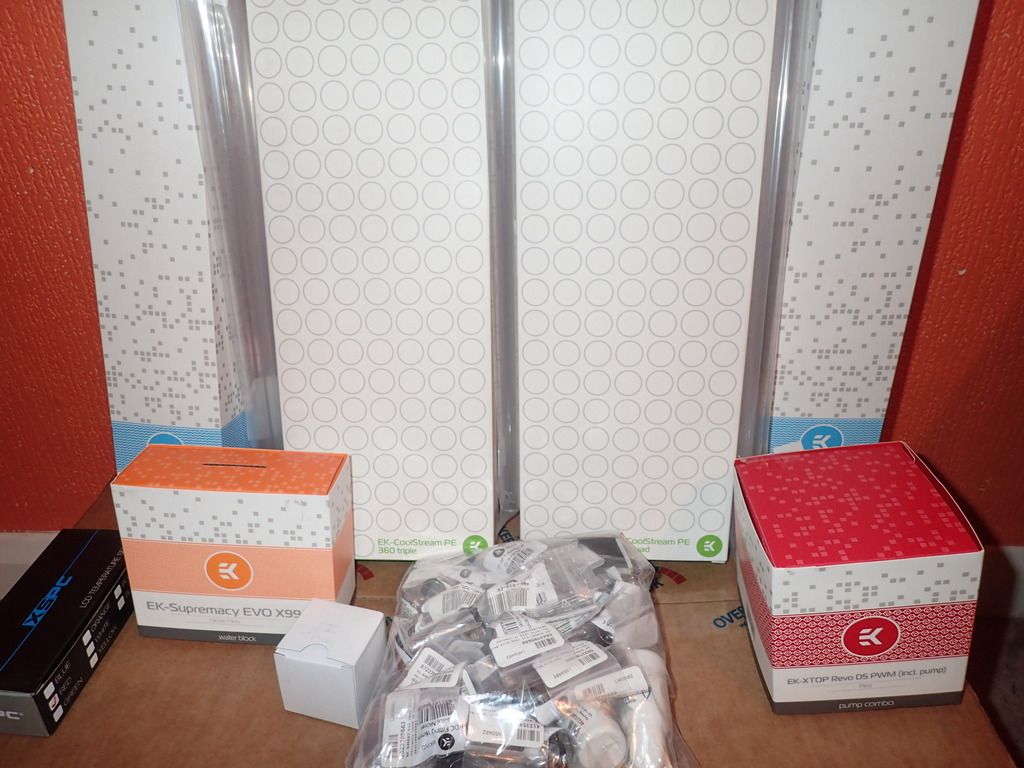
After about a week of final look over I was ready to order the first batch of item as some was out of stock. This included the CPU block and Rads & Pump along with most the fittings:
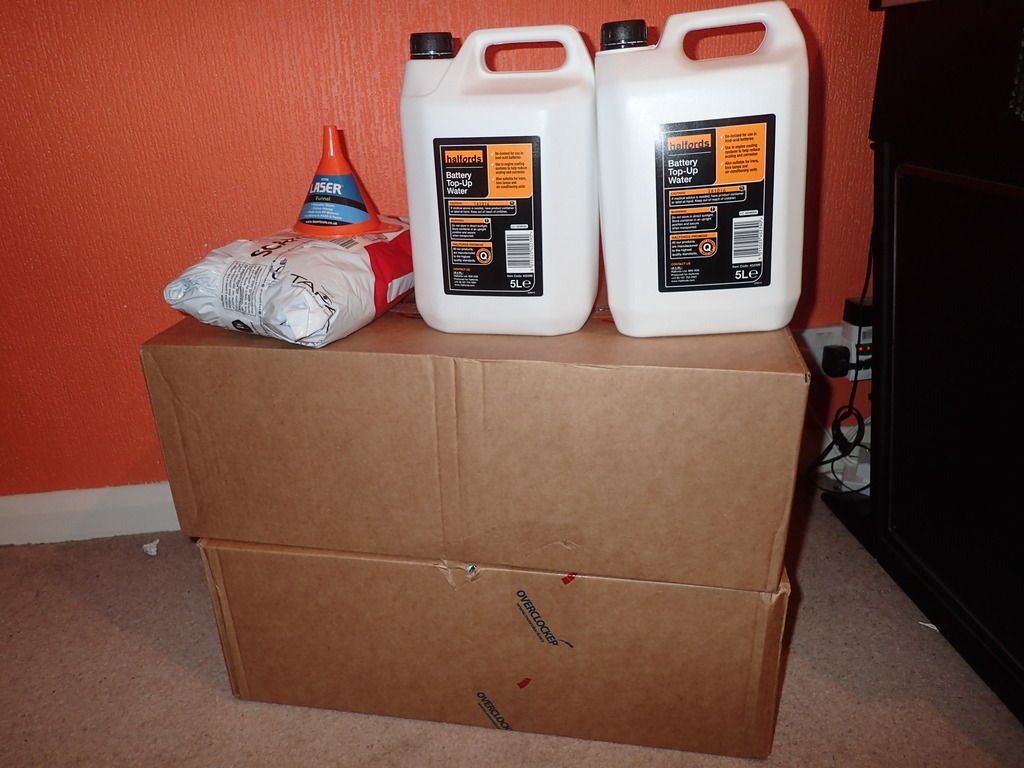
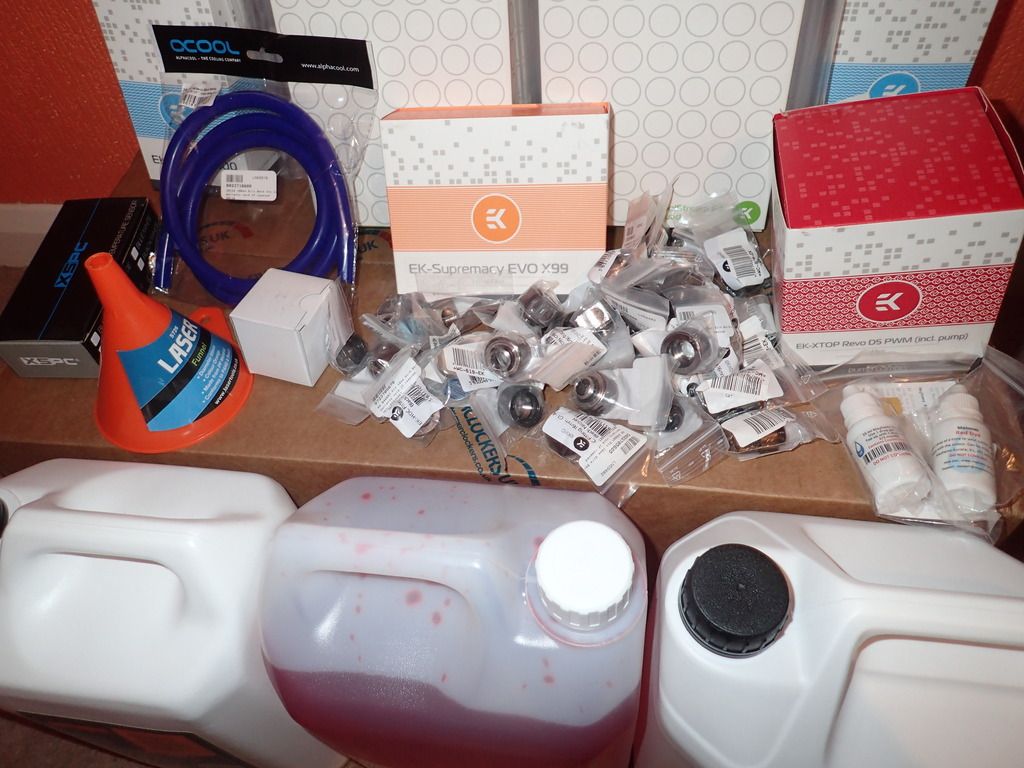
The Res
In the first order I was not aware that I would need the multi top to utilise the top port of the res or the internal tubes… they fit quite snuggly into the desk and maximise the area giving an impressive look when filled up. I connected a 90* angled fitting to the side that can act as my fill port as it will be on the highest point of the WC loop.
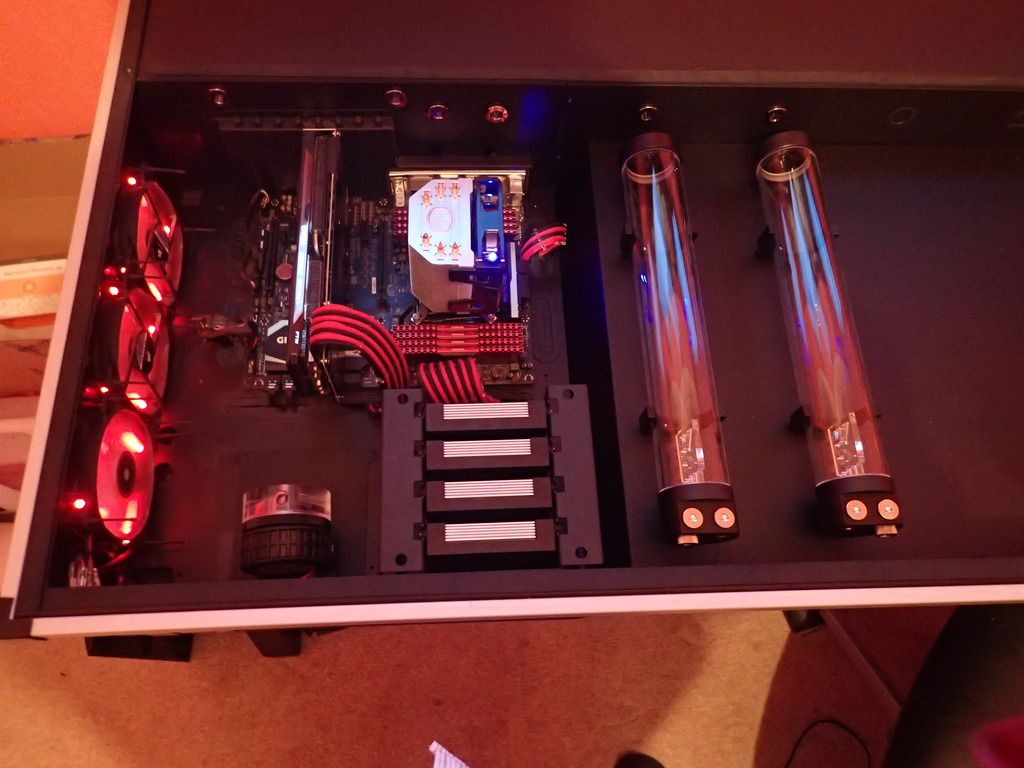
(Unfortunately, due to the multi top additional sizing I was forced to use one on these side ports as the connection between the two reservoirs)
The Pump:
I removed one of the Hard Drive bays and replaced with a blanking plate that was supplied with the desk. A few screw holes later and the blanking plate became the pump plate allowing for a quicker release if it dies *touch wood*. With the clean Plexi top the coolant provides additional awesomeness to the design.
The rads:
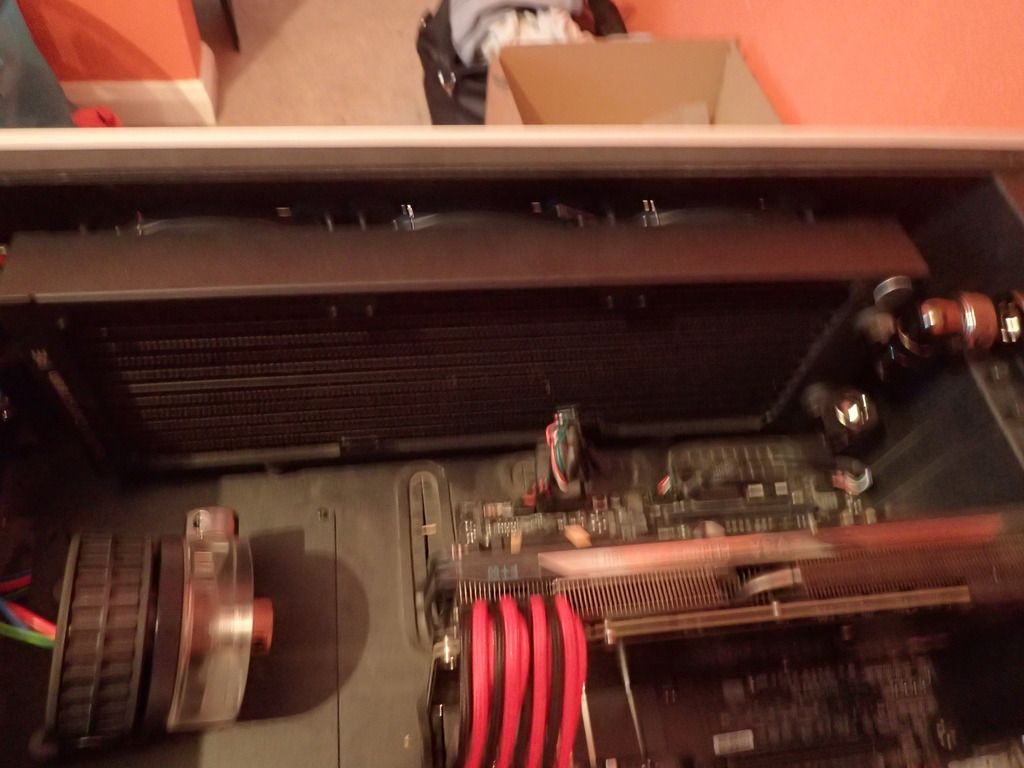
The Radiators are used on side of the desk and the back of desk with one being placed in between the flow from the GPU and the CPU. Unfortunately, as the desk has a fan guard the screws provided with the kit would now pass the guard, the desk itself, the fans and the rad thus I was on the hunt to find ones with the addition 5-10mm additional thread… as the thread is American its a lot harder than you this find the right ones (black also) within the UK. Finally, I found these a week later…
I flushed these radiators out with distilled water boiled, after using a 5L bottle they we very clean and ready to be installed. Was tricky to thread the screws into all the components.
The Graphics Card Issue:
The current Graphics card at the time ( 980ti FTW) is one of the only 980 cards that does not have a full cover WC Block (FML) so I was forced to sell this and buy a new 1070 losing around £100 in the upgrade (not too bad). So, while this was on order I started on the tubing:
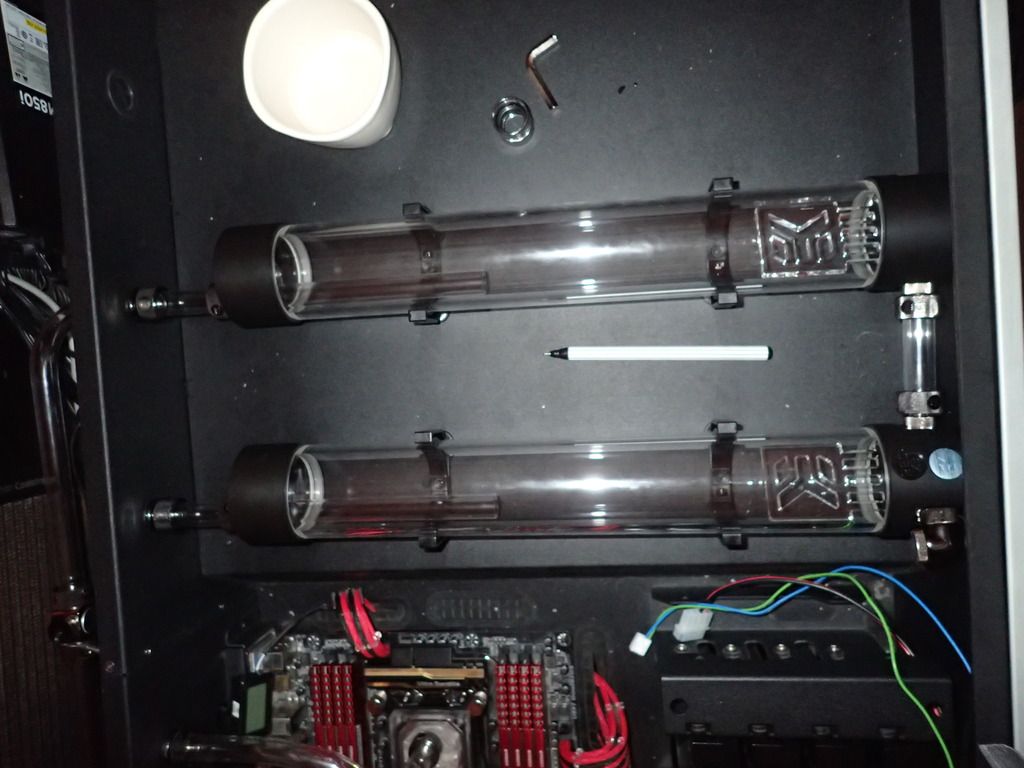
Tubing... Lots & lots of tubing.
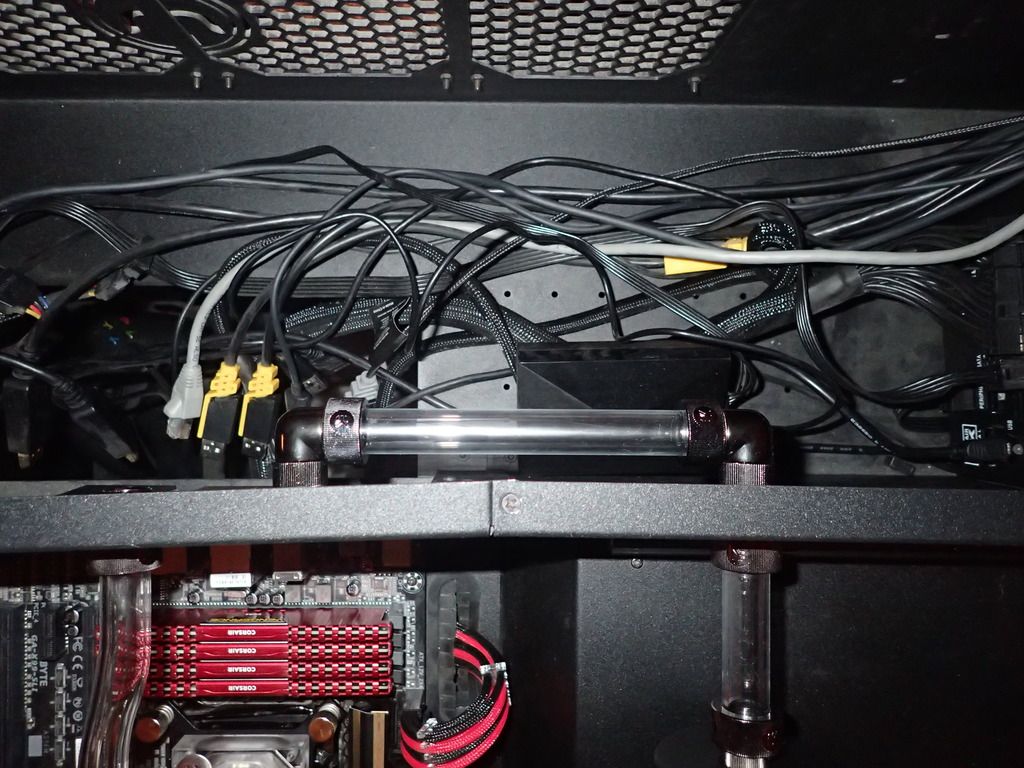
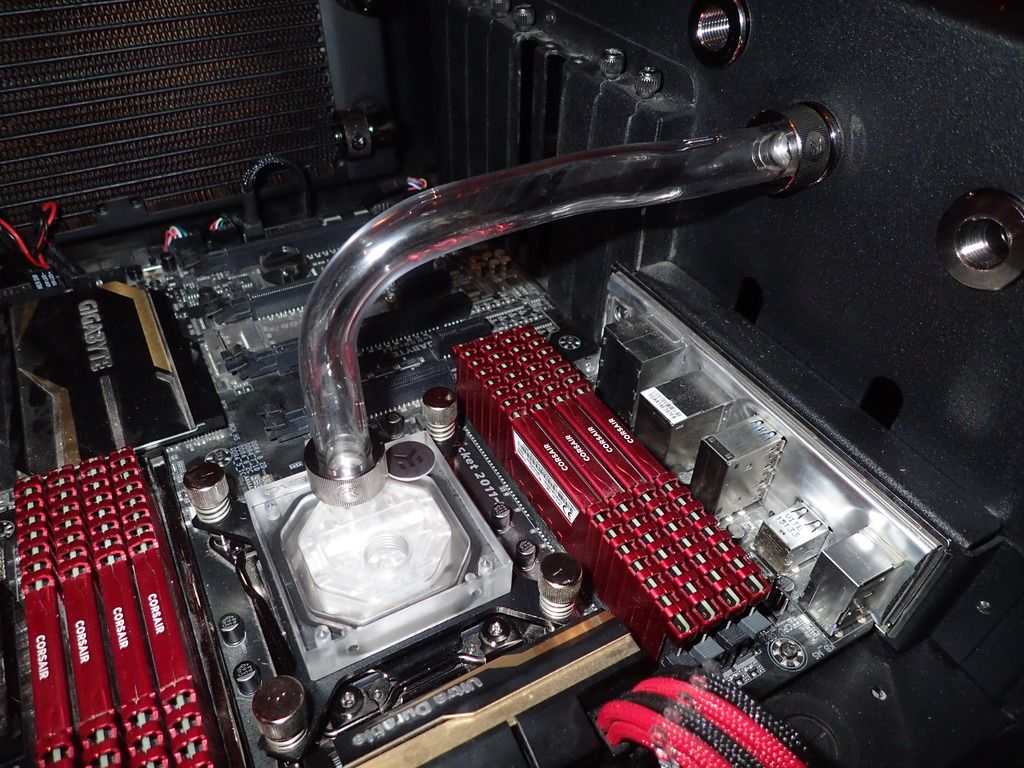
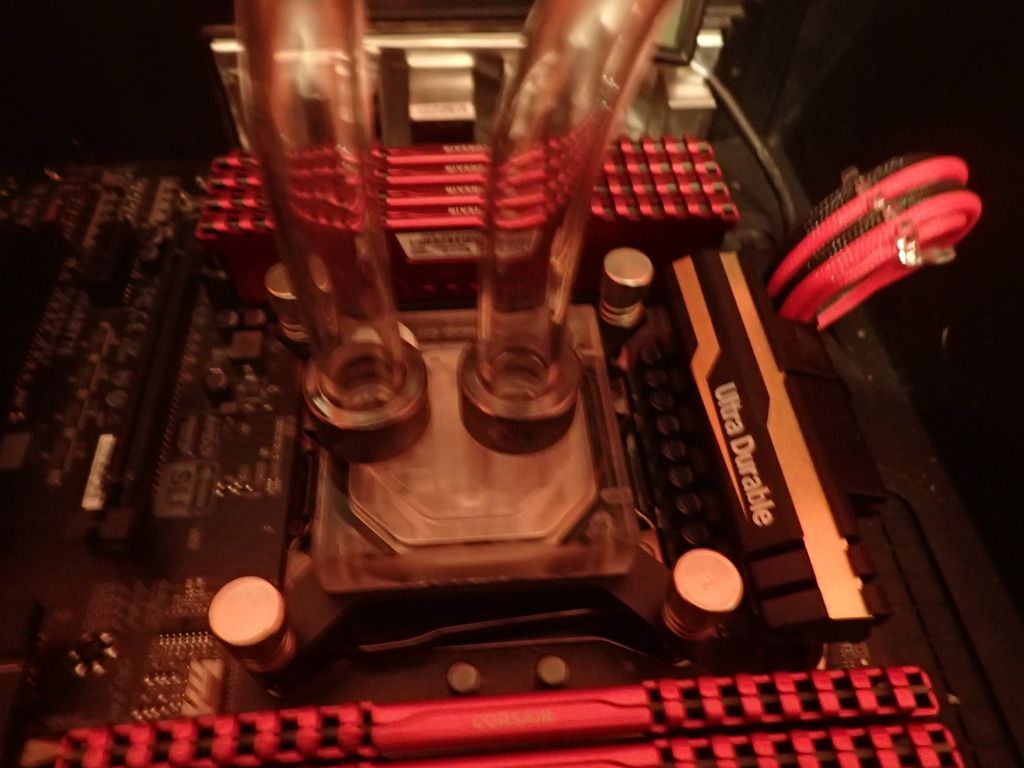
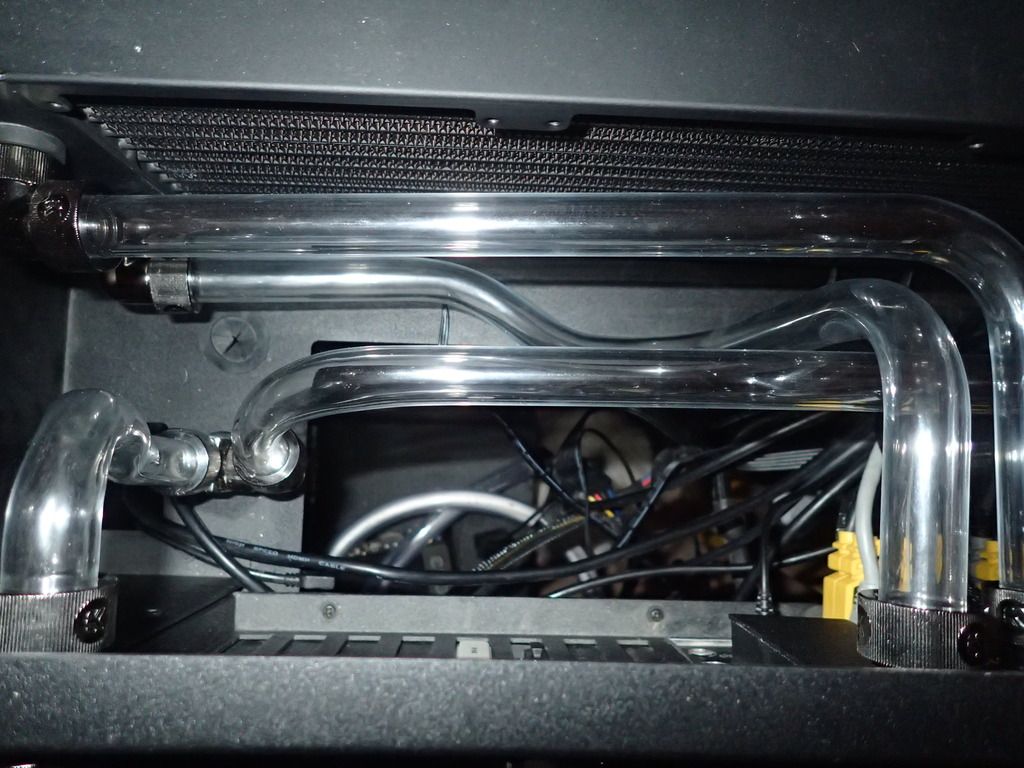
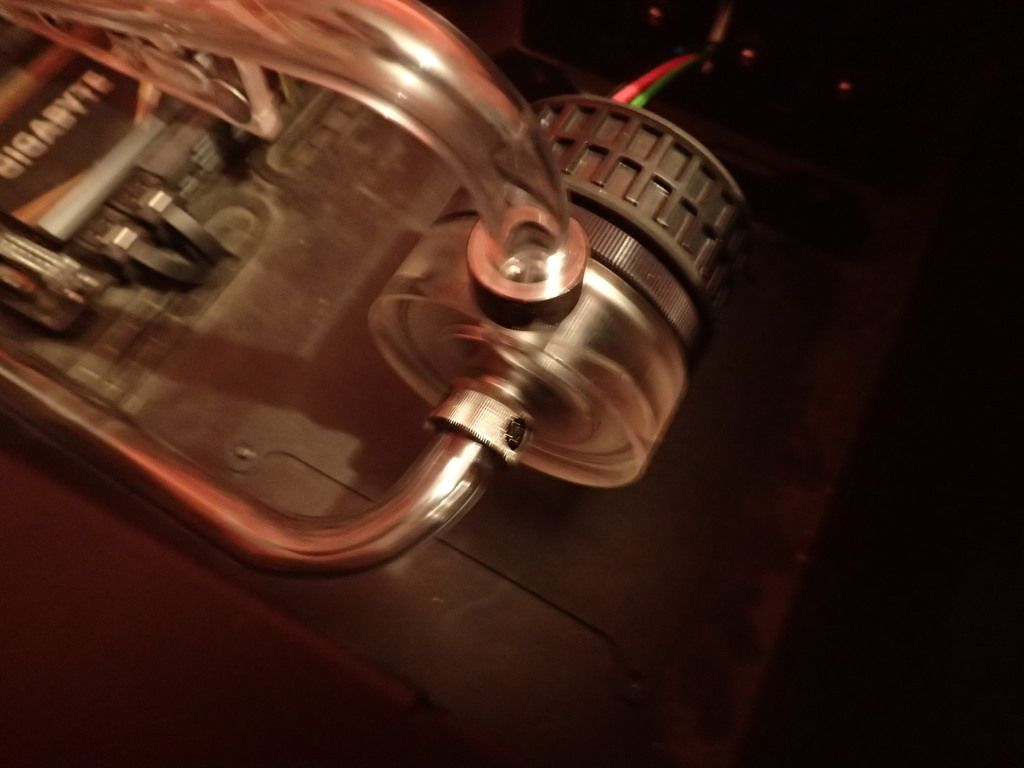
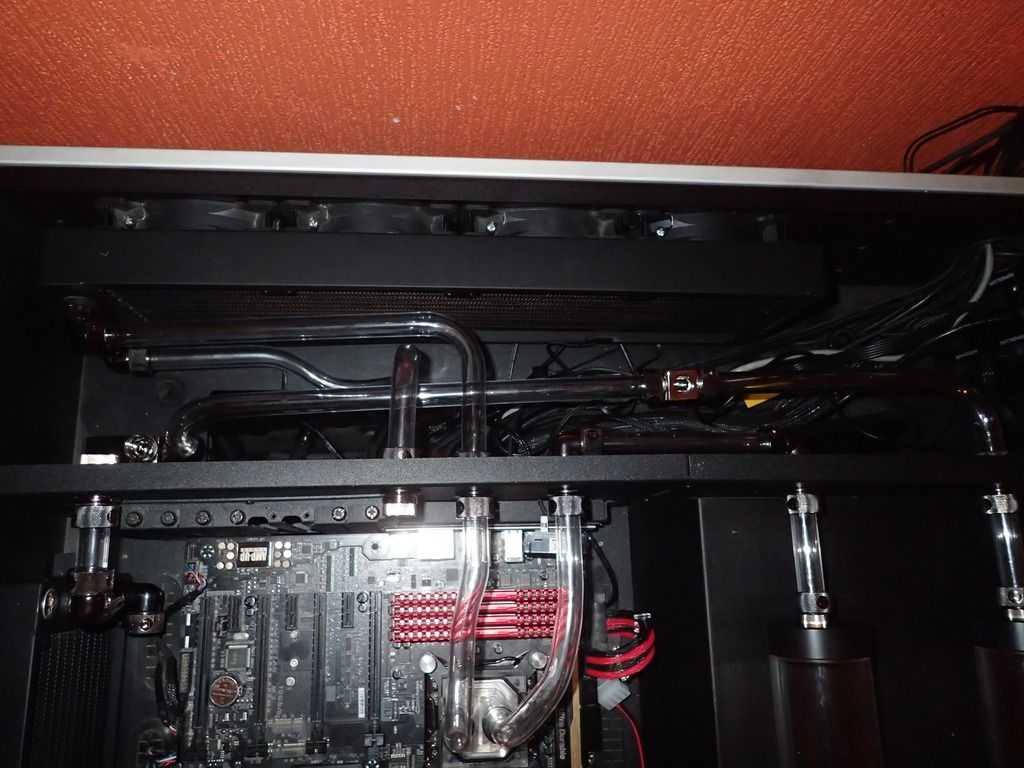
Grabbing the tape measurer and pipe cutters I started to build the tubing within the desk. After doing most the straight cut tubing I ventured into the pipe bending business… got the hand of it quite quickly, patience goes a long way with this part. During this time I was also using the computer to continue gaming. When I had to I swapped the CPU heatsink with a clear top plexi block, looks very pretty... as the desk started to build up with the tubing it started to take shape. After going through 8 500mm hard tubing pipes I finally finished the pipe work making sure everything fits perfectly (the perfectionist coming out).
GPU:
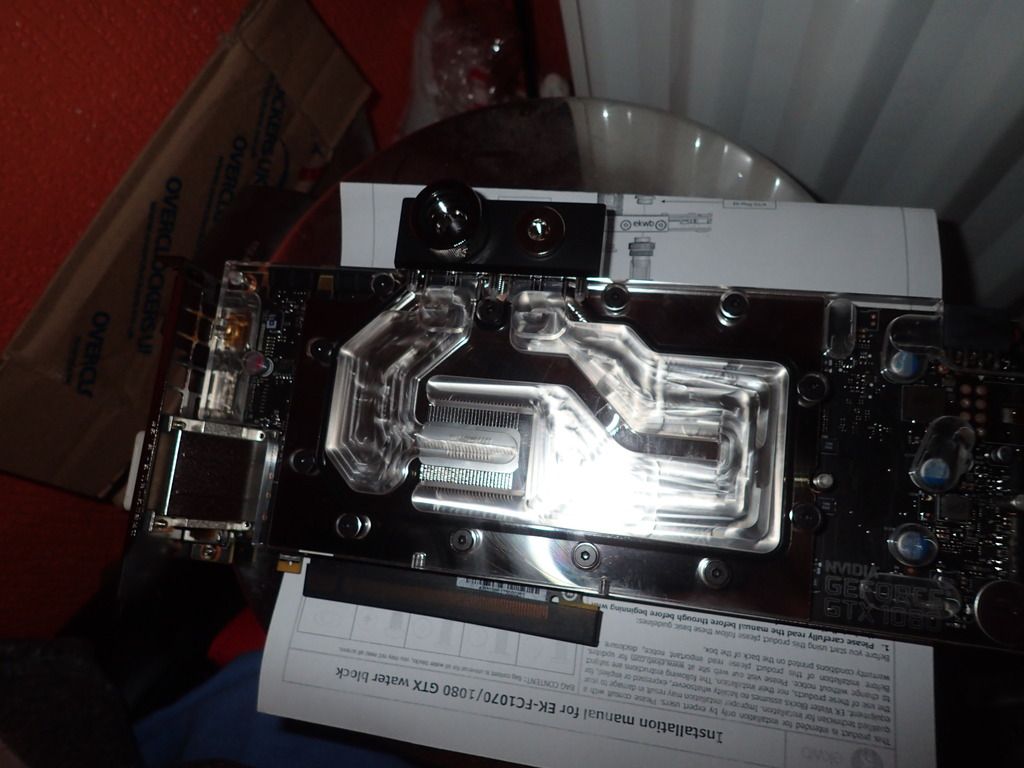
The GPU arrival once I sold my old GPU with the order I brought the clear top WC Block and Back plate, this was the very tense installing this as I have never done this and to try on a new £450 card was throwing into the deep end.
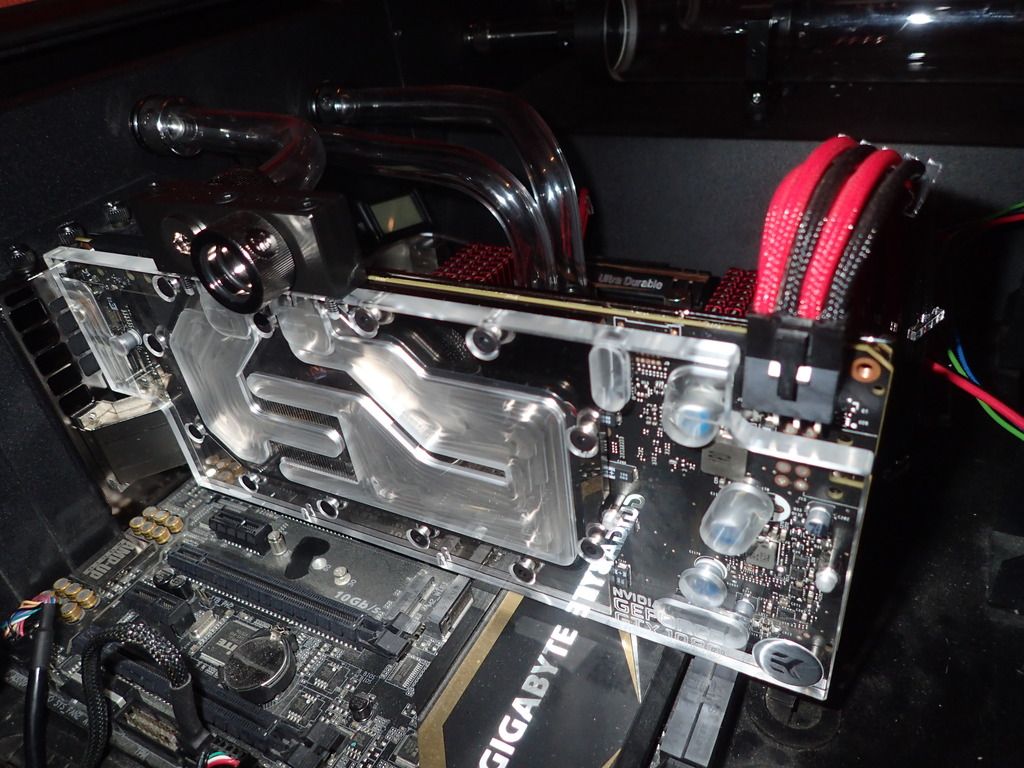
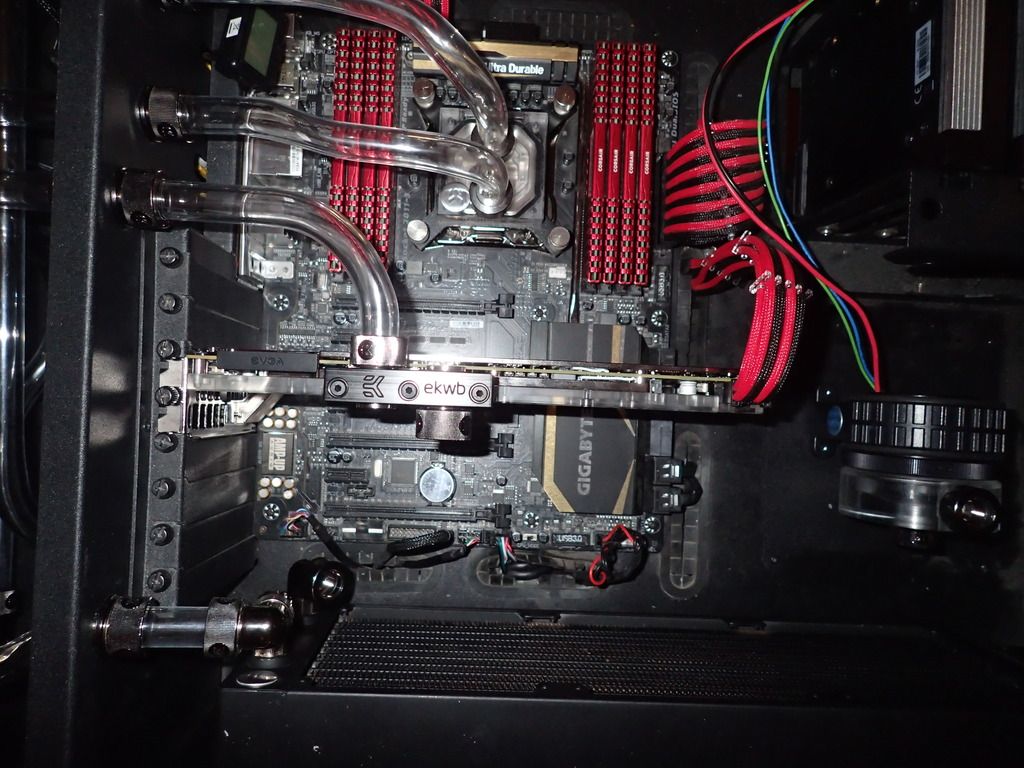
Finished off the last parts of the tubing connecting to the GPU. A quick air pressure test showed my set up for a leak test!
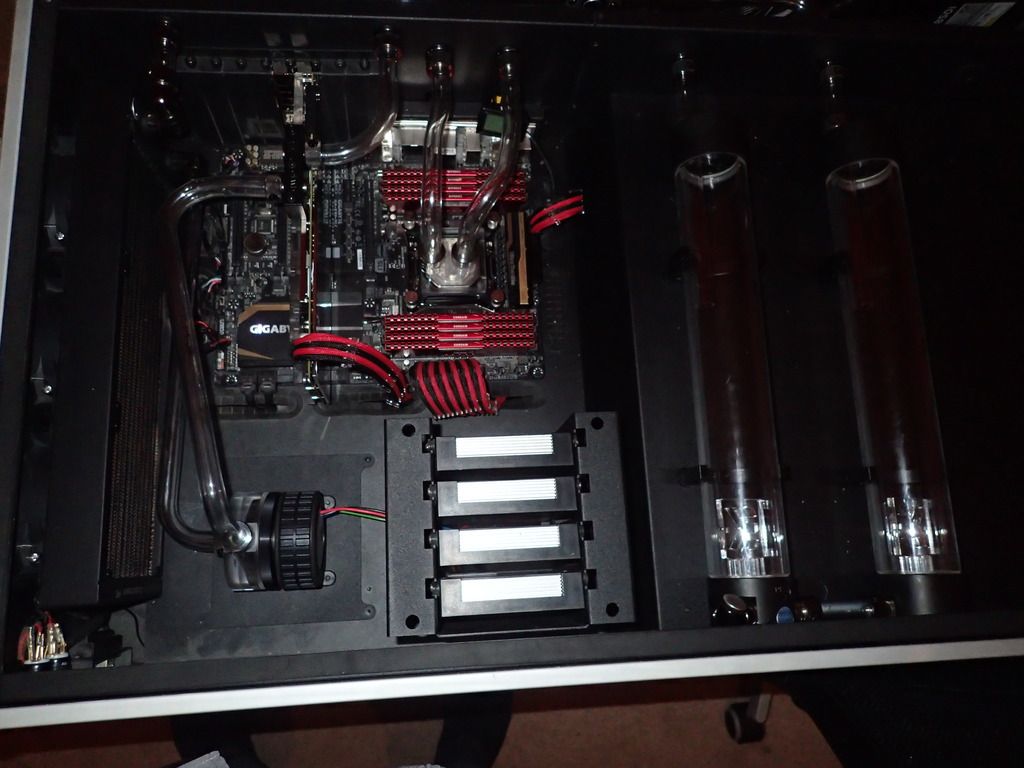
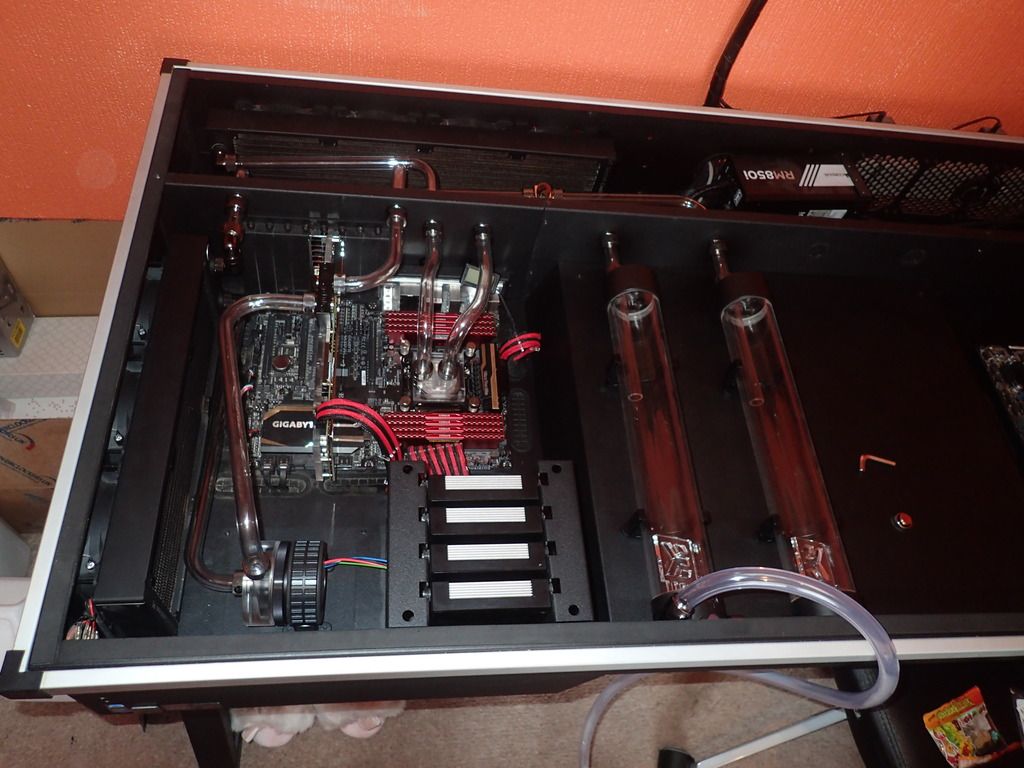
The LEAK!
Using mayhems premixed Red coolant I started to fill the loop with a borrowed PSU to turn the pump on and off. I encountered a few issues with air blocks but finally got around them. During the test a fitting on the GPU started to leak slowly onto the jam-packed tissue (this was the moment my heart stopped...), after draining the loop enough it appeared due to the angle of the tube it was inserted at a angle thus it wasn’t tighten to the GPU block this not hitting completely onto the o ring. A quick fix sorted this and I was ready to continue with the fill. After a long hour of filling the loop the leak test began.
Leak Test
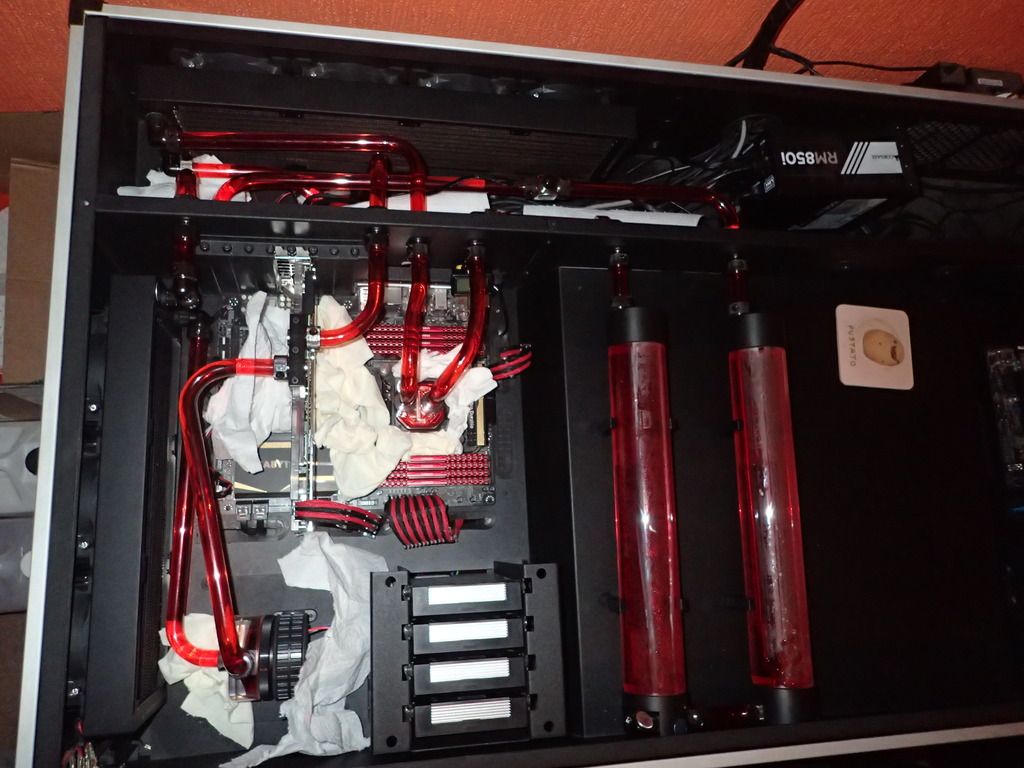
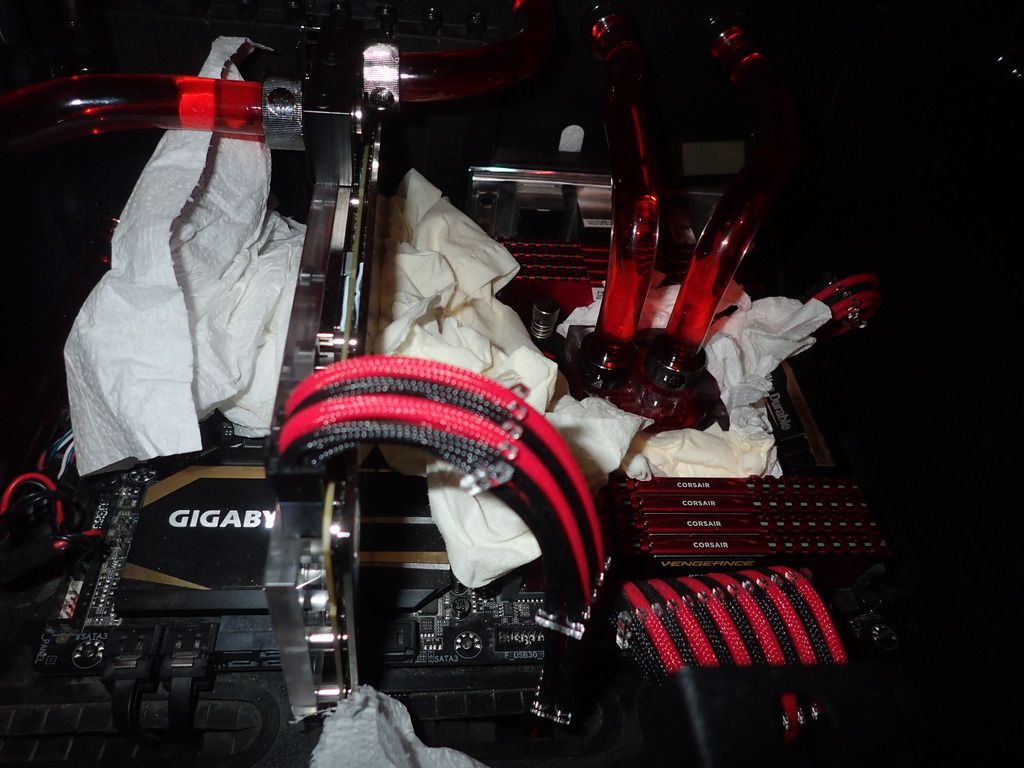
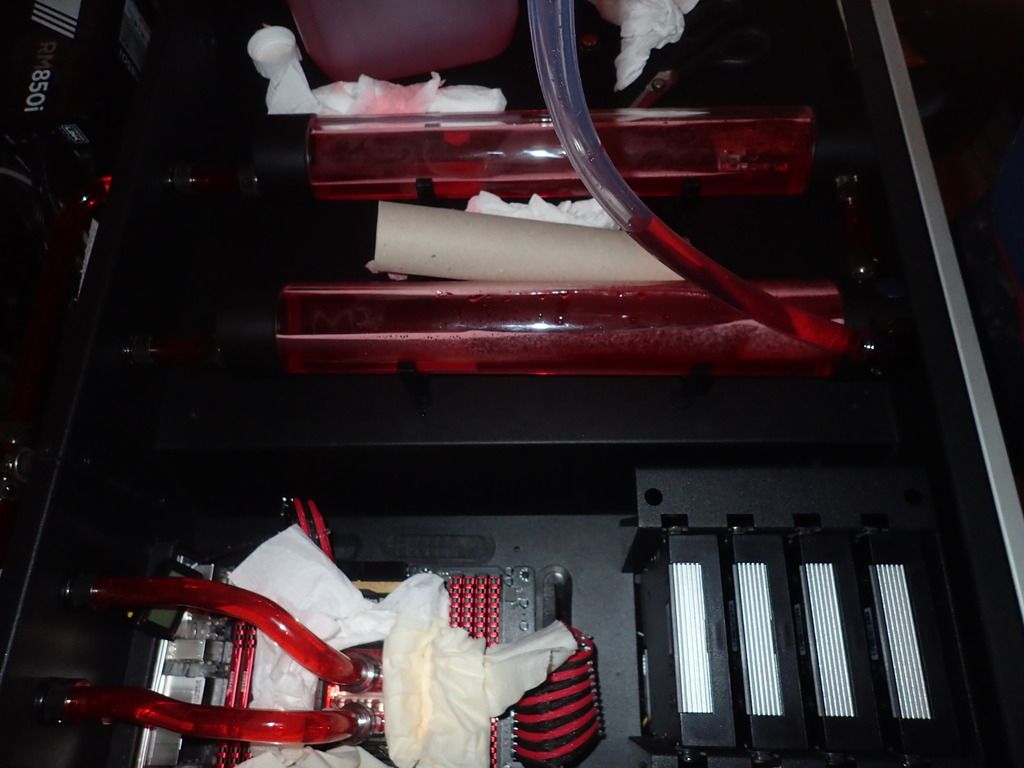
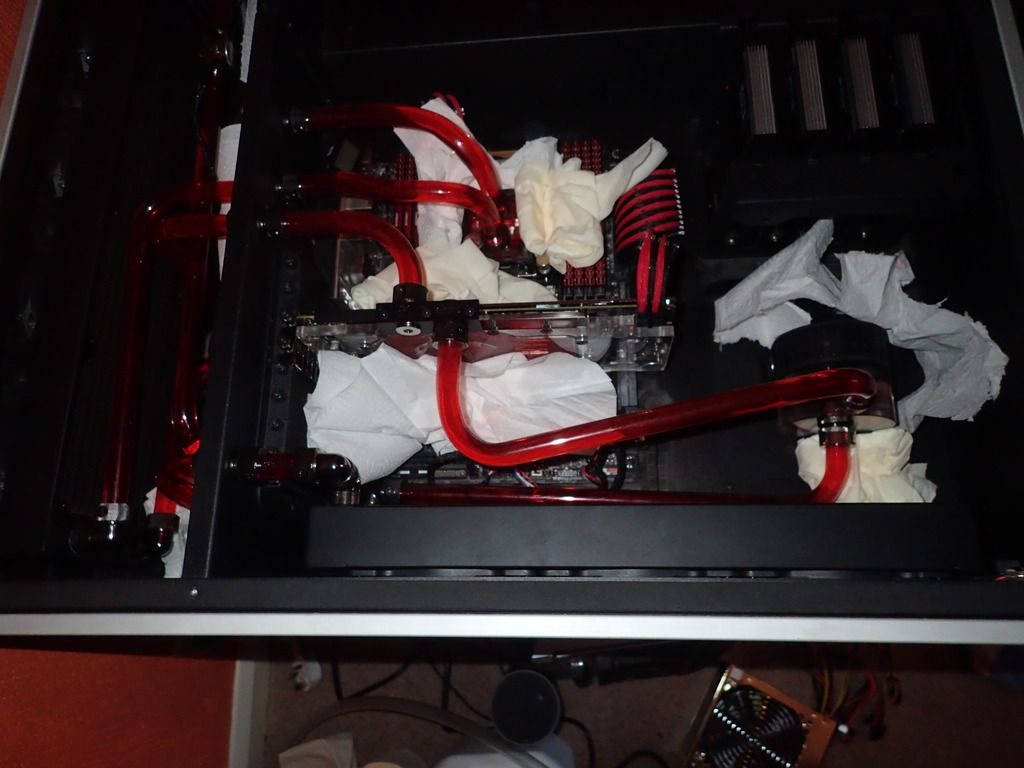
Firstly, I ran just the pump for 24 hours I then turned the fans on and Computer and left for a further 12 hours. I then ran a high-end game (BF1 on ultra to heat up the loop to see if it leaked under heat, all tests were successful and after 48 hours the test was marked complete.
Very happy with the results!
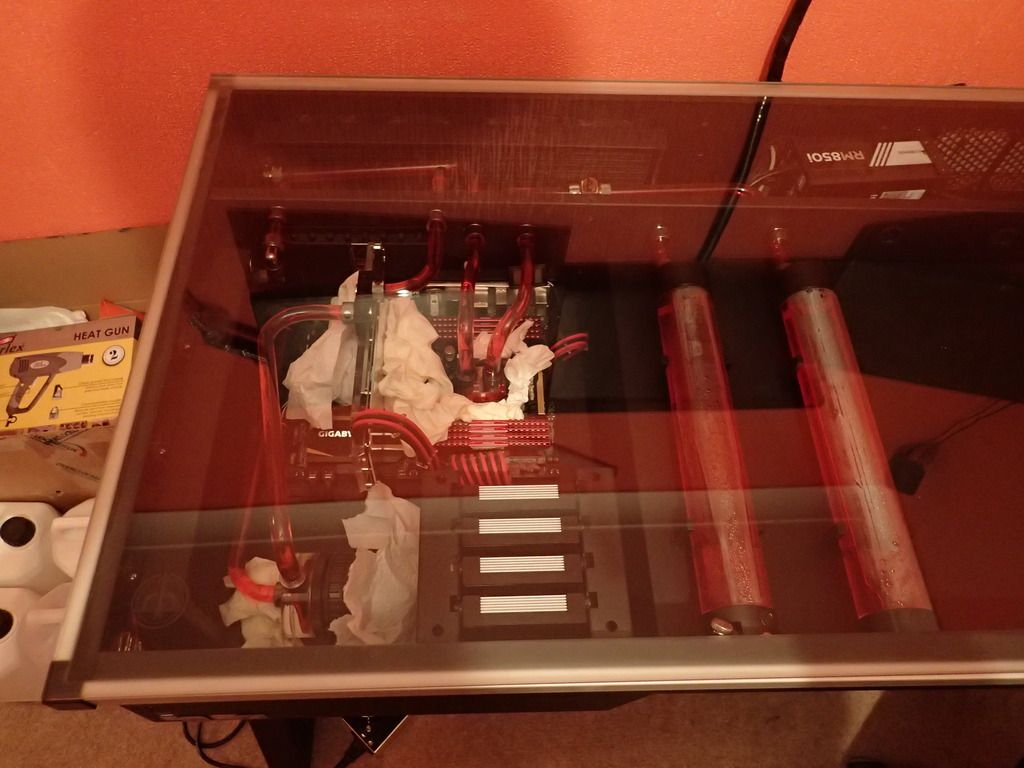
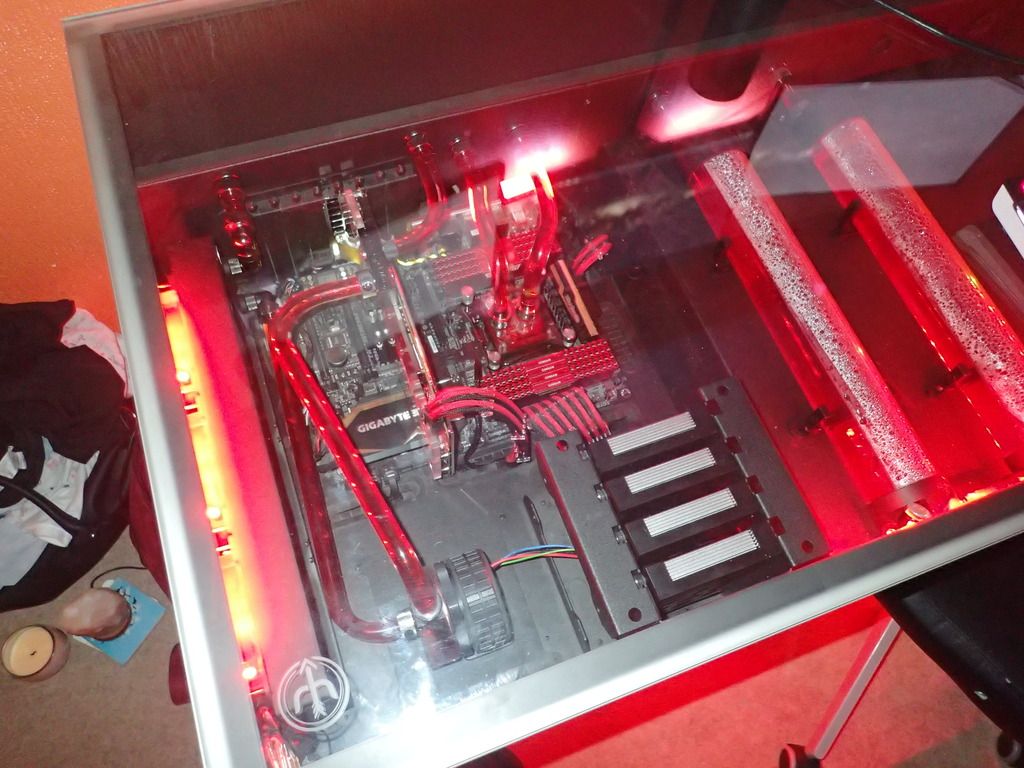
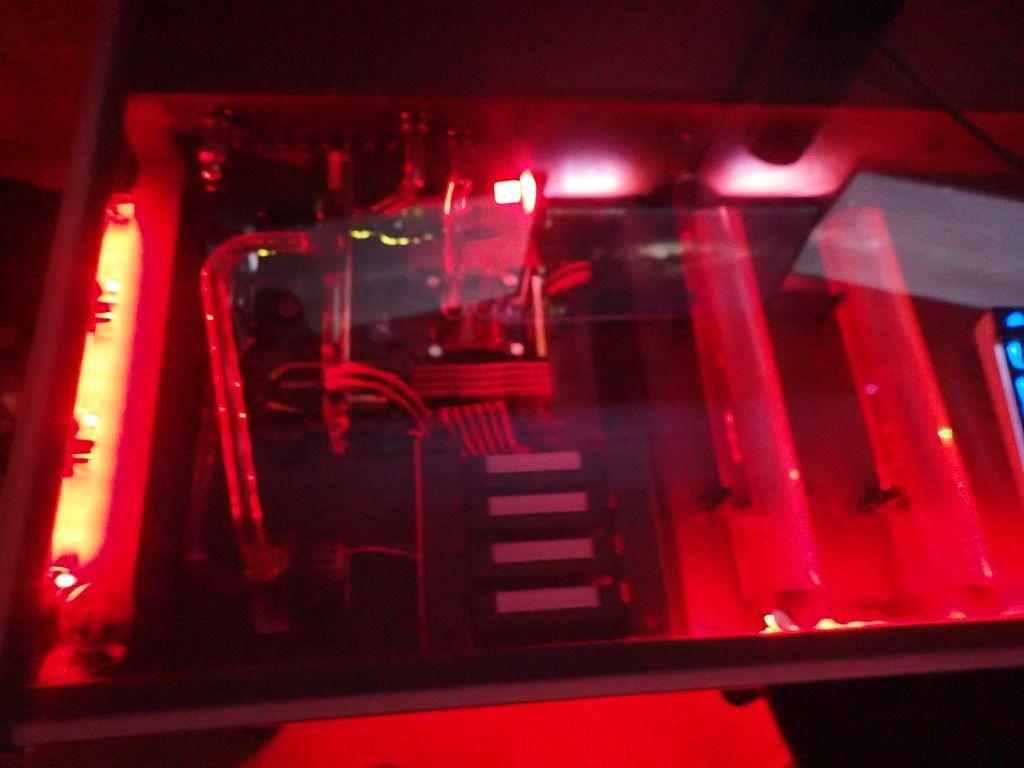
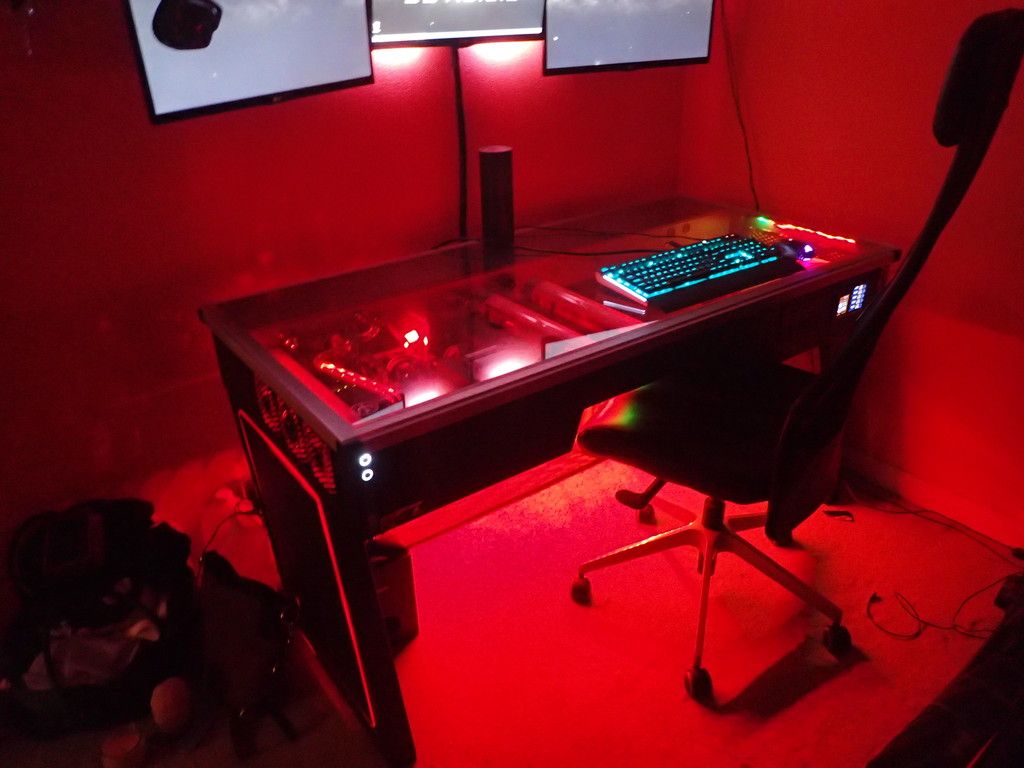
Will look into doing the other side with a blue theme maybe mid next year
Hope you enjoyed.
Thanks
 . The RH Desk has a been a ongoing project for a year or so now whenever I get time and the finances to do another section.
 The theme I would like to keep to is Red Vs Blue, this phase 2 of the project will bring the red team to life! Before carrying on must say a thank you to the OC forums for support of guidance when building
Hardware:
CPU – Intel i7 5820K Haswell-E 2011-3 Unlocked CPU
Motherboard – Gigabyte GA-X99-SLI
GPU – EVGA GeForce GTX 1070 SC Gaming ACX 3.0 Black Edition 8192MB GDDR5
SSD – Samsung EVO 850 3x 250Gb & 1x 500Gb
RAM – Corsair DDR4 Vengeance LPX Red
PSU – Corsair RM850I
WC List:
CPU Block - EK Water Blocks EK-Supremacy EVO X99 - Nickel + Plexi
GPU Block - EK Water Blocks EK-FC1080 GTX - Nickel+Plexi
GPU Back Plate - EK Water Blocks EK-FC1070 GTX Backplate - Nickel
Res(s) - EK Water Blocks EK-RES X3 400 Reservoir (with internal Tube and Multi port tops)
Side Rad - EK Water Blocks EK-CoolStream PE 360 (Triple)
Back Rad - EK Water Blocks EK-CoolStream PE 480 (Quad)
Pump - EK Water Blocks EK-XTOP Revo D5 PWM - Plexi (incl. pump)
Tubing - EK Water Blocks EK-HD PETG Tube 1216mm 500mm
3 Way Splitter - EK Water Blocks EK-AF T-Splitter 3F G14 – Nickel
Valve - EK Water Blocks EK-AF Ball Valve (10mm) G14 – Nickel
Pass throughs - EK Water Blocks EK-AF Pass-Through G1/4 - Black Nickel
Angles - EK Water Blocks EK-AF Angled 90° G1/4 Black Nickel
End Fittings - EK Water Blocks EK-HDC Fitting 16mm G1/4 – Black Nickel
Plug Sensor - XSPC LCD Temperature Sensor (Red) V2 + G1/4" Plug Sensor
Before:


So, this being my first WC project this took a lot long than I thought! I was very impressed at the range of kit out there. I thought for my build the Plexi would be the best as the glass desk top provides the show off factor
 .
. The Build
After about a week of final look over I was ready to order the first batch of item as some was out of stock. This included the CPU block and Rads & Pump along with most the fittings:


The Res
In the first order I was not aware that I would need the multi top to utilise the top port of the res or the internal tubes… they fit quite snuggly into the desk and maximise the area giving an impressive look when filled up. I connected a 90* angled fitting to the side that can act as my fill port as it will be on the highest point of the WC loop.

(Unfortunately, due to the multi top additional sizing I was forced to use one on these side ports as the connection between the two reservoirs)
The Pump:
I removed one of the Hard Drive bays and replaced with a blanking plate that was supplied with the desk. A few screw holes later and the blanking plate became the pump plate allowing for a quicker release if it dies *touch wood*. With the clean Plexi top the coolant provides additional awesomeness to the design.
The rads:
The Radiators are used on side of the desk and the back of desk with one being placed in between the flow from the GPU and the CPU. Unfortunately, as the desk has a fan guard the screws provided with the kit would now pass the guard, the desk itself, the fans and the rad thus I was on the hunt to find ones with the addition 5-10mm additional thread… as the thread is American its a lot harder than you this find the right ones (black also) within the UK. Finally, I found these a week later…
I flushed these radiators out with distilled water boiled, after using a 5L bottle they we very clean
 and ready to be installed. Was tricky to thread the screws into all the components.
The Graphics Card Issue:
The current Graphics card at the time ( 980ti FTW) is one of the only 980 cards that does not have a full cover WC Block (FML) so I was forced to sell this and buy a new 1070 losing around £100 in the upgrade (not too bad). So, while this was on order I started on the tubing:

Tubing... Lots & lots of tubing.

Grabbing the tape measurer and pipe cutters I started to build the tubing within the desk. After doing most the straight cut tubing I ventured into the pipe bending business… got the hand of it quite quickly, patience goes a long way with this part. During this time I was also using the computer to continue gaming. When I had to I swapped the CPU heatsink with a clear top plexi block, looks very pretty... as the desk started to build up with the tubing it started to take shape. After going through 8 500mm hard tubing pipes I finally finished the pipe work making sure everything fits perfectly (the perfectionist coming out).


GPU:
The GPU arrival once I sold my old GPU with the order I brought the clear top WC Block and Back plate, this was the very tense installing this as I have never done this and to try on a new £450 card was throwing into the deep end.


Finished off the last parts of the tubing connecting to the GPU. A quick air pressure test showed my set up for a leak test!


The LEAK!
Using mayhems premixed Red coolant I started to fill the loop with a borrowed PSU to turn the pump on and off. I encountered a few issues with air blocks but finally got around them. During the test a fitting on the GPU started to leak slowly onto the jam-packed tissue (this was the moment my heart stopped...), after draining the loop enough it appeared due to the angle of the tube it was inserted at a angle thus it wasn’t tighten to the GPU block this not hitting completely onto the o ring. A quick fix sorted this and I was ready to continue with the fill. After a long hour of filling the loop the leak test began.
Leak Test


Firstly, I ran just the pump for 24 hours I then turned the fans on and Computer and left for a further 12 hours. I then ran a high-end game (BF1 on ultra to heat up the loop to see if it leaked under heat, all tests were successful and after 48 hours the test was marked complete.
Very happy with the results!


Will look into doing the other side with a blue theme maybe mid next year

Hope you enjoyed.
Thanks

