Rome was not built in one day !!

Soldato
Joined
7 Nov 2002
Posts
7,550
Location
pantyhose factory
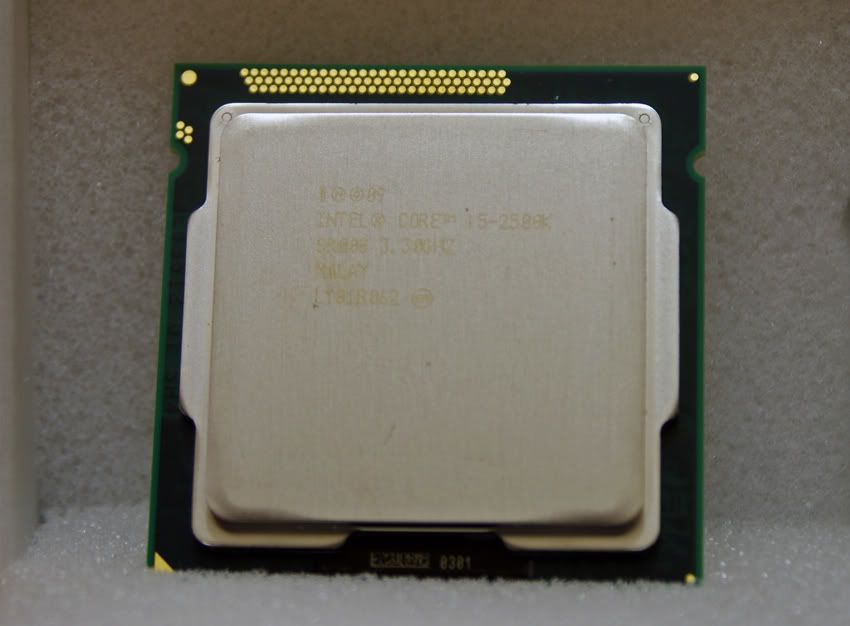
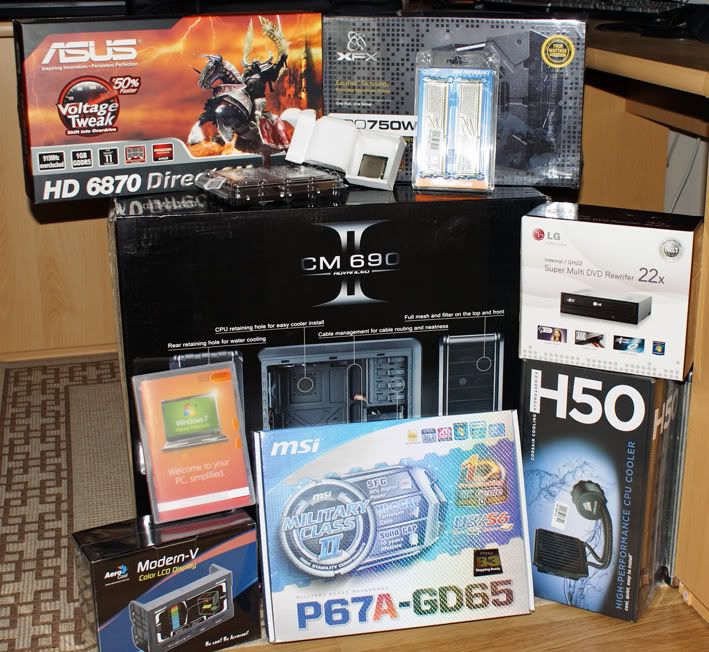
So I have finally got around to opening my parcels and unpacked my Sandybrdigebuild goodness. This build will likely take me a while as I have not built a new machine for around 5 years and with my job I get very little time at home. So I thought I;d keep a log of my building progress.

it starts here with the gear I unpacked from the boxes

InitialPartssmall.jpg


As it slowly comes to life I will post mroe photos and commentary
 
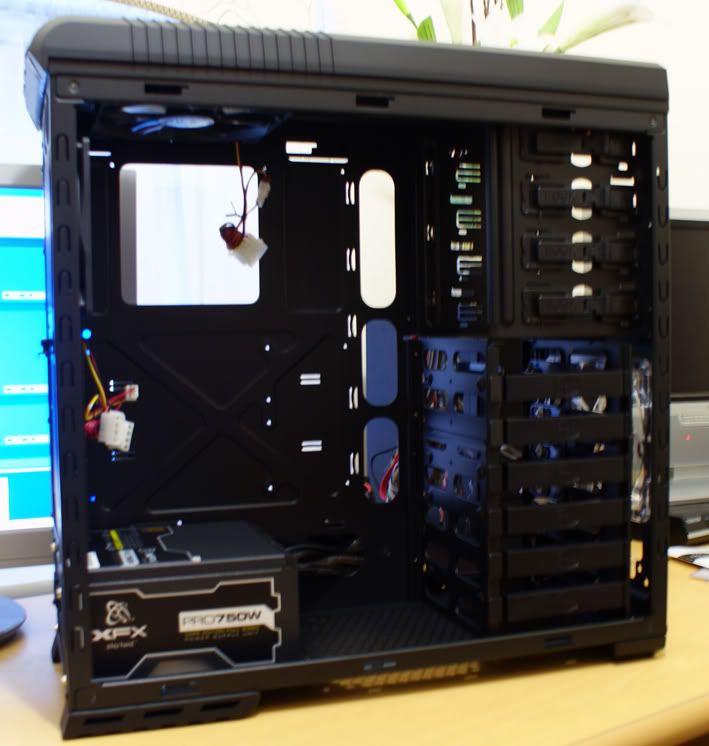
Step 1 Installing the PSU

PSUin.jpg


I didn't know if I should have it with fan out or fan in !!

Clearance at the bottom of the case seems good and it going to be stting on my desk where blasts of cold air come in from the window so i opted for fan out.
 
Yes its the advanced version.

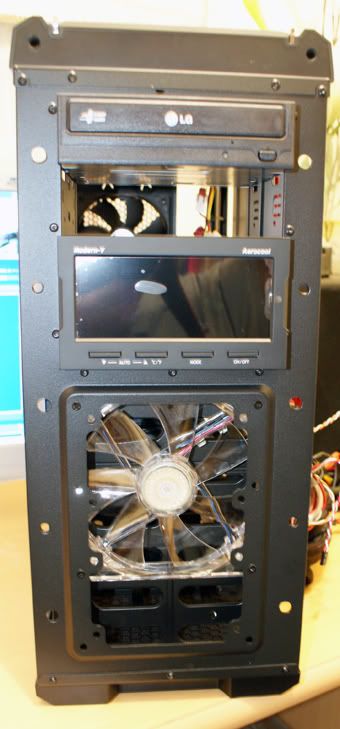
Got the DVD and the Fan controller in now

DVDandAerocoolin.jpg


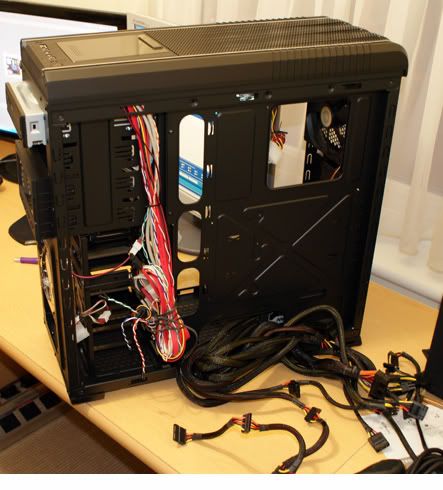
Now I remember why is hould have been patient and waited for the xfx modular PSU's to come into stock !!

CablesWTF.jpg


theres more cables than the national grid !!

I have a distinct feeling that beer is about to stop play :D, so probaly carry on tomorriow as I don't fancy installing the motherboard under the influence of stella !!!

Forgot to add so far I am impressed with the CM690II. the cable management holes seem to b in just the right places and even with my saute pan sized hands there seems to be ample sapce inside
 
But the beer away and carry on with the build, the beer will keep for another day!:D

Nice to know your're impressed with the case. Whats the build quality like?

*edit*
Is there enough room for all those cables. I think I will go modular.

The build quality is really good, the finishing on both exterior and interior is top notch. I think once I get the mobo in there and star running pwer leads to the GFX, MoBo, DVD, Fan controller, HDD that the cables that are surplus should fit niceley in the cavity betwwen the back of the chasis and where the side panel fits. Modular would have deffinately been a better cable managment strategy though

The only thing I am having trouble figuring out is which way the 3 pre installed fans will blow. I am assuming here that the fron one is intake, the rear on is exhaust, so I guess that leaves the top one as exhaust also ?
 
That looks like its going to be a cracking machine but I have to ask. As you spend so little time at home, why have such a beast? Surely you're not going to get your money's worth from it. Not a criticism of your choice in any way, just that I don't use my PC like I would have done 5 or so years ago and a build like that would be wasted on me.

It will deffiantely get good use once I finish the project I am working on at work which has me out of country a lot for the next few months. I work fairly long days which is why I know the build will take me a while.
 
Build Night 2

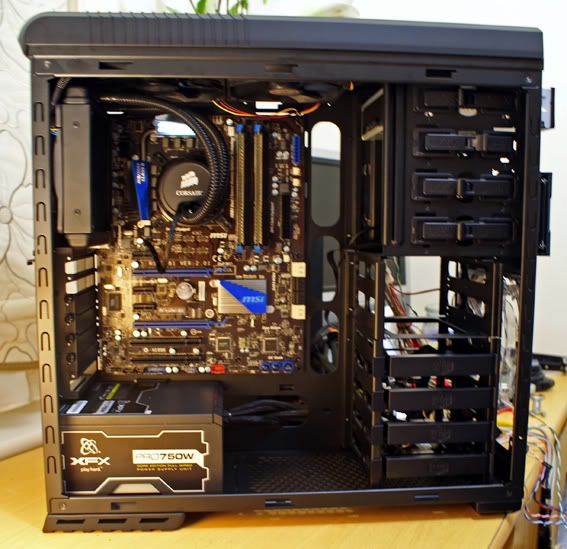
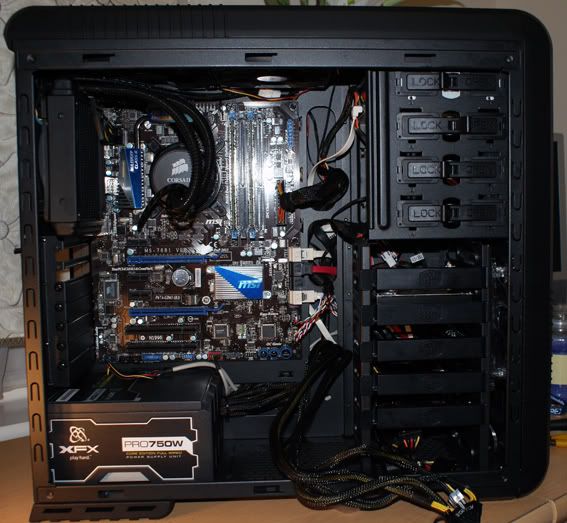
had a late one in the office so only got back home at around 9pm. So I continued from where I left off yesterday. I have now got the motherboard, ram, cpu and H50 all installed.

motherboardcpuramandcooler.jpg


A few comments

1. Thank god for the video from corsair showing you how to install the cooler. The instructions in the box were pretty straight forward, but the video gives you a few handy pointers and tips that you can;t get from the paperwork in the box.

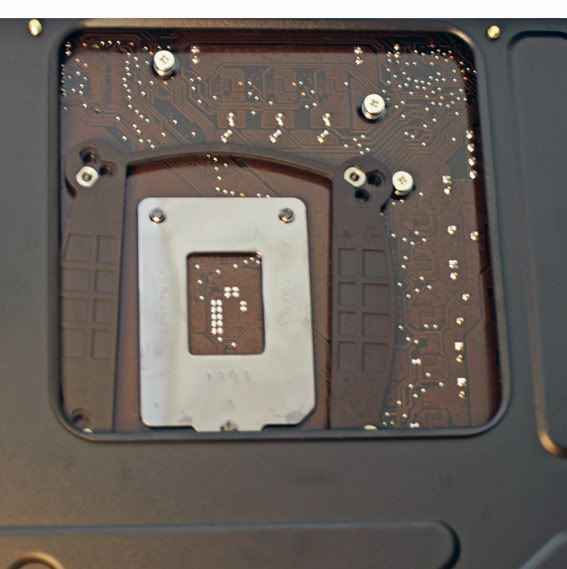
2. First gripe with the CM690 :(. The access panel cut in the back of the chasis that gives you access to the rear of the socket seems to be cut just a little to short towards the bottom end. It is physically impossible to fit the back plate when the motherboard is mounted see phot below

accesspanneliscrap.jpg


Coolermaster could do with cutting that holeanother 4 to 5 cm longer

I had a minor reconfiguration of the fans also. I put a second exhaust in the roof and have set the H50 fan to draw air into the case accross the rad. Figured it would yield better cpu temps if cold iar was comng in. I wanted to mount the rad at the bottom, but with the PSU there the gap left between the end of the PSU and the HDD cage was just a few mm shy of squeezing the rad in.

I toyed with the idea of taking the bottom half of the cage out, but then I though once I get the gfx card in I would be blasting warm air across it that would be passing through the rad so I turned that idea down and opted for intake at back for rad and additional exhaust in roof.
 
I think the cut out of the motherboard tray is something I found to be a little off too on my older motherboard, but my current is spot on. I think its coolermasters fault, but obviously they cater for as many motherboards as they can. I think its a minor issue though.

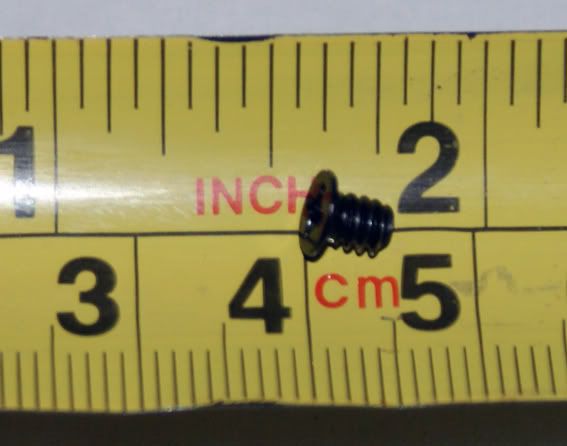
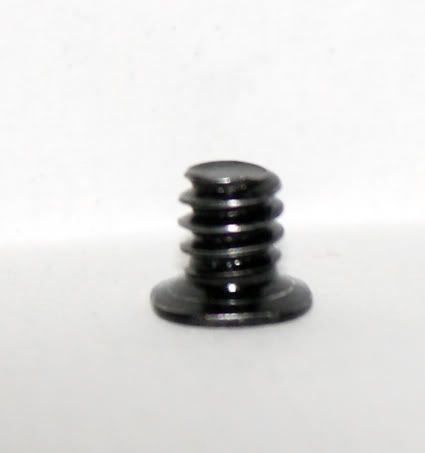
Could you do me a favour though? I have taken my bottom HDDs out but for the life of me cannot remember what screws were used. All the ones I have seem to be too small for the thread, so I might have misplaced them. Do you think you could just take a photo or something of one to give me a reminder? If you cant, no problem, its only if you have time.


Here you go mate. Imgae quality is a bit poor sorry but hope you can see what they look like

Approx 5mm in length

screwtwo.jpg


screwone.jpg
 
But that air you're drawing into the machine is surely going to be warm, no? If the radiator is there to pump heat away from the CPU, reversing the fan to pull cold air through the rad will surely mean the cold air picks up heat energy from the rad and enters the system as slightly warmer air.

I may be completely wrong, but that is how it seems to work in my head.

Yes so cold air from outside gets dranw in accros rad and then gets exhausted via roof fan. The air is cold when it hits the rad and warmed when it passes over the rad. So by the time it passes through there are 2 exhaust fans in the roof waiting to suck the air out again.

Thats my theory,i oculd of course be completely barking mad, which is a distinct possiblity :D
 
Yeah I get what you mean, but you are still nevertheless drawing warm air in whether it's being pumped straight out or not.

Surely you are better of having the H50 fans and the roof fans both pumping out and the front case fan drawing all the cold air in.

Constant flow of additional warm air in on top of the cold air will surely reduce the effect of the cold air making the system as a whole fractionally warmer.

If the H50 fan is pumping out where does the cold air come to cool the rad down ? if you rely on case intake fans by the time the air hits the rad its going to be warm anyway as it will have to pass over all the other warm componets. Surely drawing the air in accorss the rad is better.

I have got another intake fan hat draws cold air in from the front across the HDD rack.

GFX has got a reference cooler so the air goes out the expmnasion slots at the back
 
Build Night 3 - Almost there !!!
Another late finish at work so only had an hour tonight :(

HDD inside case
All Case front panel IO/Power connected
All sata cable connected
Fans all connected to fan controller + temp sensors
Did my best at cable management (Still wishing I got a Modular PSU)

Still left to do

GFX card
Maybe have another go at sorting cable management out

However even though my cable management skills are poor at best, the CM690 is forgiving and due to having ample space between chasis and rear panel and genoursly cut cable management holes I managed to do a semi reasonable job to keep the inside of the case as cable free as possible.

I have left all the PCIe connectors free as I am going to need 2 for the 6870 and then I will tuck the other 2 away in the bottom of the HDD cage so I can easily get to them when I decide to get another 6870 for crossfire.

almostthere1.jpg


The only issue I have had today other than battling with the cables of the XFX PSU, which could do with being a little more flexible :( is connecting the front panel Audio. There is a lead with 2 plufs on it one is AC97 and the other is HD Audio. I opted to put the AC97 plug into the adui header on the mother board, but should I really be putting the HD one in ? The Manual was not very helpful for either the CM690 or the Motherboard :(
 
Build Night 3 continued

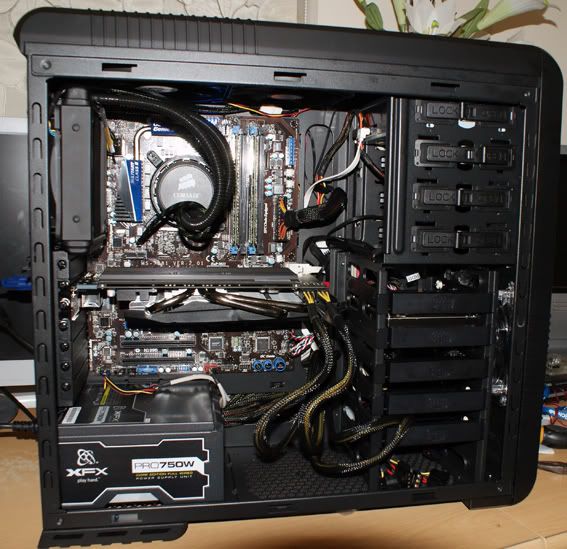
GFX card in

GFXin.jpg


OMG what the hell is the heatsink made of Uranium it weighs a ton. I Marvelled at its size and then though how in gods name am I going to be able to see the PCIe slot to fit this badboy in. Much to my suprise it fits with room to spare, there is a good 4 cm + clearance to the HDD cage and the card just droped right in almost as if it wanted to get itself in there.

OMG SHE'S BREATHING !!!!!!!!!

shesbreathing.jpg


Its Alive Scotty !!!!!! but not fully.

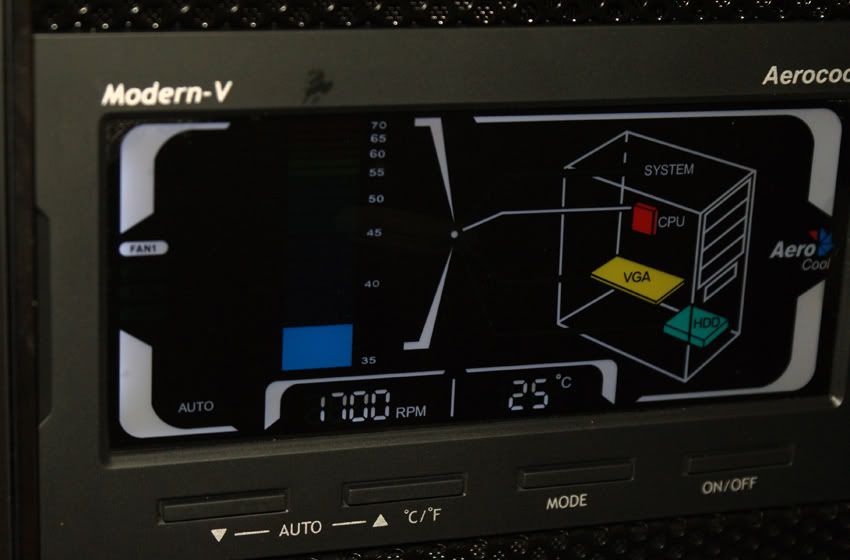
The fan controller has a somewhat 80's retor look about. I like it

fancontroller.jpg


The CPU is idling at 25, but this is not a true reading. I need to get into the BIOS and set this badboy to maximum overclock :)
 
Build Night 4

no photos for this one as there is nothing to take pictures :( so its just a quick report

Well the build is now finished. Case panels all back on. Win 7 installed, MSI drivers + utils installed, ATi catalyst drivers and overclocking tools installed.

I checked temps using the MSi tools. The CPU is running at 1.6ghz (I guess speedstep throtles it back when its got nothing to do ? ) Core temps were as follows
I set the voltage to 1.195 for now untill I start ocing

core 1 = 27°C
Core 2 = 29°C
Core 3 = 30°C
Core 4 = 25°C

GFX card was showing GPU speed 915 GDDR 4200, Idle temp was siting on 42°C.

Even though this card is the ASUS OC 6870 I reckon i can squeeze more out of it. The airflow through the case seems ok. Sys temps according to my sensors for the Aerocool were 22°C in the center.

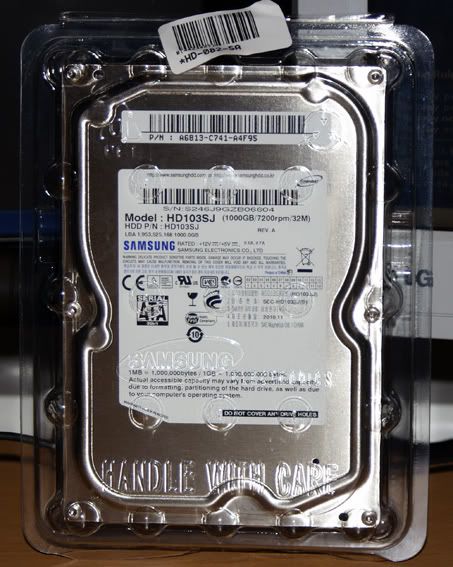
The spinpoint F3 sounds healthy not making any dodgy grinding noises.

RAM is OCZ Platinum low voltage running a 1.35 with 9,9,9,24 timings.


Which utils should I get for benching Graphics Card 3dmark2006 ? I am well out of touch with this now.

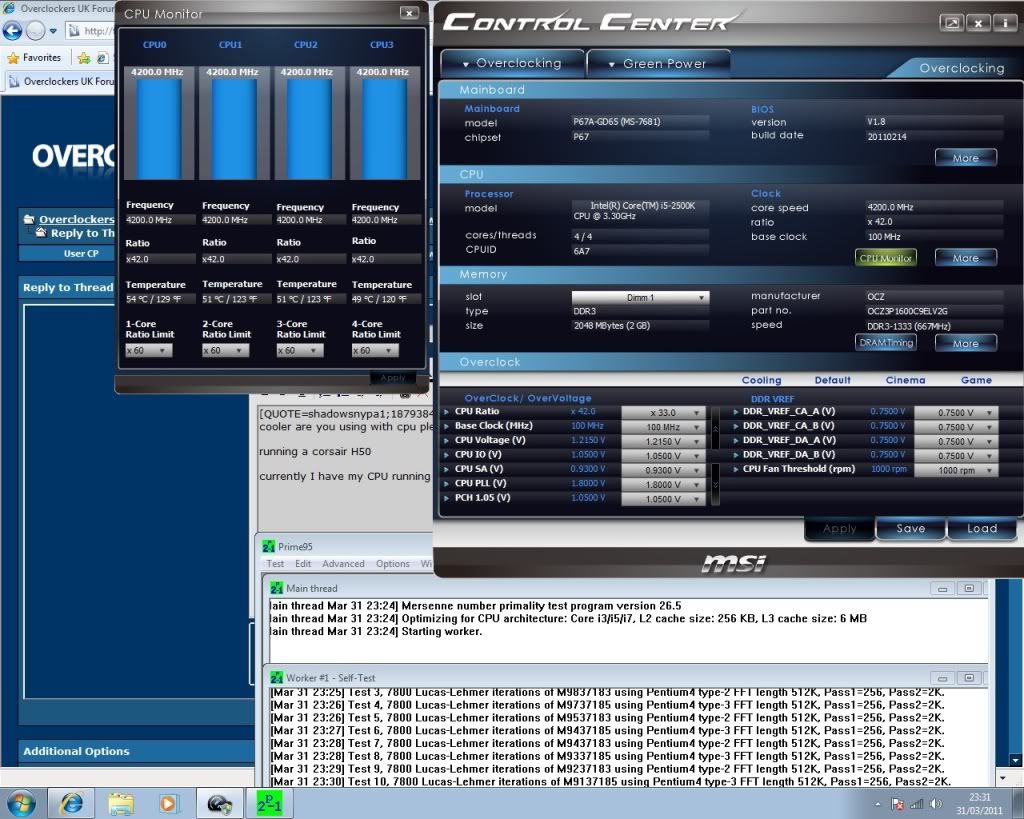
I am going to run prime to see how it is underload before I start overclocking. Shouyld i disable the speed step when I oc ? If so I am not sure what this is called in the MSi bios as i can;t see anthing called speedstep in there

lastly thanks to OCUK forum buffs for all the advice over last 2 months regarding parts, and thanks to OCUK for having great gear that went to making my new Sandybridge beast
 
Last edited:
Back
Top Bottom