Associate
Hi all, being inspired by a few other threads here I though I'd post some pictures up of a room I done up a few years ago, the house was 200 years old and some of the walls weren't very straight so needed levelling by fixing battens to the top and bottom, applying several coats of backing plaster and dragging a straight edge across to remove high areas and adding more plaster to the low spots, this was repeated with each coat until the wall was fairly straight. The only plastering I had done prior to this was a small room which had reasonably sound walls. Much of my knowledge was obtained by going on a DIY forum reading / posting.
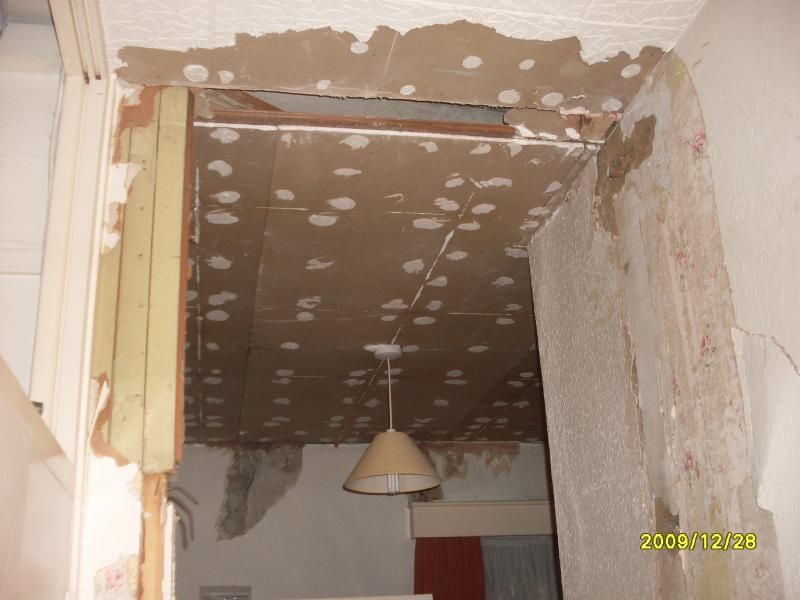
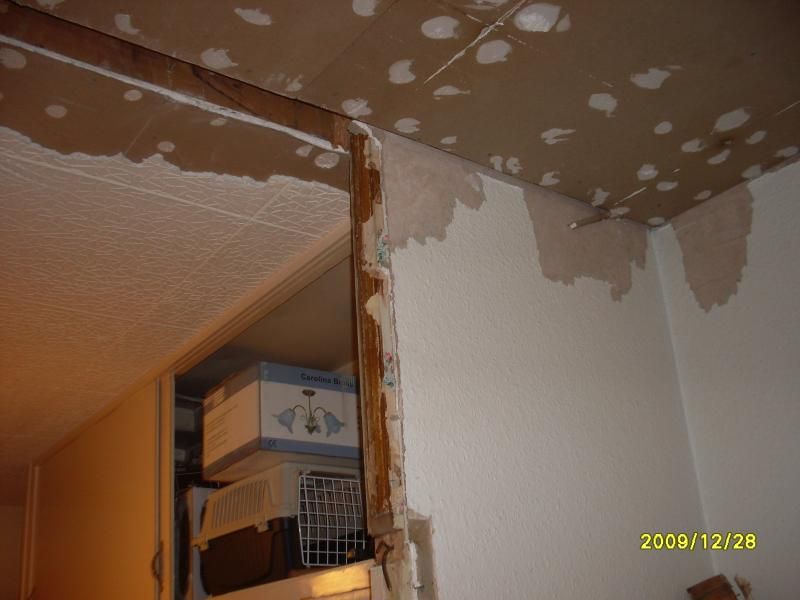
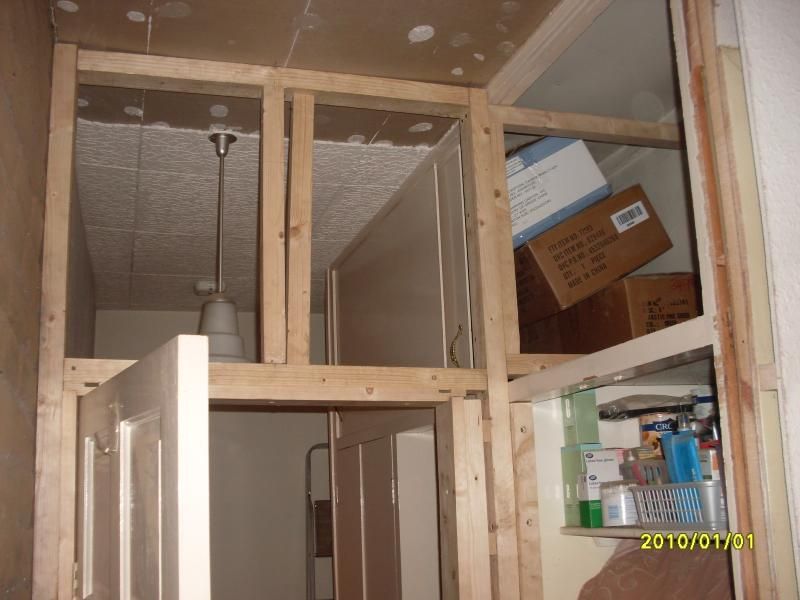
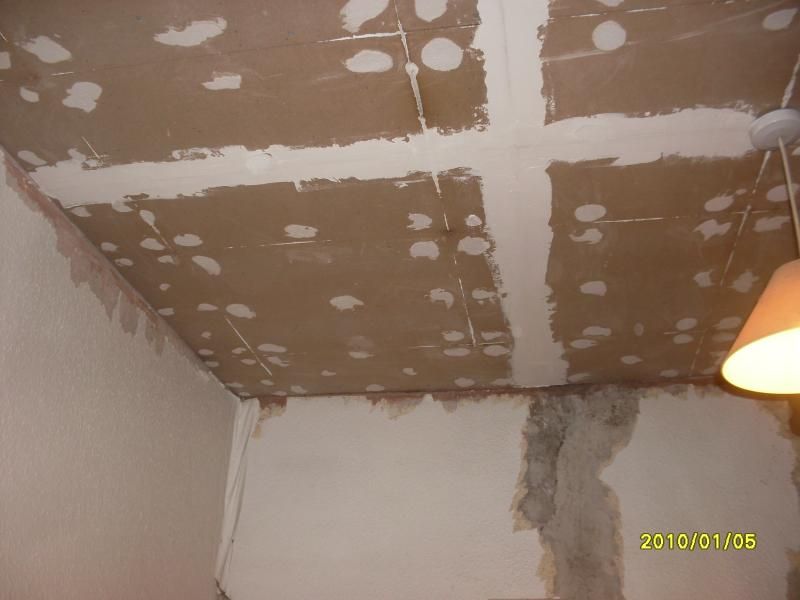
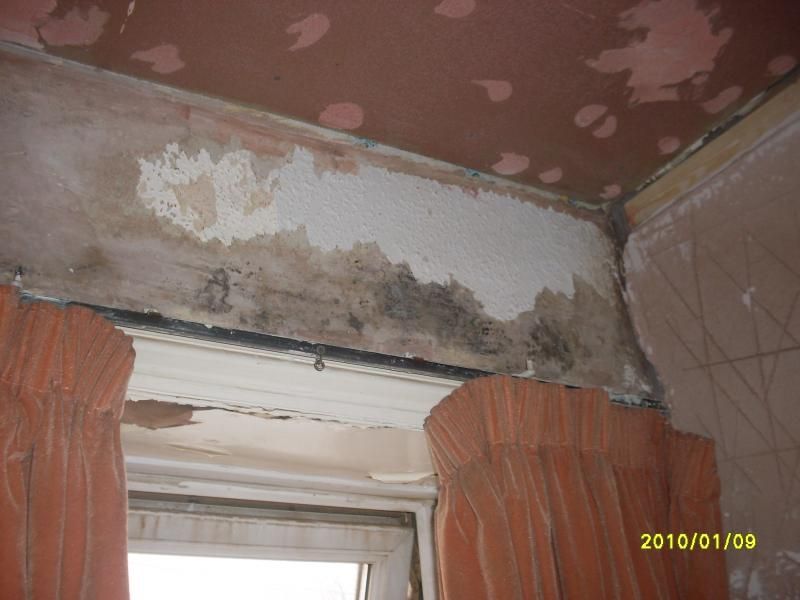
I had already removed the ceiling tiles and the door frame before I took the photo but you get the general idea of the condition of the place.
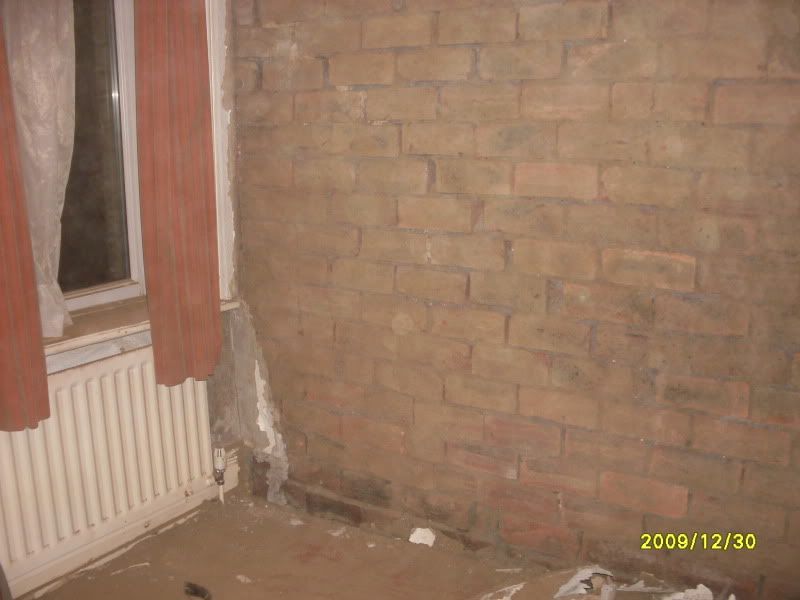
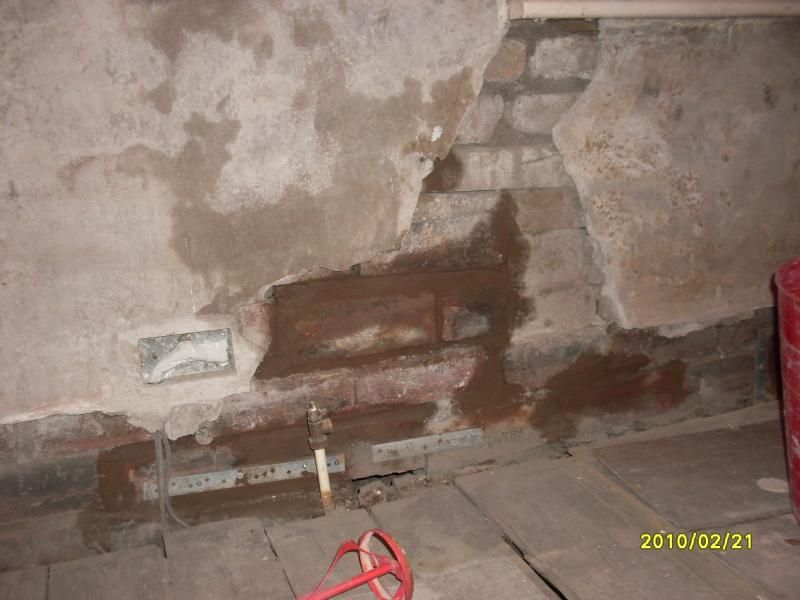
The old plaster just fell off when I put a chisel to it leaving bare brick exposed some of which needed repointing.
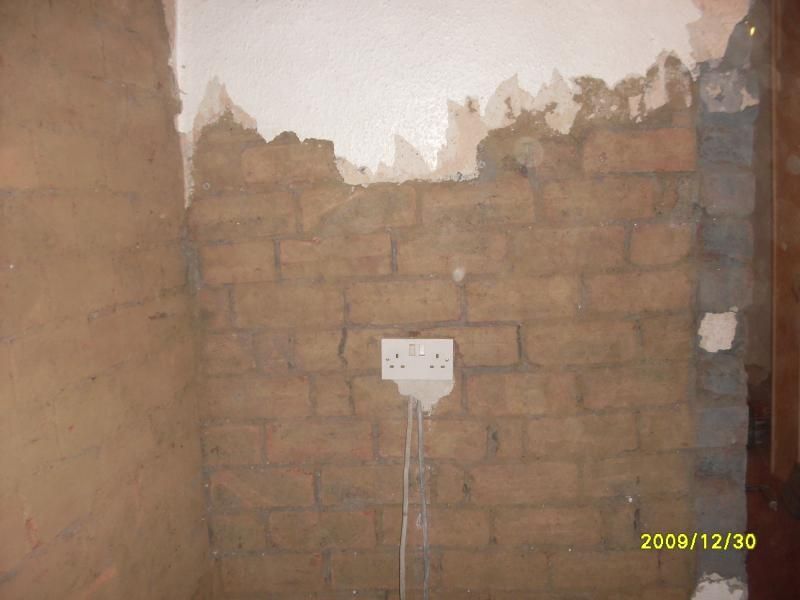
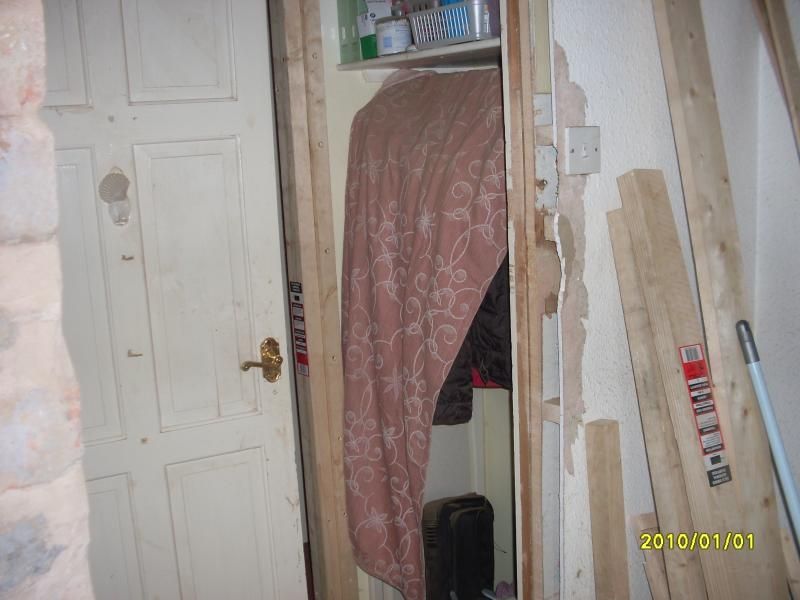
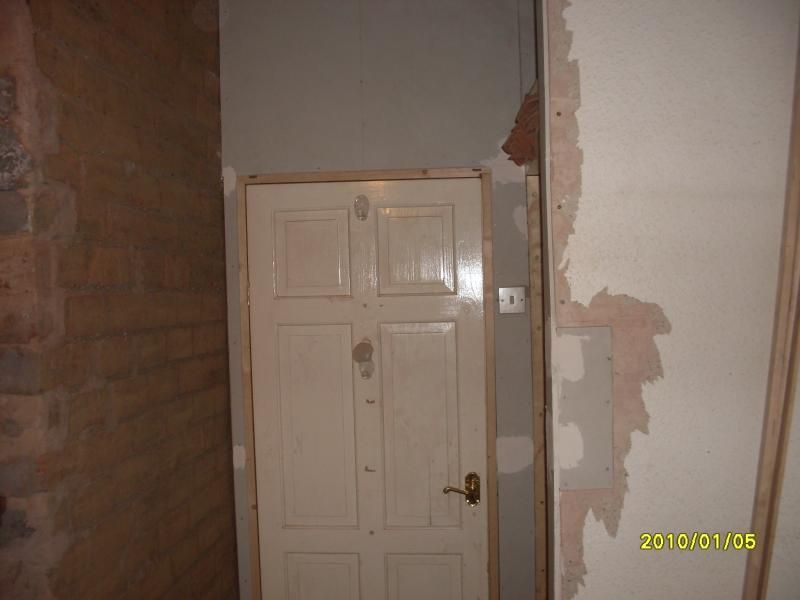
The door frame was moved from where the light switch is to it's current position.
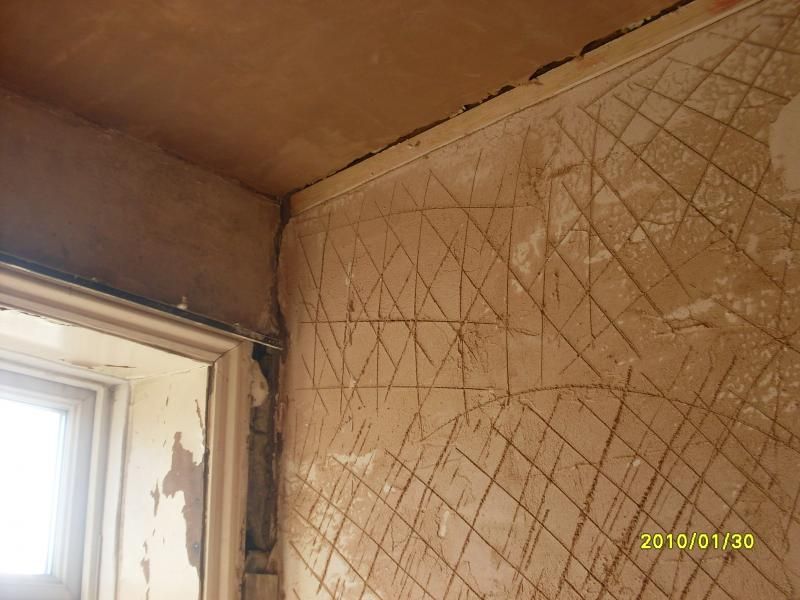
The backing plaster on the wall ( browning )
Scrim tape and joint filler over the gaps between the plasterboard.
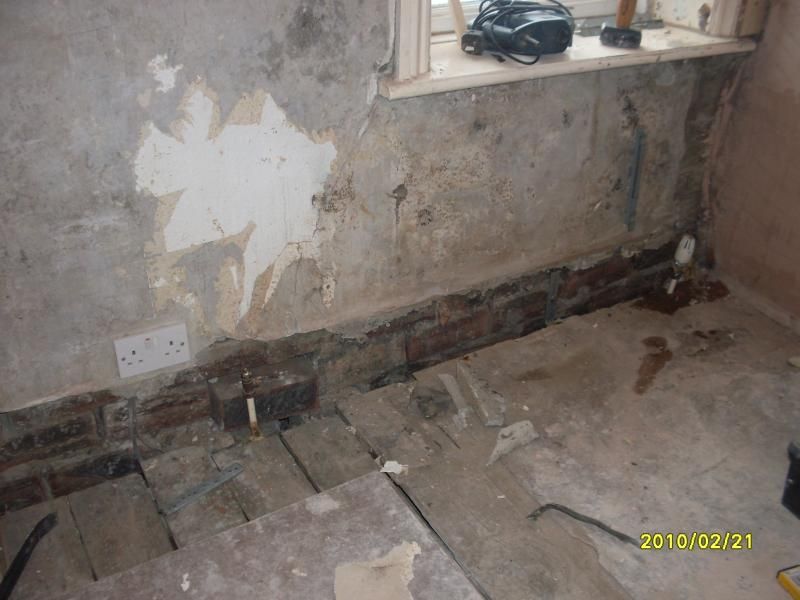
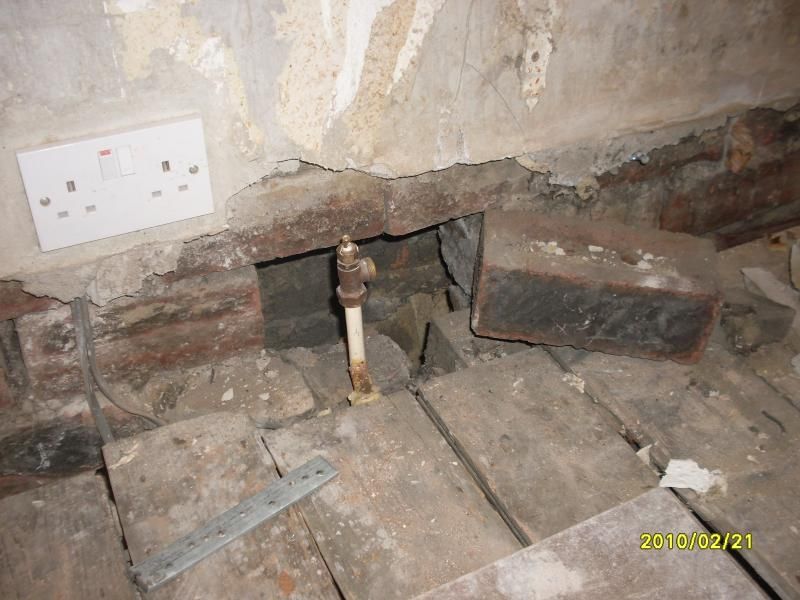
One of the bricks came away when I took the skirting board off, a bit of unexpected work here.
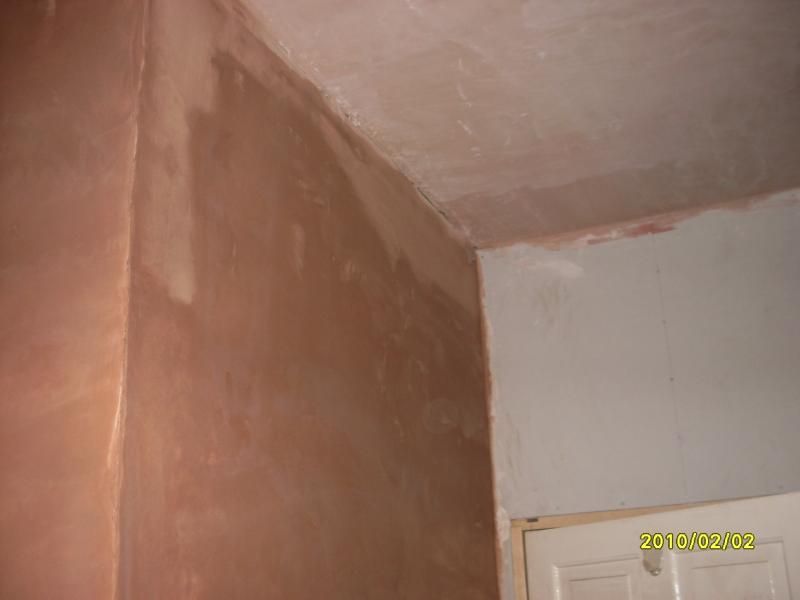
Some plaster on at last.
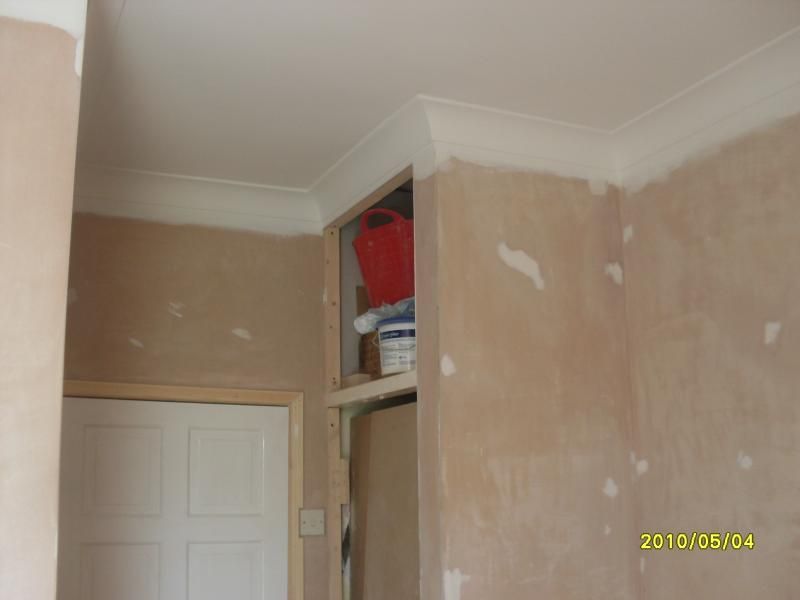
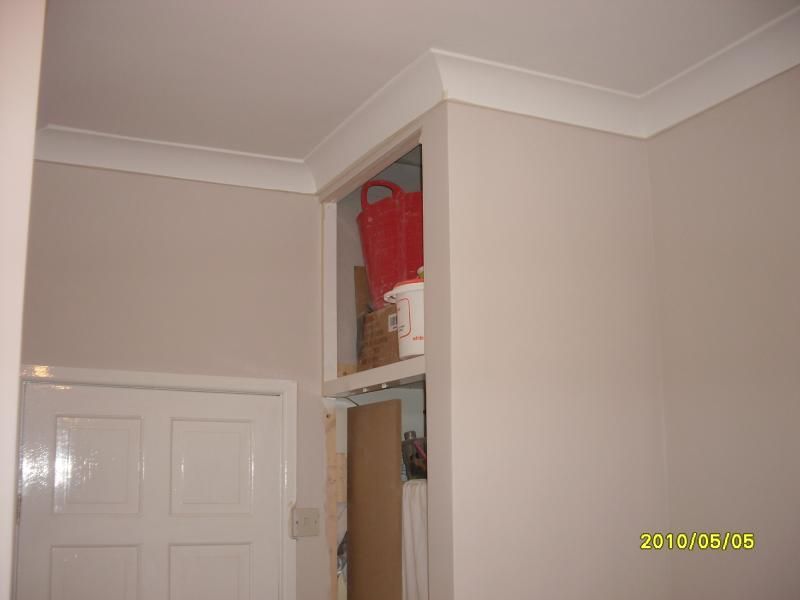
Coving up, ceiling and coving painted - taking shape now.
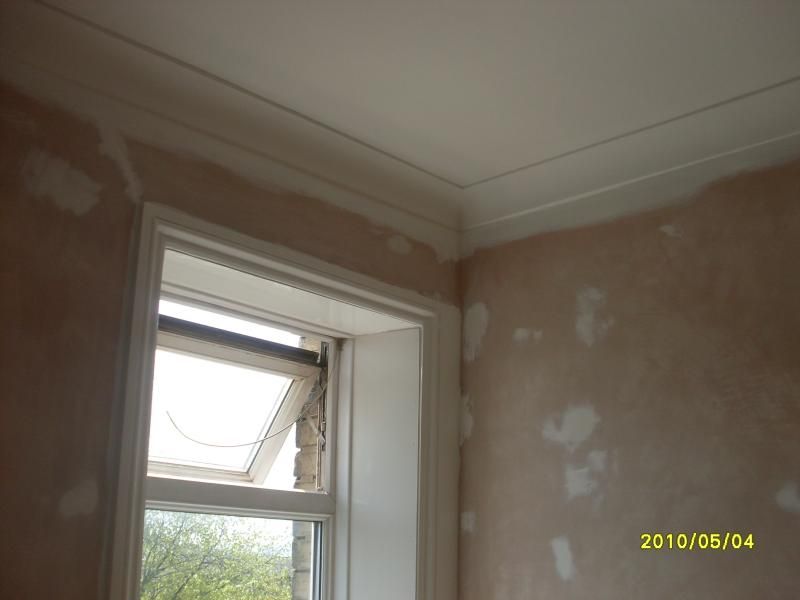
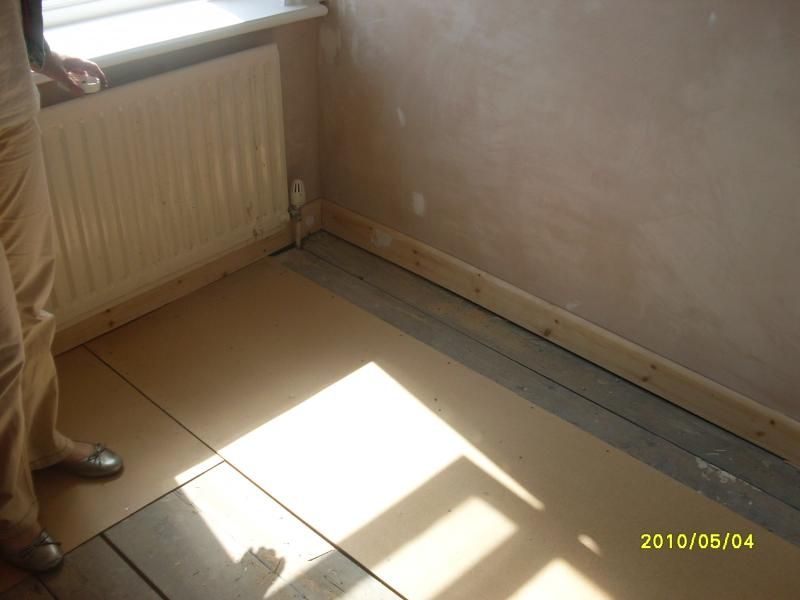
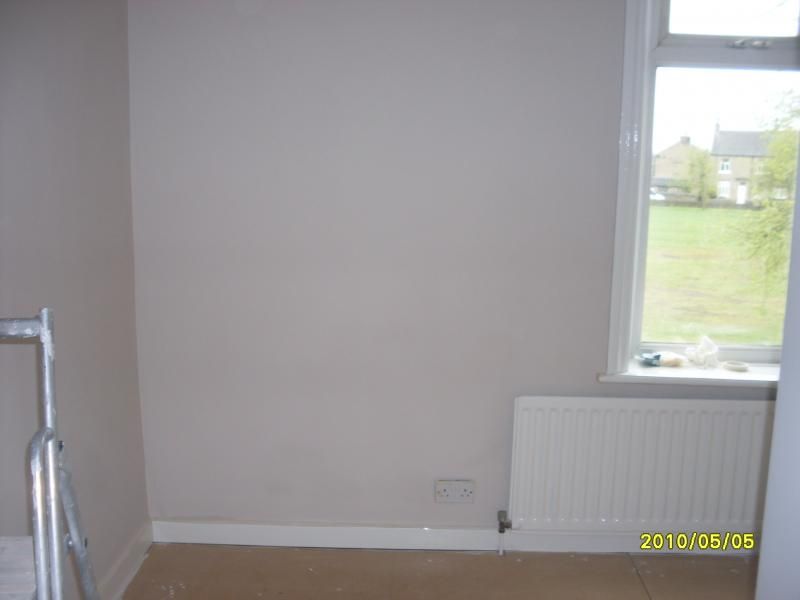
Some hardwood going down, the floorboards were not great and they didn't go all the way to the wall. Skirting board sitting flush with the wall - shows the wall must be pretty straight - A vast improvement !!
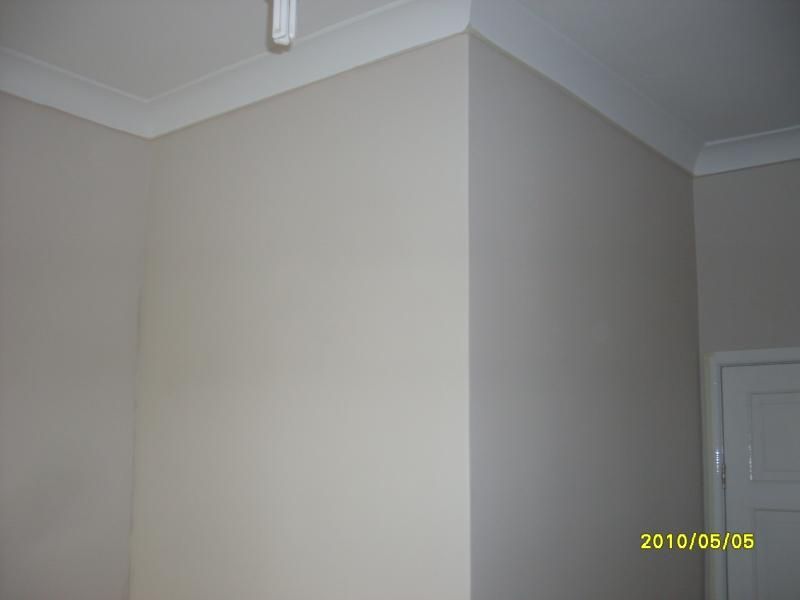
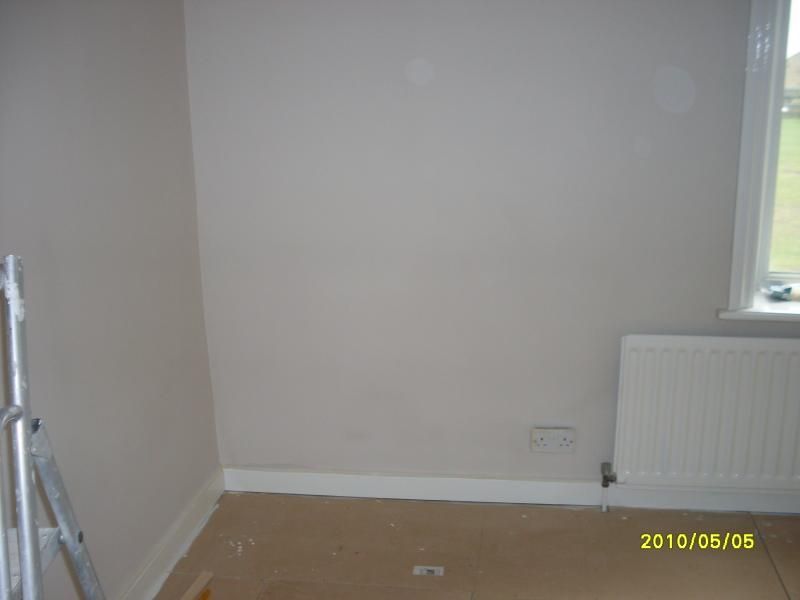
I took this before I removed the masking tape, the dark areas are where the paint hasn't dried yet, I should have waited really but was a bit snap happy .
.
I had already removed the ceiling tiles and the door frame before I took the photo but you get the general idea of the condition of the place.


The old plaster just fell off when I put a chisel to it leaving bare brick exposed some of which needed repointing.


The door frame was moved from where the light switch is to it's current position.


The backing plaster on the wall ( browning )

Scrim tape and joint filler over the gaps between the plasterboard.


One of the bricks came away when I took the skirting board off, a bit of unexpected work here.


Some plaster on at last.

Coving up, ceiling and coving painted - taking shape now.


Some hardwood going down, the floorboards were not great and they didn't go all the way to the wall. Skirting board sitting flush with the wall - shows the wall must be pretty straight - A vast improvement !!


I took this before I removed the masking tape, the dark areas are where the paint hasn't dried yet, I should have waited really but was a bit snap happy
 .
.


