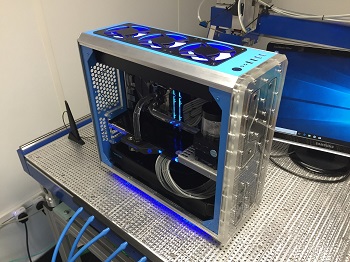
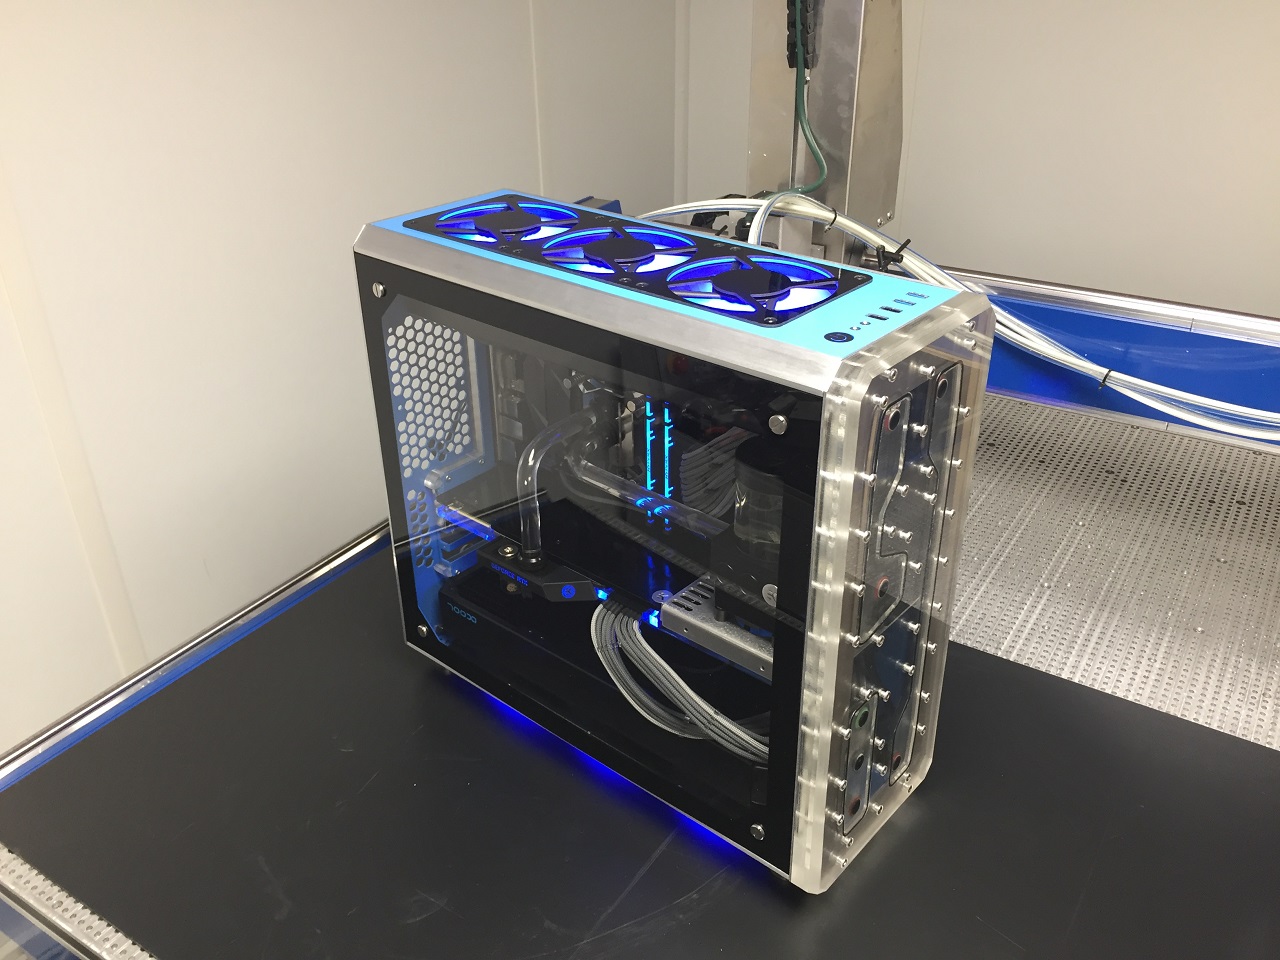
Here is my latest scratch build.
If you are interested in building a custom PC of your own I have also made a web app for you to do a 3D layout here PC Design Foundry
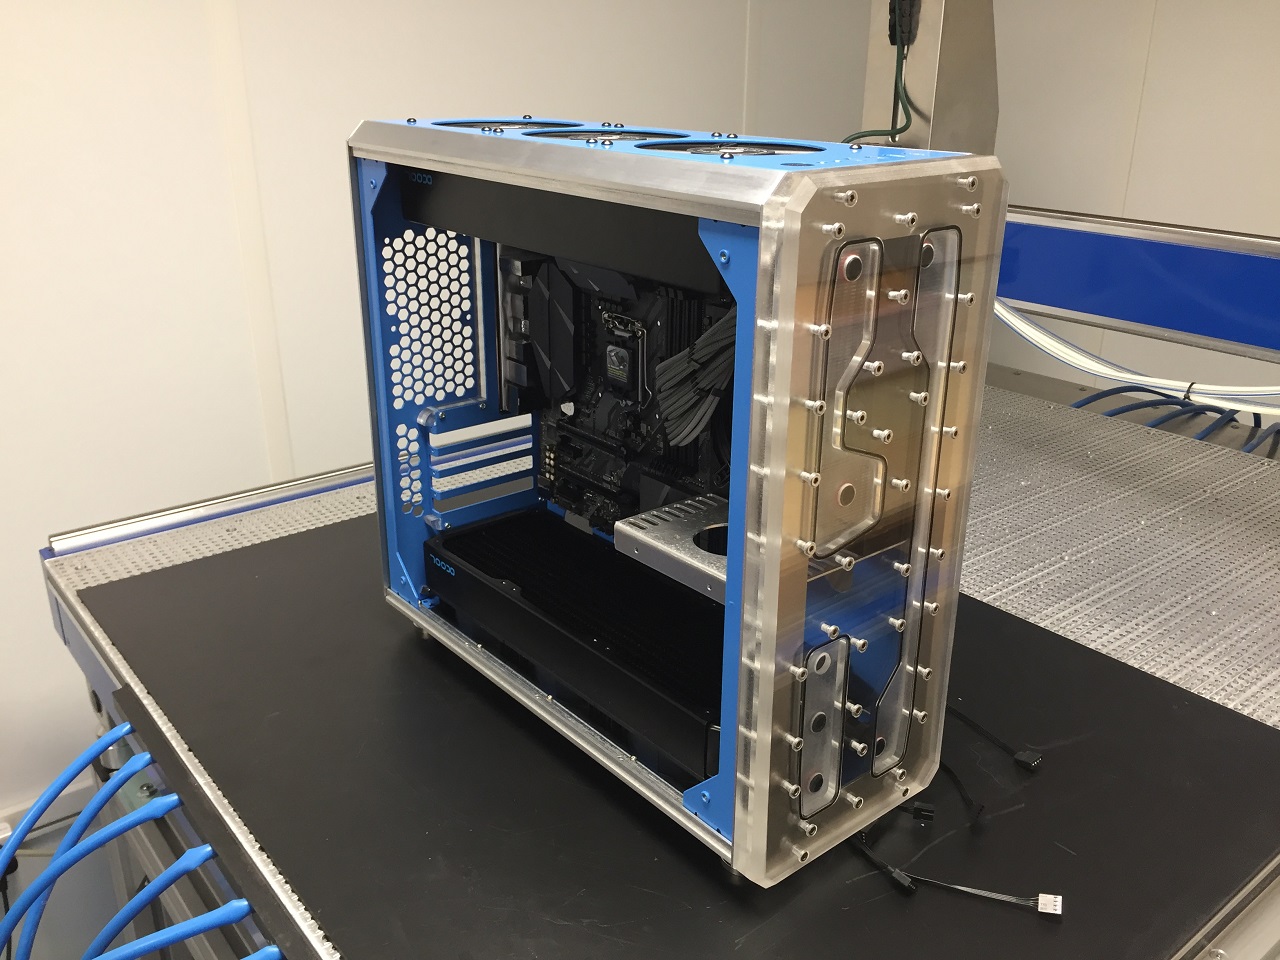
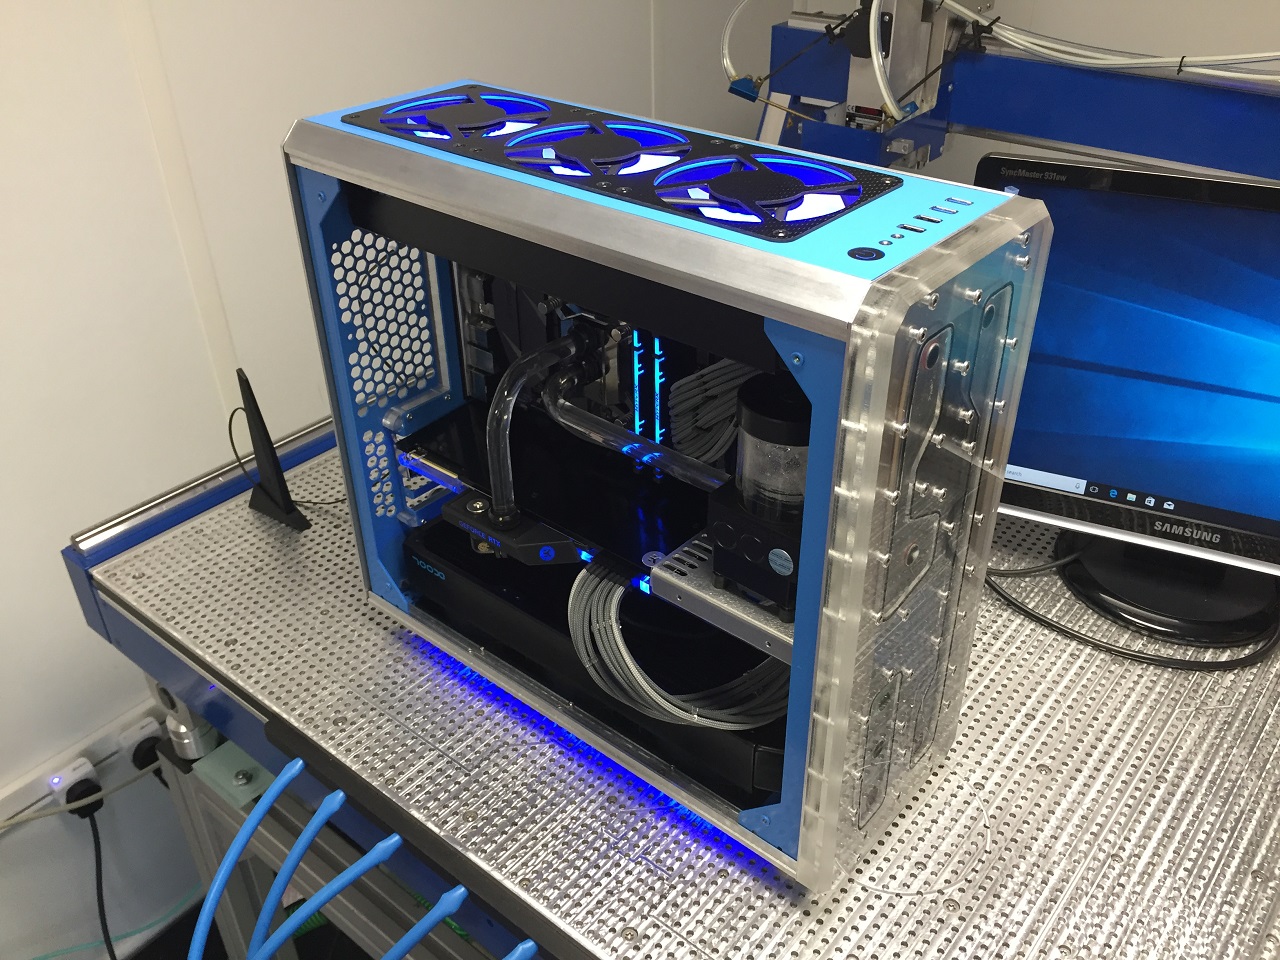
I wanted a medium tower size with good air flow bottom to top. I also wanted to have a distributor plate on the front so there are no vent openings to keep it quiet.
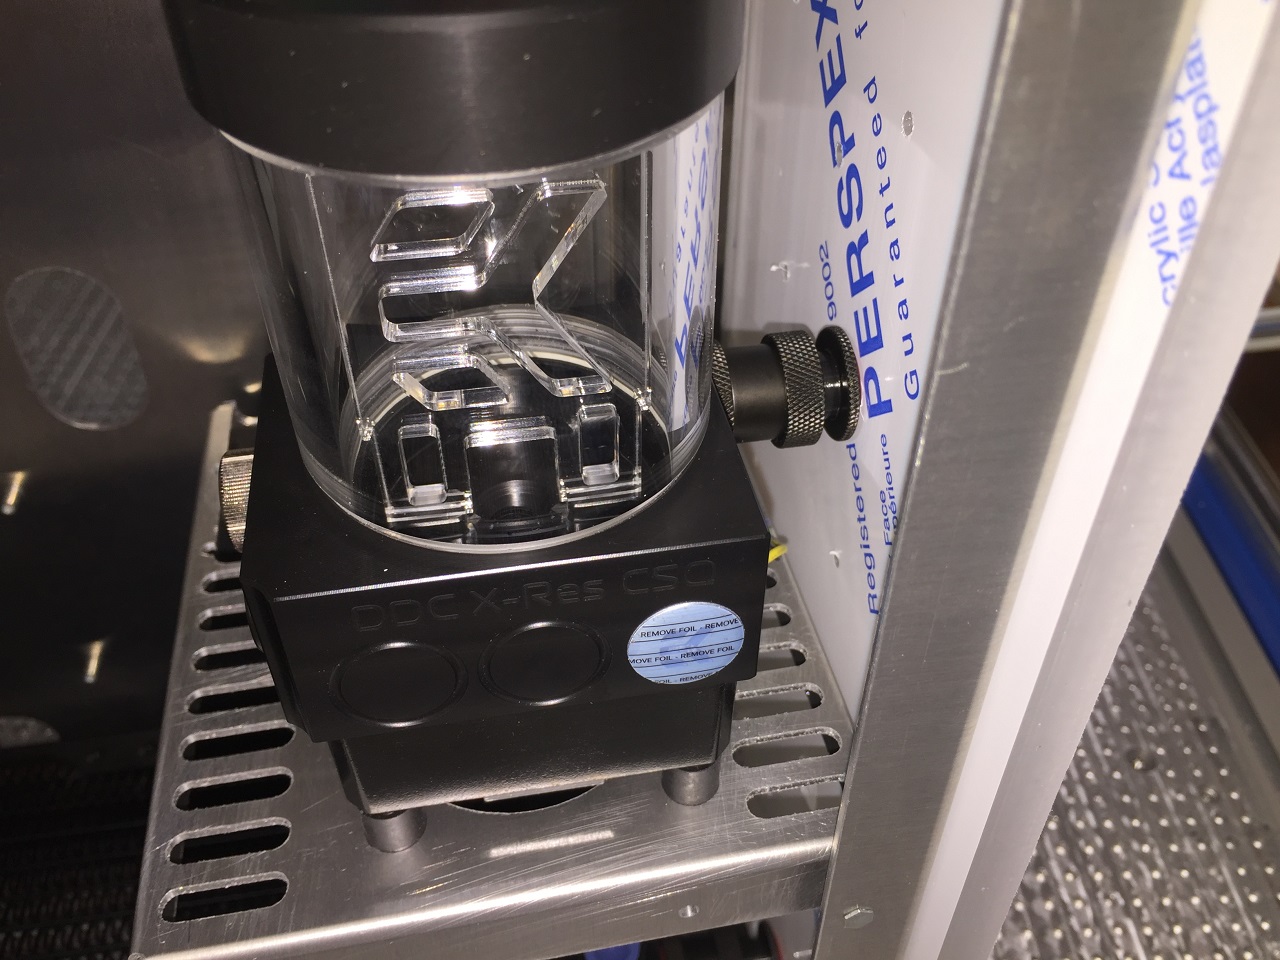
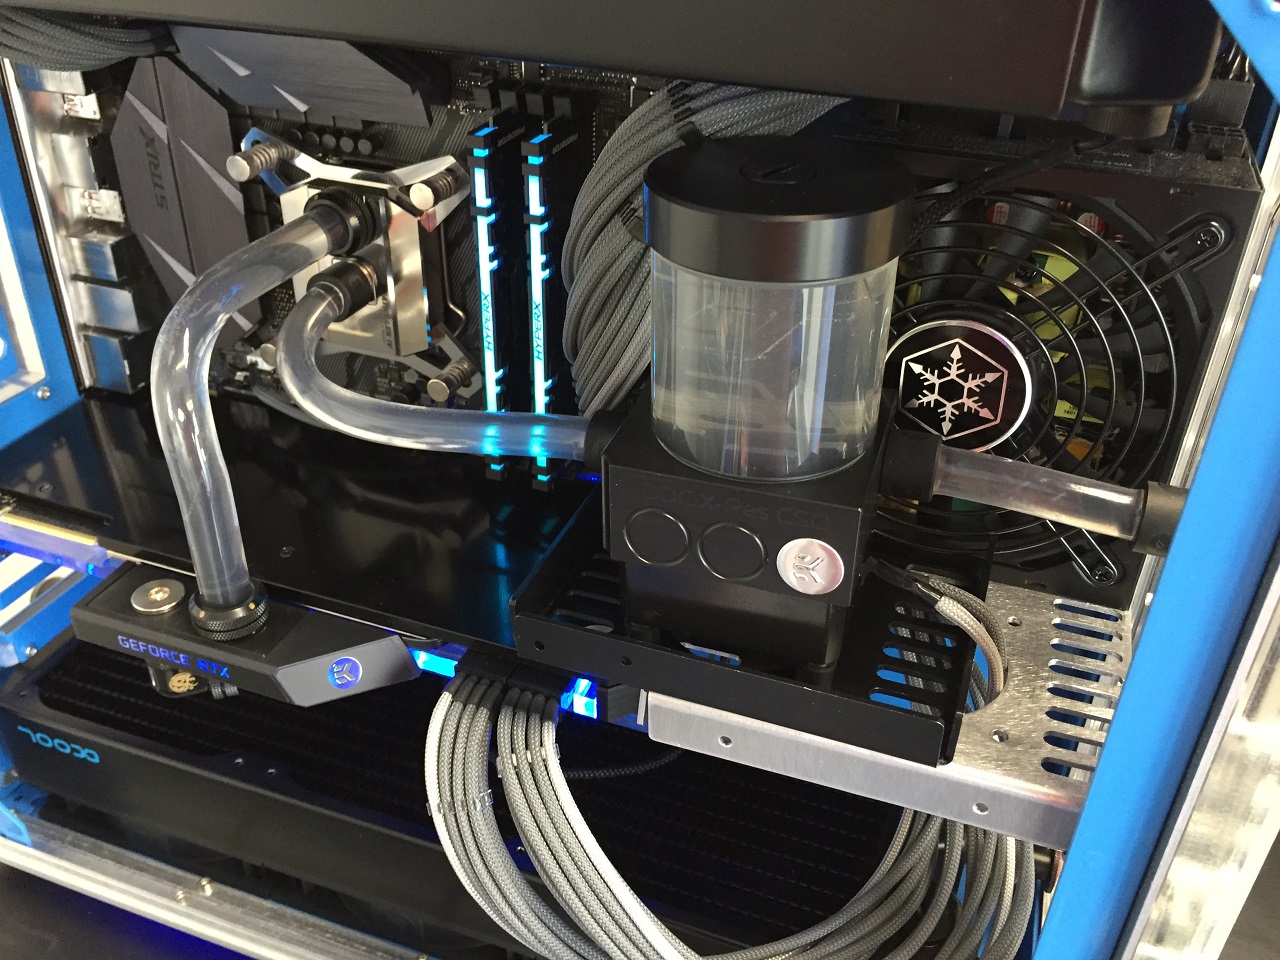
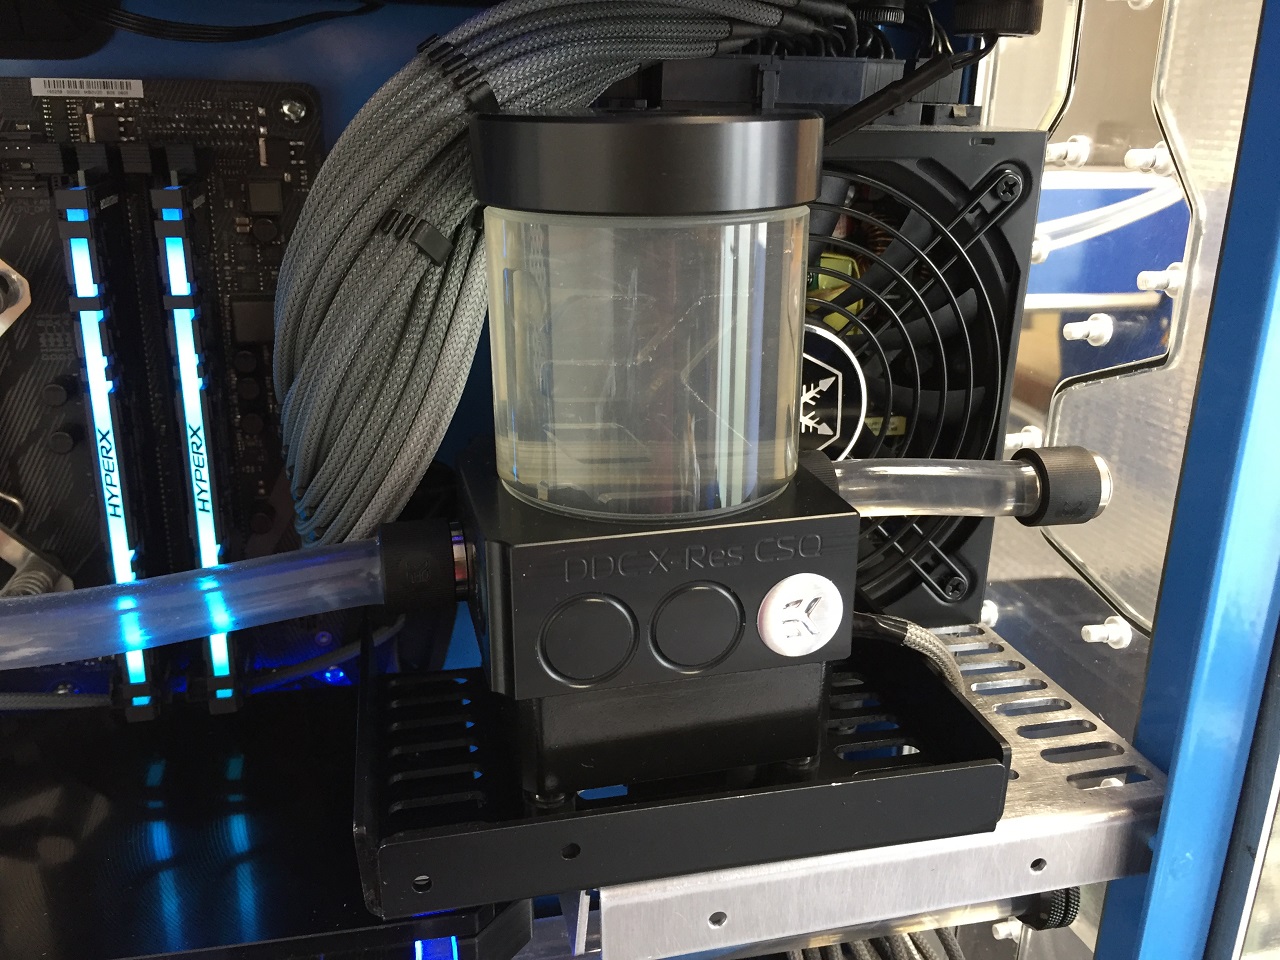
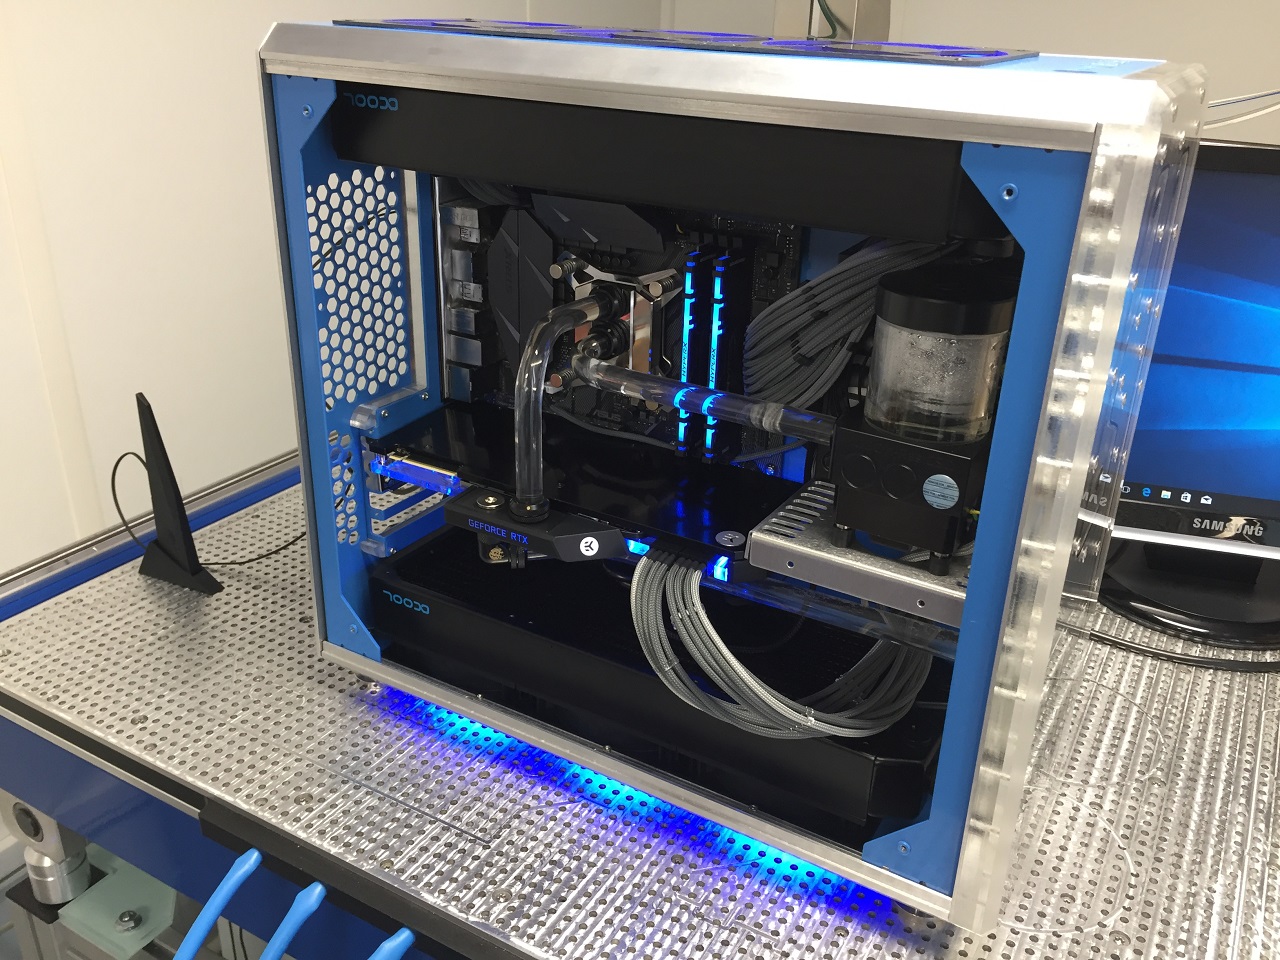
I moved the power supply to the front of the enclosure and used an SFX form factor to get a good fit with the pump. Then I was able to fit two 360 rads along the whole length of the enclosure.
I used a Micro ATX motherboard because I was not going to need 7 PCI slots.
Looking back on the build I wish I had got a motherboard with built in RGB LED headers as I ended up having to get separate cables with built in controllers for the LED's in the Fans.
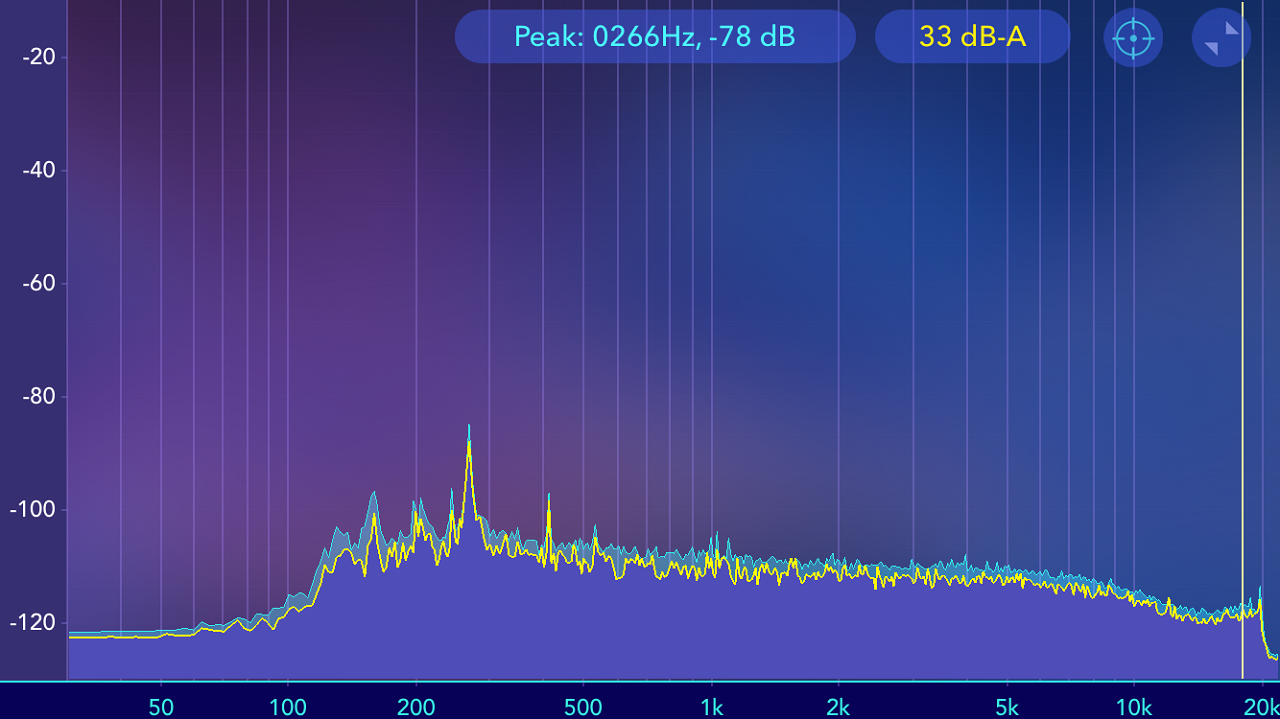
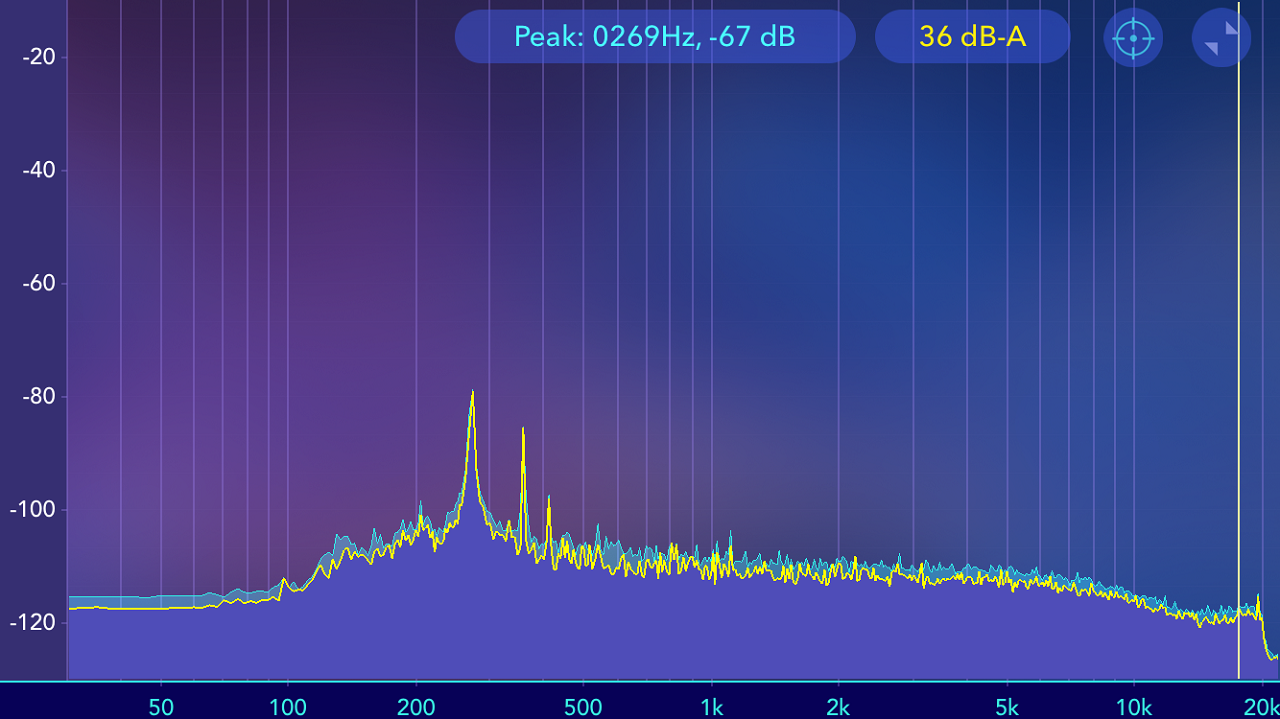
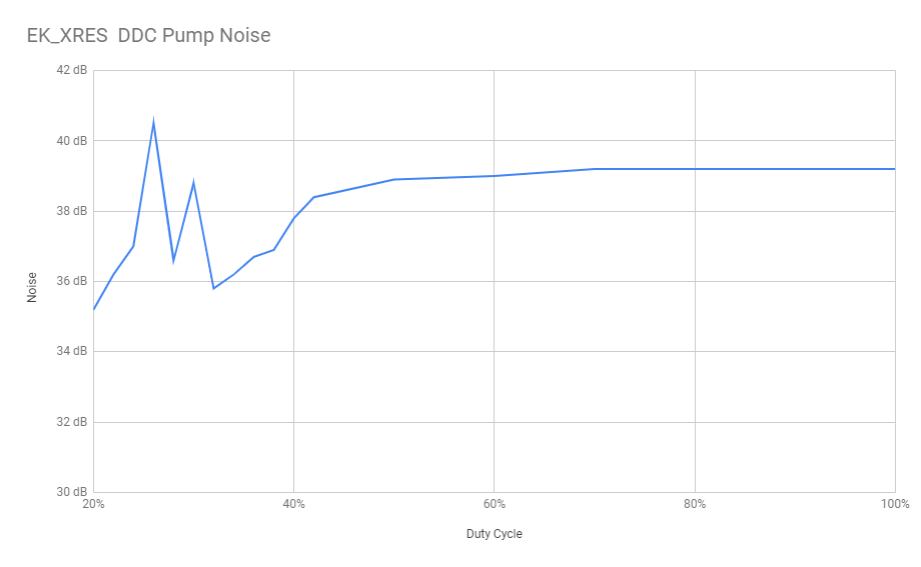
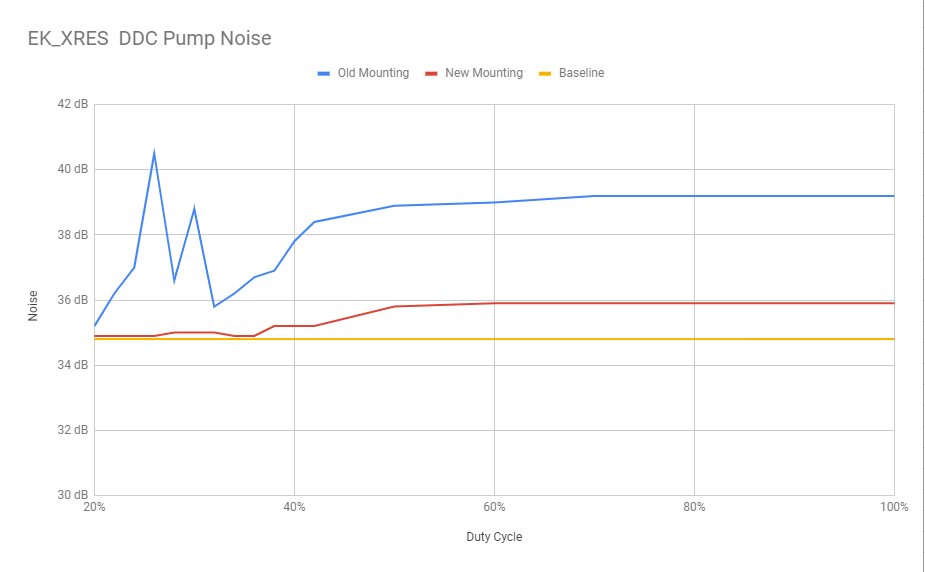
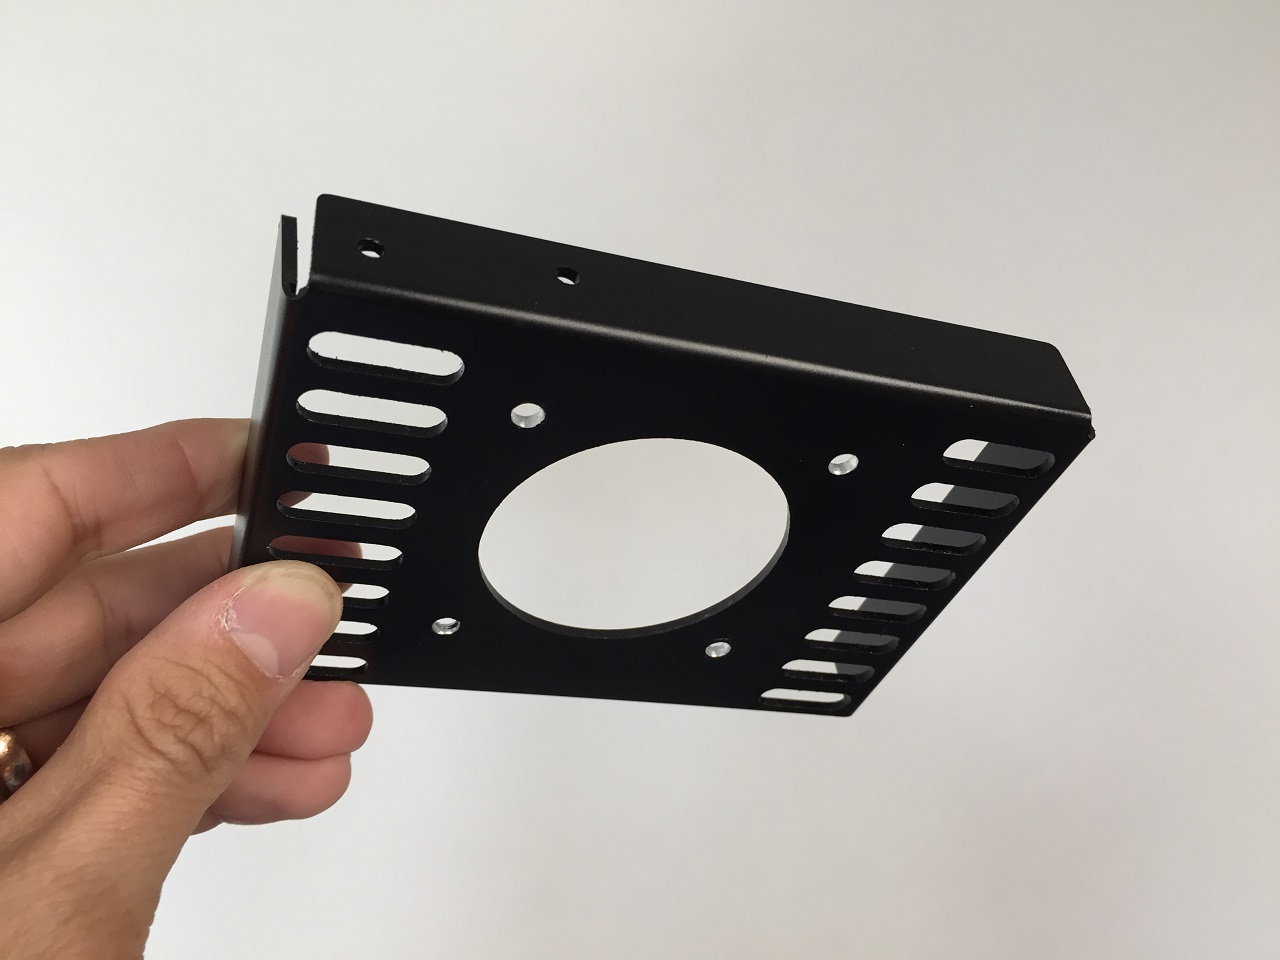
I also should change the connection from the pump to the front distributor plate to be a soft line tube at some point to minimise the bump vibration noise.
Machined corner extrusions form 1" square stock Aluminum 6082 on my Stoney CNC JBEC 1259012 router
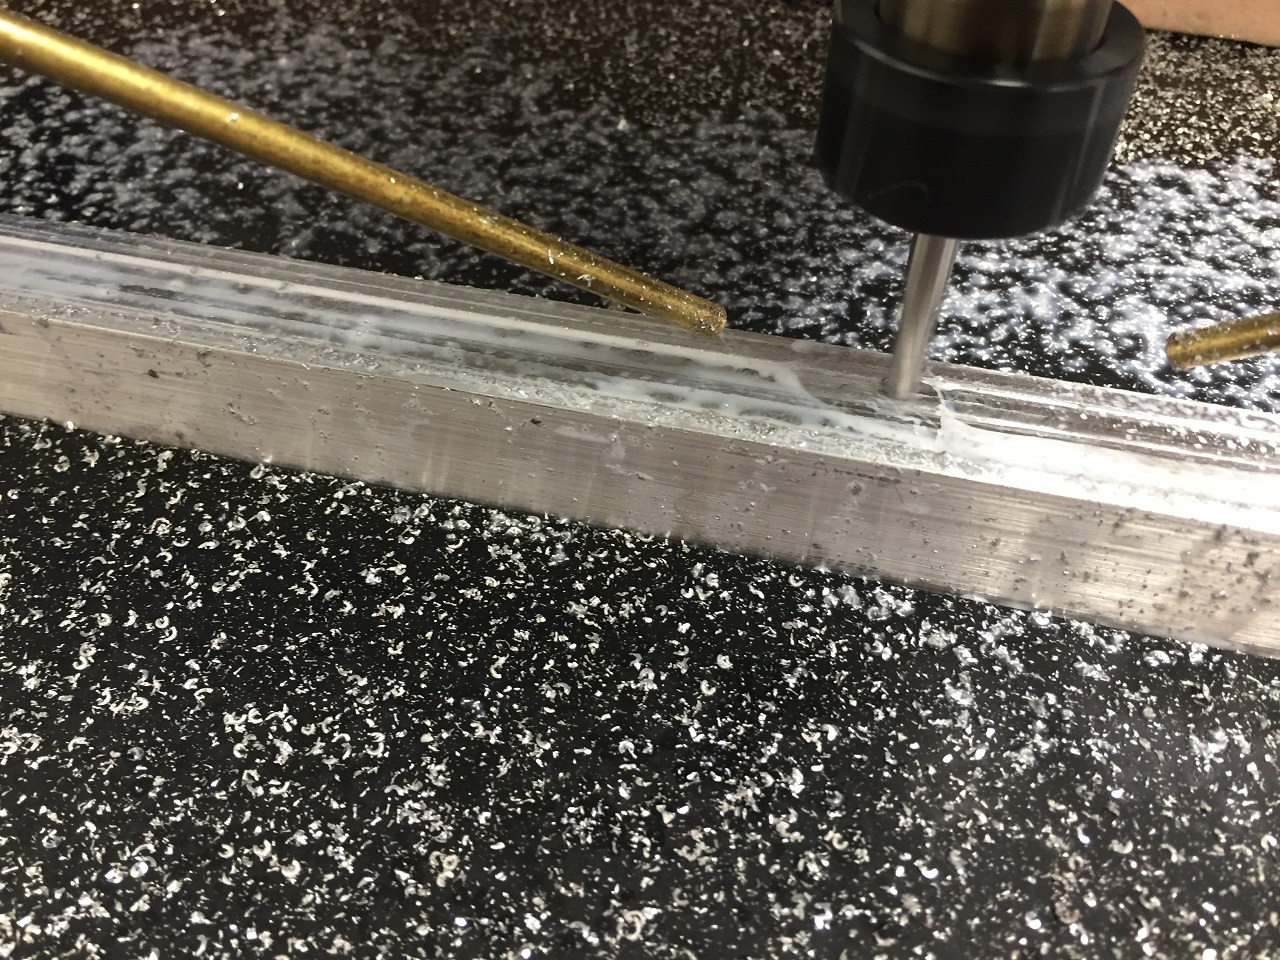
It takes three setups and about five hours of machining for each part.
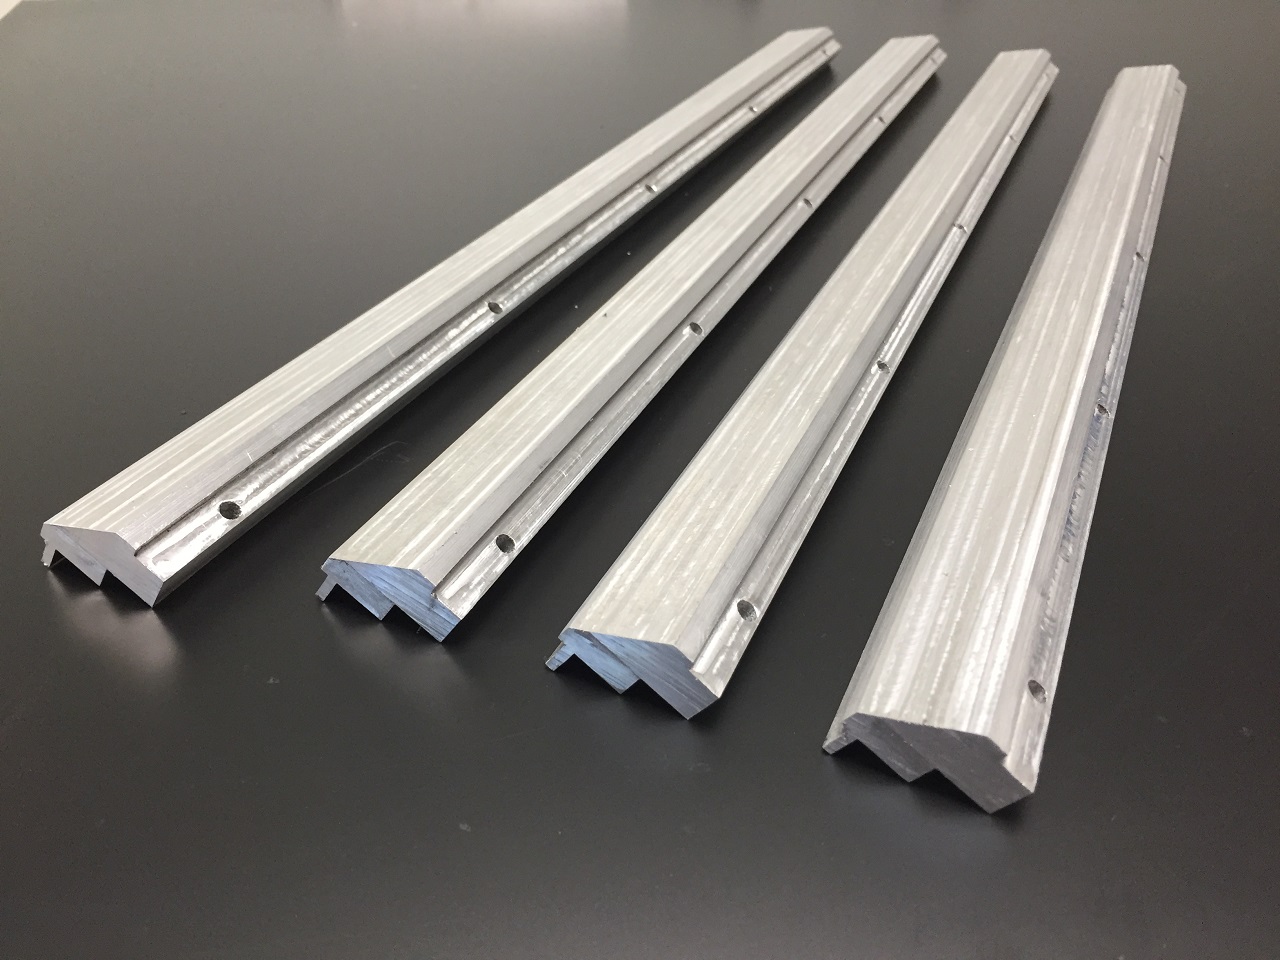
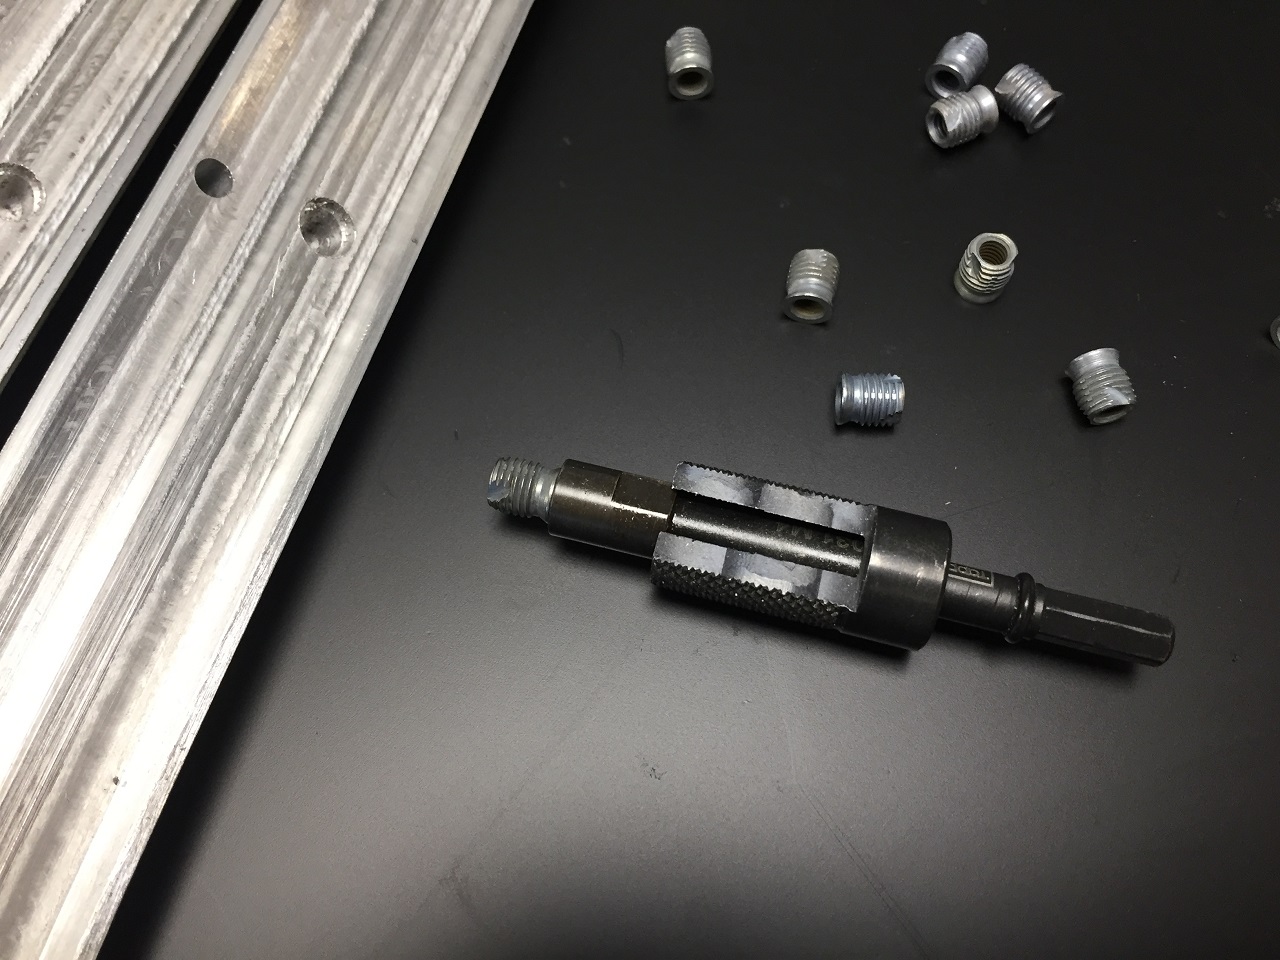
Installed Tappex M4 inserts so that the other enclosure parts can be assembled. I tried M3 inserts but the installation toosl kept breaking.
Machined the sheet metal parts form 2 mm 6082 T6 Aluminium Stoney CNC JBEC 1259012 router The bed size is 1.25 m by 0.9 m with a vacuum table installed.
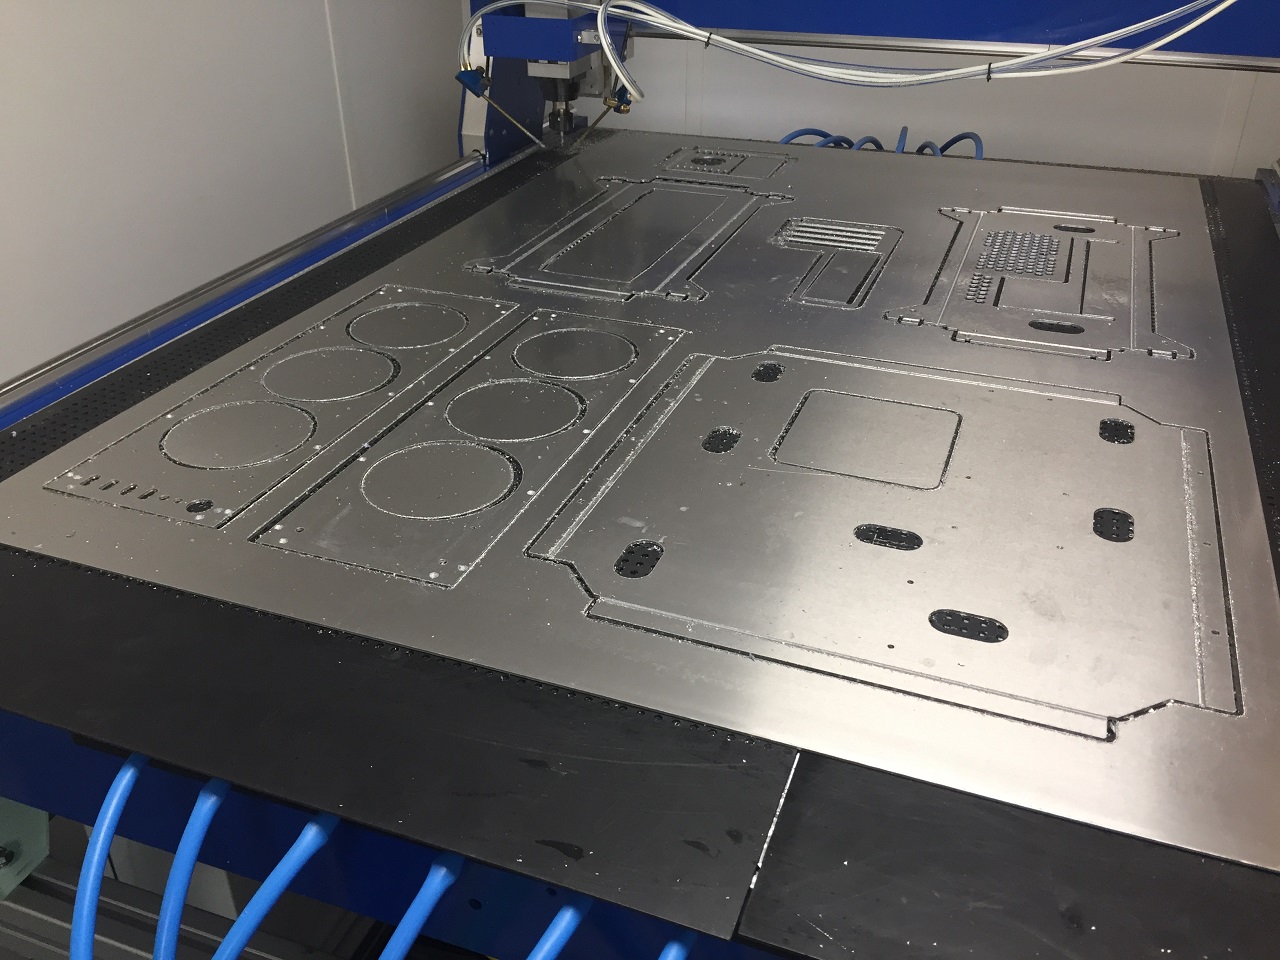
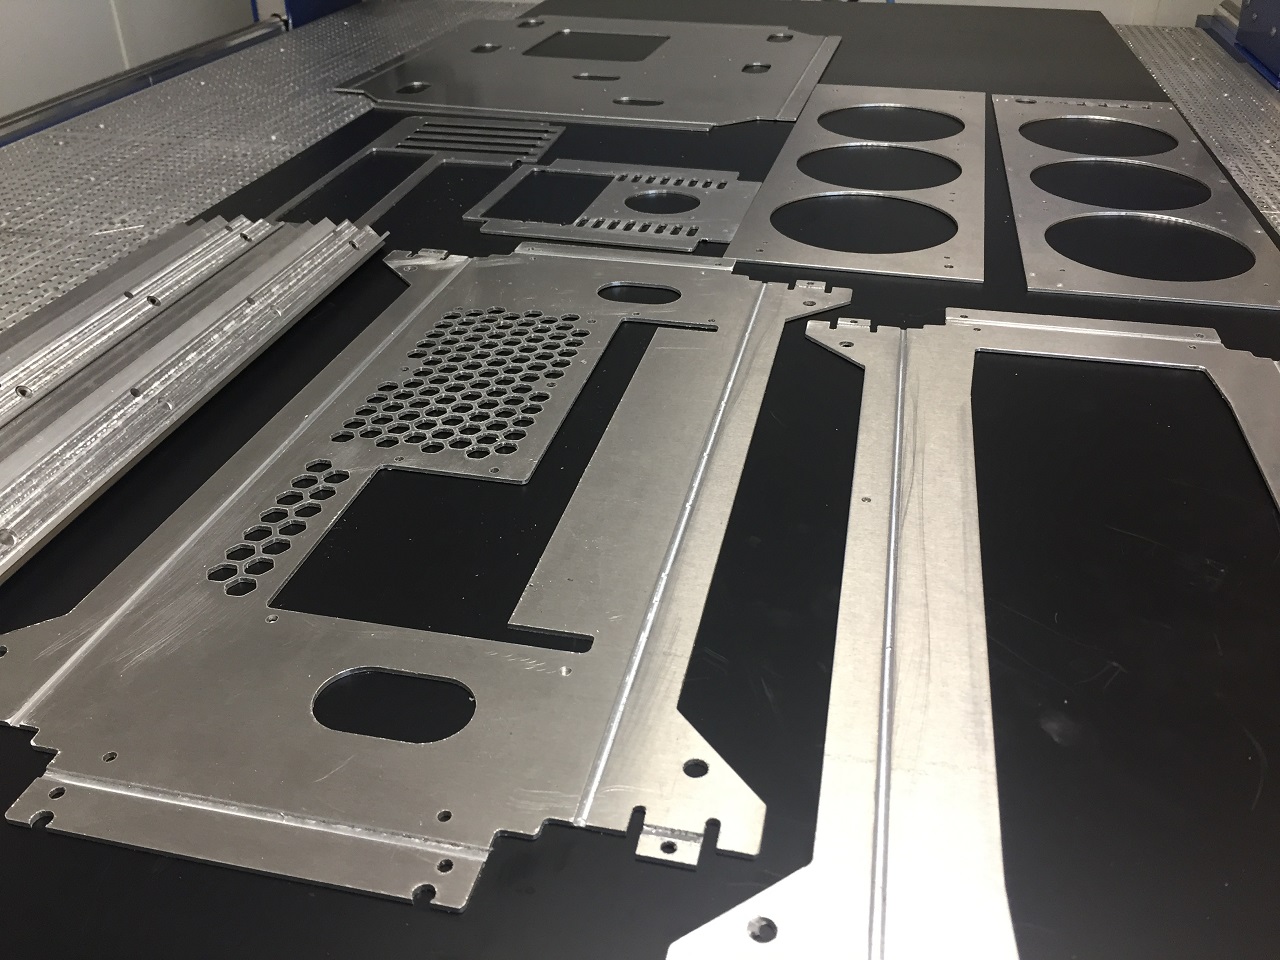
Folded using Baileigh Industrial, Magnetic Box and Pan Folder I have to machine a recess at the bend points about 1.2 mm deep and 3.5 mm wide to get really accurate bends and avoid cracking. I also need to have a minimum of 16 mm flange length to get a good bend. It means I have to finish machining out the rear IO recess after bending.
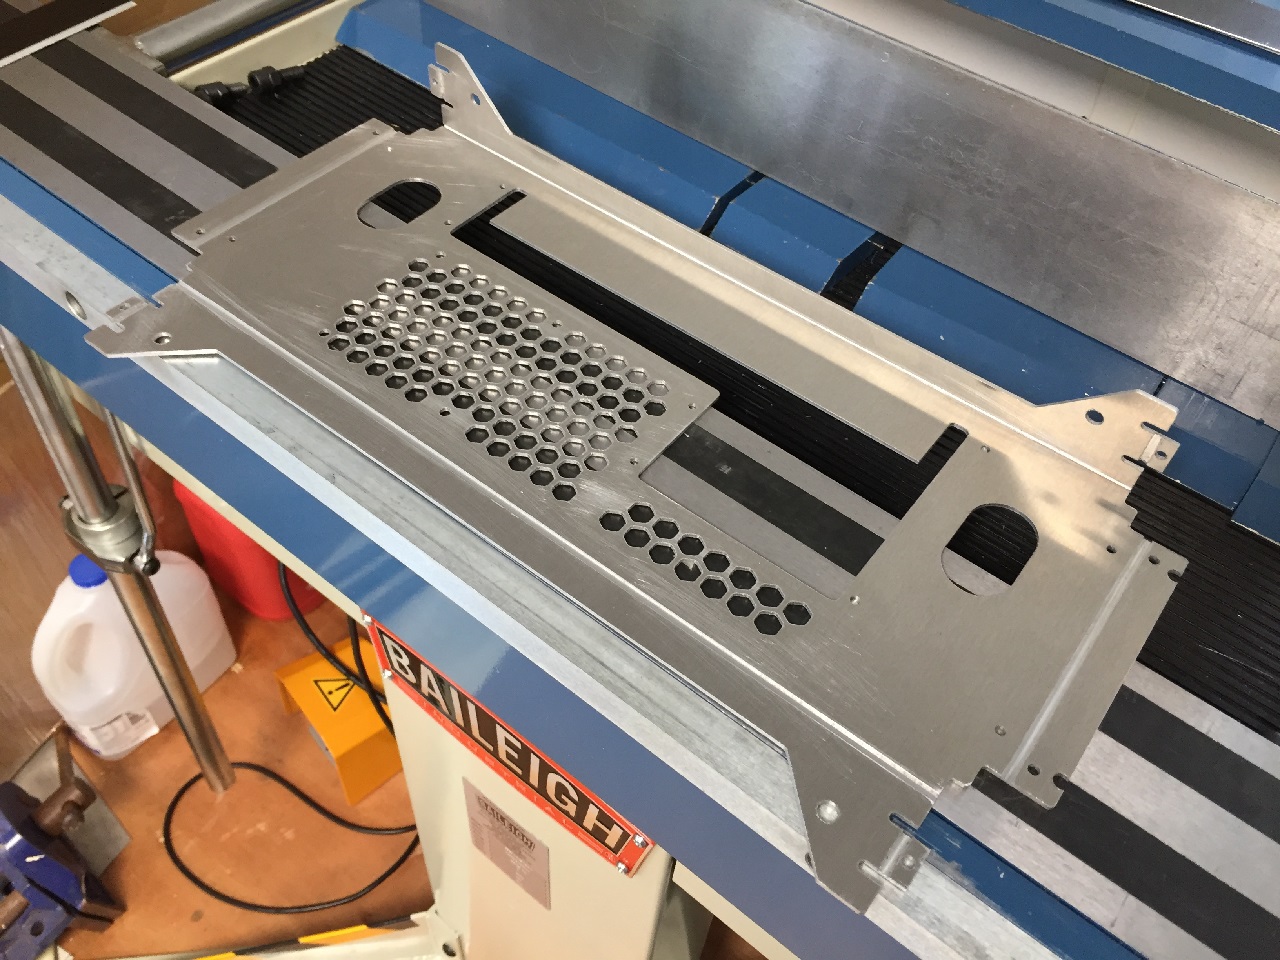
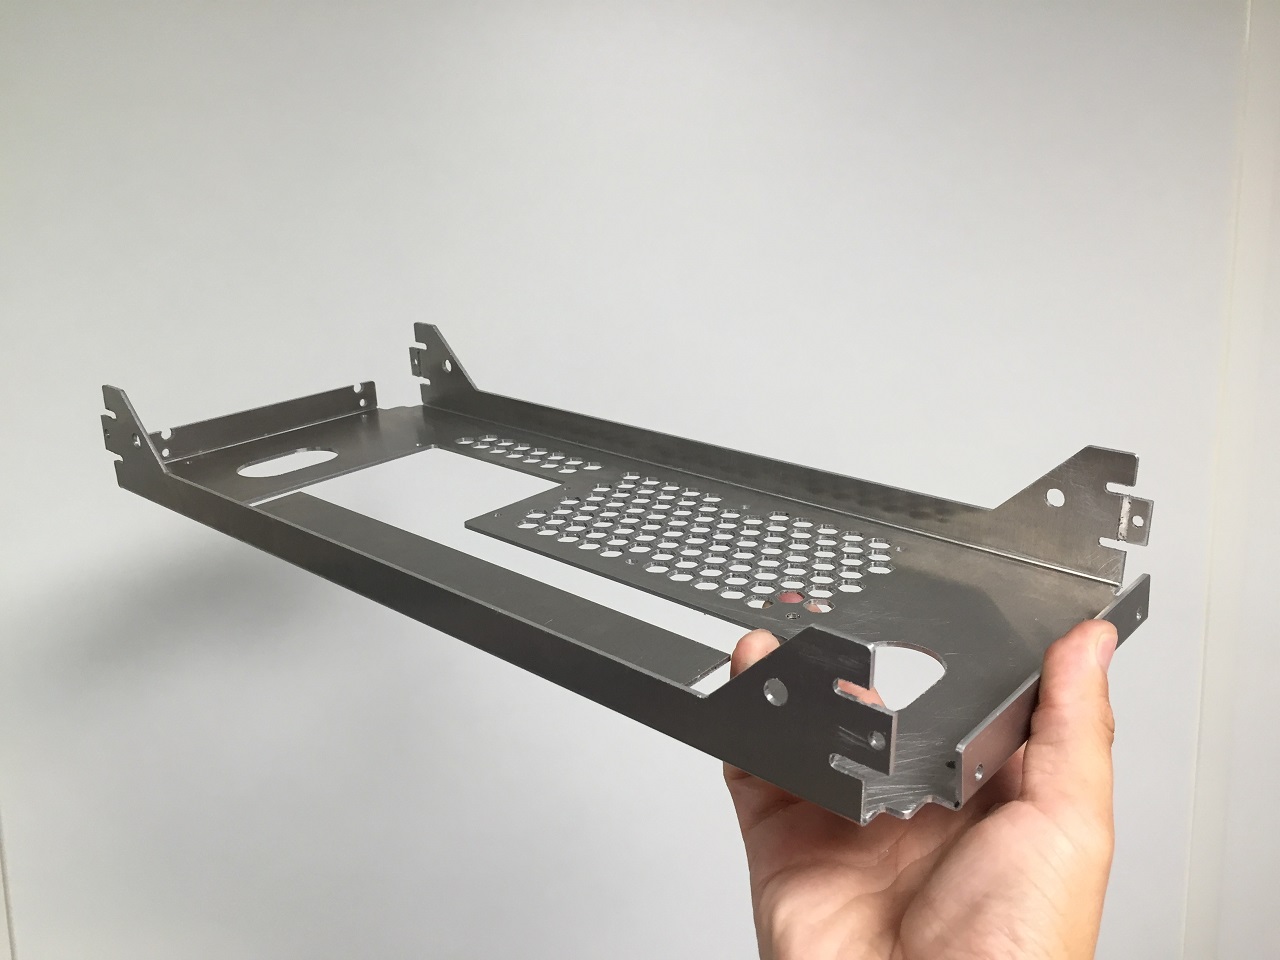
Press in PEM inserts using Baileigh Industrial, BENCH PRESS (BP-3) These are the main motherboard mounting standoffs.
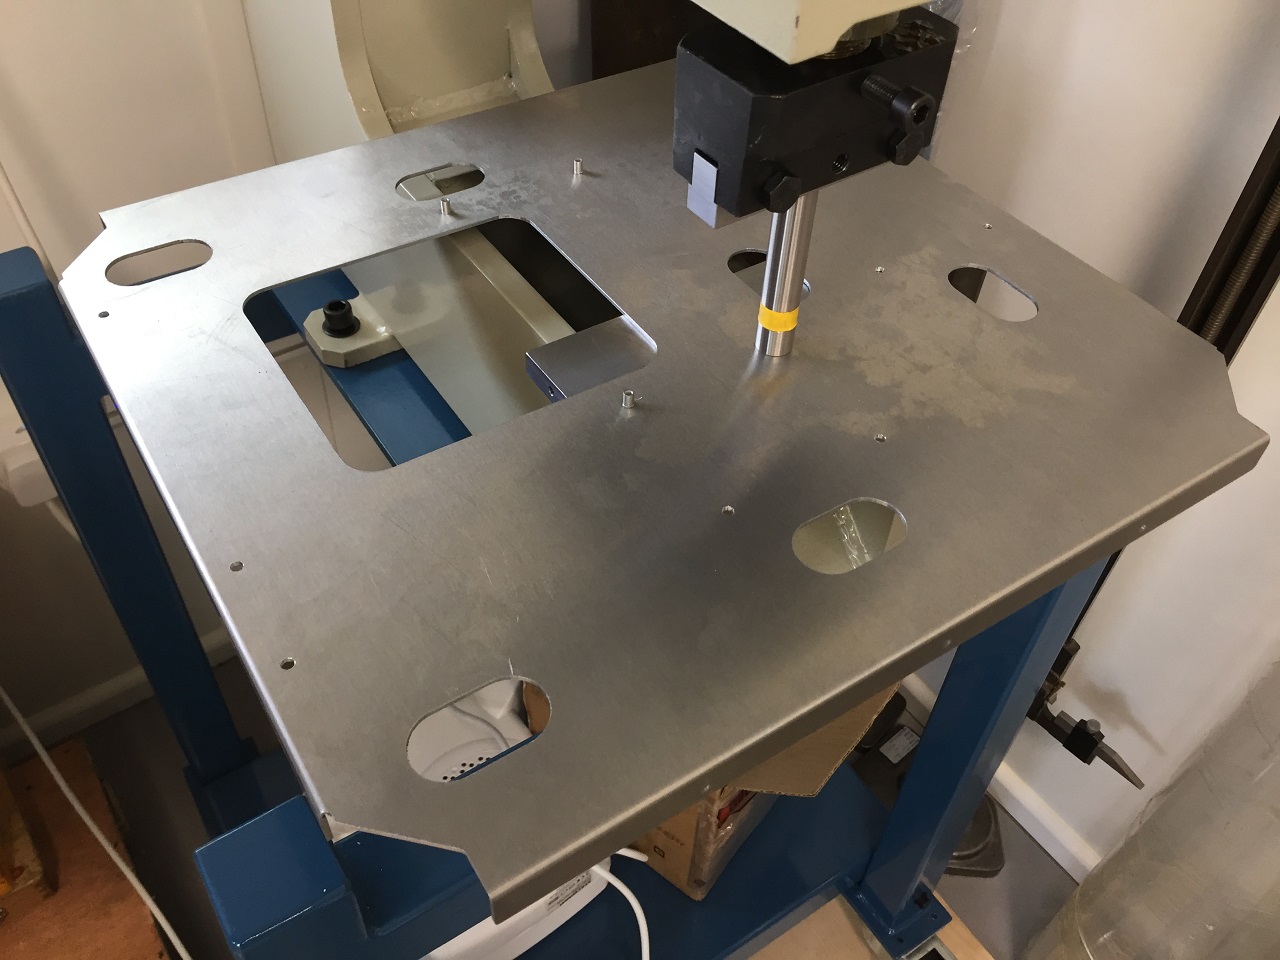
All the metal parts bent with PEM's installed.
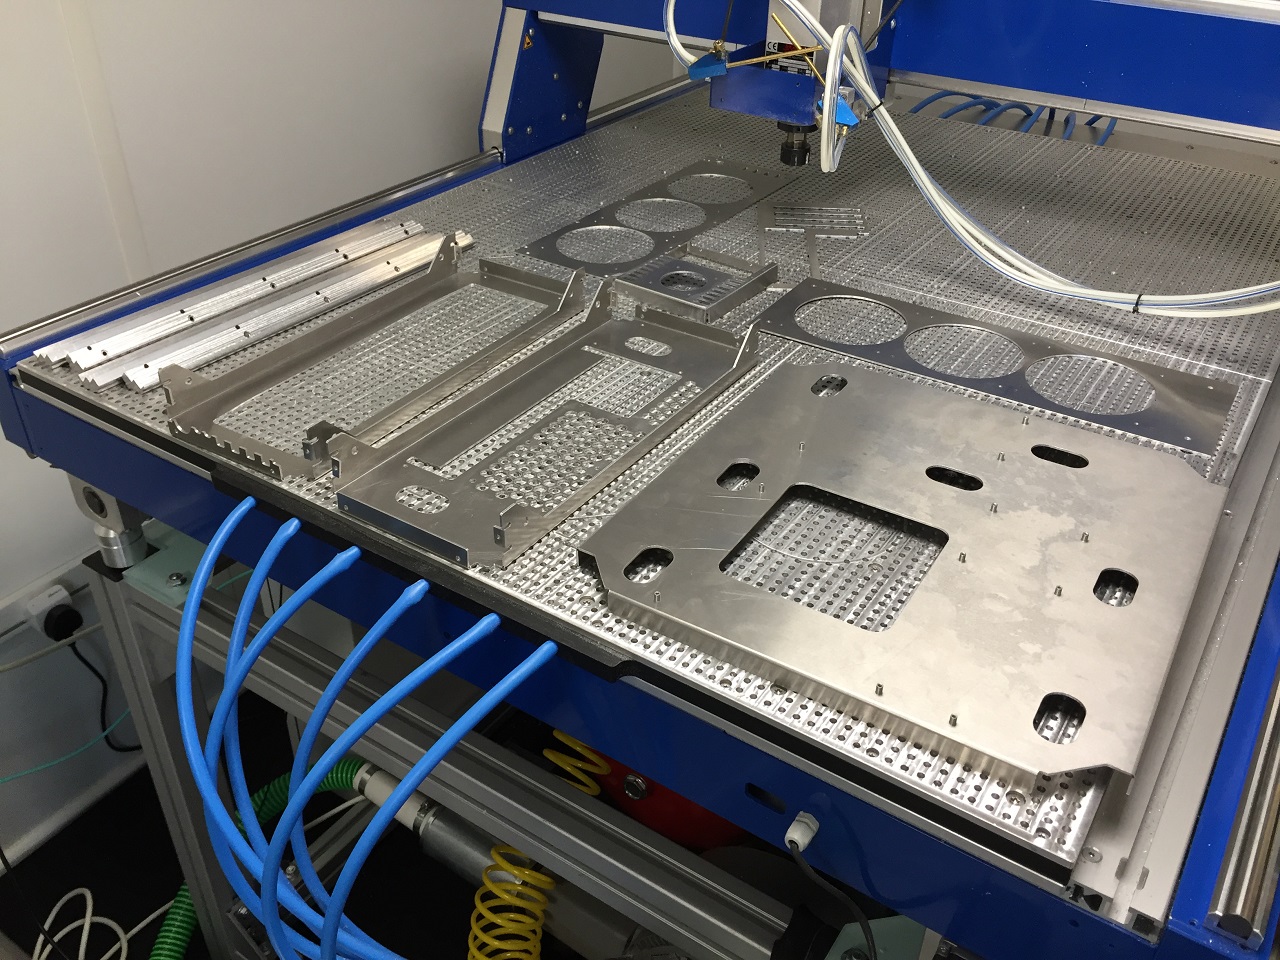
Start assembly test.
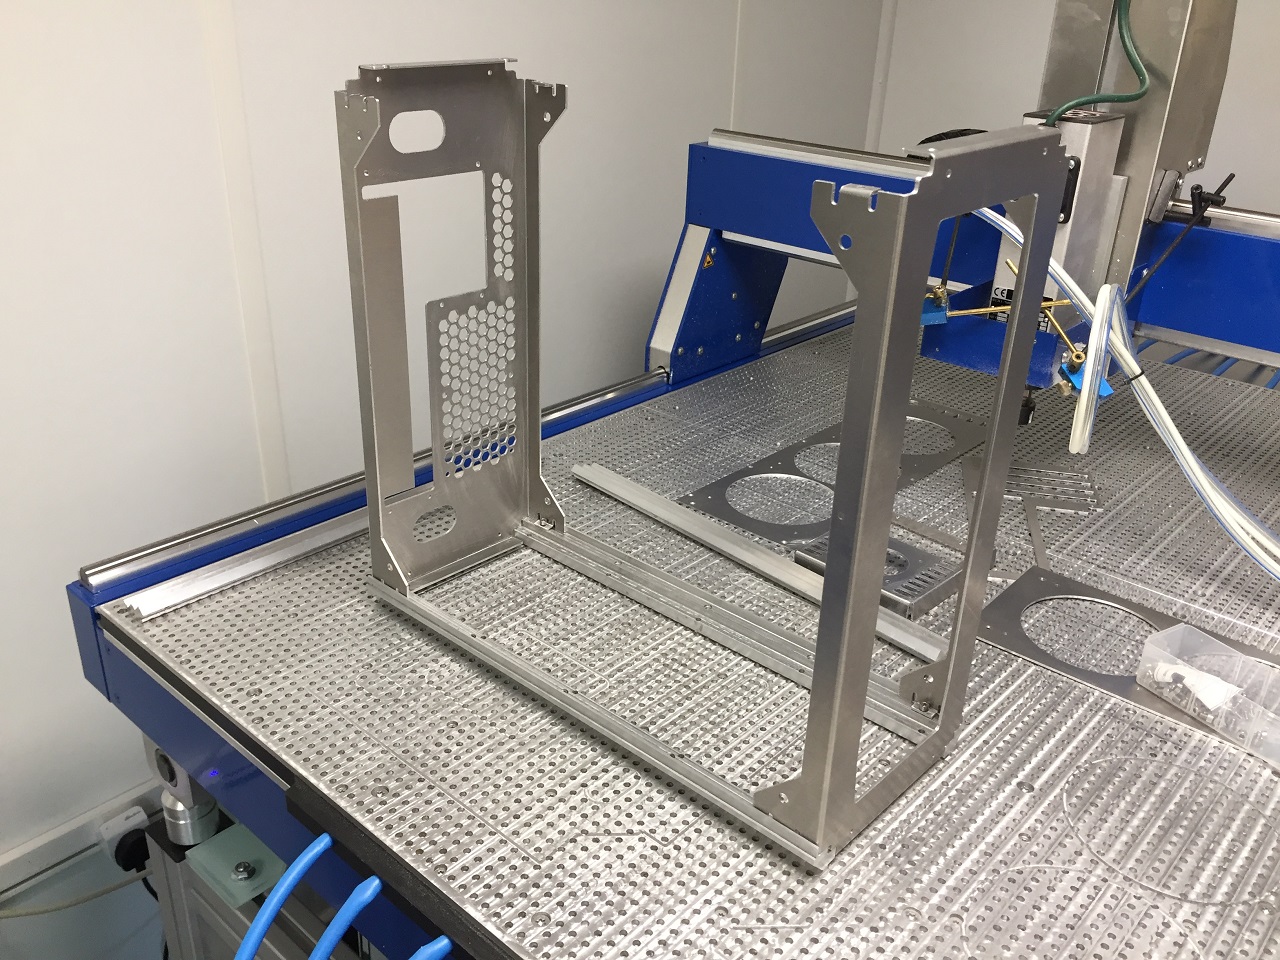
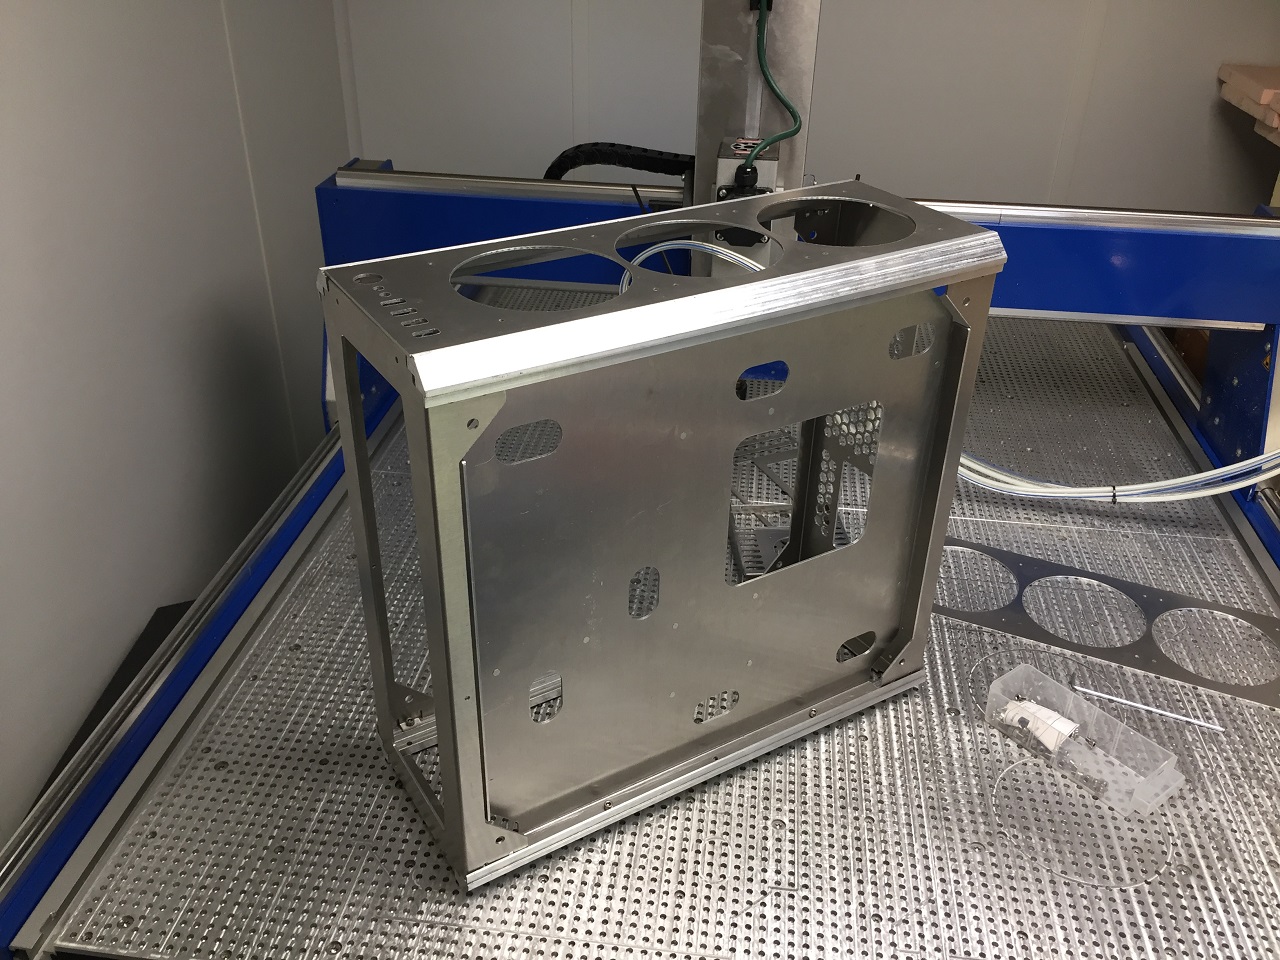
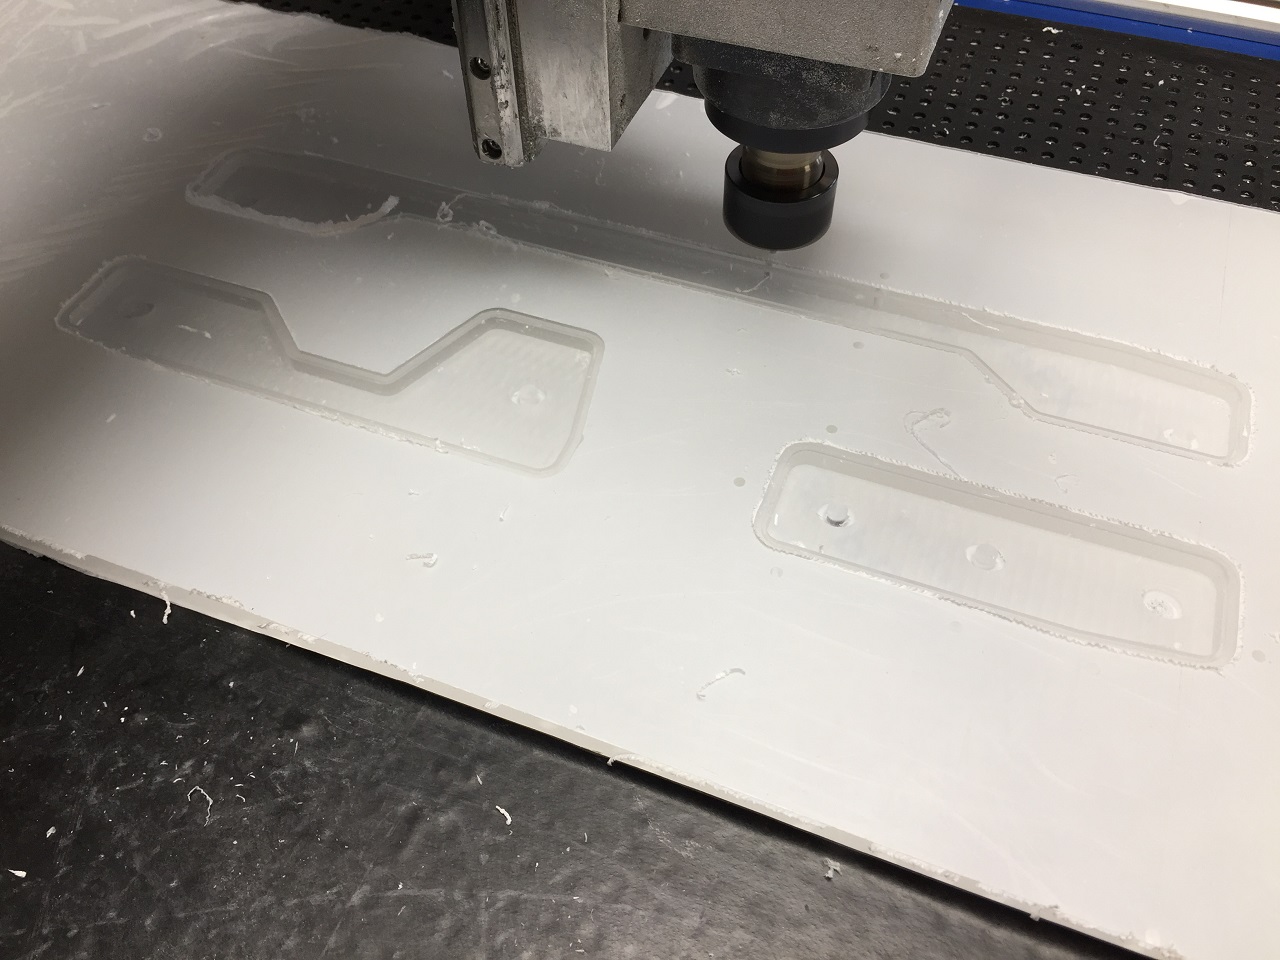
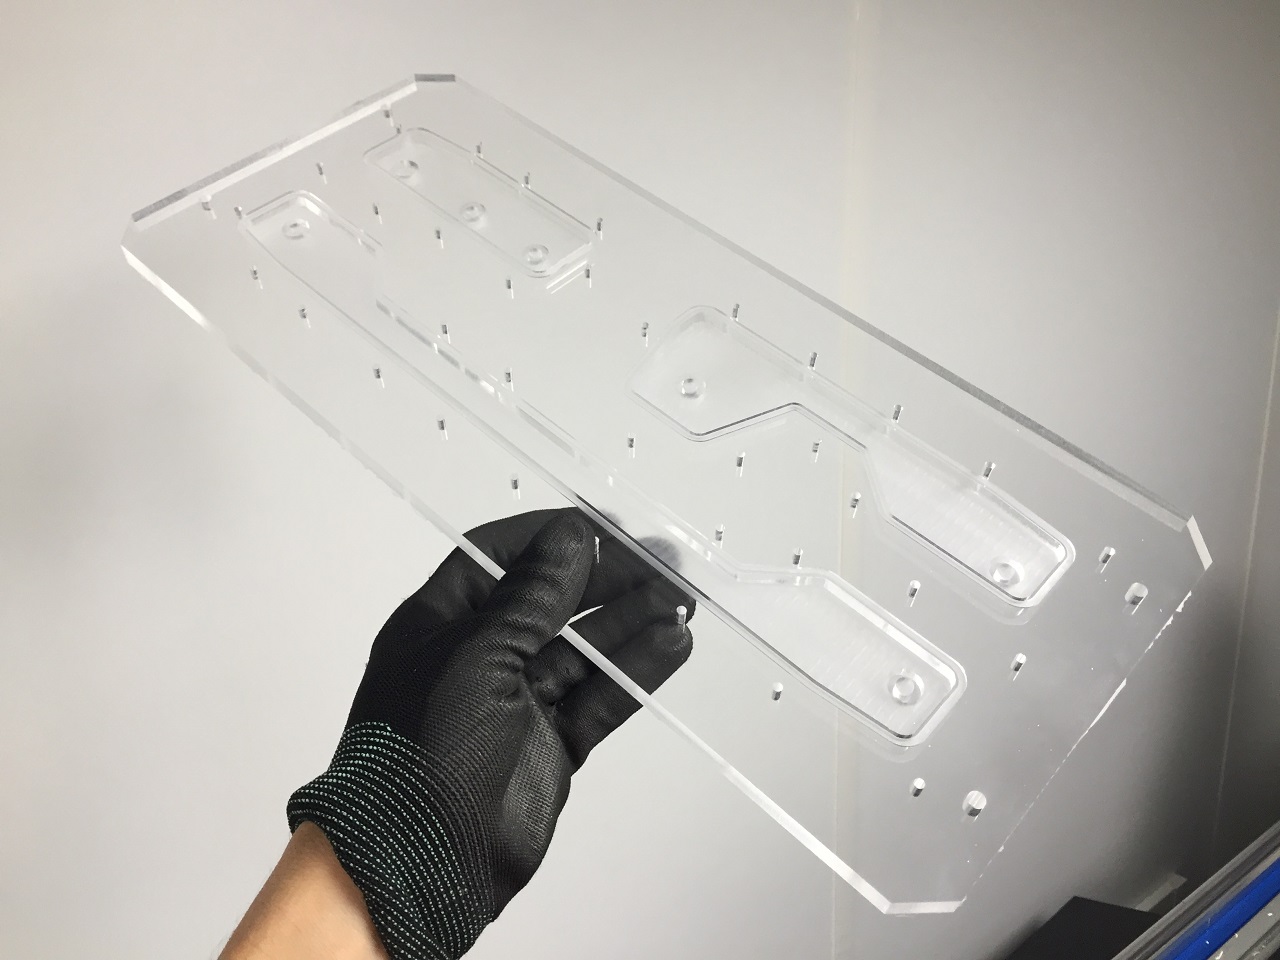
Machine first part of front distributor plate from 10 mm Cast Acrylic
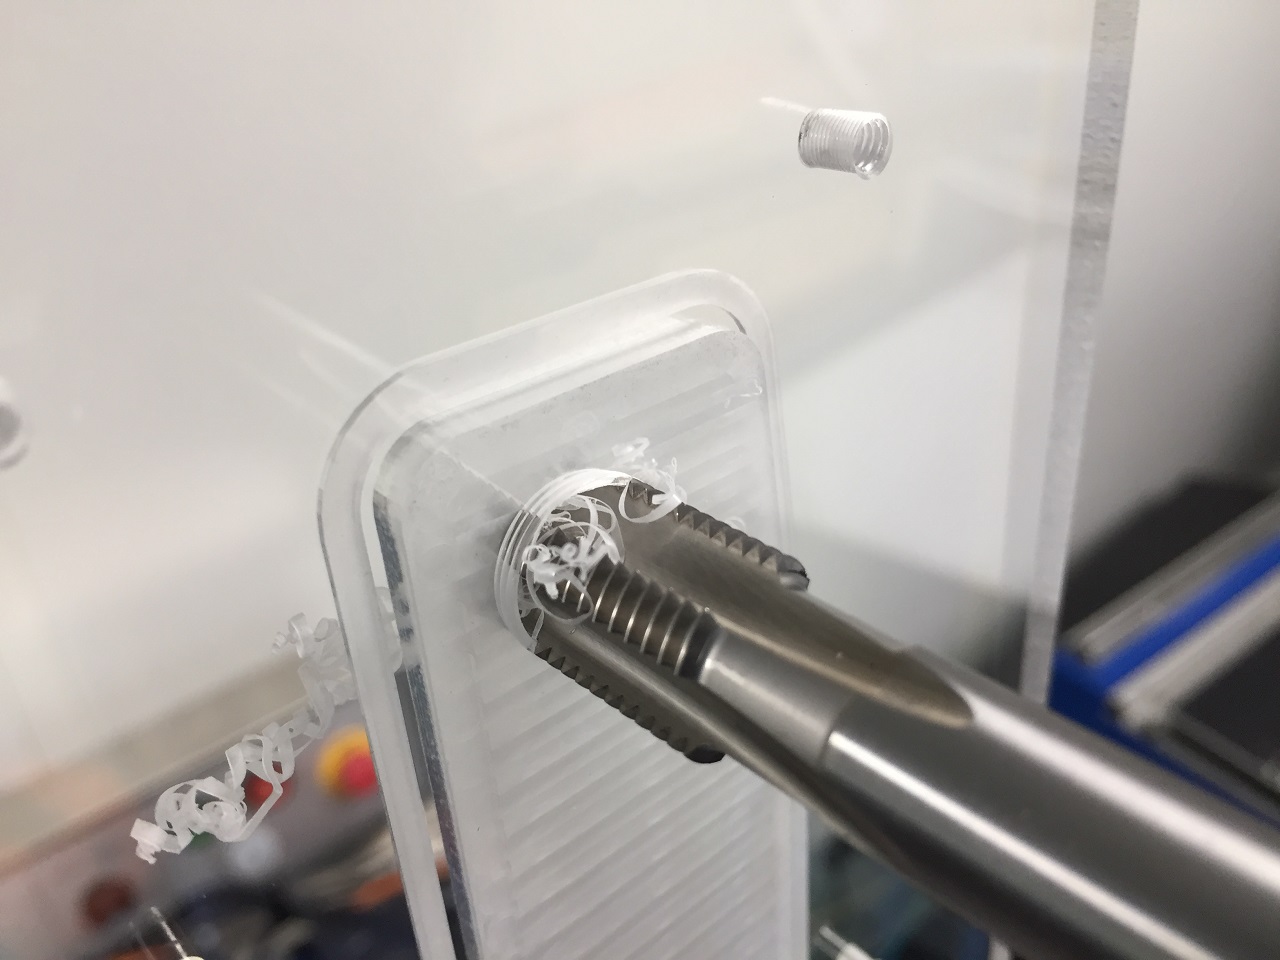
Tap holes for G1/4 fittings
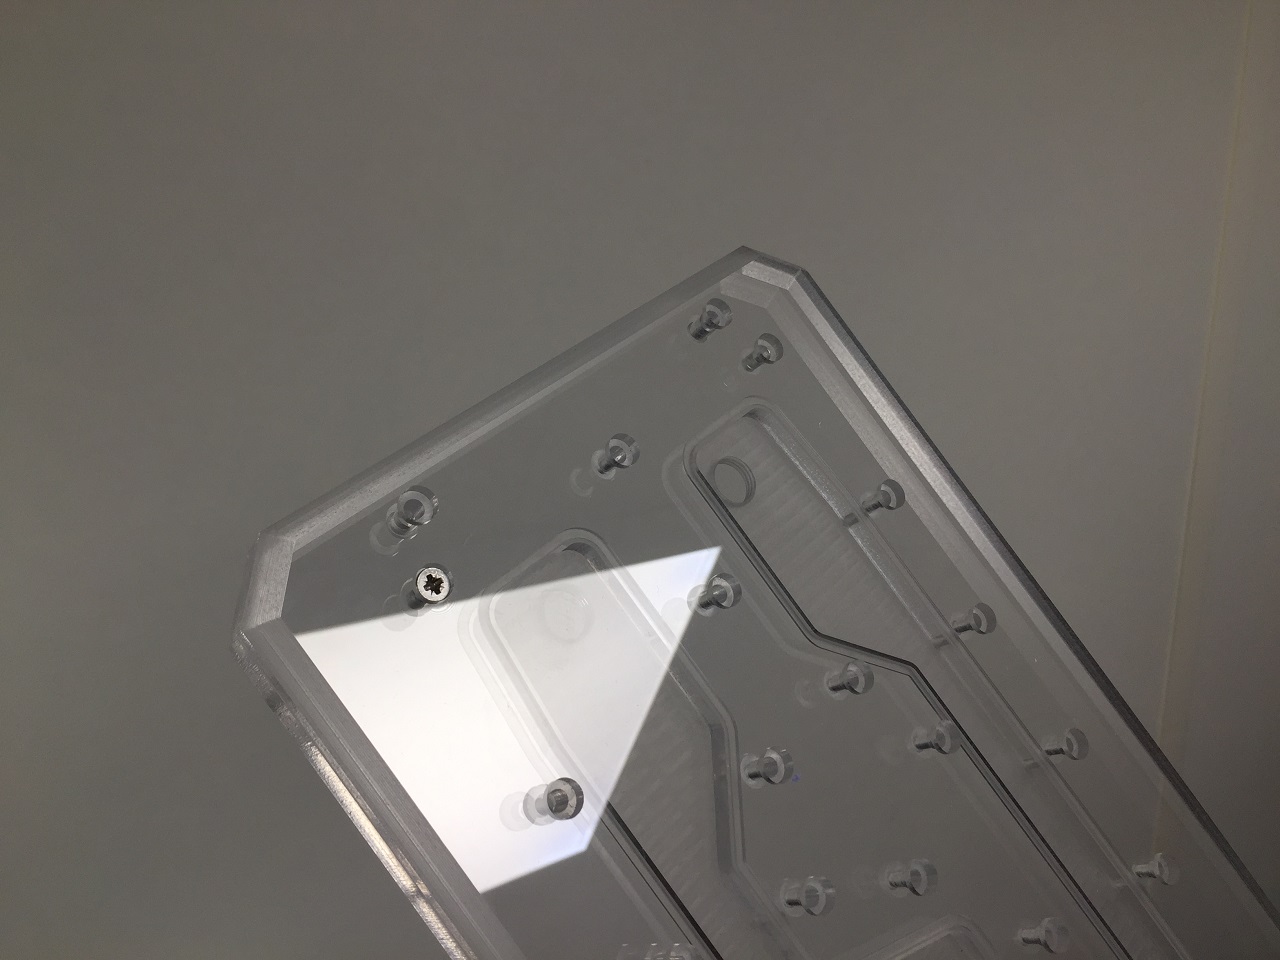
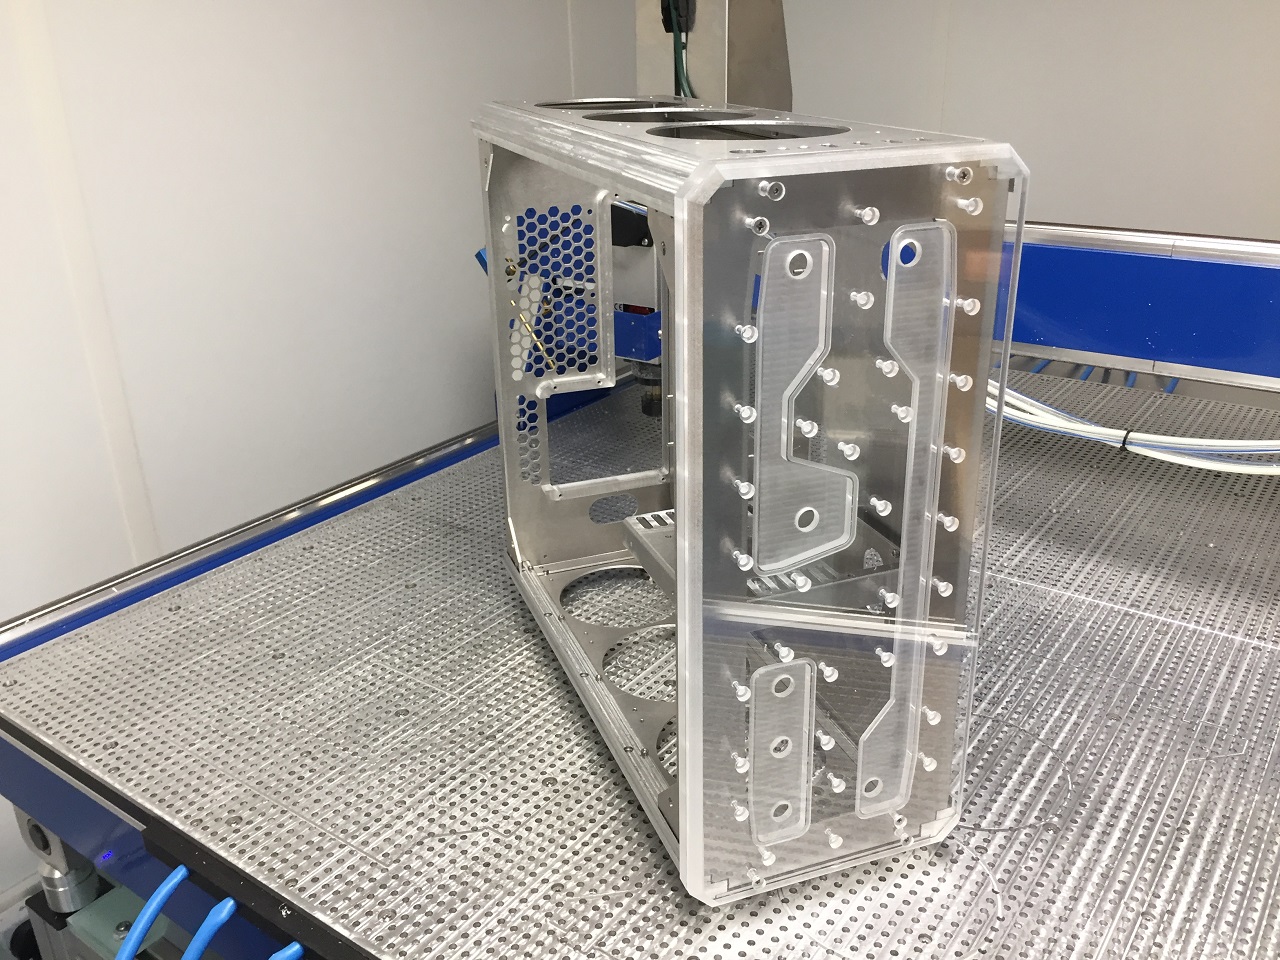
Test assembly fit check.
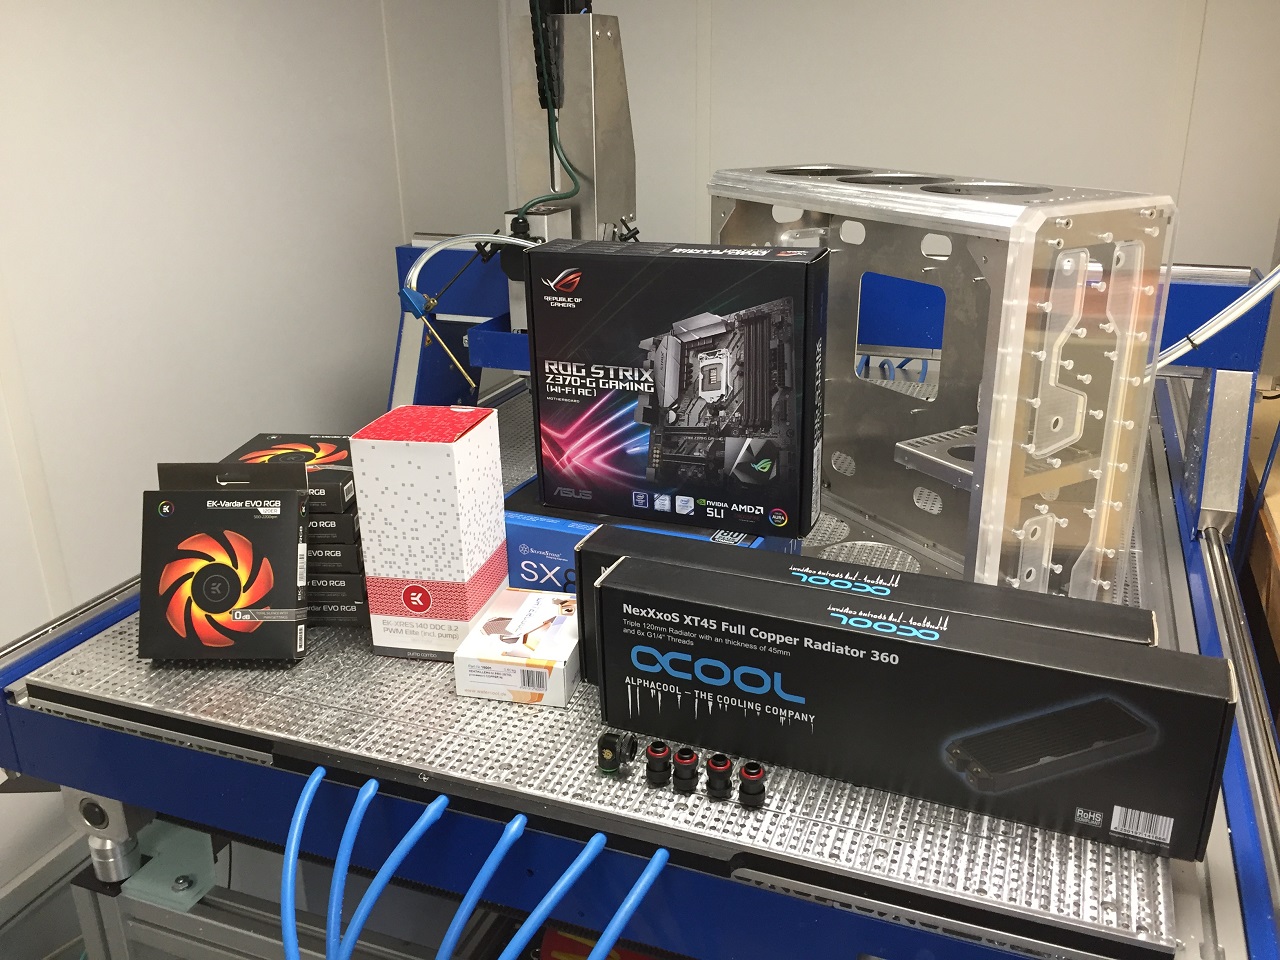
Some components
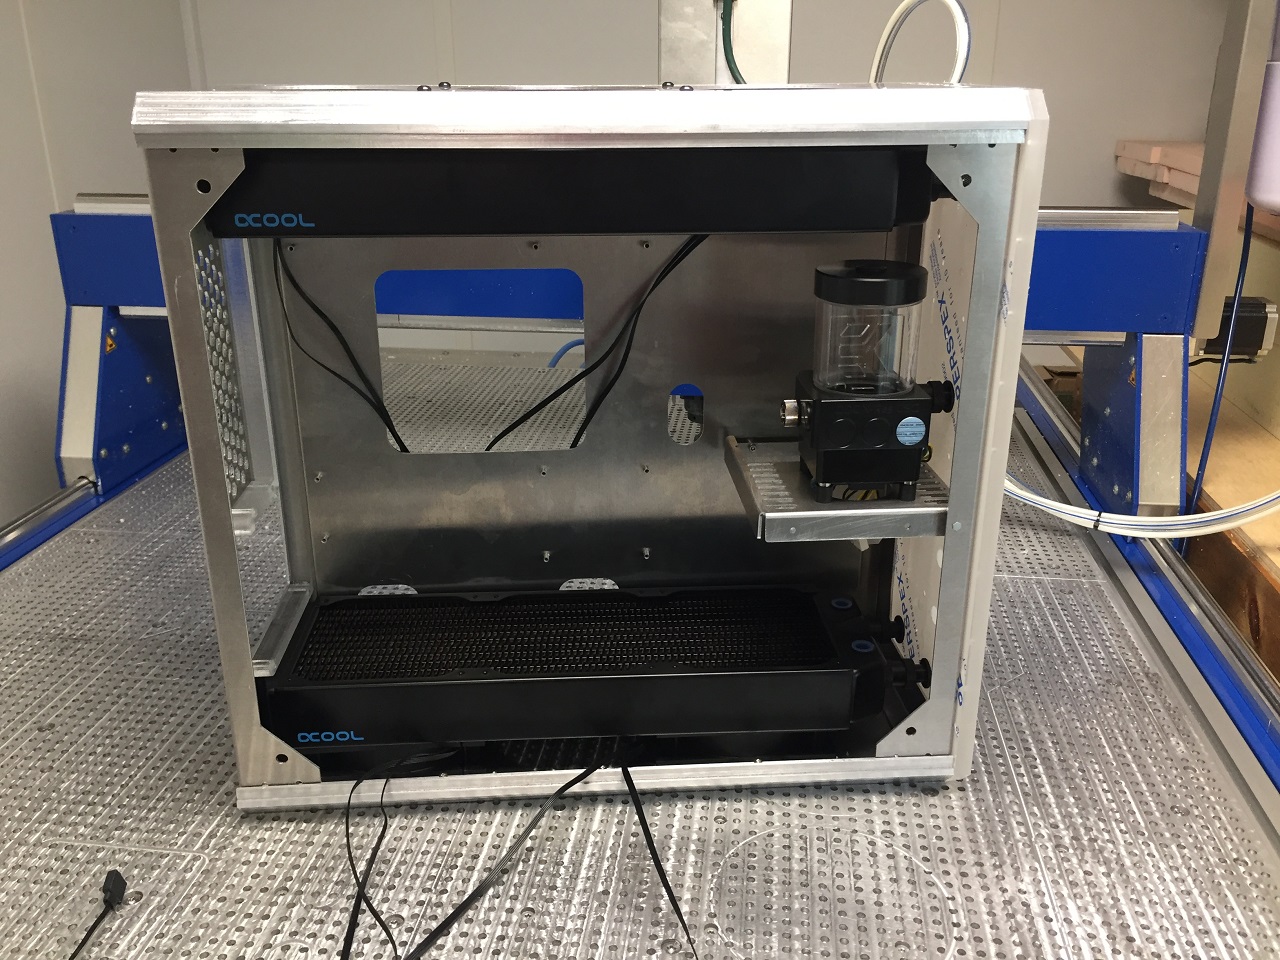
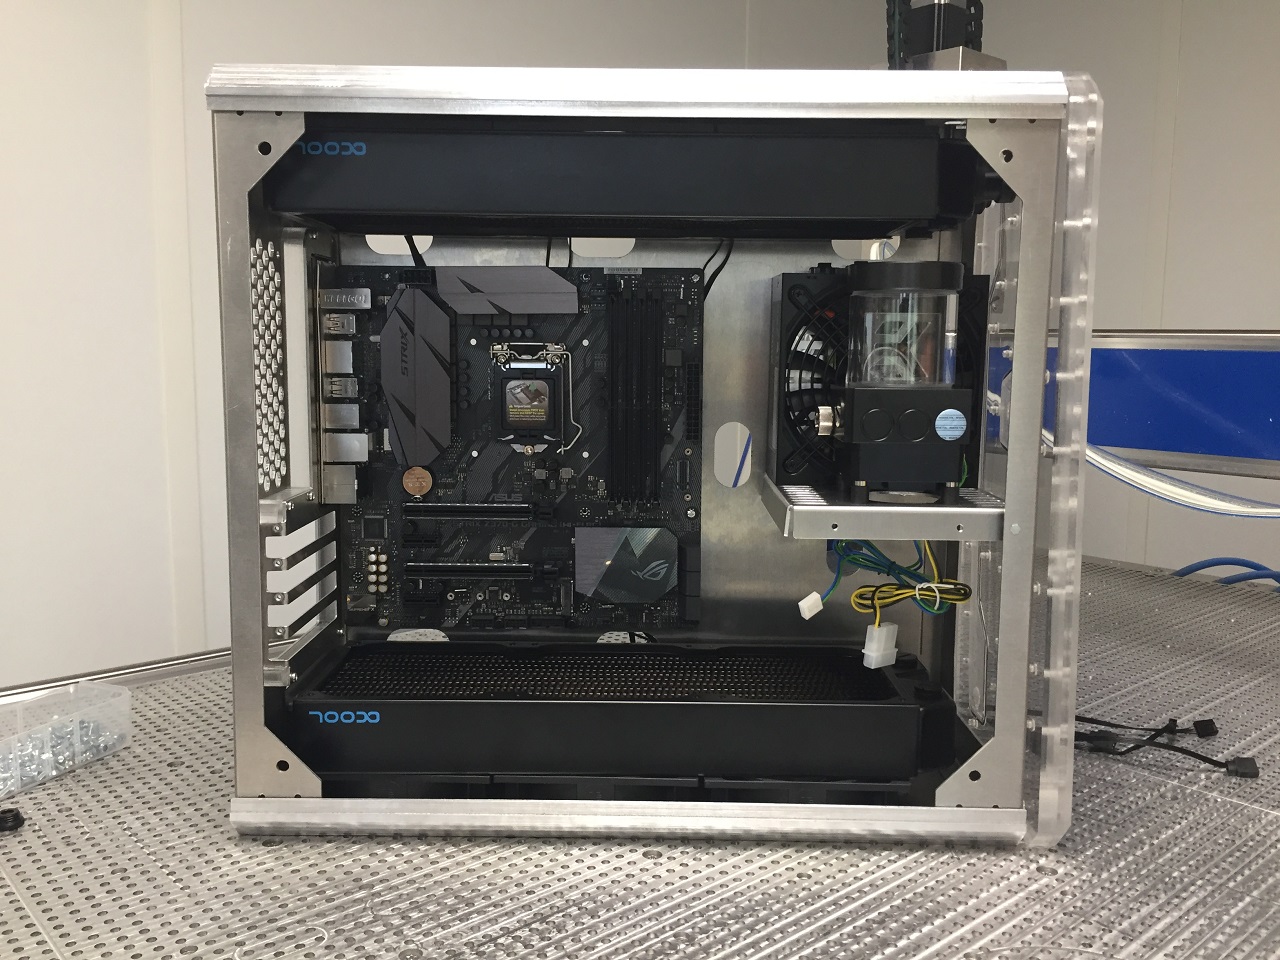
Fit check. I really wanted to have both the radiators and pump mount directly to the distributor plate with adjustable fittings instead of any additional hard line tubing.
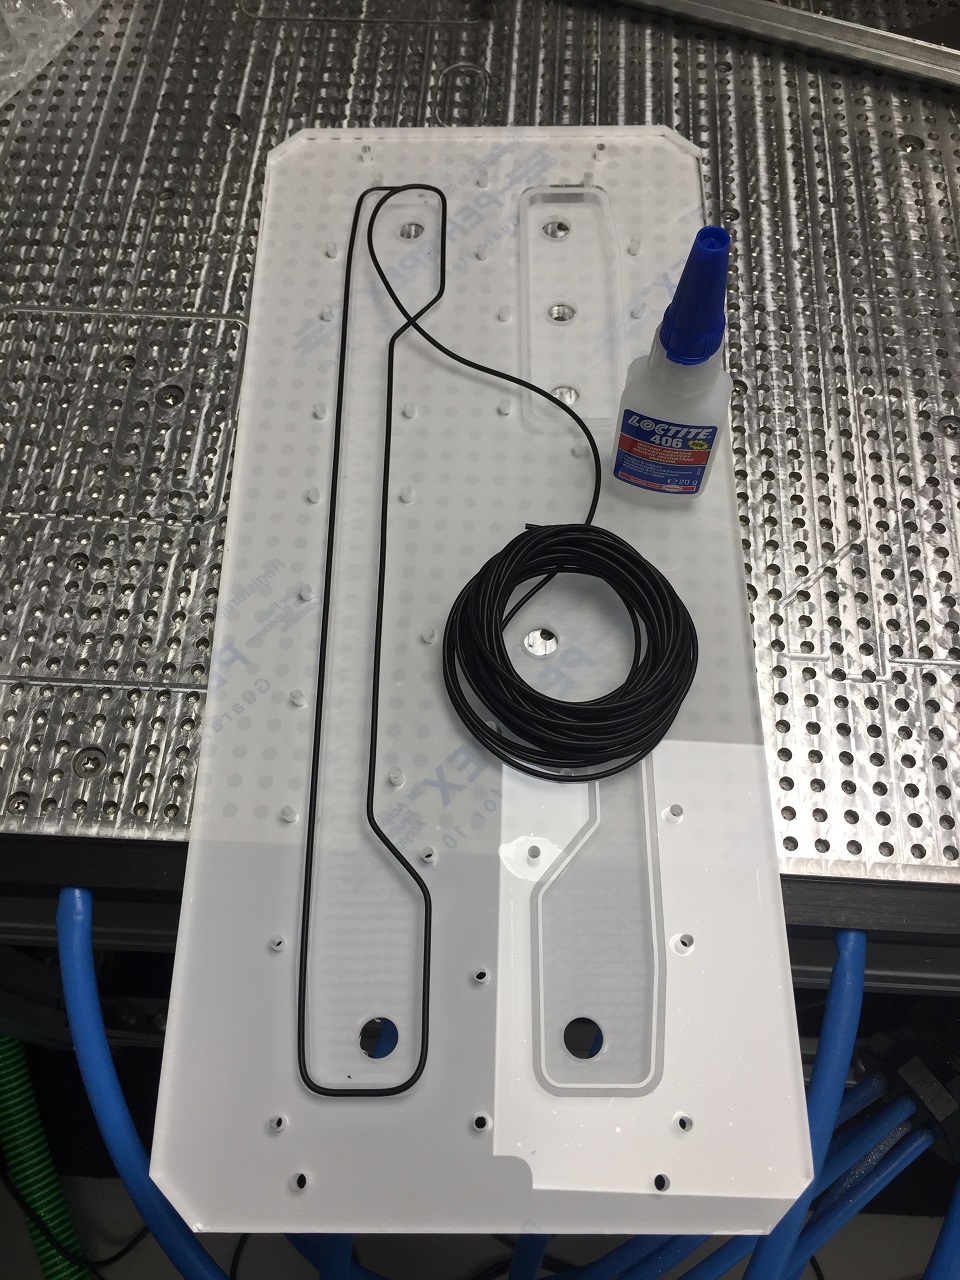
Make some custom O rings.
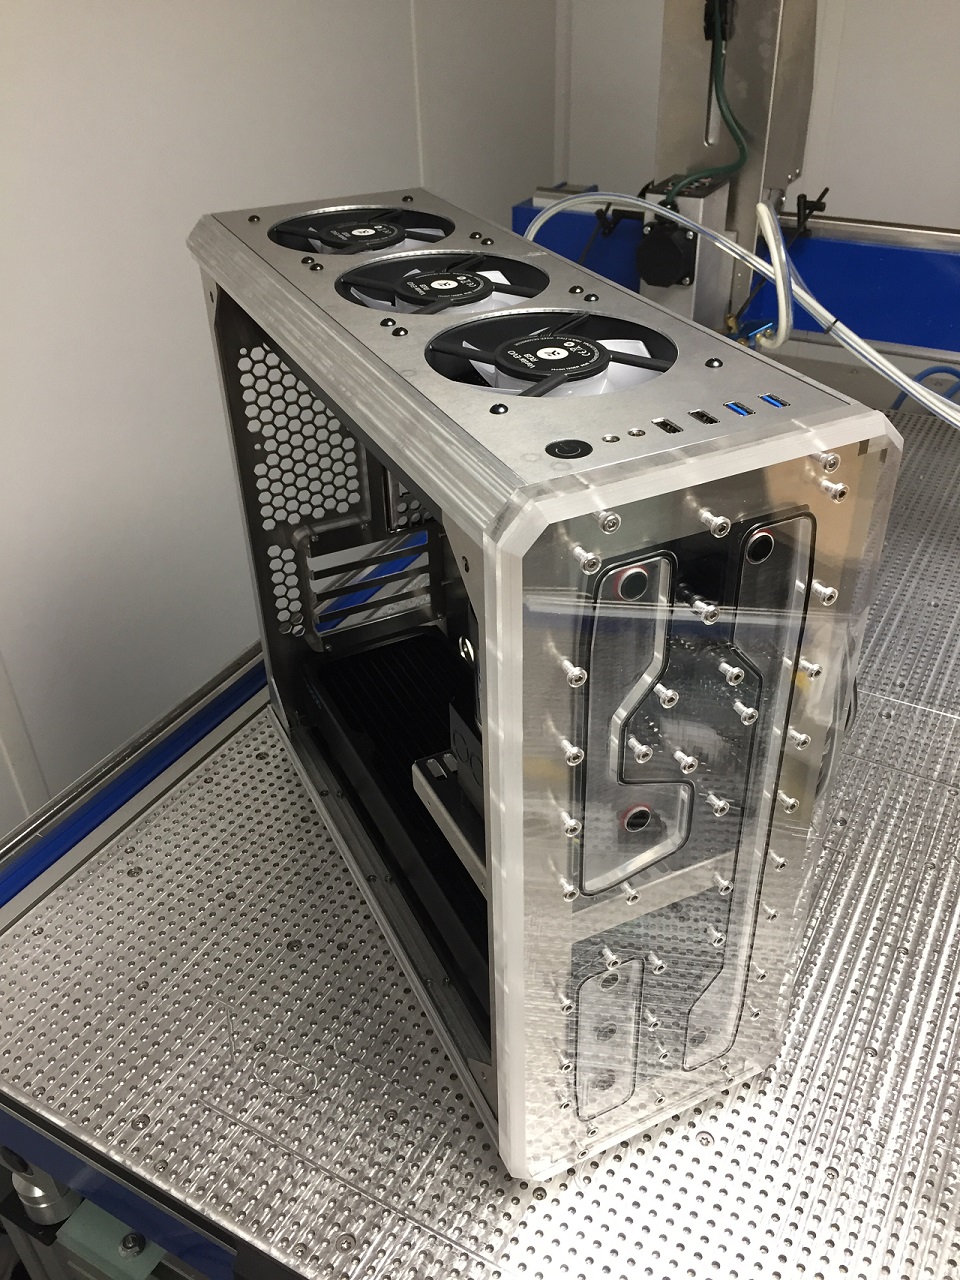
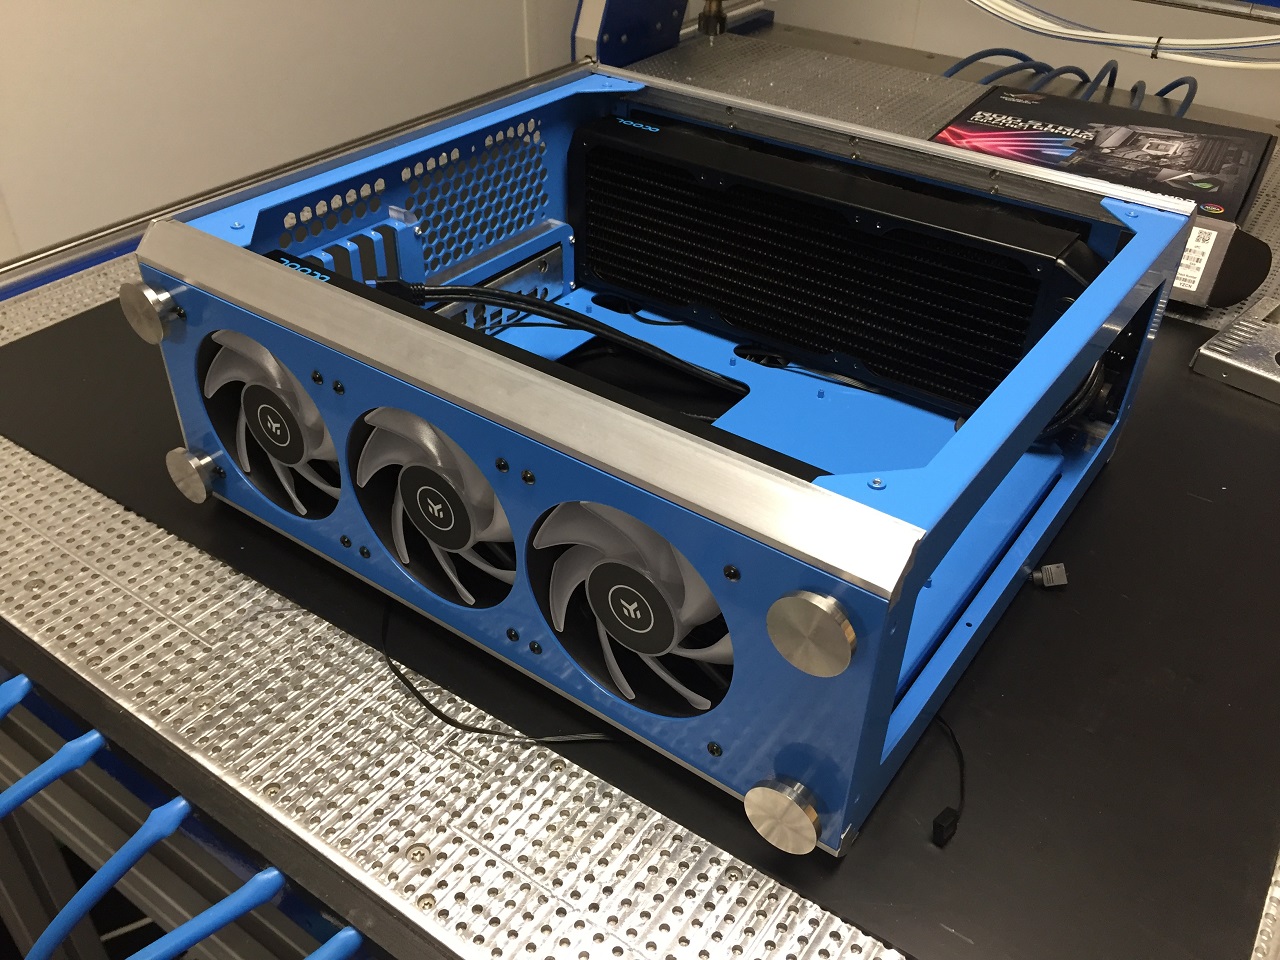
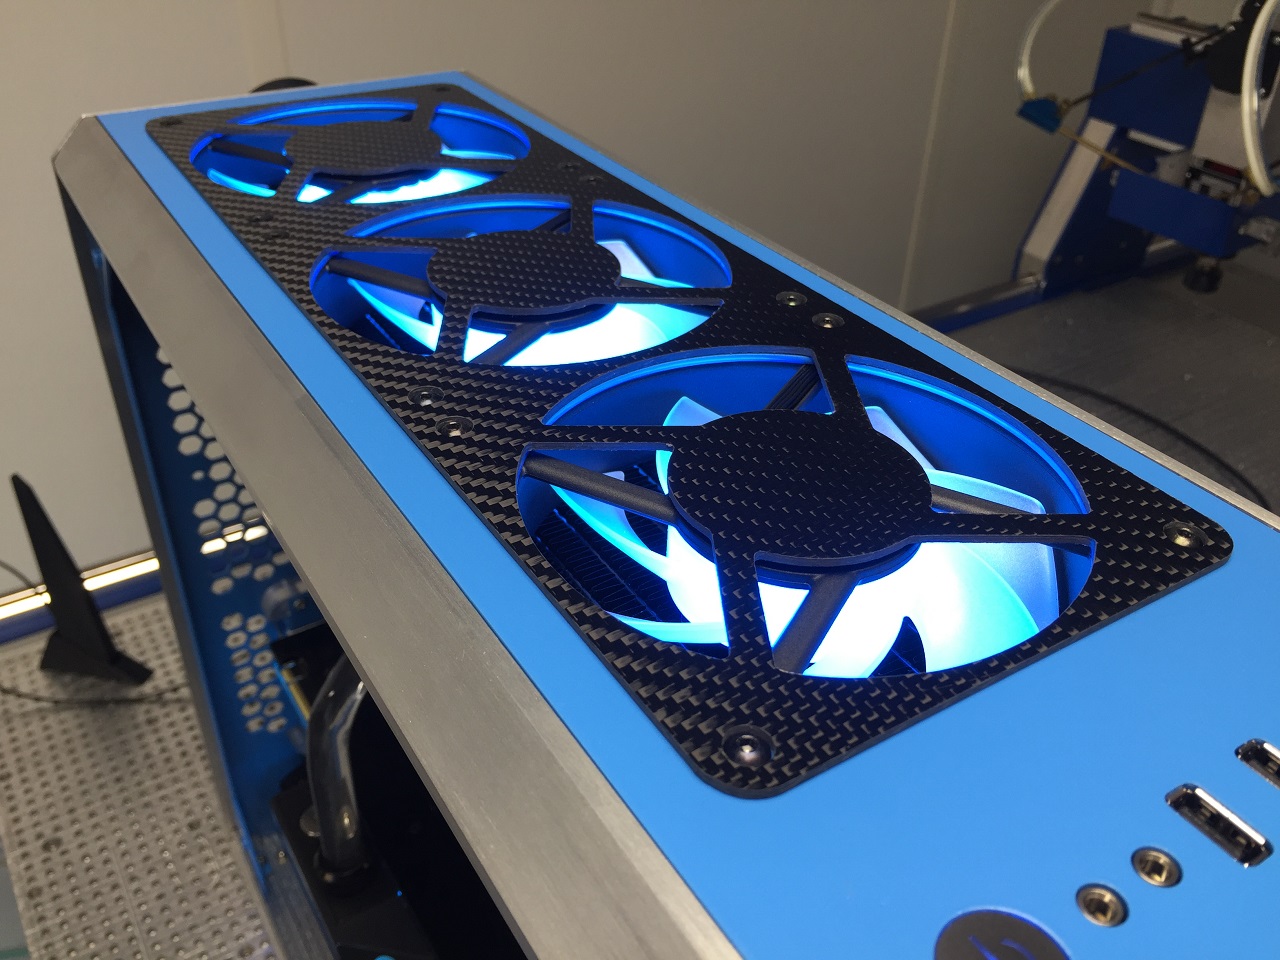
The top fans are exhaust fans so I had to make a trim part to cover the rear labels.
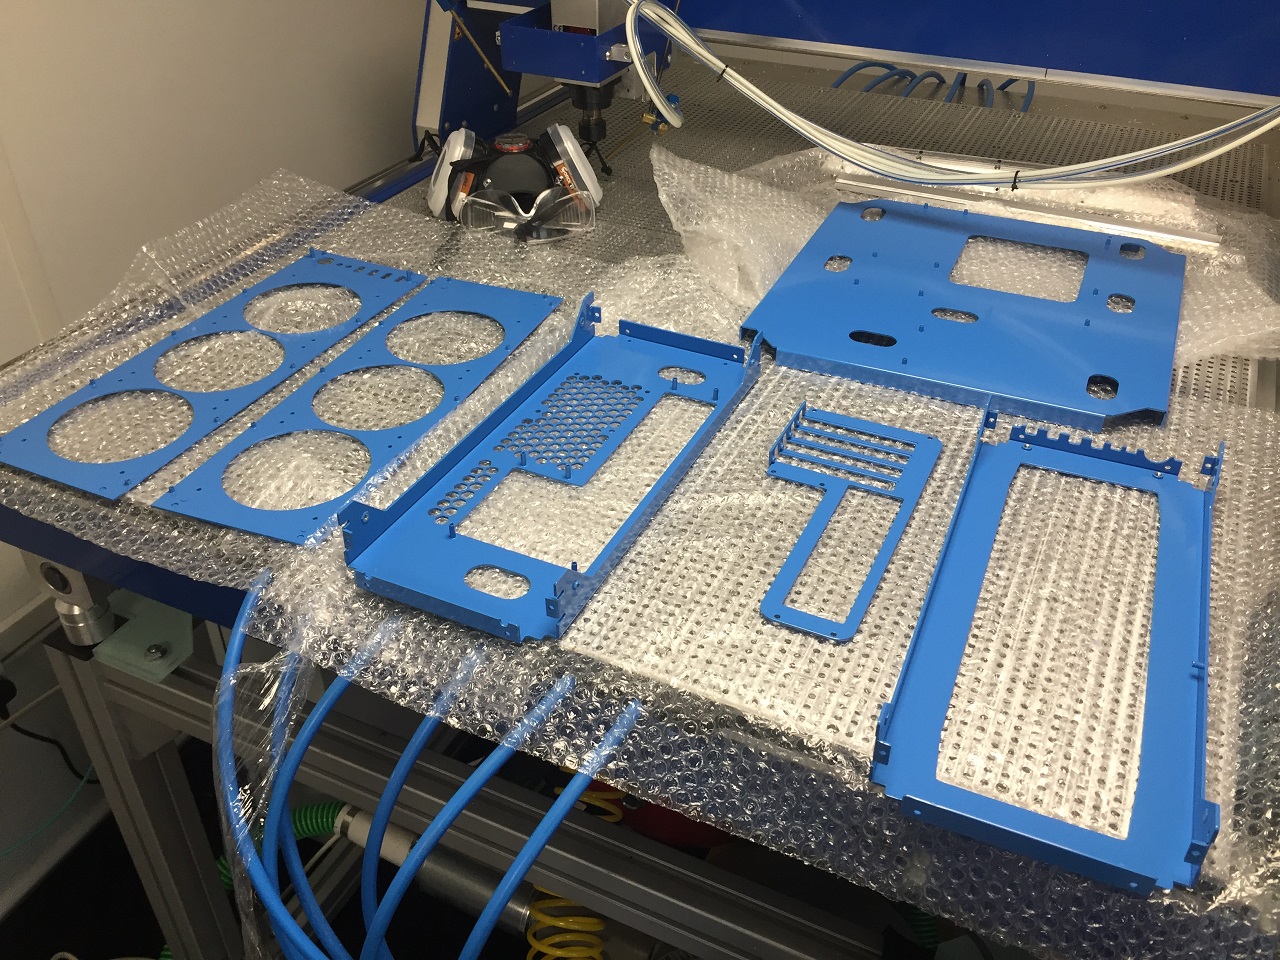
Powder coated. I used an outside supplier for this.
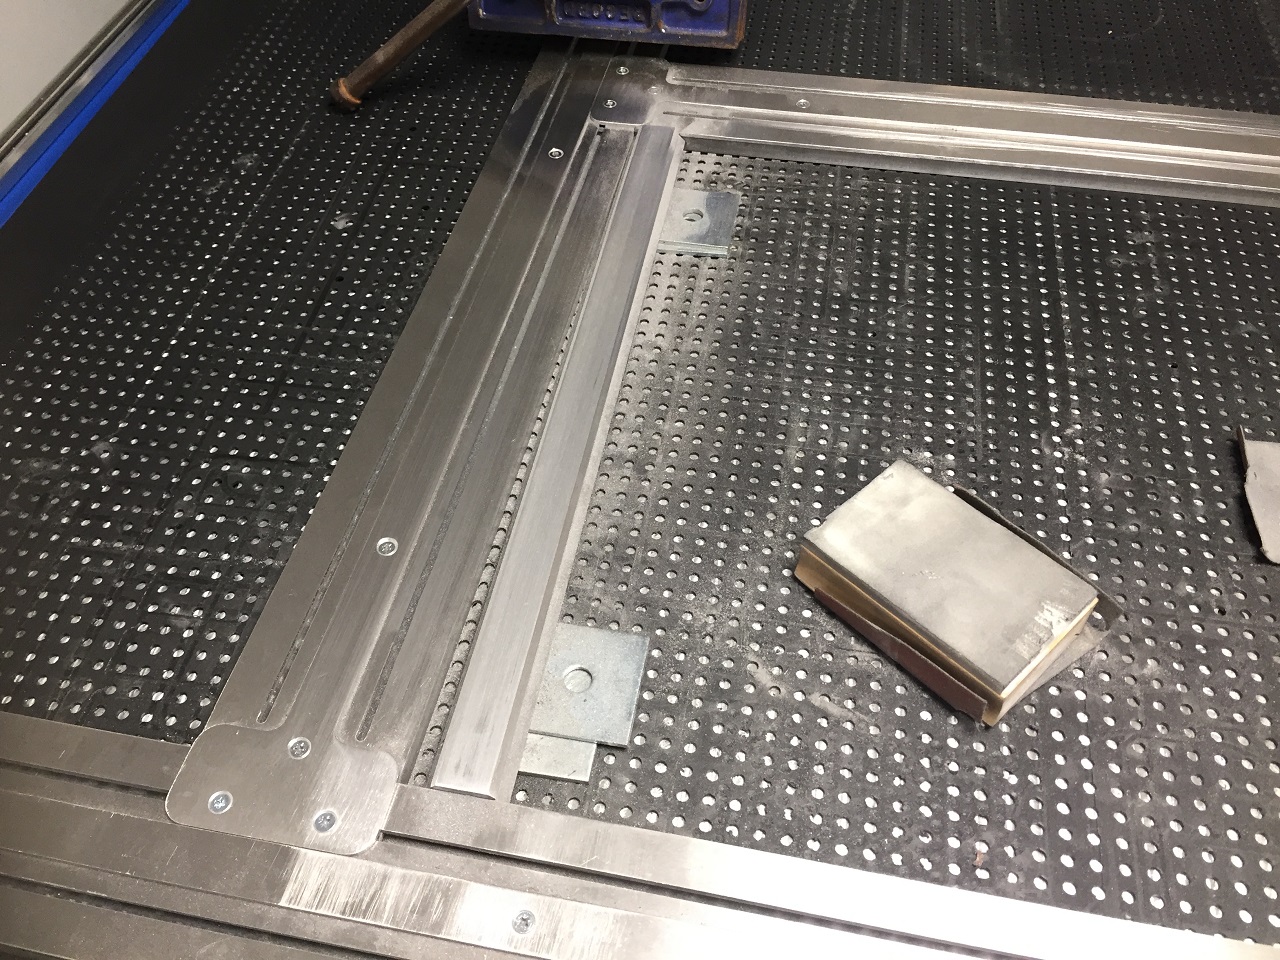
Hand sand a brushed aluminum finish on the corner extrusions. I tried using a sander but it gouged the metal too much.
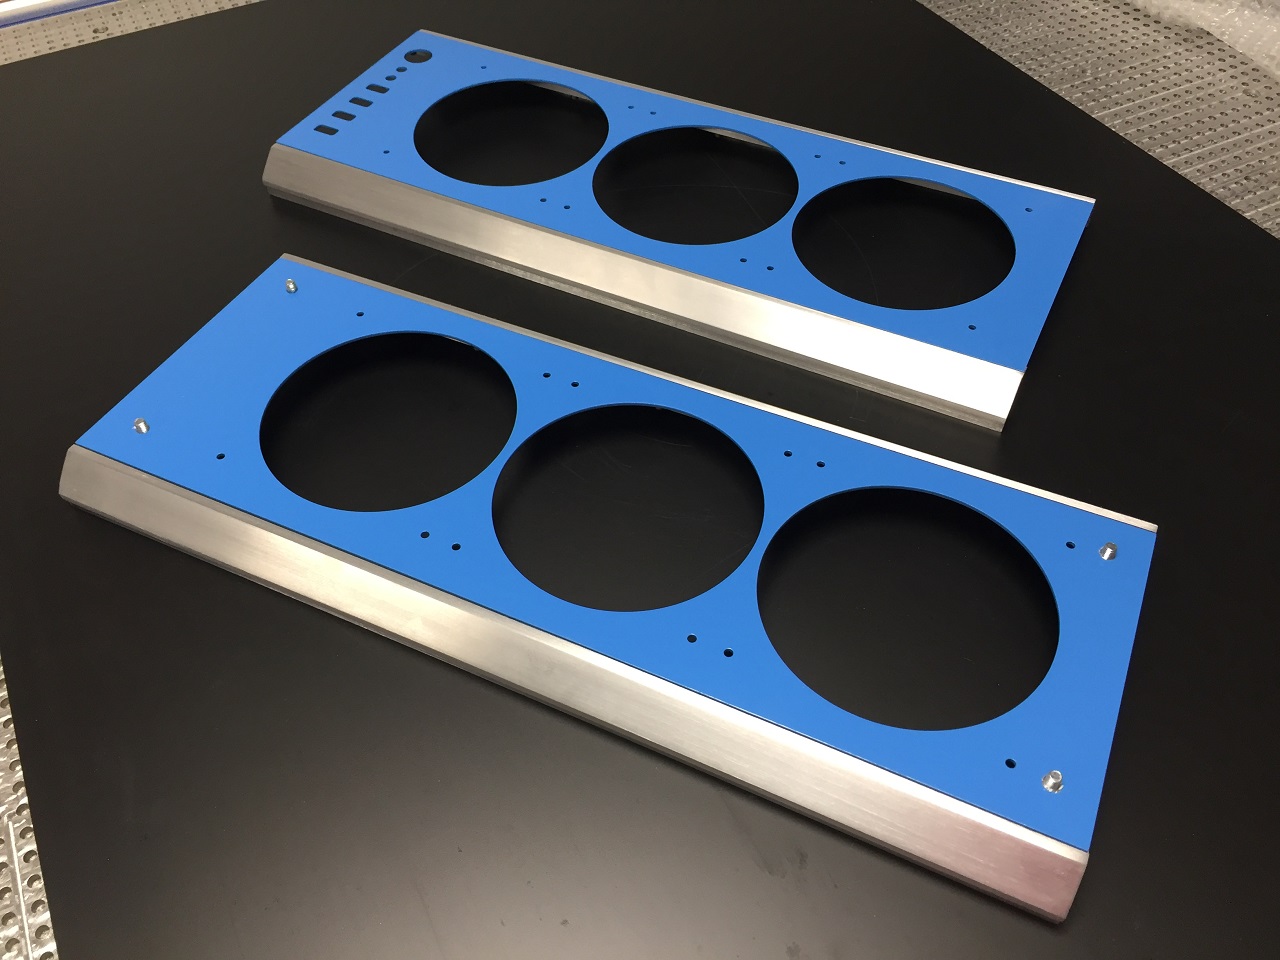
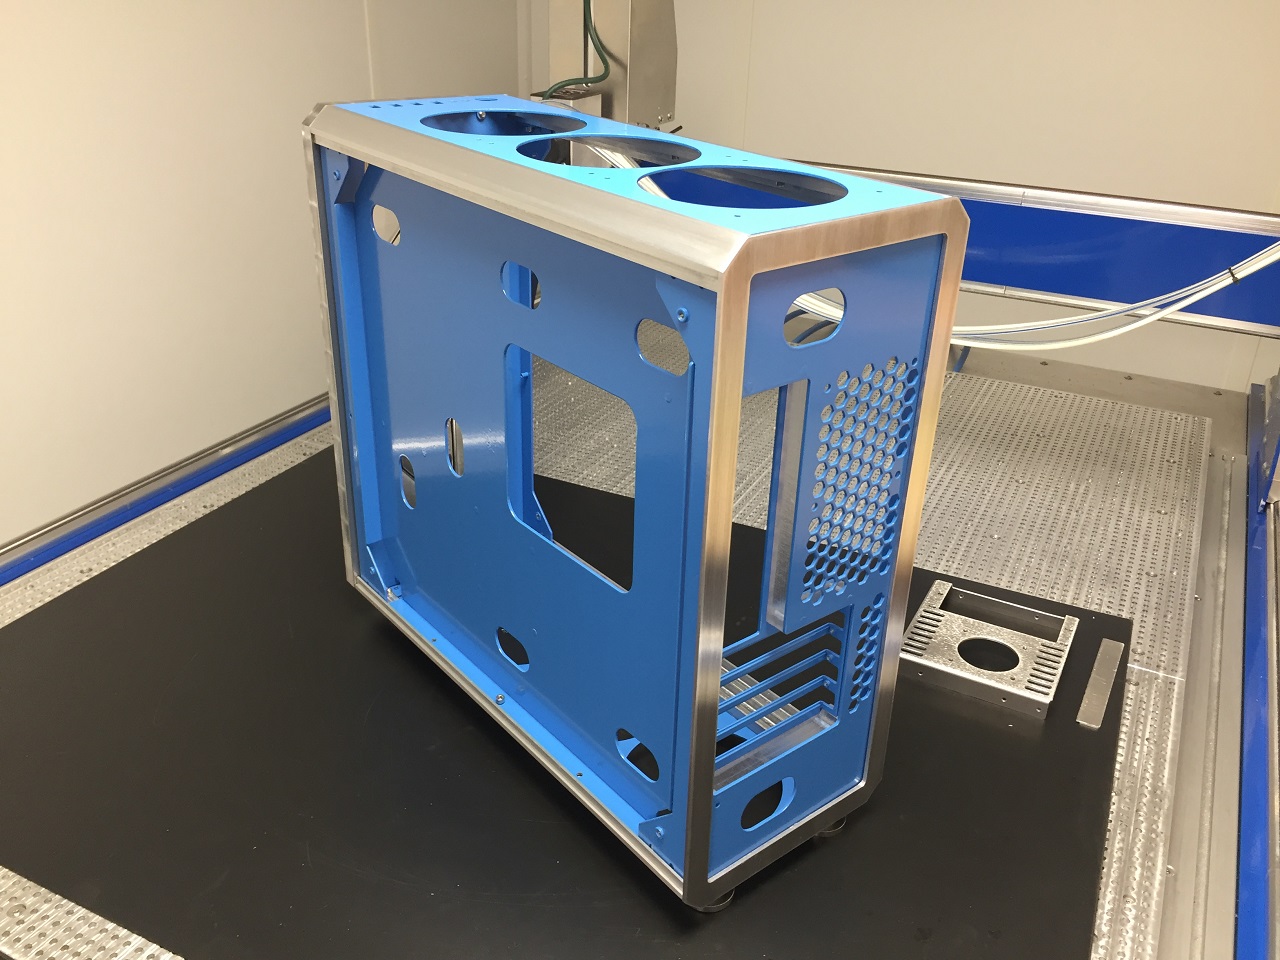
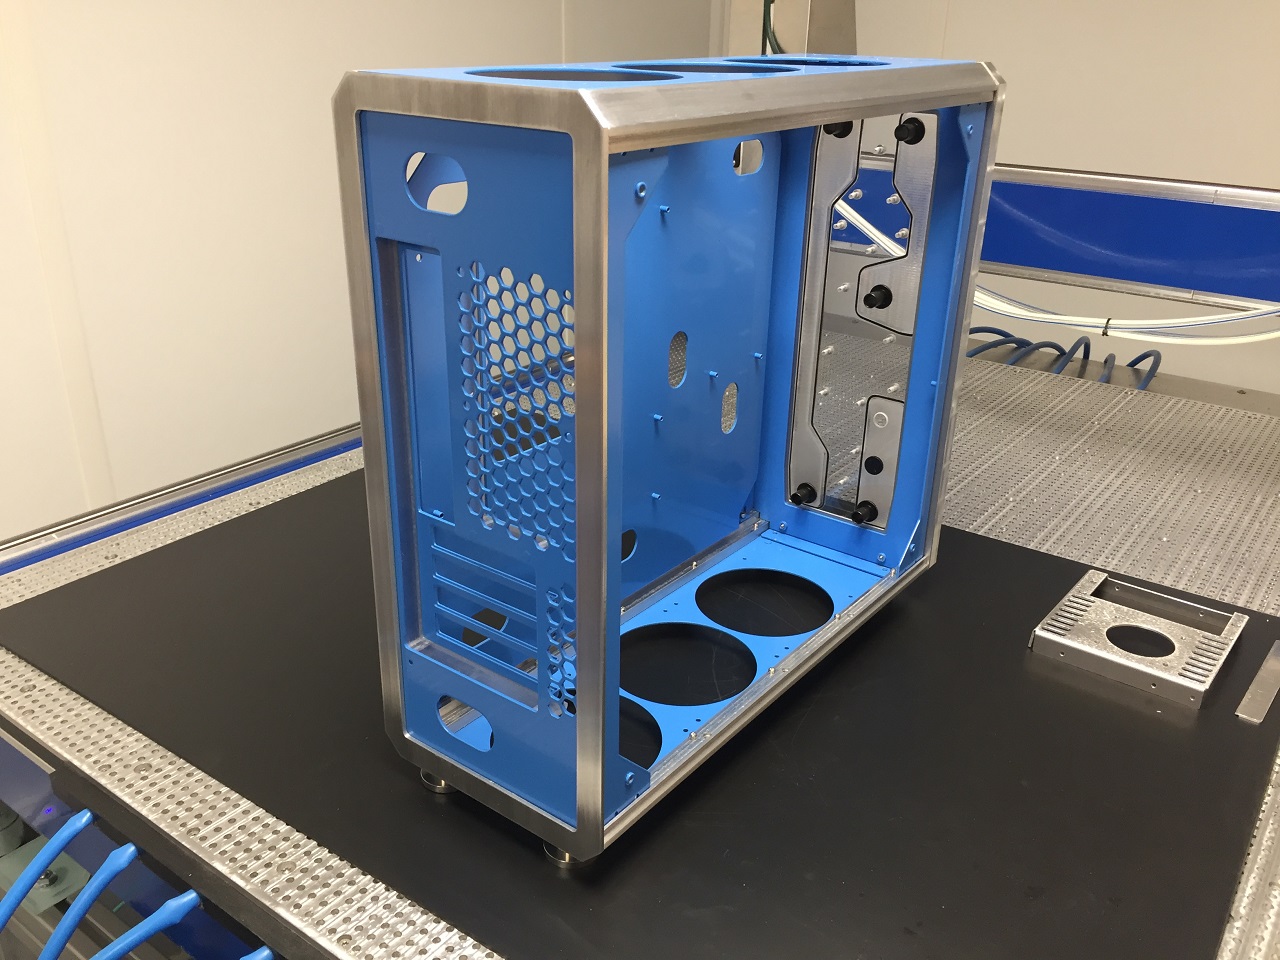
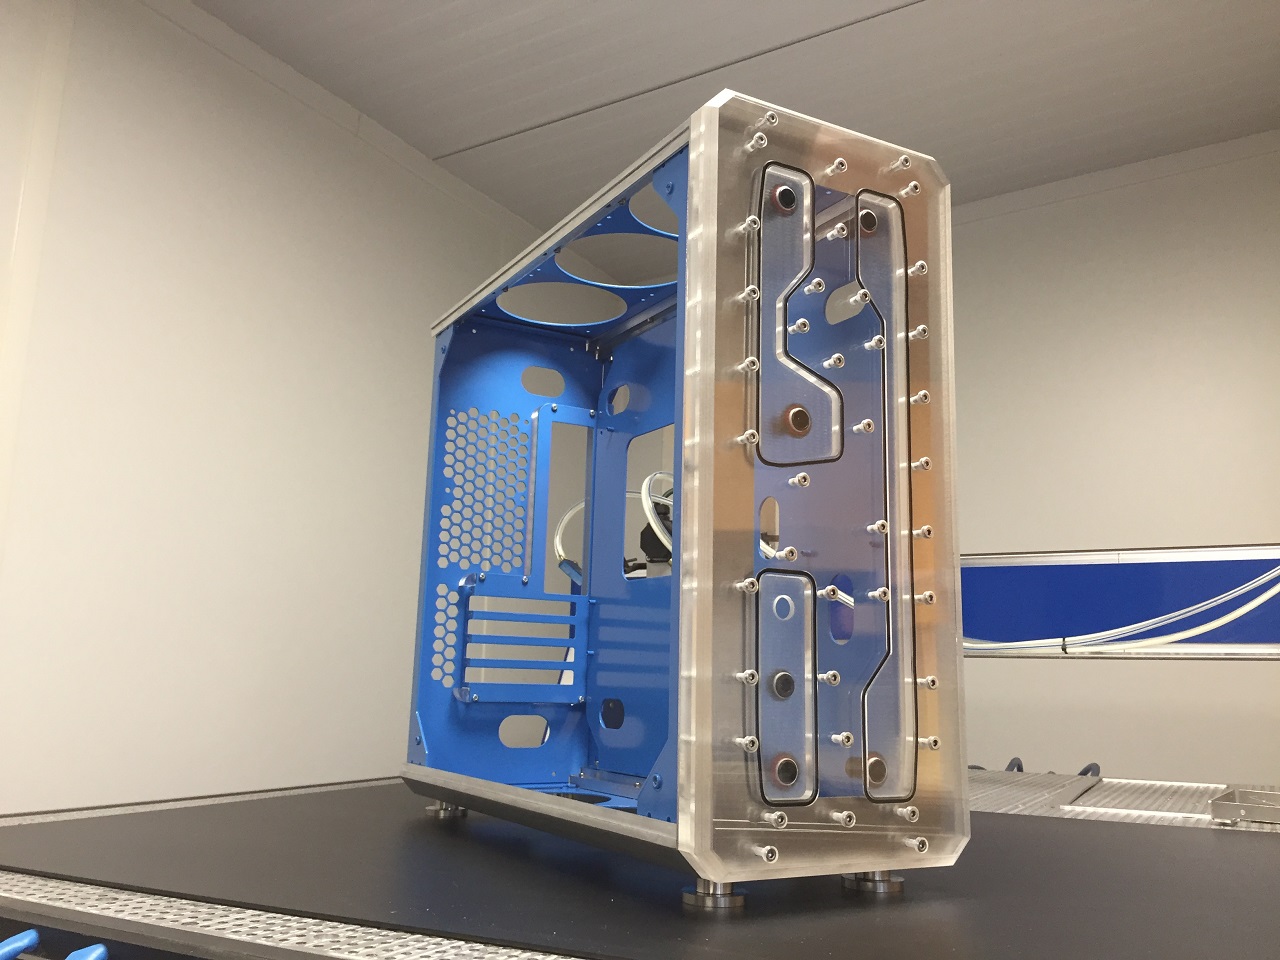
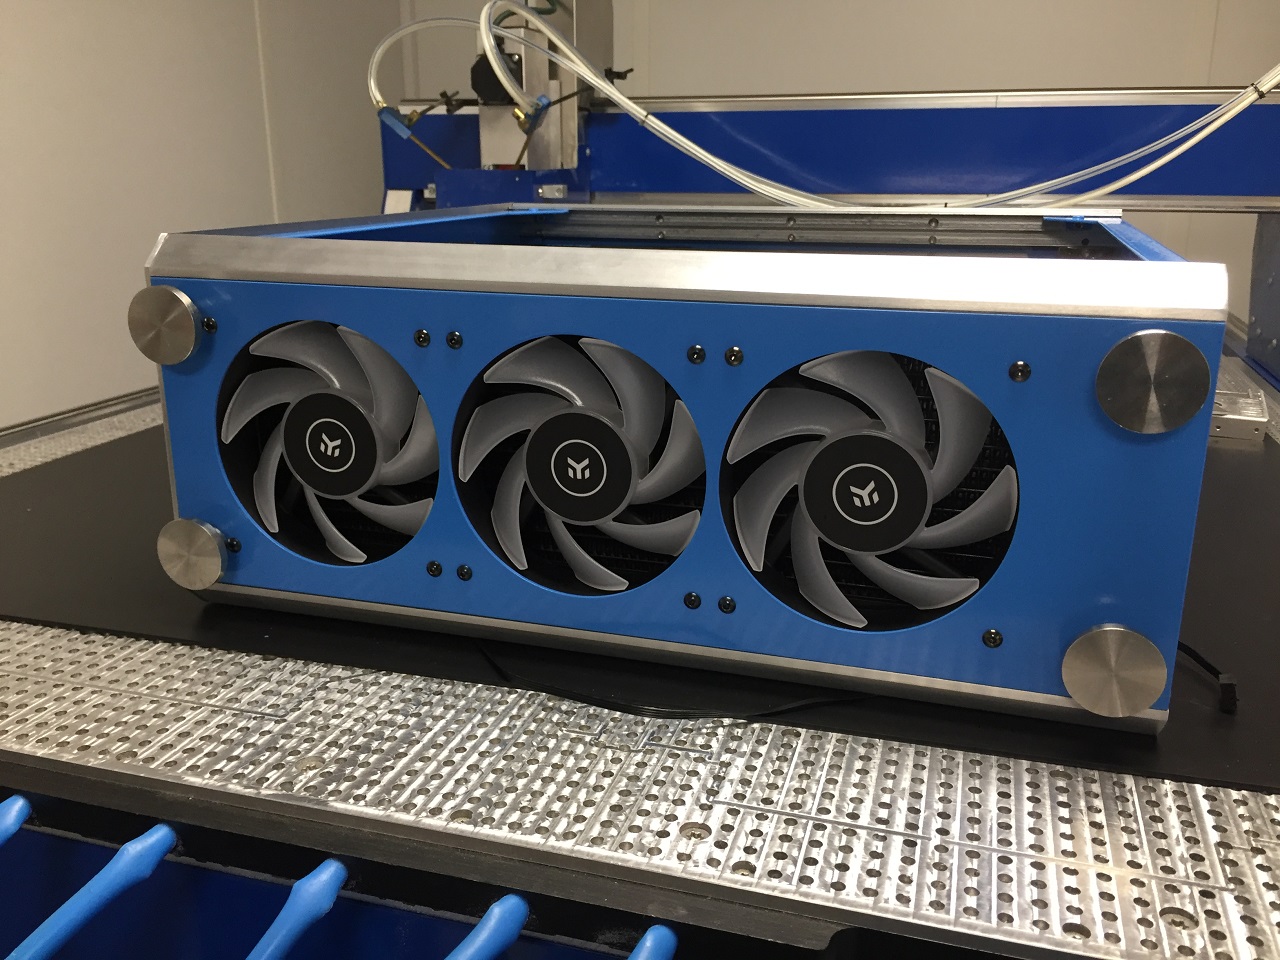
Bottom fans are intake. A bit of a shame as you cant see the logos.
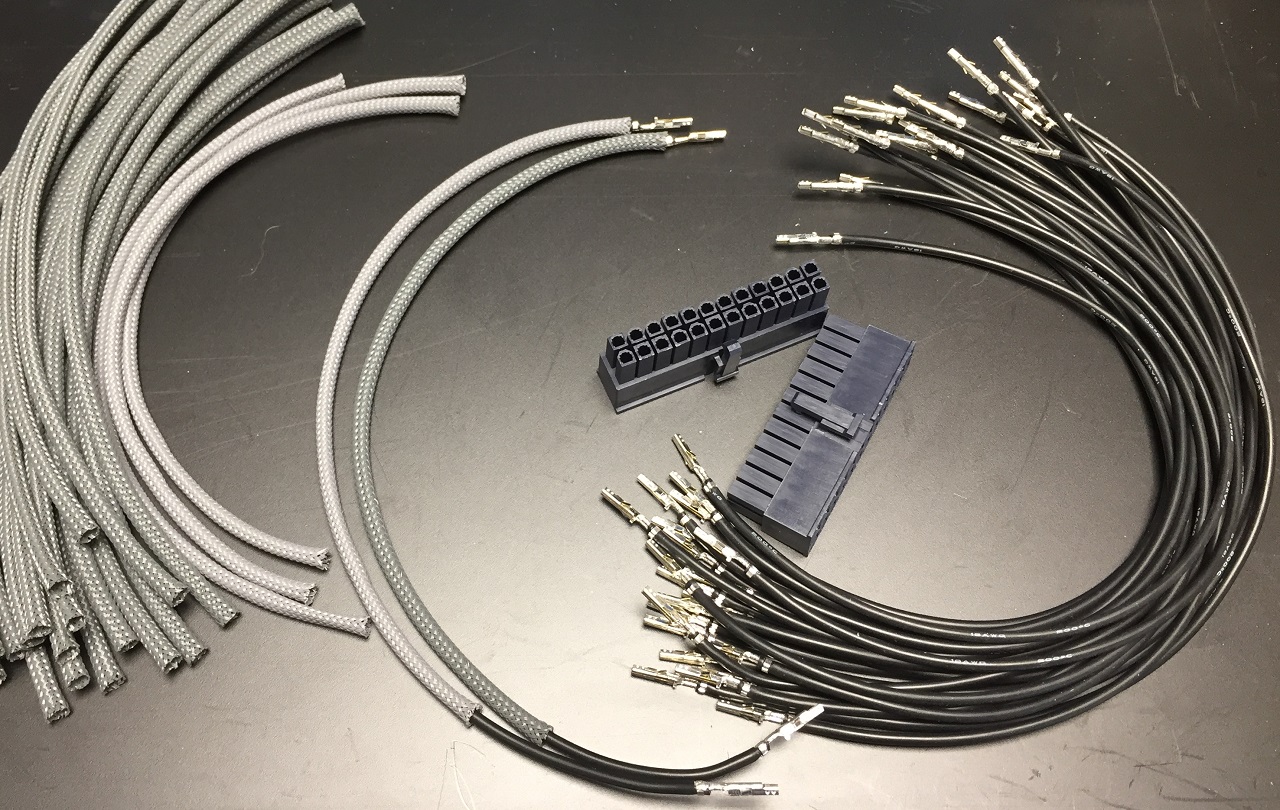
Build some custom cables. Since the power supply is up front I needed some really short ones.
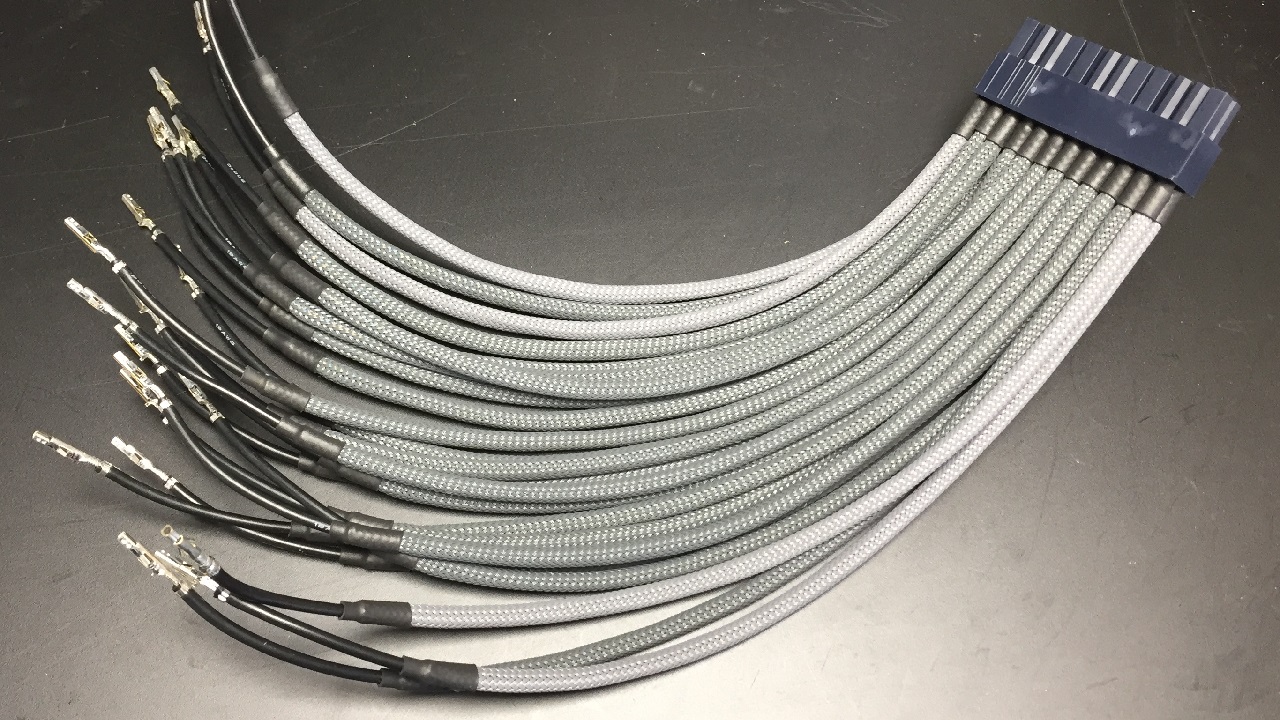
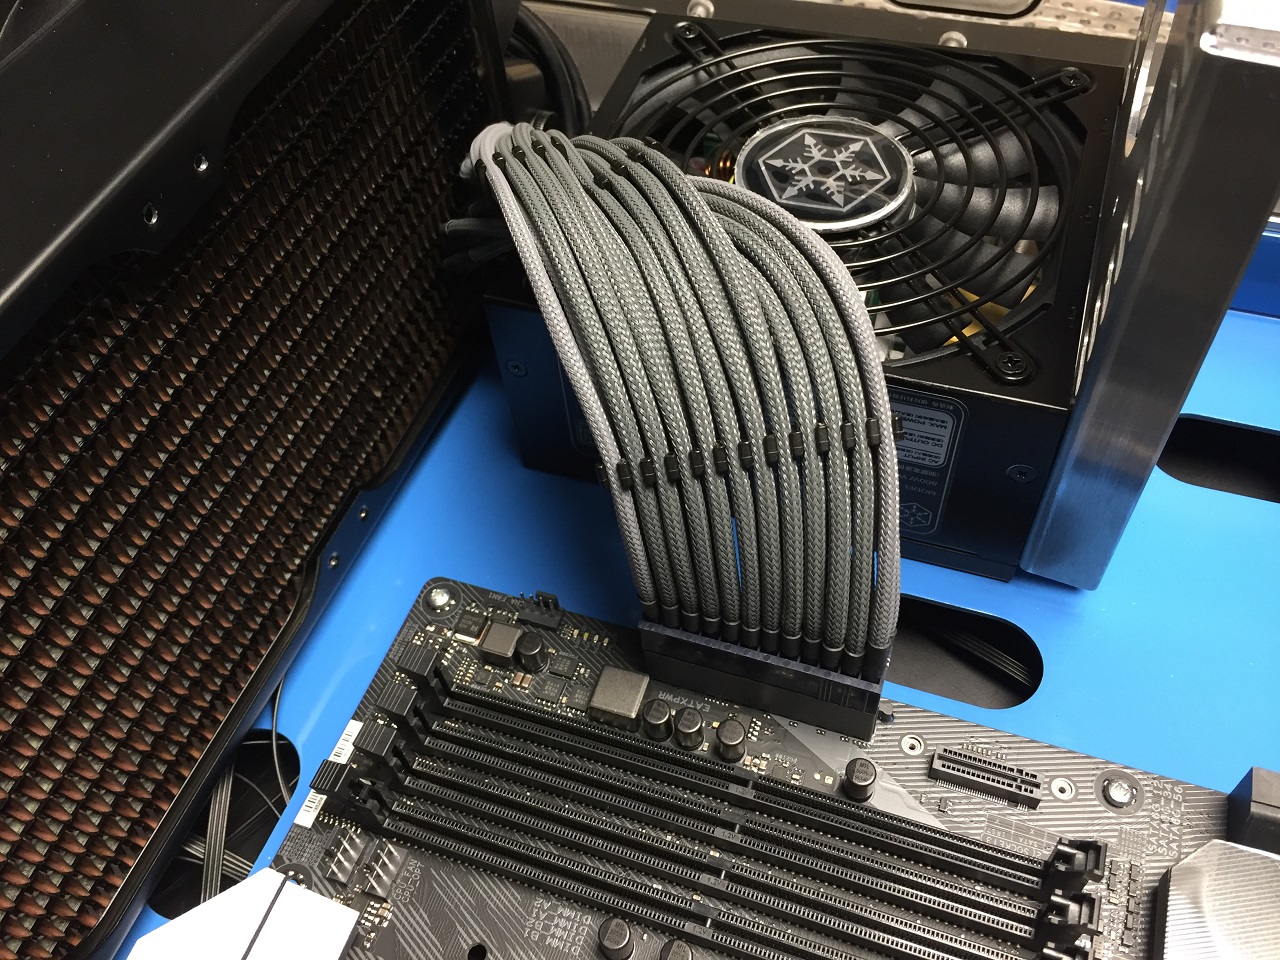
Also sleved the pump cables.
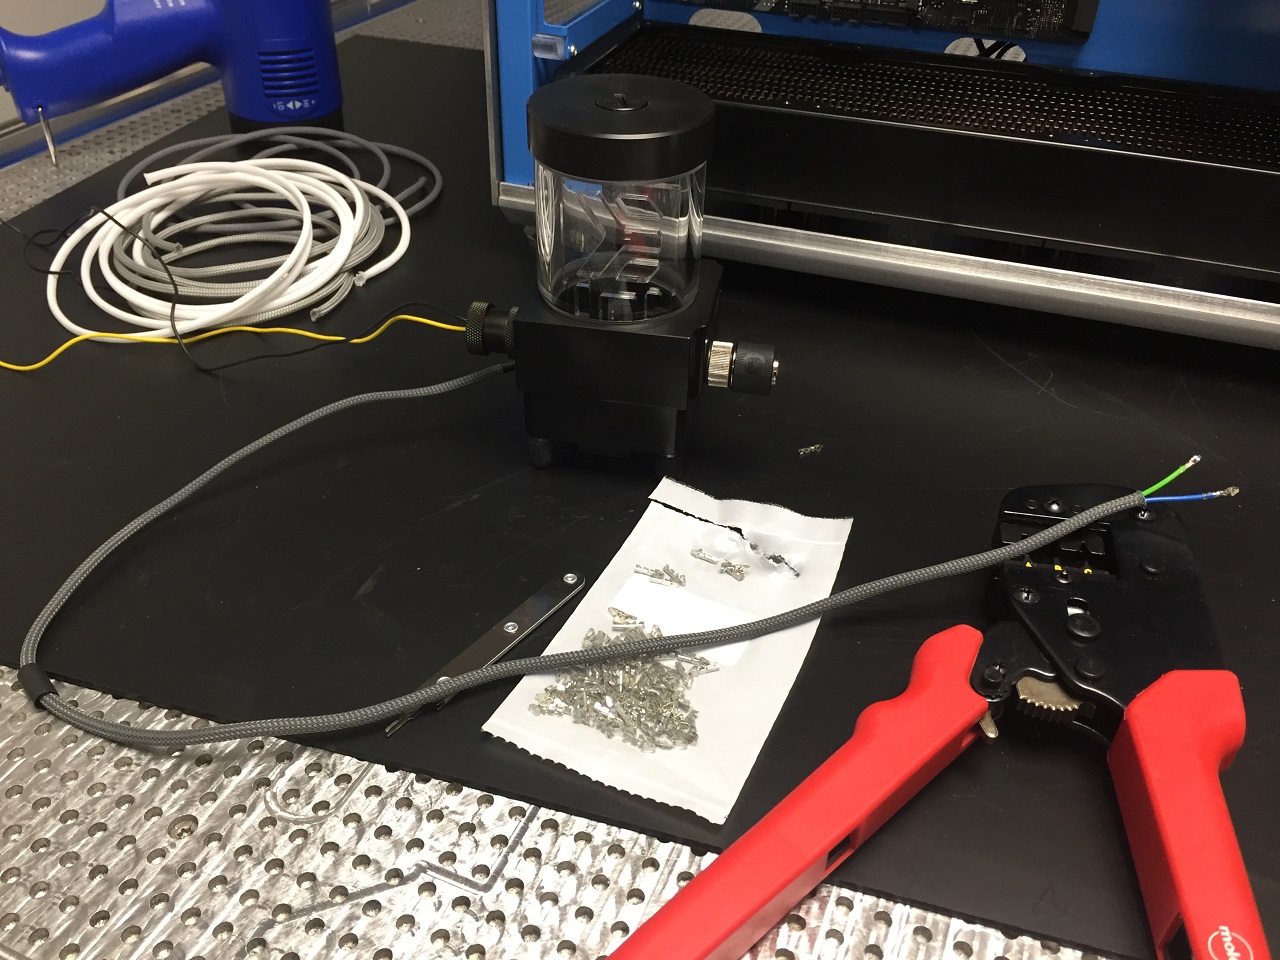
Making some custom PCI power cables.
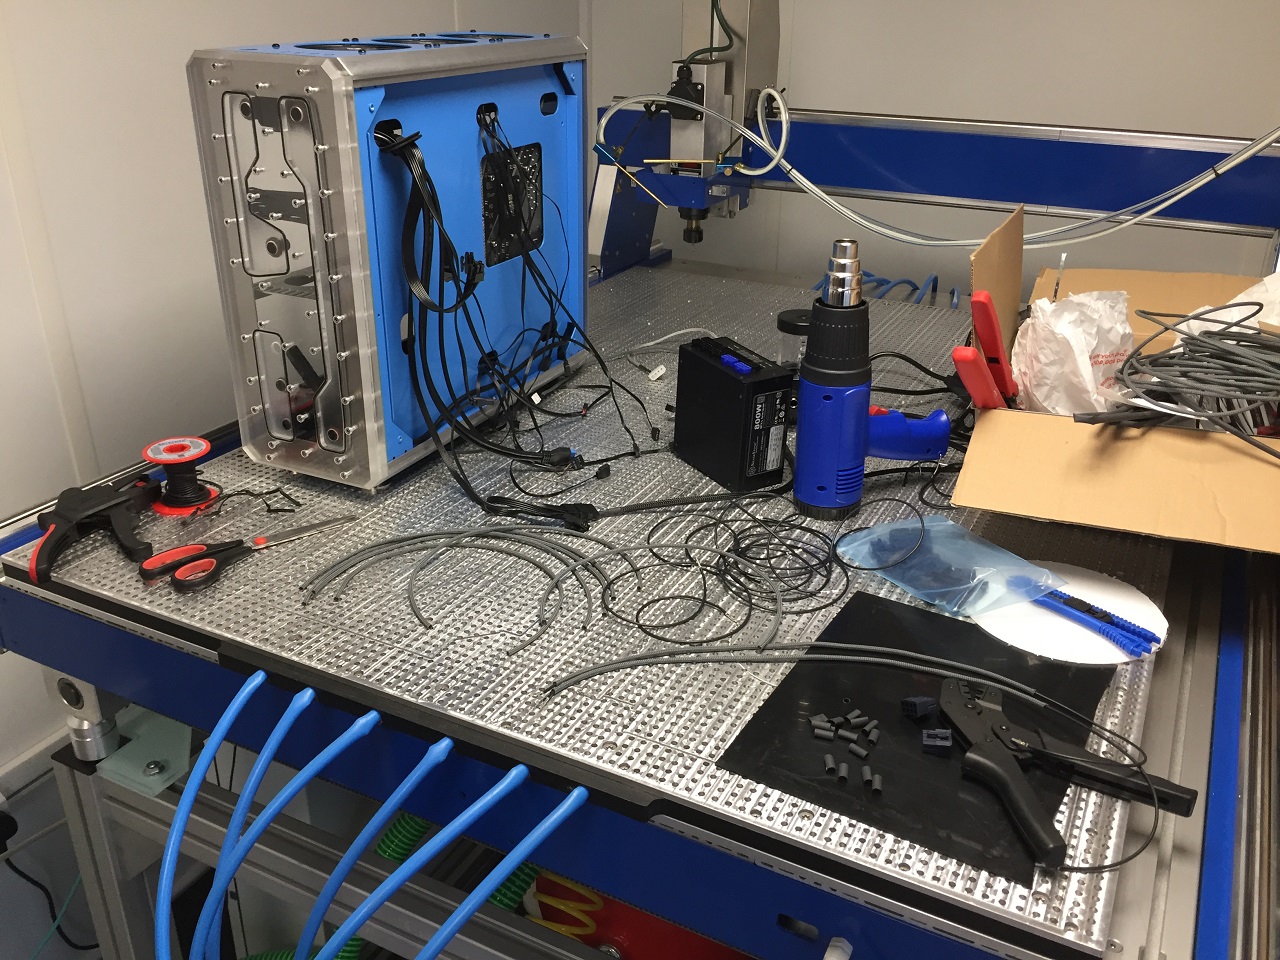
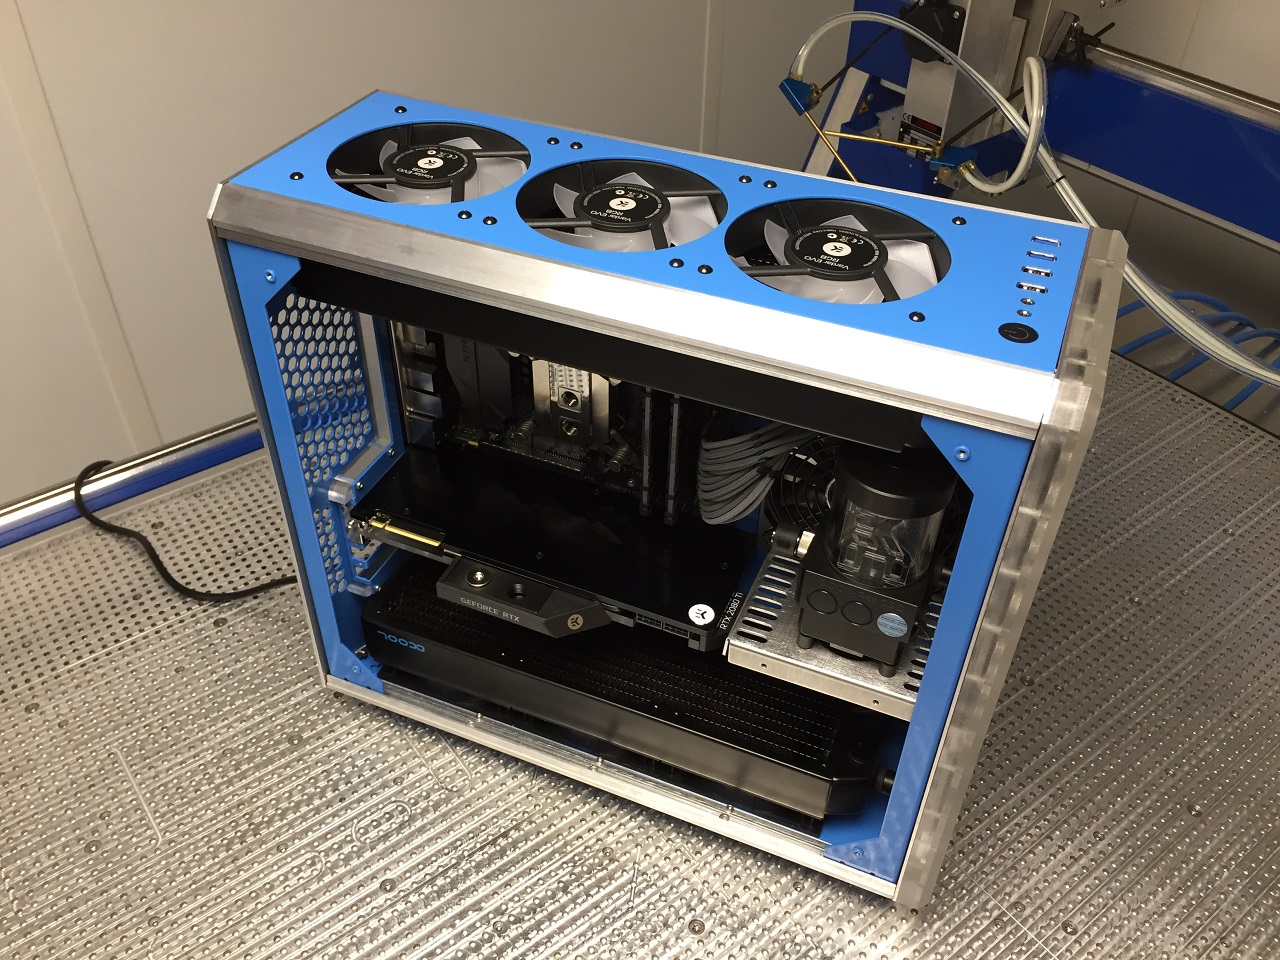
Here you can see the radiator connected straight to the distributor plate.
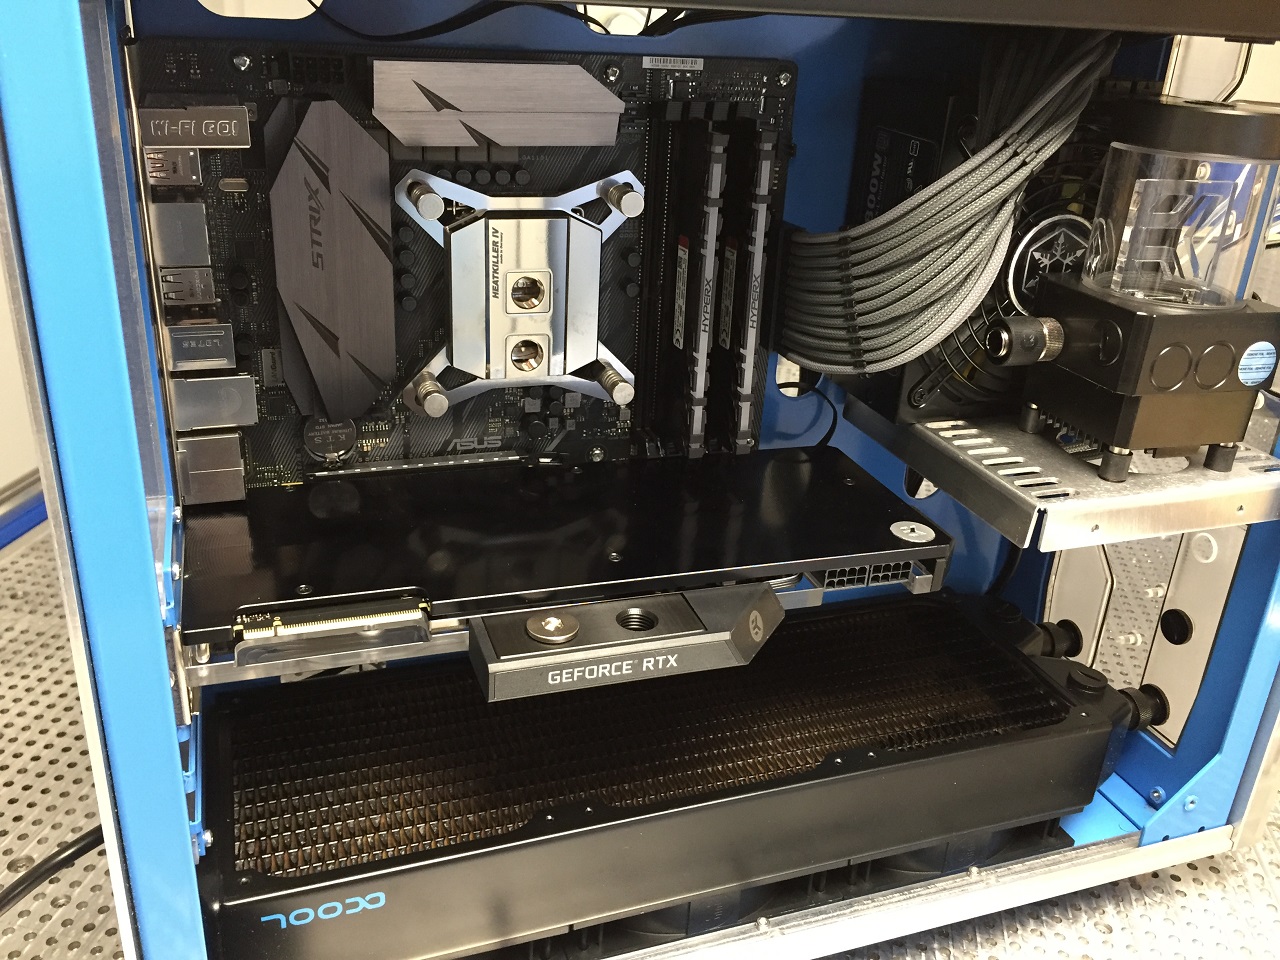
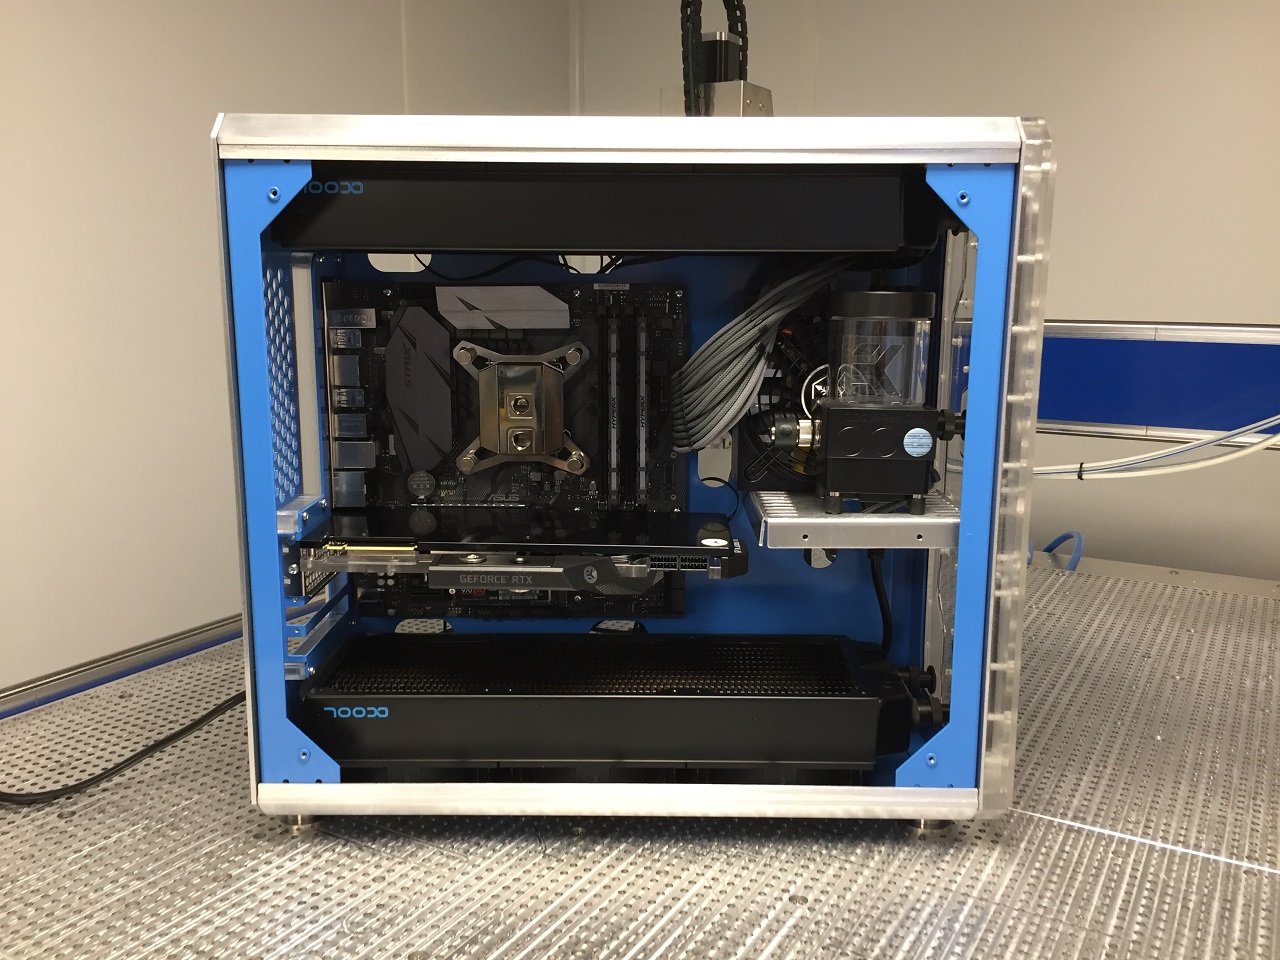
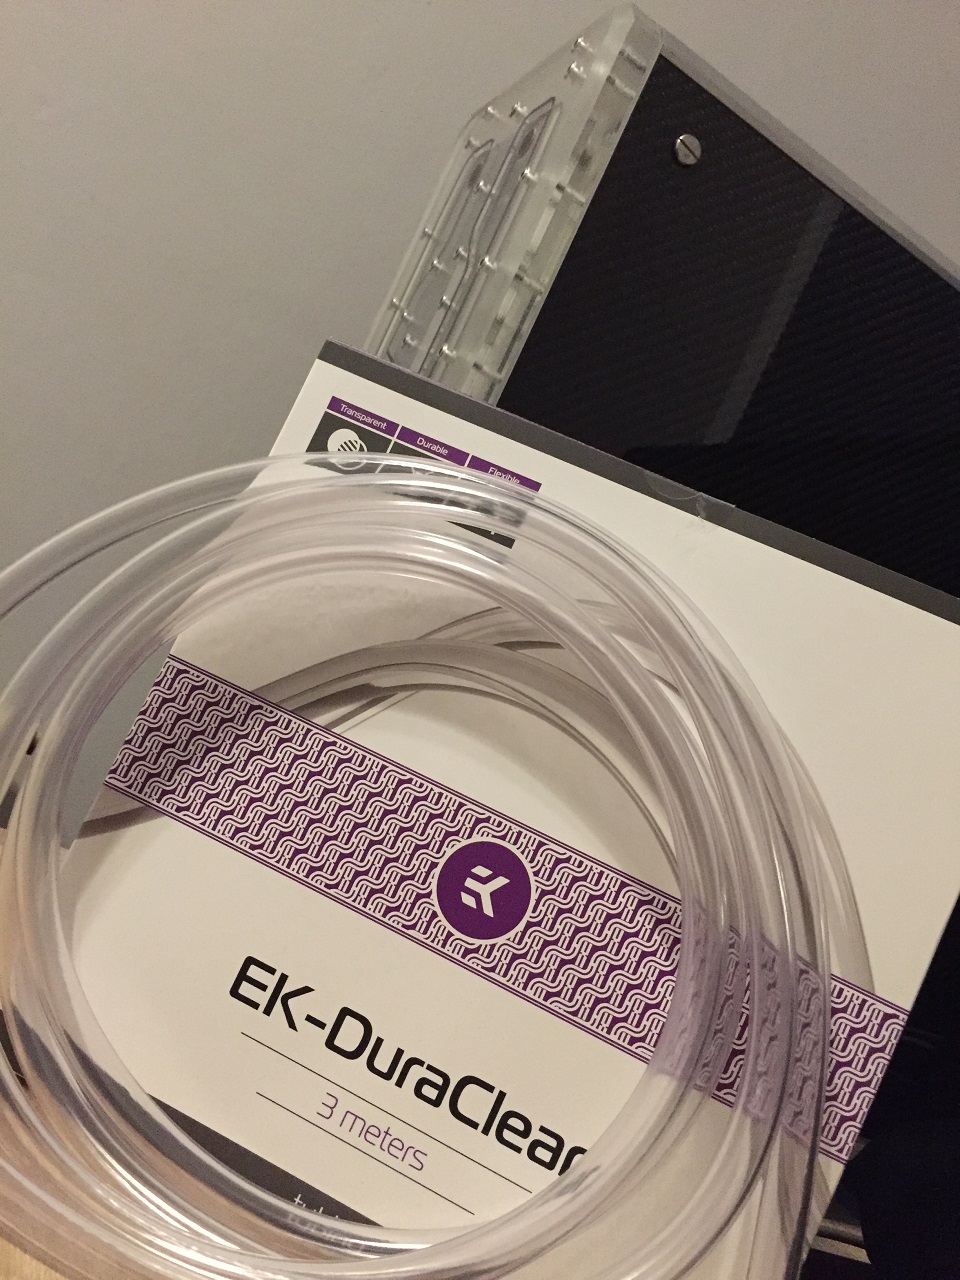
Make some hard line tubing. PET 16 mm
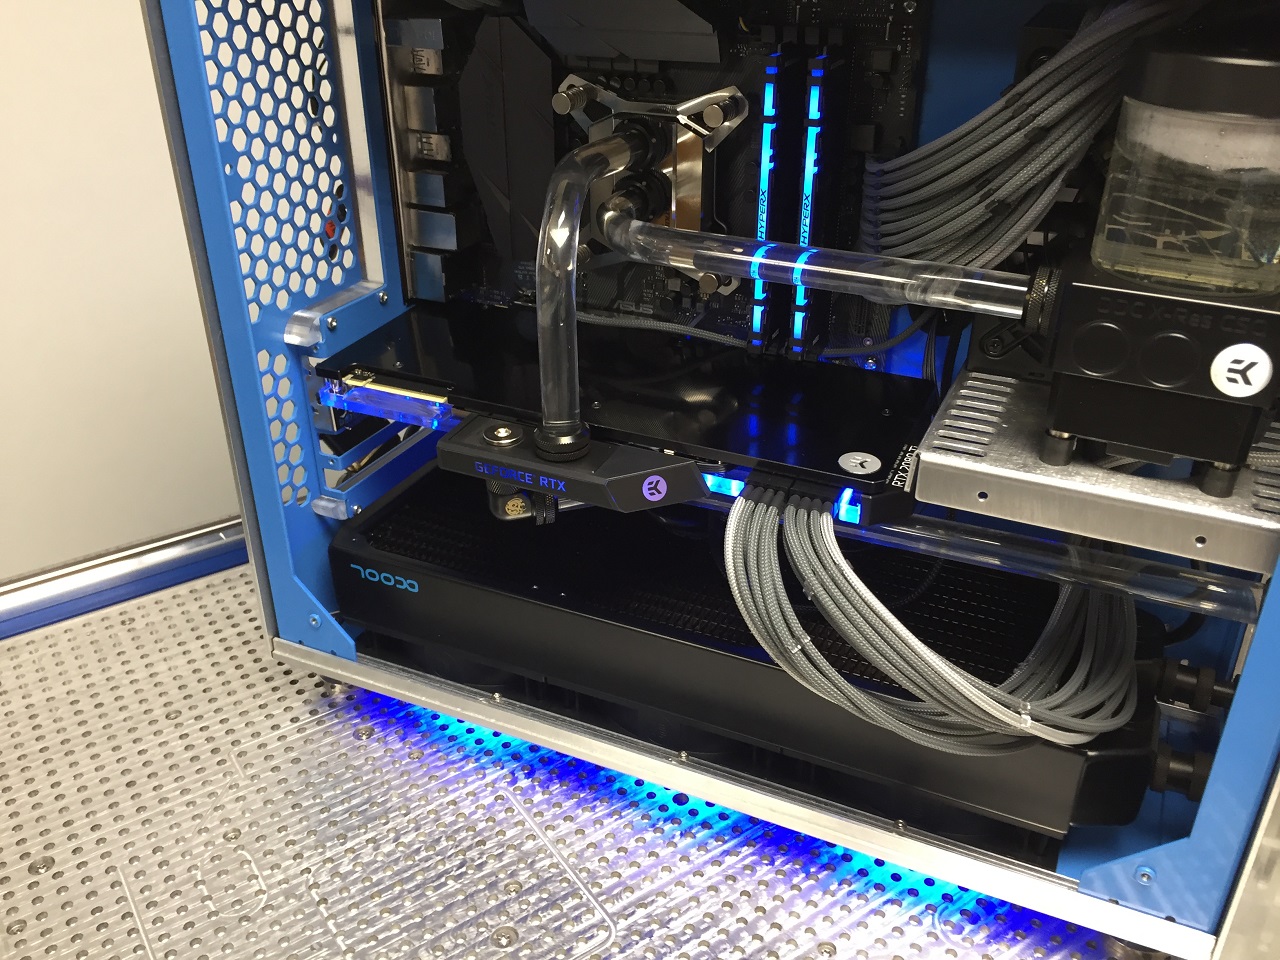
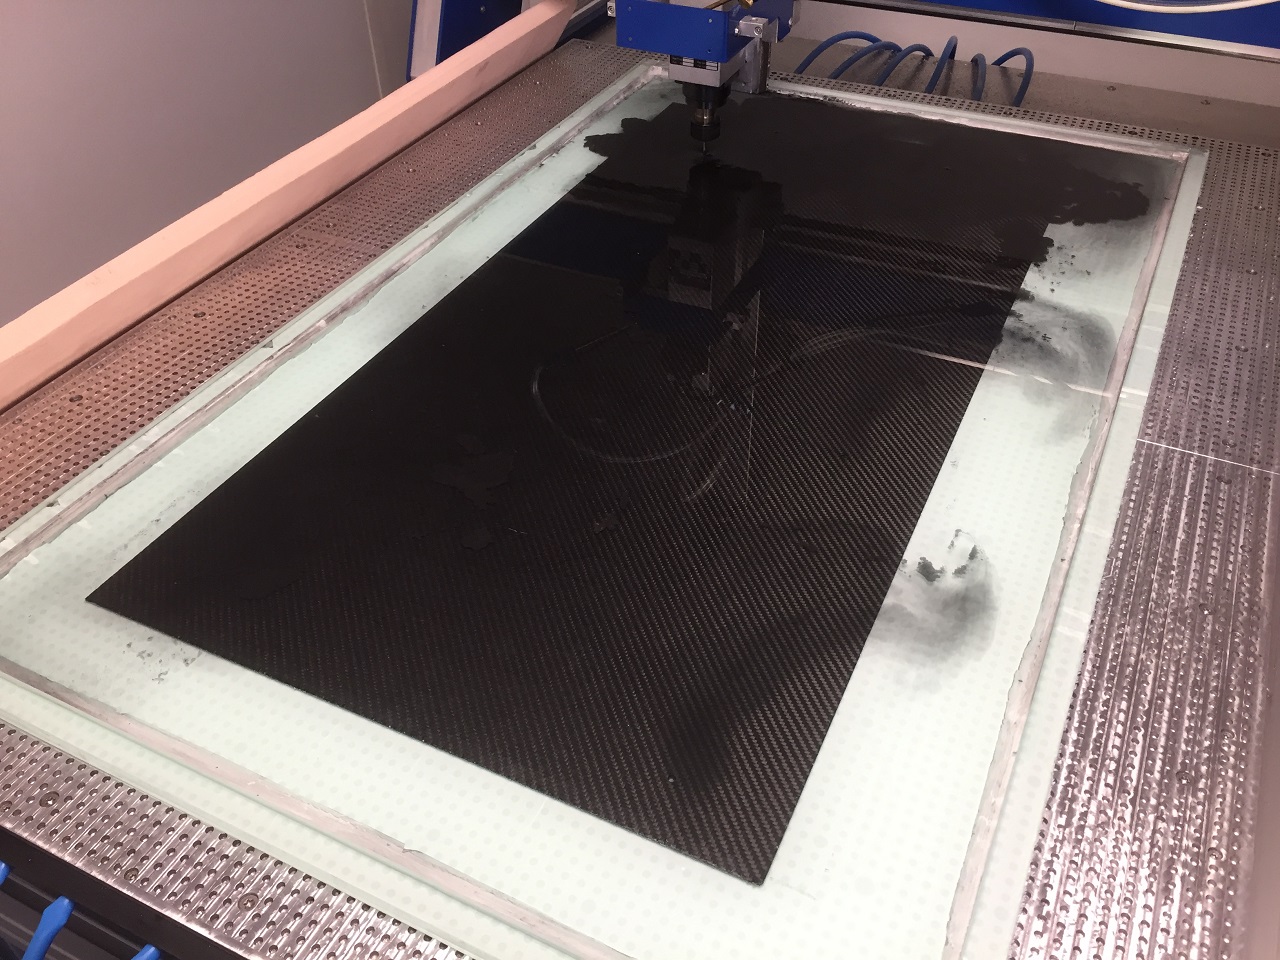
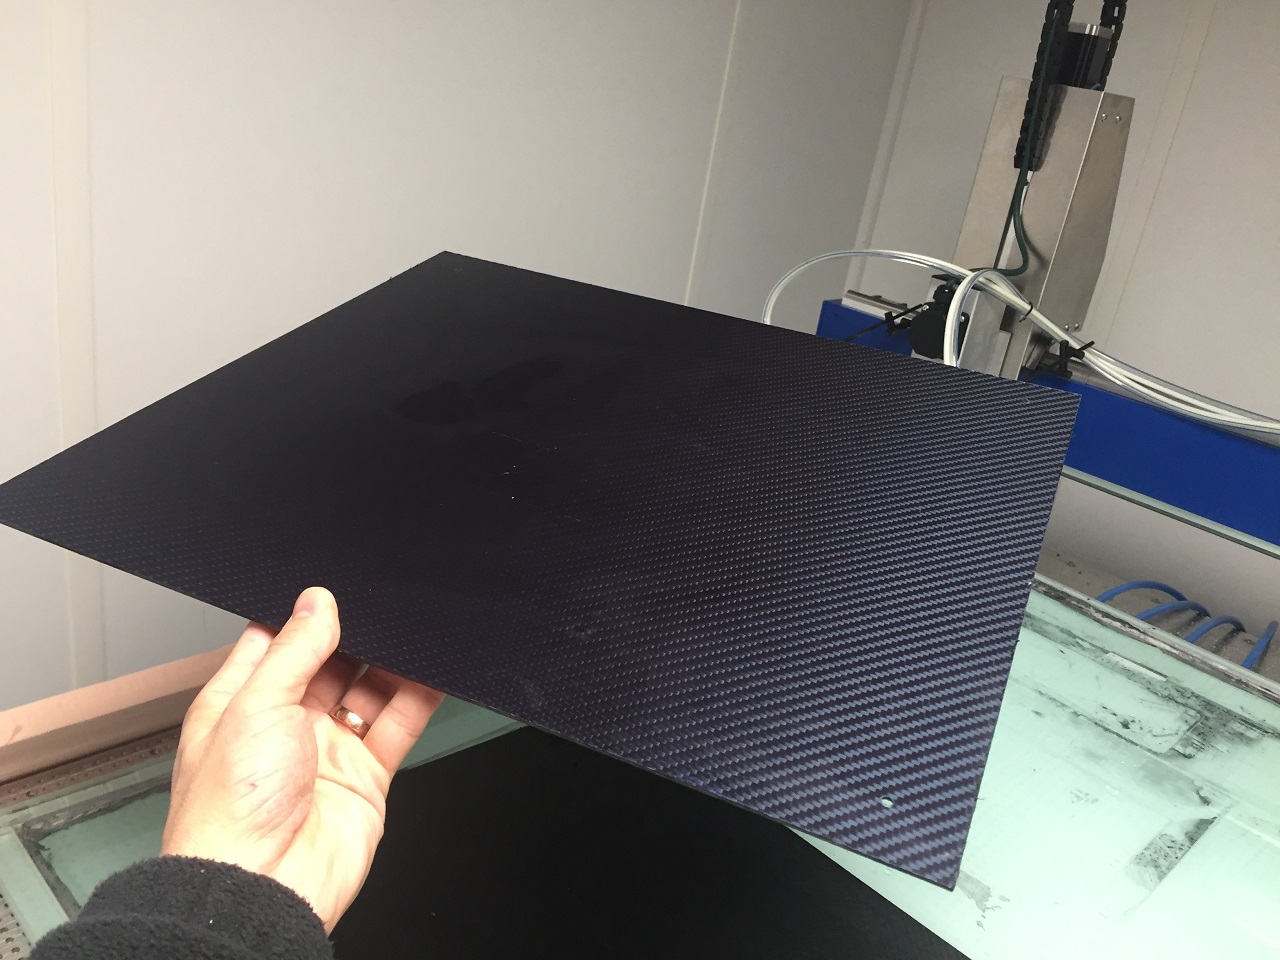
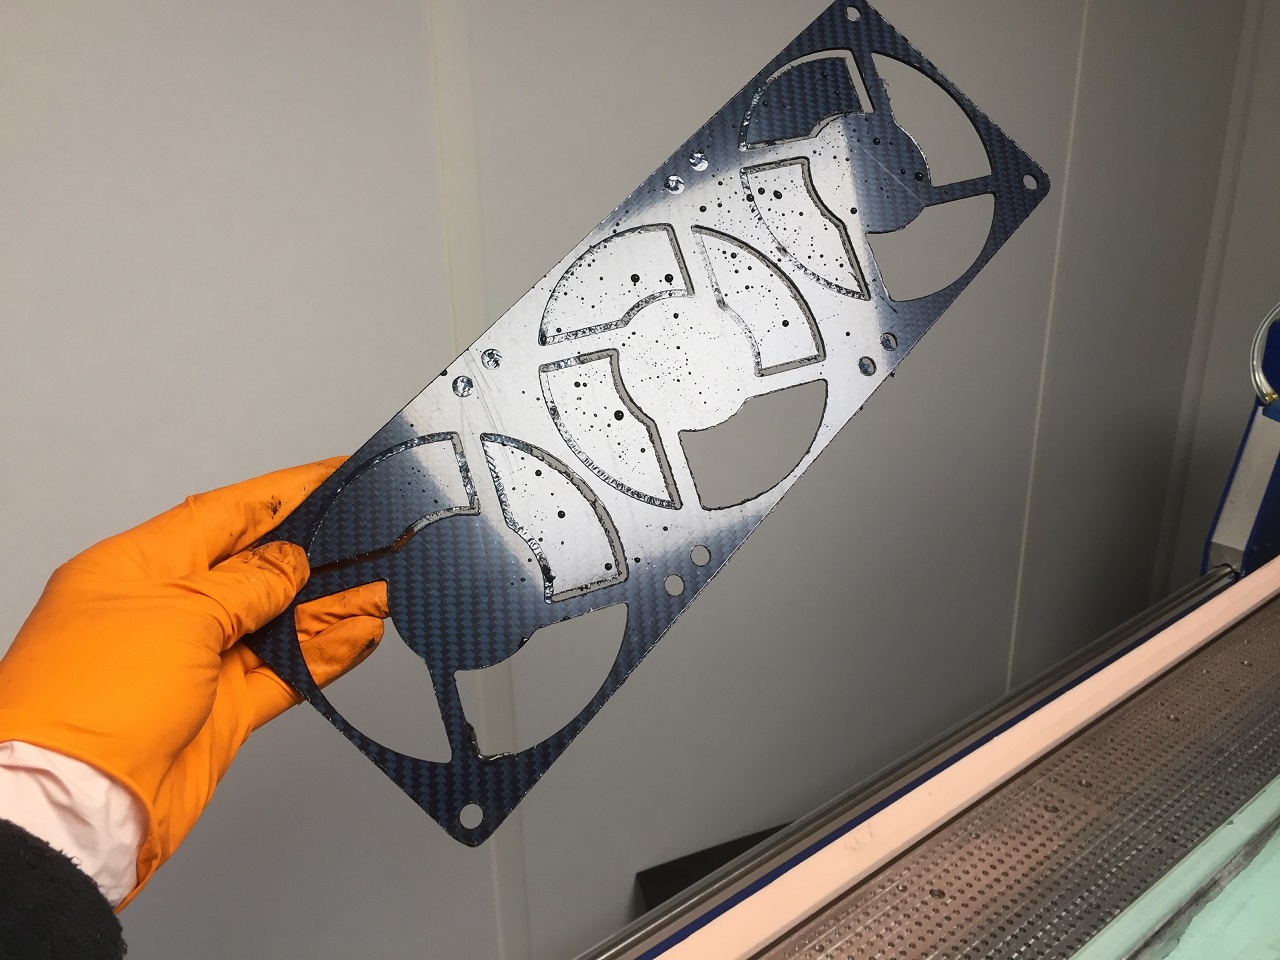
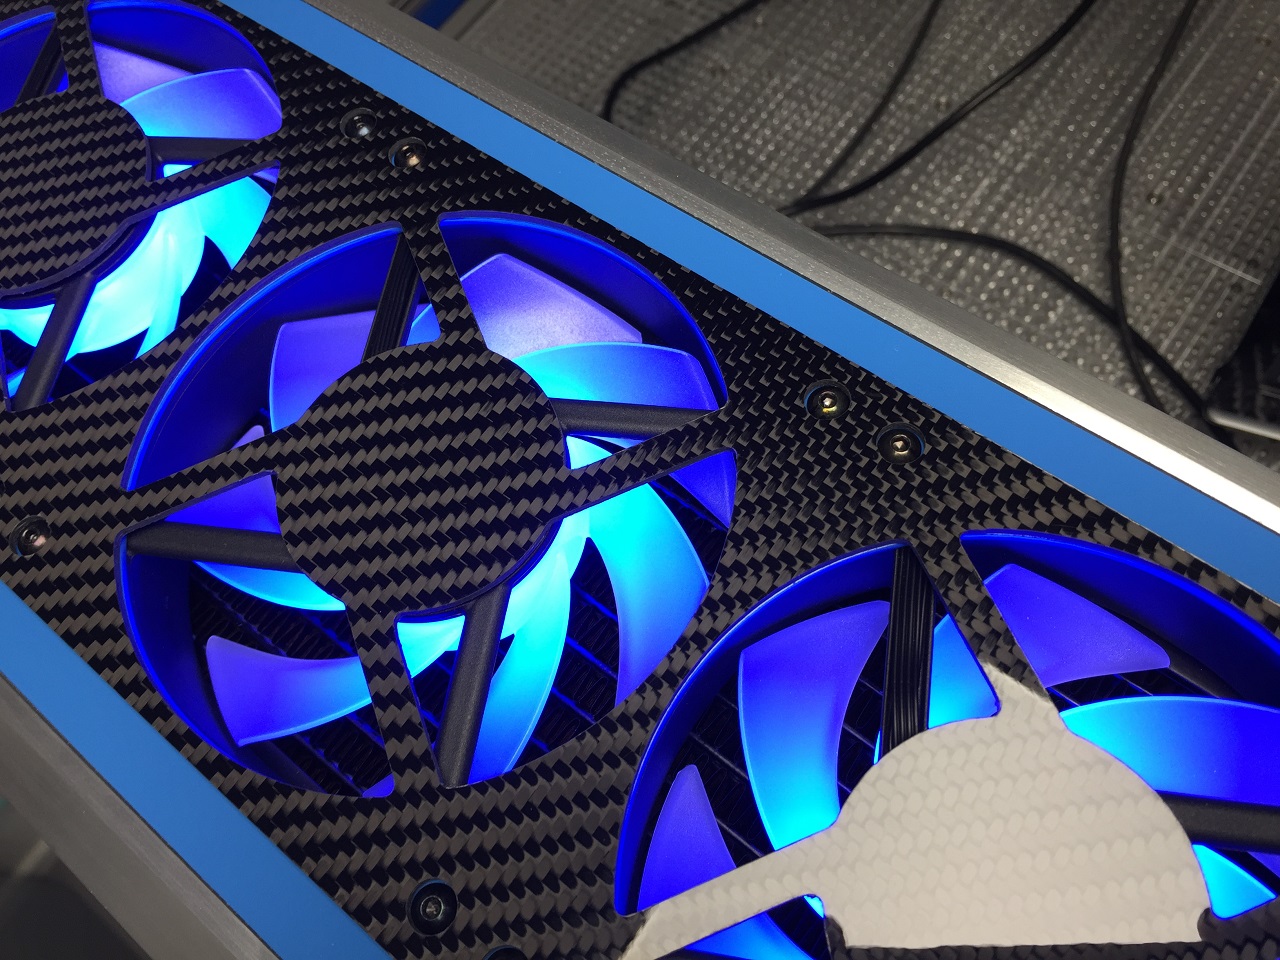
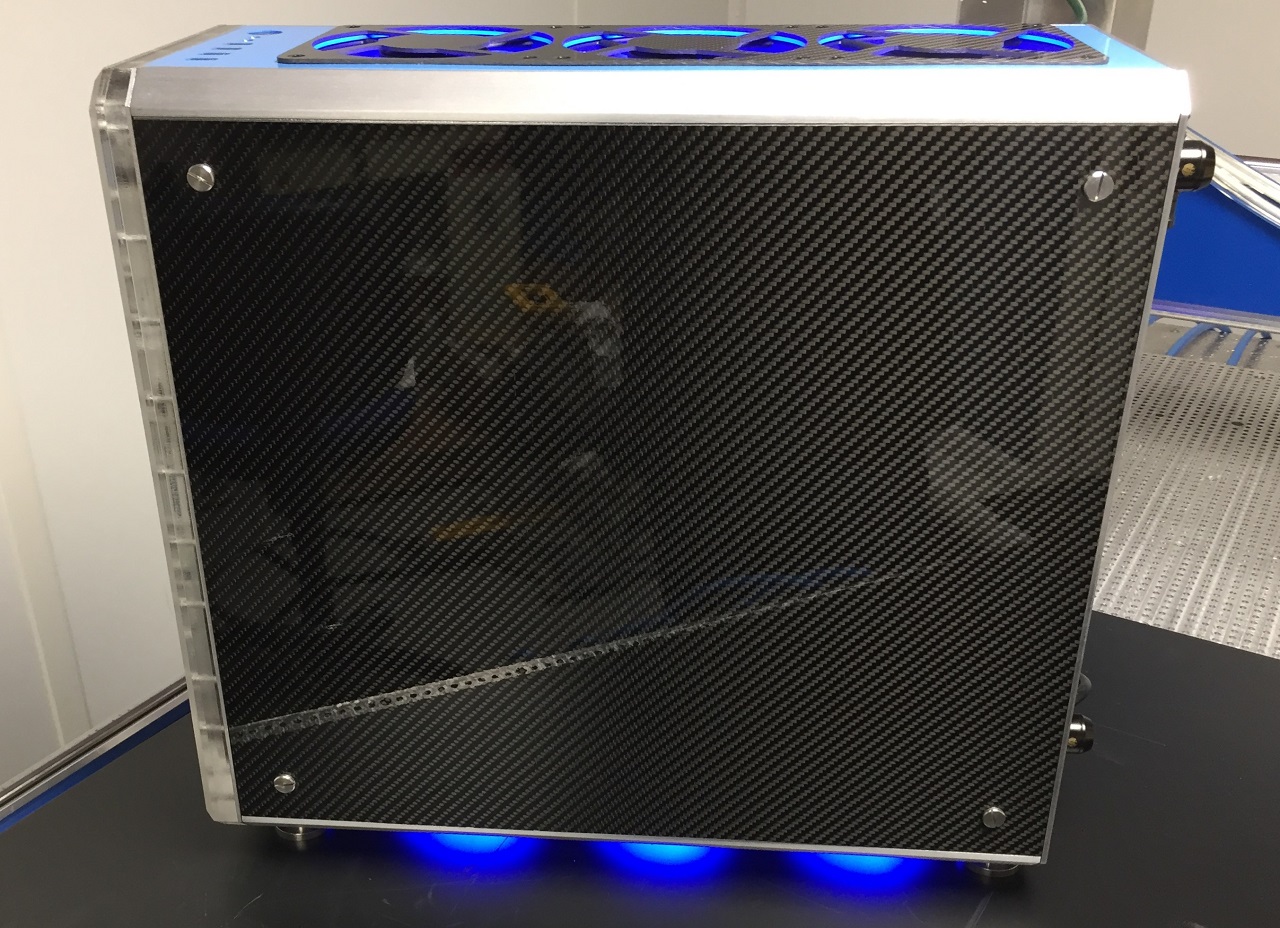
Machine a carbon fiber side panel and top fan trim. Machined in a water bath.
Carbon Fiber Side Panel

If you are interested in building a custom PC of your own I have also made a web app for you to do a 3D layout here PC Design Foundry
I wanted a medium tower size with good air flow bottom to top. I also wanted to have a distributor plate on the front so there are no vent openings to keep it quiet.
I moved the power supply to the front of the enclosure and used an SFX form factor to get a good fit with the pump. Then I was able to fit two 360 rads along the whole length of the enclosure.
I used a Micro ATX motherboard because I was not going to need 7 PCI slots.
Looking back on the build I wish I had got a motherboard with built in RGB LED headers as I ended up having to get separate cables with built in controllers for the LED's in the Fans.
I also should change the connection from the pump to the front distributor plate to be a soft line tube at some point to minimise the bump vibration noise.
- CPU. Intel i7 9700k
- GPU Palit RTX 2080Ti
- Samsung 970 EVO Polaris 500GB M.2
- Kingston HyperX Predator RGB 16GB (2x8GB) DDR4 3200MHz
- Asus ROG Strix Z370-G Gaming (Wi-Fi AC) Micro-ATX
- 800W Silverstone Strider SFX Power Supply
- 2 x 360 Alphacool NexXxoS XT45 Radiators
- 6x EK Vardar 120 mm fans.
- EK Water Blocks EK-XRES 140 DDC 3.2 PWM Pump
- Bitspower Matte Black Fittings
- Custom sleved internal cabling
Machined corner extrusions form 1" square stock Aluminum 6082 on my Stoney CNC JBEC 1259012 router

It takes three setups and about five hours of machining for each part.

Installed Tappex M4 inserts so that the other enclosure parts can be assembled. I tried M3 inserts but the installation toosl kept breaking.

Machined the sheet metal parts form 2 mm 6082 T6 Aluminium Stoney CNC JBEC 1259012 router The bed size is 1.25 m by 0.9 m with a vacuum table installed.


Folded using Baileigh Industrial, Magnetic Box and Pan Folder I have to machine a recess at the bend points about 1.2 mm deep and 3.5 mm wide to get really accurate bends and avoid cracking. I also need to have a minimum of 16 mm flange length to get a good bend. It means I have to finish machining out the rear IO recess after bending.


Press in PEM inserts using Baileigh Industrial, BENCH PRESS (BP-3) These are the main motherboard mounting standoffs.

All the metal parts bent with PEM's installed.

Start assembly test.


Machine first part of front distributor plate from 10 mm Cast Acrylic


Tap holes for G1/4 fittings

Test assembly fit check.


Some components

Fit check. I really wanted to have both the radiators and pump mount directly to the distributor plate with adjustable fittings instead of any additional hard line tubing.


Make some custom O rings.

The top fans are exhaust fans so I had to make a trim part to cover the rear labels.

Powder coated. I used an outside supplier for this.

Hand sand a brushed aluminum finish on the corner extrusions. I tried using a sander but it gouged the metal too much.


Bottom fans are intake. A bit of a shame as you cant see the logos.


Build some custom cables. Since the power supply is up front I needed some really short ones.


Also sleved the pump cables.

Making some custom PCI power cables.


Here you can see the radiator connected straight to the distributor plate.


Make some hard line tubing. PET 16 mm

Machine a carbon fiber side panel and top fan trim. Machined in a water bath.


Carbon Fiber Side Panel


