A few people seem to have shown interest in these, so I have decided to do a bit of a review.
Note, any games perfomance ratings etc are estimates as I dont have any methods of getting accurate data.
Shuttle SP35P2 Spec
Chipset:
Intel P35 Chipset
CPU Support:
Socket 775
Memory:
DDR2 800, 1333 rated in Overclocking mode
Max Memory: 8GB
PSU:
400Watt, 80% or higher efficiency
Graphics Slot:
1 x 16x PCI-E (Dual Slot Card Capable)
Other slots:
1 x PCI (You lose this if you use a dual slot GFX card)
1 x Mini PCIe
Hard Disk Drives:
2 x SATA Hard Disk Drives on top of chassis, space for a 3rd (SATA or IDE) in Floppy Drive (albeit you lose the Floppy Disk)
Audio:
Realtek ALC888 7.1 Audio
USB:
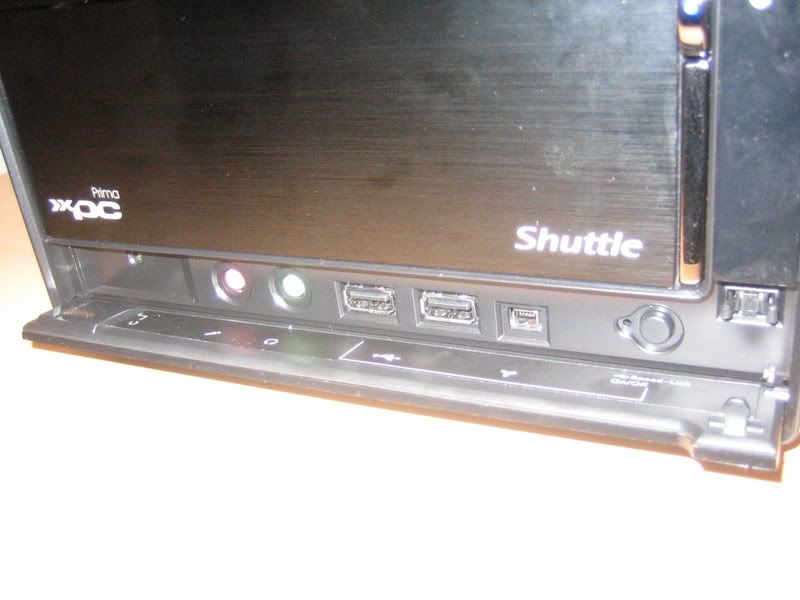
6 x Slots on back + 2 x Slots on front
Toys:
Fingerprint Recognition Scanner
My Spec
Shuttle SP35P2
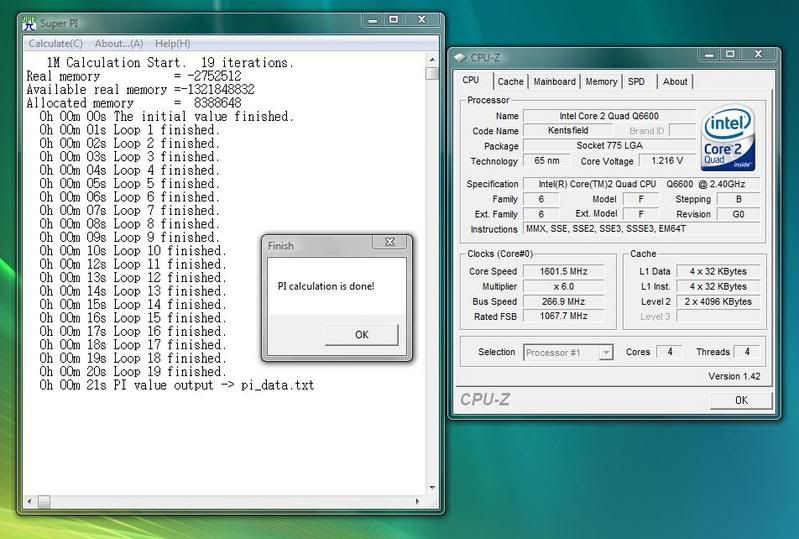
Intel Core2Quad Q6600 G0
4 x 1GB 6400 OCZ (4GB Total)
Leadtek 8800GTS 640mb
Windows Vista 64 Business Edition
Initial Build
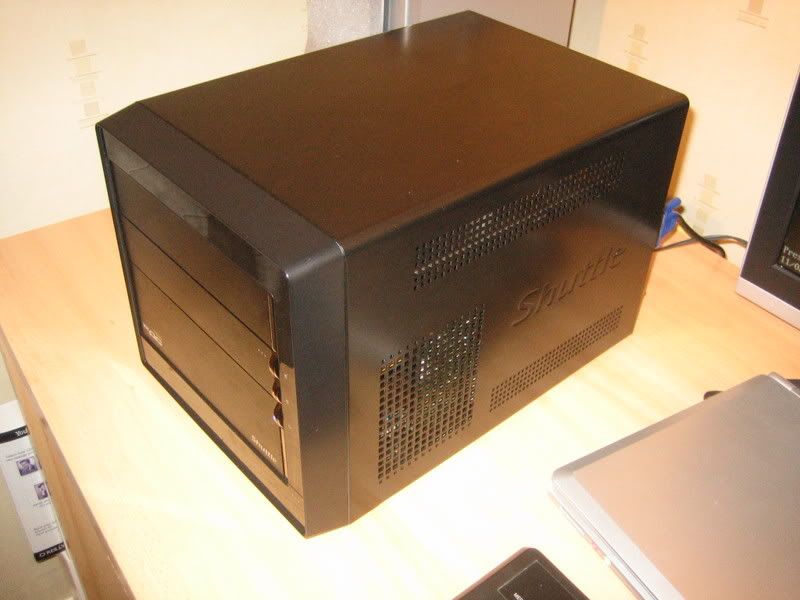
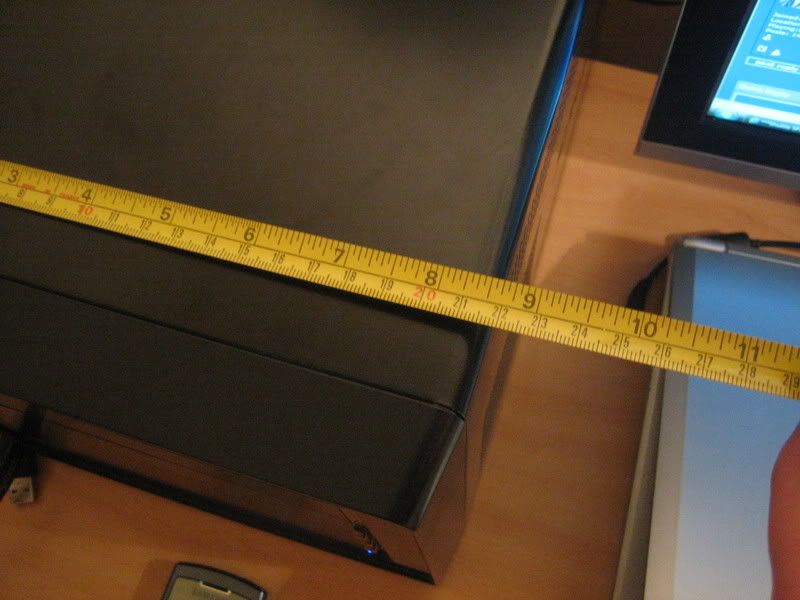
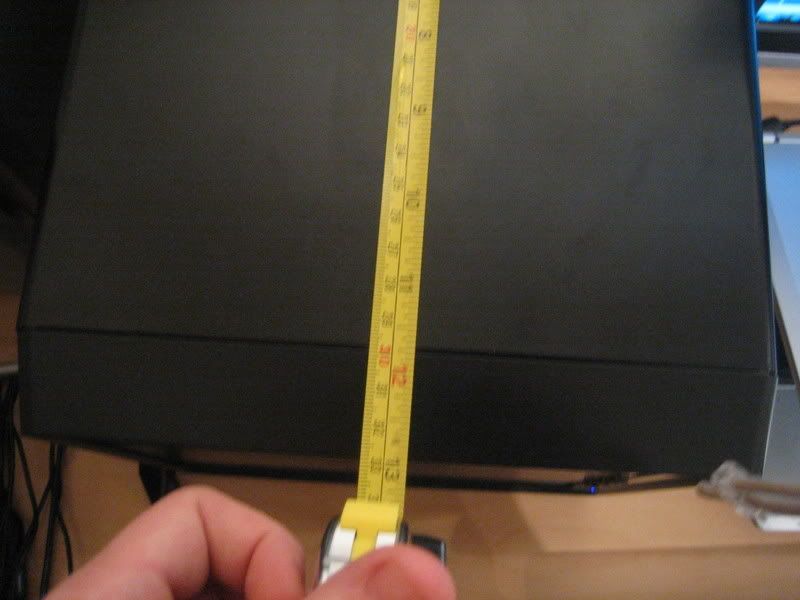
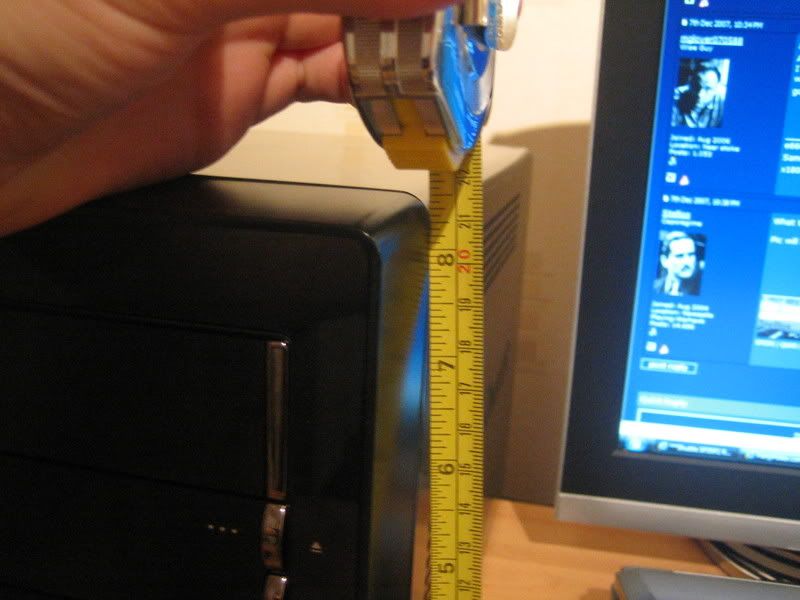
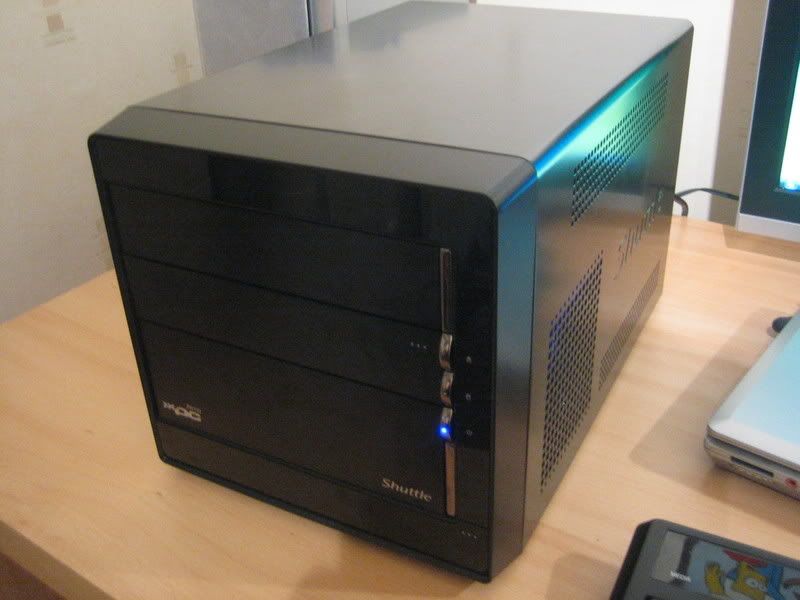
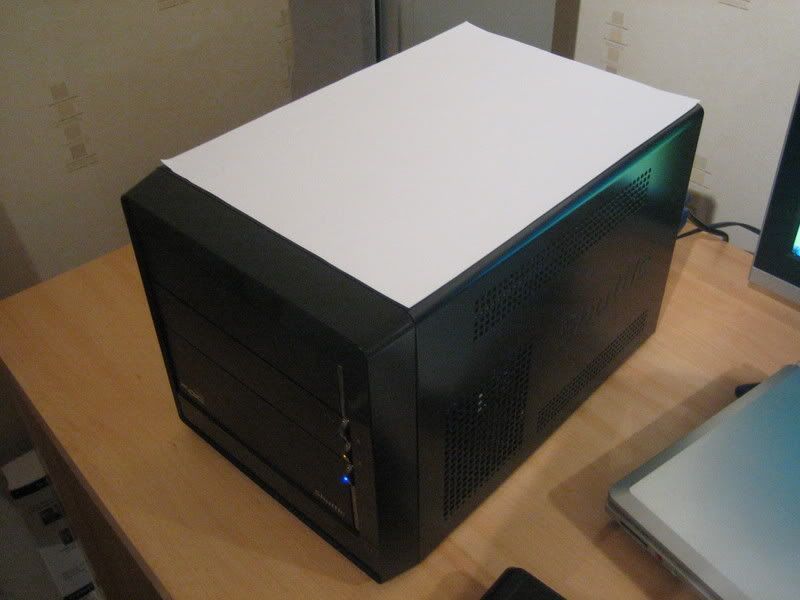
First arrival of the item when removed from the box, thid thing oozes build quality and feels extrmely solidly built. You have to be very specific how you build a Shuttle, and this one is business as usual. First of all you need to uscrew the CPU heatsink and insert the CPU, then re-attatch the heatsink. This is a doddle as its only 4 screws, but be prepared to need a long screwdriver as 2 screws are fairly hard to access.
Next, the RAM, not a problem, its simple slips in as it would any other system
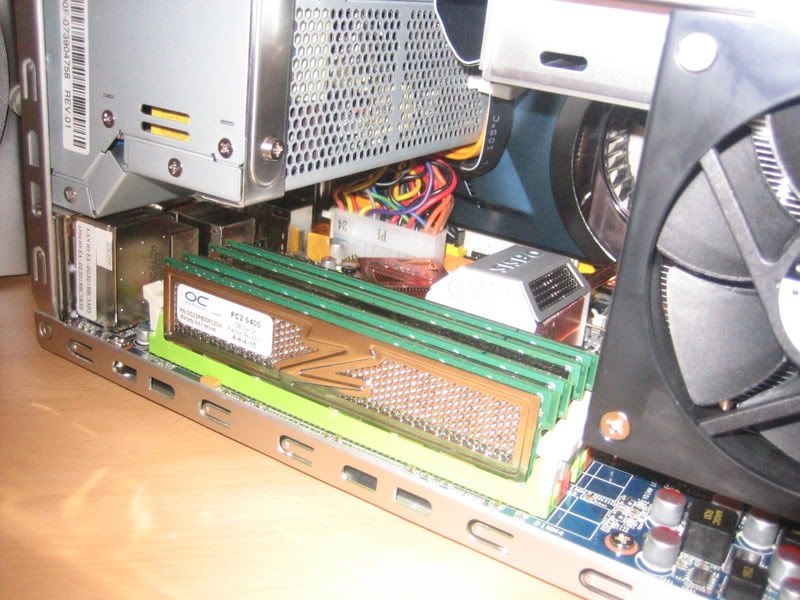
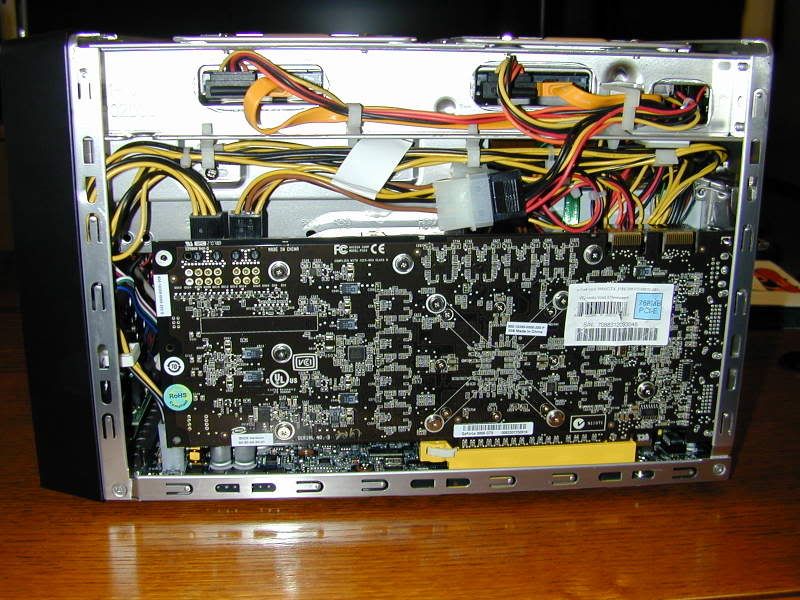
Next up, the Graphics Card. Now, a single slot card will be extremely easy to fit, but the galactus size of the 8800GTS 640mb means its a bit of an art. The wires from the PSU kind of get in the way, so you have to re-route the PSU wiring before the card will fit, kind of annoying as I was hoping Shuttle would be bright enough to realise this, but never mind, in goes the card, with the power plug just sitting perfectly positioned waiting to be plugged in.
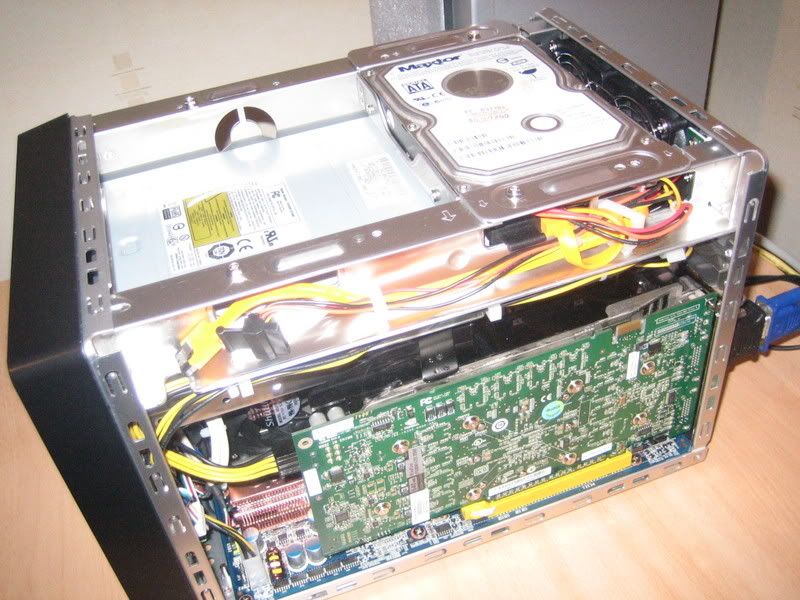
Next up, insert the middle cage that holds the Floppy Drive (or HDD should you wish) and the DVD-RW, now this is very tight, it only just goes past the 8800GTS, literally we are talking millimetres, very well designed, although it had me nervous at first. Screw the cage down and connect the cabling which is already pre-placed for you, thanks a lot Shutttle for that.
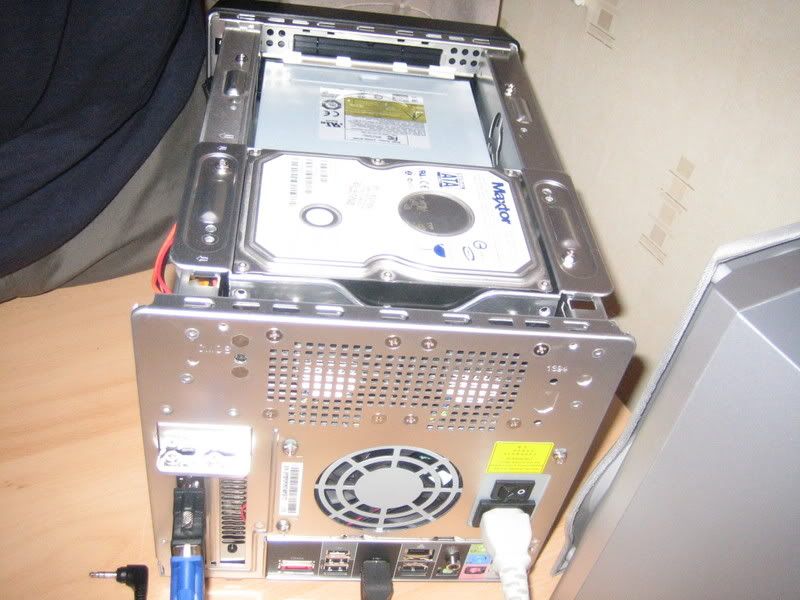
Once you haev screwed that cage into position, your ready to screw the HDD cages on the top, this is very easy, simply a few more screws, and again your SATA and power plugs are already positioned perfectly so all you do is plug them in, the wiring in this thing really is immensly neat.
Right, your ready to switch on.
Note, any games perfomance ratings etc are estimates as I dont have any methods of getting accurate data.
Shuttle SP35P2 Spec
Chipset:
Intel P35 Chipset
CPU Support:
Socket 775
Memory:
DDR2 800, 1333 rated in Overclocking mode
Max Memory: 8GB
PSU:
400Watt, 80% or higher efficiency
Graphics Slot:
1 x 16x PCI-E (Dual Slot Card Capable)
Other slots:
1 x PCI (You lose this if you use a dual slot GFX card)
1 x Mini PCIe
Hard Disk Drives:
2 x SATA Hard Disk Drives on top of chassis, space for a 3rd (SATA or IDE) in Floppy Drive (albeit you lose the Floppy Disk)
Audio:
Realtek ALC888 7.1 Audio
USB:
6 x Slots on back + 2 x Slots on front
Toys:
Fingerprint Recognition Scanner
My Spec
Shuttle SP35P2
Intel Core2Quad Q6600 G0
4 x 1GB 6400 OCZ (4GB Total)
Leadtek 8800GTS 640mb
Windows Vista 64 Business Edition
Initial Build
First arrival of the item when removed from the box, thid thing oozes build quality and feels extrmely solidly built. You have to be very specific how you build a Shuttle, and this one is business as usual. First of all you need to uscrew the CPU heatsink and insert the CPU, then re-attatch the heatsink. This is a doddle as its only 4 screws, but be prepared to need a long screwdriver as 2 screws are fairly hard to access.
Next, the RAM, not a problem, its simple slips in as it would any other system
Next up, the Graphics Card. Now, a single slot card will be extremely easy to fit, but the galactus size of the 8800GTS 640mb means its a bit of an art. The wires from the PSU kind of get in the way, so you have to re-route the PSU wiring before the card will fit, kind of annoying as I was hoping Shuttle would be bright enough to realise this, but never mind, in goes the card, with the power plug just sitting perfectly positioned waiting to be plugged in.
Next up, insert the middle cage that holds the Floppy Drive (or HDD should you wish) and the DVD-RW, now this is very tight, it only just goes past the 8800GTS, literally we are talking millimetres, very well designed, although it had me nervous at first. Screw the cage down and connect the cabling which is already pre-placed for you, thanks a lot Shutttle for that.
Once you haev screwed that cage into position, your ready to screw the HDD cages on the top, this is very easy, simply a few more screws, and again your SATA and power plugs are already positioned perfectly so all you do is plug them in, the wiring in this thing really is immensly neat.
Right, your ready to switch on.
Last edited:

")