Associate
- Joined
- 31 Jul 2012
- Posts
- 1,016
- Location
- Cheshire
I still have several things to complete and will update this thread as these are finished.
I thought I’d post this in case it’s of interest to anyone with similar space challenges or gives them some ideas to do something similar. I guess a much larger desk could be modded in a similar way
Although I have a dedicated gaming room, space is fairly tight as I’m a little partial to building arcade cabinets and these seem to be overtaking the room. The objective was to create a small but practical gaming area with a style in-keeping with the rest of my DIY gaming machine builds. This also needed to have my essential peripherals within arm’s reach and organised.
The first objective was to identify an appropriate desk to be used as a basis to start from. The criteria were that it was both small and stable and also incorporated a back/vanity board. This is the one I selected which was the closest fit I could find:
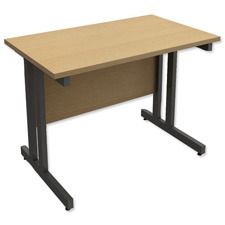
As you can see, there isn’t a lot of space on here (a mere 1m wide by 60cm deep) so things needed to be well thought out. Due to the lack of surface area, I figured that I’d need to create a monitor shelf and embed that into it. The stand on the monitor I had protruded out excessively making the desk next to useless in terms of being functional. A shelf would also allow me to store a mini keyboard underneath it when I wasn’t using my main gaming devices (G13 and mouse).
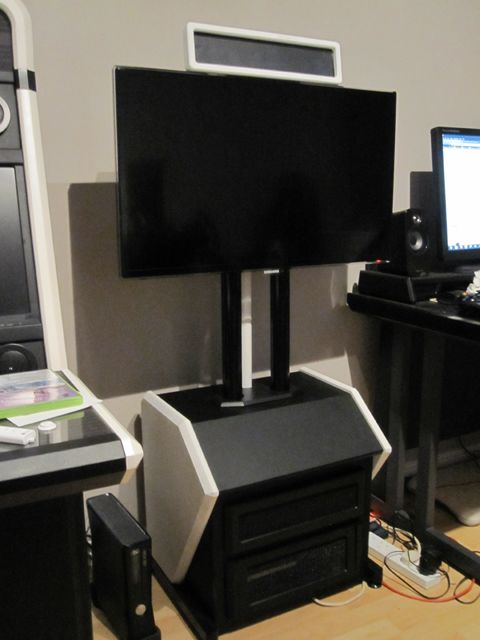
Next was to decide on the style of the modifications I wanted to make to the desk. As mentioned, I wanted these to be in-keeping with the other inhabitants of the room, particularly my DIY Vewlix cabinet:

So this essentially has a very angular look to it which I wanted to maintain. I also needed to make a monitor shelf. Here’s a few pictures of this phase (this was after I had covered the desk surface and vanity board in blackboard vinyl).


Once those pieces were complete, I covered the front angled section of the desk in vinyl and attached it.

By this point, I had also constructed the basis of the monitor shelf and embedded the hight / swivel / tilt mount into it.
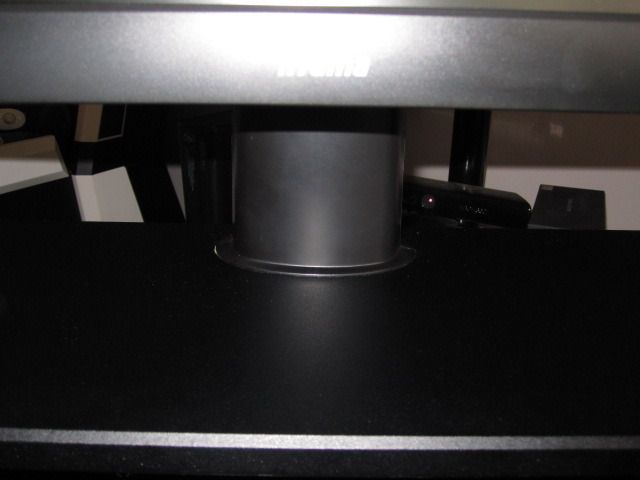
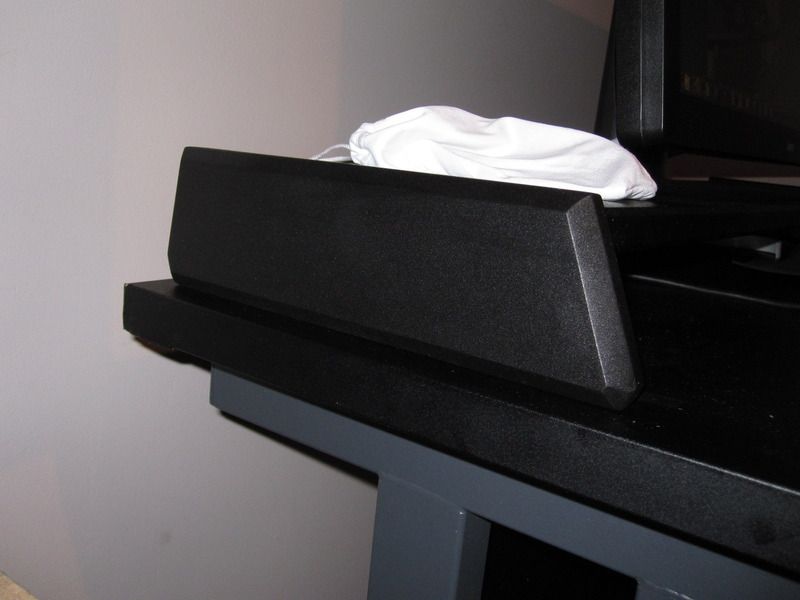
The next part was the most time consuming. Preparing and painting the sides of the desk and monitor shelf. The MDF pieces were filled with car body filler on the rough edges and sanded down smooth. These were then taken through various stages of priming, sanding and spraying to give the final finish. The ‘blotchiness’ is due to fingerprints on the finished painted surface.

I wanted to ensure that none of the cables would be visible – I attached a power strip to the back of the vanity board and created some ‘wings’; these would create the overall design effect I was looking for and also help to prevent any visibility of the cables when viewed from the side.
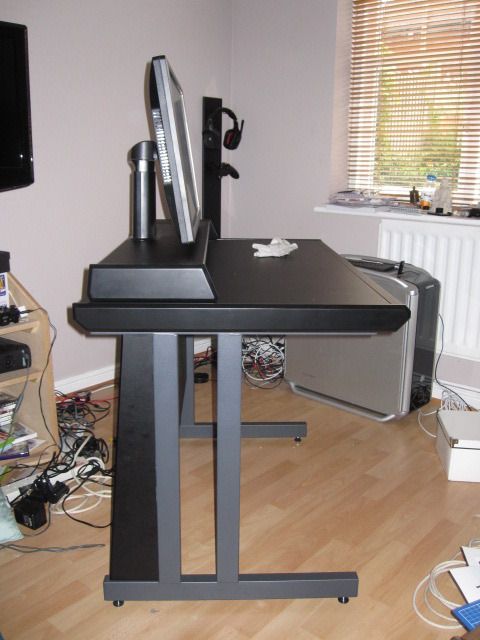
The next step was to complete the front of the monitor shelf by making some inserts. These were made from shaped MDF with vinyl applied to the recessed part.
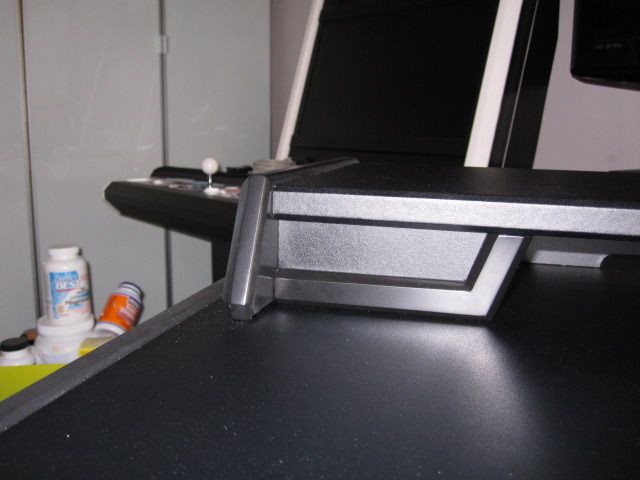
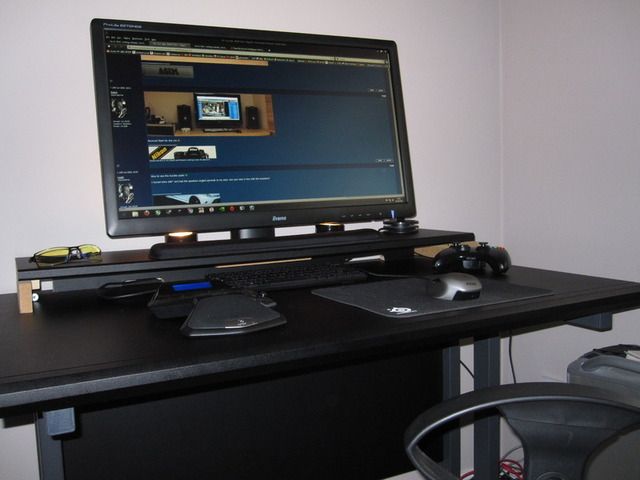
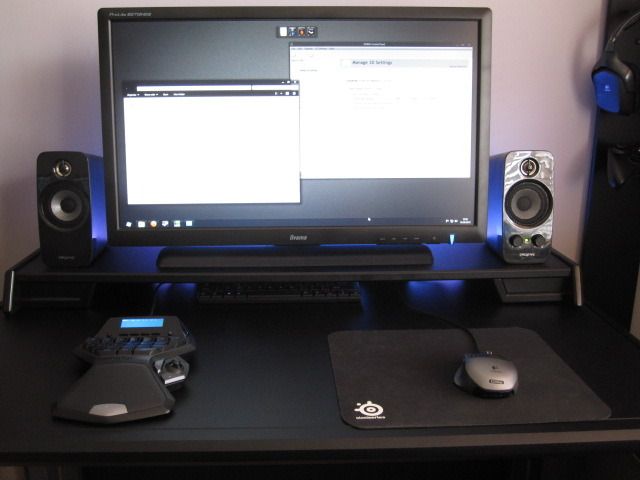
The final result, so far, looks like this (excuse the mess at this point):
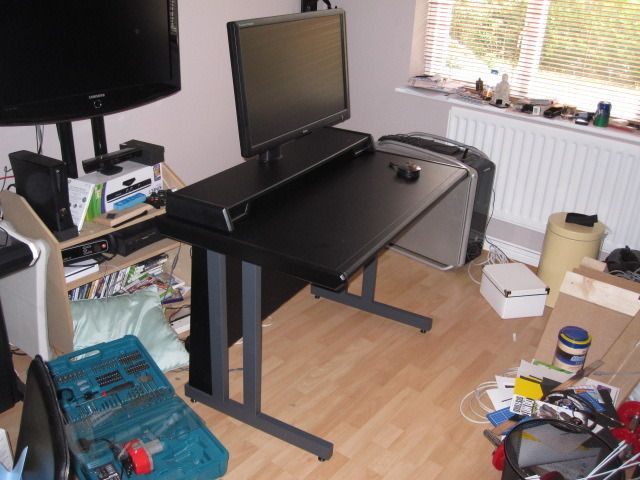
I then added some LED lighting to the back of the monitor shelf, activated by an RF remote under the front of the desk.
Whilst I was doing this, I created an accessory tidy – I had to consider where to put my headphones, XBOX controller and gaming glasses. I made a board with some hangers to create this.
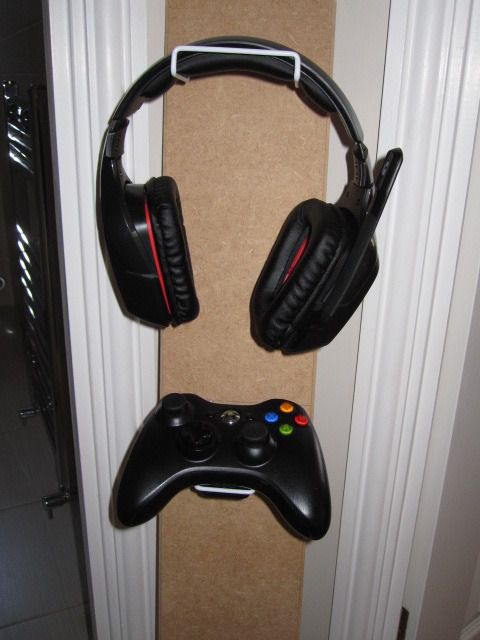
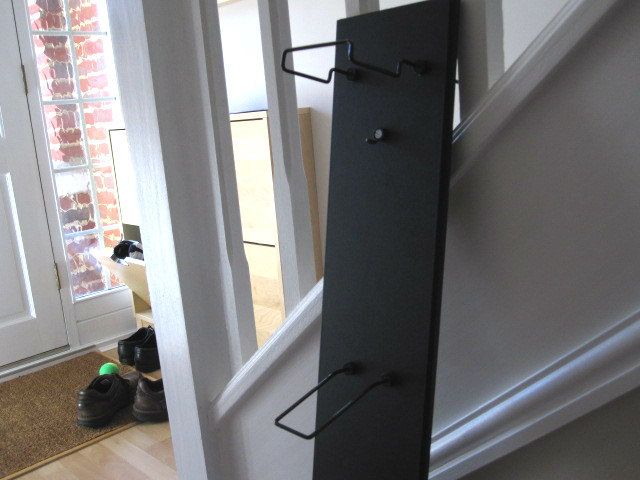
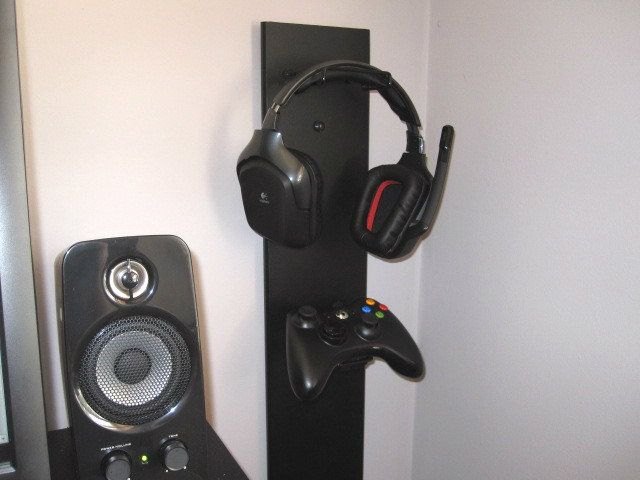
Coat hangers and vinyl wrapped MDF were used to build this. The accessory tidy now has a hanger for my gaming glasses case which is not shown in the pictures.
I’d be interested to know whether anyone has any further suggestions for improving my gaming space.
Still to do:
Powder coat the legs in black.
Add pull out draws/trays behind the monitor shelf inserts.
Integrate a USB hub into the monitor shelf.
Add some additional LED lighting under the sides of the desk.
Add a white reading light for the keyboard somewhere .
Cut out a section of the vanity board as this restricts my legs a little.
I thought I’d post this in case it’s of interest to anyone with similar space challenges or gives them some ideas to do something similar. I guess a much larger desk could be modded in a similar way
Although I have a dedicated gaming room, space is fairly tight as I’m a little partial to building arcade cabinets and these seem to be overtaking the room. The objective was to create a small but practical gaming area with a style in-keeping with the rest of my DIY gaming machine builds. This also needed to have my essential peripherals within arm’s reach and organised.
The first objective was to identify an appropriate desk to be used as a basis to start from. The criteria were that it was both small and stable and also incorporated a back/vanity board. This is the one I selected which was the closest fit I could find:

As you can see, there isn’t a lot of space on here (a mere 1m wide by 60cm deep) so things needed to be well thought out. Due to the lack of surface area, I figured that I’d need to create a monitor shelf and embed that into it. The stand on the monitor I had protruded out excessively making the desk next to useless in terms of being functional. A shelf would also allow me to store a mini keyboard underneath it when I wasn’t using my main gaming devices (G13 and mouse).
Next was to decide on the style of the modifications I wanted to make to the desk. As mentioned, I wanted these to be in-keeping with the other inhabitants of the room, particularly my DIY Vewlix cabinet:

So this essentially has a very angular look to it which I wanted to maintain. I also needed to make a monitor shelf. Here’s a few pictures of this phase (this was after I had covered the desk surface and vanity board in blackboard vinyl).


Once those pieces were complete, I covered the front angled section of the desk in vinyl and attached it.

By this point, I had also constructed the basis of the monitor shelf and embedded the hight / swivel / tilt mount into it.


The next part was the most time consuming. Preparing and painting the sides of the desk and monitor shelf. The MDF pieces were filled with car body filler on the rough edges and sanded down smooth. These were then taken through various stages of priming, sanding and spraying to give the final finish. The ‘blotchiness’ is due to fingerprints on the finished painted surface.

I wanted to ensure that none of the cables would be visible – I attached a power strip to the back of the vanity board and created some ‘wings’; these would create the overall design effect I was looking for and also help to prevent any visibility of the cables when viewed from the side.

The next step was to complete the front of the monitor shelf by making some inserts. These were made from shaped MDF with vinyl applied to the recessed part.

The final result, so far, looks like this (excuse the mess at this point):

I then added some LED lighting to the back of the monitor shelf, activated by an RF remote under the front of the desk.

Whilst I was doing this, I created an accessory tidy – I had to consider where to put my headphones, XBOX controller and gaming glasses. I made a board with some hangers to create this.


Coat hangers and vinyl wrapped MDF were used to build this. The accessory tidy now has a hanger for my gaming glasses case which is not shown in the pictures.
I’d be interested to know whether anyone has any further suggestions for improving my gaming space.
Still to do:
Powder coat the legs in black.
Add pull out draws/trays behind the monitor shelf inserts.
Integrate a USB hub into the monitor shelf.
Add some additional LED lighting under the sides of the desk.
Add a white reading light for the keyboard somewhere .
Cut out a section of the vanity board as this restricts my legs a little.
Last edited:


