test.

Caporegime
Joined
17 Jan 2010
Posts
66,731
Location
weston-super-mare
BAv2Shf.jpg


OcUK Product page - https://www.overclockers.co.uk/nitro-concepts-s300-fabric-gaming-chair-radiant-white-gc-03f-nr.html

Nitro Concepts Product page - http://www.nitro-concepts.com/en/s300-gaming-chair-radiant-white/

Today I will be giving an overview and my thoughts on a £230 gaming chair from Nitro Concepts called the S300

Gaming chairs from Nitro Concepts span a large range of price points so that many user budgets are catered for starting with the C80 at around £120 RRP rising up to this S300 at approximately £230 RRP. Now the big question is what do you get for you £230 compared to other brands equal or higher priced offerings.

The Nitro Concepts S300 features include

• 2yr warranty
• High-quality fabric cover with intense colour scheme
• Comfortable & breathable cold foam upholstery
• Quiet 50 mm castors for a variety of floor types
• Adjustable 3D armrests
• Customisable backrest and rocking mechanism
• 135Kg maximum user weight


Overview of the parts

DSC_0174.jpg


Included in the box you have the castors, gas strut, tilt and height mechanism, bolts/screws and multi tool device and some plastic covers which are used to cover where the base joins to the backrest.


DSC_0141.jpg


DSC_0143.jpg


The wheelbase is large and made from a thick plastic with lots of reinforcing moulding, I usually have bad experiences with plastic ones of these as over time I usually find they crack somewhere around the castor mounting holes but time will tell with this one.

DSC_0144.jpg


Cushions for the lumbar and head, these both have straps to secure them to the chair.

DSC_0154.jpg


The base which has the armrests alreay mounted and ready to go out of the box.

DSC_0146.jpg


The back rest.

Assembling the S300 chair

DSC_0175.jpg


First thing to do is to attach the castors to the wheelbase and push fit the gas strut in to it, then place the palstic strut cover over that.

DSC_0178.jpg


Next fit the tilt and height mechanism to the base using four of the supplied bolts. Like most of these there is an arrow indicating which way to face the front.

DSC_0180.jpg


Place the base onto the gas strut in the designated hole.

DSC_0182.jpg


Attach the backrest to the base with the other four bolts.

DSC_0184.jpg


Then using the two screws also provided cover the metal mounting plates with the two plastic covers.

DSC_0194.jpg


DSC_0187.jpg


Attach the cushions to the chair and its all complete.

In the picture above I have quickly wrapped the straps around the backrest for quick testing with and without them, but for proper fitment you are meant to thread the straps through the plastic cutout in the headrest shown below

DSC_0150.jpg


Then down underneath and up the back of the backrest.

Being 6ft 4" I do prefer to have my head cushion higher up than if it was threaded through this plastic cutout like you are suppose to have it.


The completed chair

DSC_0190.jpg


So here we have it in all its glory.

It is a very nice looking chair and is very comfy to use. The castors roll around very easily on the carpet in my room and the included cushions are also excellt and help provide some welcome lumber support.

The fact the cushions remain in place when you get up and leave the chair is also an added bonus which my current gaming chair does not provide.

DSC_0148.jpg


The sticthing and quality of the materials look and feel excellent, but I do wonder how well the white version of this chair will stay white or weather it will start to look or get a bit grubby quicker than a darker coloured version would.

DSC_0164.jpg


The armrests have height adjustment.

DSC_0156.jpg


Angle in.

DSC_0155.jpg


Or angle out

DSC_0186.jpg


DSC_0185.jpg


And slide forwards and backwards.

DSC_0169.jpg


You also have a bit of adjustment for how close they are to the base with aprroximately 2 cm of movment in or out on each one.


Summing up

Nitro Concepts have created a wonderful looking and well featured gaming chair in a market with a large number of offerings at various price points, sure this is not the cheapest one you can buy but it is certainly not the most expensive either.

This S300 has a large range of adjustment and also somethings like the "stay in place" cushions that are not even found on higher priced chairs.

The seat itself is deep and provides excellent thigh support with the backrest also being very comfy with good back support should you want to sit straight backed or maybe even slump a little.

A 2 year warranty is par for the course these days, so should you experience any issues or have a breakage then atleast you know you will get help once you provide proof of purchase.

Time will tell if the plastic base withstands my weight and daily abuse compared to metal ones found on higher priced chairs, also the white fabric may start to dull and look dirty over time but there are many other colour options to pick from should you worry about that, I certainly don't hence why I have the white version.

Overall another excellent gaming chair from Nitro Concepts and one that I hope will last through many years of use.
 
Last edited:
ANTEC_H1200_BANNER3_zpswblt505h.jpg~original


OcUK Product Page - https://www.overclockers.co.uk/antec-h1200-kuhler-240mm-aio-liquid-cooler-hs-014-an.html

Antec Product page -

Today I will be doing a review of the Antec Kuhler 1200 AIO cooling unit which is arriving next week at OcUK.

This is a 240mm based AIO solution that comes in at a recommended retail price at a staggeringly low £59.99 along with a 5 year warranty, which before I even get deeper into the review already makes this look like a winning product. Unlike the Previous Kuhler 1250 this new design has a traditional pump in the CPU head combination and two separate fans that can be swapped out easily.

This new Kuhler is designed by Antec in California and features,
• Water block uses 0.15mm-thick fins in a high-precision fin group with a 0.2mm interval.
• Super durable oil-free graphite bearing with a service life up to 150000 hours.
• Ultra quiet enclosed impeller.
• Equipped with a winding type three-phase motor.
• High performance radiator.
• Large pure copper base plate.
• High quality silent fans.


Packaging

DSC_0207_zpsgs1q7oom.jpg~original


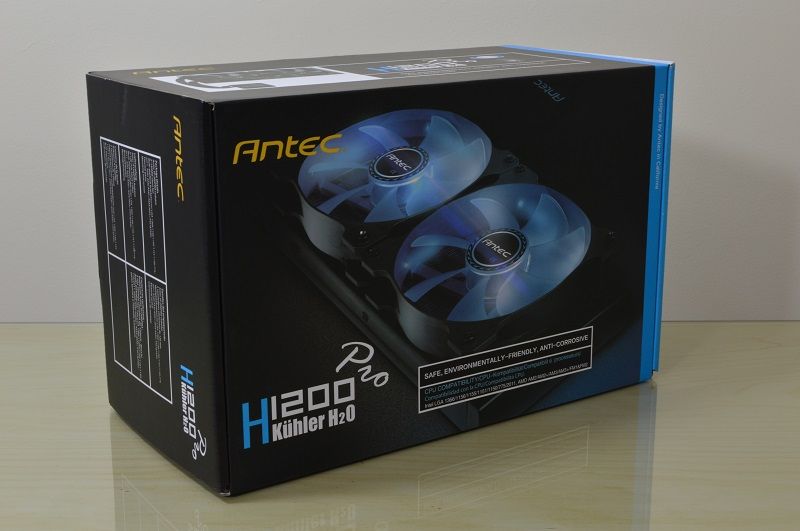
Absolutely no surprises here, the Kuhler 1200 comes in the same style flip open box that previous Antec AIO and Corsair AIOs have arrived in.

On the rear it highlights the features laid out above and a welcome 5 year warranty badge.


Accessories

DSC_0227_zpsipfwwmc8.jpg~original


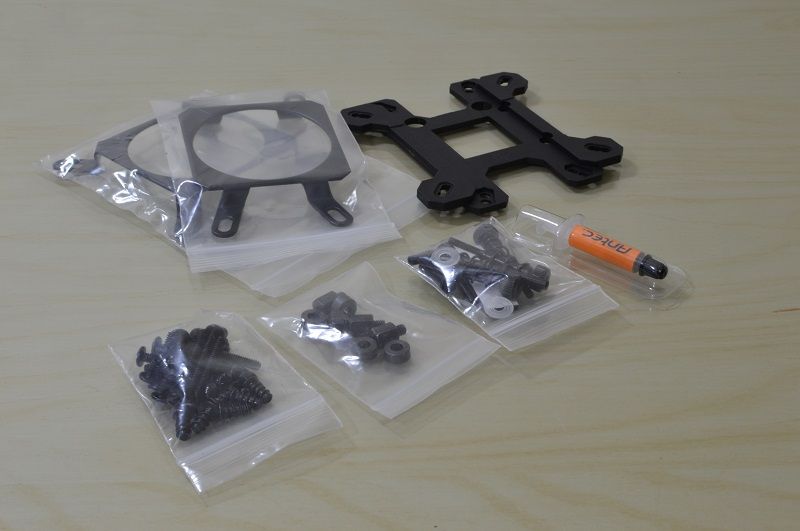
The Kuhler 1200 supports all current AMD/Intel socket types such as LGA775/115X/1366/2011/AM2+/AM3/FM2 etc.

It comes with enough thermal paste to do about 2-3 applications, this paste is quite watery and spreads super easily.

An instruction booklet is also included to guide you through the fitting process, while manageable it is still a touch lacking in specifics such how much paste to use and which washers to use where.


Fans

DSC_0218_zpsy1kylgyk.jpg~original


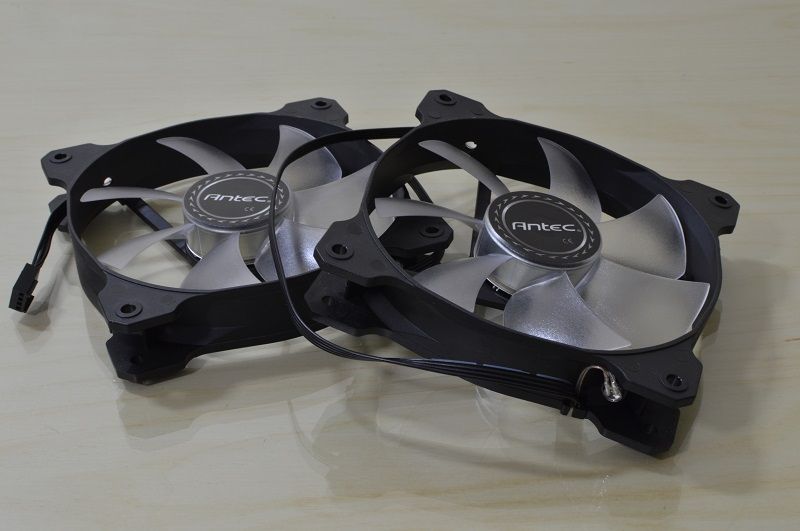
So unlike the previous generation of Antec Kuhler this one comes with two separate fans that if you wanted to you can replace.

They are a 7 blade, 4pin PWM model with blue LED illumination.

DSC_0222_zpswzmeyl9e.jpg~original


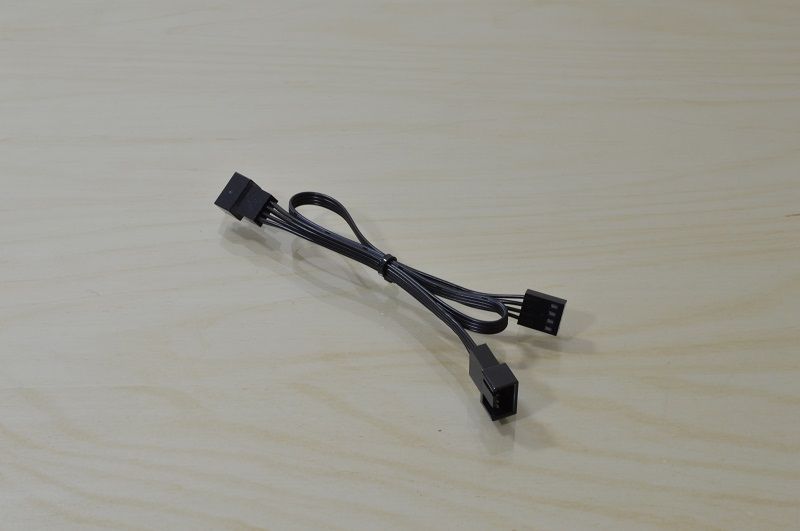
A splitter cable is supplied to run this pair from a single fan header.

The Fan speed is 600-1800RPM and rated for 16-35dBA.


Radiator+pump

DSC_0231_zpsht6n9ywy.jpg~original


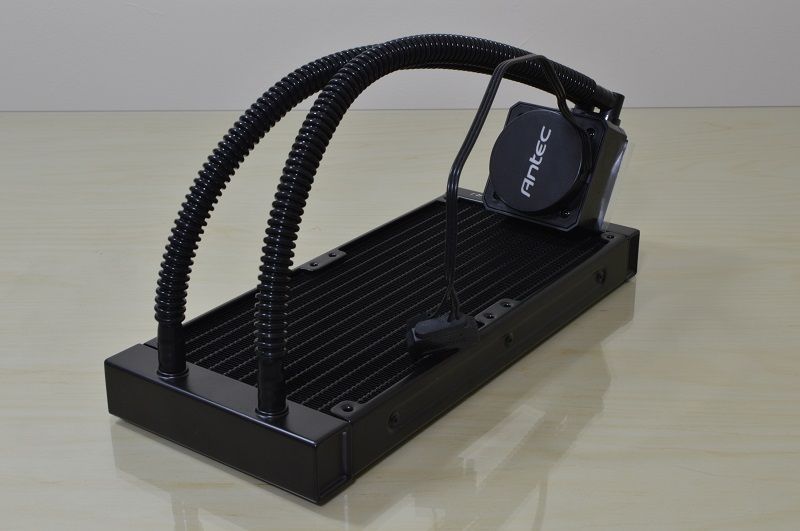
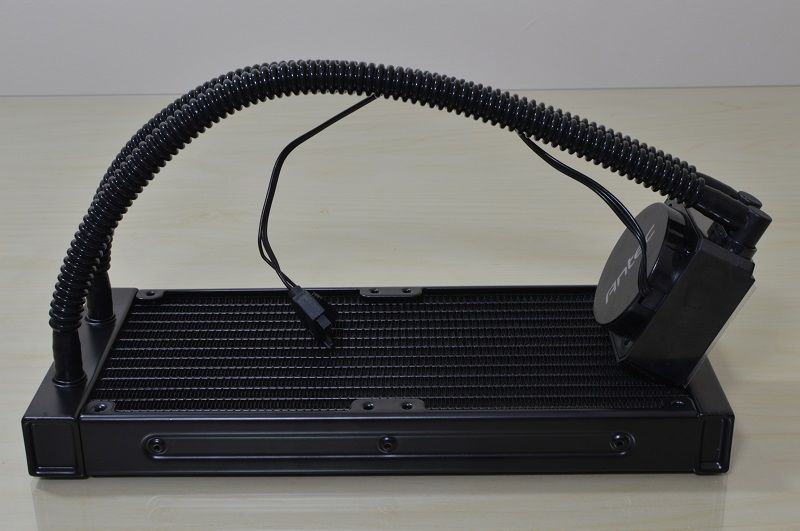
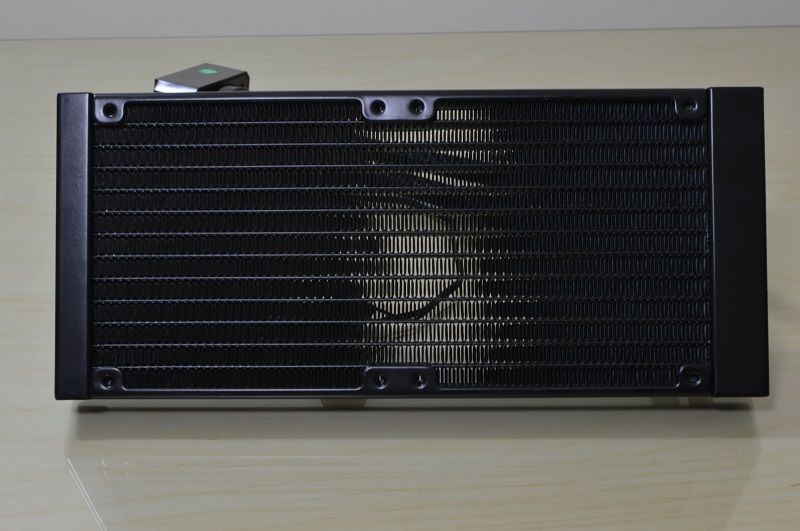
Moving on to the main unit which has a radiator that measures 271x120x25mm, although the box does have an error and claims it is 155mm long.

DSC_0243_zps1qdudjge.jpg~original


The tubing used is very flexible and is 315mm in length.

DSC_0236_zpsb6ov19za.jpg~original


The fin density is also very familiar and common across other AIOs, this one in-particular uses 0.28mm fins with a spacing of 1.3mm.

DSC_0239_zpskmp5f9wl.jpg~original


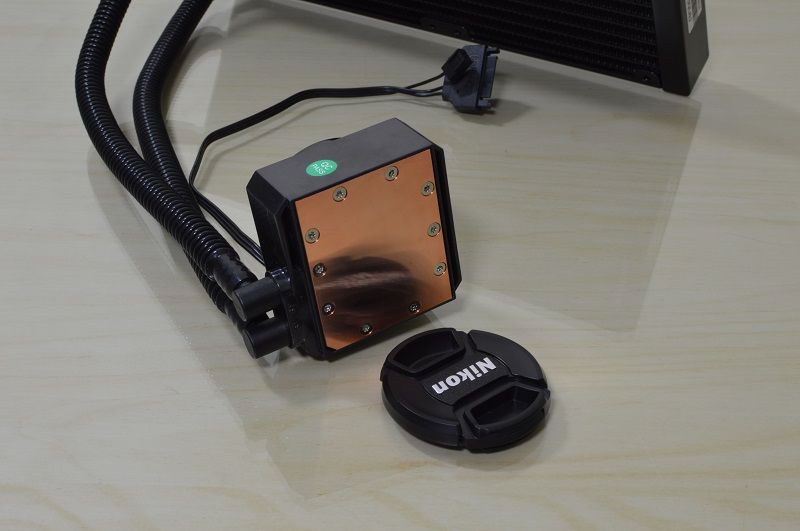
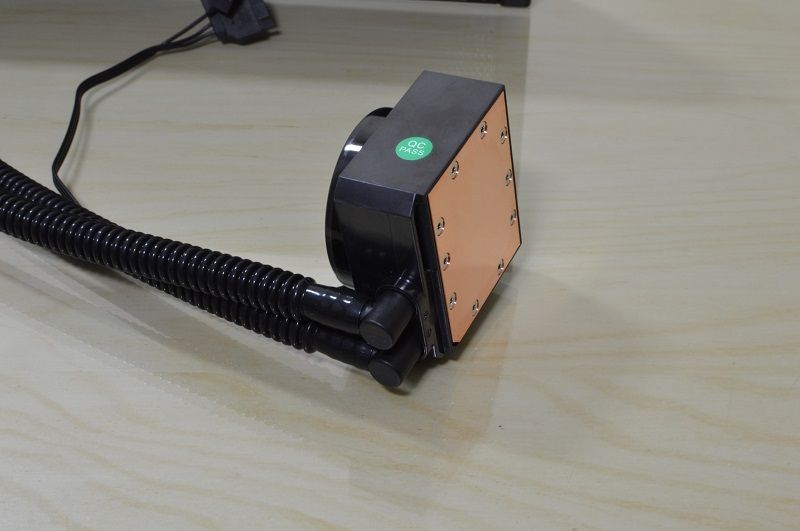
This is the copper base plate of the pump.

As you can see it is not polished to a perfect finish but it is flat.

The pump is powered by a SATA connector and has a single wire going to a 3pin fan connector for RPM sensing.

DSC_02402_zpsvhxhdy9n.jpg~original


The tubing is attached via swivel joints so you will not have any issues mounting this and the radiator in any position.


Fitting

Fitting I found to be a bit of a pain and still lacking behind Corsair with their excellent mounting solution used on the H100i/H110i GT etc.

It is a bit of a juggling act to hold the pump+bracket in place, while trying to screw the four sprung screws into the backplate but it can be done.


Illumination

DSC_0015_zps5z3eab6l.jpg~original


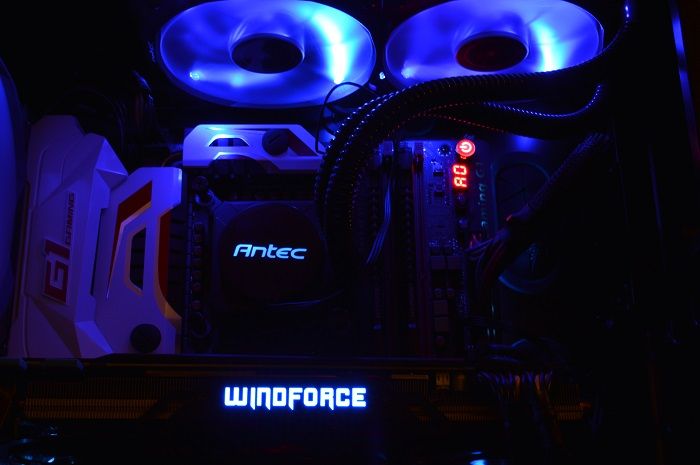
As mentioned before the fans have blue LED fitted and the Antec LOGO also glows blue during use.


Test Setup

i7 6700k
Gigabyte Z170 G1 Gaming
GTX980 G1 Gaming
Phanteks Enthoo Luxe (stock cooling)

I ran AIDA64 stability test for 10 minutes on my 6700K at stock speed and overclocked to 4.5GHz using 1.3V set hard in the BIOS.

Ambient temperature was recorded using an Hilka digital thermometer.

AIDA64 was ran with the Kuhler fans at minimum speed and maximum speed.

I used the motherboard SIV software to set the fan speed of the Kuhler to minimum and maximum RPM values.


Results

Stock CPU speed with minimum fan RPM.

Stock%20CPU%2C%20Minimum%20FAN%20RPM2.png

Stock CPU speed with maximum fan RPM.

Stock%20CPU%2C%20Maximum%20FAN%20RPM2.png

Overclocked CPU with minimum fan RPM.

4.5%401.3v%20CPU%2C%20Minimum%20FAN%20RPM.png

Overclocked CPU with maximum fan RPM.

4.5%401.3v%20CPU%2C%20Maximum%20FAN%20RPM.png

So summing up the results,

Stock CPU speed+Minimum fan RPM = 63.75ºC, Ambient = 18.1ºC, Delta temp = 45.65ºC
Stock CPU speed+Maximum fan RPM = 60ºC, Ambient = 18.2ºC, Delta temp = 41.8ºC
OC CPU+Minimum fan RPM = 67.25ºC, Ambient = 18.1ºC, Delta temp = 49.15ºC
OC CPU+maximum fan RPM = 61.5ºC, Ambient = 18ºC, Delta temp = 43.5ºC


Conclusion

What a great return to form for Antec with this new Kuhler 1200, gone is the fan+pump combination of the previous Kuhler1250 which although worked fine and could cope with most situations, the fact you could not change the fans on it was a poor design decision.

This new Kuhler costing just £60 looks like a great purchase and performs wells keeping a modern i7 Skylake CPU under control at stock speed or with a modest overclock applied to it.

It appears to be well made and extremely quiet in all but high-maximum fan RPM speeds.

I cannot compare this Kuler against previous cooling solutions I have used as my test platform has changed since then.

But for £60, it is decent and includes that 5 year warranty.


I hope to update this thread further with some Haswell-E results.


Thanks to Ethermaster for the banner graphics.
 
Back
Top Bottom