The Anti Compensator Project: A Monochrome Hadron Air Build..

Associate
Joined
22 Sep 2009
Posts
1,374


Hello guys.

Allas, after a 7 year hiatus I am back with another "little" project. Please note that this is more about the journey toward the final result than it is about wooing anyone with any sort of skill I definitely don't have ;)

Please do not expect the latest and greatest hardware on the cusp of the silicon high end. As you can see from the case, it's old and dated, but it should make for a pretty clean canvas and a lot of learning along the way..

The main use and purpose of this build will be as an un-intrusive gaming PC fit for the living room.

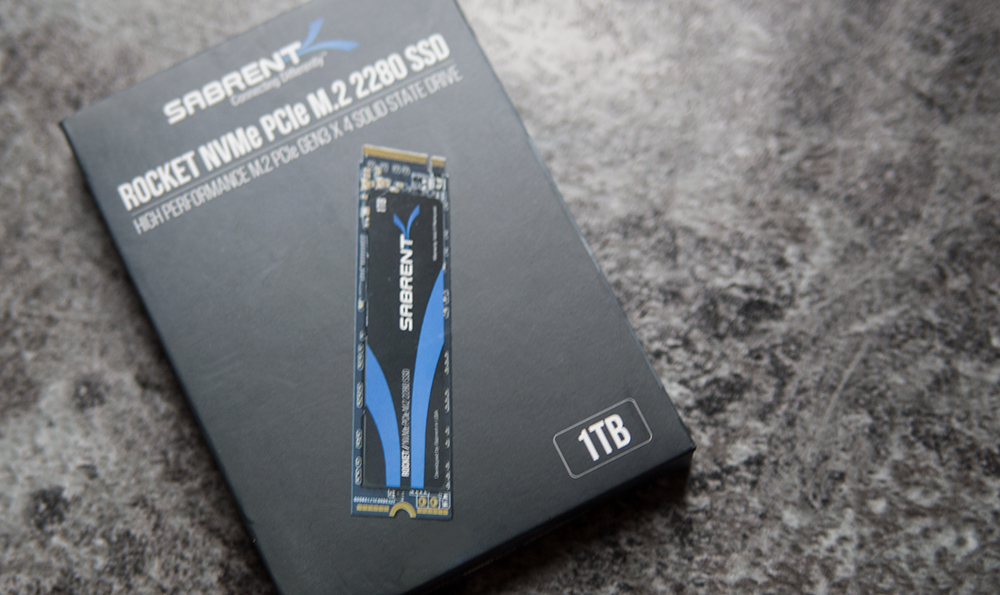
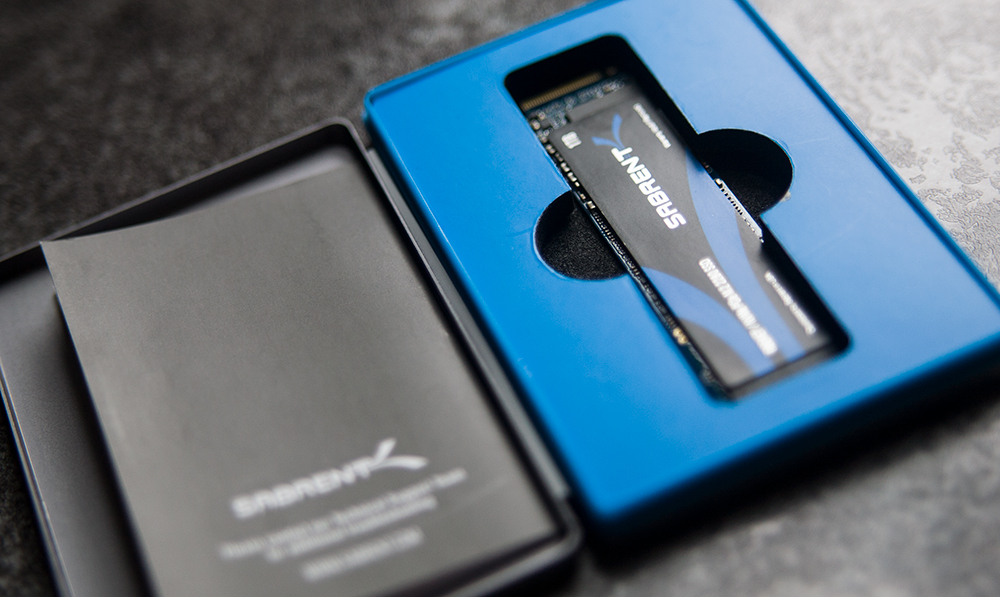
The hardware so far..

A very old and well used Hadron Air from EVG"A". Please refer to the front of the case for an explanation in regards to the emphasized "A".. :D

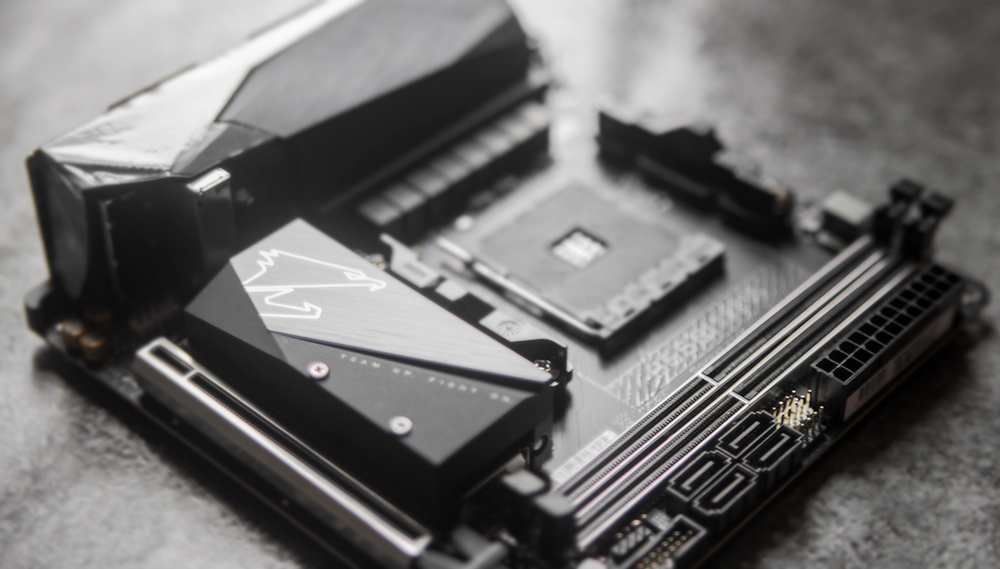
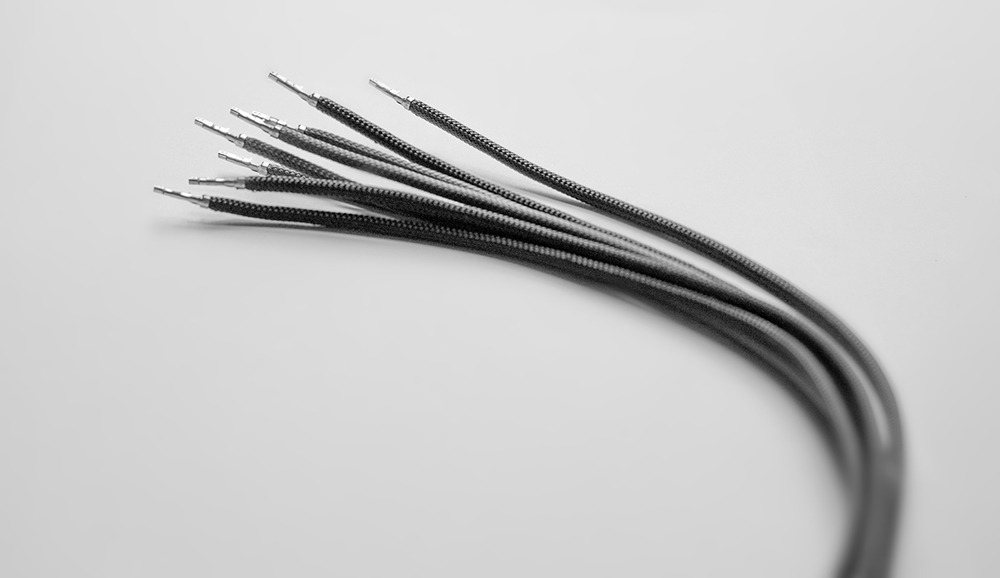
Anywho, I am going to try my best to do a clean, fairly monochrome build that's fully water cooled with 2 X 240 radiators (top and bottom)


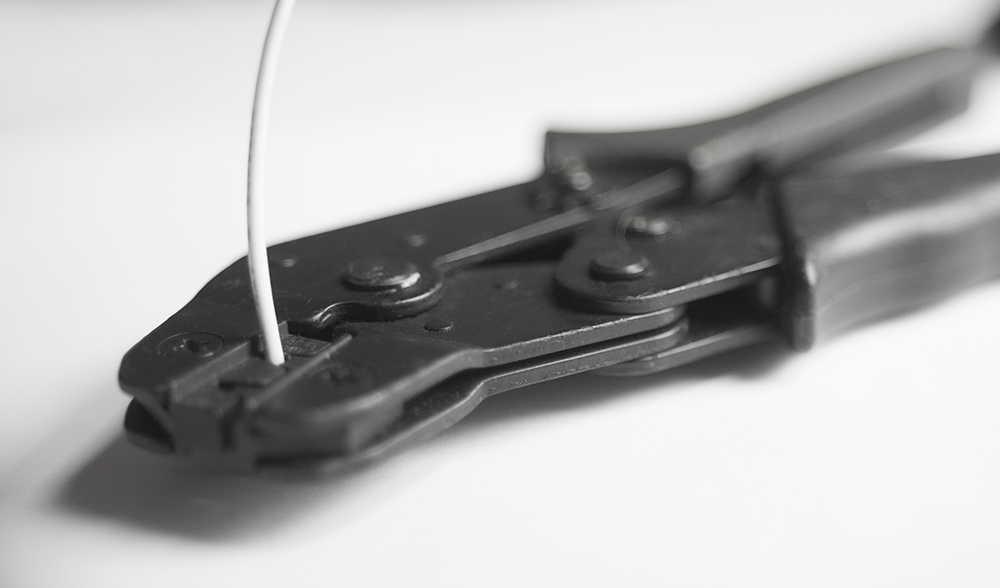
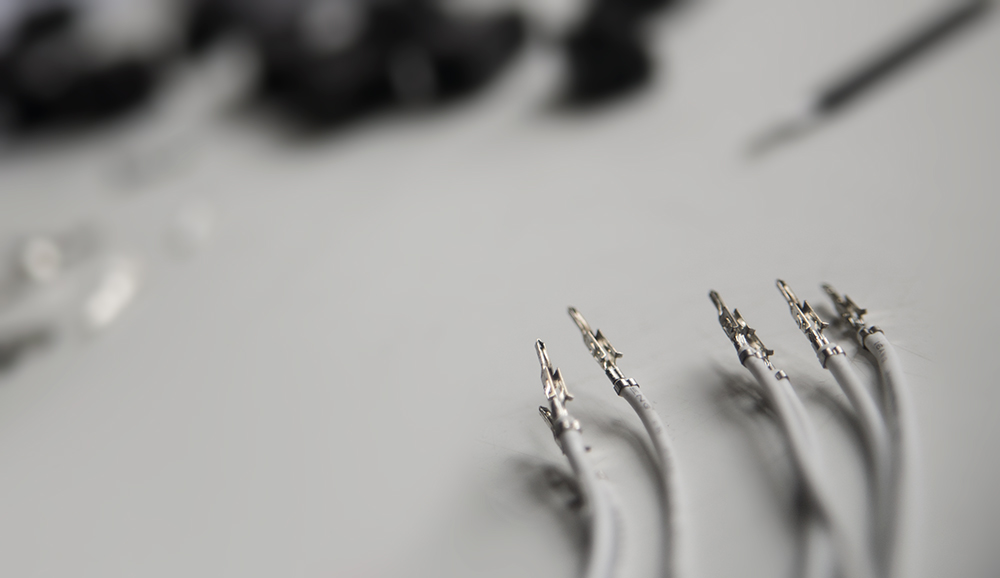
Here are some sample photos to get this log going..


Last edited:
Alright, first we need to accept that this case is no spring chicken!! Saying that, we will definitely need to get all the speed we can from it..

Now, the first rule of "more speed" is always "less weight"...right?

Or is it racing stripes? ;)

Anyway, time to shed some excess weight..

First of all, there are some unsightly edges we can see here, but we will definitely take care of that later..


With so little room on the inside, this drive cage will also have to go!


Luckily one of these grommets are already gone, so I'll only need to remove one..


Now what does these screws do??


Aha, another bit gone giving us an eye full of its voluptuous rounded figure.. :eek:

 
Last edited:
Today was slow, but I've made some more progress in removing the last bits taking up unnecessary space, but first I inevitably found some more screws..


Removing them loosens the front case foot so the bottom panel can also be removed.


Looking behind the rear side panel it's also very clear that there's not even a single milimeter of space between it and the motherboard tray. :eek:


Alright, so in order to remove the drive cage I first had to remove the front panel, but figuring out how was somewhat of a discovery in itself.. :confused:

Turns out it's just a thin layer of glued acrylic, so prying it off was pretty intense and just a tiny bit stressful, but not impossible..


Where were we? Oh yes..


All bare and ready for stage 2 weight reduction.. :D

 
Last edited:
I was hoping to have some better progress today, but this case ate through all my cutting discs.

Hopefully the replacements arrive today or tomorrow..

Anyway, here's a tiny little teaser.. ;)

 
Finally time for an update..

It's been a long wait for some of the tools to arrive and I suspect it will be quite a bit of longer to get all the fittings, but I'm sure I will find things to keep me busy!

Behold, a new player has entered the chat.. ;)


May I present.... the cheapest Jigsaw available online in the UK, but I think the cuts are "pretty" straight.

If they're not then it's definitely because of the jigsaw and absolutely not due to my lack of skill! :eek:


Now that the top is done I still have to mask the bottom and take care of the unpainted side panel latches.


However, with the unnecessary metal removed the radiators can be alligned to one side which should allow for a few more millimeters of room in the rear..

It's definitely all about the milimeters!! :D


Luckily, with an abundance of holes to choose from, it's easy to find the perfect spot for the radiators..


Last edited:
Well, it's been quite a productive morning so far.

I have managed to finish cutting out the bottom of the case as well as all of the side panel trim. The latter had to be done with the Dremmel and once again chewed through the blades like they were made of paper.

For such a small case it is definitely build like a tank..


This has however left some very jagged edges which will need some refining..


Luckily, I can always count on Sir Faithfull over here!


As well as a visit from a little friend.. ;)

 
Last edited:
This is turning out to be quite the morning..

The postman just dropped off a very non-suspicious looking box!


Opening it obviously calls for a bladed object of equal size and stigma!


Inside however are the most fitting items I could have hoped for in regards to this build!


These Slim fans from Akasa are only 15mm thick, but still manage to push over 50 CFM of air/1.36 mm-H²O static pressure at a very modest 30dB!!

Also included are some extension cables and a very low profile 5 port PWM hub that will be used to run all the fans off a single fan header.

We will definitely put it to the test ;)


With this I would like to say a massive thanks to Ivan and the people at Akasa for their continued support. Whether it's due to colour scheme or size, their products always fit in perfectly!

Thanks guys, it's always very much appreciated..

 
Last edited:
Alright, it's been a busy few days, but I have managed to get some of the cables done and after so many years my fingers had definitely forgotten their involvement in the matter..

They soon remembered though.. :eek:

Anyway, I had plenty of black and grey to make the perfect monochrome pairing.

img_9139wyj50.jpg


img_91400qj43.jpg


img_9142pok6k.jpg


img_91509zjid.jpg


img_9151p4jku.jpg


img_9154zgjof.jpg


However, while I liked the faded look of the 24pin, I felt it definitely needed something to define the pattern so I added some minimal white.

I definitely like the contrast more, but I might change it for a light grey once rebuilding starts..

img_9187bmkjmf.jpg
 
Last edited:
Today I have finally received some more items for the build. :)

First of all, some hardware!

From the beginning I was set on using a B450 motherboard, but the one I liked the most was from Gigabyte and sadly that was the one that had the worst reviews due to shortcomings on the VRM's. However, there was a great offer on the newer B550 recently so I saw it as a sign.

Anyway, here it is..

img_9215m3j7k.jpg


img_9216ofkm5.jpg


Also, given that the case no longer has a drive cage, I will only use solid state storage. Now, I realize the B550 motherboard is Pci-e Gen 4 ready, but I went for something that is without a doubt the best bang for buck..

img_92209qjrg.jpg


img_9223fbkje.jpg


Further more I have finally received the first of the water cooling packages all the way from the other side of the world. Given the current state of the world and the fact the Christmas is upon us, I am rather impressed with the time it's taken to get here..

Anyway, I do plan on using every single fitting in this photo...and a few more!

Also, yes I am a big fan of Barrow..

img_92245ok4n.jpg


The main reason for that is the overall quality compaired to the low cost of their products of which I am definitely in love with this waterblock!!

img_92262vkif.jpg


img_9228j4jj2.jpg


Also, some screws neatly sorted, until the next time i open the organizer..

img_922938jml.jpg


As well as some plexiglass already cut to shape and size.

img_9231nwjrd.jpg


And last but not least, the one single item that I have been waiting for the longest. The item that has been delaying progress on this build actually taking form.

This lovely bit of sheet metal that has definitely not been man handled on it's way to me! :eek:

Hopefully I can manage to get it back in shape and reasonably straight.

img_9233s6j6f.jpg


Well, that's all for now. If everything goes to plan the rebuilding should start next week, so fingers crossed..
 
Last edited:
Looking forward to more updates

Loving the attention to detail so far, can't wait to see more of this build.

Also woah that's a lot of fittings!

I have the same waterblock for an upcoming project :D All Barrow fittings as well. Love the block, was tempted by the brass version. Are you keeping the RGB in the block? Having torn down my block for some pre-modding measurements, it's quite simple to just replace the RGB strip.

I'd say those cap head screws for the radiator look a bit janky though. Granted you're very close to the curve of the mesh, but I'd quite fancy some raised countersink washers to make more of the screws since its unavoidable to have something showing.

Overall though, loving what you've done so far.

Thanks for the comments guys!

@LePhuronn

Those cap head hex screws were just a temporary solution to demonstrate where the rads would sit.

I really wanted to use wafer head screws, but they seem really few and far between and if you actually find some it's only short lengths. So, it was a toss up between countersunk and button head screws so I went with the button head ones.

Anyway, if I don't like the final result then I can always make another plan.

In regards to the RGB, I doubt I will use it..
 
Back
Top Bottom