This is a long read! I strongly suggest you get a cup o' tea.
'Needed' (read: "Wanted") a new case for a while now. My old Antec something-or-rather, while still quite a damn good case, needed to be replaced. It was getting noisy, had an annoying resonance hum and was starting to get a little cramped in there. I wanted something with side loading hard drives, good cable management and a sexy front with as few LEDs as possible (I sit opposite my Pc as slightly below eye level and had to tape over the LEDs on the old case as they blinded me)
Had been asking around for what to get, and I saw a lot of people looking at the Fortress and generally singing its' praises. So I looked into it, and liked what I saw. So I bought one
I ordered a 650w Be Quiet! modular PSU and the Fortress from a slighty cheaper site that offered next day Saturday delivery for the same price as the next working day price. OcUK were out of stock on the Fortress too.
The Case was due to be delivered on the Saturday and the PSU on the Monday.
I was worried as the girfriend and I were going out to the local Focus to get some gardening stuff, and I hoped that the deleivery guy didn't call when we were out. By a rather large stroke of luck, as I was moving the car in the Focus car park, what did I see? A parcel force van. I walked over to it on the incredibly small chanmce that it happened to have my case inside it. Asked the driver "Do you have a parcel for <insert my address here>?" to which he replied, "Why yes I do, that was my next call!". He opened up the van and I saw my case (yes, in its' box) for the first time. The postie said something about him wishing all his deliveries were that easy! I signed the handheld doodah and took my case away to the car.
Didn't get home for a while still, and then when I did, I just put the case in the back room ready for the transplant, and forgot about it. My plan was to leave it for the rest of the day, spend the time in the sunshine with the girlfriend working on stuff we need to do in the garden, then do the computer work later that evening.
So that'd what I did.
Then came the fun part:
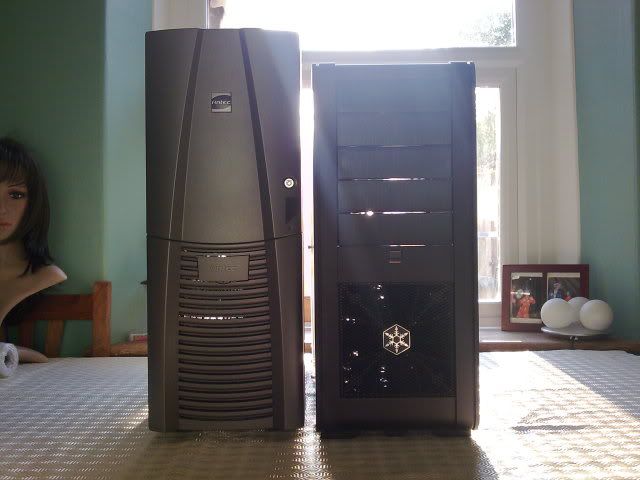
Here you can see my old case side by side with my new one to get an idea of the sizes and how it would all look eventually. The fortress is shorter, very slightly wider but also slightly longer than my old case. That is what I wanted! Shorter, but with more space inside than the old case!
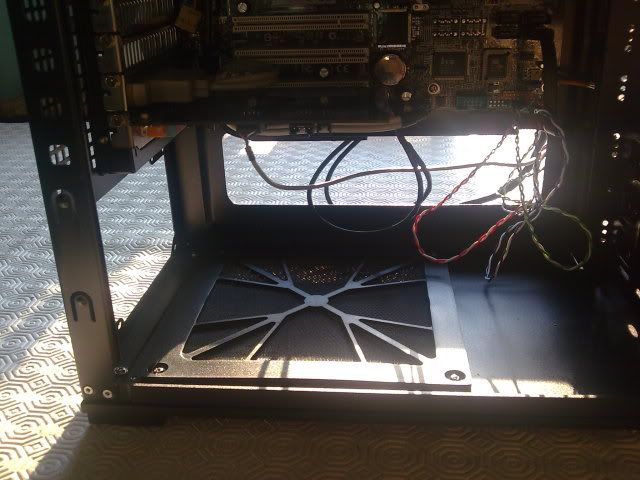
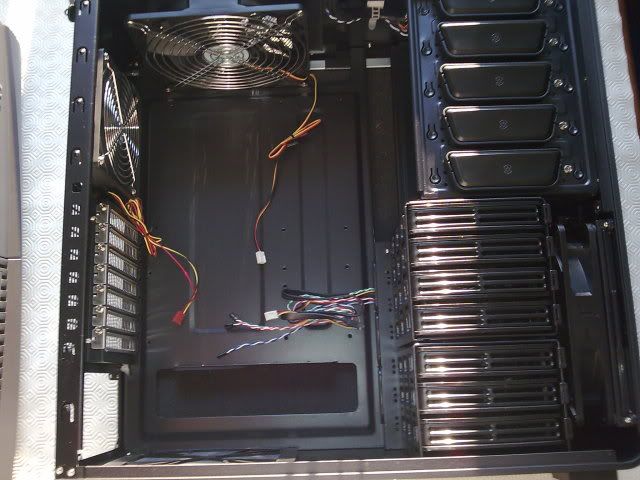
Here you can see the empty new case, and my crammed full old case all ready to be ripped out and relocated.
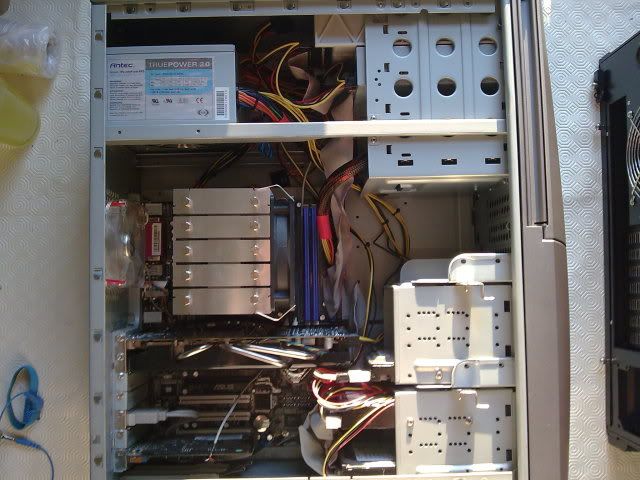
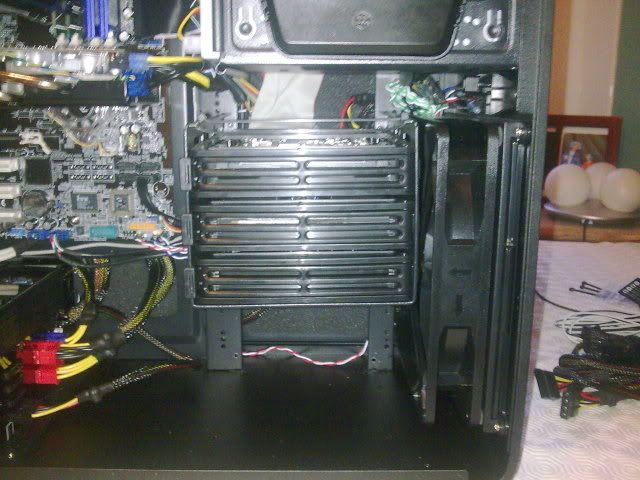
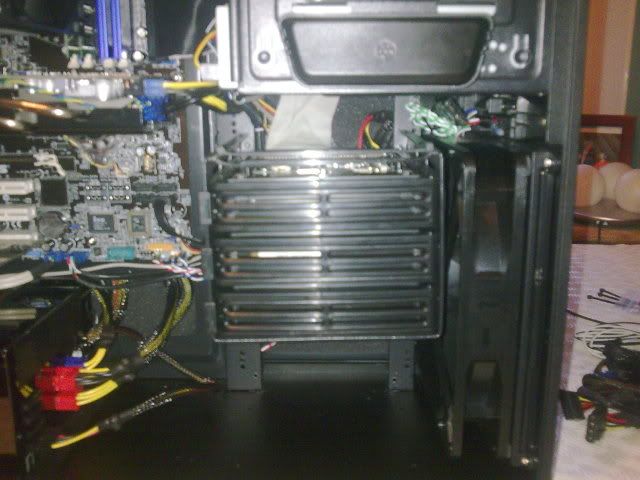
The first thing I did was take out the 4x drive bay and the 3x drive bay and start to pack the 3x full of hard drives.
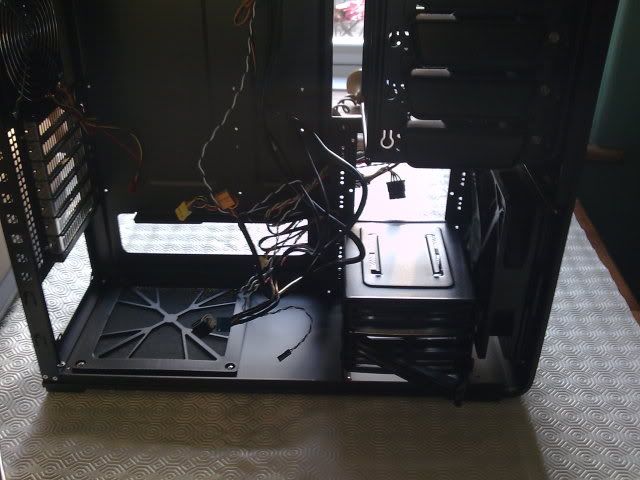
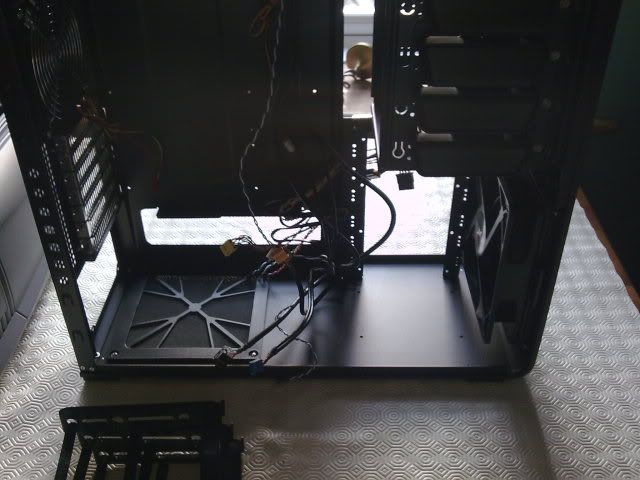
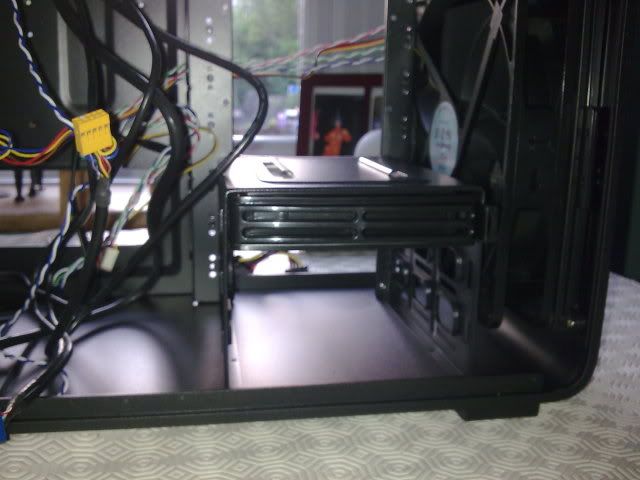
Next, I took the PSU out of the old case, in part to make more room without the wires getting in the way, but also because I was going to use it in the new case until the sexy Be Quiet arrived.
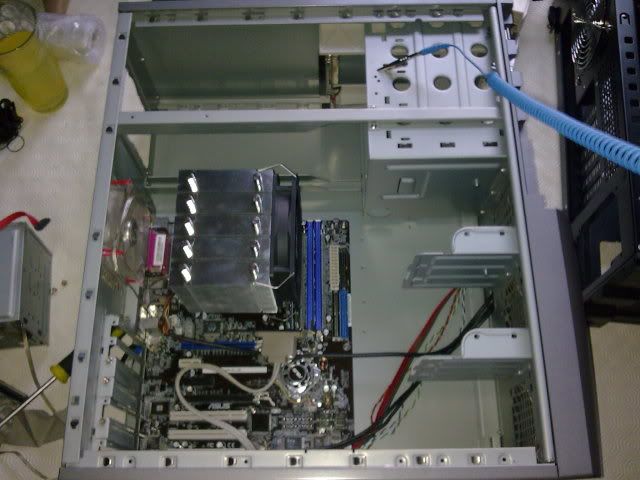
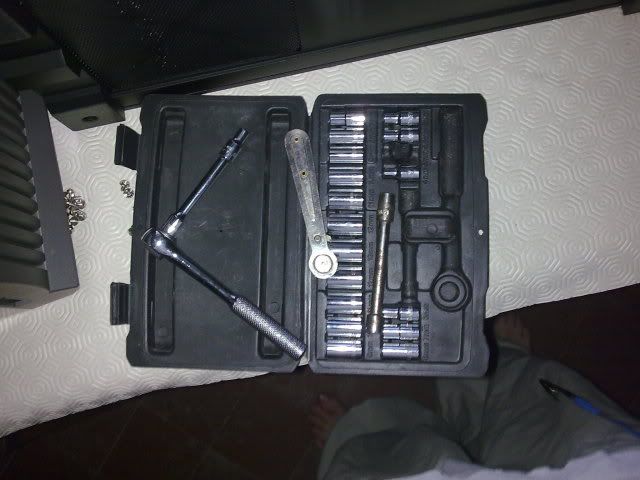
Next came the motherboard mounting screws. I always have problems with me usually screwing the screw too tightly, so when I try to undo the screws, they would stick to the mounts, and I then needed a pair of pliers to hold the mounting screw, whilst I used a screwdriver to undo the screw. "Sod that!" I thought, and instead I reached for the 5mm socket and the ratchet spanner. Problem sorted!
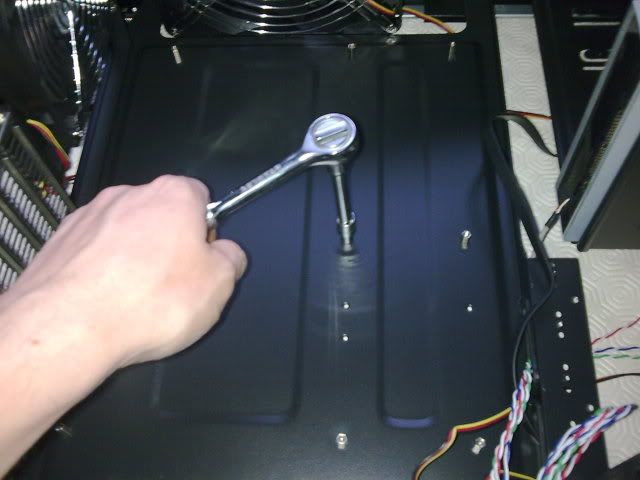
Here you can see the old case with all the innards removed (blue thing is anti static wrist strap).
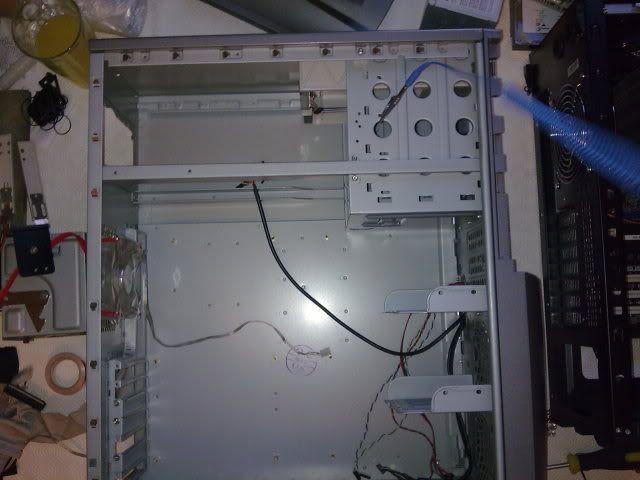
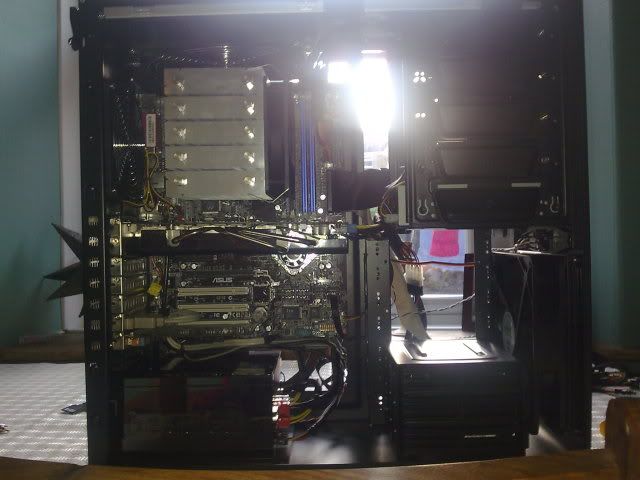
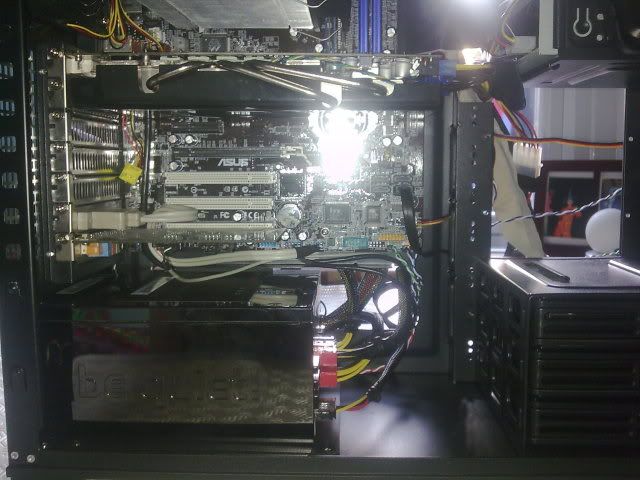
Then moved everything into the new case. Thanfully, the black motherboard goes nicely with the black inside of the case.
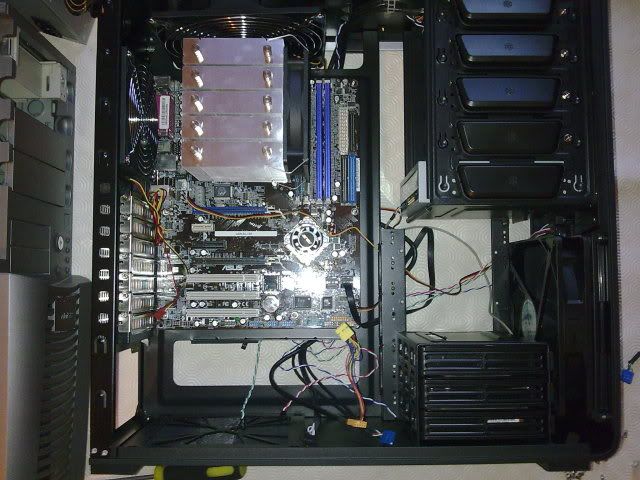
Was just trying to route a few cables nicely here before everything got in the way.
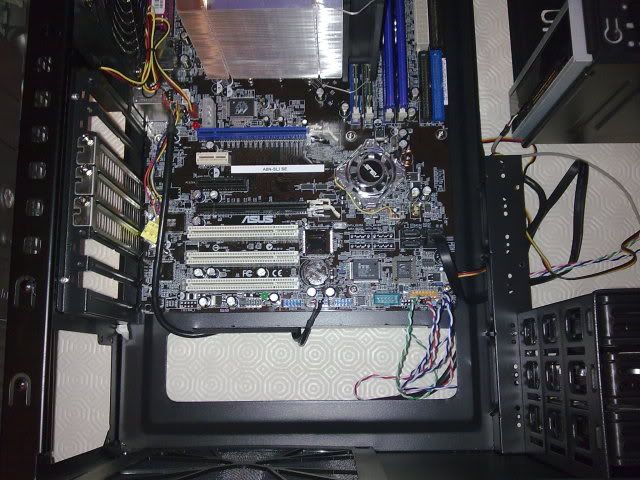
In with the 4870.
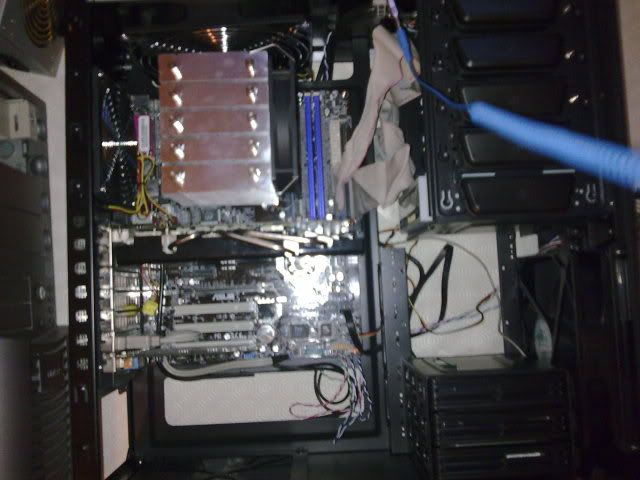
Underneath view of the 4870 (also nicely black )
)
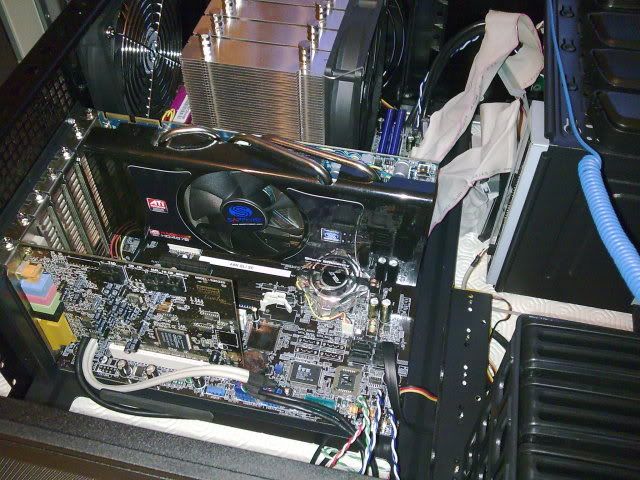
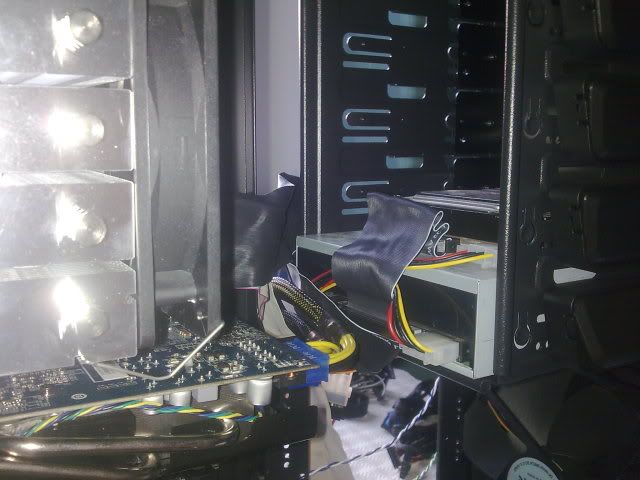
Then started hooking up the hard drives. I had a nightmare, due to the fact I have 3x IDE hard drives, an IDE DVD writer and only one SATA drive. I hate those IDE cables and am looking to get 2x 1tb SATA drives for storage in RAID so I can free up some physical space. I had problems with the IDE cable length mainly (them being too short to reach anywhere nicely).
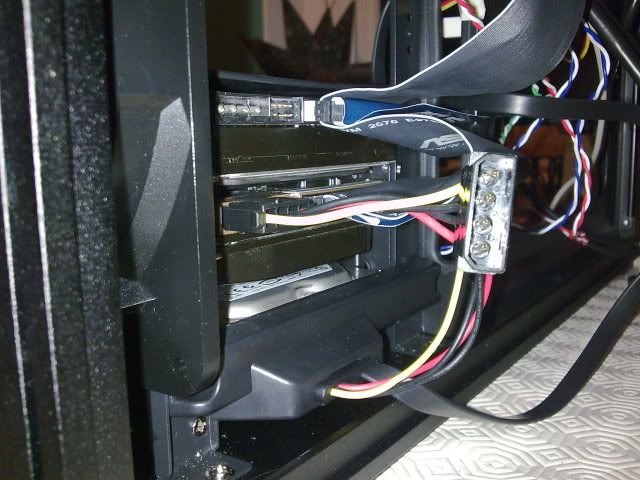
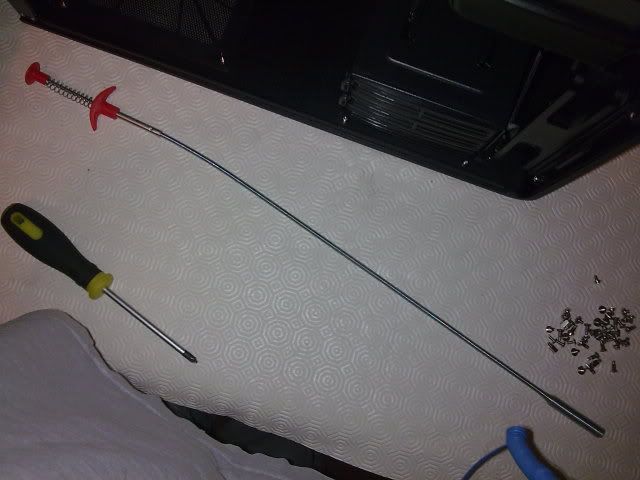
Next, I needed one of these incredibly useful tools. I call it a long bendy grabby thing.
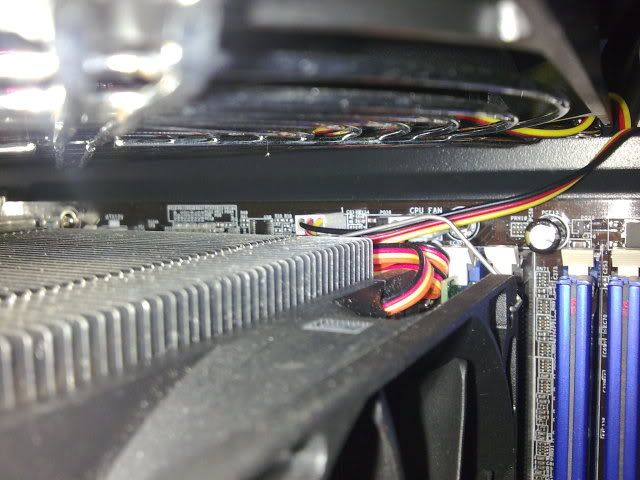
I needed it to push in one of the fan conenctors the was hidden next to the heatsink I have. My fingers are thin, and I still had too fat a finger to slide it down the back. I eventually managed to get it on though after about 5 minutes of relentless trying.
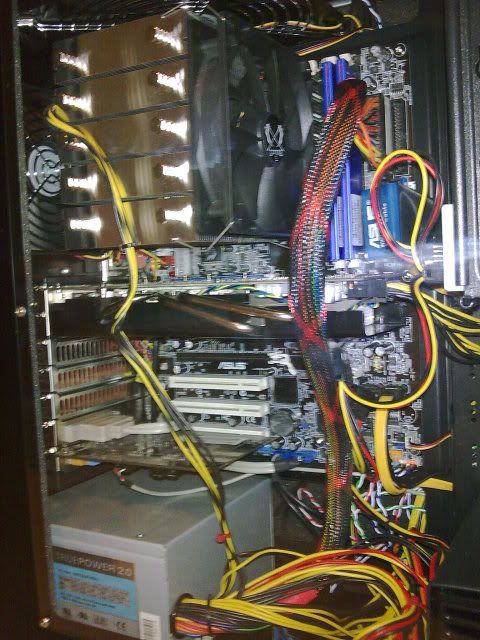
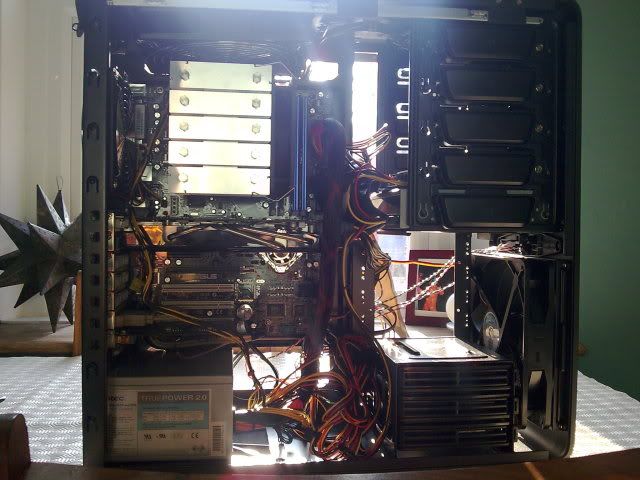
After everything was connected up, it was in with the old (but still very good) Antec PSU. Unfortunately it is non-modular and very ugly. Wires everywhere. As Tubbs once said: "LINES AND LINES AND LINES AND LINES AND LINES AND LINES!!
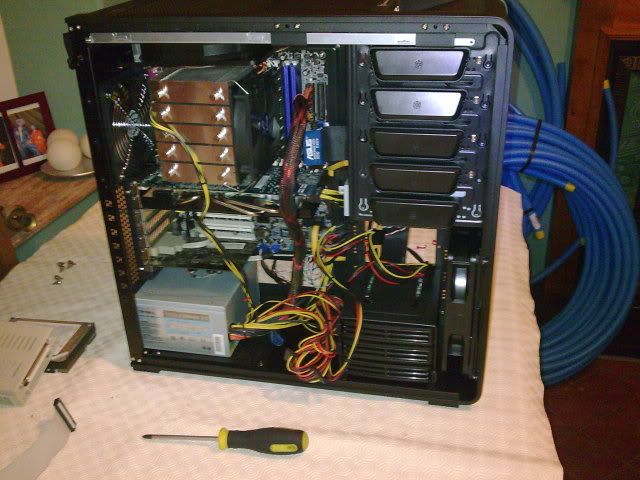
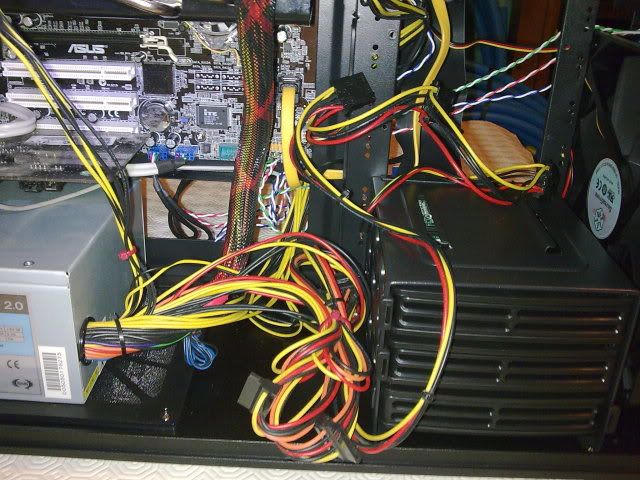
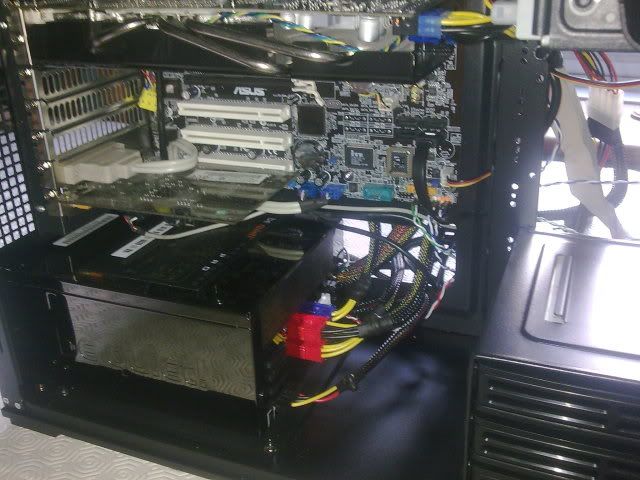
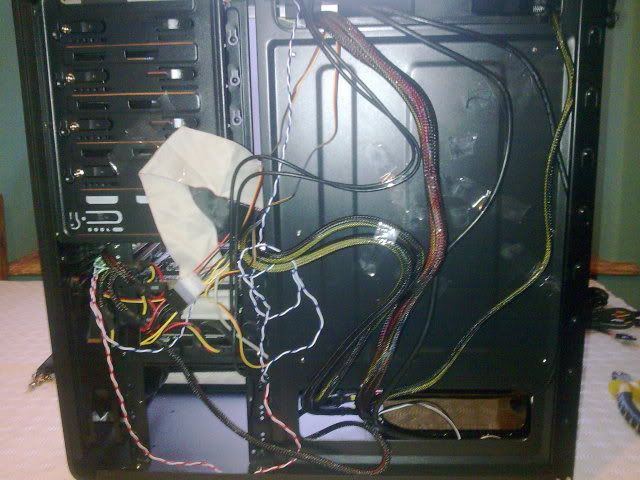
Finally got it all connected up (all be it temporarily until the new PSU arrived two days later). Here is round the back.
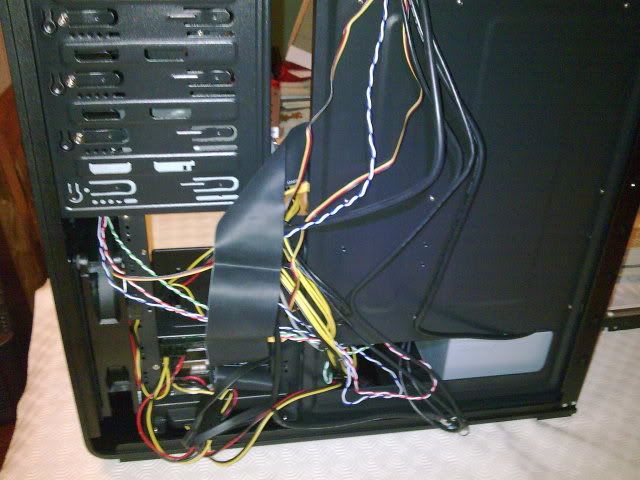
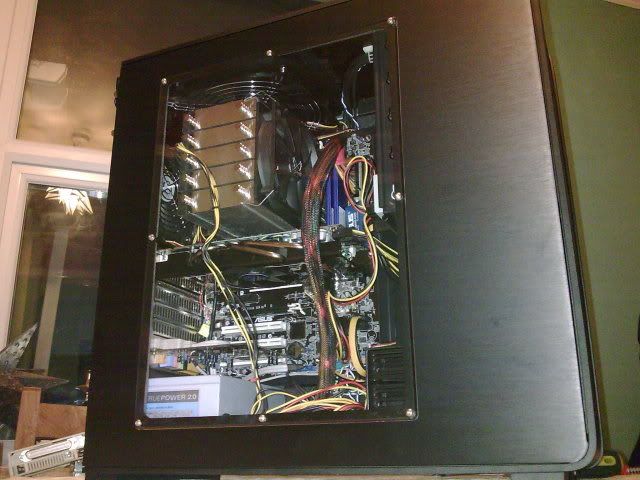
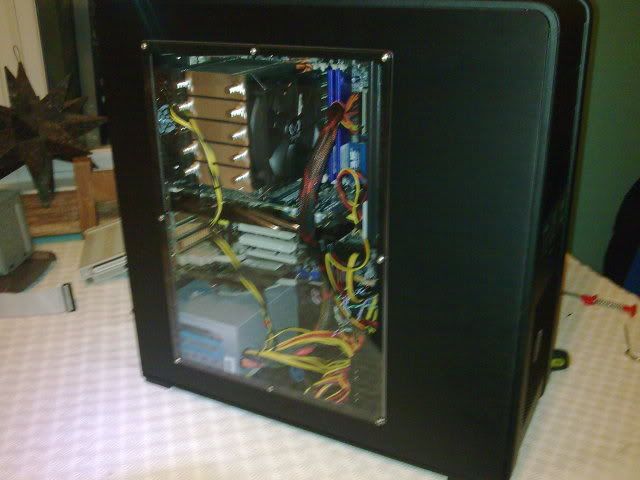
Then it was on with the sides. The Windowed one went on so easily, however, the non-windowed one on the right hand side of the case was a bitch to get on, due to the IDE cables round the hard drives. Eventually managed to get it on without it popping the springs though.
'Needed' (read: "Wanted") a new case for a while now. My old Antec something-or-rather, while still quite a damn good case, needed to be replaced. It was getting noisy, had an annoying resonance hum and was starting to get a little cramped in there. I wanted something with side loading hard drives, good cable management and a sexy front with as few LEDs as possible (I sit opposite my Pc as slightly below eye level and had to tape over the LEDs on the old case as they blinded me)
Had been asking around for what to get, and I saw a lot of people looking at the Fortress and generally singing its' praises. So I looked into it, and liked what I saw. So I bought one

I ordered a 650w Be Quiet! modular PSU and the Fortress from a slighty cheaper site that offered next day Saturday delivery for the same price as the next working day price. OcUK were out of stock on the Fortress too.
The Case was due to be delivered on the Saturday and the PSU on the Monday.
I was worried as the girfriend and I were going out to the local Focus to get some gardening stuff, and I hoped that the deleivery guy didn't call when we were out. By a rather large stroke of luck, as I was moving the car in the Focus car park, what did I see? A parcel force van. I walked over to it on the incredibly small chanmce that it happened to have my case inside it. Asked the driver "Do you have a parcel for <insert my address here>?" to which he replied, "Why yes I do, that was my next call!". He opened up the van and I saw my case (yes, in its' box) for the first time. The postie said something about him wishing all his deliveries were that easy! I signed the handheld doodah and took my case away to the car.
Didn't get home for a while still, and then when I did, I just put the case in the back room ready for the transplant, and forgot about it. My plan was to leave it for the rest of the day, spend the time in the sunshine with the girlfriend working on stuff we need to do in the garden, then do the computer work later that evening.
So that'd what I did.
Then came the fun part:
Here you can see my old case side by side with my new one to get an idea of the sizes and how it would all look eventually. The fortress is shorter, very slightly wider but also slightly longer than my old case. That is what I wanted! Shorter, but with more space inside than the old case!

Here you can see the empty new case, and my crammed full old case all ready to be ripped out and relocated.


The first thing I did was take out the 4x drive bay and the 3x drive bay and start to pack the 3x full of hard drives.


Next, I took the PSU out of the old case, in part to make more room without the wires getting in the way, but also because I was going to use it in the new case until the sexy Be Quiet arrived.

Next came the motherboard mounting screws. I always have problems with me usually screwing the screw too tightly, so when I try to undo the screws, they would stick to the mounts, and I then needed a pair of pliers to hold the mounting screw, whilst I used a screwdriver to undo the screw. "Sod that!" I thought, and instead I reached for the 5mm socket and the ratchet spanner. Problem sorted!


Here you can see the old case with all the innards removed (blue thing is anti static wrist strap).

Then moved everything into the new case. Thanfully, the black motherboard goes nicely with the black inside of the case.

Was just trying to route a few cables nicely here before everything got in the way.

In with the 4870.

Underneath view of the 4870 (also nicely black
 )
)
Then started hooking up the hard drives. I had a nightmare, due to the fact I have 3x IDE hard drives, an IDE DVD writer and only one SATA drive. I hate those IDE cables and am looking to get 2x 1tb SATA drives for storage in RAID so I can free up some physical space. I had problems with the IDE cable length mainly (them being too short to reach anywhere nicely).

Next, I needed one of these incredibly useful tools. I call it a long bendy grabby thing.

I needed it to push in one of the fan conenctors the was hidden next to the heatsink I have. My fingers are thin, and I still had too fat a finger to slide it down the back. I eventually managed to get it on though after about 5 minutes of relentless trying.

After everything was connected up, it was in with the old (but still very good) Antec PSU. Unfortunately it is non-modular and very ugly. Wires everywhere. As Tubbs once said: "LINES AND LINES AND LINES AND LINES AND LINES AND LINES!!


Finally got it all connected up (all be it temporarily until the new PSU arrived two days later). Here is round the back.

Then it was on with the sides. The Windowed one went on so easily, however, the non-windowed one on the right hand side of the case was a bitch to get on, due to the IDE cables round the hard drives. Eventually managed to get it on without it popping the springs though.

Last edited:


