The 'Show Your Creative Side' thread

I find designing and building stuff hugely rewarding and derive a great deal of pleasure from it. It's really satisfying to take an idea and transform it into something physical.

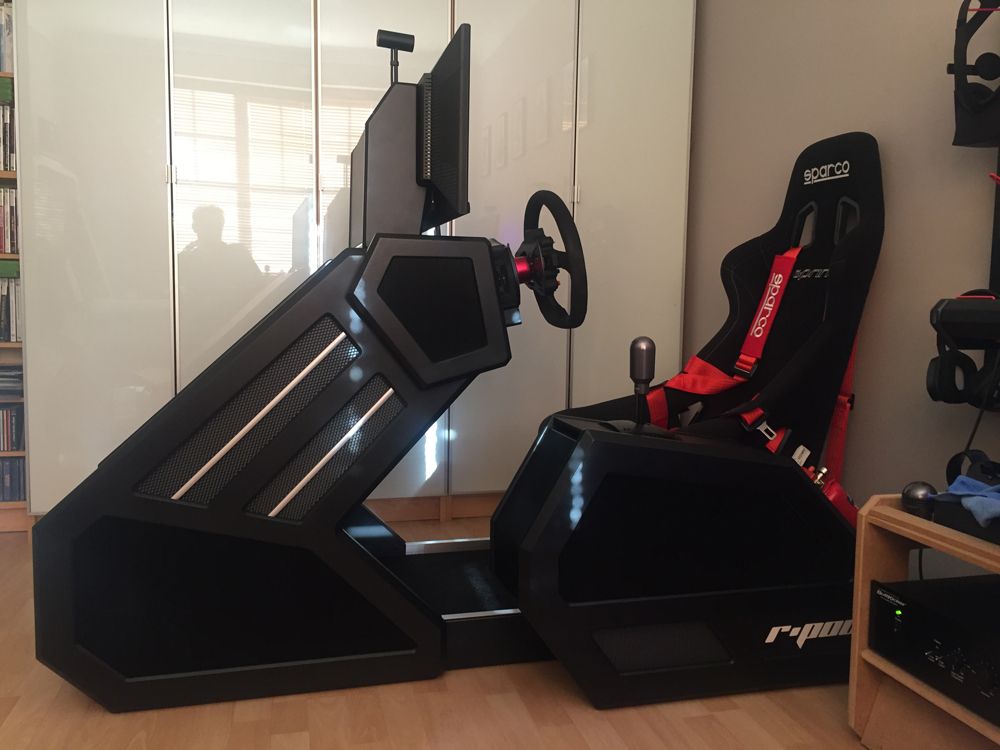
I originally built the R-Pod MkII rig in 2014 with it taking around 350 hours or so complete. The initial intention was to build it to allow the addition of 2 additional screens but with VR technology advancing rapidly, I decided to put that on hold.


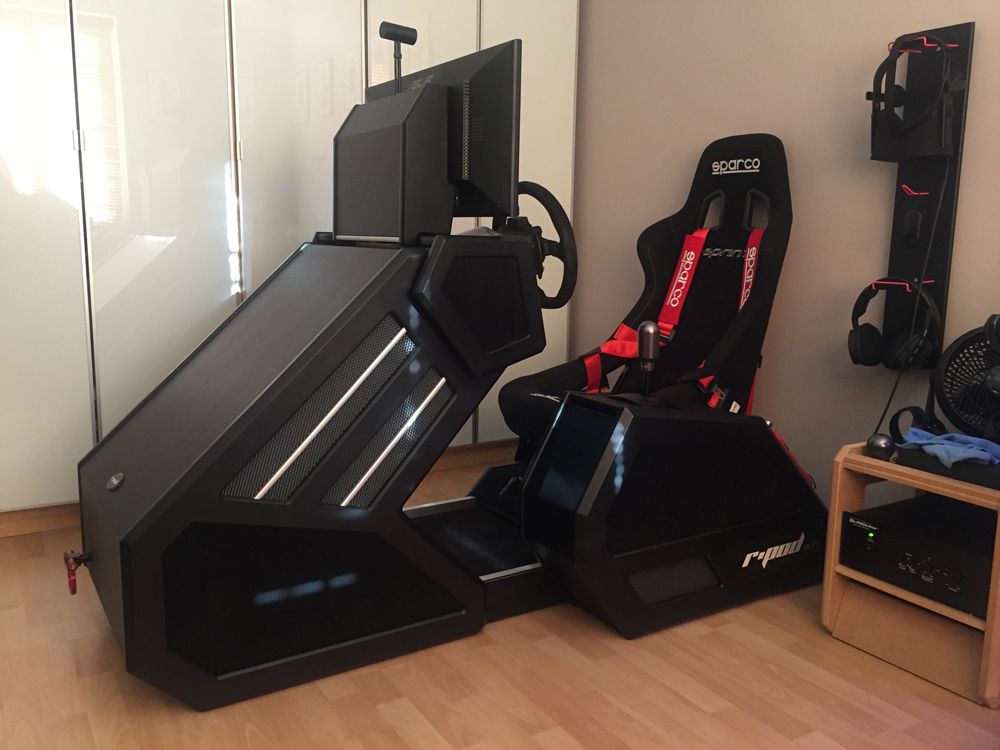
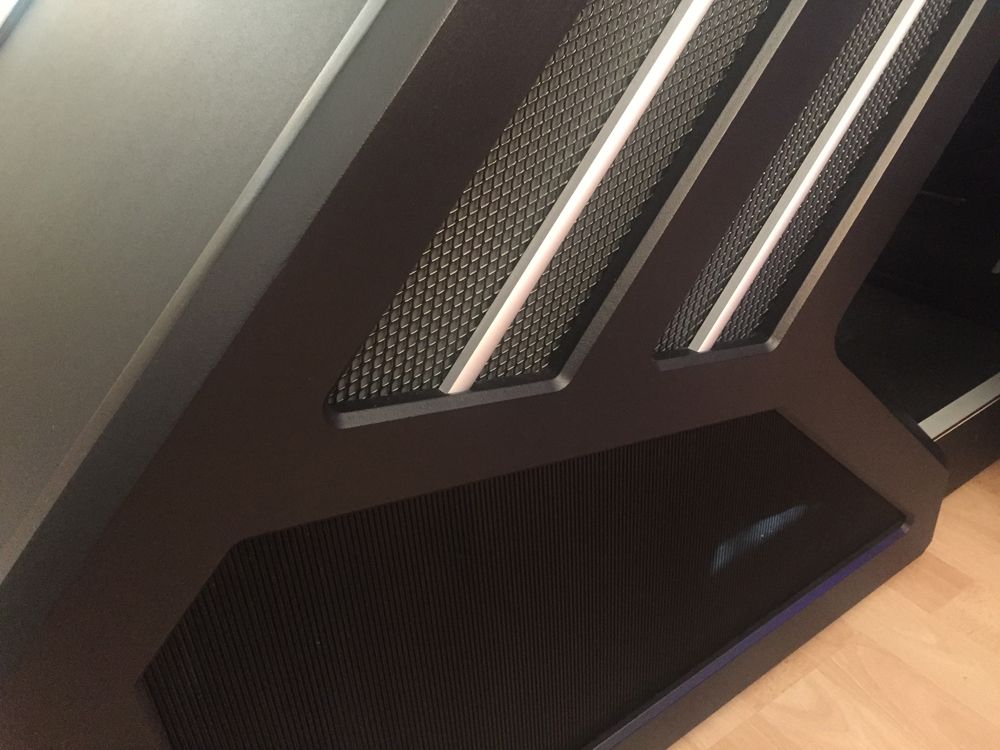
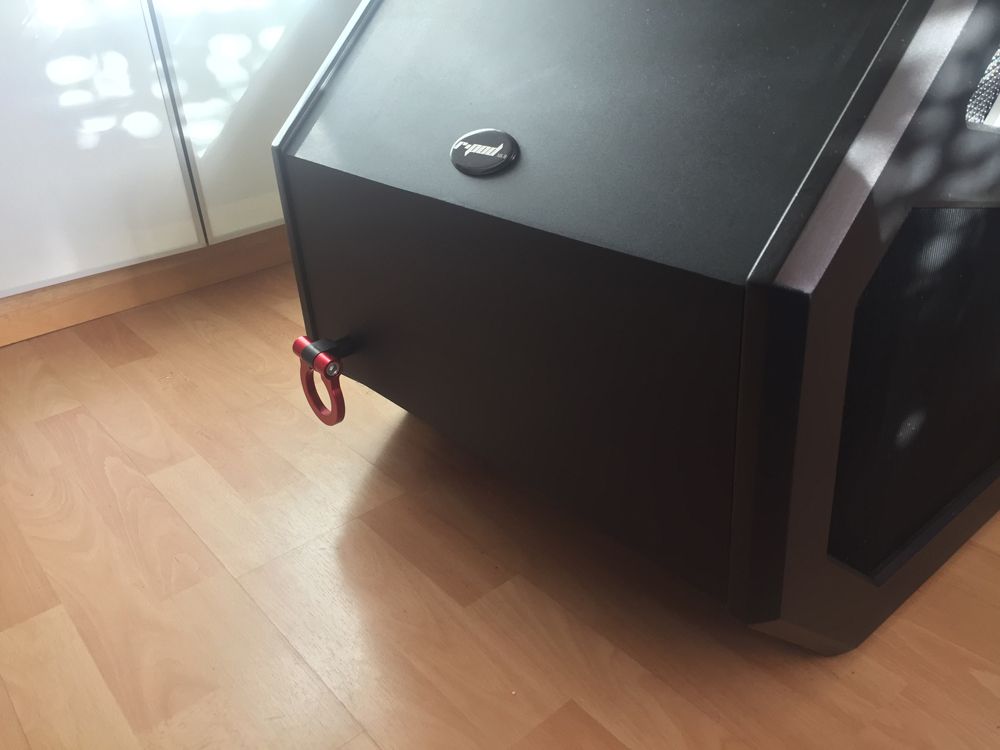
The rig itself is extremely sturdy with minimal flex. This is largely due to double and triple thickness sections (around 3.5cm to 5cm thick MDF) in key areas with the addition of metal bracing on the wheel stem. The result is an extremely heavy racing platform.


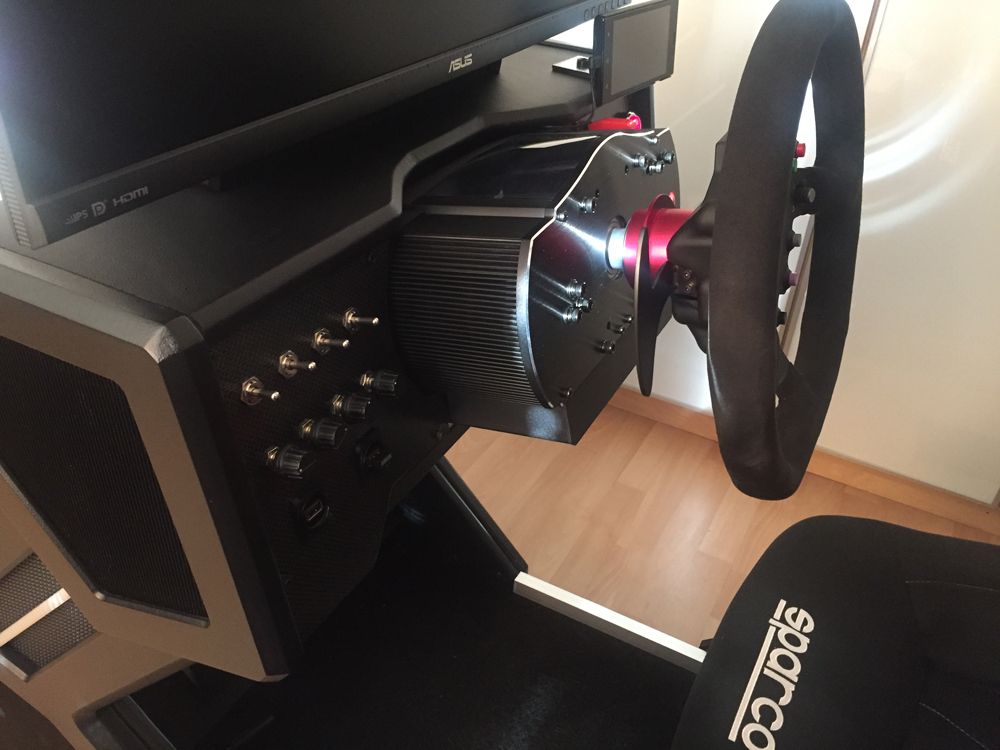
The simulator uses predominantly Fanatec ClubSport series equipment with the V1 wheel base recently updated to the V2. Consideration was given to a direct drive wheel (which I would have preferred) but the cost was just too much. Additional re-work of the dashboard would have been needed as well with cabling also presenting an additional challenge.


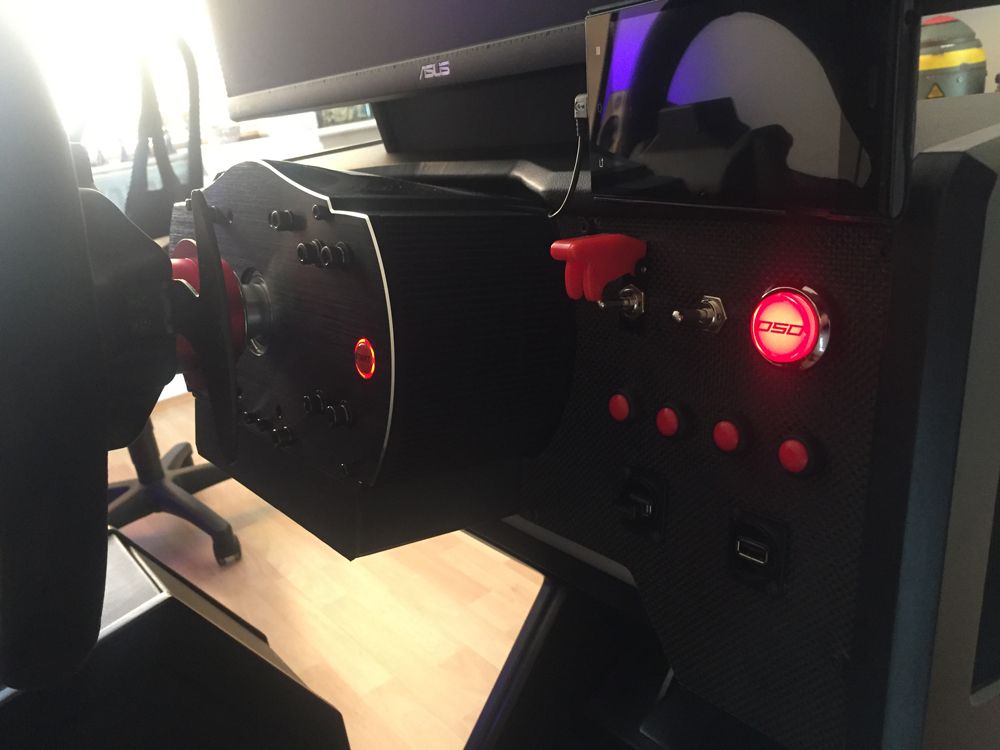
The Version 2 wheel base provides noticeably stronger force feedback than the Version 1 but is also faster and smoother.

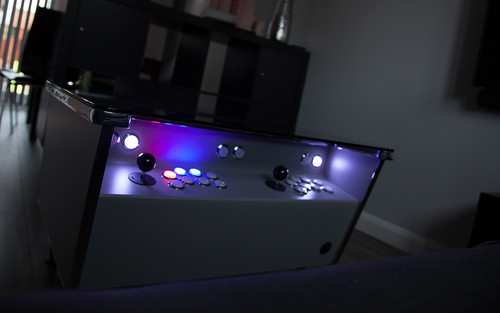
The main dashboard fascia panels use a hacked Derek Spear button box and incorporate toggle switches, rotary dials and buttons. They're certainly more challenging to use in VR but are certainly still very usable due to the layout. They're covered in real carbon fibre.


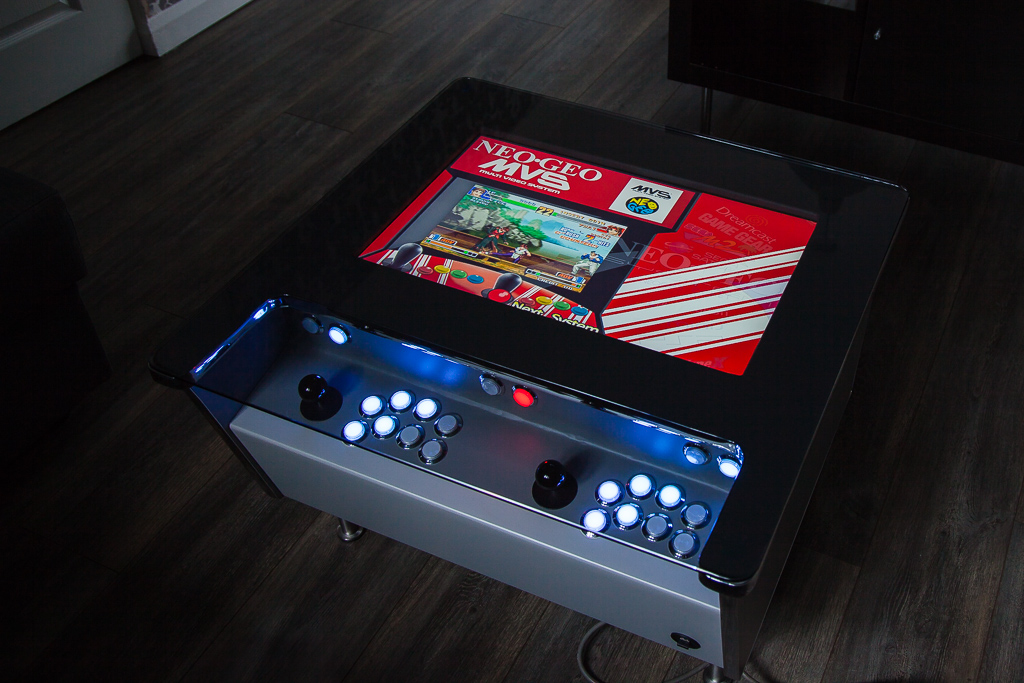
The original screen is still used extensively. This is primarily for running activities outside of the simulation software but also for addressing issues with VR software integration. It's not uncommon for Virtual Desktop software to freeze and require a restart.


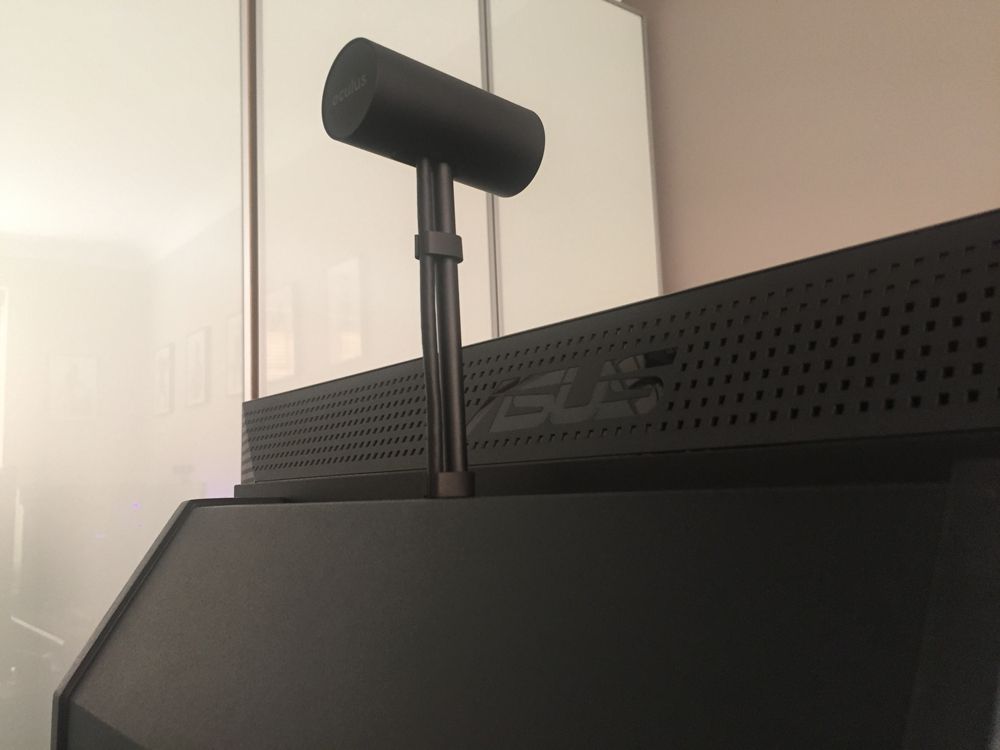
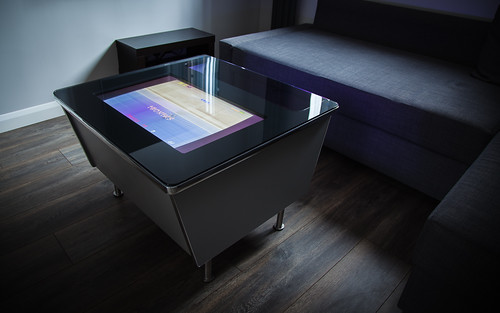
An Oculus sensor has been built into the monitor cover with all the cabling passing through ducting which was originall built into the rig. Due to the stability of the platform, there is little to no perceivable movement of the sensor whilst in use.


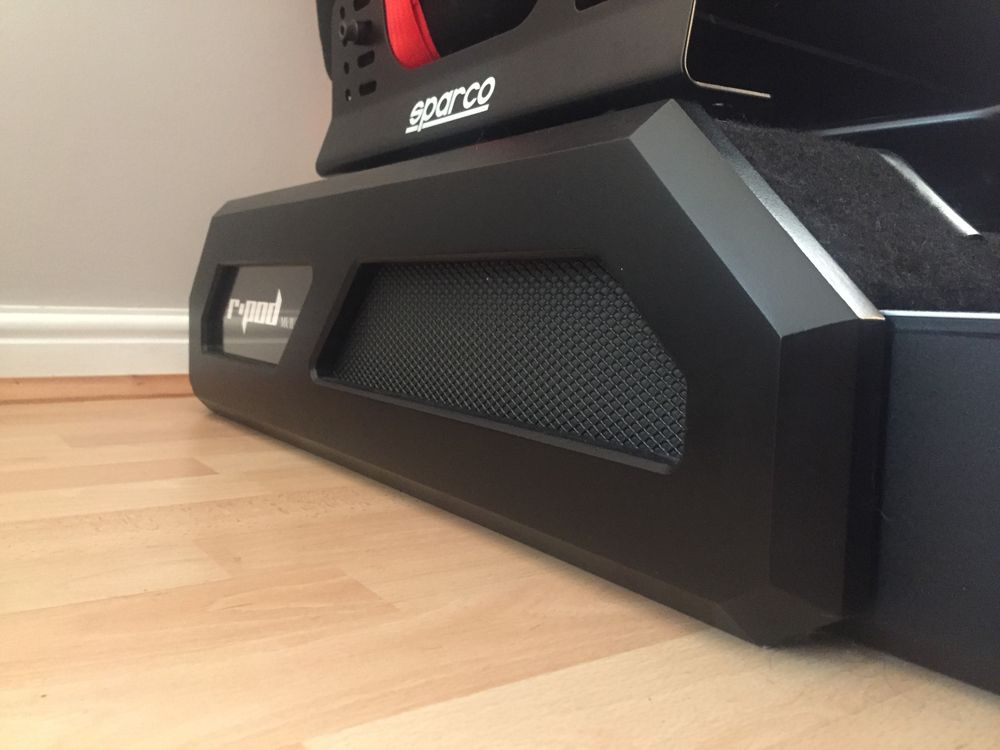
An earlier sim racing rig build had allowed me to establish key issues which needed to be addressed. As with the main rig section, considerable care was given to building as much stability into the simulator as possible. The side pod allowed this to be achieved, again with little to no movement.


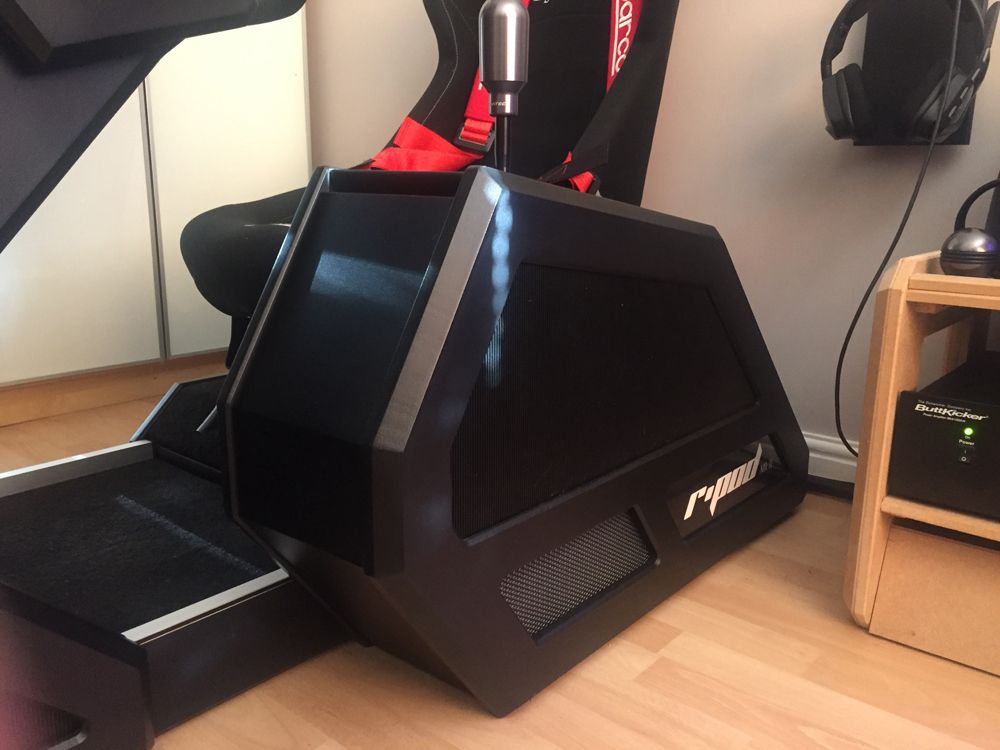
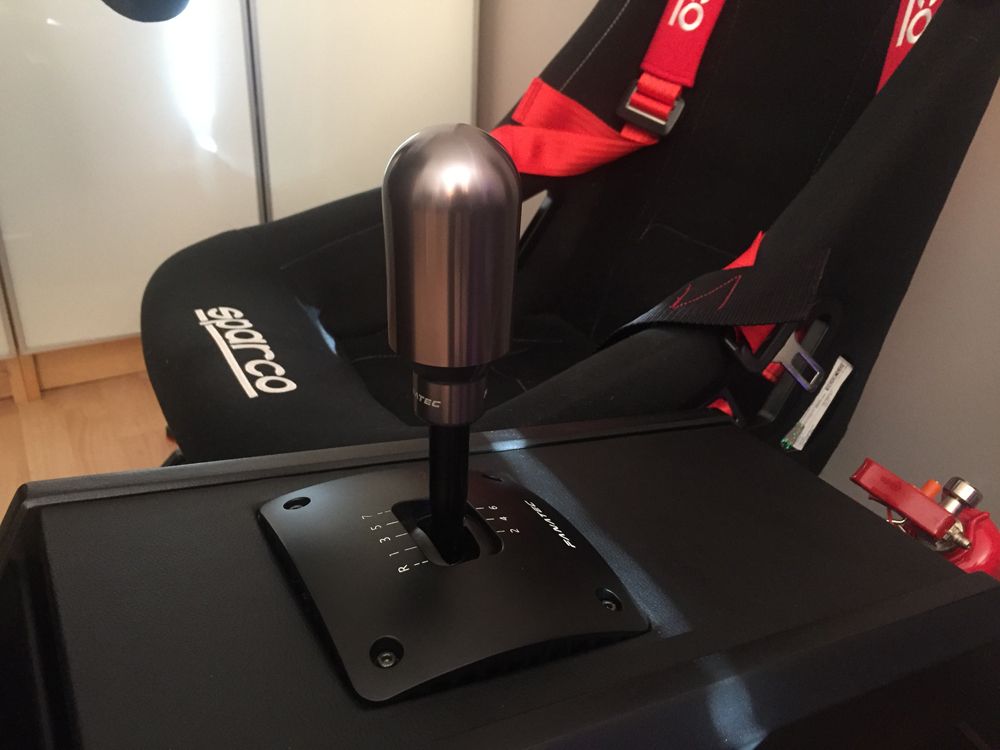
The Fanatec CSS SQ shifter was used in the build. The switch which enables the operational mode to be changed from H-Pattern to Sequential is accessed through a cutout on the inside of the pod. Not as convenient as it could be but it certainly doesn't present any problems.


The nose section houses the ClubSport V2 pedals which sit on a platform using seat runners. This allows them to be easily moved backwards and forwards. The seat also uses seat runners for adjustability.


A few additional accessories were built into the design to add some personality. In addition to these, more useful elements were also incorporated including the addition of 4 transducers, running from Simvibe software, for tactile feedback purposes.


A lot of time was not only spent on the function but also the aesthetics. The project presented a challenge to me and I was intent on creating something to the best of my ability. A very limited tool set was used to create the setup.

 
That's really awesome. Nice thread but can't imagine it will be that busy as the vast majority never make things themselves unless they can eat them.
 
I made this out of cardboard and glue.

6SRmd8L.jpg
 
Similar to the OP I've also built a couple of gaming machines over the past couple of years.

Firstly the CoffeeCade which is a PC based machine:-


CoffeeCade 01 by Andy Baker, on Flickr


CoffeeCade 03 by Andy Baker, on Flickr


CoffeeCade 05 by Andy Baker, on Flickr


CoffeeCade 06 by Andy Baker, on Flickr


CoffeeCade 07 by Andy Baker, on Flickr


CoffeeCade 08 by Andy Baker, on Flickr


CoffeeCade 09 by Andy Baker, on Flickr

Build thread here:- https://forums.overclockers.co.uk/showthread.php?t=18700879


Then a second much smaller machine for my daughter powered by a Raspberry Pi, The RetroWonder:-


Retro Wonder 02 by Andy Baker, on Flickr


Retro Wonder 03 by Andy Baker, on Flickr


Retro Wonder 04 by Andy Baker, on Flickr


Retro Wonder 05 by Andy Baker, on Flickr


Retro Wonder 06 by Andy Baker, on Flickr

Build thread here: https://forums.overclockers.co.uk/showthread.php?t=18739842
 
That's really awesome. Nice thread but can't imagine it will be that busy as the vast majority never make things themselves unless they can eat them.

Thank you and yes, appreciate this thread may be a bit of a slow burner!

That is one very awesome build. Well done :)

Cheers for that and for prompting me to make the thread!

I made this out of cardboard and glue.

6SRmd8L.jpg

Tell us more about it! I like to see all manner of things people have made.

That's impressive. I'd assumed it was a pre built jobbie as a friend of mine has something similar. His moves and all sorts.

Thank you. I'd love to make one that moves at some point, they do look mightily impressive in action. I've never even tried one but can imagine it brings a whole new level of immersion to the experience.

Similar to the OP I've also built a couple of gaming machines over the past couple of years.

Firstly the CoffeeCade which is a PC based machine:-

snip

Then a second much smaller machine for my daughter powered by a Raspberry Pi, The RetroWonder:-

Those look absolutely fantastic! I'd seen (and commented on I think) the first one but hadn't seen the second.

My first arcade game experience was on a cocktail cabinet at the local pub so I have a fondness for that style. The shape, colour scheme, build quality and general aesthetic of your project is superb. Thanks for posting this.

Edit: Excellent photographs too.
 
Last edited:
Such skillz!

I bet there's a lot of interesting stuff out there (and not just gaming related), it just needs a little coaxing ...

This is first project I was really happy with. I originally built it in 2009 but have updated / enhanced it on several occasion to make various improvements. It's based on the Japanese Vewlix sit down cabinet. I loved the styling so decided to build a replica albeit using a smaller screen, hence the single player control panel. I don't really like the Mortal Kombat theme these days so will be updating the artwork topper.


Just going through the process of building this gave me a chance to experience woking with a router. Frankly, it's the best power tool I've ever had the fortune to come across and it's awesome.

I designed a new front end for the machine using the Maximus Arcade software.


I took some liberties with the original design and included some additional detailing on the build.


I still have to retrofit a working coin-op mechanism.

All the artwork was created in Photoshop including the 100 Yen sticker.


I do wish I'd built a larger cabinet sometimes but it's generally used for single player purposes.

Completed project video tour:

 
Not quite the scale of the above - but spent some of my time off over the new year designing and building this - pseudo balanced headphone amplifier:

GsG5IXP.jpg


b4w3Wyt.jpg


The circuit is my own design though based on established techniques so not something I invented or anything (volume control knob isn't final just the only one I had that fitted the particular potentiometer used).
 
Last edited:
I made this out of cardboard and glue.

6SRmd8L.jpg

I wanted a way of making sure my rechargeable batteries got used in rotation.
Scouring the internet I found that others had similar ideas and had made them using a 3D printer.
Rather than spend £££s on a 3D printer that would probably gather dust I decided to have a go Blue Peter style.

Without any planning I drew out the various pieces onto cardboard, cut, folded and glued them together. I had six pieces in total, although it could be done with just three, but my sheets of cardboard weren't large enough. Everything fitted together without needing any adjustment. It took about an hour in total. The cardboard was sourced from the 'rainforest' so it's 'green' product ;)
 
Not quite the scale of the above - but spent some of my time off over the new year designing and building this - pseudo balanced headphone amplifier:

The circuit is my own design though based on established techniques so not something I invented or anything (volume control knob isn't final just the only one I had that fitted the particular potentiometer used).

Very nice and impressive too! I'd love to have those sorts of electronics skills - can I ask how you got started?

I wanted a way of making sure my rechargeable batteries got used in rotation.
Scouring the internet I found that others had similar ideas and had made them using a 3D printer.
Rather than spend £££s on a 3D printer that would probably gather dust I decided to have a go Blue Peter style.

Without any planning I drew out the various pieces onto cardboard, cut, folded and glued them together. I had six pieces in total, although it could be done with just three, but my sheets of cardboard weren't large enough. Everything fitted together without needing any adjustment. It took about an hour in total. The cardboard was sourced from the 'rainforest' so it's 'green' product ;)

That's a pretty neat solution. Nice one.

Can you build me one please? Serious here, monies n stuff.

I think my wife would go berserk if I did that :) I do have an idea to produce some plans or possibly a kit, but that's going to take some time and serious planning.
 
Very nice and impressive too! I'd love to have those sorts of electronics skills - can I ask how you got started?

I've always had a kind of instinctive ability with electronics though nothing of this level previously.

I had a bit of a "how hard can it be?" moment a couple of years ago when my old headphone amplifier died and found it an enjoyable hobby to dabble with since.
 
Back
Top Bottom