

Associate
- Joined
- 1 Apr 2013
- Posts
- 38
Hey folks,
Started a new build about 3 weeks ago, been slow going and taking my time with it.
Changed over from a Mountain mods UFO case, massive case and took up a lot of room.
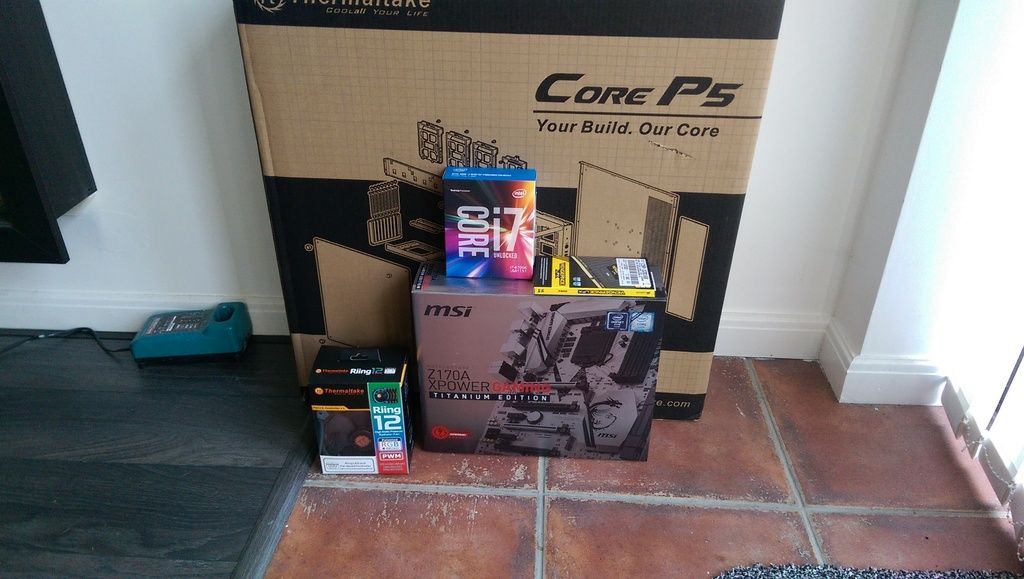
Hardware:
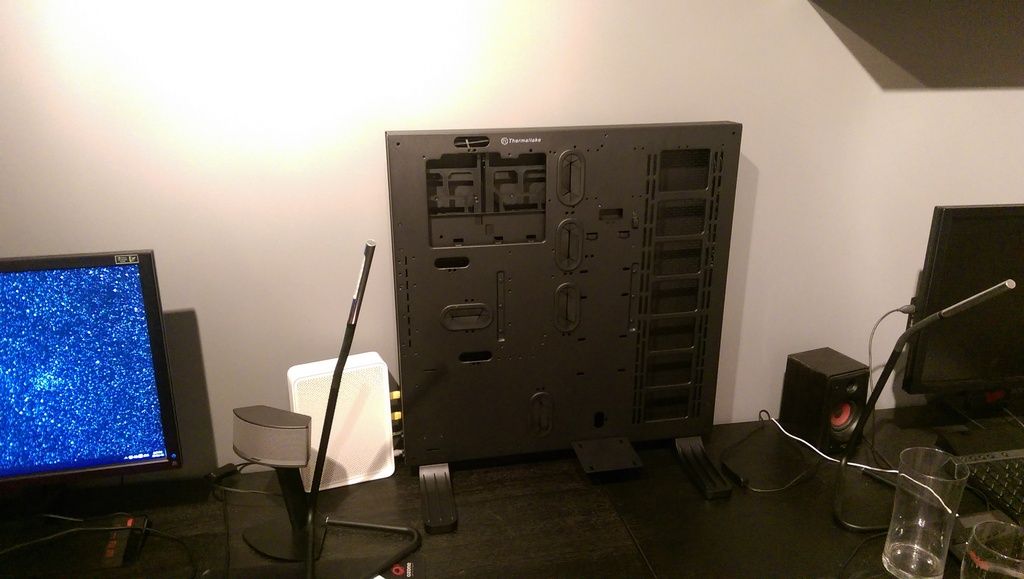
Case: TT Core P5
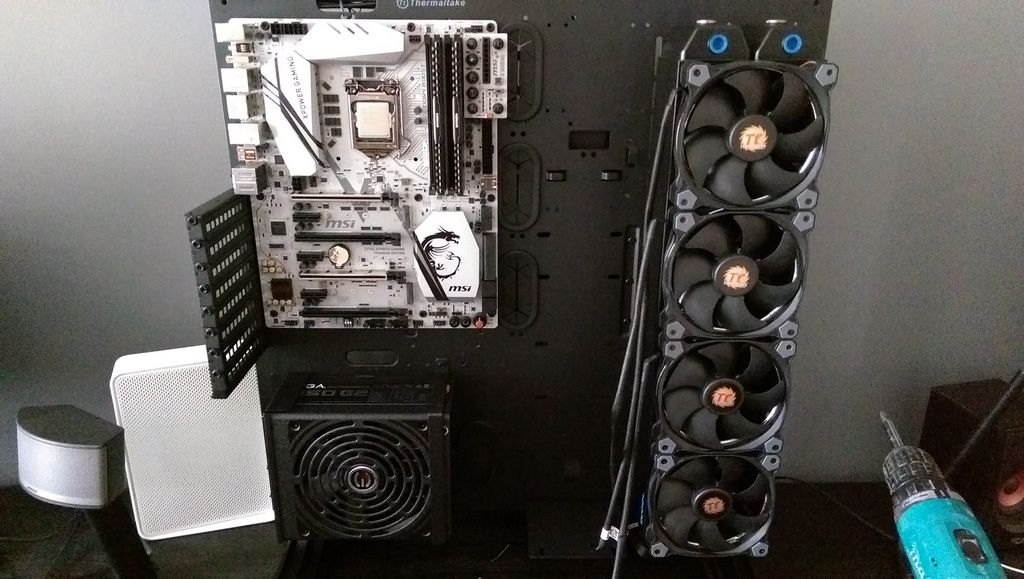
Mobo: MSI Z170A Titanium
CPU: I7 Skylake 6700k
RAM: Corsair Vengence DDR4 16gb
GPU: (for now) GTX 780Ti
HDD: Samsung Evo 500gb SSD - Seagate 2.0Tb HDD
PSU: EVGA 850 G2 Gold
Watercooling Gear
CPU: EK Water Blocks EK-Supremacy EVO - Acetal+Nickel
Rad: Alphacool 480 Monsta
Pump/res: DDC Liang with EK X3 pump 100 res (replaced 100 res with X3 250) EK heatsink for DDC.
Fittings:Alphacool HT 13mm Compression Fitting G1/4 For Plexi/Brass
Tubing:Alphacool HardTube 13/10mm Plexi Clear.
Coolant: Mayhems Pastel Ice white.
As it comes.
Heres a few pics of progress so far:
Started a new build about 3 weeks ago, been slow going and taking my time with it.
Changed over from a Mountain mods UFO case, massive case and took up a lot of room.
Hardware:
Case: TT Core P5
Mobo: MSI Z170A Titanium
CPU: I7 Skylake 6700k
RAM: Corsair Vengence DDR4 16gb
GPU: (for now) GTX 780Ti
HDD: Samsung Evo 500gb SSD - Seagate 2.0Tb HDD
PSU: EVGA 850 G2 Gold
Watercooling Gear
CPU: EK Water Blocks EK-Supremacy EVO - Acetal+Nickel
Rad: Alphacool 480 Monsta
Pump/res: DDC Liang with EK X3 pump 100 res (replaced 100 res with X3 250) EK heatsink for DDC.
Fittings:Alphacool HT 13mm Compression Fitting G1/4 For Plexi/Brass
Tubing:Alphacool HardTube 13/10mm Plexi Clear.
Coolant: Mayhems Pastel Ice white.

As it comes.
Heres a few pics of progress so far:


 )
)


")


