Associate
- Joined
- 24 Sep 2008
- Posts
- 1,161
- Location
- St. Neots, cambs
The White Knight Rises……
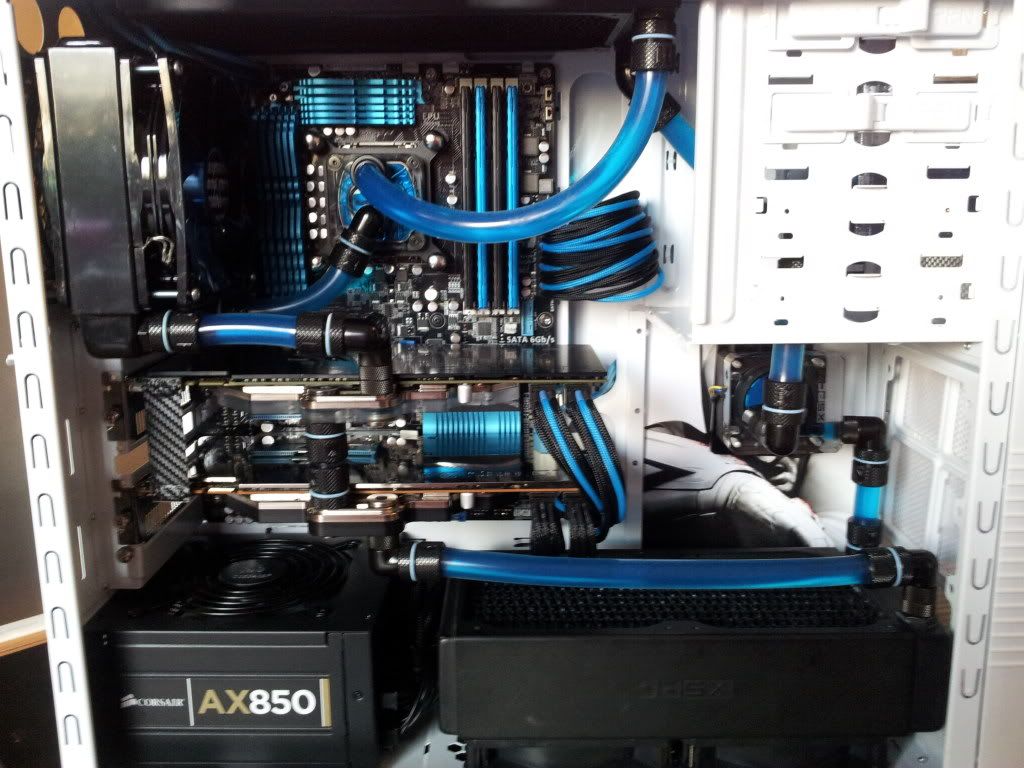
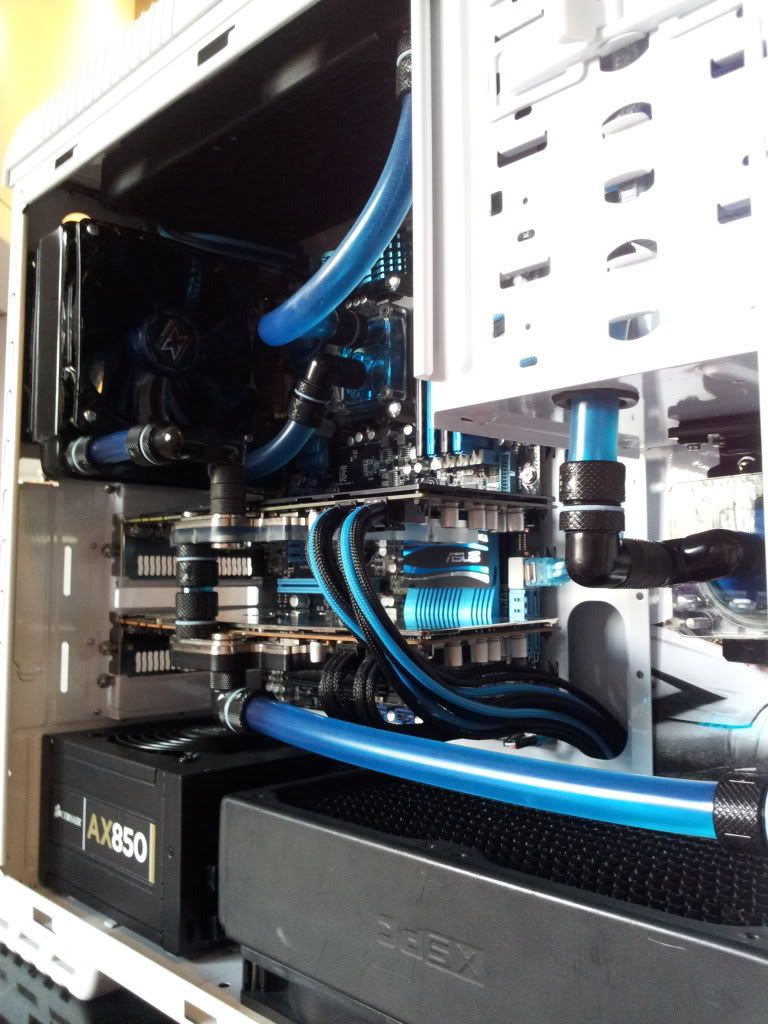
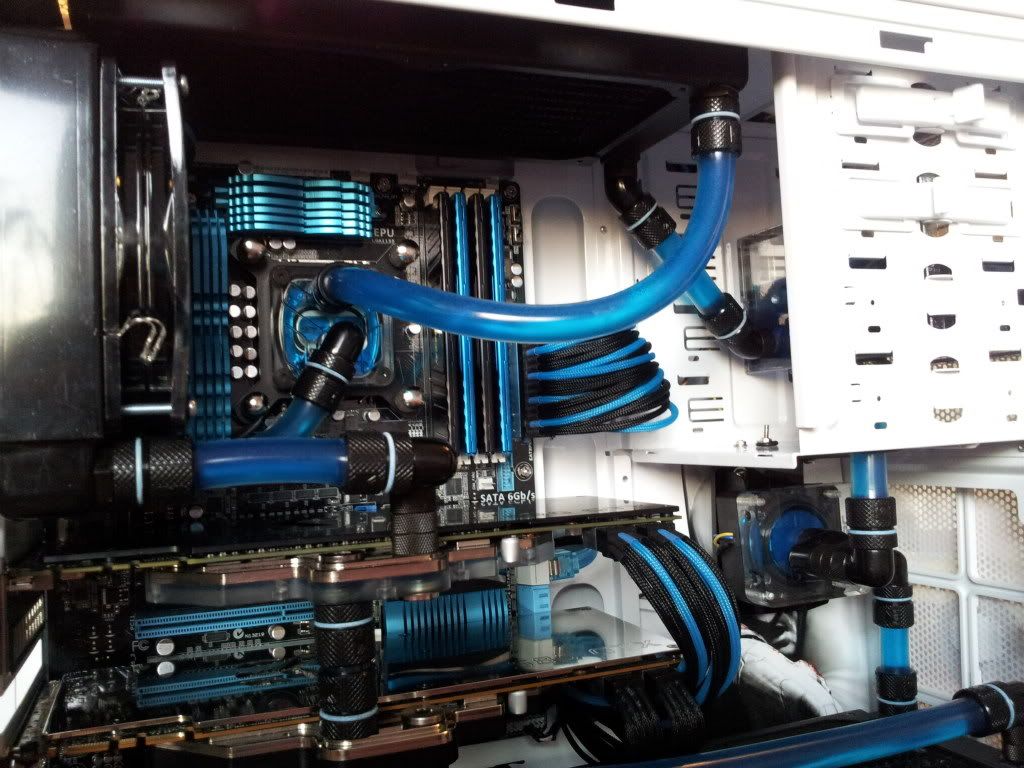
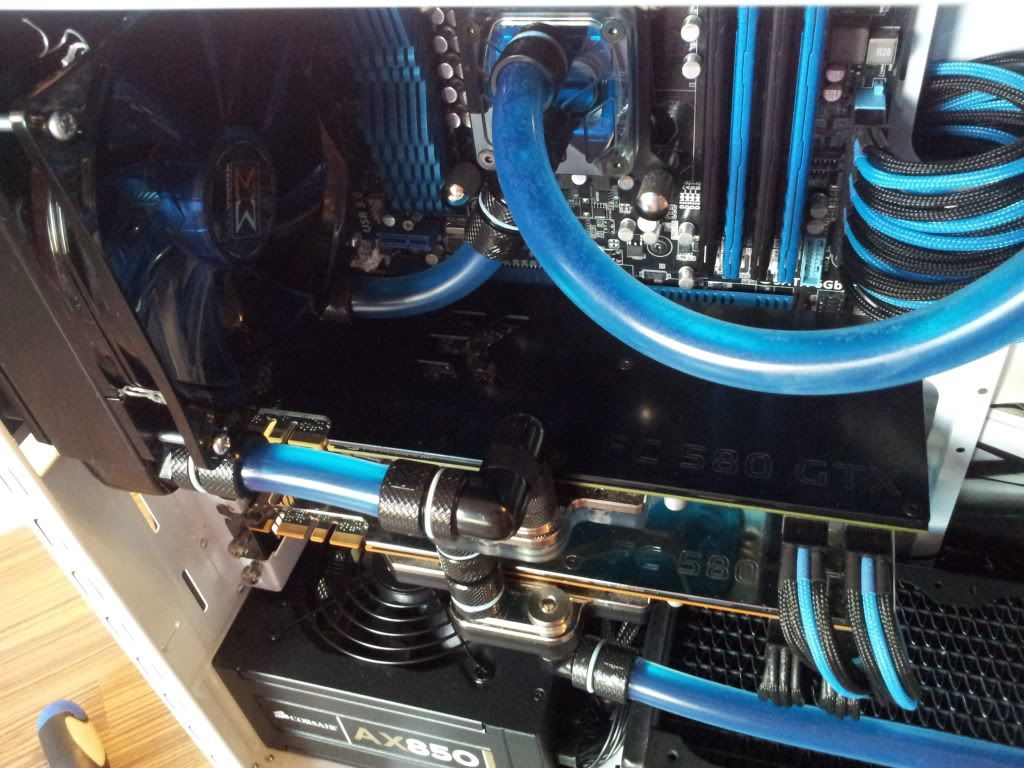
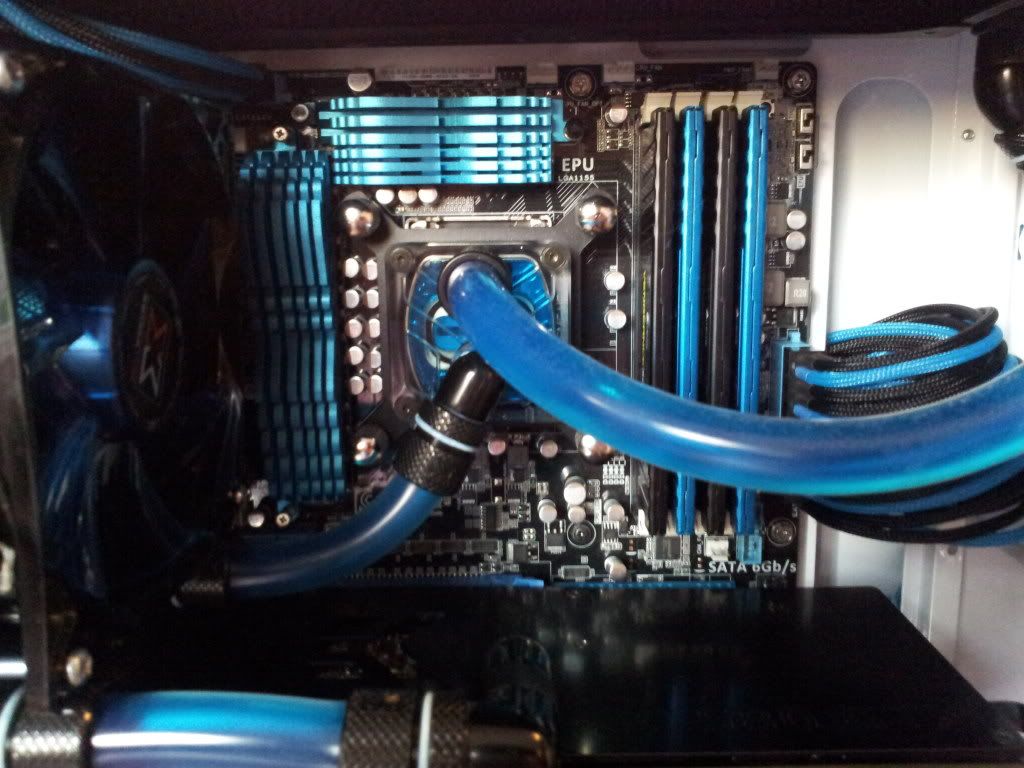
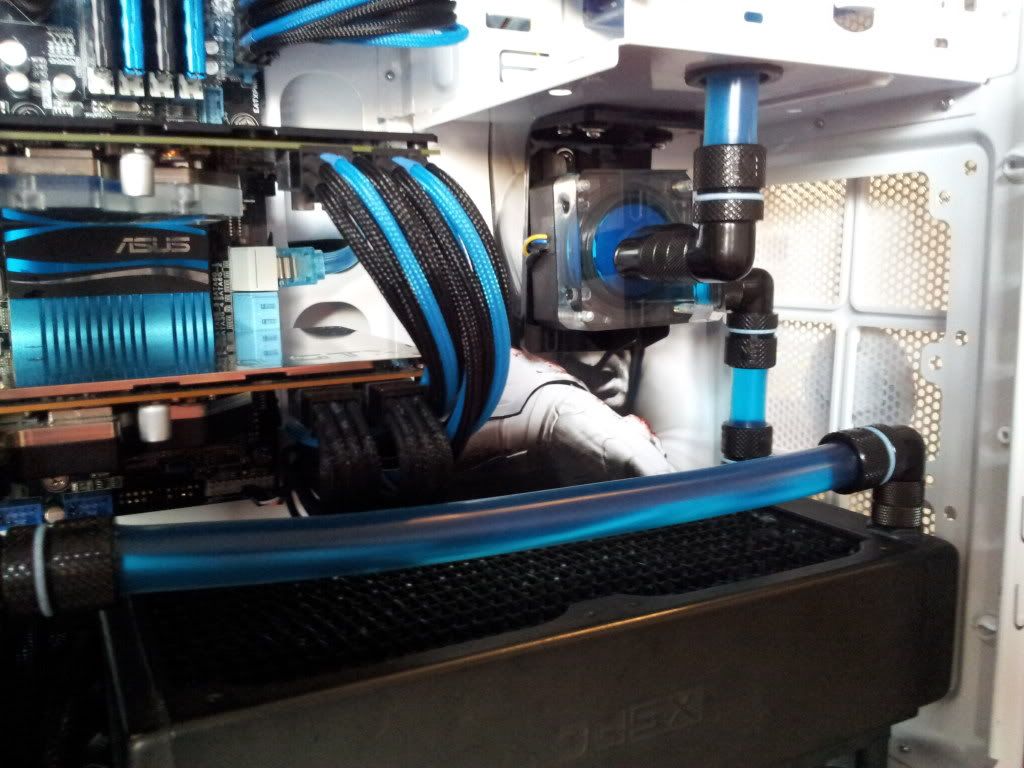
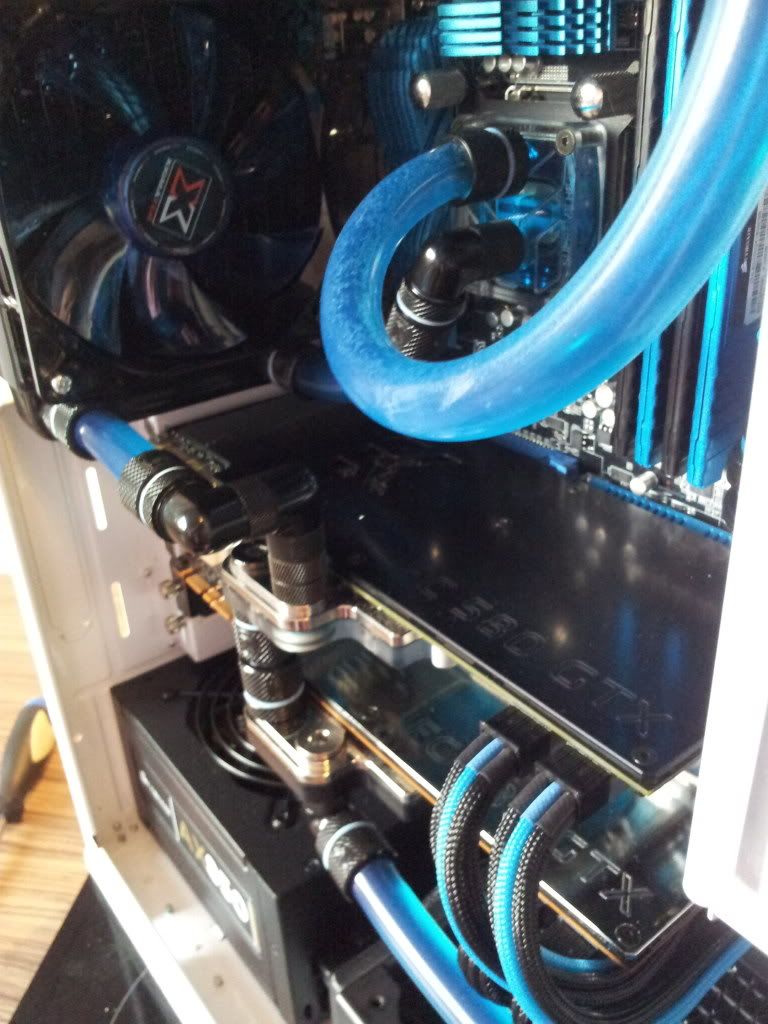
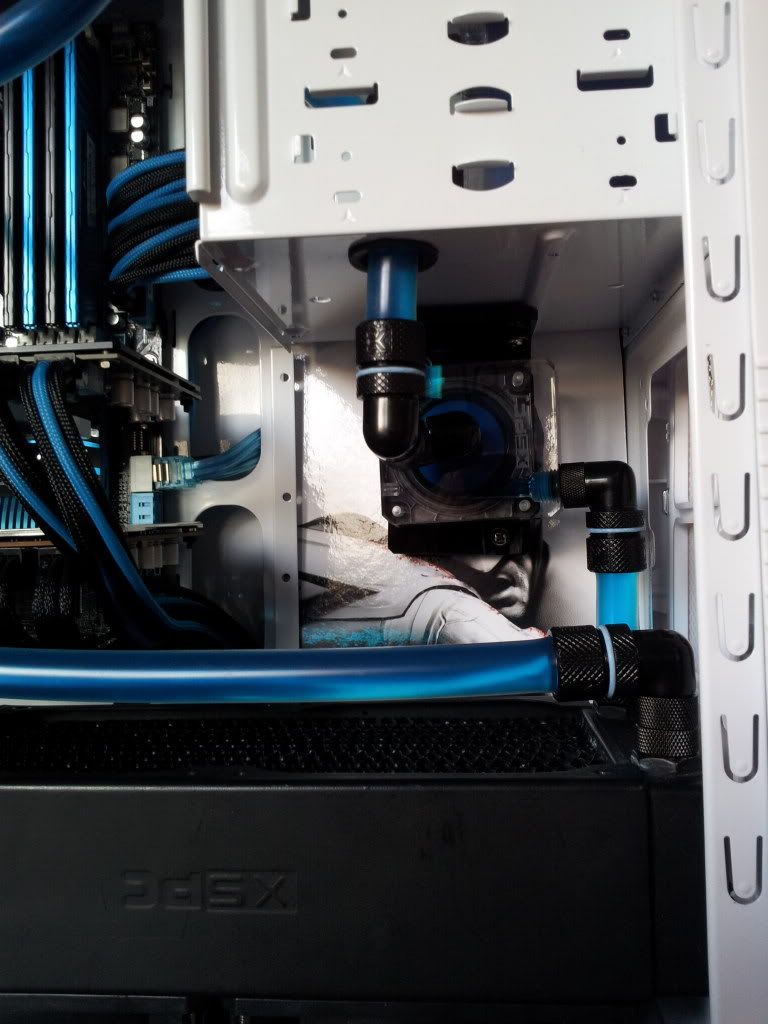
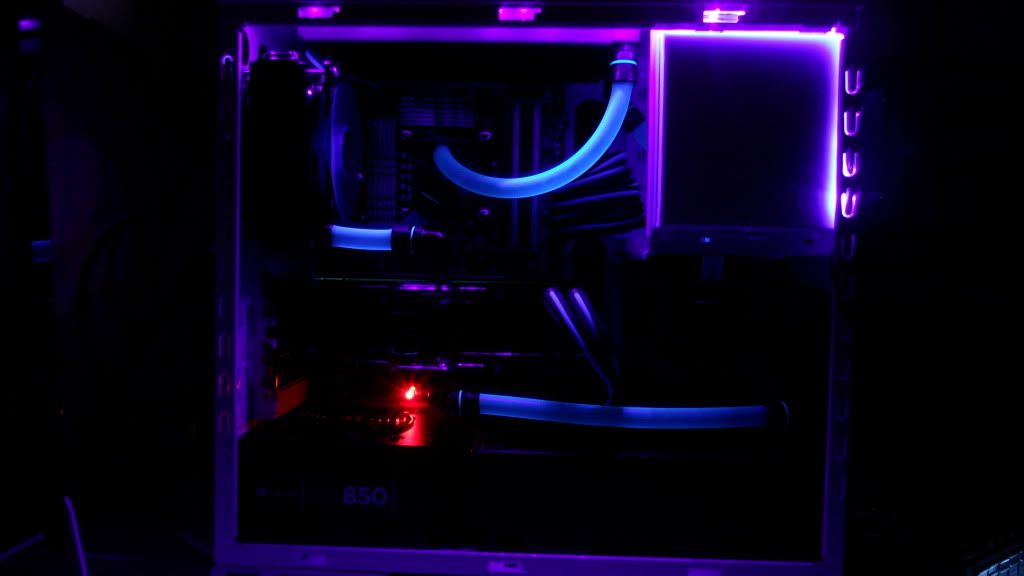
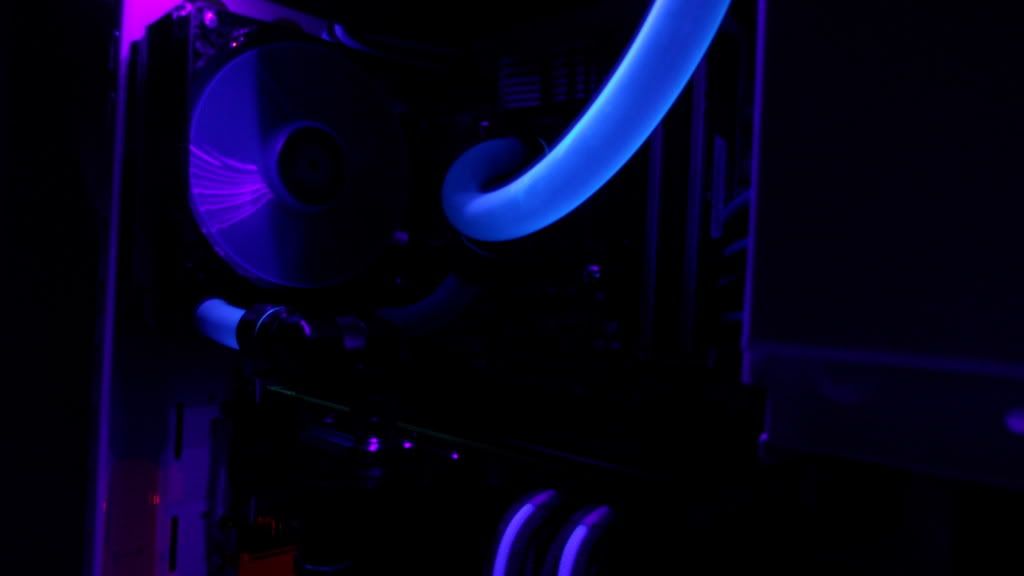
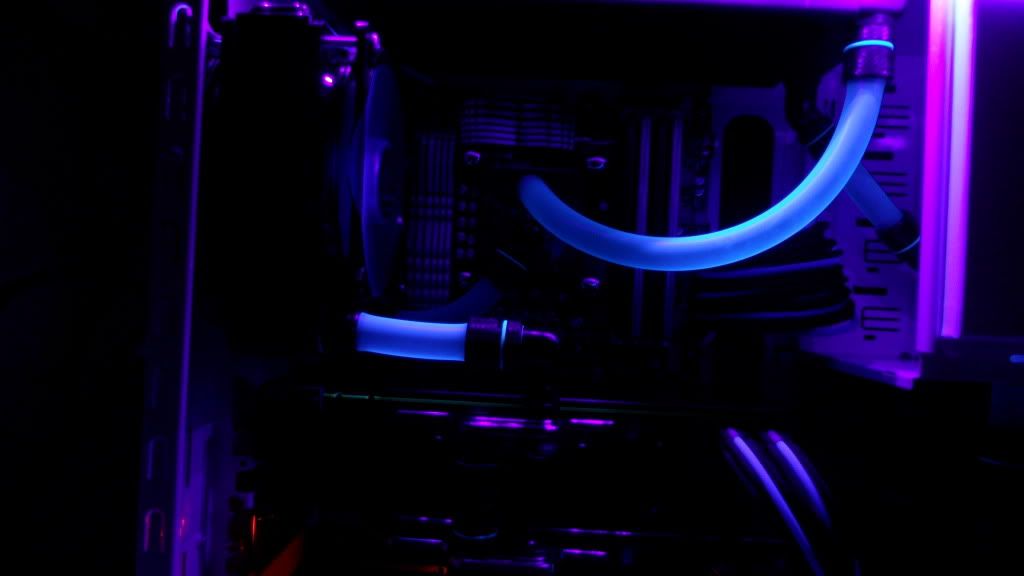
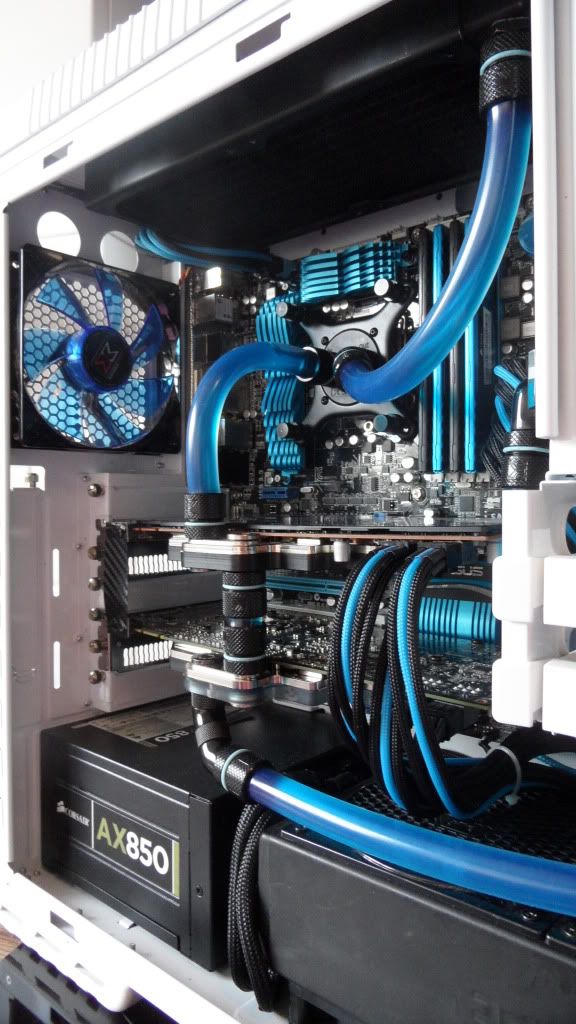
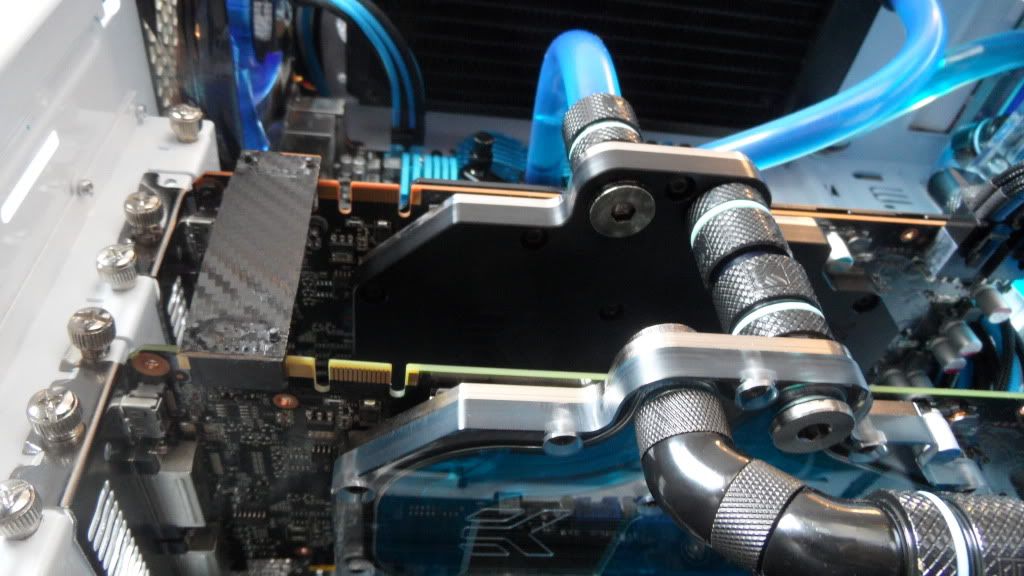
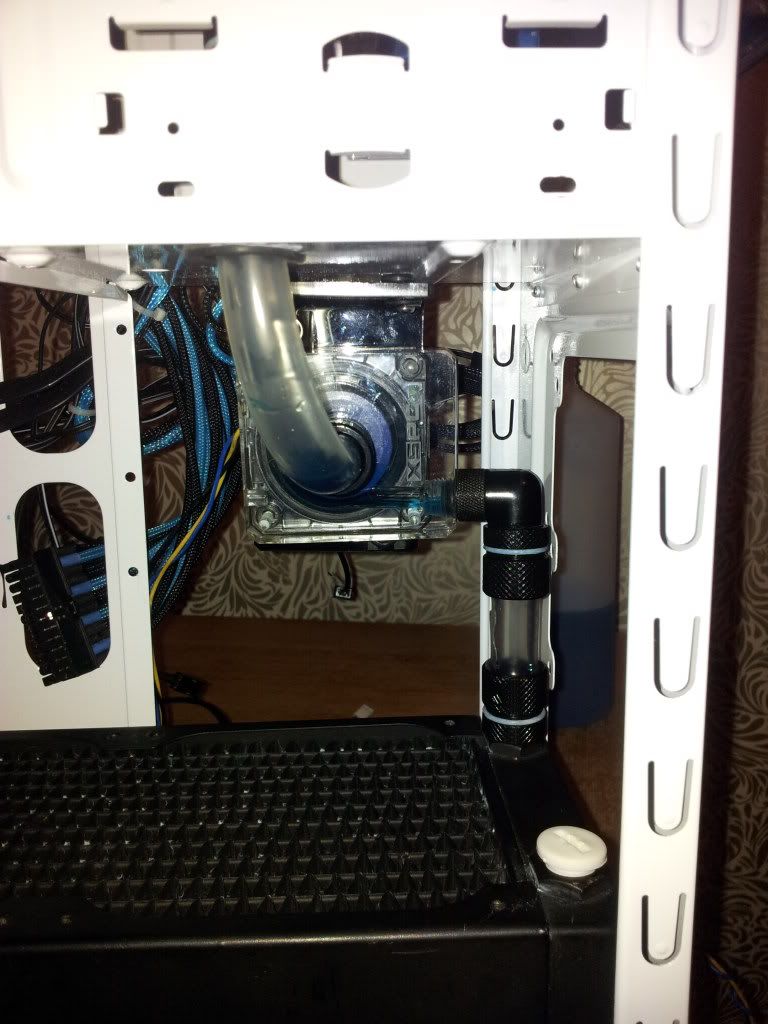
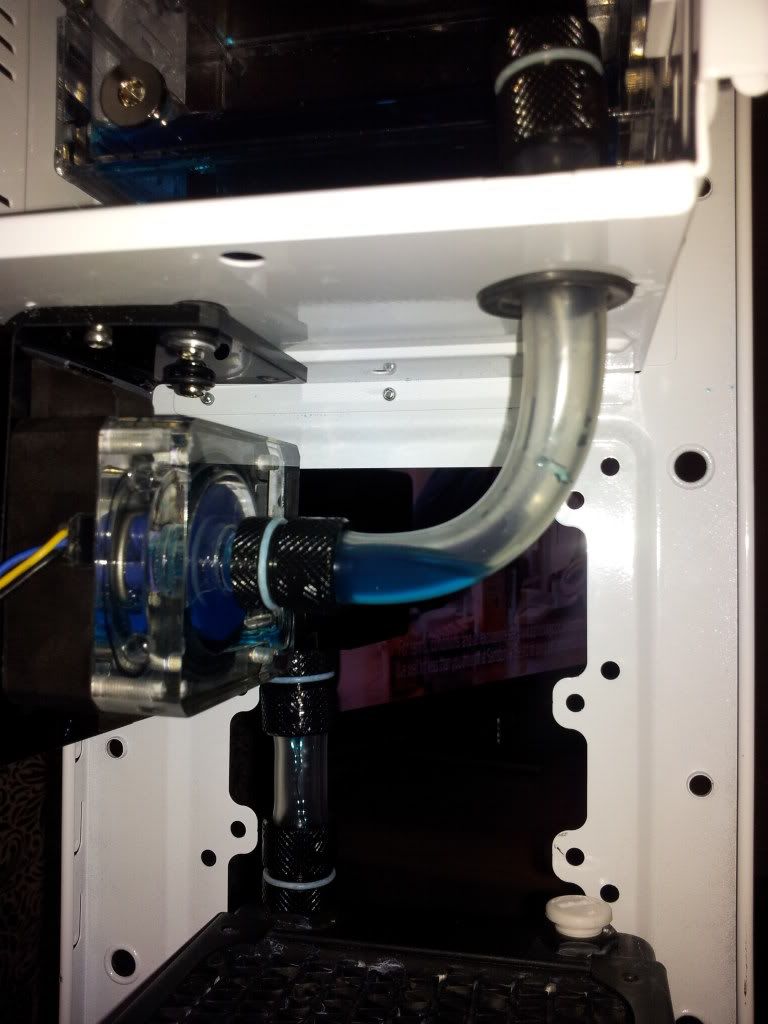
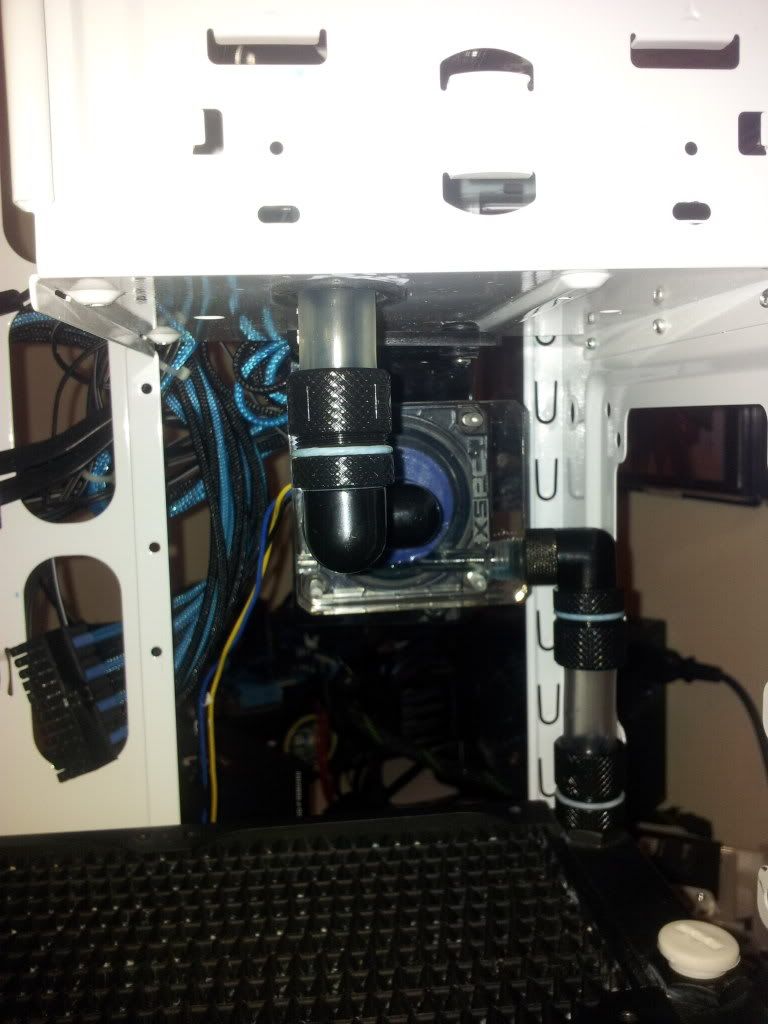
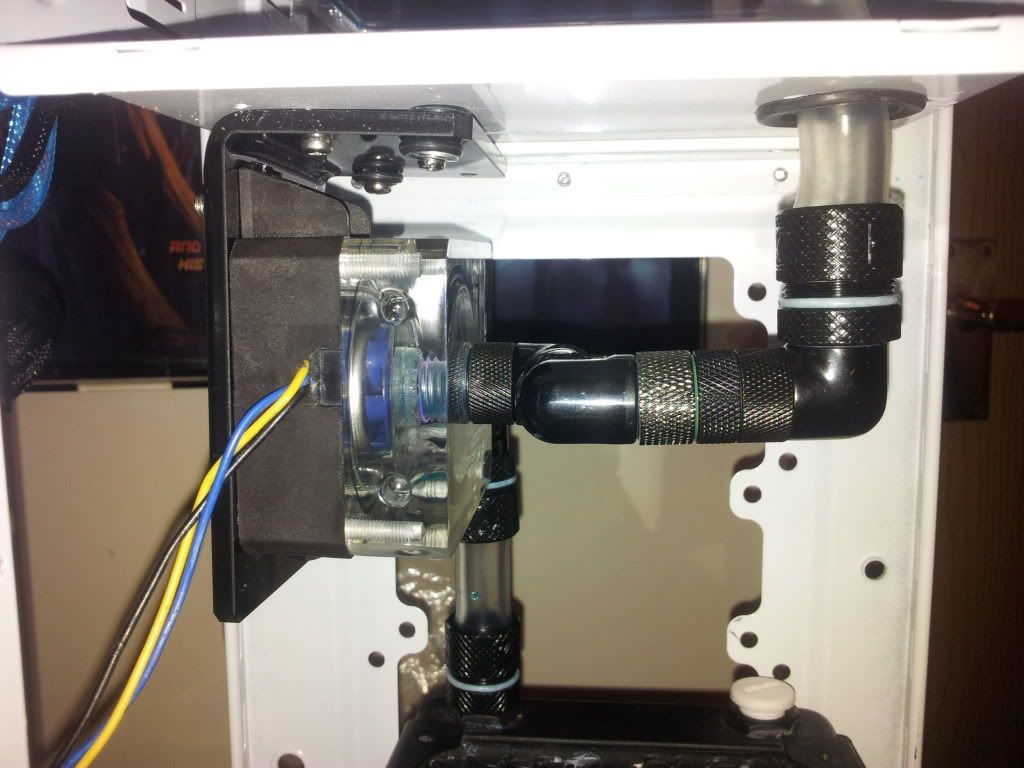
I finished latest Water cooled build in my White Coolermaster CM 690 II a while back and It has been sitting next to me on my desk but every time I look at it I think its missing something.
So I decided to apply a theme of Batman to my case but since my case is white this project will be renamed the White Knight. I don’t intend to do any major mods as the case just a couple of aesthetic mods that I hope will finish the project nicely.
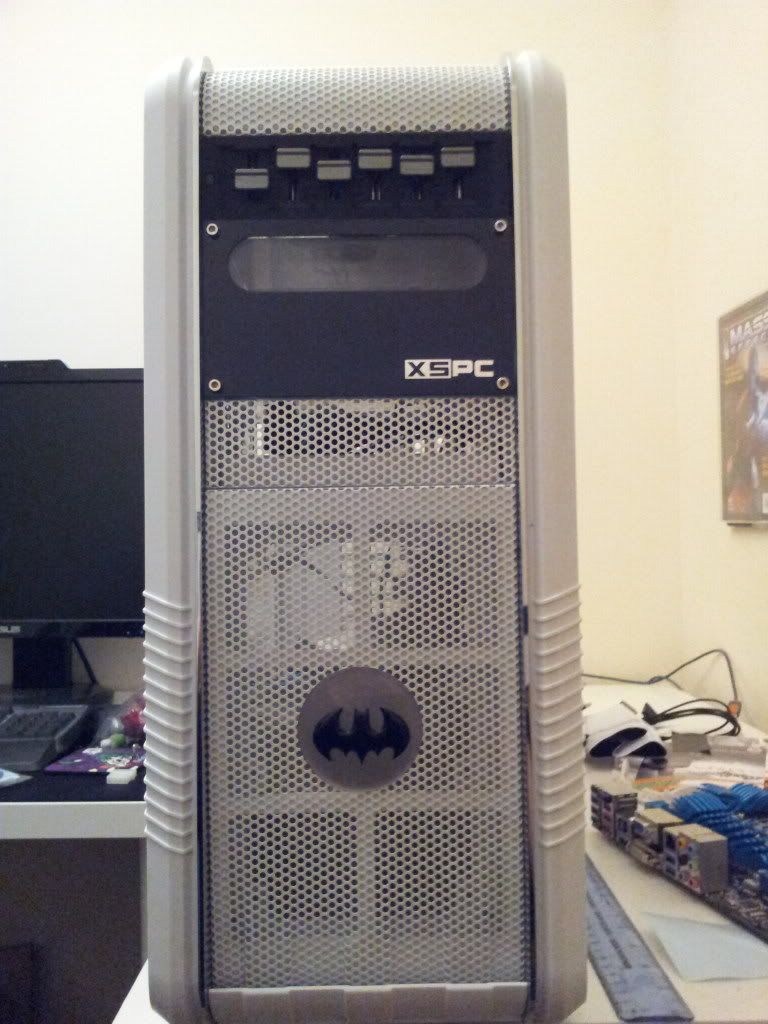
Here is the case as it stands at the moment:


Design/Theme Ideas
I want to at some subtle Dark knight references throughout the case. I have collected these images as inspiration for the time being. The images are all stickers that can be resized to fit on my case, but I don’t just want to cover the case in stickers as I don’t want it toll look like a 3yr old has designed it!




Plan Of Action
FRONT OF THE CASE
My main issue with my cases aesthetics is the front of it. I needed a fan controller but none exist in white and I have tried to paint/spray some white but with no luck.

So my plan is to use the Black XSPC facia for the res and spray the white mesh bay which is between the res and the fan controller Black so the whole section will be black.
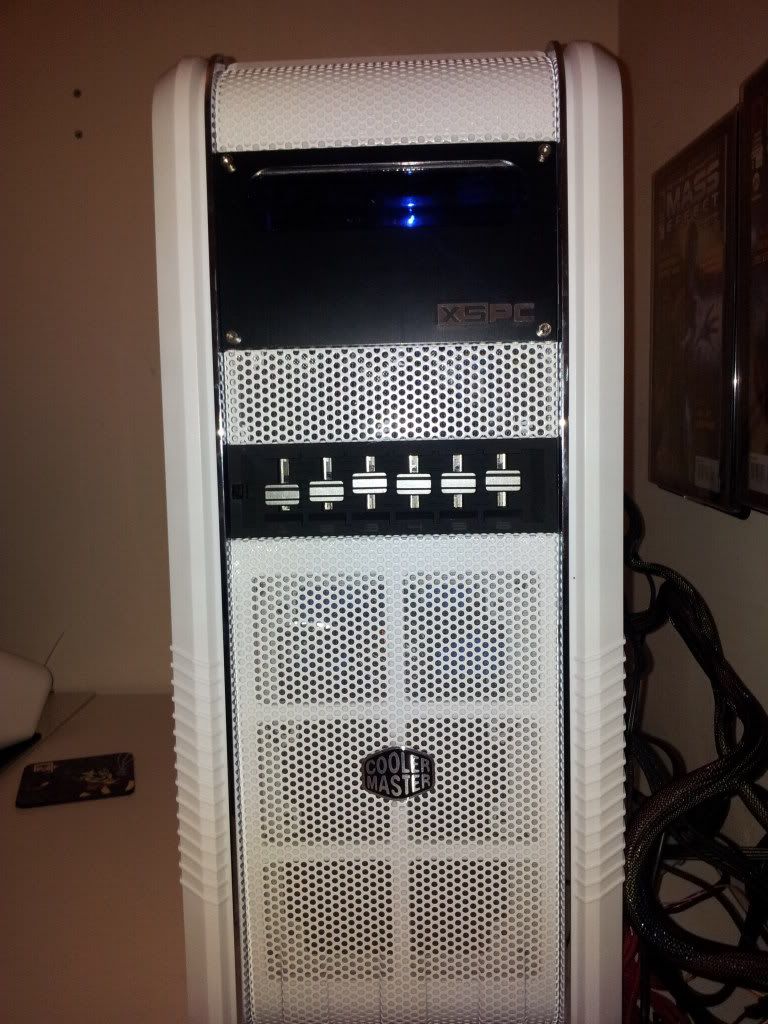
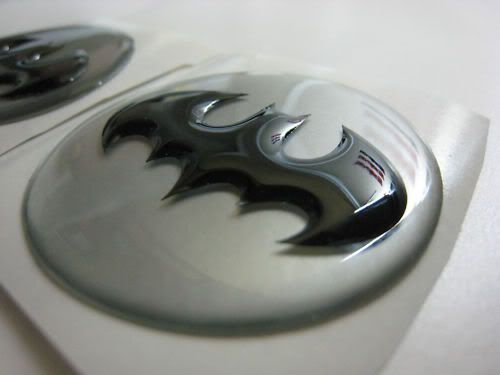
To finish off the front of the case will cover up the Coolermaster logo with the following Batman Logo. The silver/grey will match nicely with the chrome strips on the front of the case and also the silver buttons on the fan controller. There are actually meant to gone on alloy wheels but at 6mm they are the perfect size. I might also be able to use them as badges for my fans.
SIDE PANEL
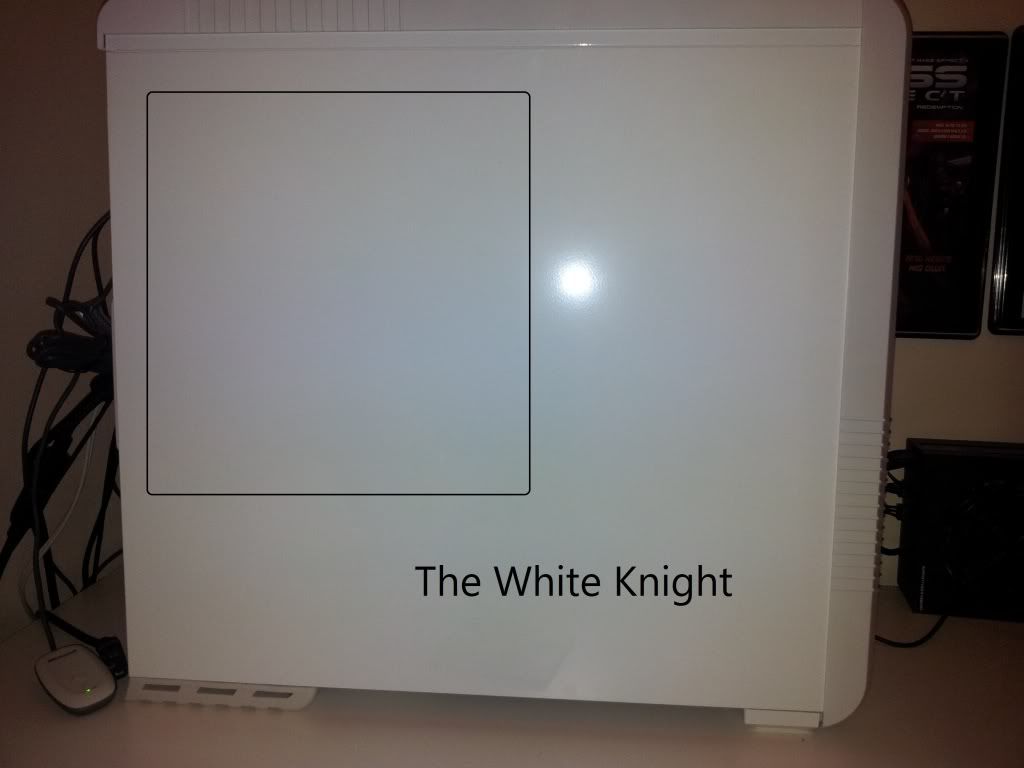
I Plan on getting a window cut into the side panel and also the project name cut into the side. Please excuse the uber basicness of my design!! I think I will stick to just “White Knight” as I’m not sure if I have enough room to fit “The White Knight” but we shall see. I also need to decide on what type of font I want the lettering, but I may just have to choose from the fonts the company cutting the window has. I plan on using clear plexi on the main window then some blue plexi behind the “white Knight” to make it stand out.
Please suggest any design ideas that you can think off, I always welcome other peoples ideas
I finished latest Water cooled build in my White Coolermaster CM 690 II a while back and It has been sitting next to me on my desk but every time I look at it I think its missing something.
So I decided to apply a theme of Batman to my case but since my case is white this project will be renamed the White Knight. I don’t intend to do any major mods as the case just a couple of aesthetic mods that I hope will finish the project nicely.
Here is the case as it stands at the moment:


Design/Theme Ideas
I want to at some subtle Dark knight references throughout the case. I have collected these images as inspiration for the time being. The images are all stickers that can be resized to fit on my case, but I don’t just want to cover the case in stickers as I don’t want it toll look like a 3yr old has designed it!


Plan Of Action
FRONT OF THE CASE
My main issue with my cases aesthetics is the front of it. I needed a fan controller but none exist in white and I have tried to paint/spray some white but with no luck.

So my plan is to use the Black XSPC facia for the res and spray the white mesh bay which is between the res and the fan controller Black so the whole section will be black.

To finish off the front of the case will cover up the Coolermaster logo with the following Batman Logo. The silver/grey will match nicely with the chrome strips on the front of the case and also the silver buttons on the fan controller. There are actually meant to gone on alloy wheels but at 6mm they are the perfect size. I might also be able to use them as badges for my fans.

SIDE PANEL
I Plan on getting a window cut into the side panel and also the project name cut into the side. Please excuse the uber basicness of my design!! I think I will stick to just “White Knight” as I’m not sure if I have enough room to fit “The White Knight” but we shall see. I also need to decide on what type of font I want the lettering, but I may just have to choose from the fonts the company cutting the window has. I plan on using clear plexi on the main window then some blue plexi behind the “white Knight” to make it stand out.

Please suggest any design ideas that you can think off, I always welcome other peoples ideas

Last edited:


 love the concept and how it's turned out so far
