TJ08-e Water-cooled Build

Associate
Joined
1 Jun 2016
Posts
486
Location
Cambridge
Hi All

I'm going to watercool my rig and want to document the process.

The case is a Silverstone TJ08-e and I will be watercooling the CPU and GPU. I was inspired by MetallicAcid's build log on Linus Tech Tips and then driven to carry out my own project because of the intense heat and noise put out by the 1080 GTX Founders Edition.

MetallicAcid's Build: https://www.google.co.uk/url?sa=t&s...y__tQ5vH9tP_gn6aA&sig2=oATL_YsJcQYVdIWOJKCWDQ

Components List

Case: Silverstone TJ08-E
PSU: be quiet! Straight Power 10 600W Hybrid Modular
Motherboard: ASUS H170-M PLUS
RAM: Corsair 16GB White Vengeance LPX DDR4 2666MHz
CPU: Intel i7 6700
GPU: Nvidia GTX 1080 Founders Edition

Water Cooling Stuff

Pump: EK-XRES 100 Revo D5 PWM
Radiator 1: EKWB CoolStream SE 120
Radiator 2: Phobya Xtreme 200mm v2 Full Copper
Tube: Mayhems 1/2'
CPU Block: EK-Supremacy EVO - Acetal (Original CSQ)
GPU Block: EKWB GeForce GTX 1080 Glass+Copper including EKWB backplate
Fittings: Various compression fittings, angles and a quick disconnect for draining.
 
Last edited:
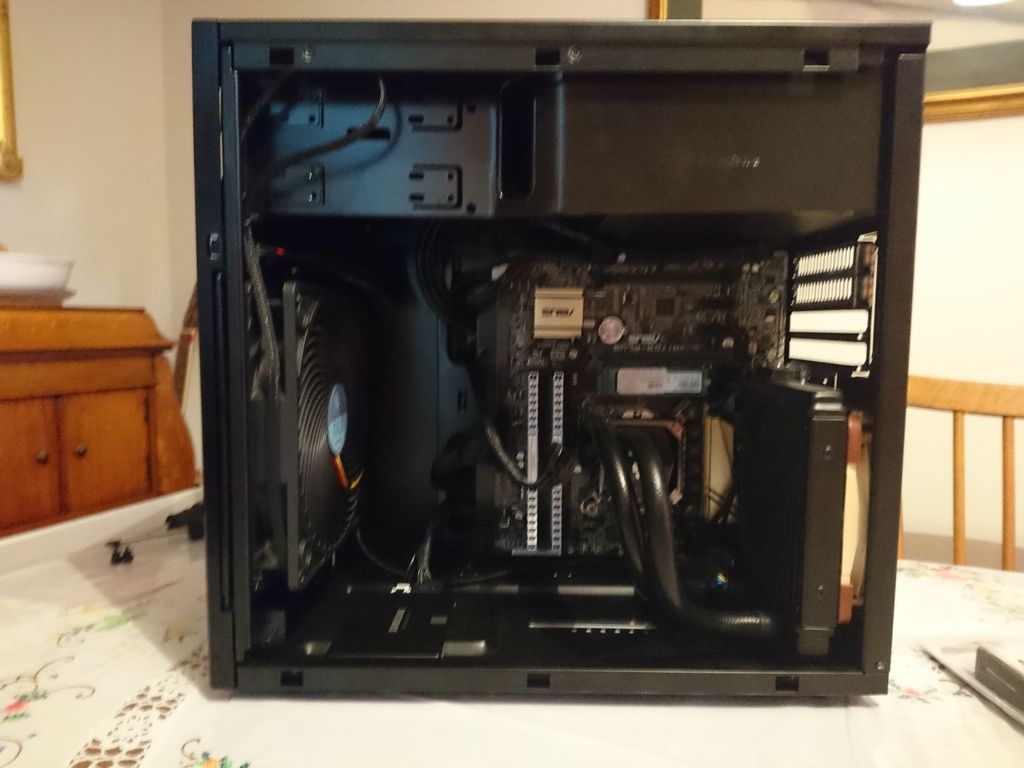
Before stripping down (minus GPU - removed earlier in the week to fit water block)


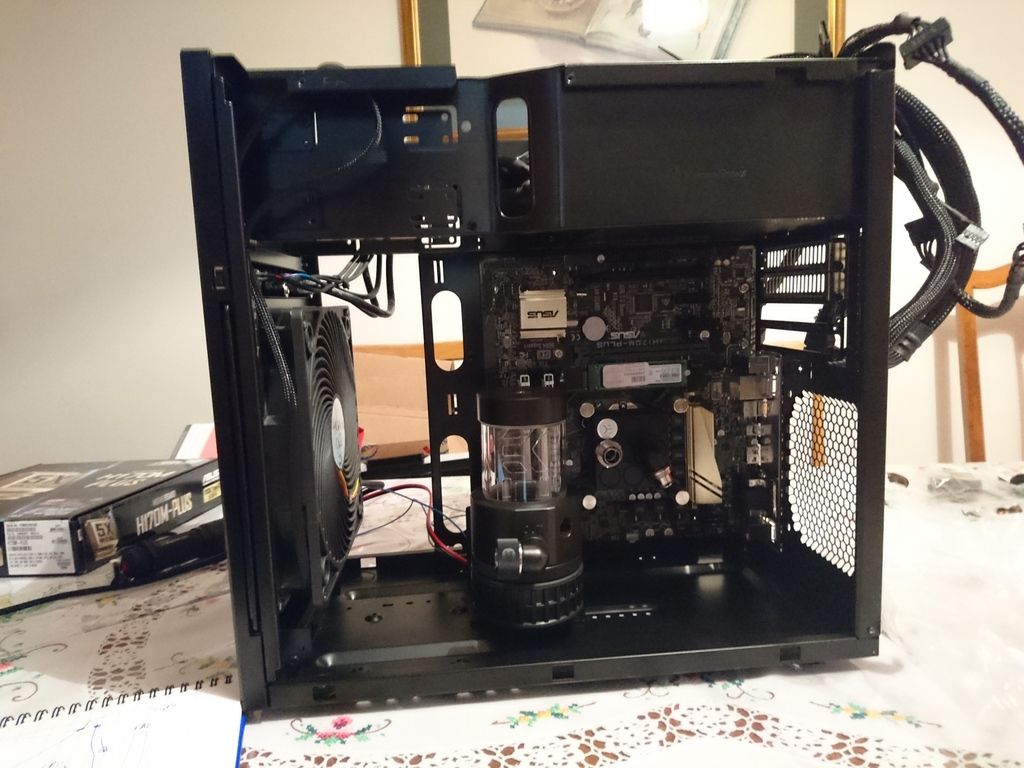
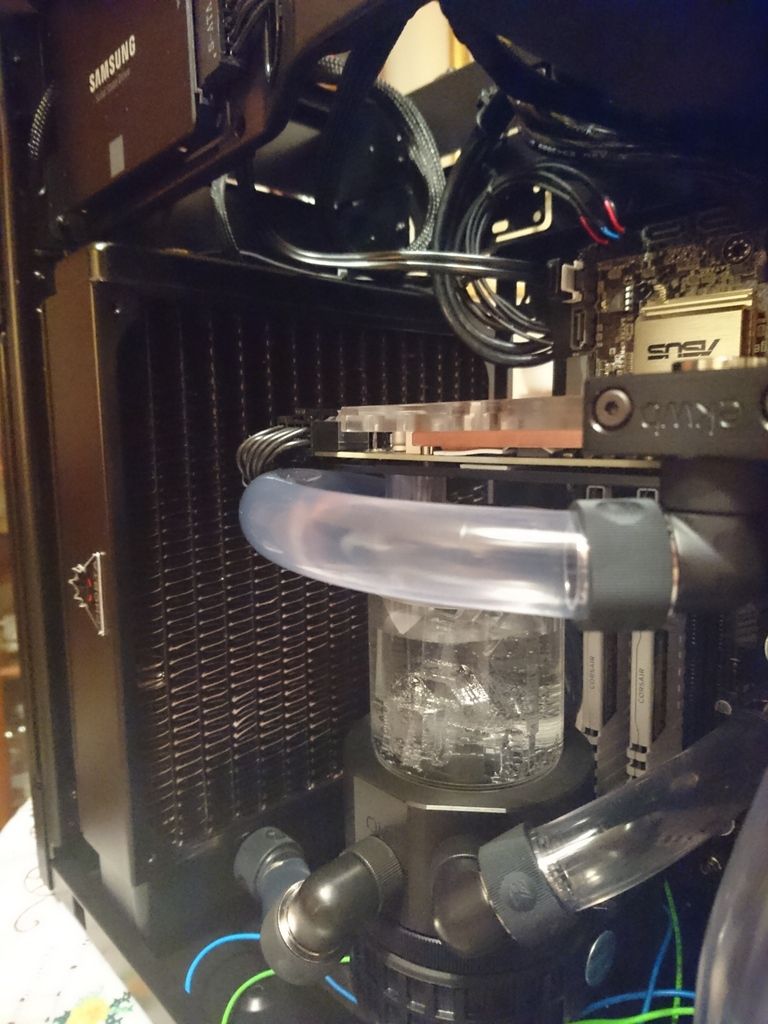
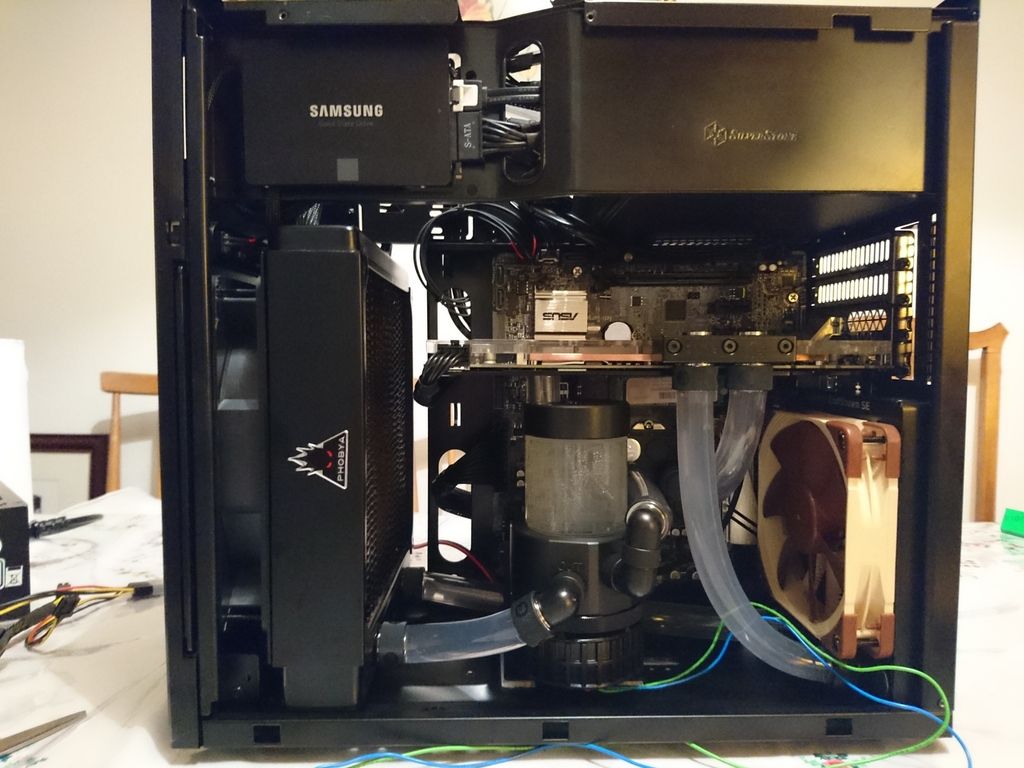
Today's progress. Pump mounted, CPU block installed. Tomorrow I will fit the radiators, hook up GPU and if time permits commence leak testing.


The only thing I'm not sure about is the position of the pump. I may move it further towards the back of the case providing I can get the tube to run between pump and CPU without kinking. I did consider mounting the pump res assembly horizontally, but I would prefer to have the reservoir above, submerging the pump and providing a gravity feed.
 
Last edited:
GPU max temp after 2 hours of overwatch was 43 degrees. CPU hit 55 which is about 2 degrees higher than when running on the Corsair H60 AIO.

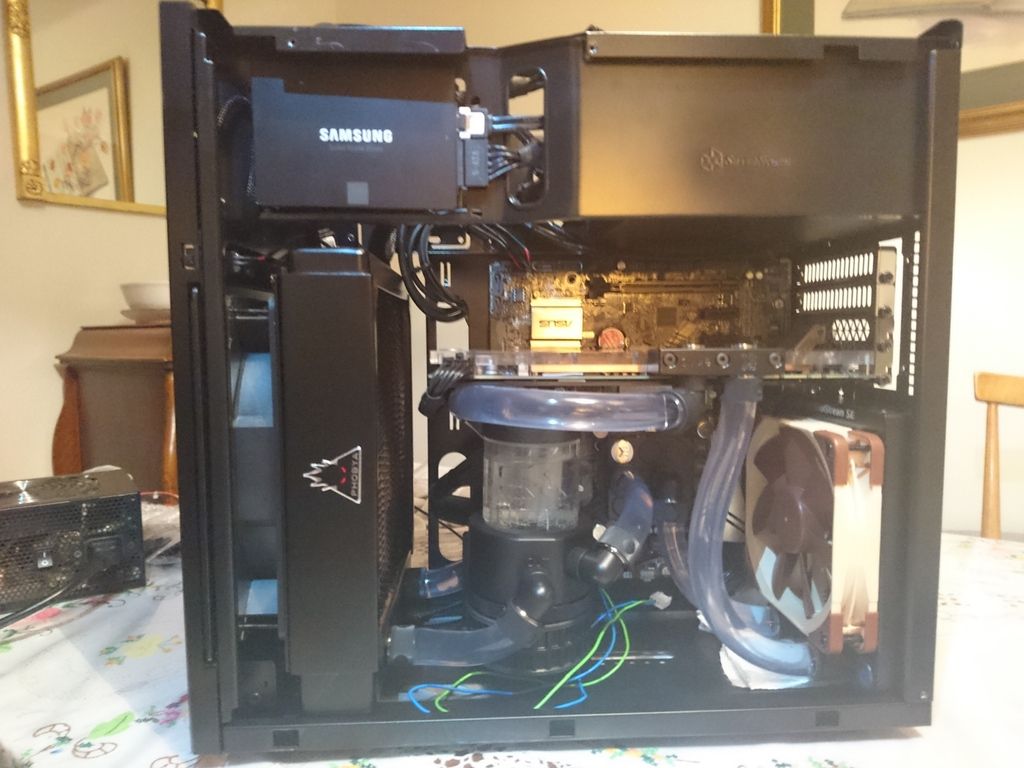
Loop feeds from GPU to small rad to CPU to pump to big rad and back to GPU.

I think there are two factors at play which are causing higher CPU Temps.

1. Water flows from GPU to CPU.
2. I forgot to change the jet plate on the CPU block to the 'optimal' one supplied which is 0.05mm thinner.

On to the GPU. I was previously hitting 72 degrees after a few hours of gaming with a custom fan profile on the founders edition cooler. I'm very happy with the results which show a 30 degree drop. My system is also a lot quieter, to the point where I can barely hear it
 
Last edited:
Nice work in such a small case.

However your coolant flowing from GPU into CPU makes no difference since the coolant temperature will equalise across the entire loop. Your temp increase is probably down to having 2 items cooled only by a single 180 rad.
 
Ah yes, I didn't see the 120 rad at the back properly.

And yes, it doesn't matter how your loop is ordered, coolant temperature will equalise over the entire thing. Hardcore watercoolers who want maximum performance will say to keep tube runs as short as possible and maximise flow rate by having no tight bends, but to be honest a lot of those gains are so small it's not worth bothering with.

Just make sure your pump is fed directly from your reservoir and build the rest of the loop however you want.
 
My motherboard temperature (according to HW monitor) is now up to 53 degrees when under load. At idle it sits at 28-30 degrees.

This is because my fresh air intake is via the 180mm fan at the front of the case.

Before I installed watercooling it would never go above 30 degrees and must be caused by the radiator at the front. All fresh intake air is now pushed through said radiator.

Is the temperature of my motherboard under load a problem?

I could flip the fan so it draws 'case' air through the rad but then everything will get caked in dust due to the negative pressure created.

I would add that the 180mm front fan has an intake gauze which can be easily removed for cleaning.
 
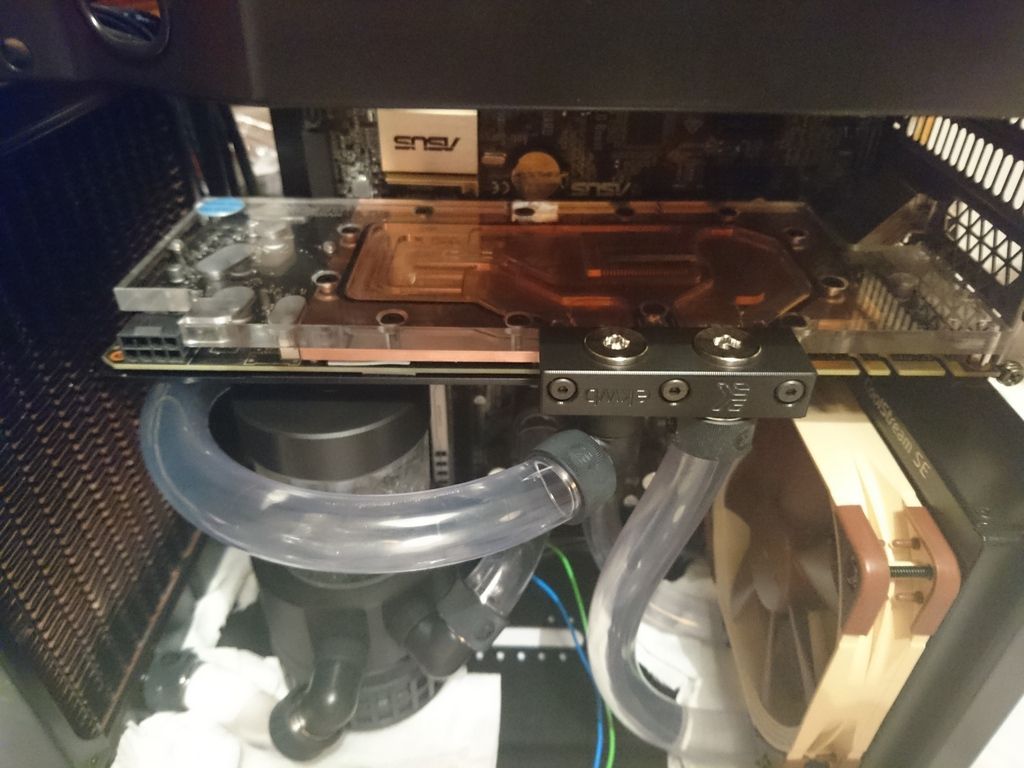
I redesigned my loop because I wasn't quite happy with my loop and wanted tolerate more space between the pump amd motherboard to improve airflow.

When I installed the CPU block I forgot to change the jet plate to the optimal once included so took the opportunity to install this while reconfiguring the loop.

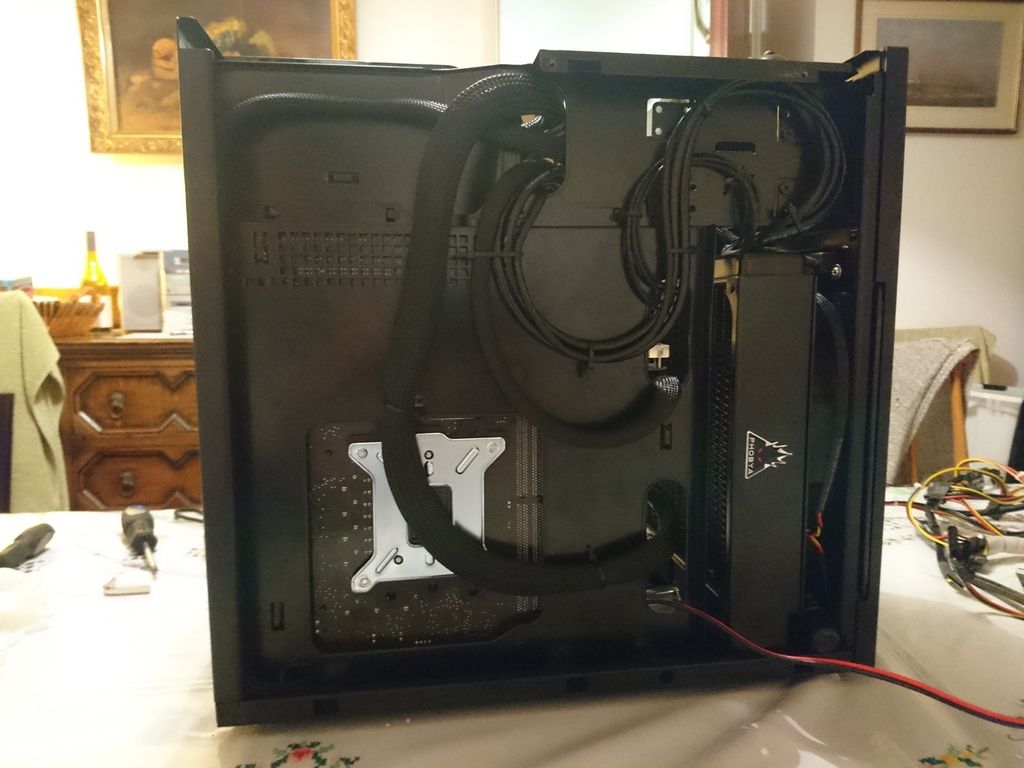
Pictures below while bleeding of front and rear cable management.


Back
Top Bottom