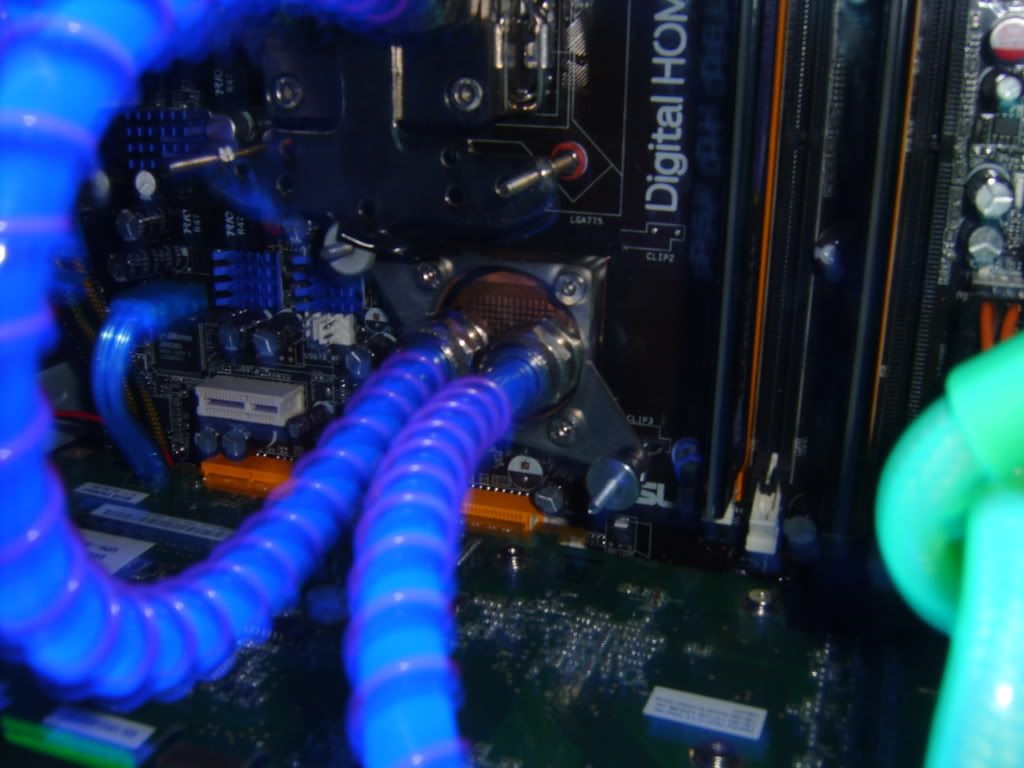
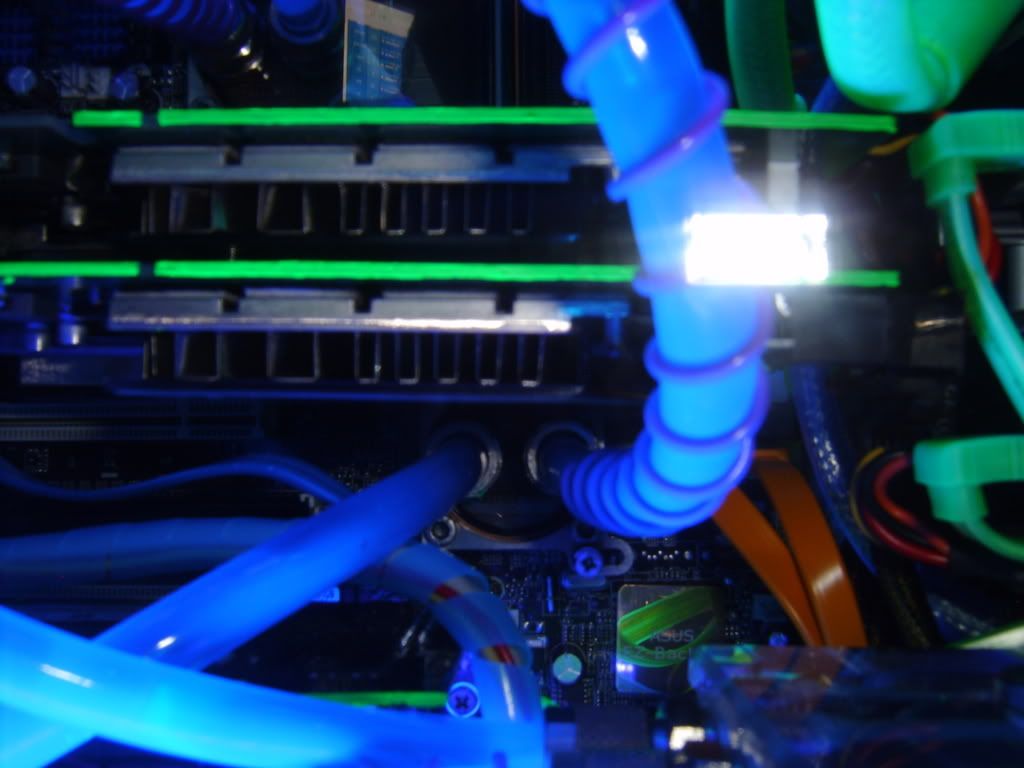
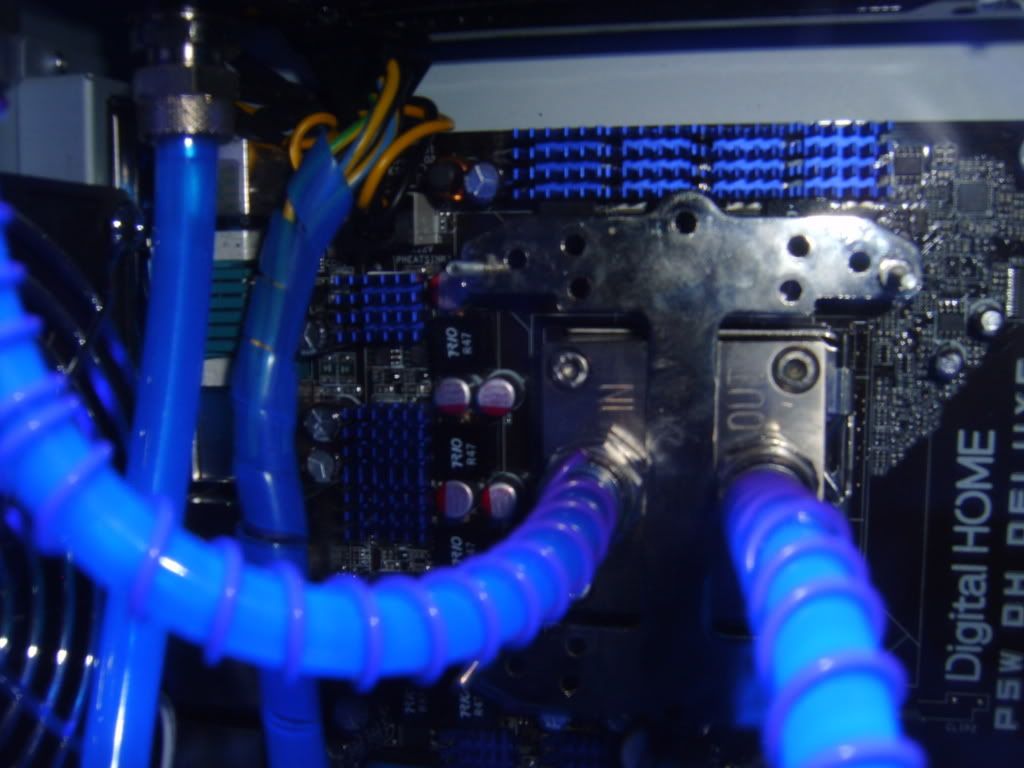
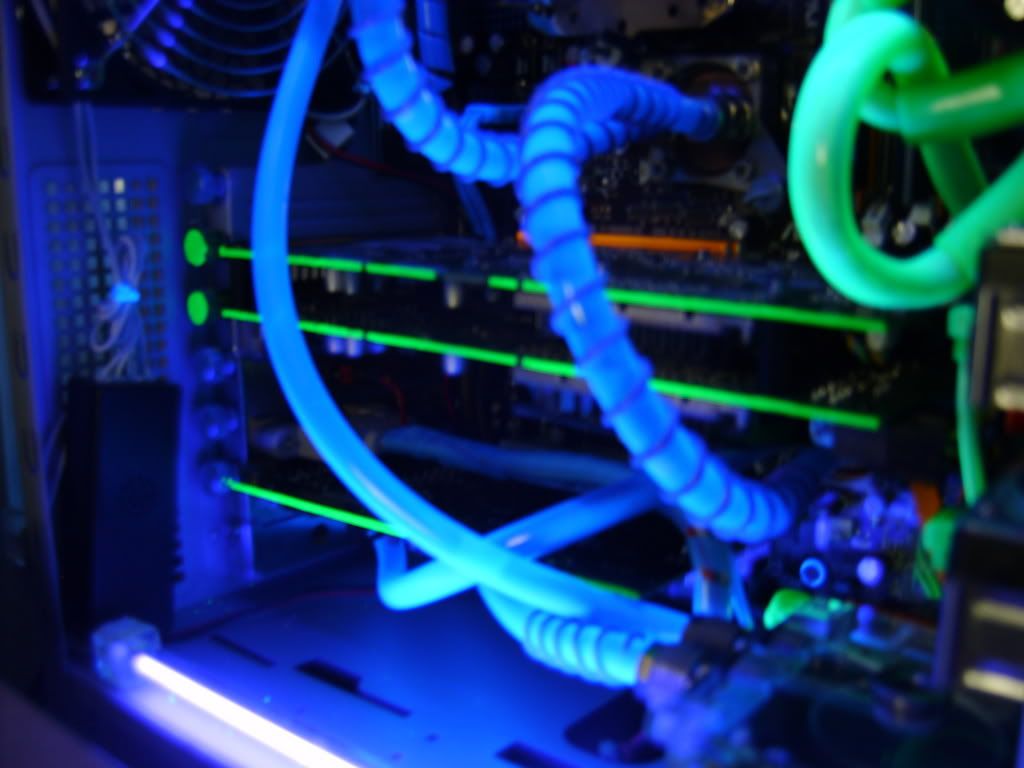
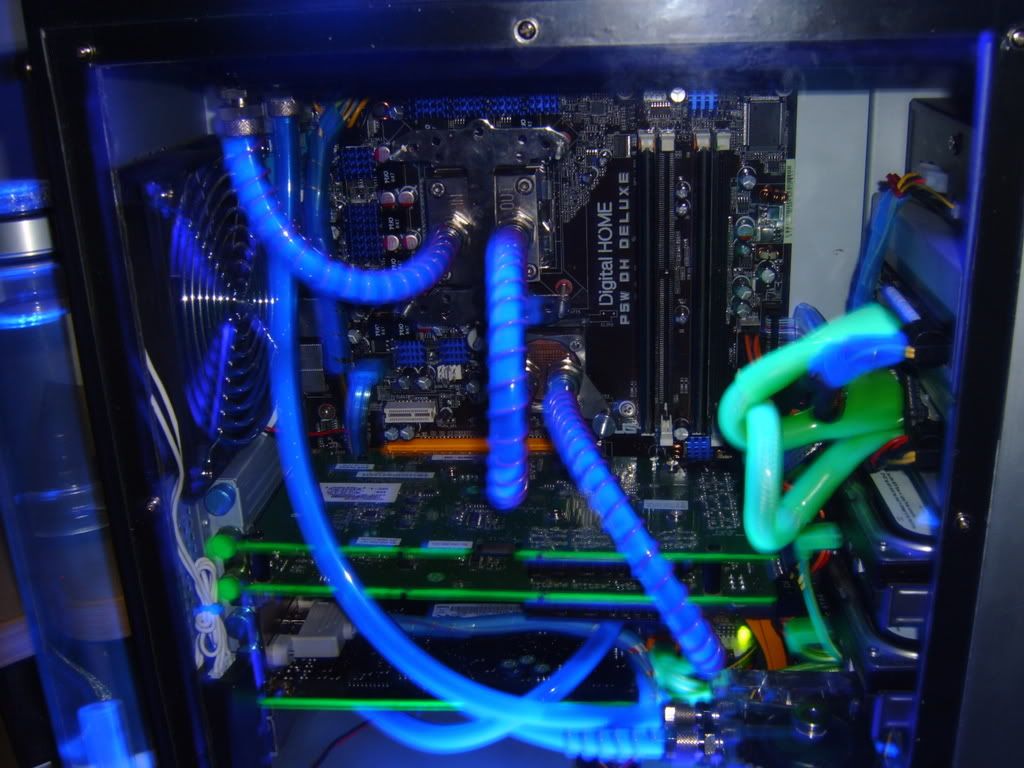
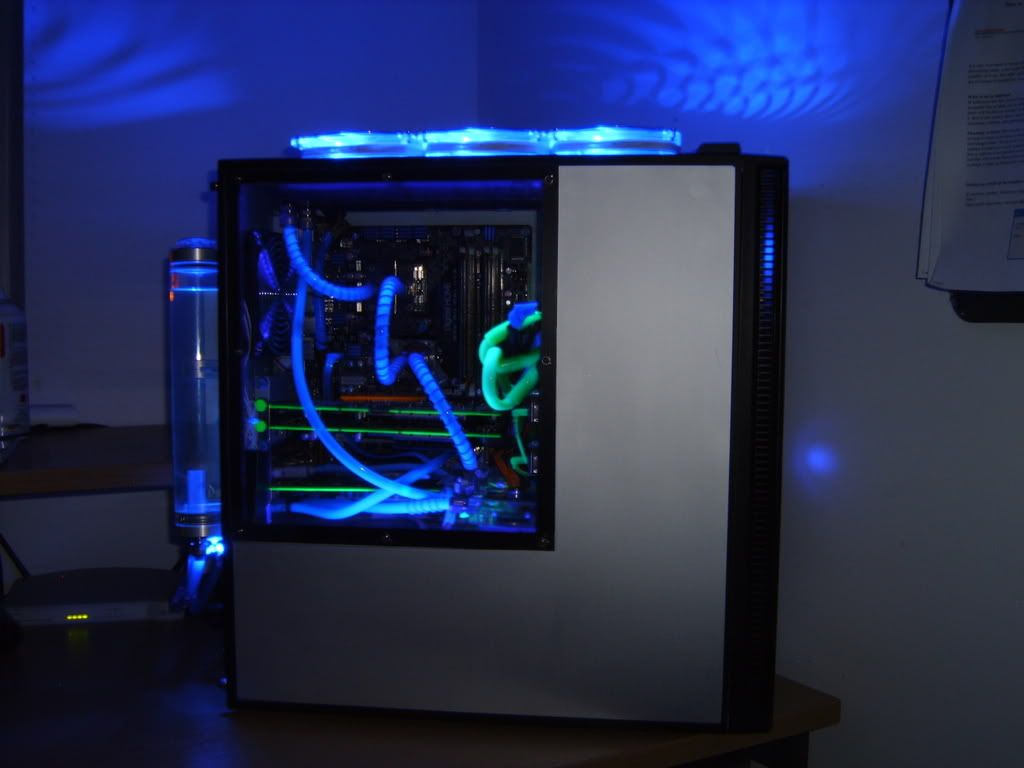
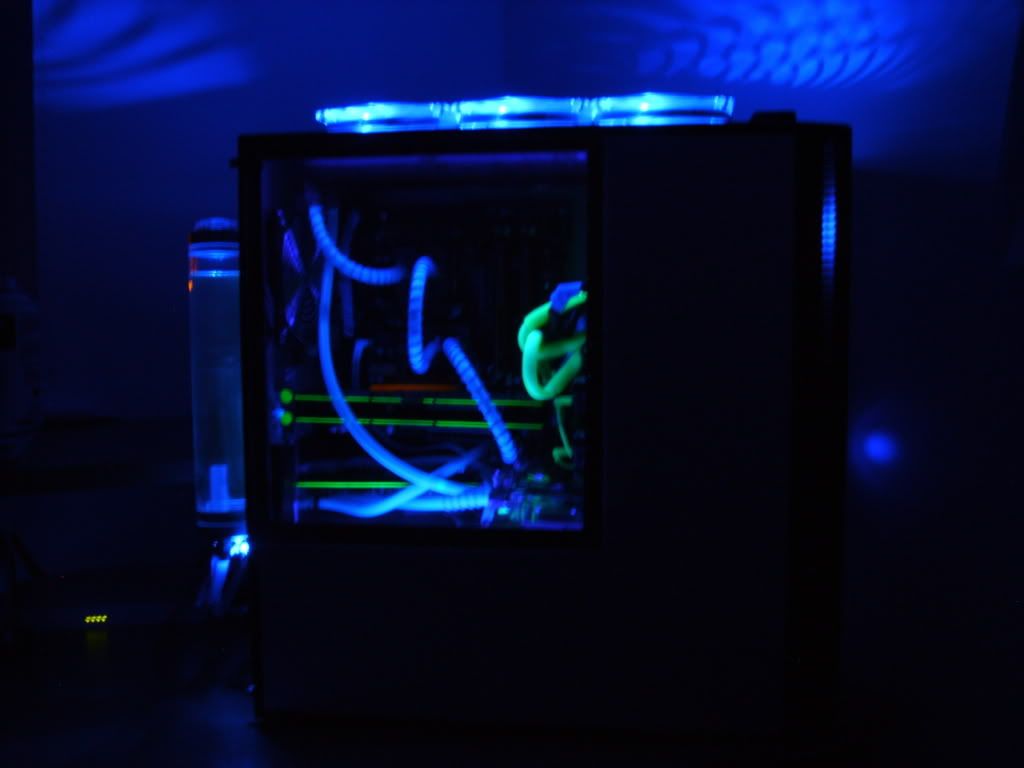
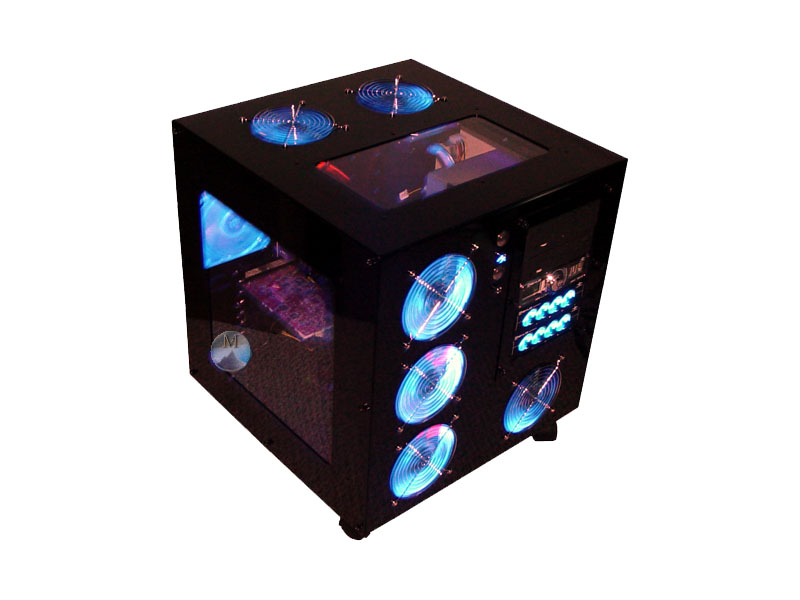
Full Specification
Antec P180
Intel Conroe E6600
Asus P5WDH
MSI 7950GTX
Creative XFI Xtreme music
2x1GB Corsair XMS2
Lite-On Lightscribe Dual layer 16x DVDRW
Asus 1608P DVD writer
2x36GB Raptors (Raid 0)
2x250GB Samsung spinpoint
1x250 Hitachi Deskstar T7K500
FSP Epsilon 700W
Coolermaster LLC-U01 Musketeer
3 x 120mm Thermaltake 'thunderblade' Blue LCD fans
2 x Sharkoon UV cold cathodes
UV reactive cabling (akasa)
UV paint
Watercooling
Laing DDC with Alphacool plexitop (modded)
120x3 Alphacool Nexxos pro Radiator
Nexxos XP (solid) CPU block
Alphacool NexXxos NBX-N Northbridge Chipset Cooler
Alphacool NExXxOS NBX-i
Alphacool Cape coolplex 25cm External Reservoir
De-ionised water
10mm UV tubing
Project Method
I initially set out to install a basic watercooling kit into the P180 but I was put off on this due to the P180 being designed from the ground up as a 'silent' air cooling case. Other than buying a new case I was informed I didn't really have a choice other than to stick to air cooling. I scoured the net but could not find any sources that used the P180 as a watercooling case other than having the rad positioned outside the case on the back (ala swiftech) which I personally don't like the look of and which also presented its own problems. I had my heart set on a triple rad and was determined to fit it into the P180 or wreck the case trying lol.
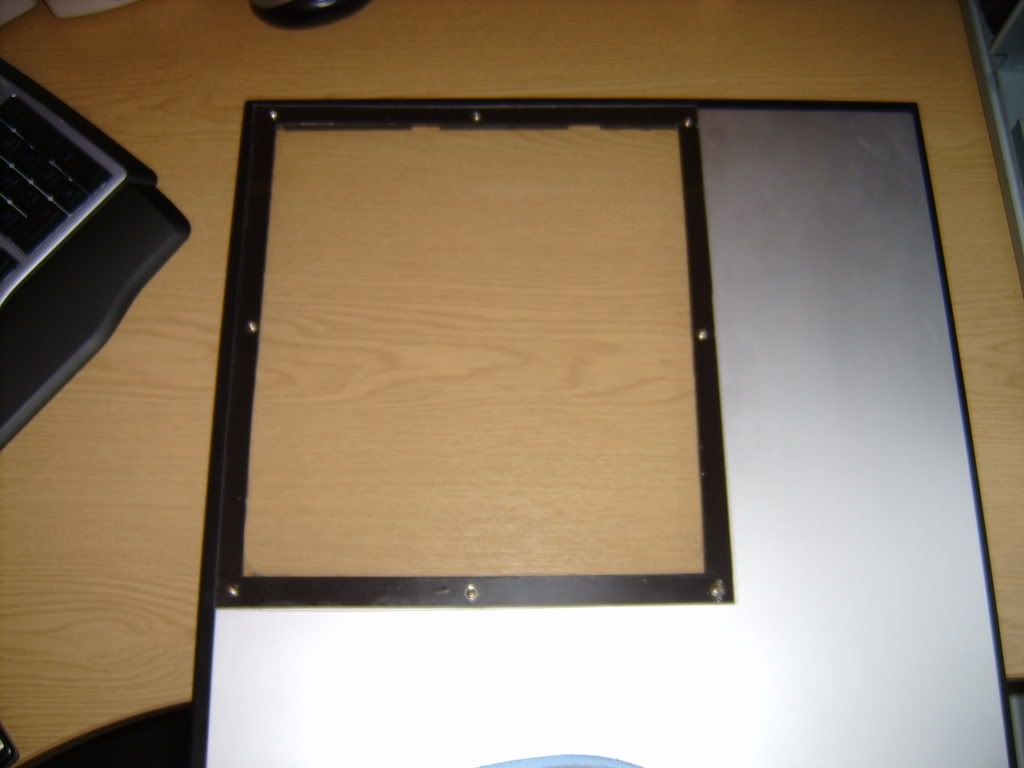
My first task was measuring the rad up to the case to find feasable locations for it. The only place I could really have it would be the top of the case, either internally or externally. I much prefer internally wherever possible and as a single 120mm hole was already present in the top of the rad I matched the included template to this loaction and marked out where I needed to drill and jigsaw. The scary bit was actually making the first drill hole but once that is done everything else is pretty much plain sailing. The main problem with using a jigsaw on the P180 are the triple layers used as sound insulation (metal/plasic/metal). I selected a fine toothed blade and cut slowly letting the jigsaw do most of the work which for the most part worked fine. The finished product however was less than satisfactory as the plastic melts and re-fuses the cut line back together so it takes 2 goes with the jigsaw to make a complete cut. Once the holes were cut I then dremmeled the edges down to give a smoother finish.

While I had the case stripped down I also decided to do the bottom fan mod, enabling me to fit a 120mm fan in the bottom section in front of the HD rack. This is done by drilling out the rivets holding the HD plate with a 4mm bit.

A 25mm thick (standard) fan then will just about fit which will aid cooling to the HD's as this is a hotspot for the case.

Antec P180
Intel Conroe E6600
Asus P5WDH
MSI 7950GTX
Creative XFI Xtreme music
2x1GB Corsair XMS2
Lite-On Lightscribe Dual layer 16x DVDRW
Asus 1608P DVD writer
2x36GB Raptors (Raid 0)
2x250GB Samsung spinpoint
1x250 Hitachi Deskstar T7K500
FSP Epsilon 700W
Coolermaster LLC-U01 Musketeer
3 x 120mm Thermaltake 'thunderblade' Blue LCD fans
2 x Sharkoon UV cold cathodes
UV reactive cabling (akasa)
UV paint
Watercooling
Laing DDC with Alphacool plexitop (modded)
120x3 Alphacool Nexxos pro Radiator
Nexxos XP (solid) CPU block
Alphacool NexXxos NBX-N Northbridge Chipset Cooler
Alphacool NExXxOS NBX-i
Alphacool Cape coolplex 25cm External Reservoir
De-ionised water
10mm UV tubing
Project Method
I initially set out to install a basic watercooling kit into the P180 but I was put off on this due to the P180 being designed from the ground up as a 'silent' air cooling case. Other than buying a new case I was informed I didn't really have a choice other than to stick to air cooling. I scoured the net but could not find any sources that used the P180 as a watercooling case other than having the rad positioned outside the case on the back (ala swiftech) which I personally don't like the look of and which also presented its own problems. I had my heart set on a triple rad and was determined to fit it into the P180 or wreck the case trying lol.
My first task was measuring the rad up to the case to find feasable locations for it. The only place I could really have it would be the top of the case, either internally or externally. I much prefer internally wherever possible and as a single 120mm hole was already present in the top of the rad I matched the included template to this loaction and marked out where I needed to drill and jigsaw. The scary bit was actually making the first drill hole but once that is done everything else is pretty much plain sailing. The main problem with using a jigsaw on the P180 are the triple layers used as sound insulation (metal/plasic/metal). I selected a fine toothed blade and cut slowly letting the jigsaw do most of the work which for the most part worked fine. The finished product however was less than satisfactory as the plastic melts and re-fuses the cut line back together so it takes 2 goes with the jigsaw to make a complete cut. Once the holes were cut I then dremmeled the edges down to give a smoother finish.

While I had the case stripped down I also decided to do the bottom fan mod, enabling me to fit a 120mm fan in the bottom section in front of the HD rack. This is done by drilling out the rivets holding the HD plate with a 4mm bit.

A 25mm thick (standard) fan then will just about fit which will aid cooling to the HD's as this is a hotspot for the case.


