Hello everybody...
First of all sorry if I misspell something or make a mistake. English is not my first language.
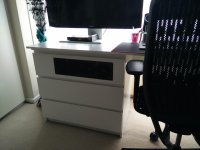
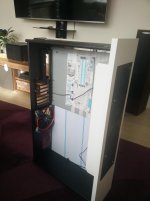
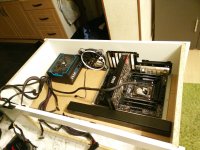
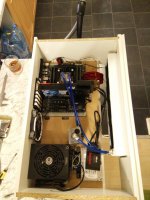
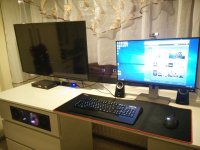
My specs are in my signature and right now my pc looks like this
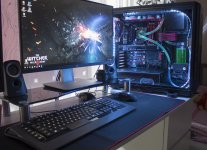
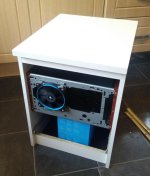
Its a DIY desk made of two ikea malm chests of drawers and a white particle board on top.


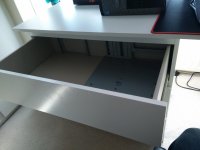
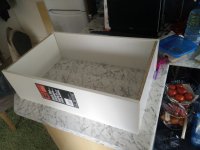
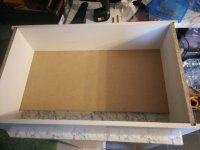
Its in my bedroom cause I don't have enough space downstairs (plus my girlfriend didn't like when i used to game on TV :> ). As much as i like phanteks enthoo pro its quite big and i could use the space its taking for something else... First plan was to get rid of the drawers and make a shelf for it underneath but it would look terrible (once again -> girlfriend). Conclusion was easy... put my pc IN the drawer.
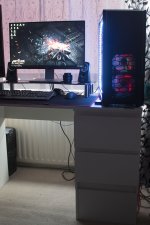
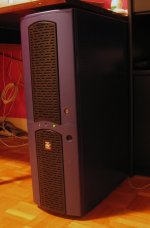
after seeing some other similar projects on internet i had a pretty good idea how to do it. I decided to use an existing case as a base and build everything around it. A while ago I bought chieftec dragon case for around 5£. If you're old enough you will remember them as they where considered pretty much high end couple of years ago.

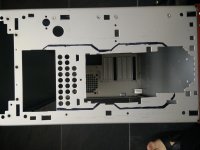
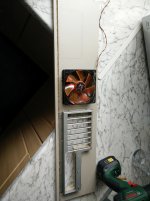
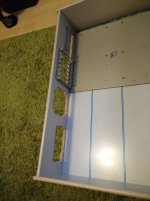
Those removable drive cages and slots for fans where nice back then but now 80mm fans are not really that common. Everything had to go :>
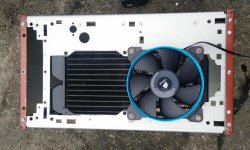
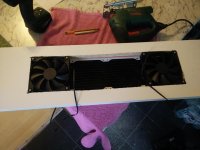
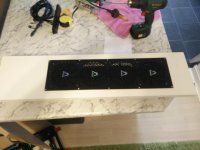
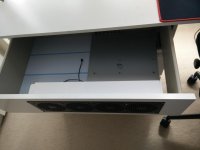
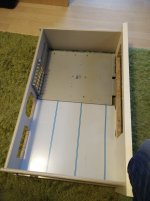
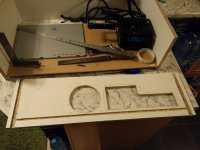
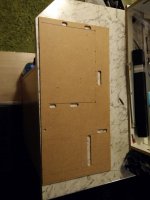
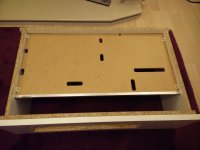
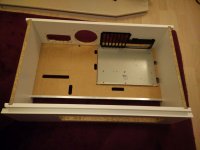
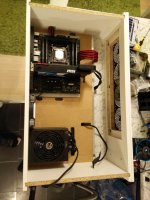
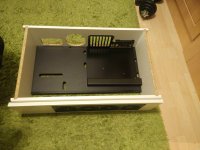
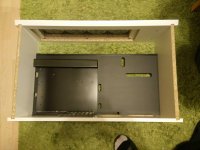
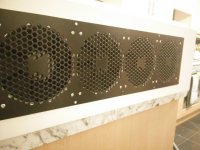
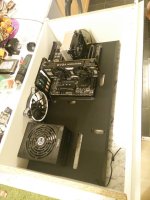
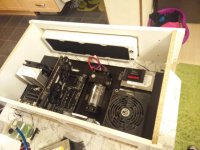
The idea is to have main compartment with mobo, res and radiator. PSU and HDD + SSD will be installed underneath the "main drawer"
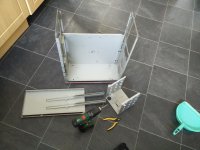
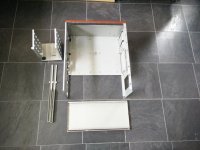
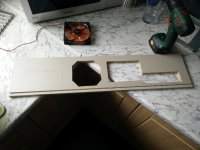
I'm gonna reuse that piece I cut off to mount the PSU underneath
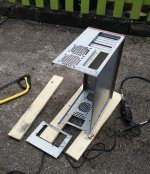
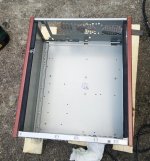
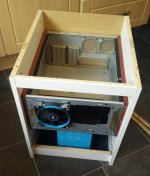
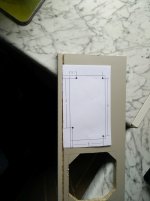
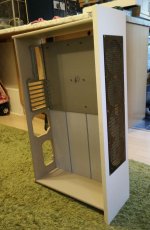
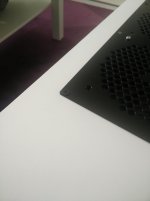
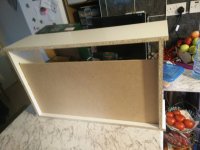
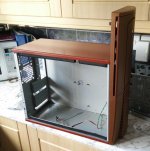
in case you're wondering case is now this much smaller
First of all sorry if I misspell something or make a mistake. English is not my first language.
My specs are in my signature and right now my pc looks like this

Its a DIY desk made of two ikea malm chests of drawers and a white particle board on top.


Its in my bedroom cause I don't have enough space downstairs (plus my girlfriend didn't like when i used to game on TV :> ). As much as i like phanteks enthoo pro its quite big and i could use the space its taking for something else... First plan was to get rid of the drawers and make a shelf for it underneath but it would look terrible (once again -> girlfriend). Conclusion was easy... put my pc IN the drawer.

after seeing some other similar projects on internet i had a pretty good idea how to do it. I decided to use an existing case as a base and build everything around it. A while ago I bought chieftec dragon case for around 5£. If you're old enough you will remember them as they where considered pretty much high end couple of years ago.

Those removable drive cages and slots for fans where nice back then but now 80mm fans are not really that common. Everything had to go :>
The idea is to have main compartment with mobo, res and radiator. PSU and HDD + SSD will be installed underneath the "main drawer"


I'm gonna reuse that piece I cut off to mount the PSU underneath


in case you're wondering case is now this much smaller

Last edited:


