(Yet Another) Watercooled Prodigy Build

Associate
Joined
14 Sep 2011
Posts
185
Hello,

This is my second go at watercooling a Bitfenix Prodigy. You can find a link to my first in my sig below.

Though here is a pic of what I am coming from.
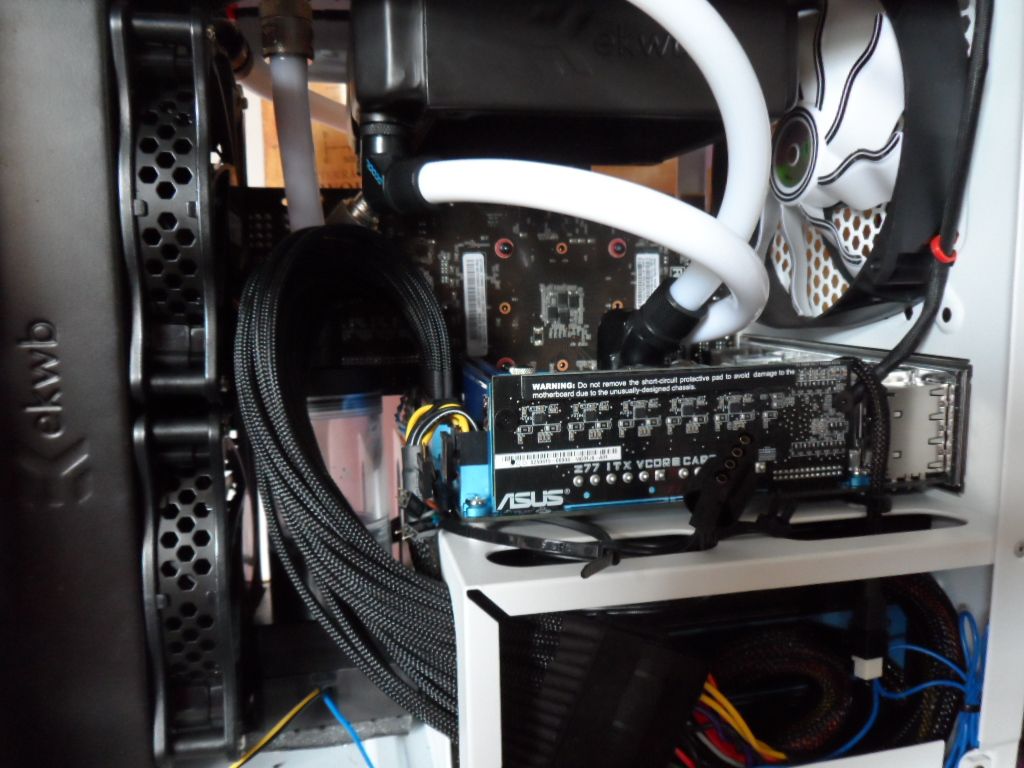
SAM_0651.jpg


I was talking to a friend who said he can't ever take his gaming rig to another house as it takes too long to move everything. He told me I was being stupid to think I could get everything he has in his Corsair 600. This build is to prove him wrong!

Just a quick thank you to everyone who puts build logs on here, from the sublime to the shoddy I am honestly a huge fan of reading them all and am happy to admit that many of the things I will be doing in this rig have been done before and would not have been possible with out the ideas and inspiration of others.

Anyways, to the build. Going for GTX 680, 480mm of radiators, a Blu Ray drive, 2 ssd's and everything else to make this little machine work. Not 100% confident this will work but we shall see.

I have done a few little bits here before taking any pics, so we will jump in to it now.

First things first is to get the front off and get a second 5'25 inch bay cut.
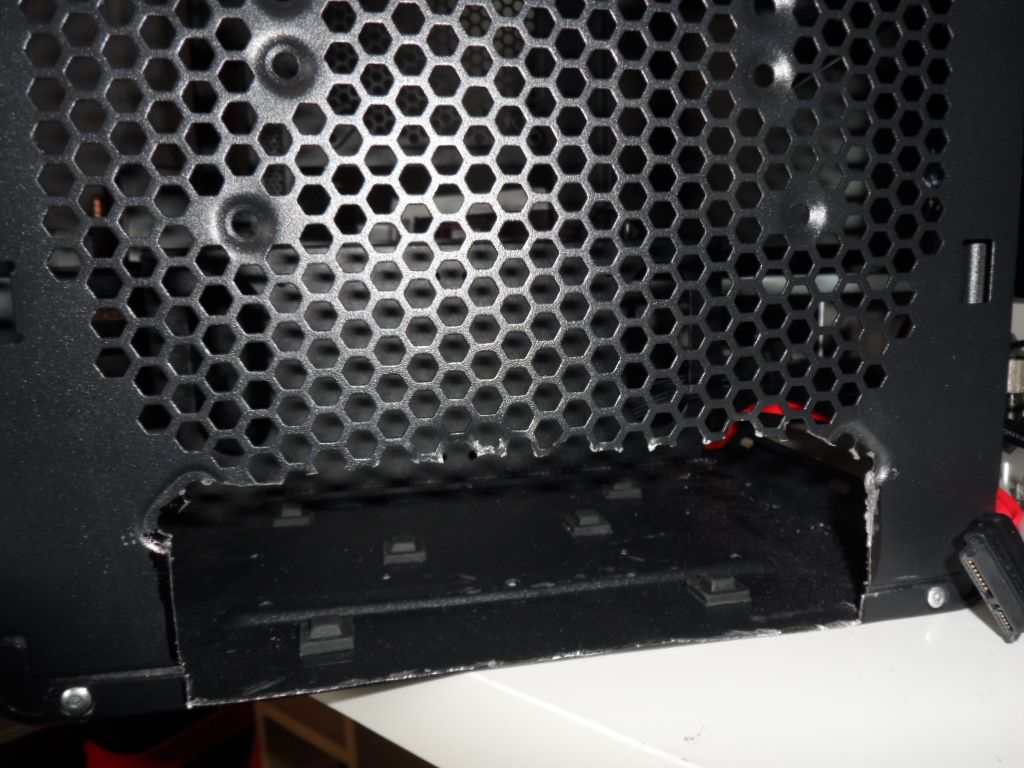
SAM_0677_zps2cee9635.jpg


SAM_0675_zps968bf8da.jpg


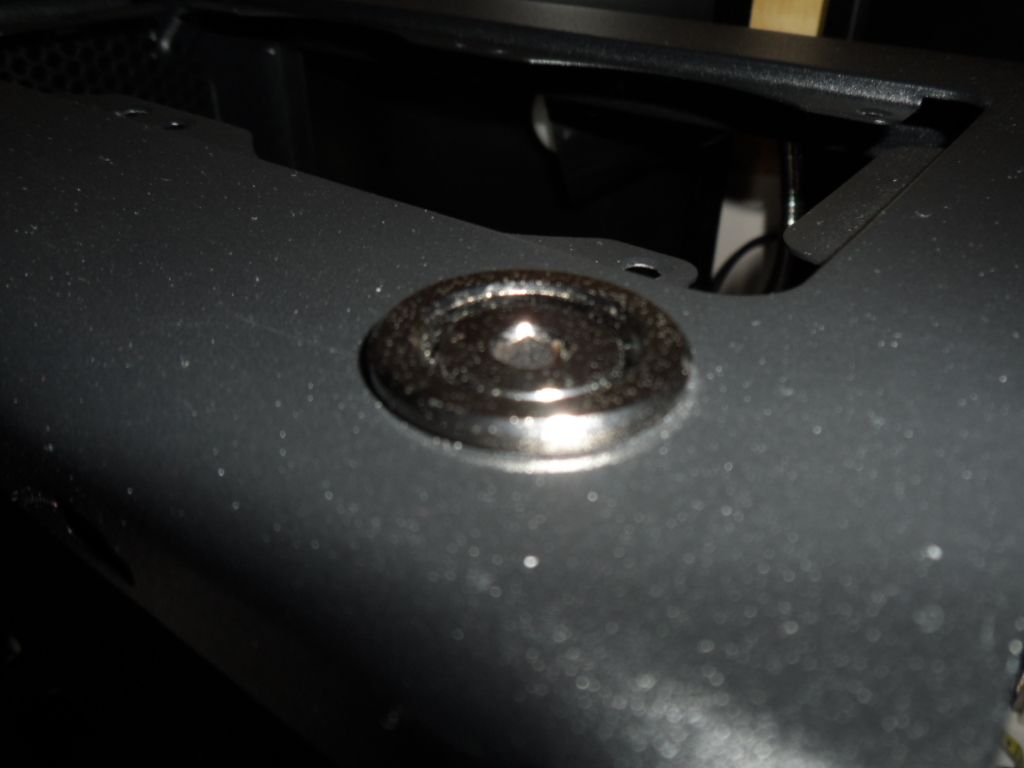
And add a fill port in the top.

SAM_0676_zpsc81b887b.jpg


More to follow soon....

P.S If anyone wants to ask anything, or wants any particular pictures of anything please just ask away.
 
Last edited:
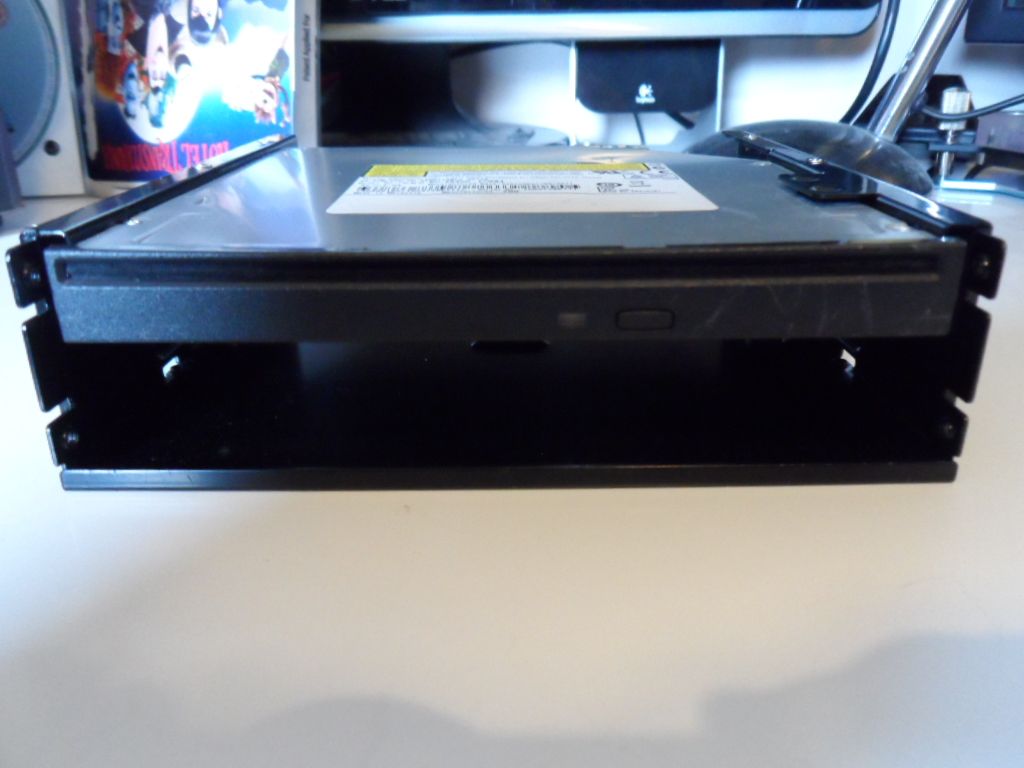
I got myself one of these http://www.overclockers.co.uk/showproduct.php?prodid=CA-196-SV&groupid=2362&catid=1770 from OcUk.

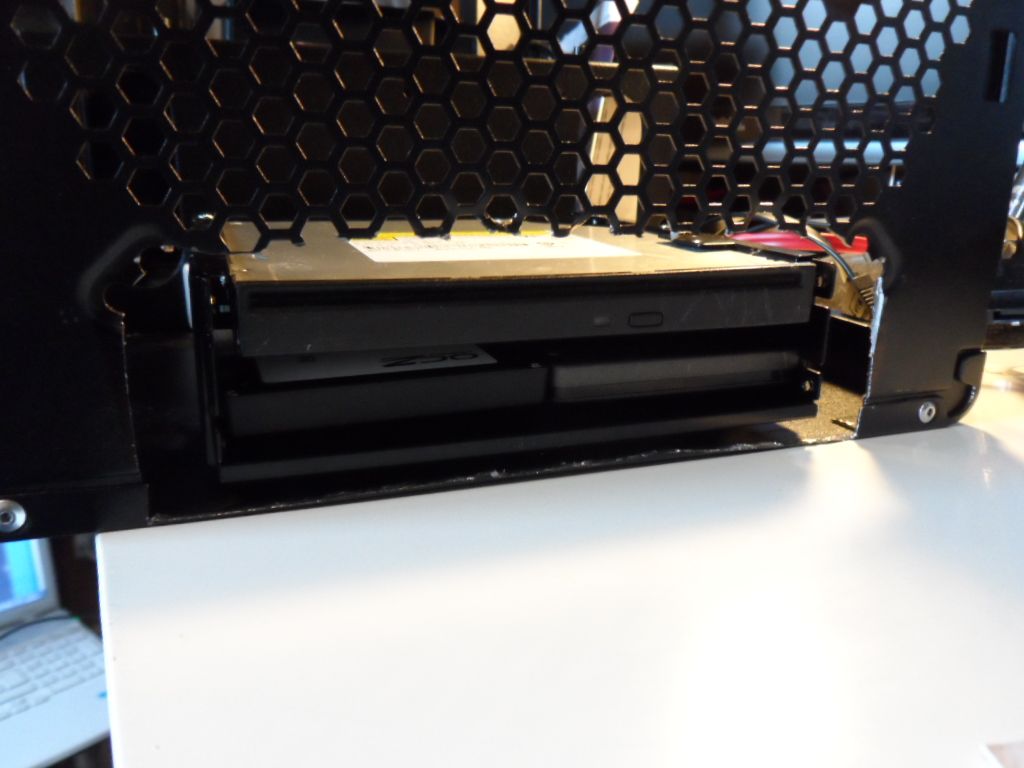
Which with the front bezel removed, and my slim line sony BluRay drive looks like this. Take no notice of the scratches on the front of the drive itself as these are from it being quite a tight fit in there.

SAM_0679_zps34ecc47e.jpg


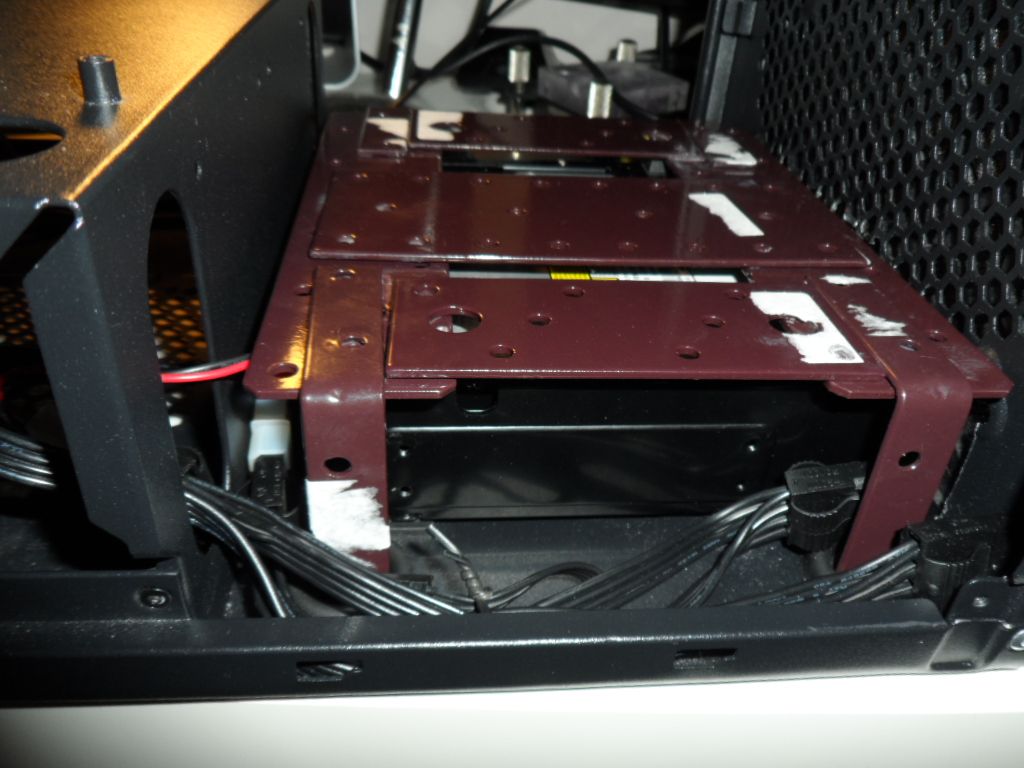
And with my two Solid State drives in the bottom, with added vibration dampeners.

SAM_0680_zpsbfe17118.jpg


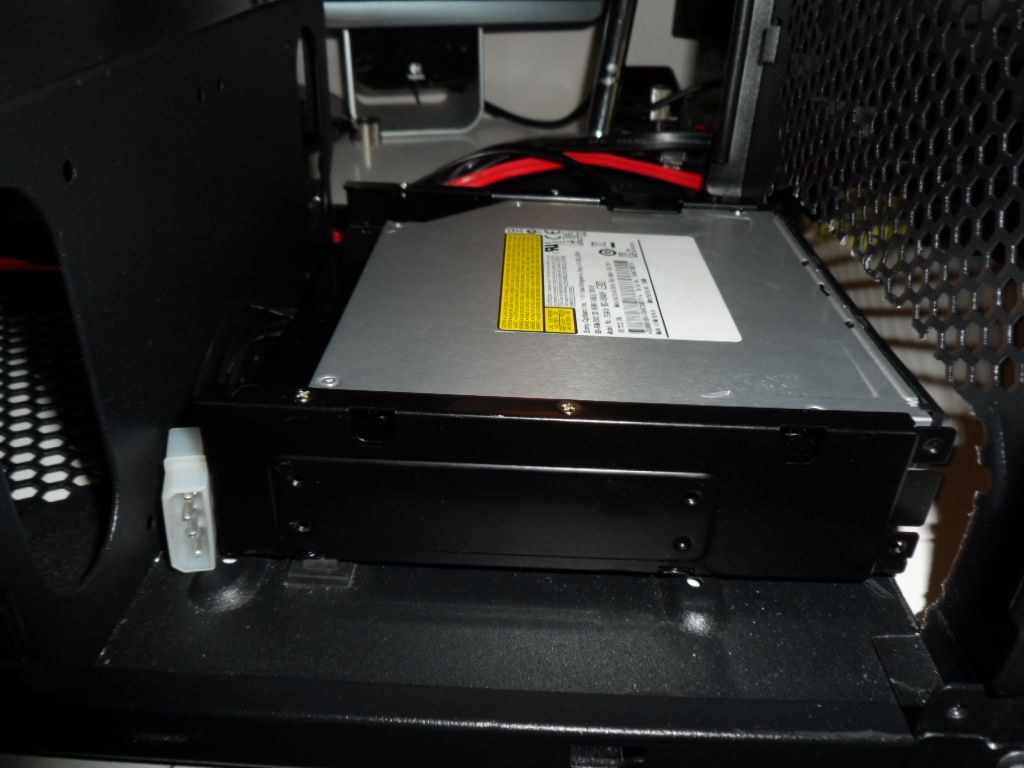
In the case.
SAM_0687_zps0f6c1771.jpg


and
SAM_0682_zps9711c267.jpg
 
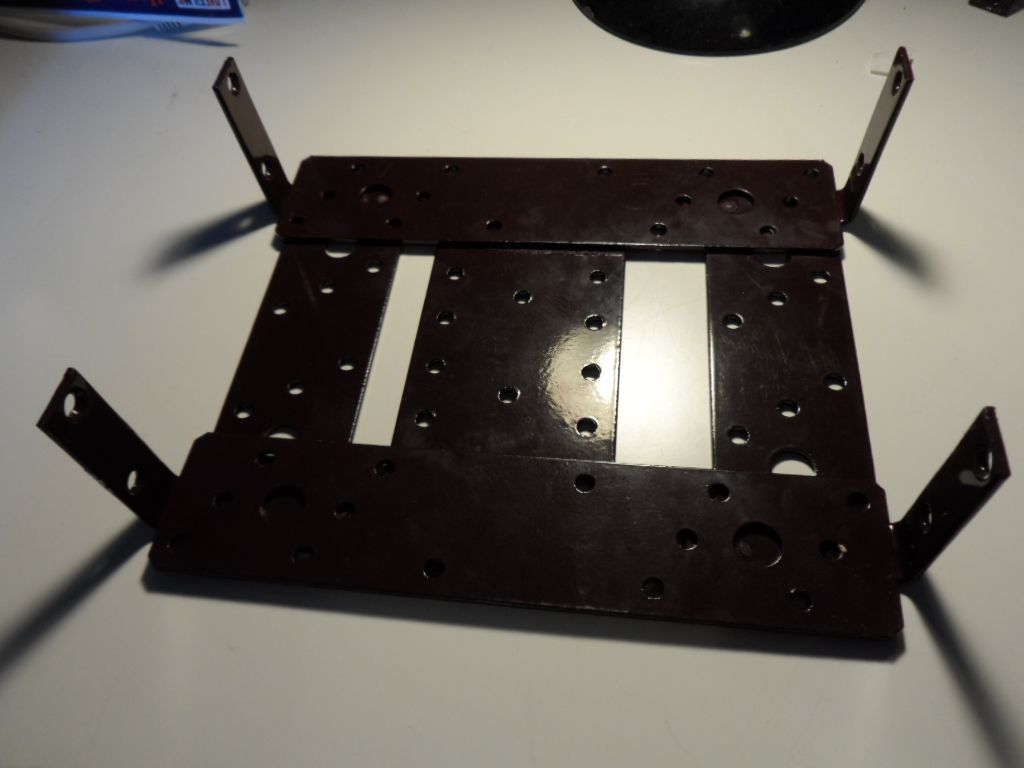
I am going to build a shelf above all of this so none of it will be visible. I am then going to cover it with black carbon wrap and hopefully it should look ok. So off to a hardware shop and back I come with some 2mm metal brackets.

A bit of super glue (bolting it made it too big, and size is really important here)
and we have this.

SAM_0688_zps97045512.jpg


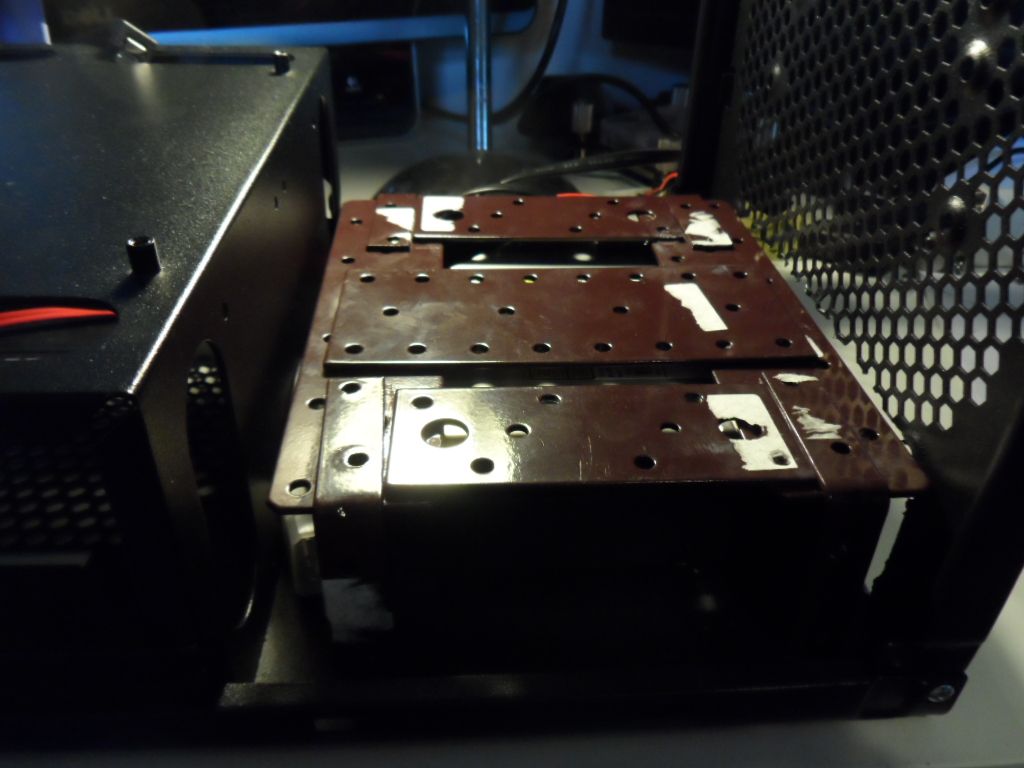
Which is going to sit here like so.

SAM_0689_zpsbd8081c7.jpg


And with the drives all wired up

SAM_0693_zpsc0304064.jpg


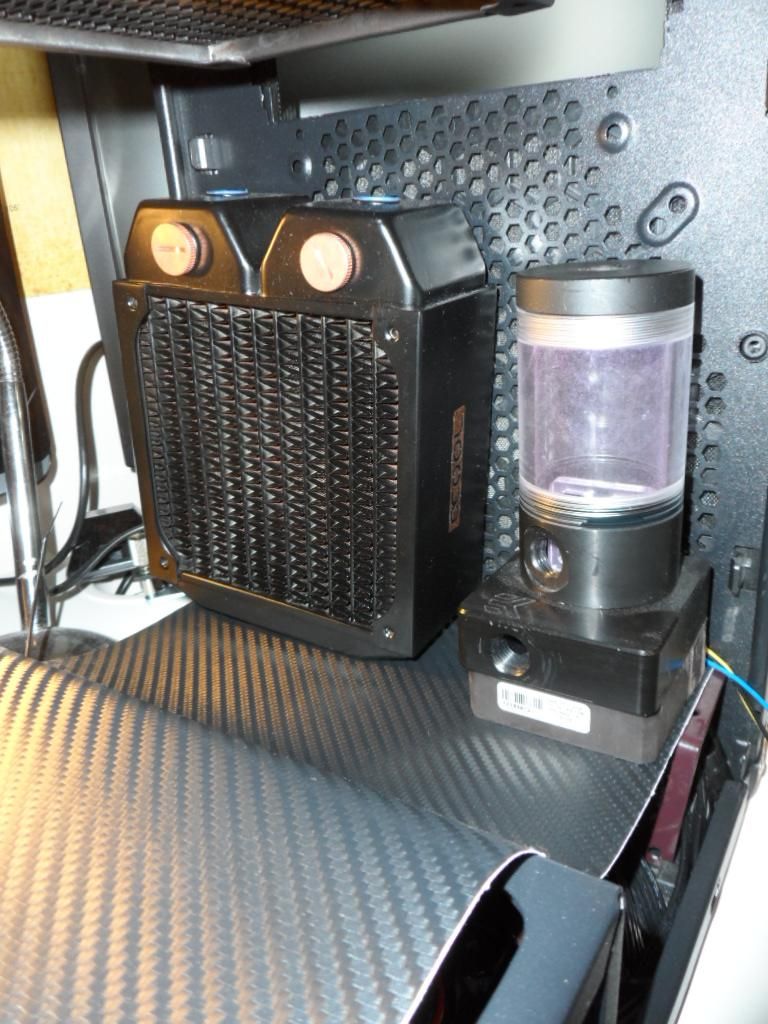
I made it stand up on its own so it is not touching the disc drive at all. It is also sitting on its own anti vibration pads as I am trying to get this as quiet as possible and the pump will be sitting on this shelf.
 
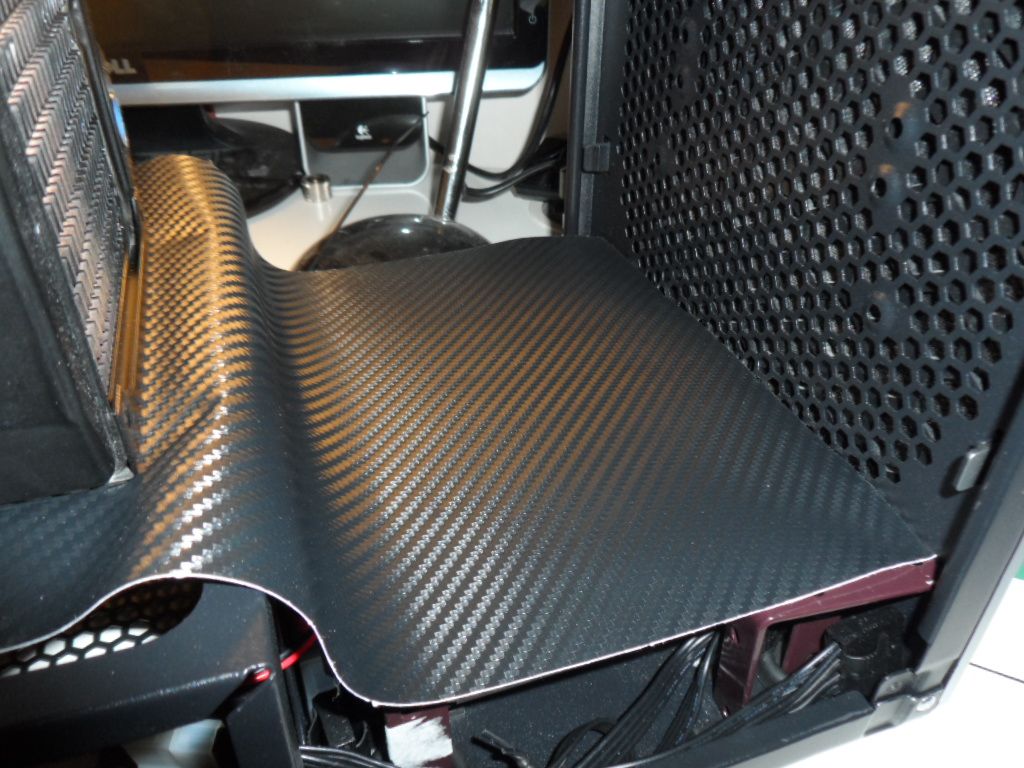
I was going to leave it at this point for a couple of hours, but because that last picture is so ugly I wanted to show what it is going to look like on the new floor.

SAM_0696_zpsc2d80667.jpg


and

SAM_0699_zpsaac5d6e9.jpg
 
Hi Guys,

Thanks for the replys, was hoping to get this finished in the week but two things have stopped that. First off I didn't have the WC fittings I needed, and secondly the bits I did order have not been delivered today due to snow. :( Hopefully everything will be in place tomorrow and I can get this finished up in the next couple of days.
 
This has taken me far longer than planned, however it is nearly done. Here are a few pics from the days work.

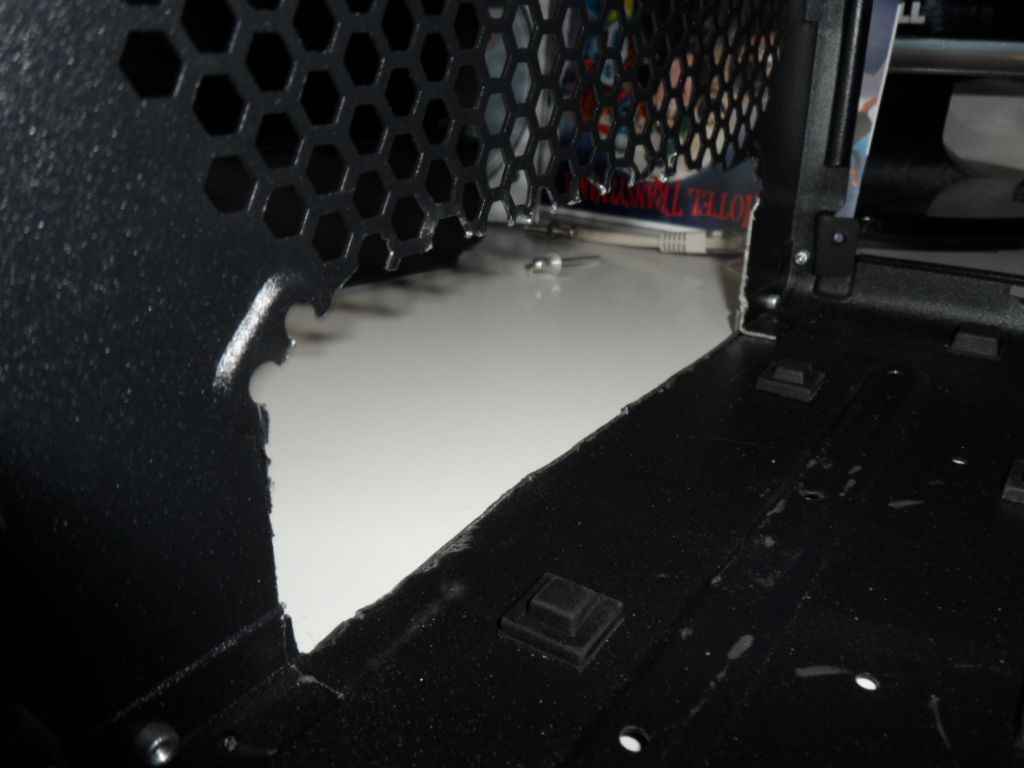
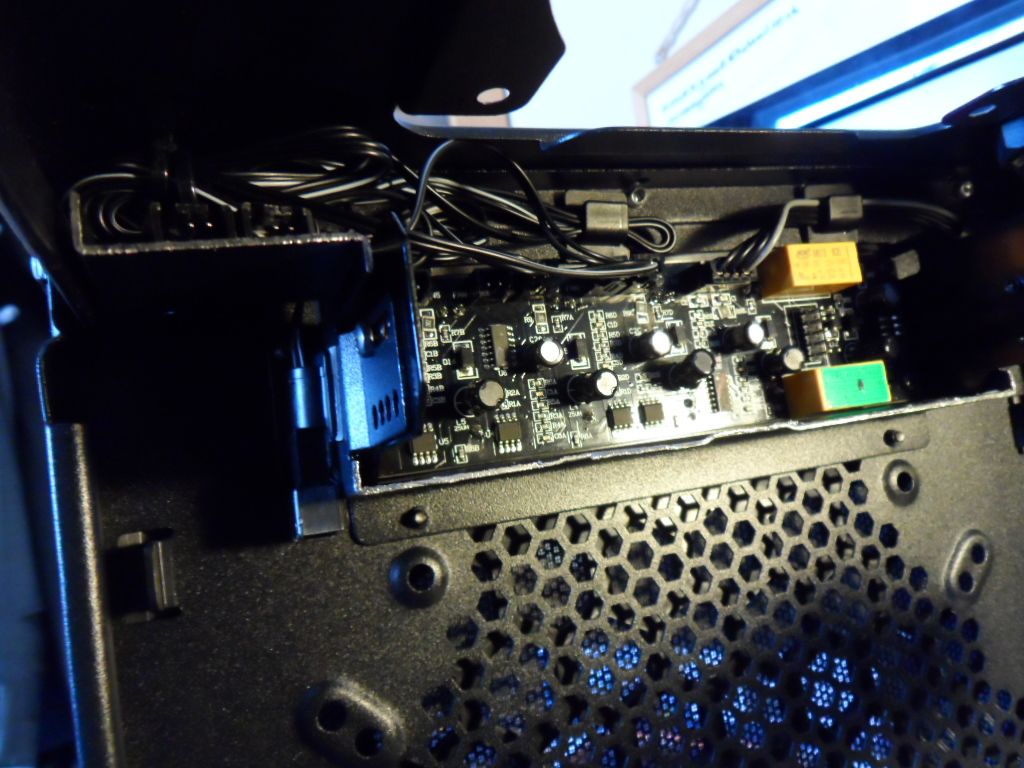
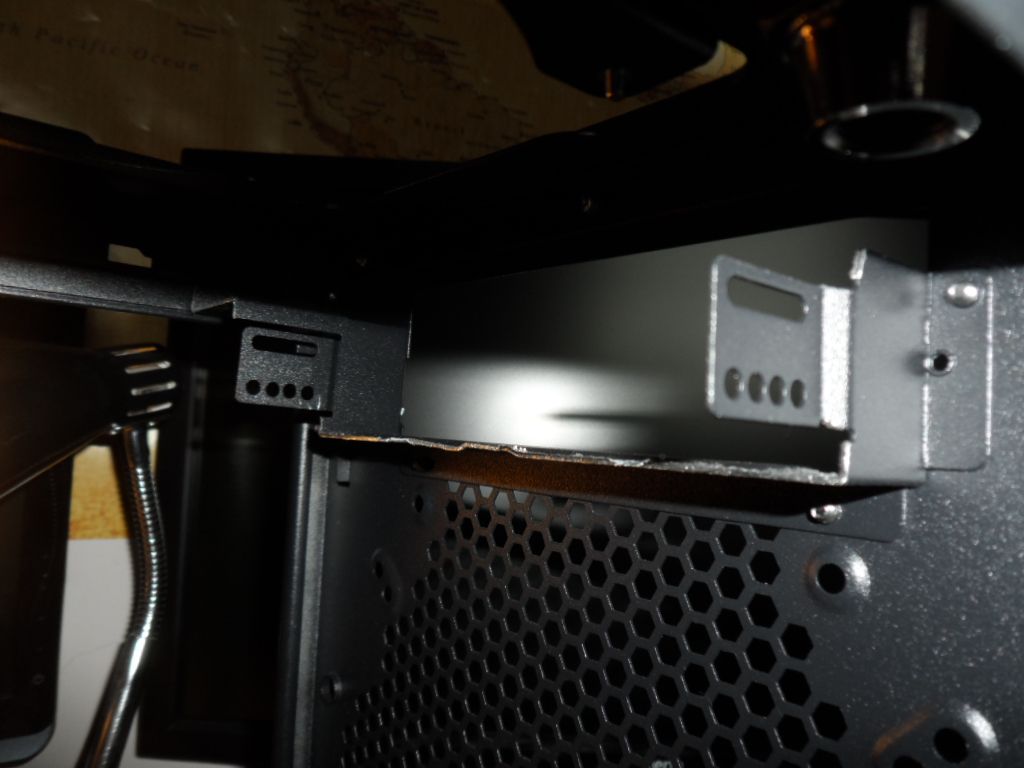
First job was to get the drive bay cut up so it can still support a fan controller, 30 mins with a hacksaw left me with this.

SAM_0700_zps07806e55.jpg


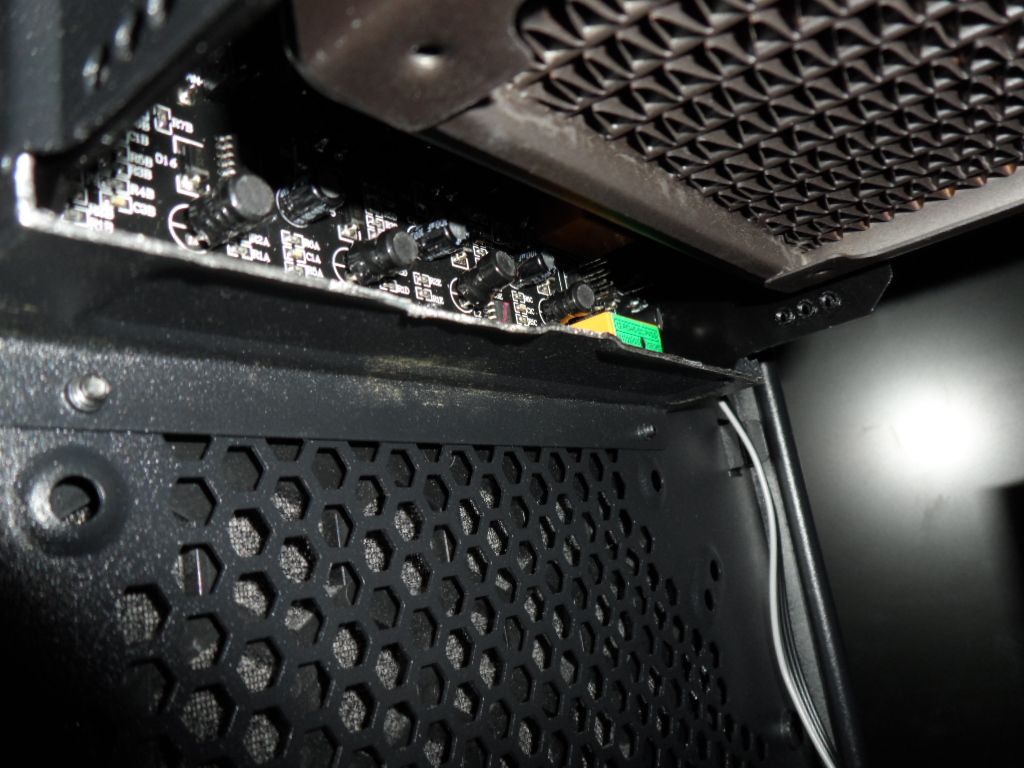
Bit of a scruffy cut, but it wont be seen. With the controller in and the top rad just for size.

SAM_0704_zpsac7ba661.jpg


With a couple of cable ties this makes a lovely little shelf to get rid of some of those far too long fan cables.

SAM_0709_zpse554828d.jpg


I knew from the test run this was going to be a bit fiddly to get all these small bits of tubing in, thankfully this was always going to be the hardest and its about as good as I could have got it.

SAM_0711_zpsef2ada33.jpg
 
Once that was done it was mainly plain sailing.

SAM_0714_zps68f306ec.jpg


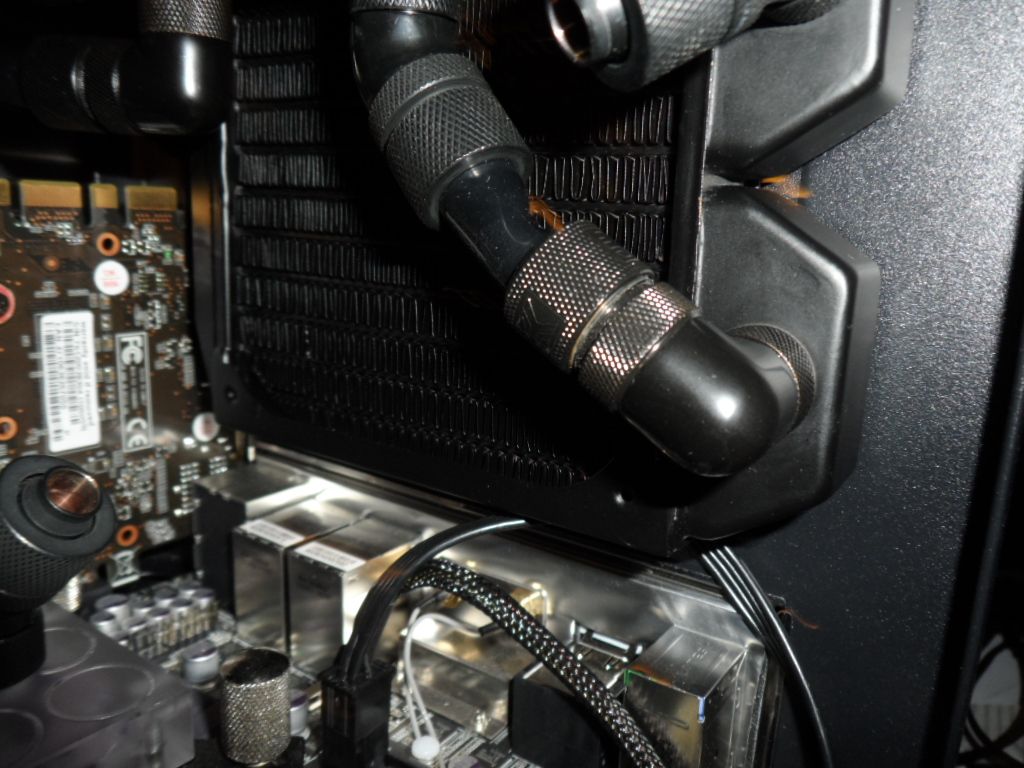
Though gutted to have not bought enough black fittings and needing to resort to a silver old fitting.

SAM_0718_zps680bd823.jpg


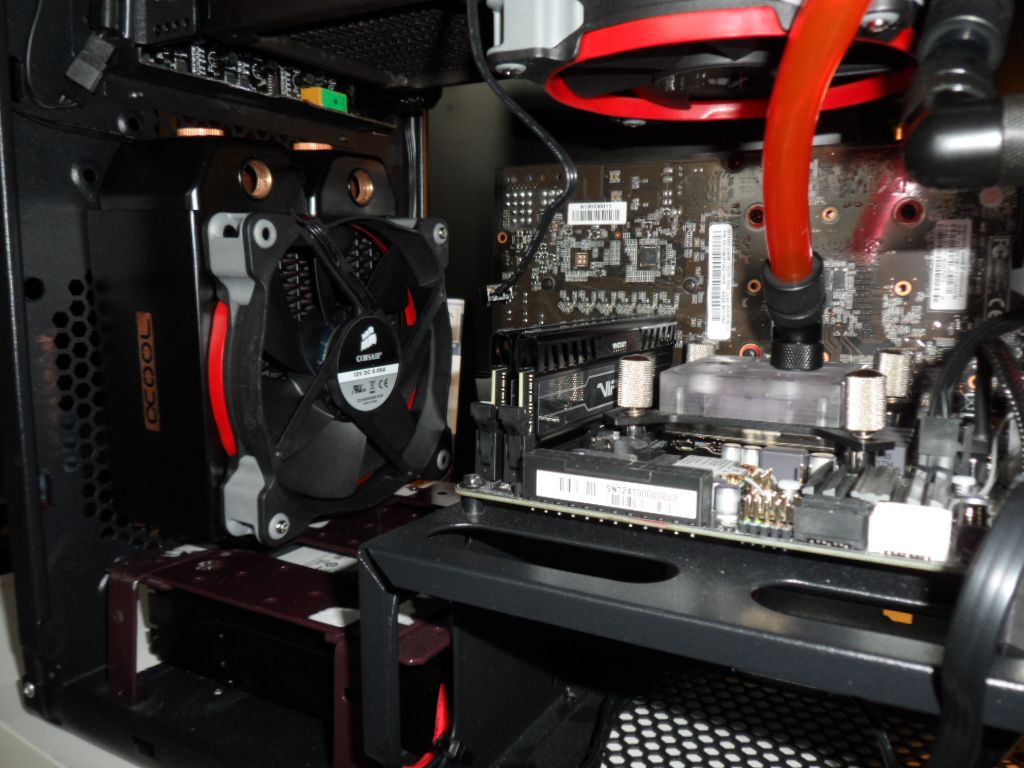
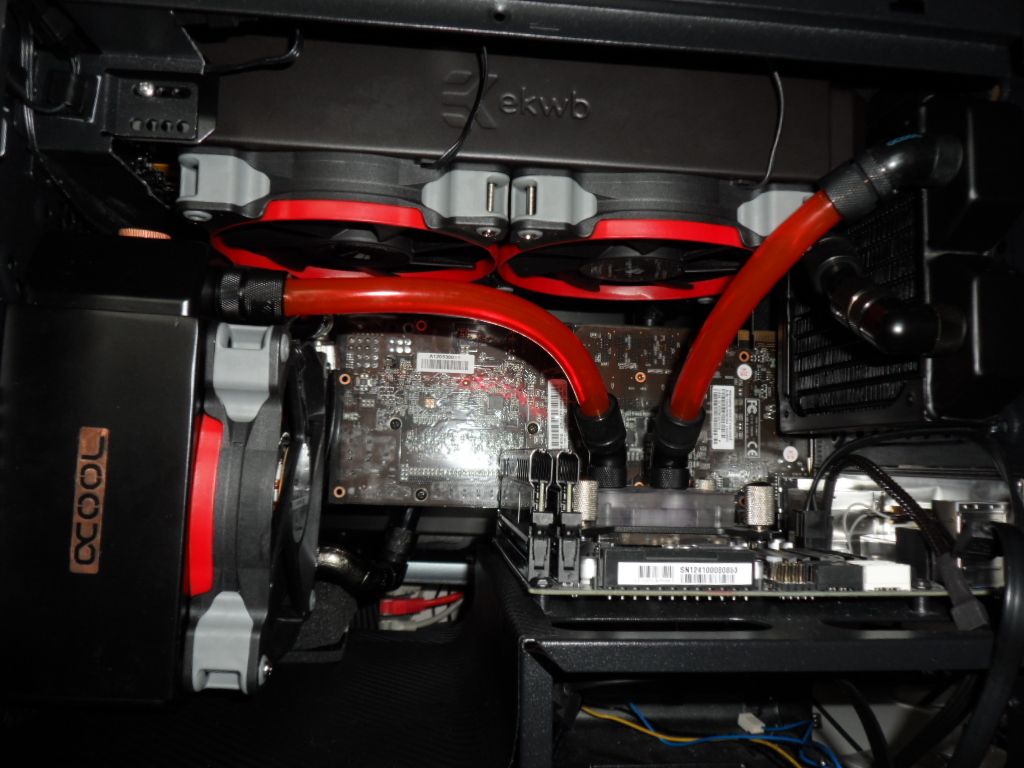
And her it is all tubed up and ready for a leak testing.

SAM_0719_zps6721c744.jpg
 
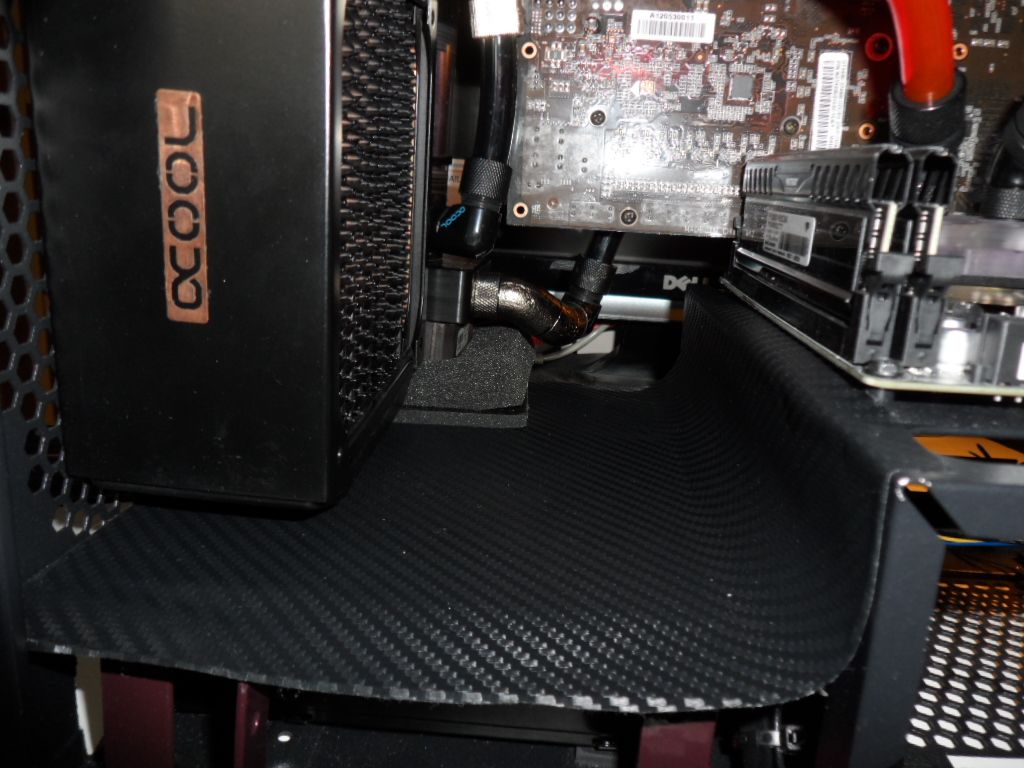
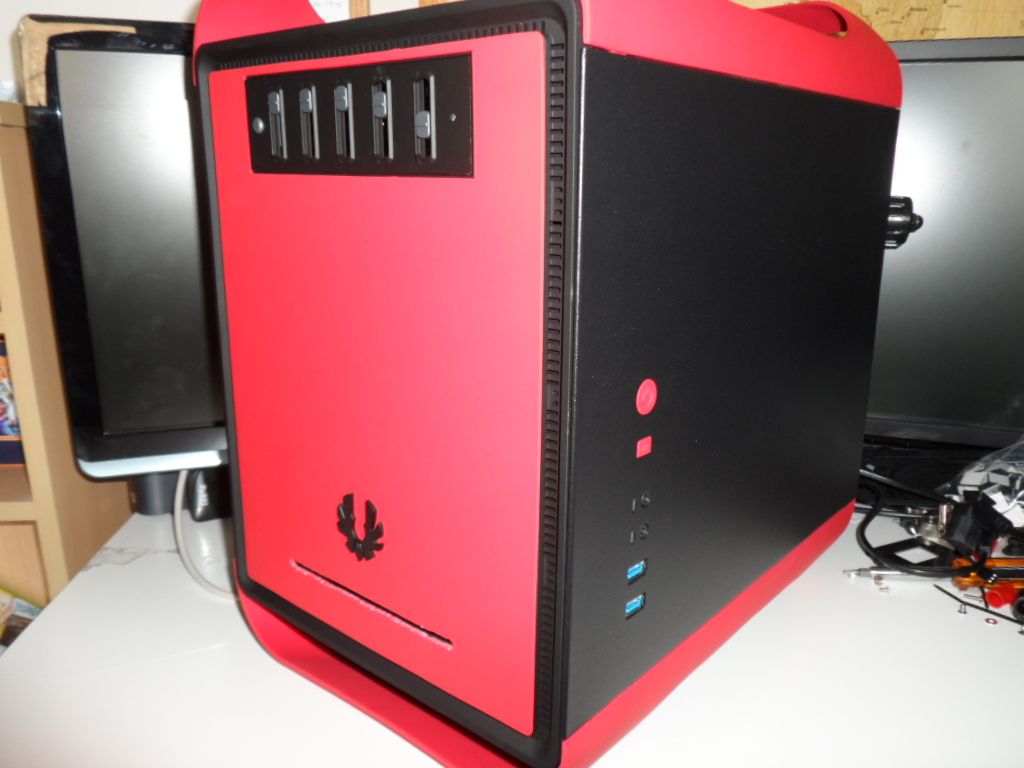
So just have the front panel to modify so I have access to the slot load drive in the bottom, install the psu, finish getting the wiring sorted and polish it off with the carbon wrap.

Though my pump is making a hell of a noise, might need to look at replacing it, not too sure what I could fit in here tough, any suggestions?
 
Yeah there is no way at all of fitting a fan in that gap, it would need to go outside the case but I dont think I am going to do that, just leave it as a passive rad.

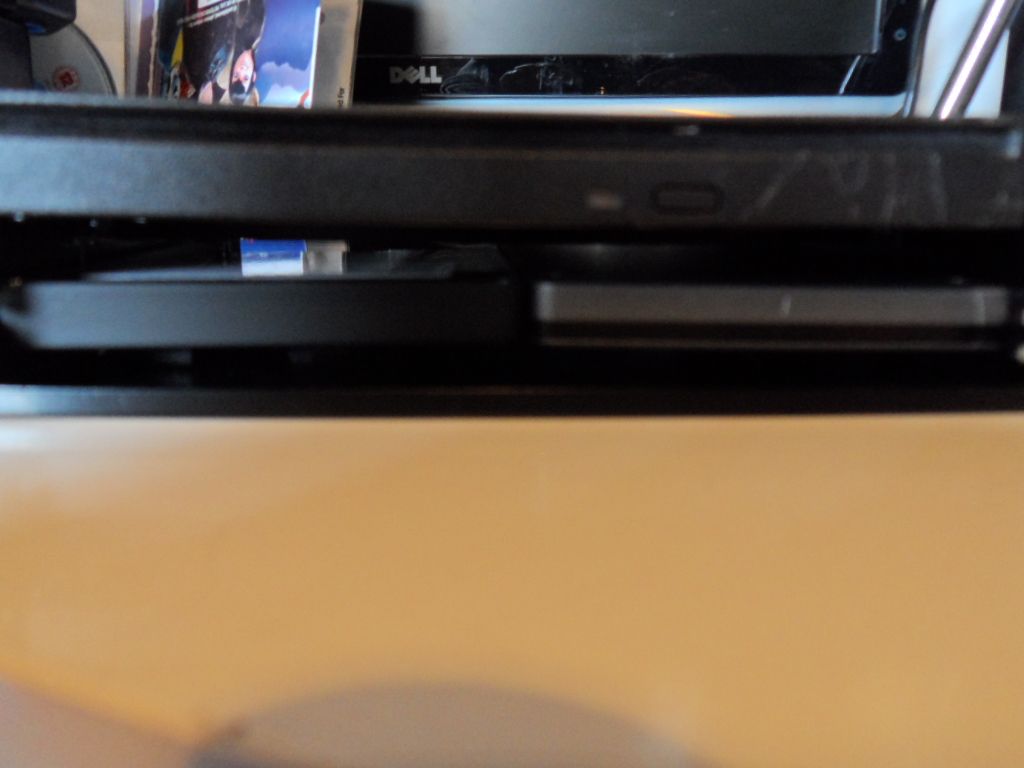
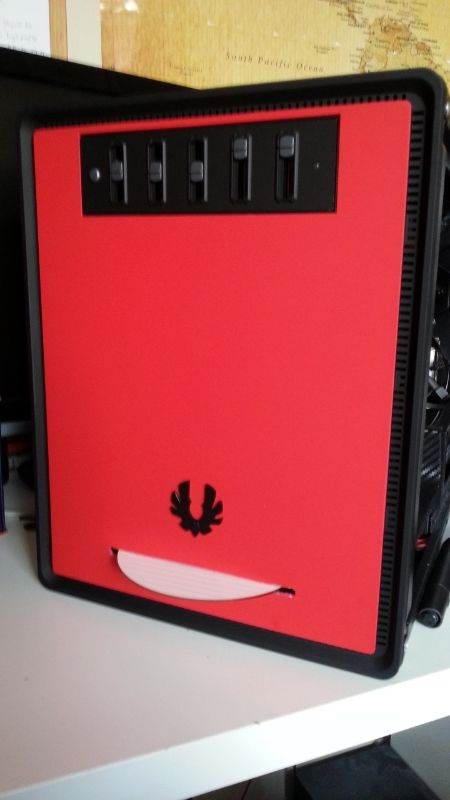
Here is a little pic of the case with its tongue out. ( Well a CD in the bluray drive really.

01fc8b7a-cf03-4986-a592-81d5883ca881_zps35f12fba.jpg
 
Does anybody know of a half height mini pcie raid controller? Might be a bit mental but this board really does not need wifi so an extra couple of ssd's would be very useful.
 
Hi, thanks for looking at my build. Just sitting here getting it all leak tested and the air out of it right now.

As for the radiators, the rad on the back is an Alphacool Nexxxos ST30, and the top rad is an EK Coolstream XT 240. There is literally about 5mm between them in the top. I did have an Alphacool Nexxxos TX45 in the top but it is too long to fit another rad in there.
 
Back
Top Bottom