Soldato
that Pi version is hilariously awesome!
")
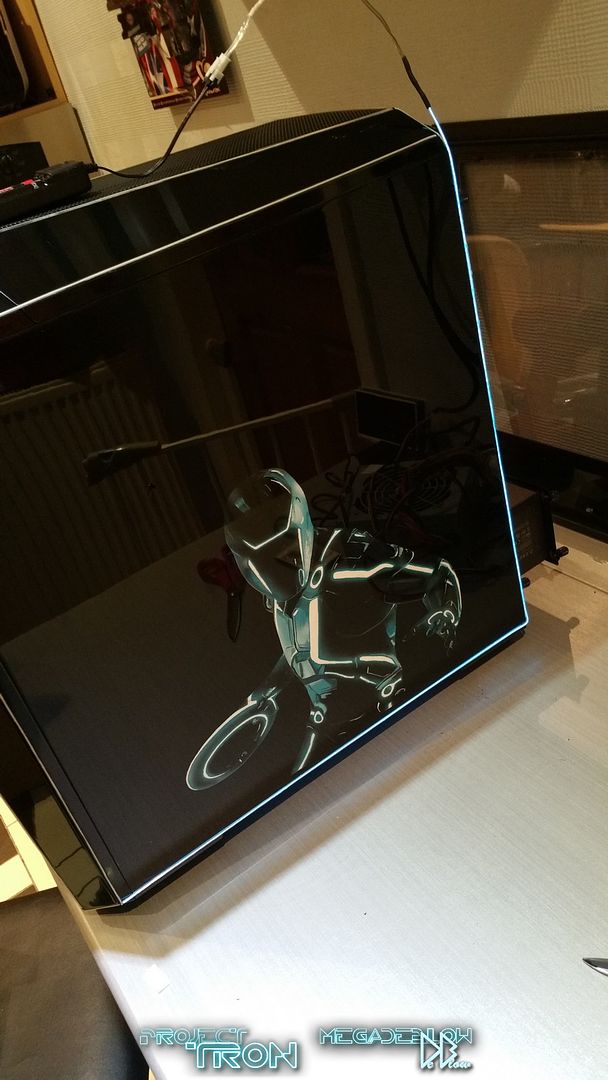
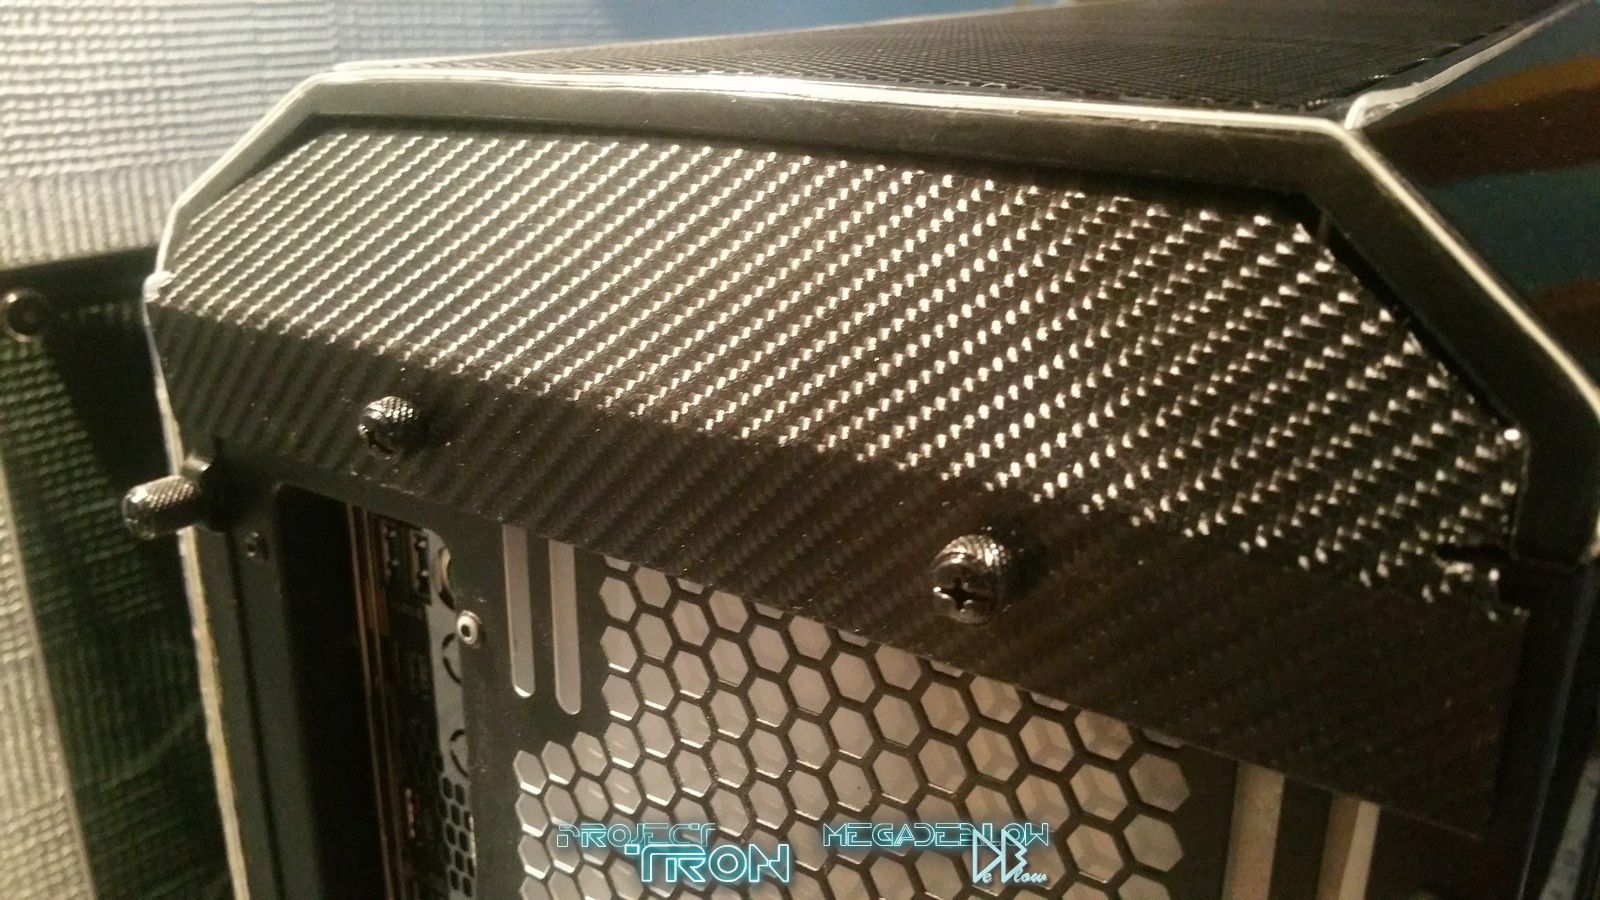
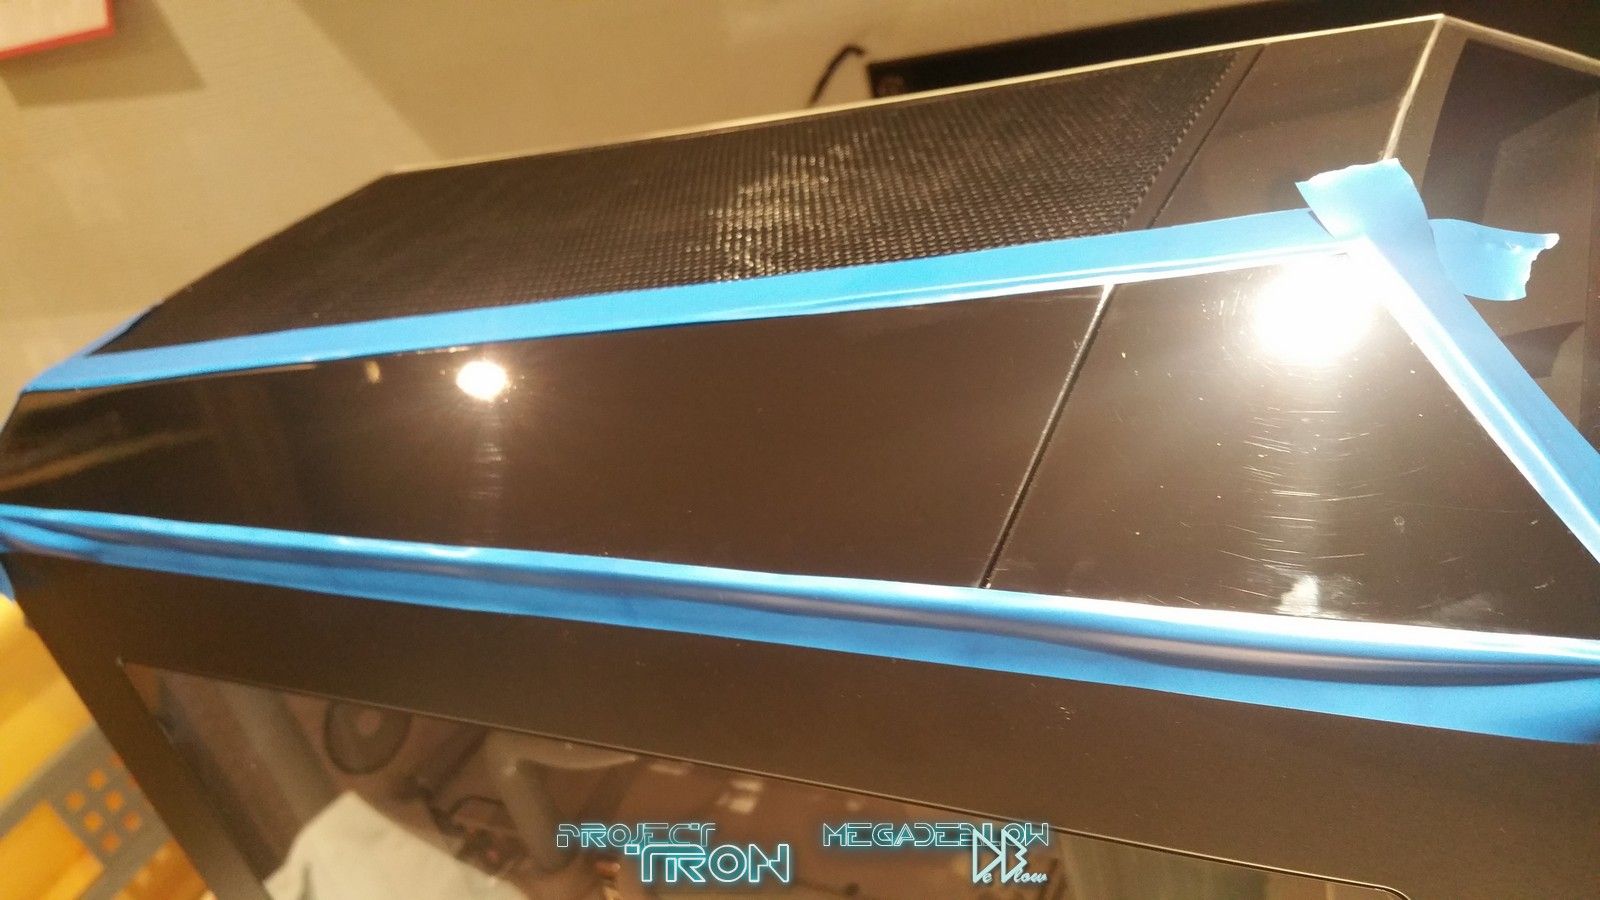
Dropped my vote bud, mini Tron all the way. Looking forward to seeing more of your build. That airbrushed panel looks amazing, little touches like that really give it that wow factor
Best
Wulf
")
that Pi version is hilariously awesome!
This is nothing short of amazing, especially that PC you built for Mr Stark
Excellent work


looking good. love this build
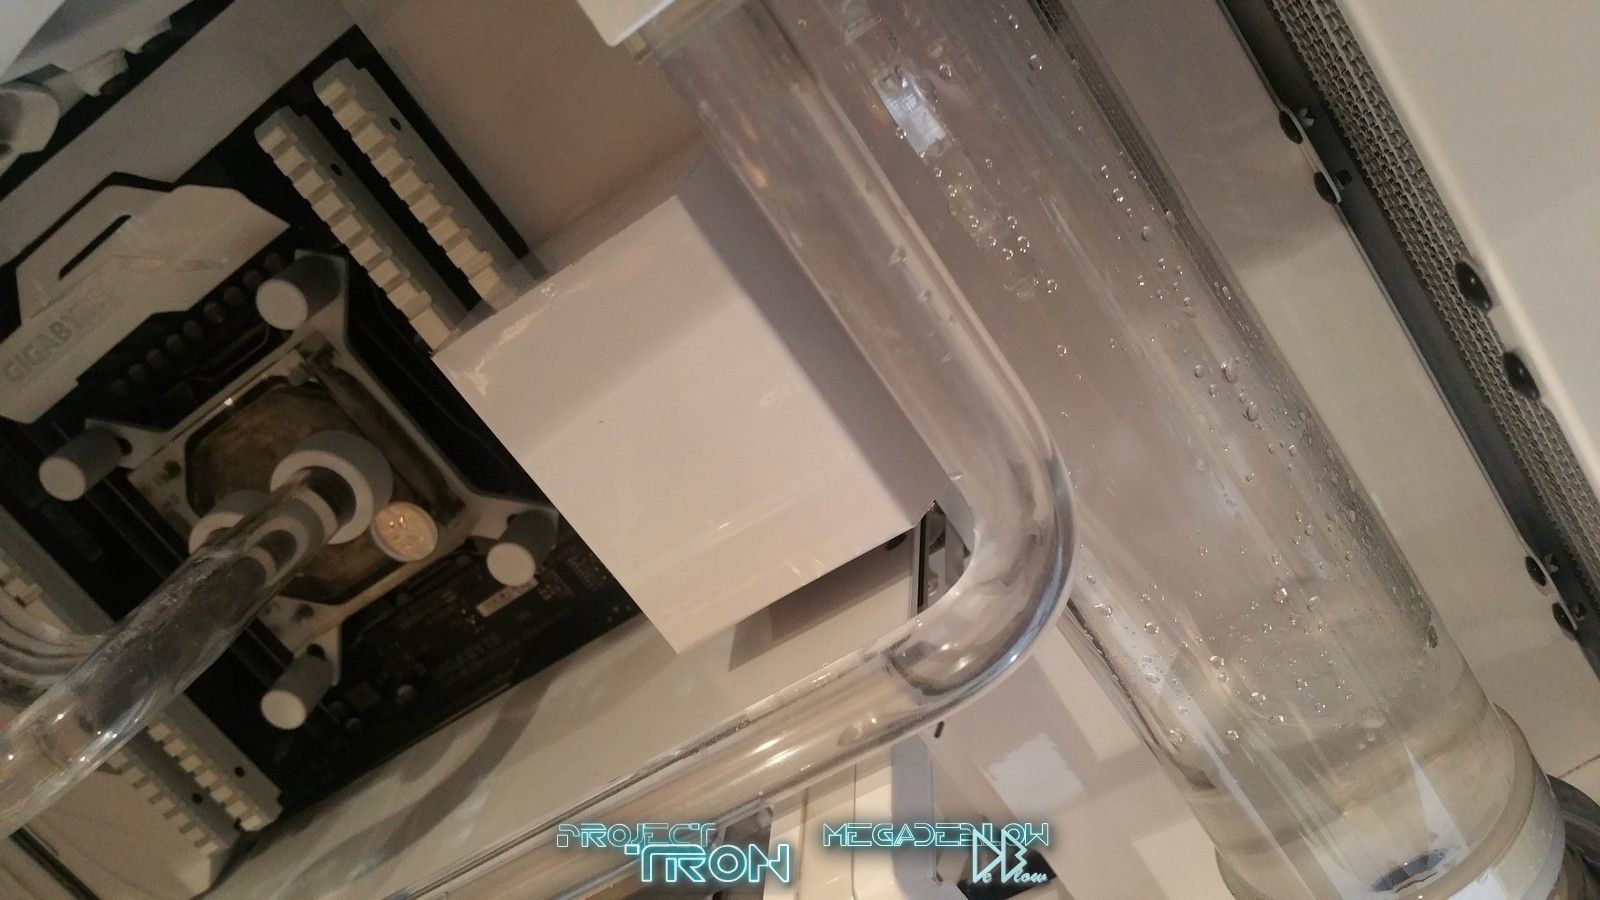
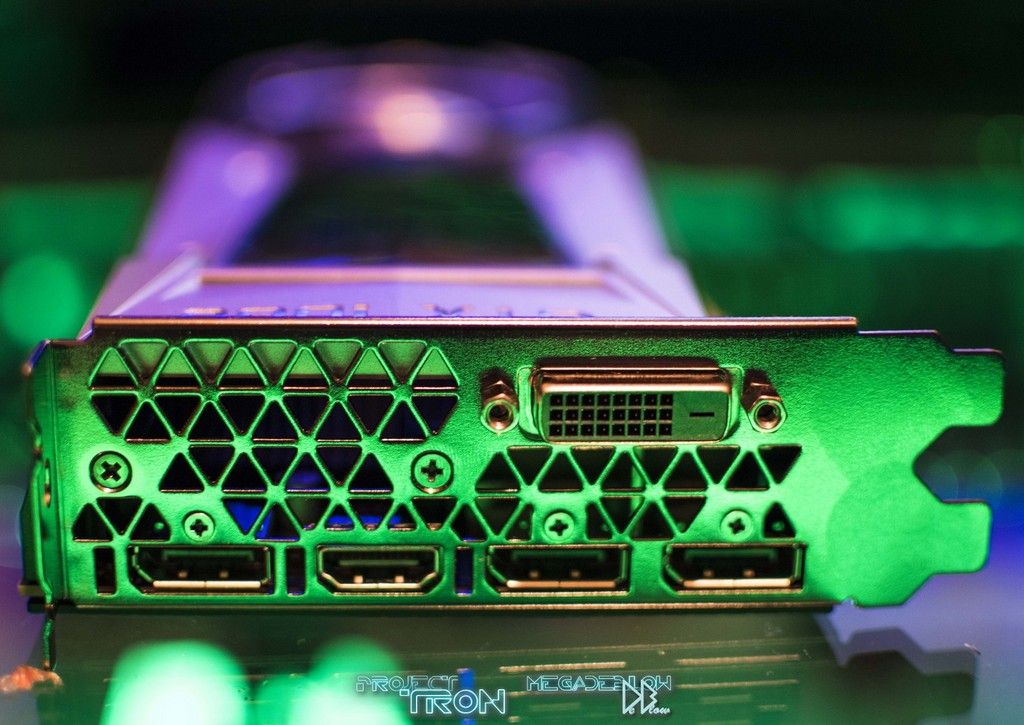
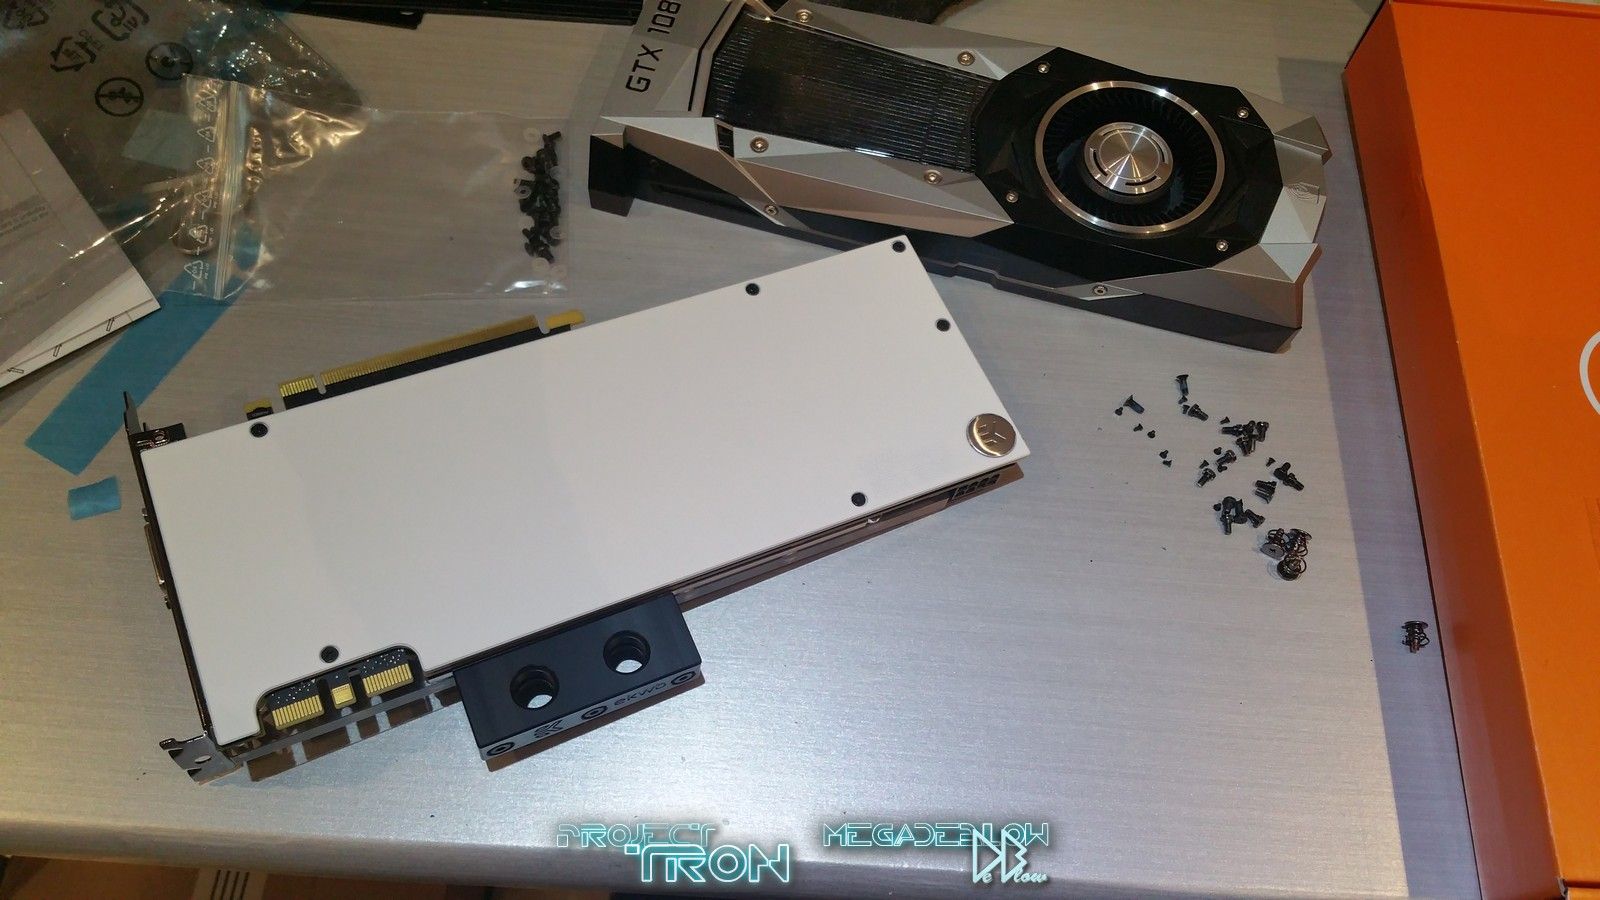
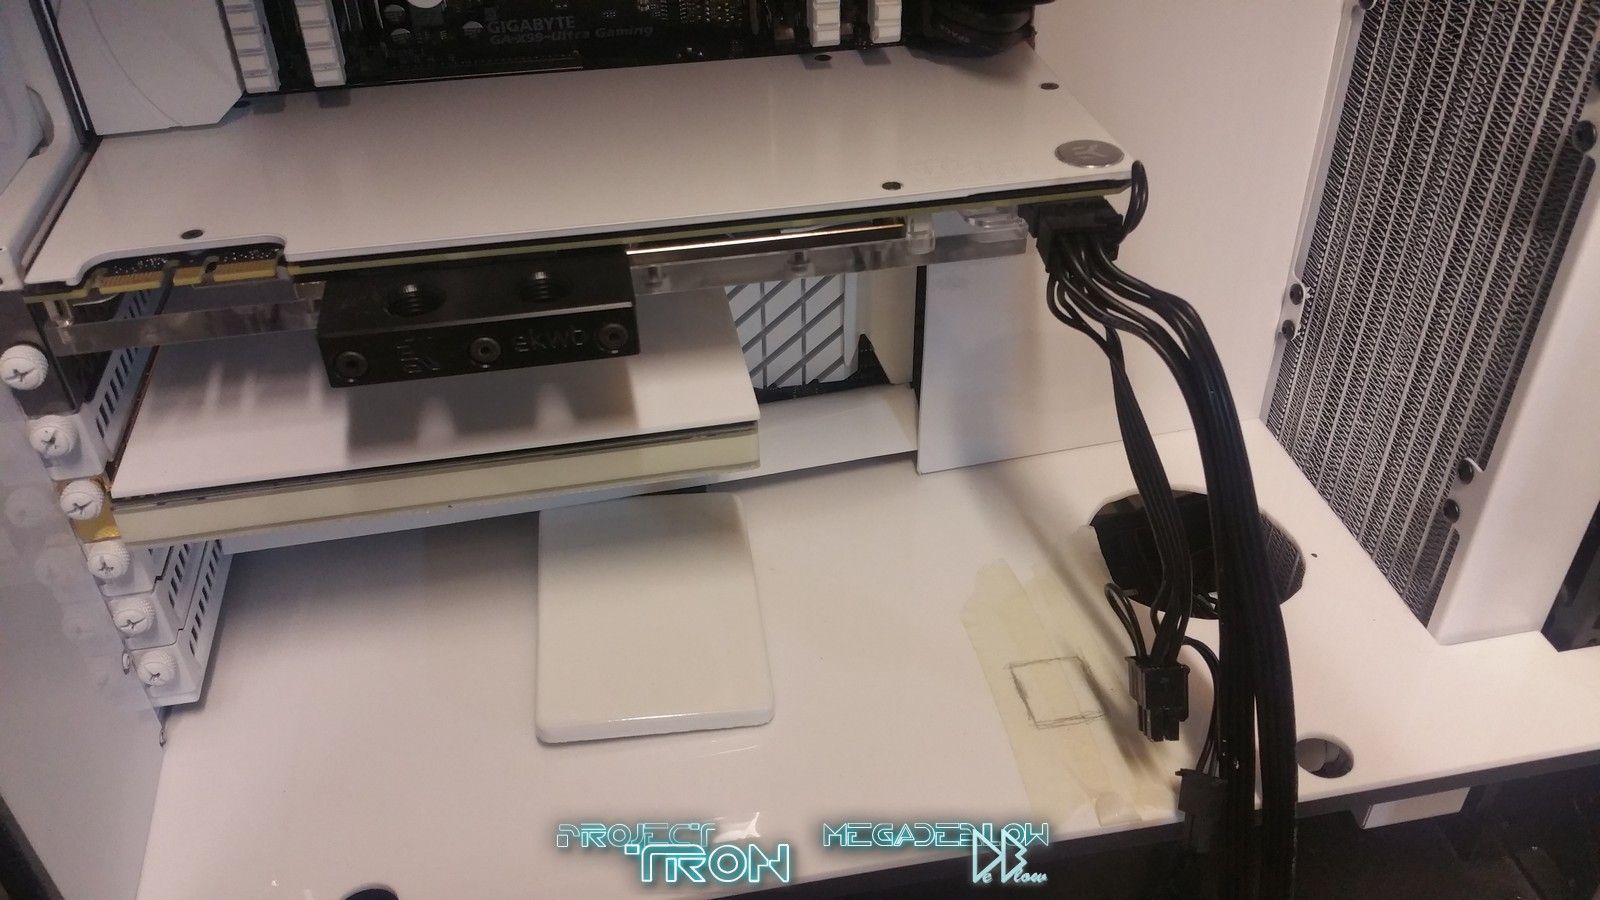
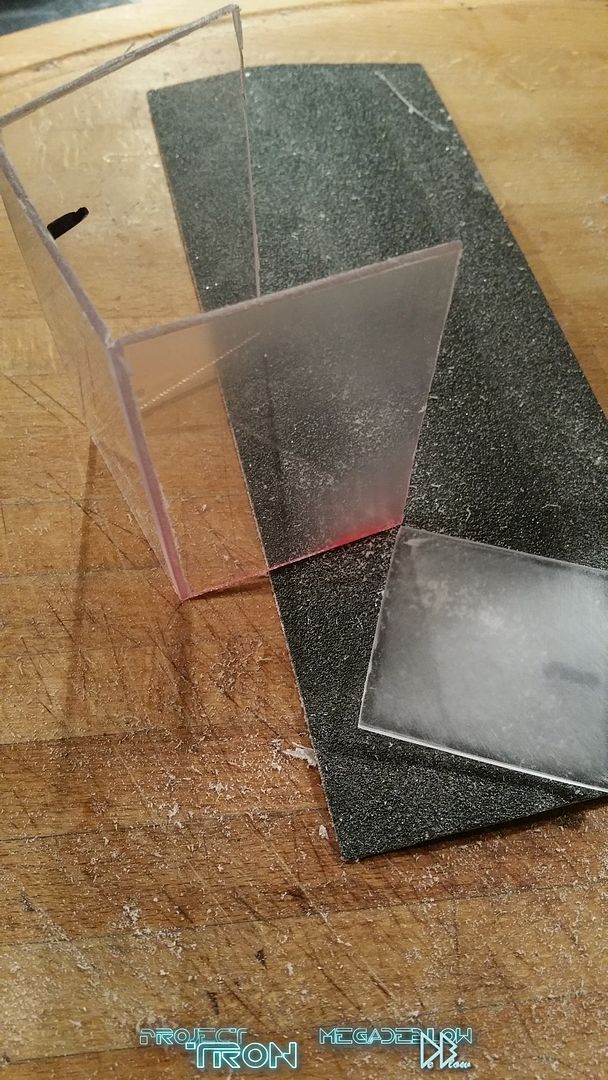
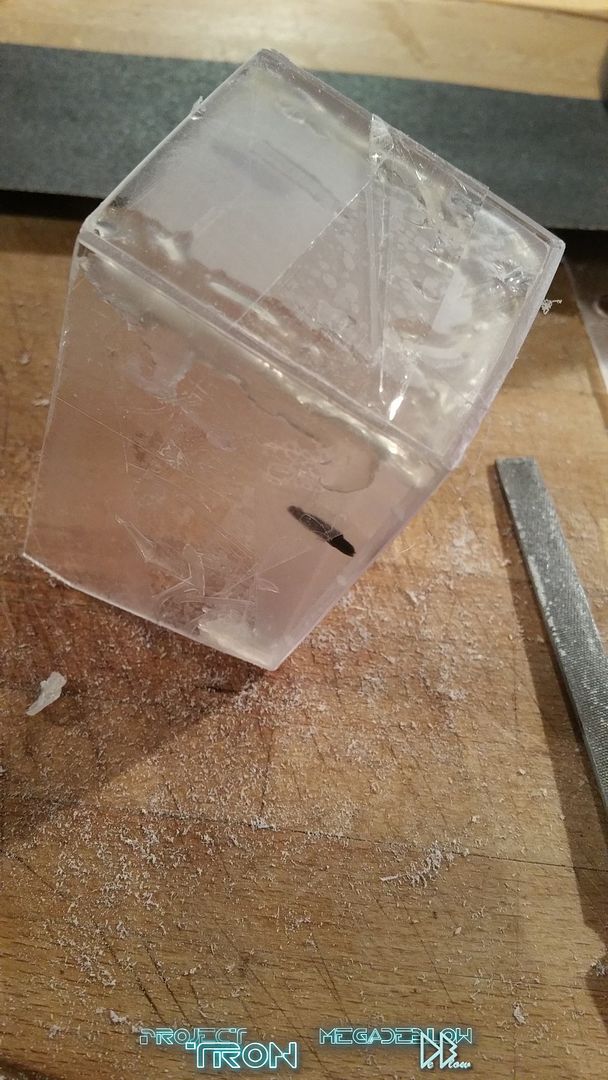
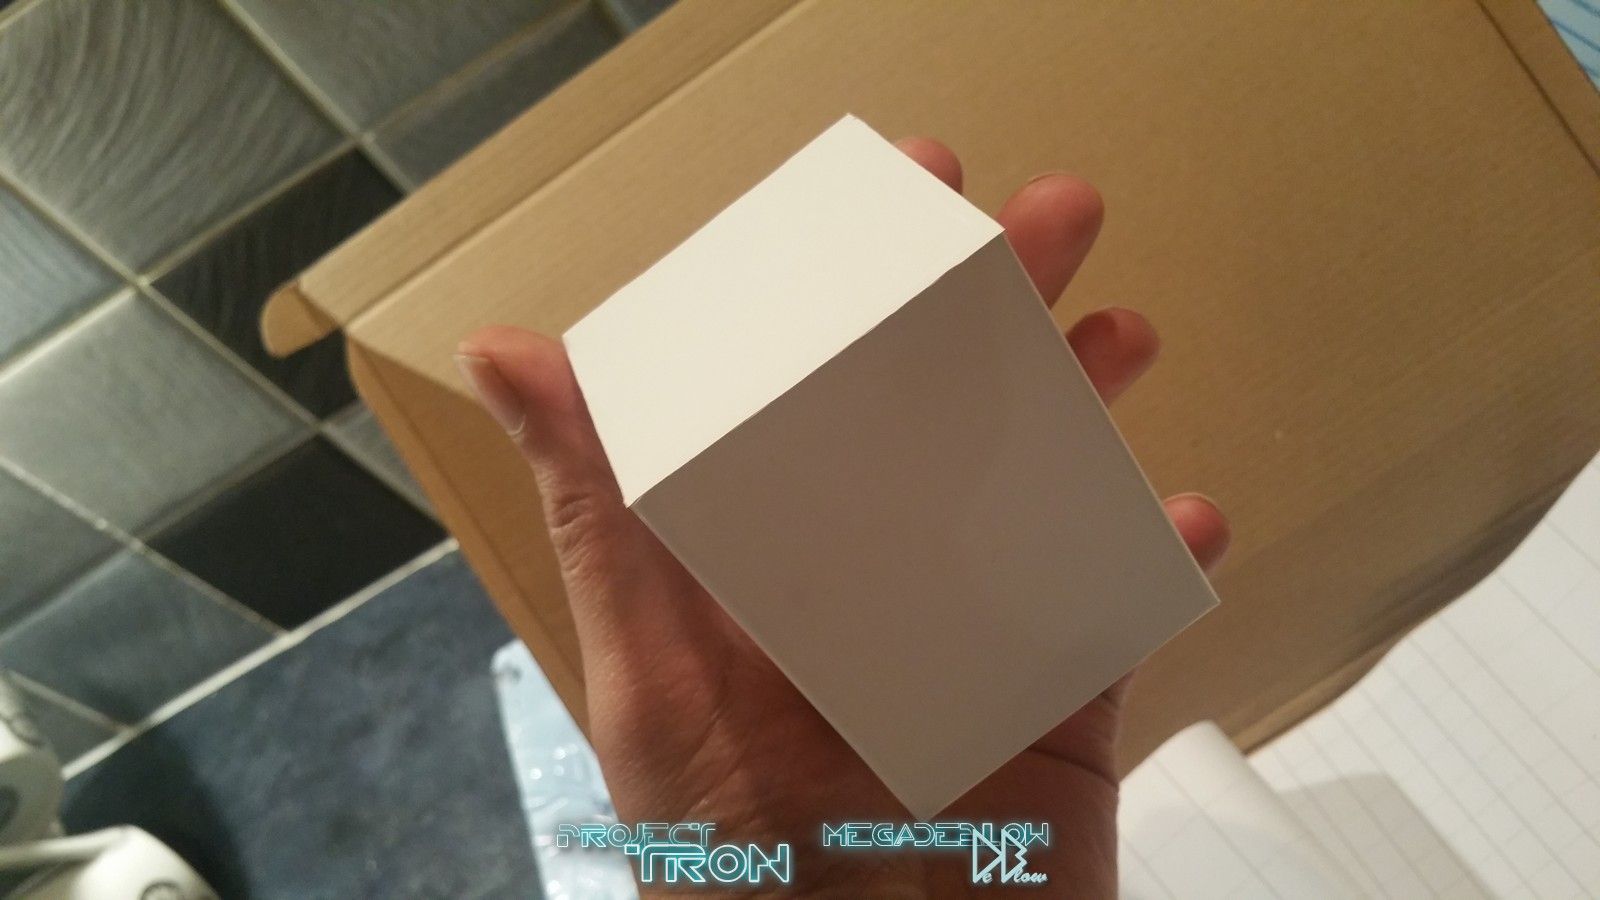
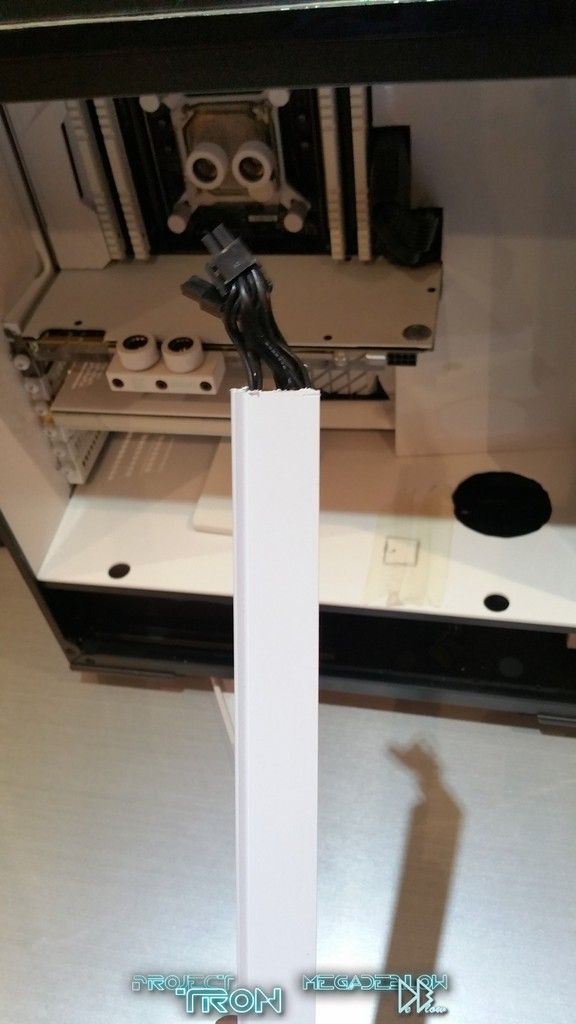
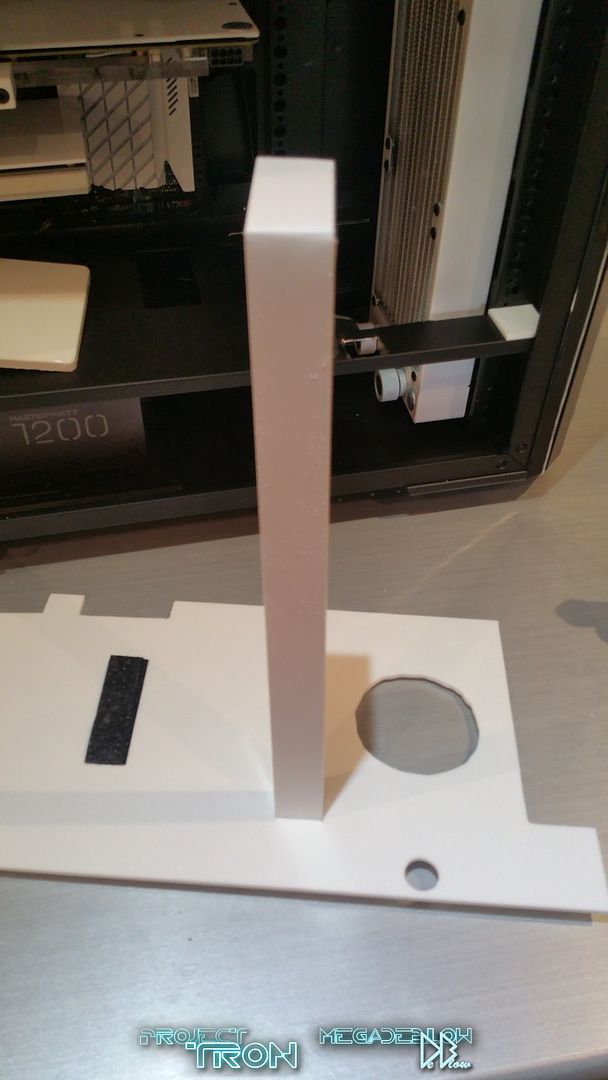
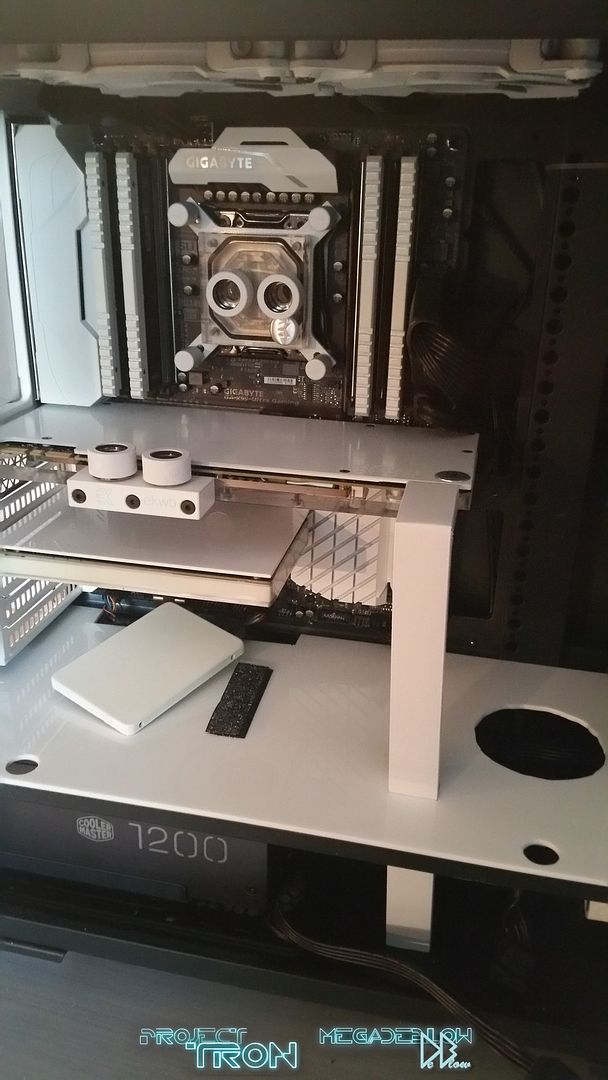
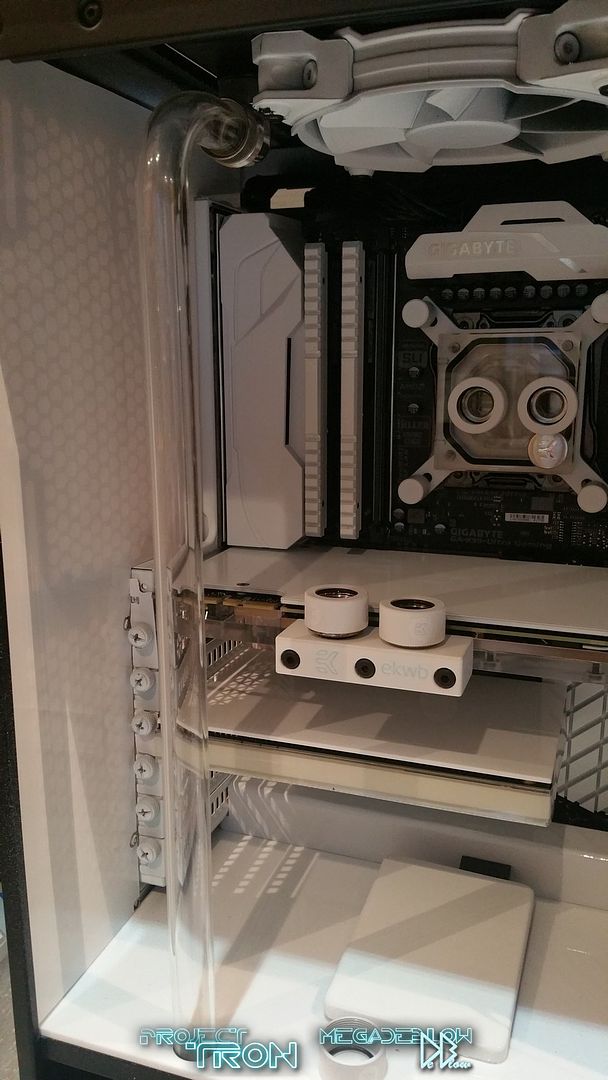
You're planning to build white acrylic trunking from the base up to the GPU power socket? Nice idea. If the card needs a bit of support to keep it nice and flat, it could provide that too.
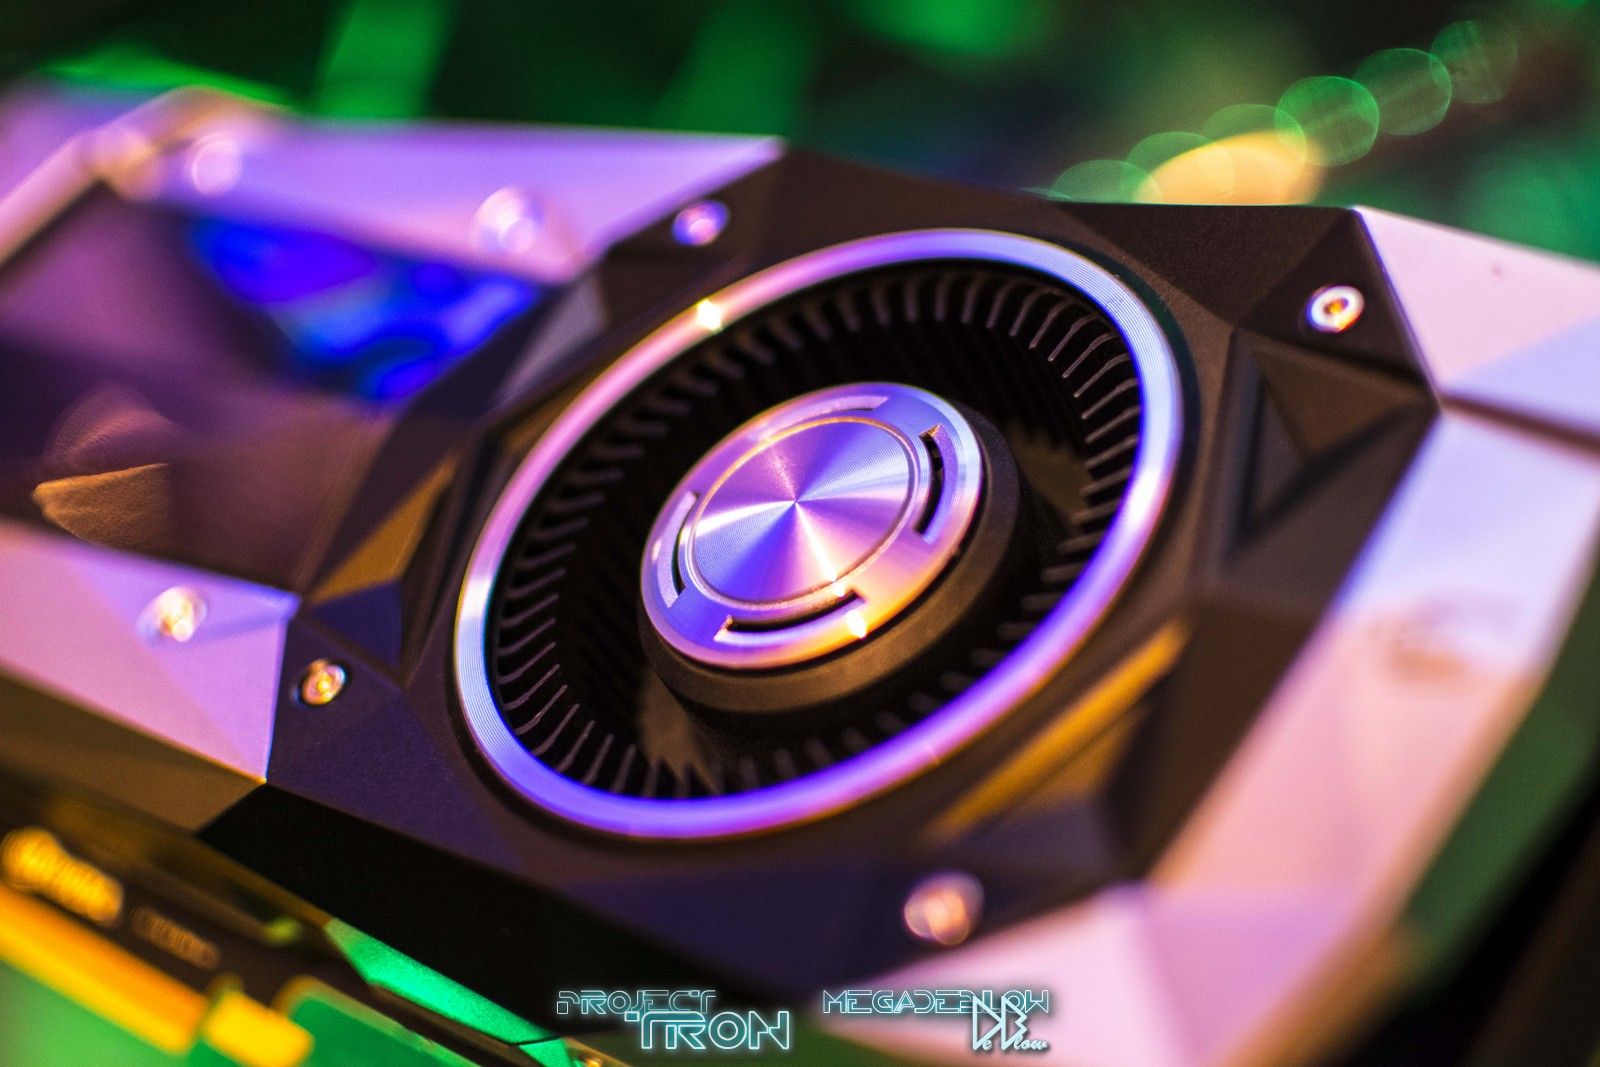
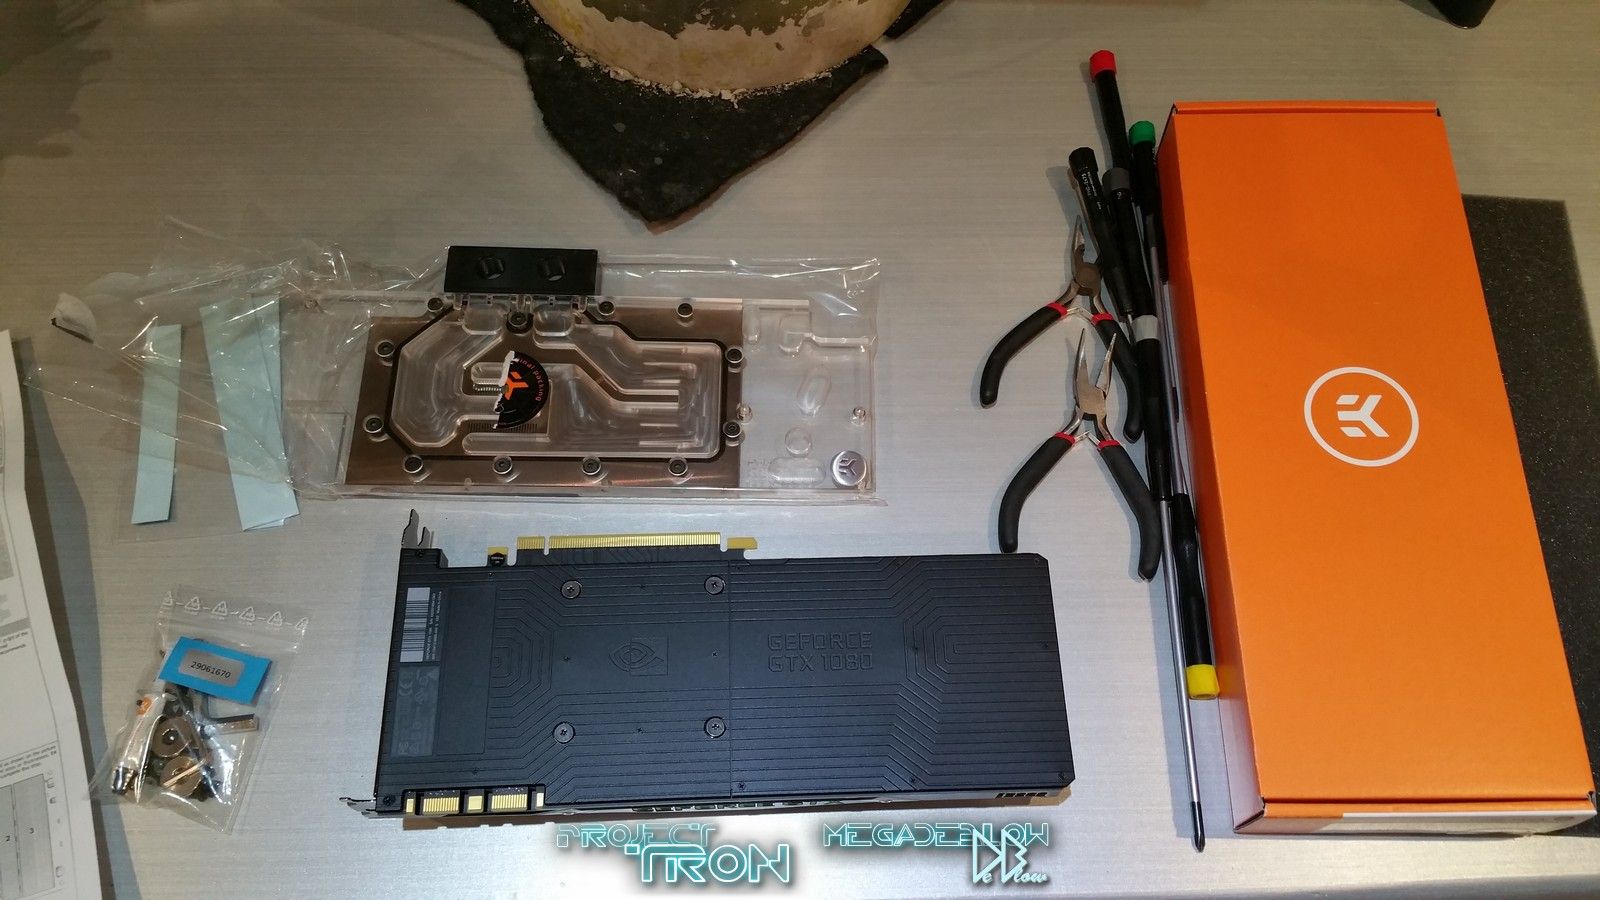
Nice to see your back mate, glad you finally got that graphics card.
Best
Wulf
That is one awesome build. I just don't know where you find the time and energy to do something like this but it really is stunning.
Might be having a mid-life-crysis because I also have a really big craving for a red Ferrari at the moment
Now there is another idea for a build...
I know what you mean about being on the go all the time. I'm the same. I just can't sit an watch telly all evening. It's nice occasionally but not all the time.
keep up the good work!
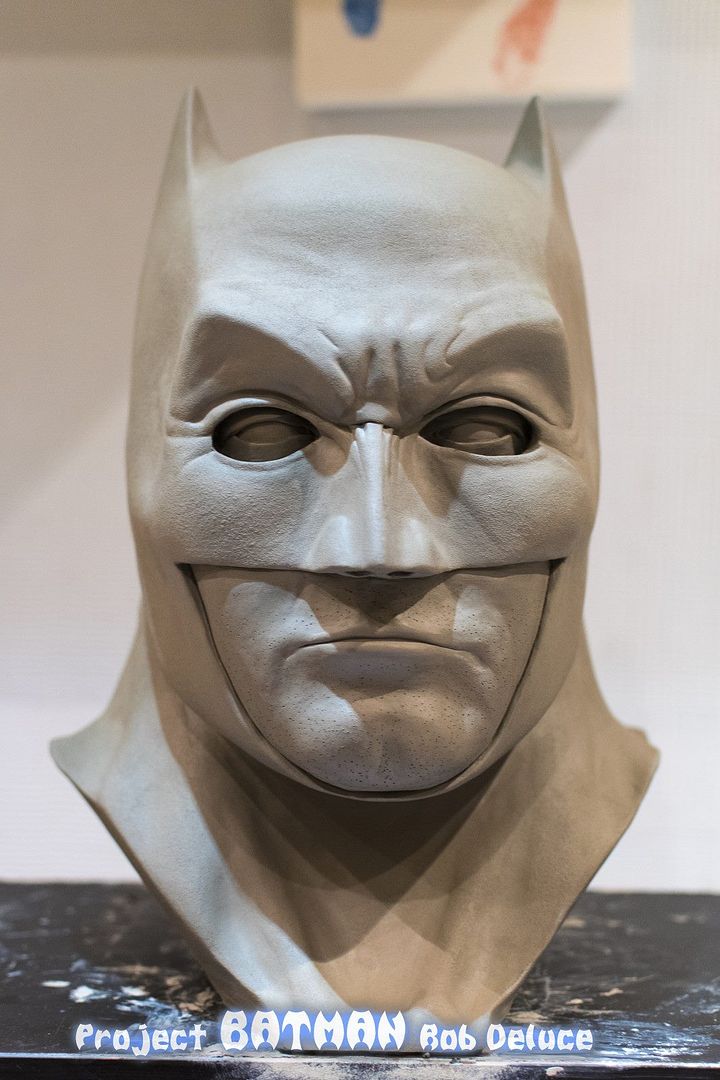
That Batman sculpture is seriously good. Because of the OCUK context though, I can't help but wonder if you poke him in the eye to turn the PC inside!

Have a great Christmas and New Year bud. Remember don't drink and mod lol.
Look forward to seeing the finished product in the new year.
Best
Wulf
epic craftsmanship keep up the good work