Hi all,
I'm very happy to be doing this MOD, Its something I have dabbled with in the past but not on a big scale.
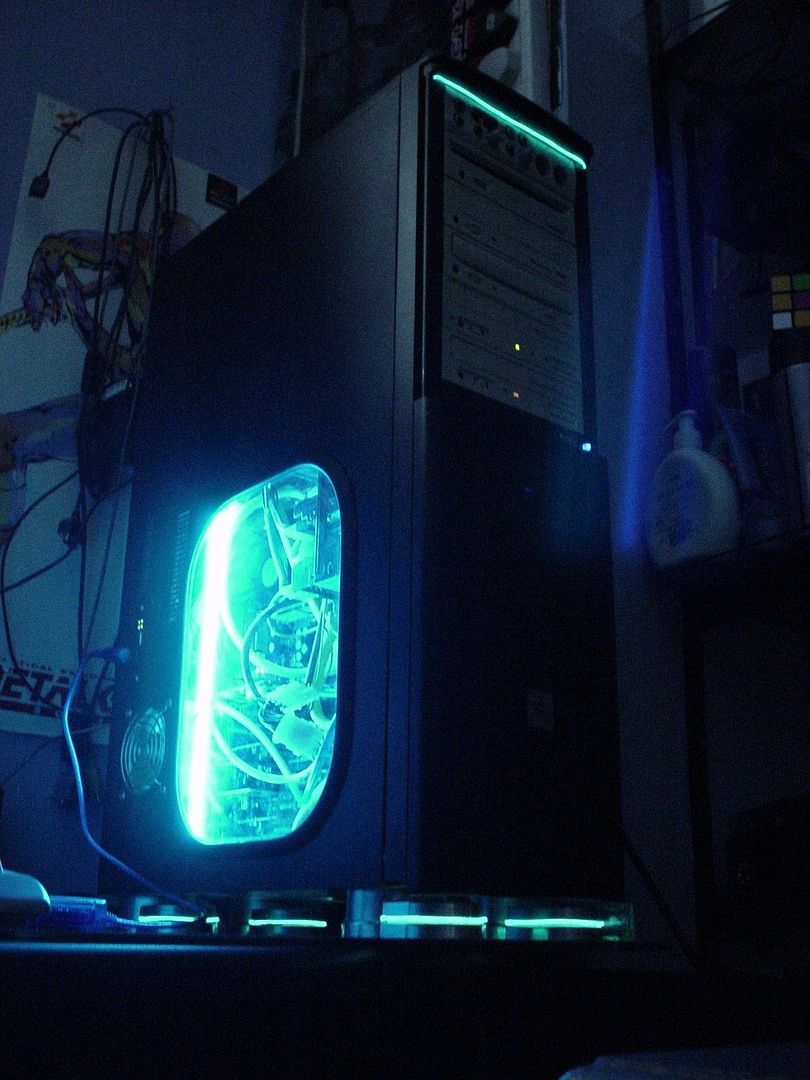
My very first PC MOD, around 2003, was inspired by the original TRON movie, I loved the movie as a kid,
and with the help of some other movies like Blade runner and the Terminator, I was hocked on futuristic tech and sci-fi.
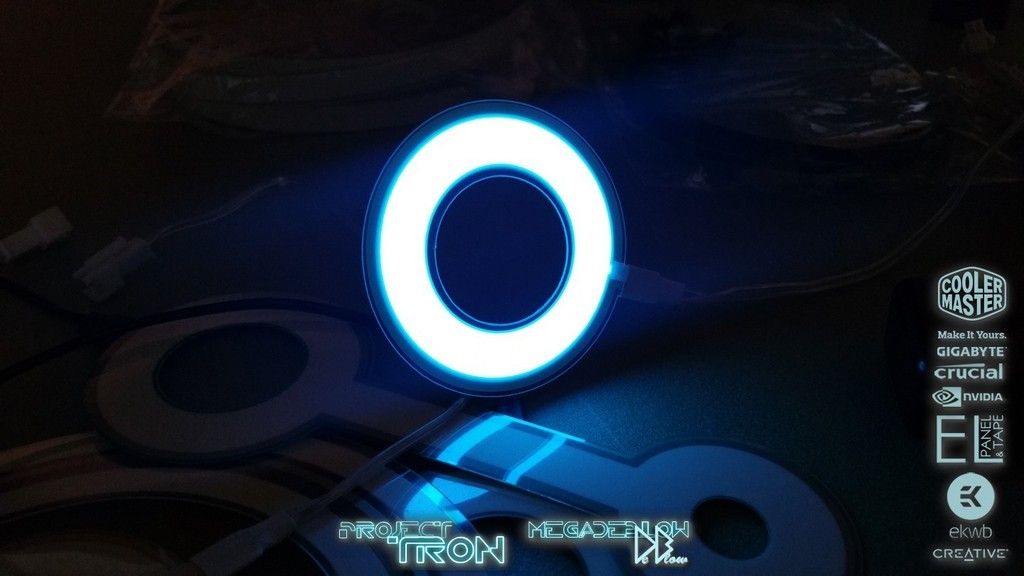
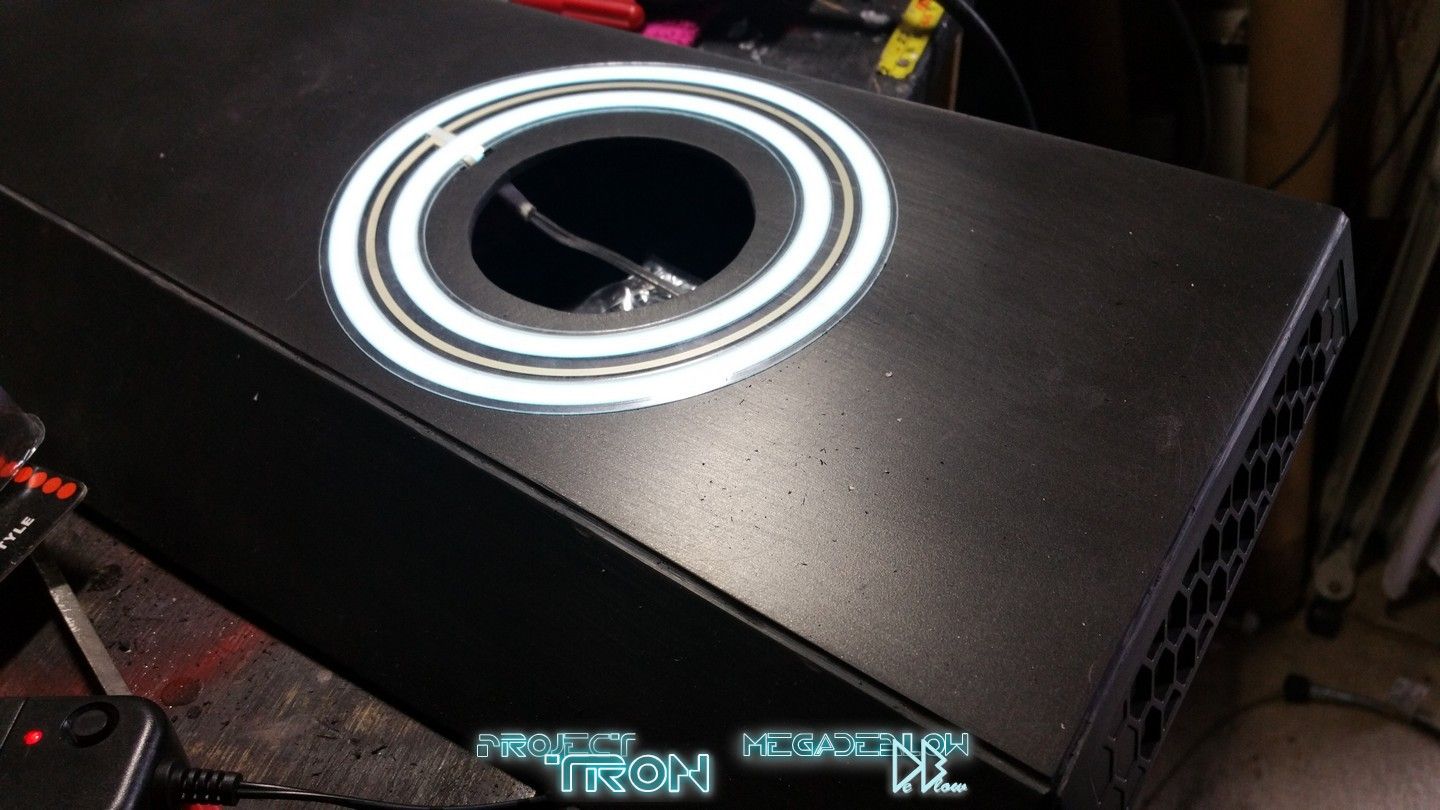
Here is the 1st MOD to give you a good idea how the EL wire will look.
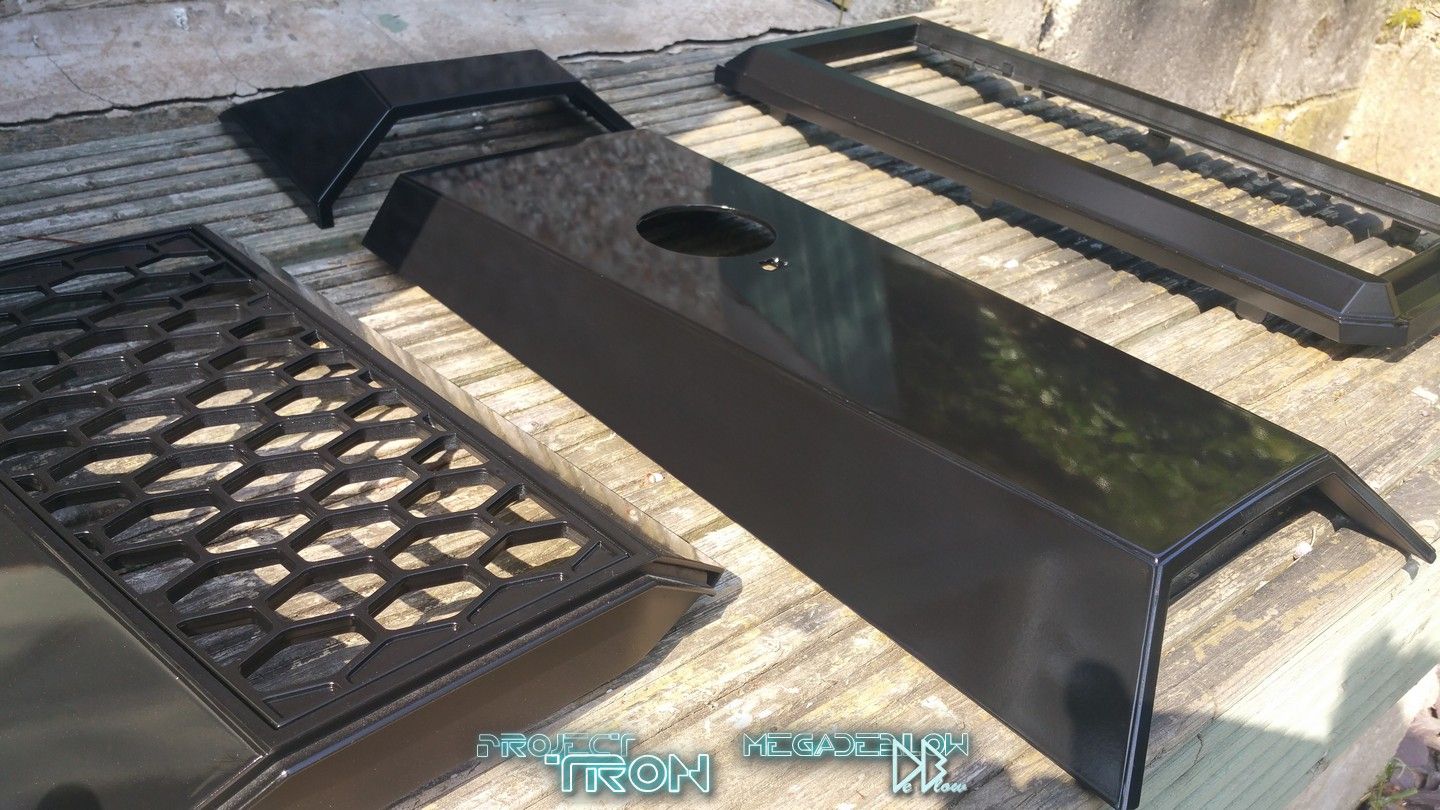
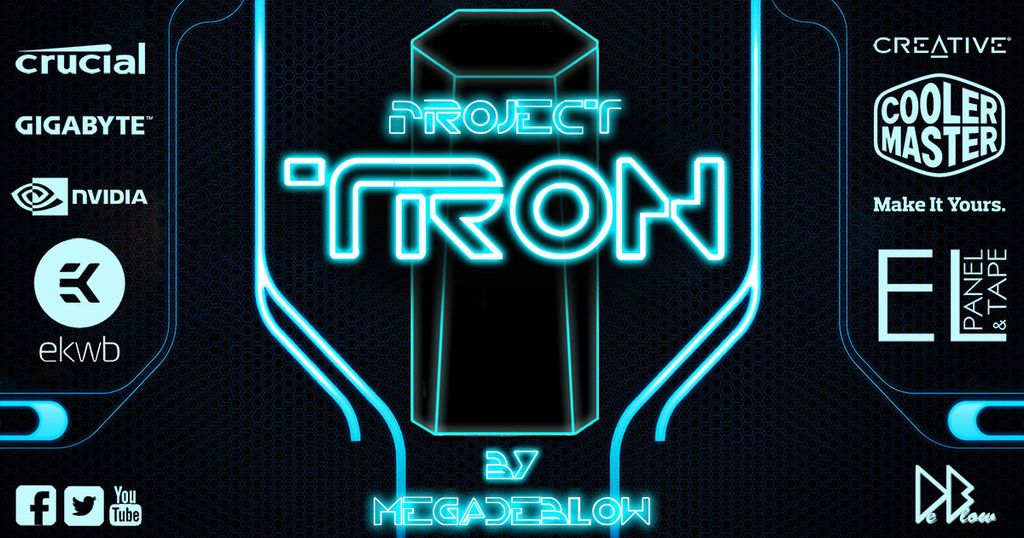
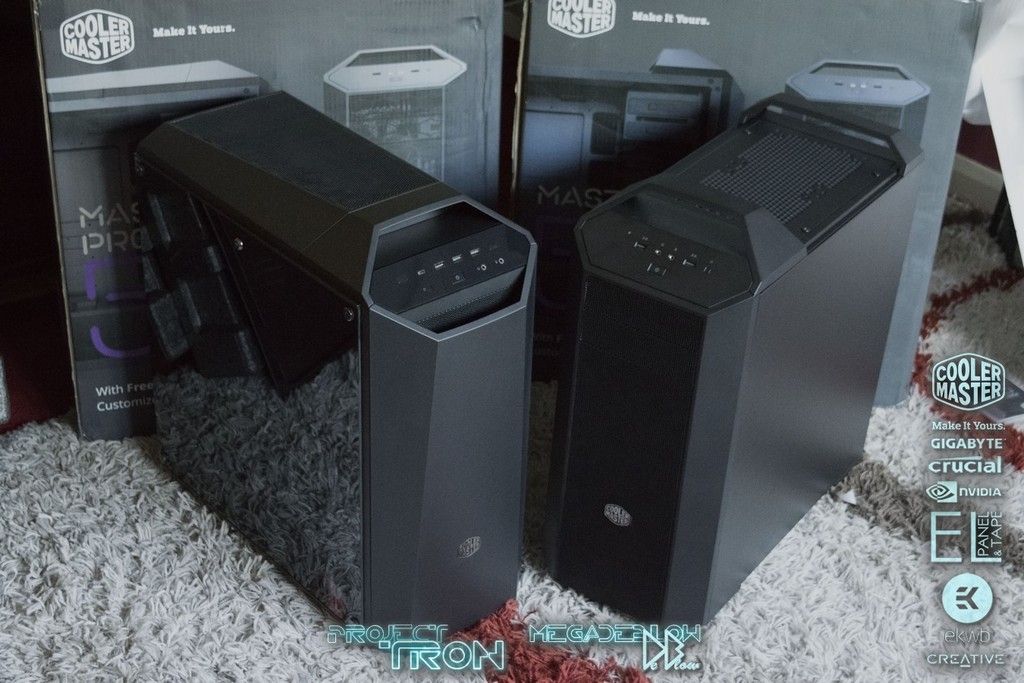
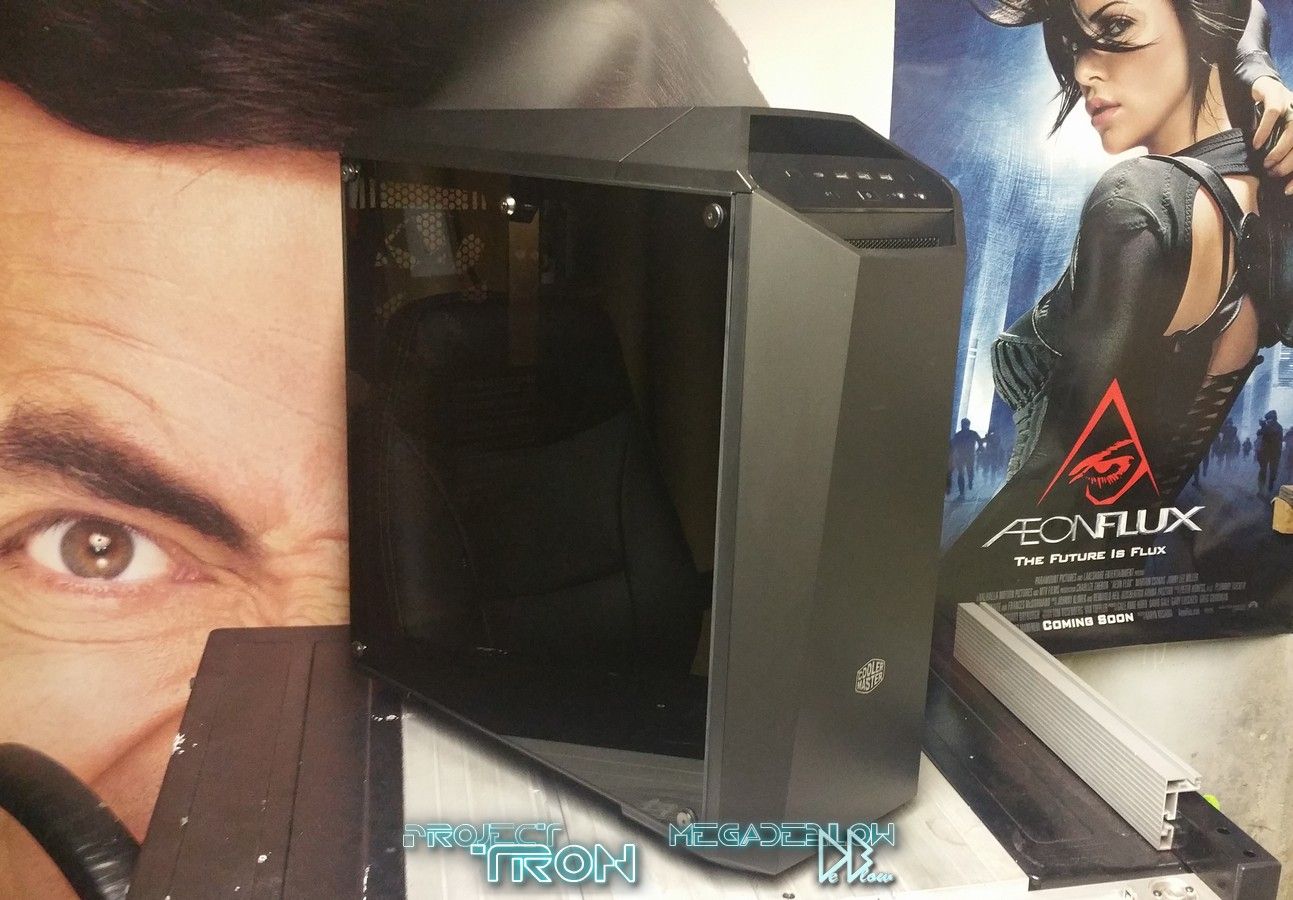
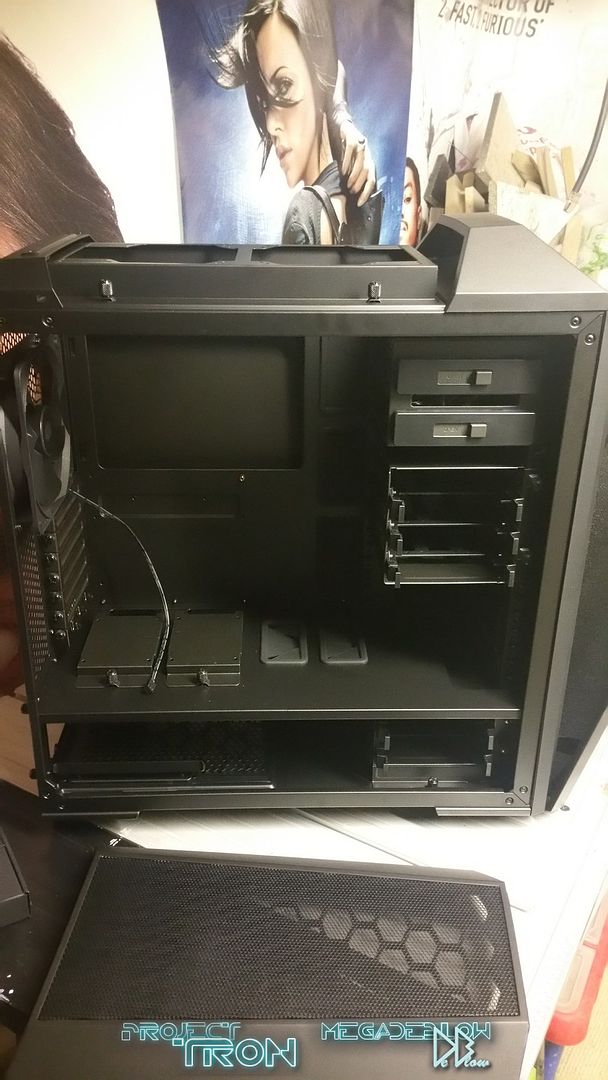
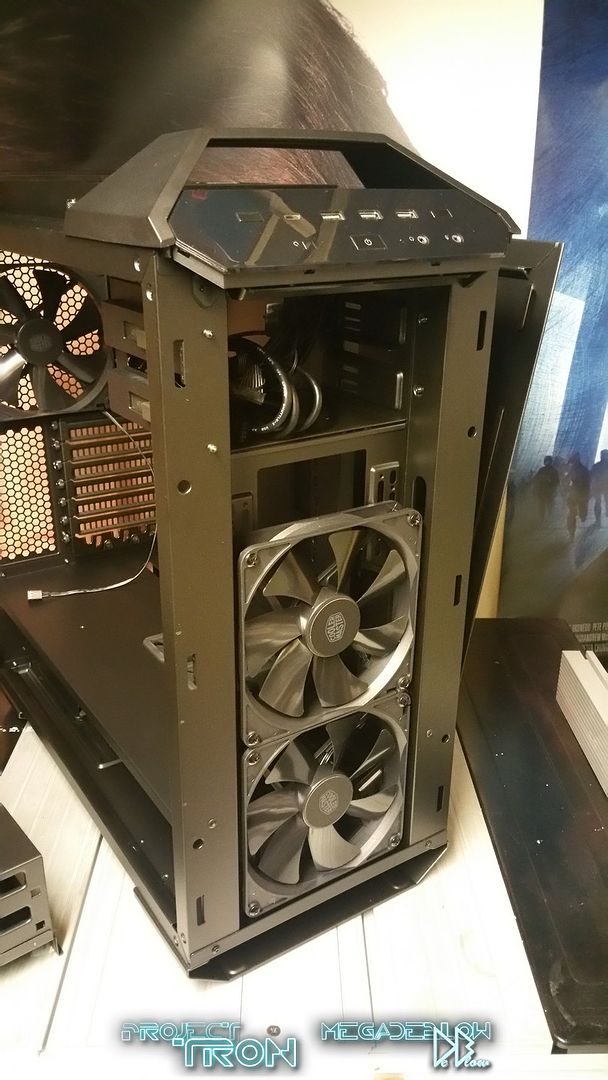
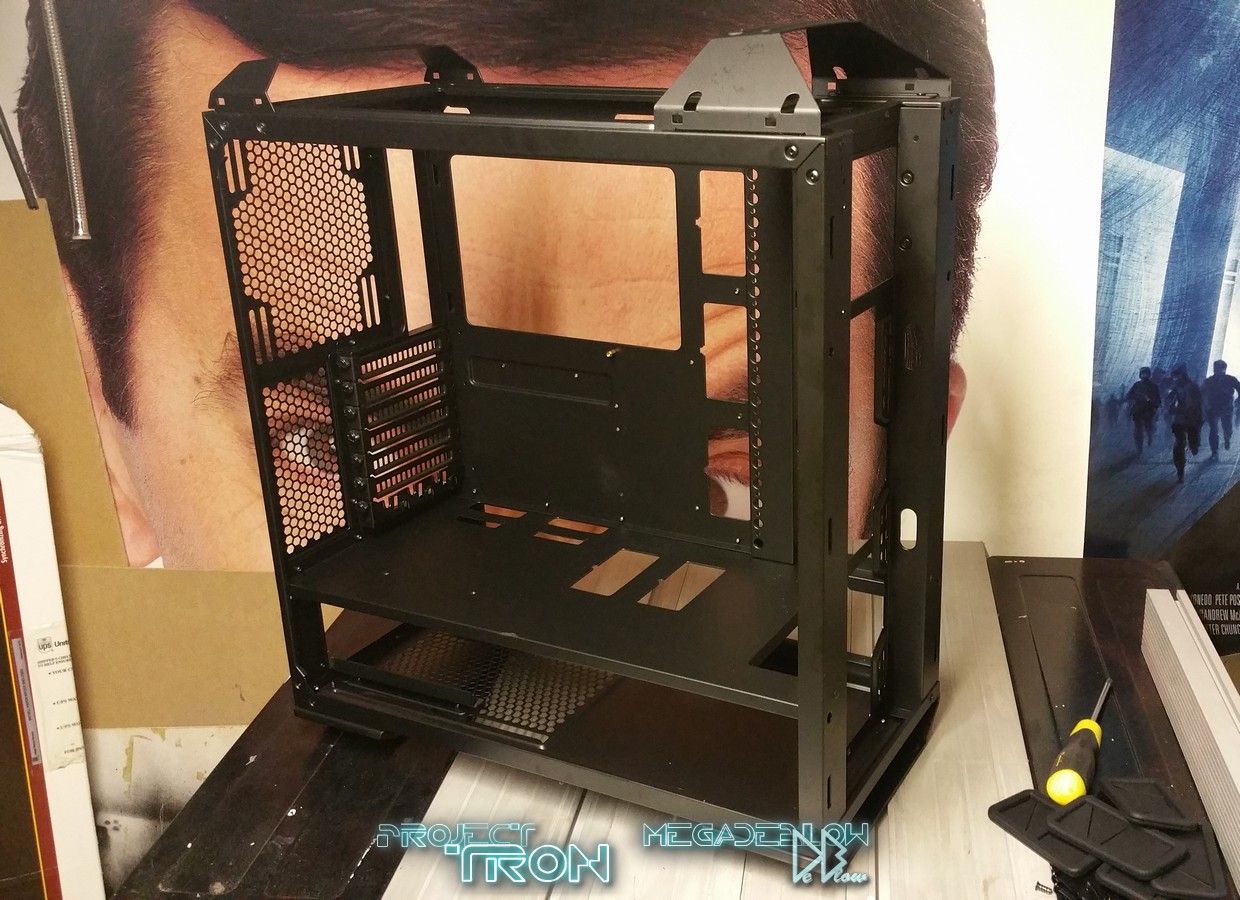
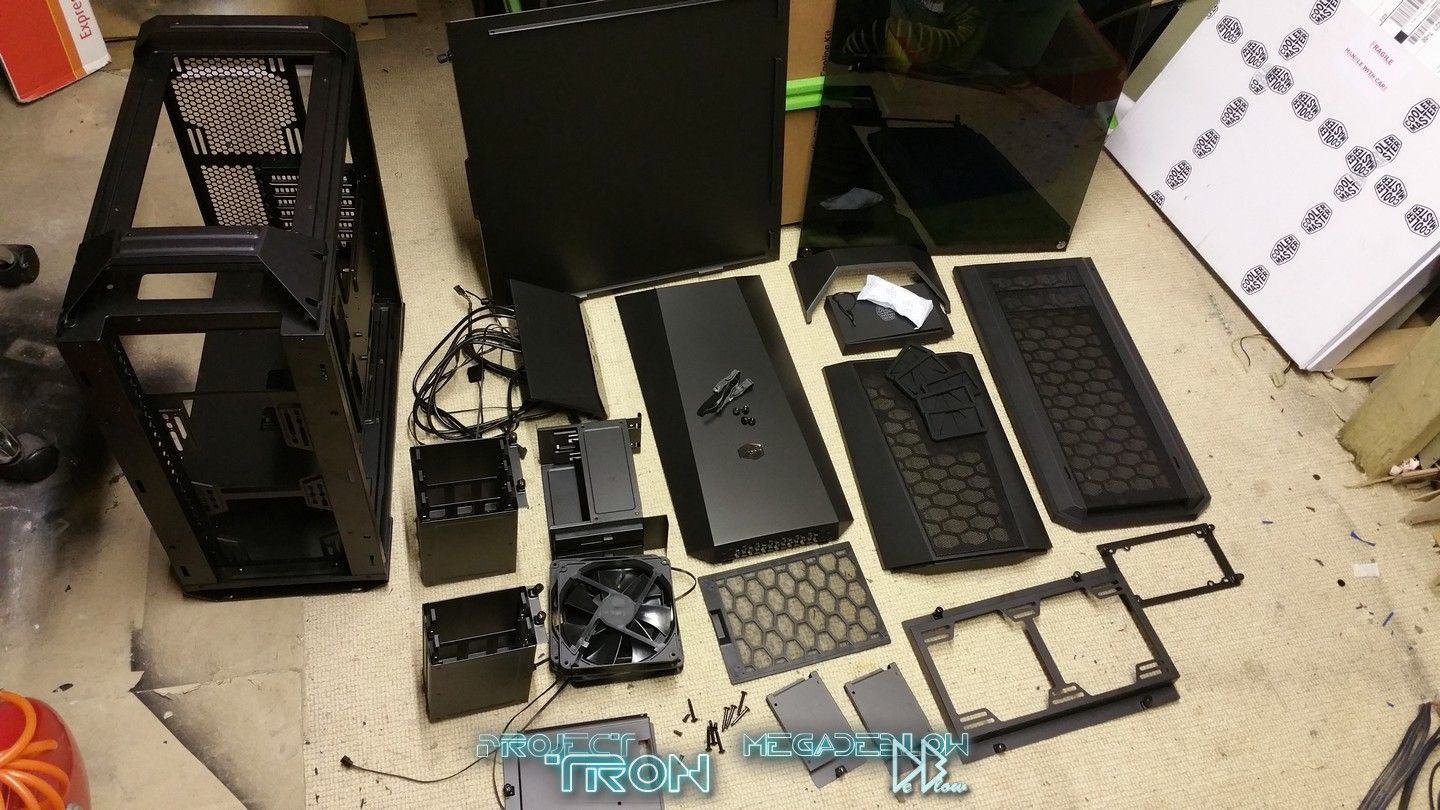
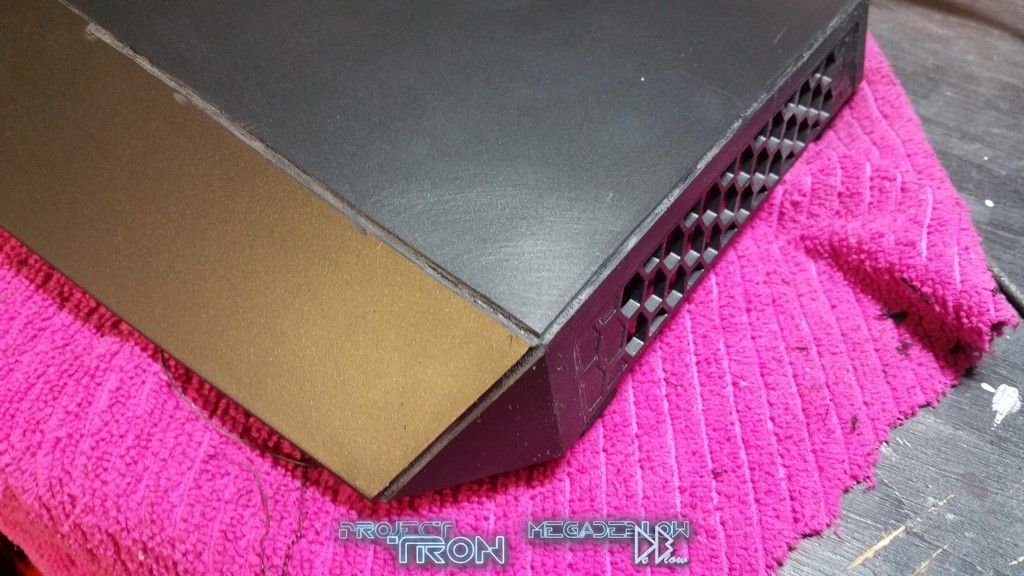
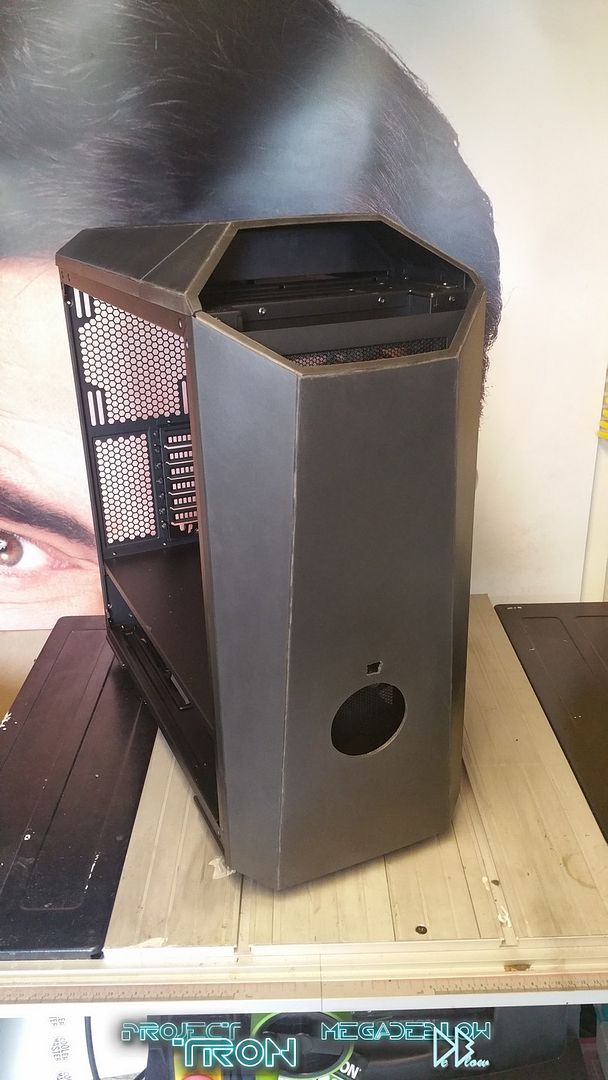
So when CoolerMaster kindly offered me a MasterCase 5 I jumped all over it, the case is fantastic,
for anyone that's seen my project: Alternate desk build, you will already know I love the
sharp looking designs and it fits perfect with the Tron theme.
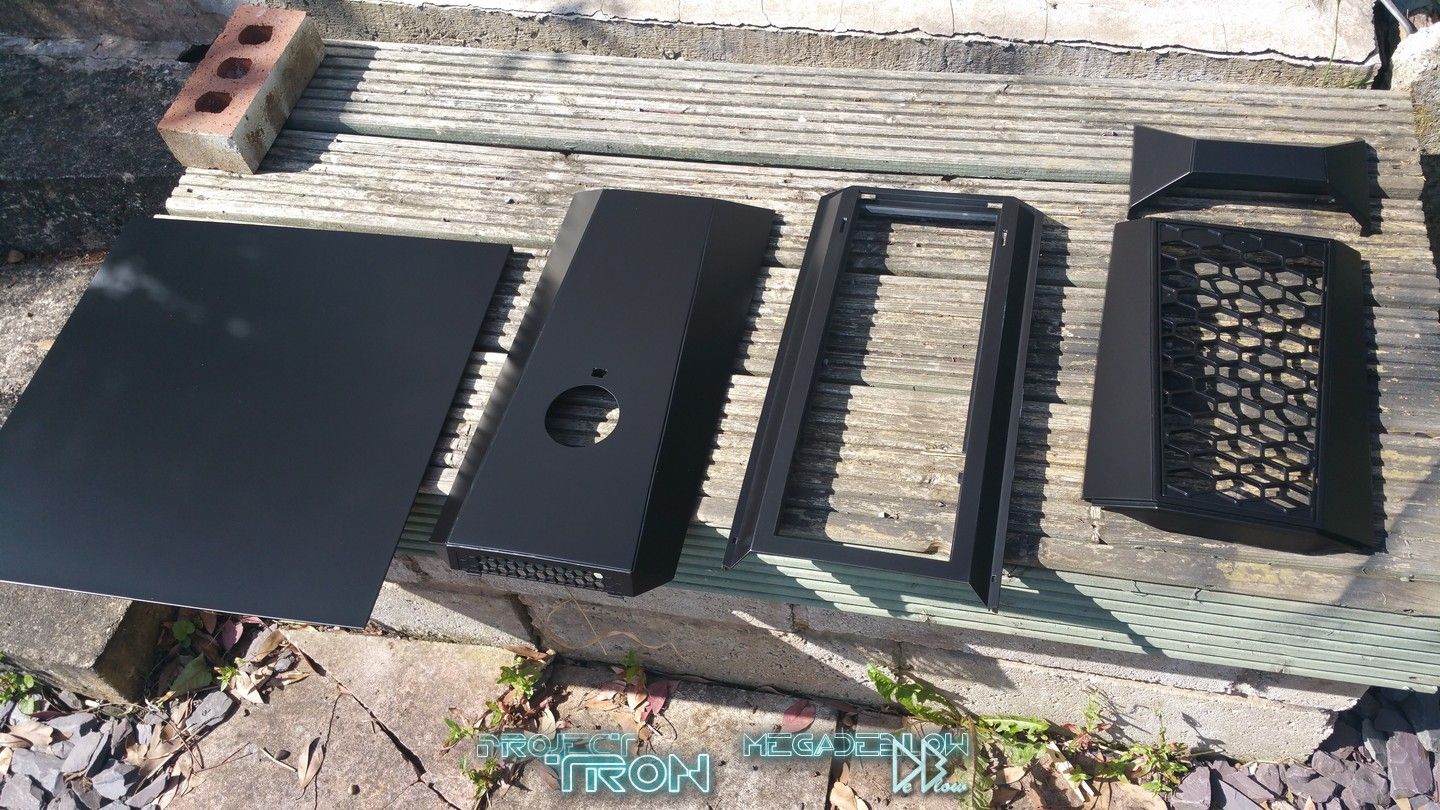
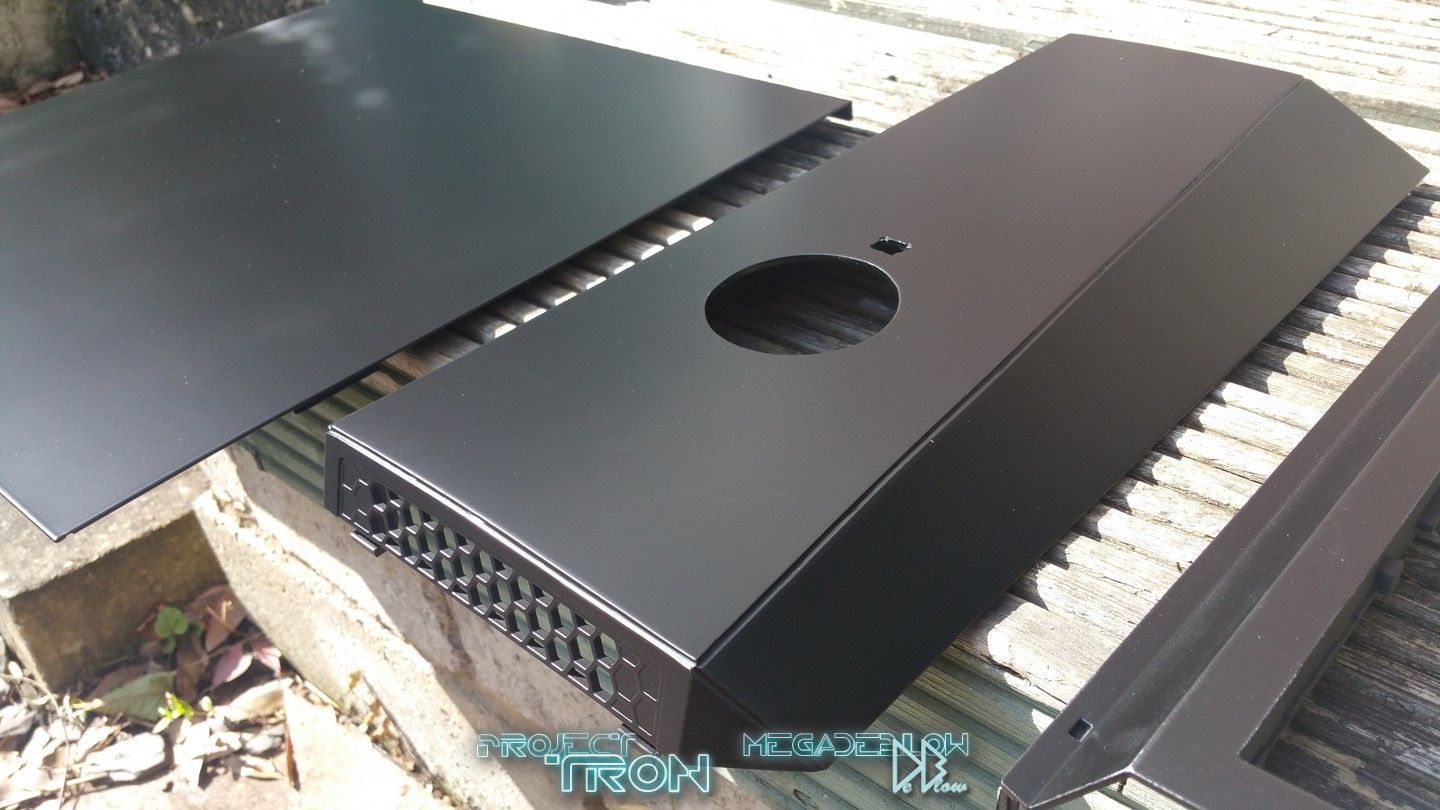
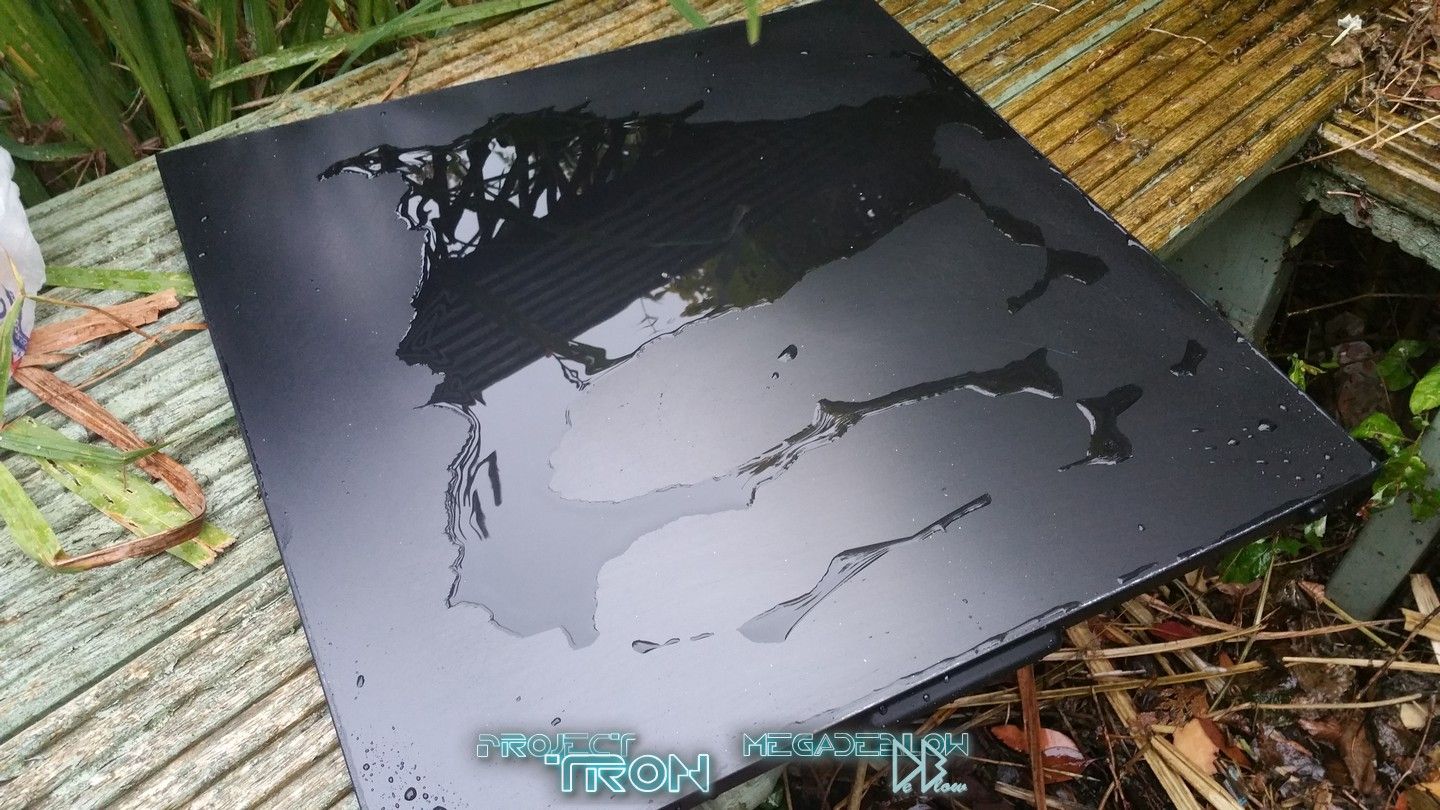
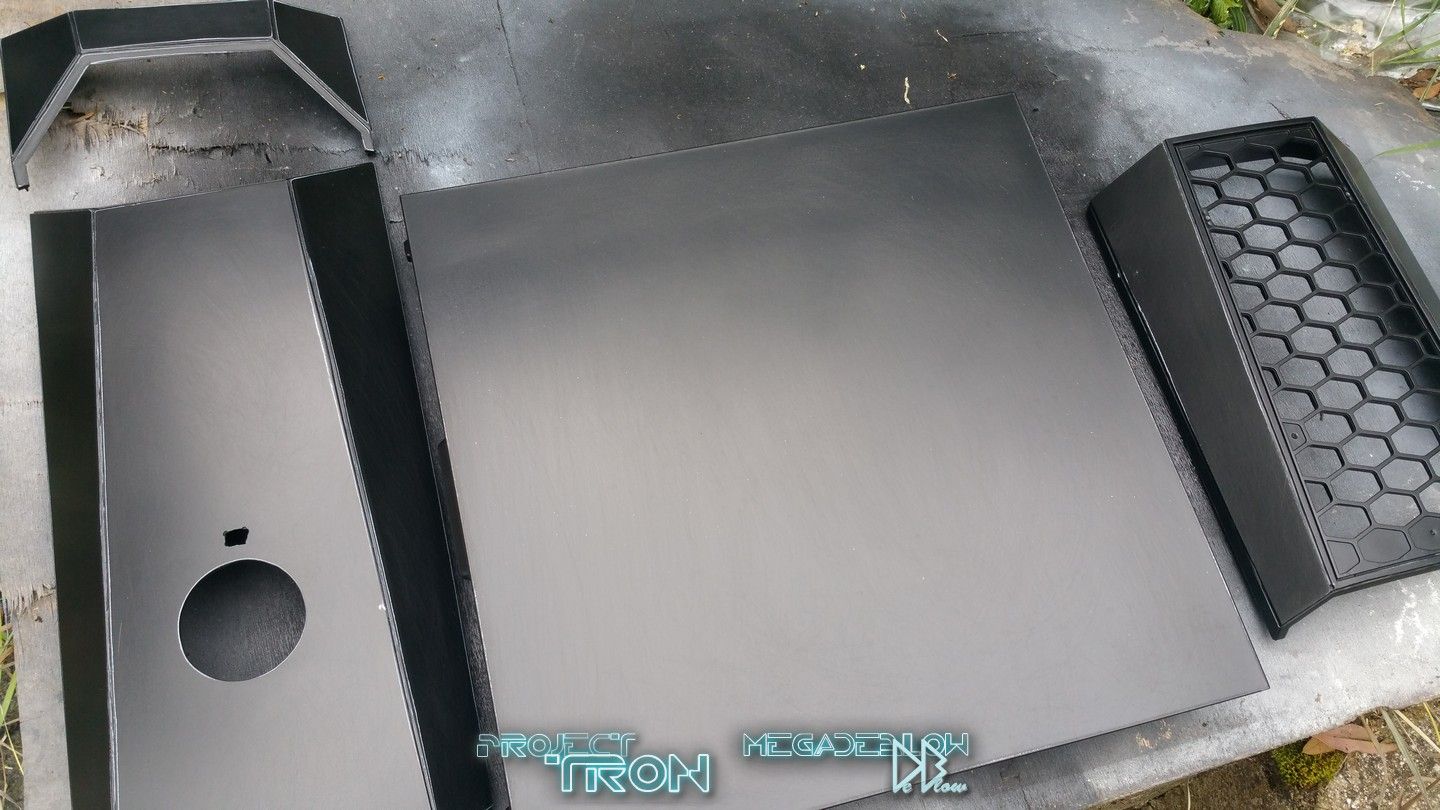
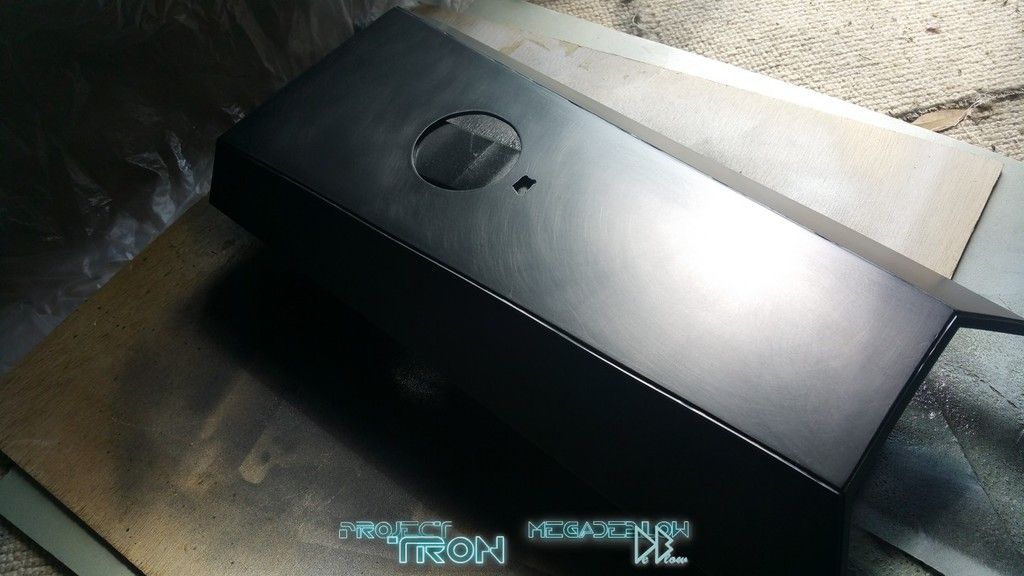
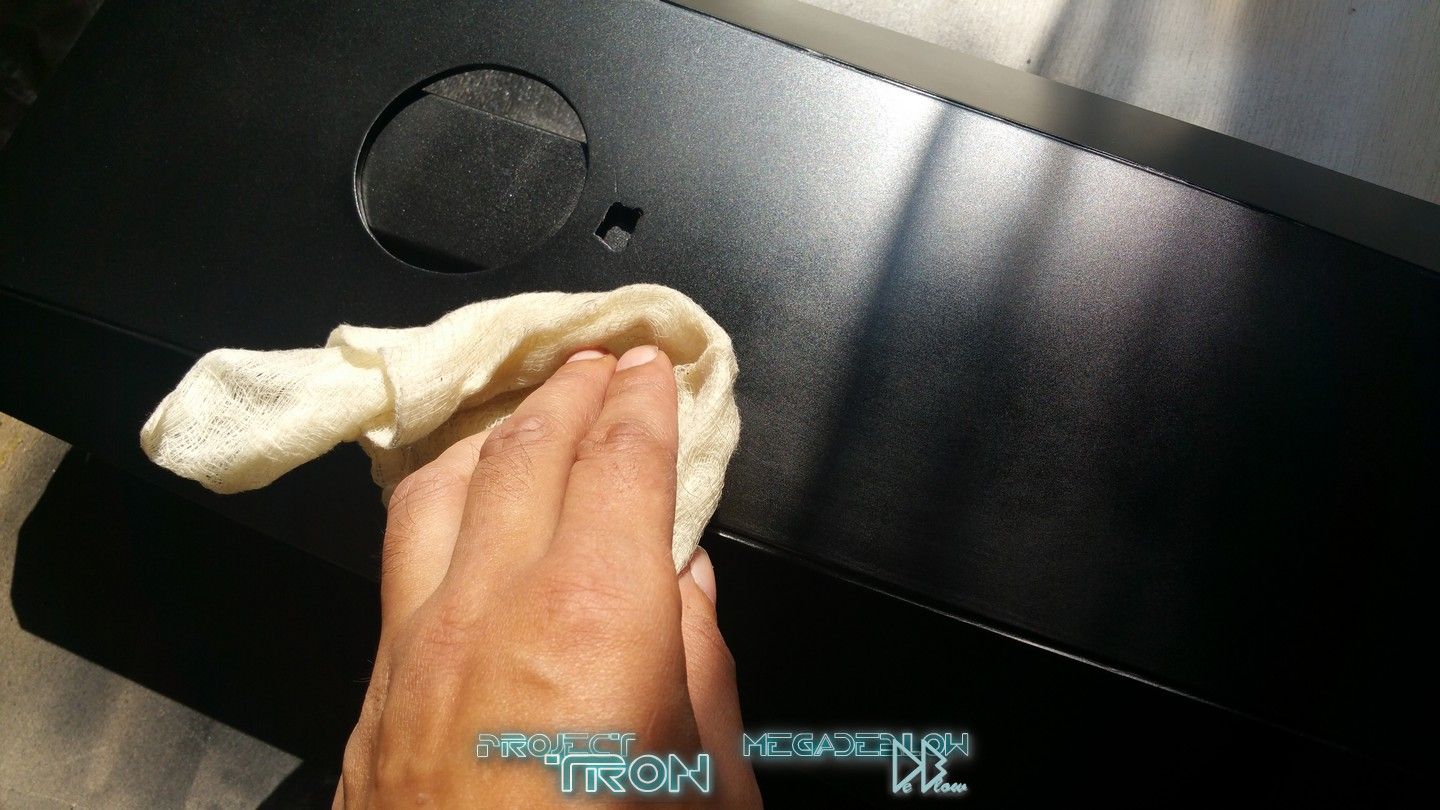
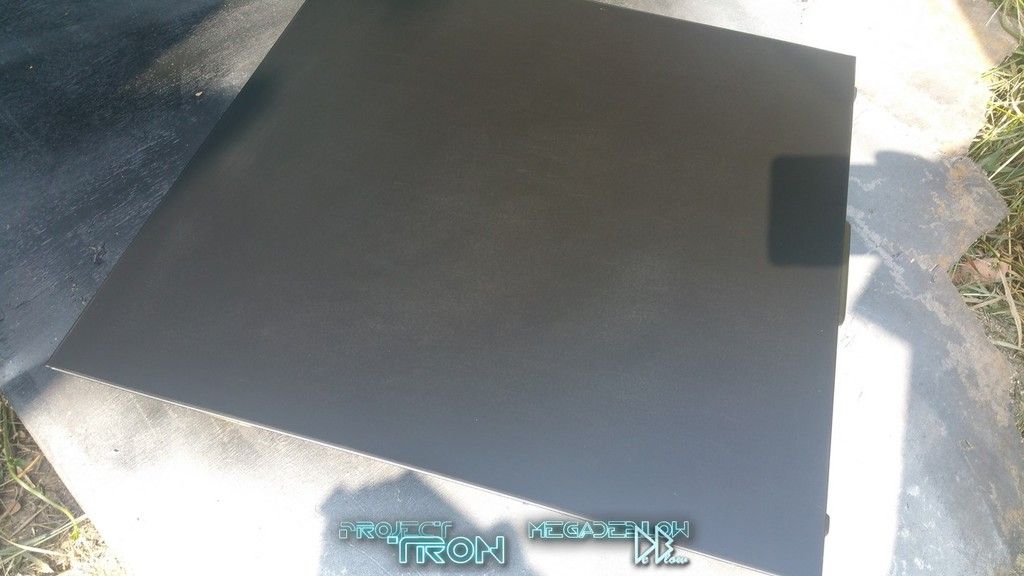
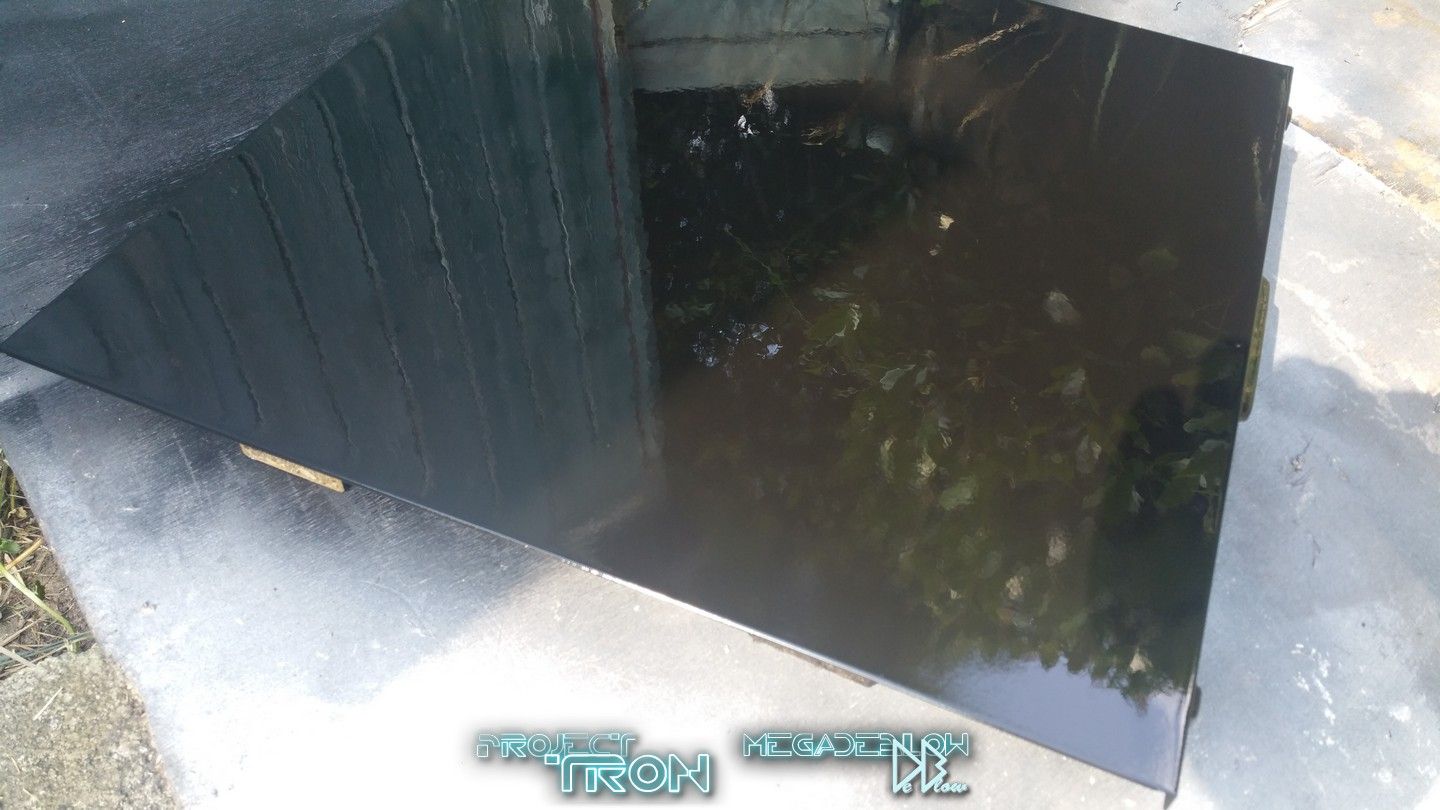
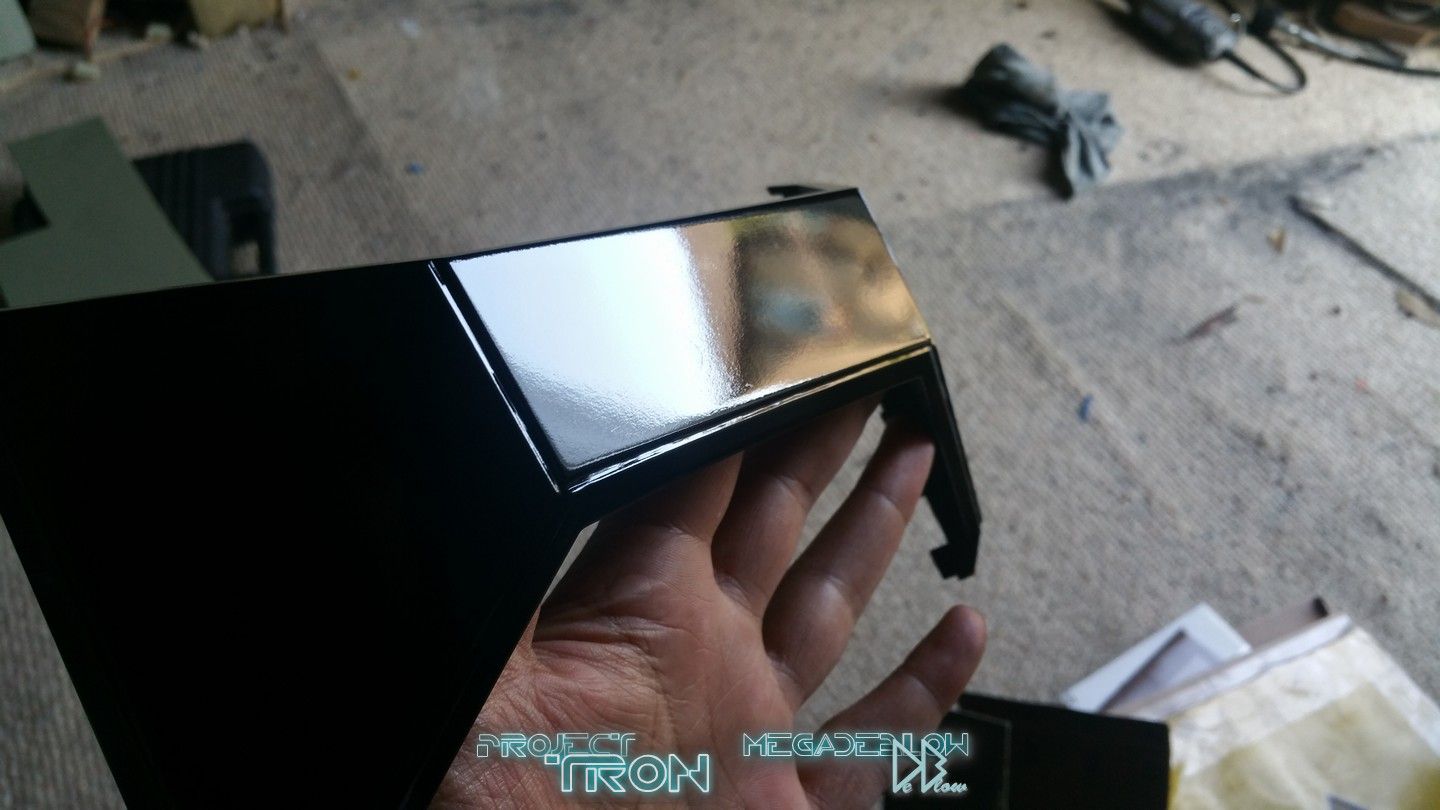
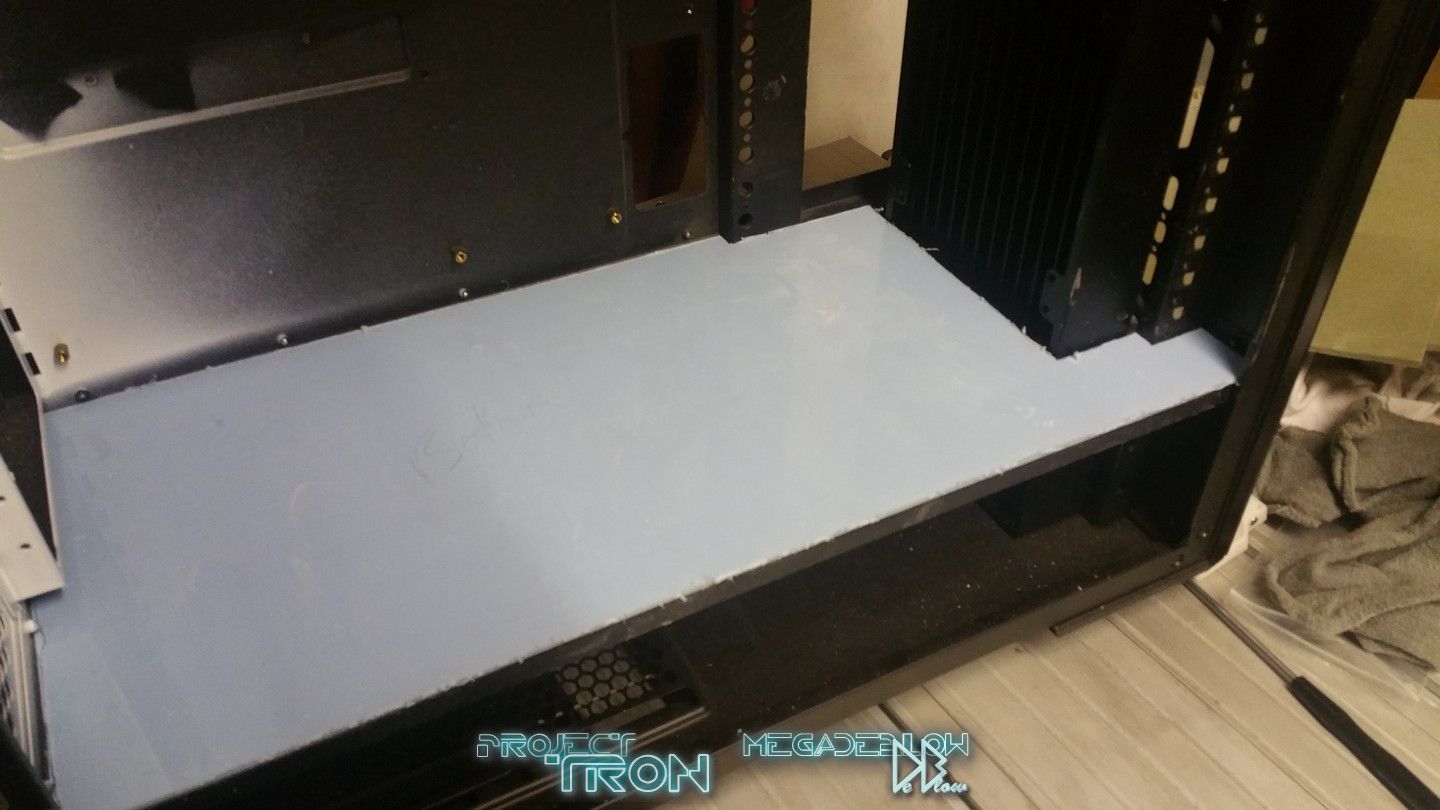
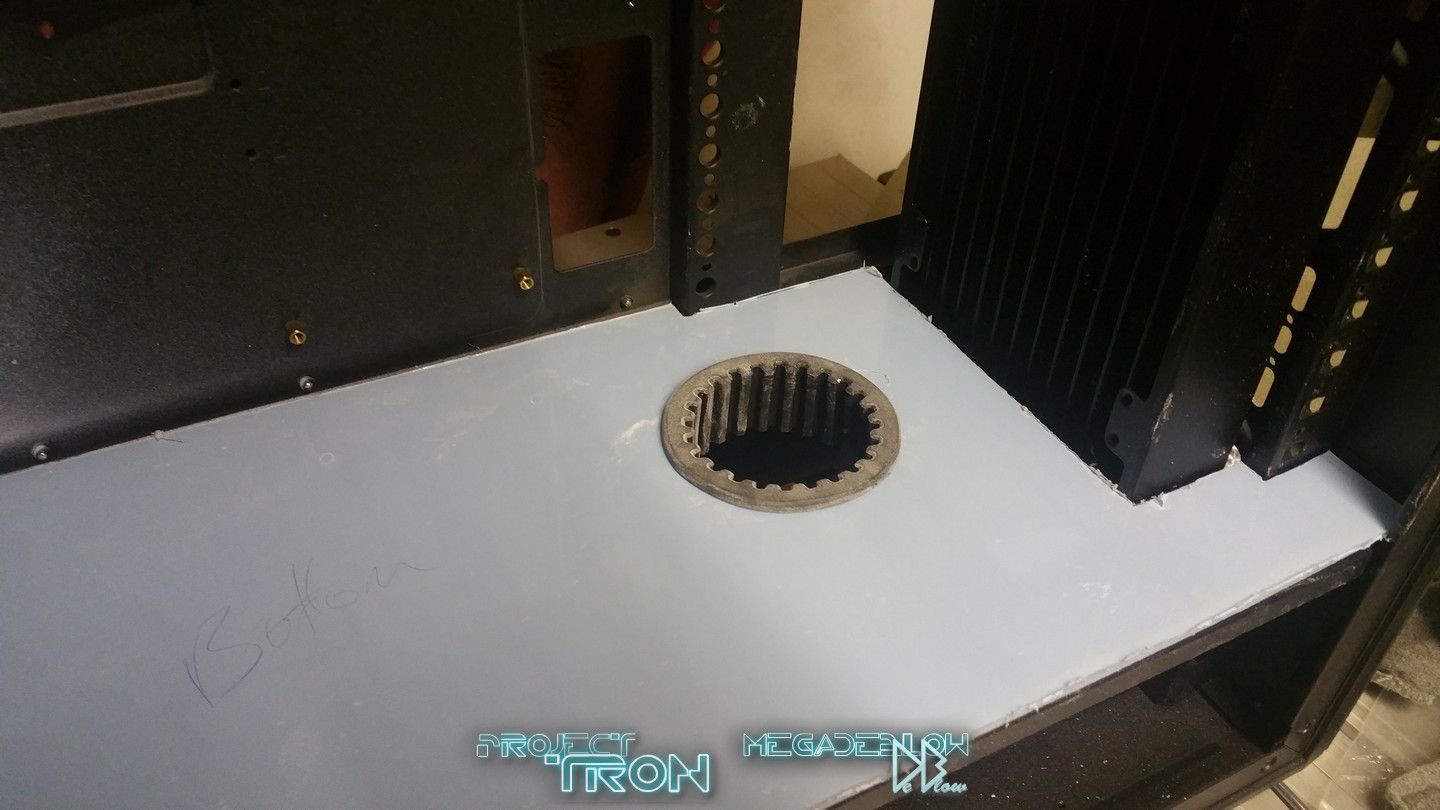
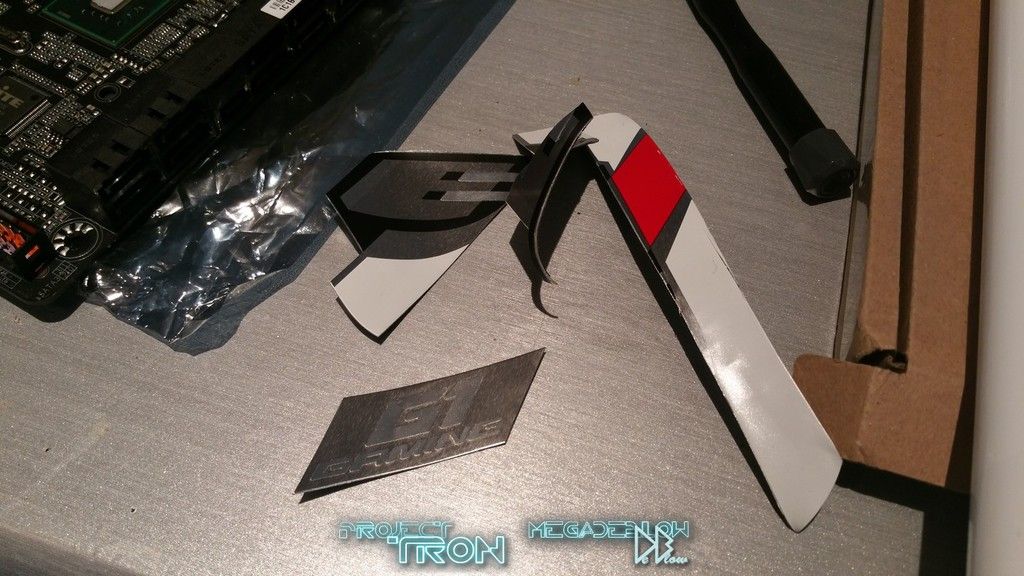
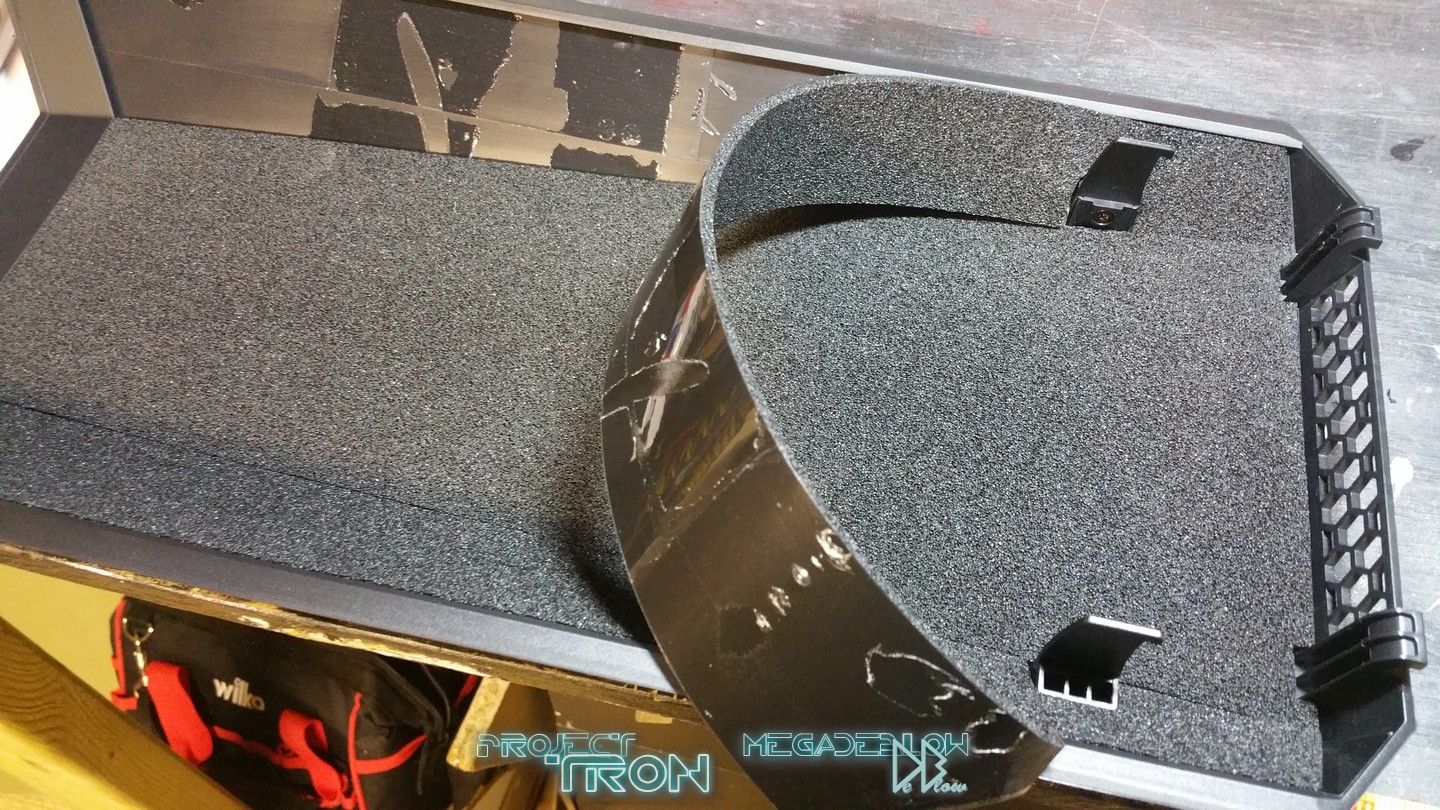
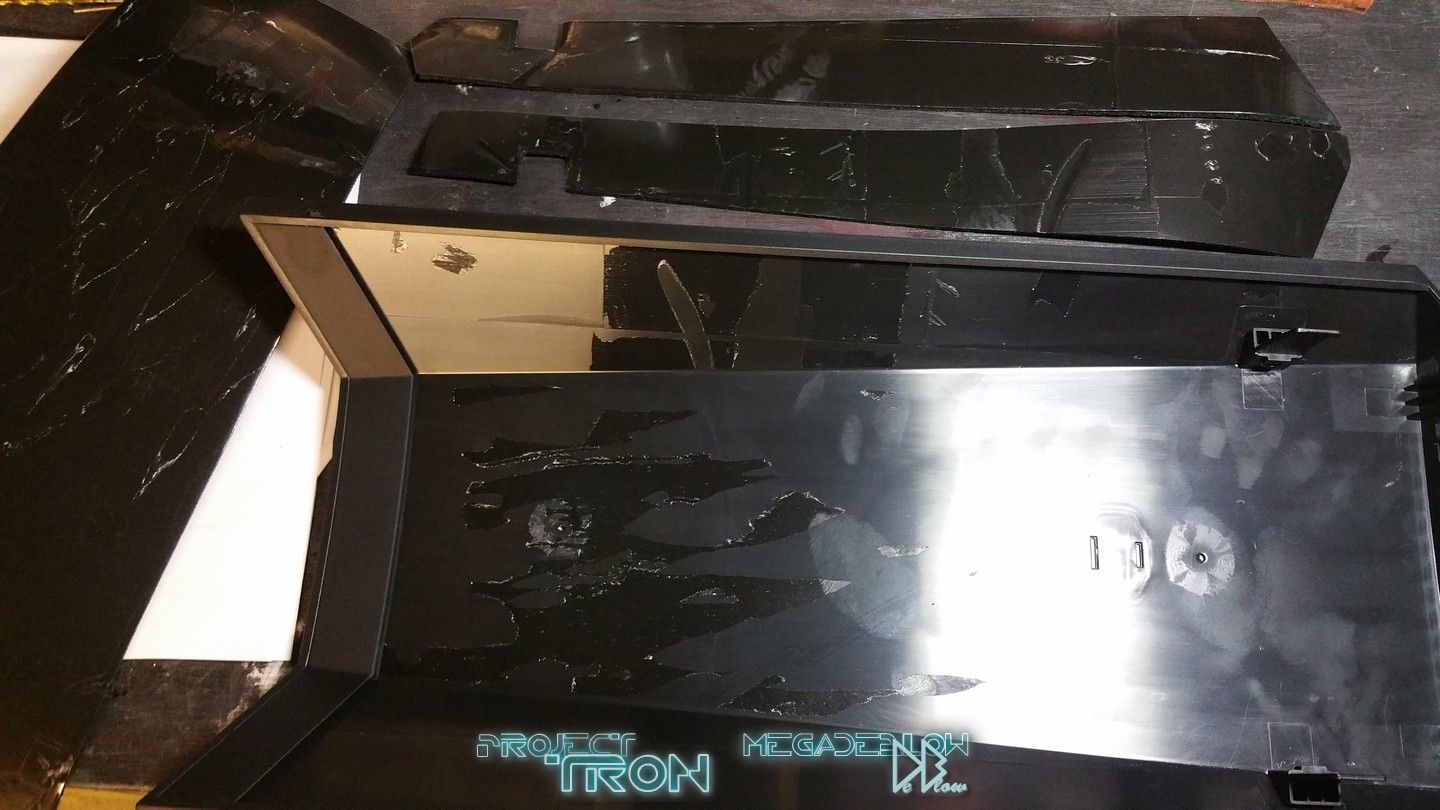
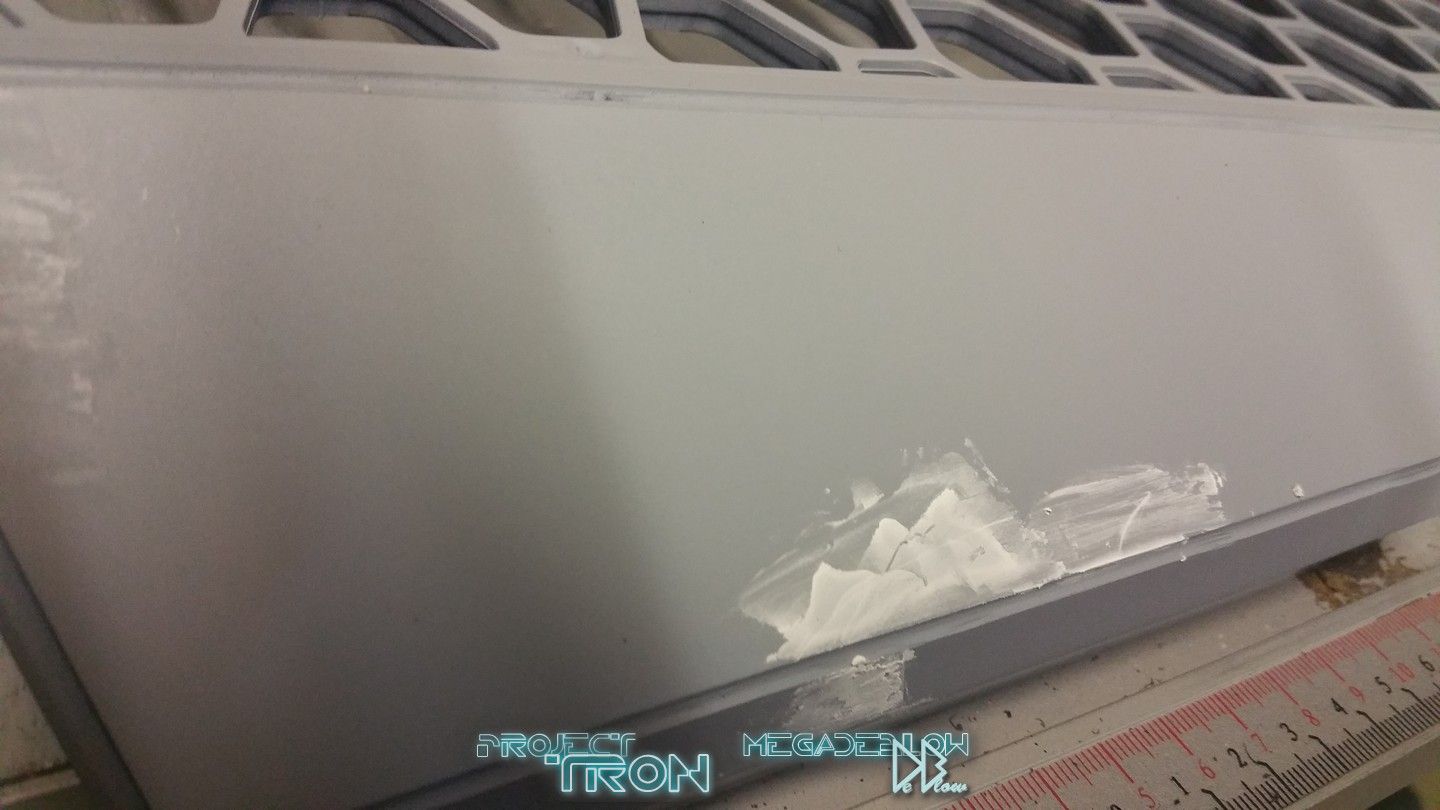
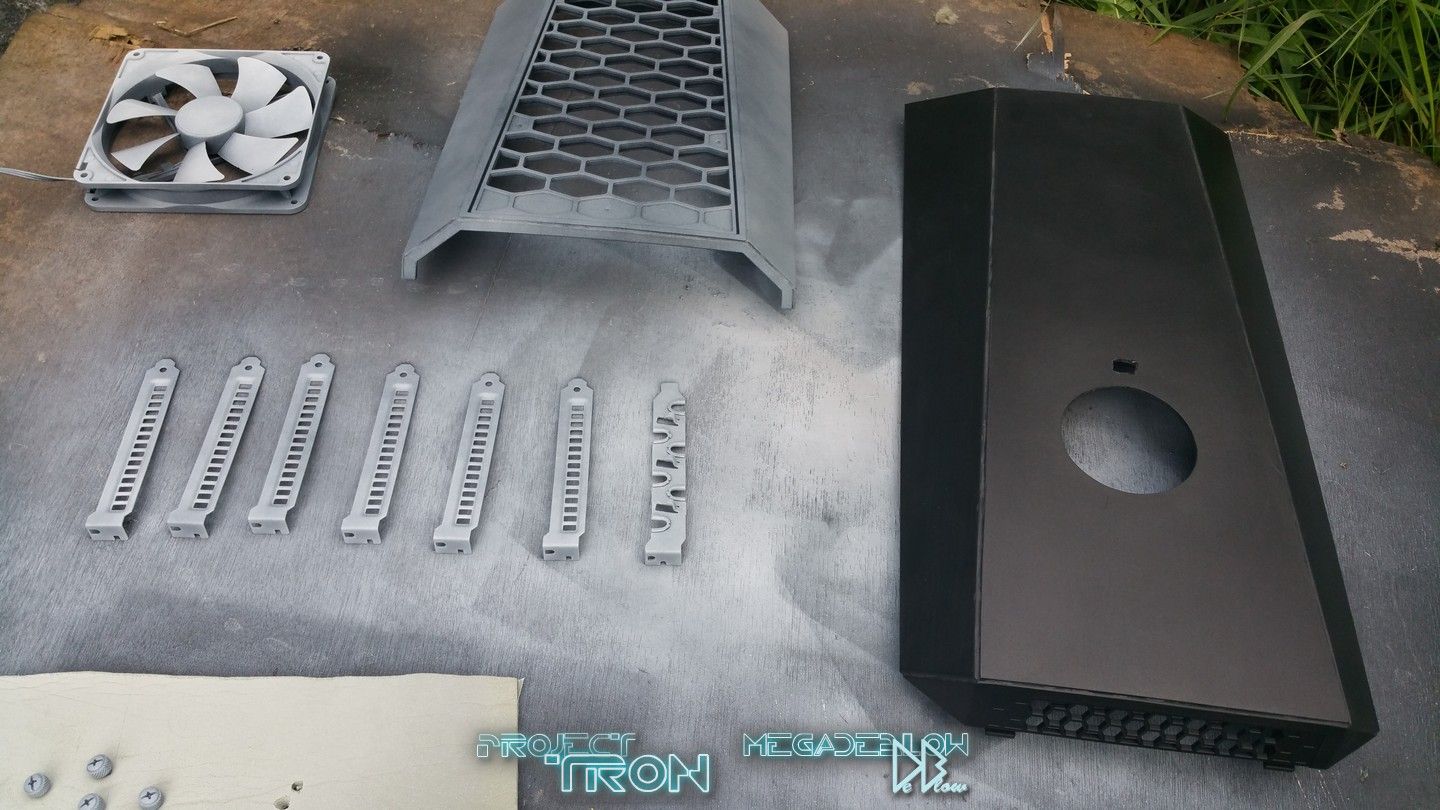
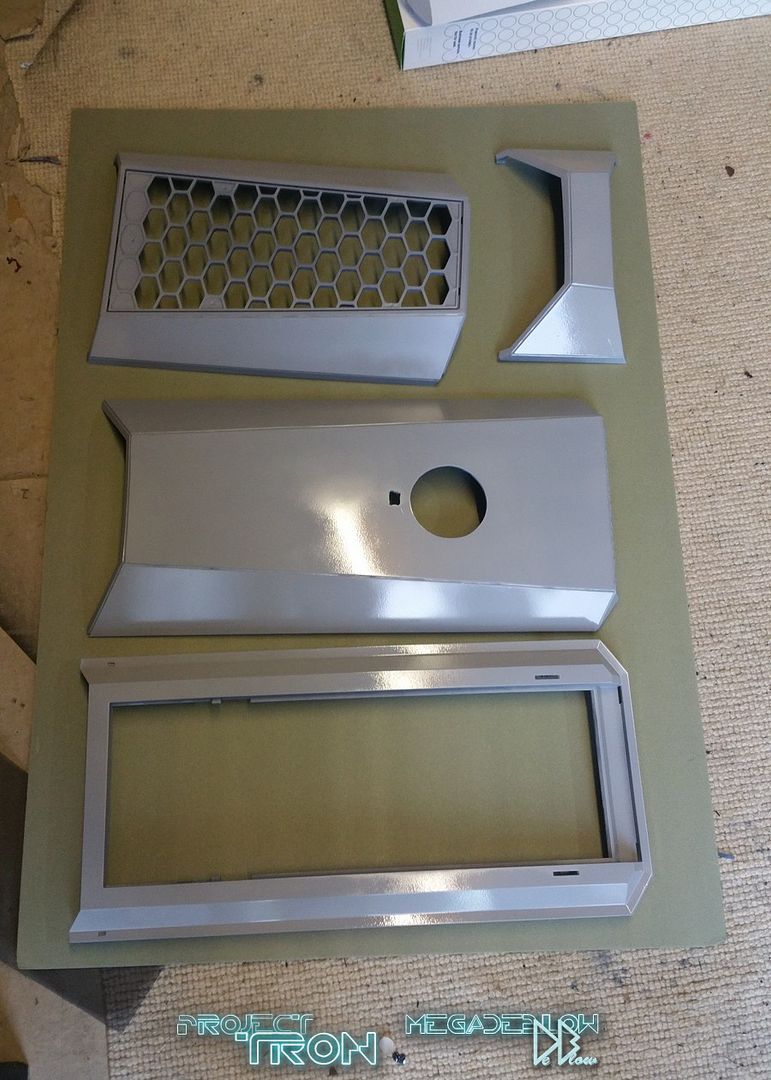
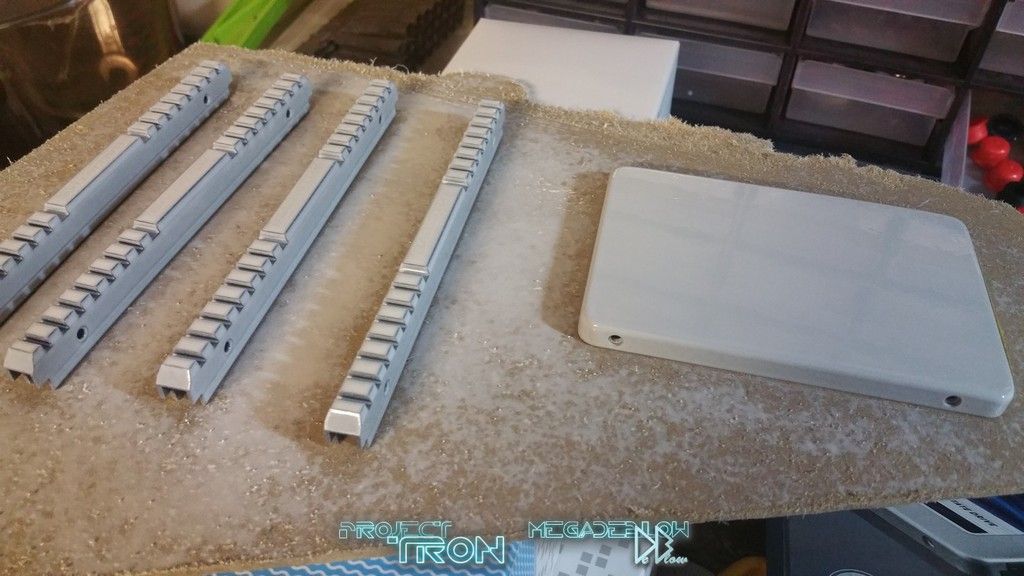
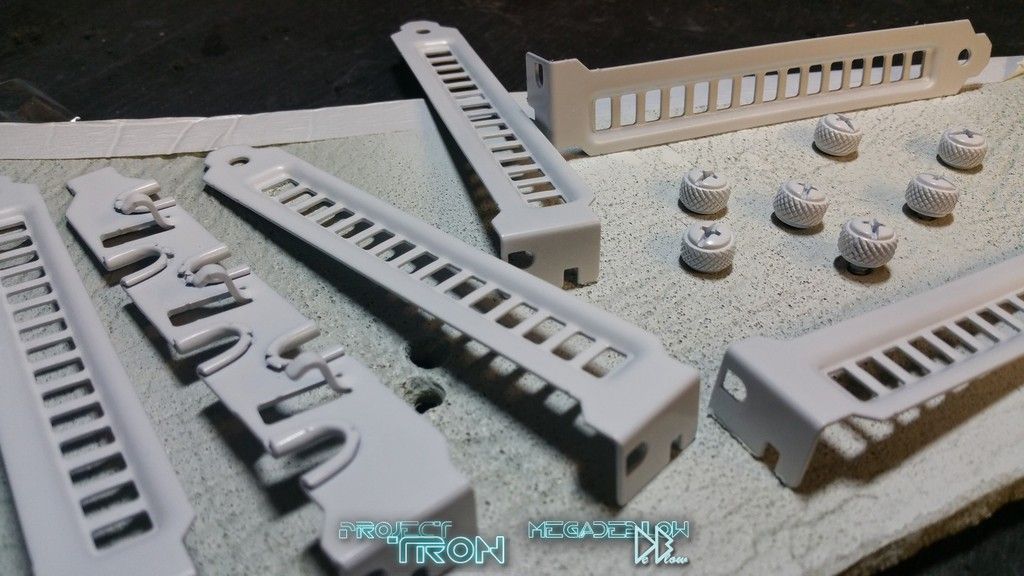
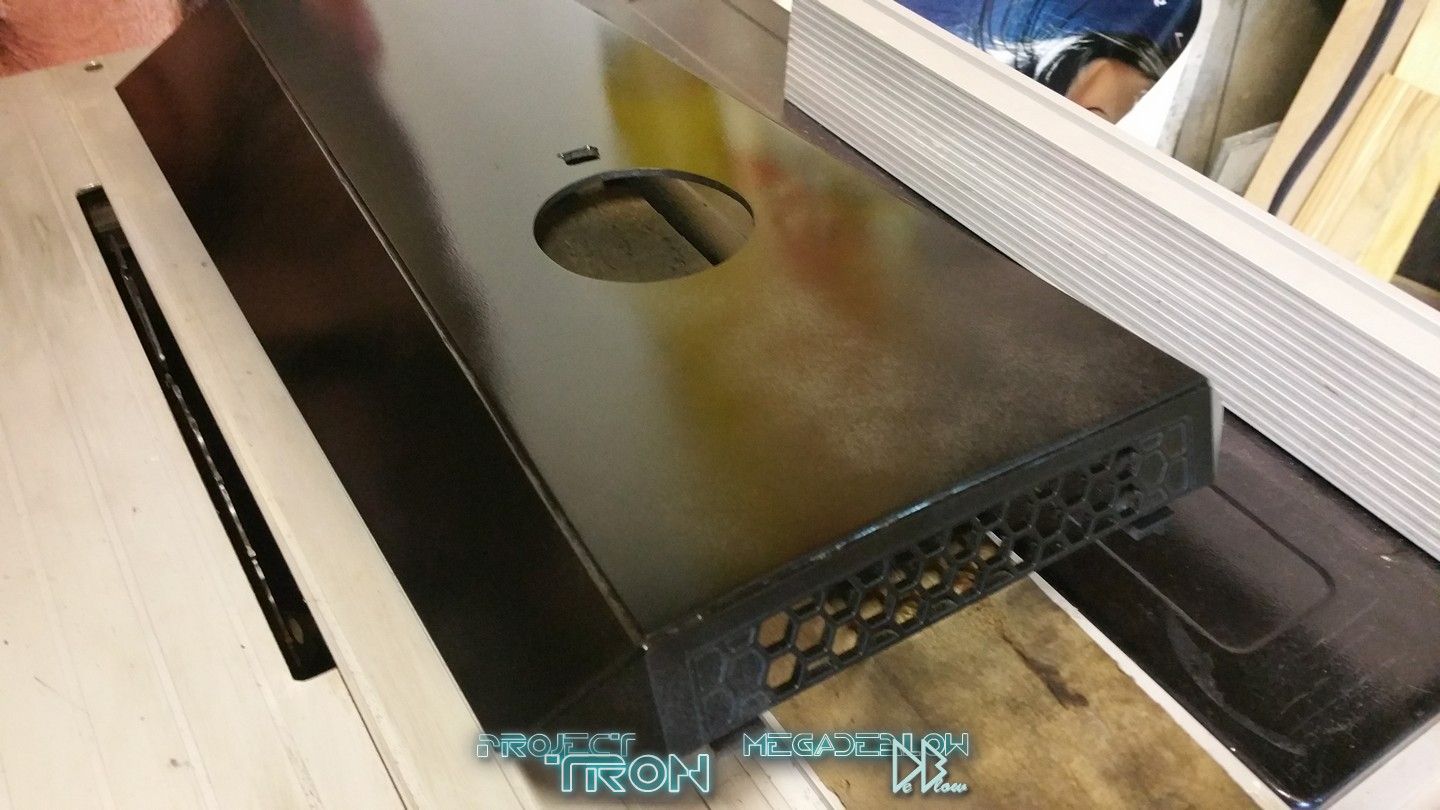
Moving on to the colours, I couldn't decide if to paint it all gloss black or white, so I'm going to paint the inside white and the outside black.
I think it will look cool but should I be wrong I might do a last minuet change to the white interior and go with all black.
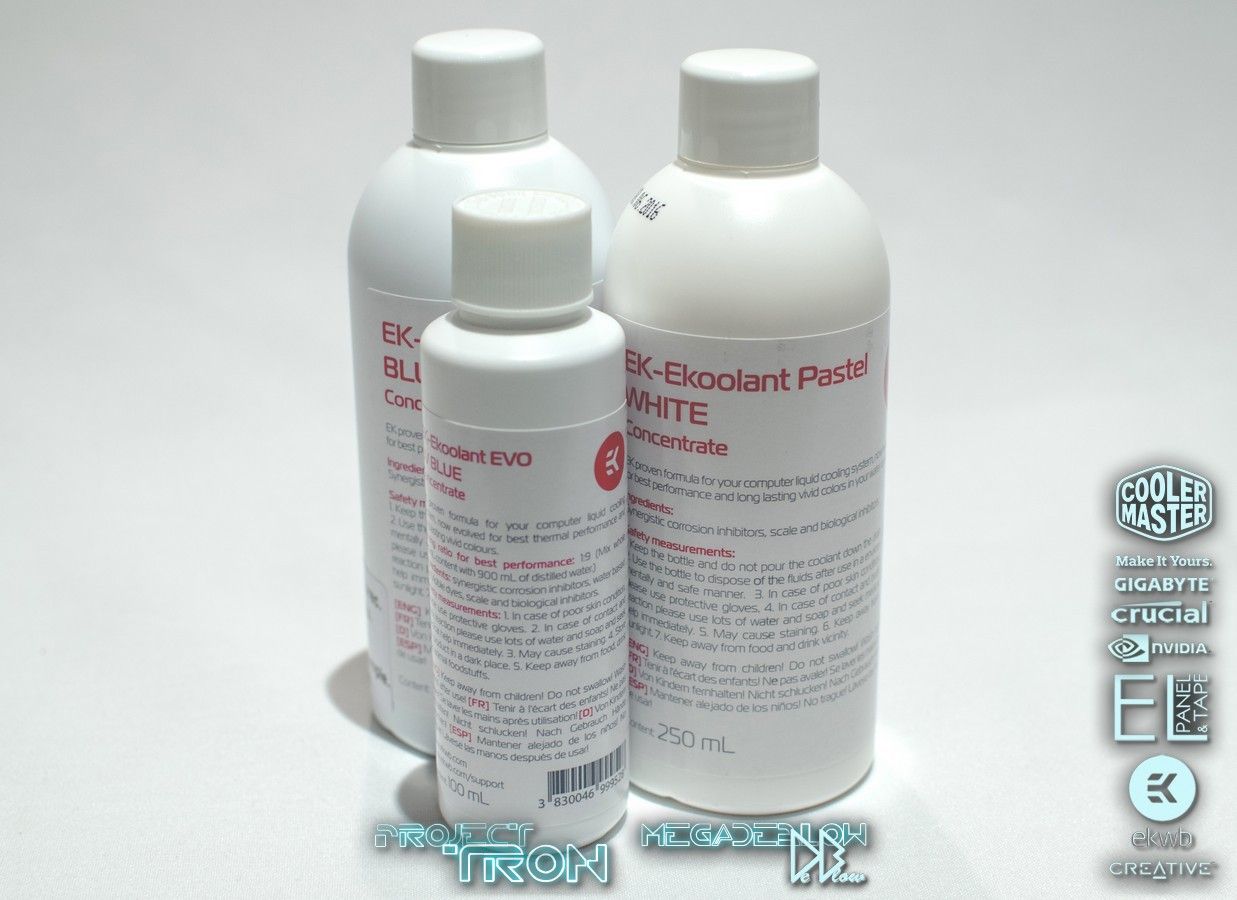
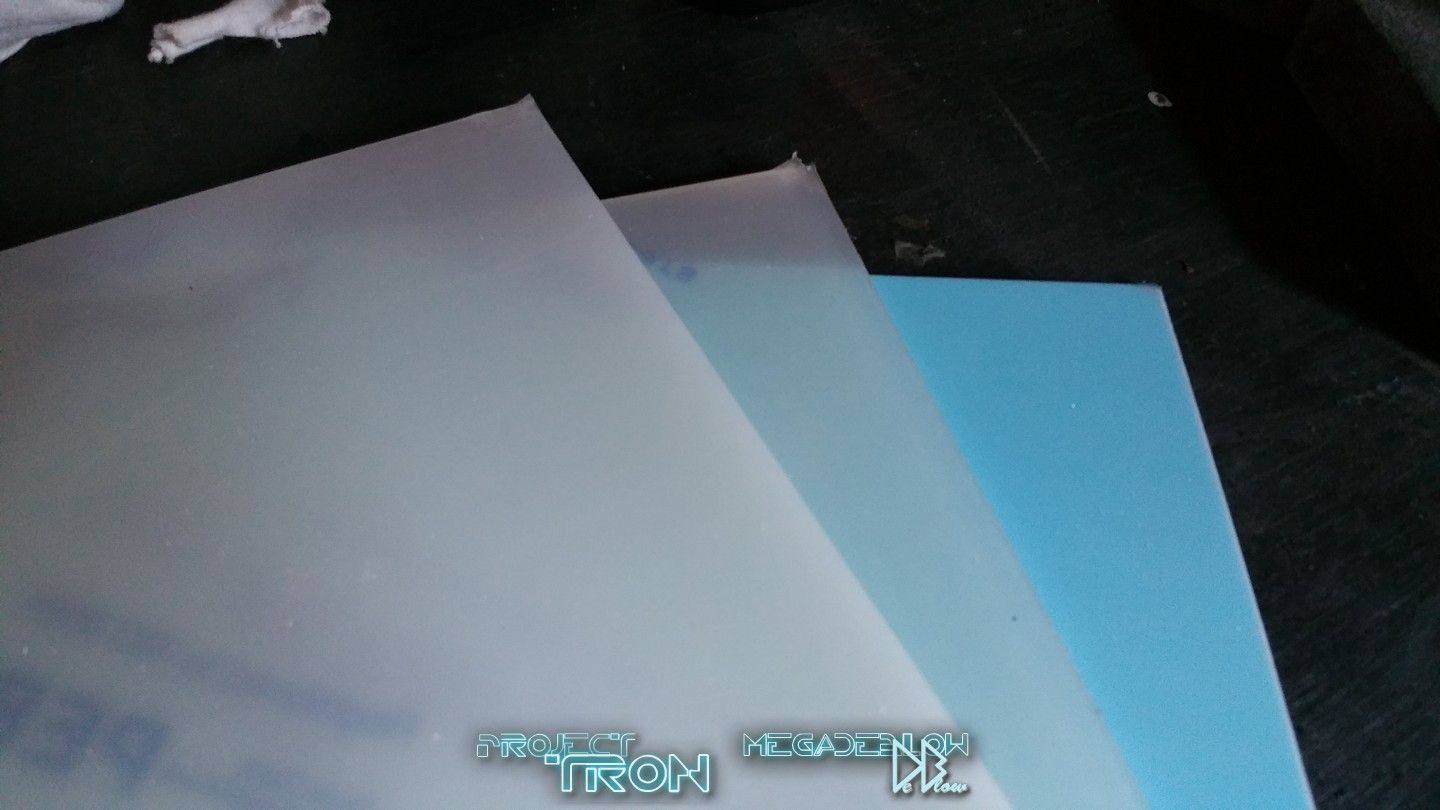
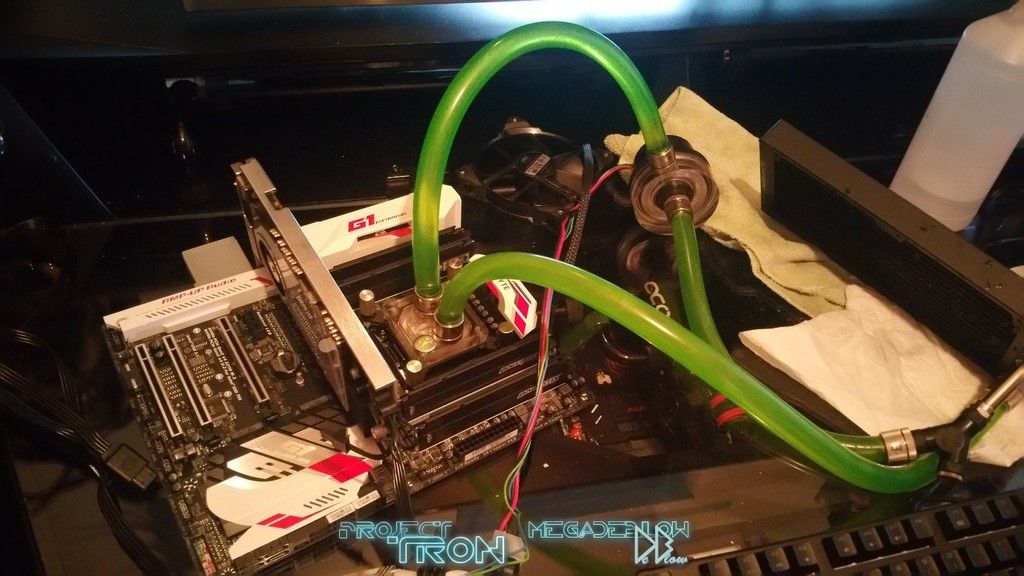
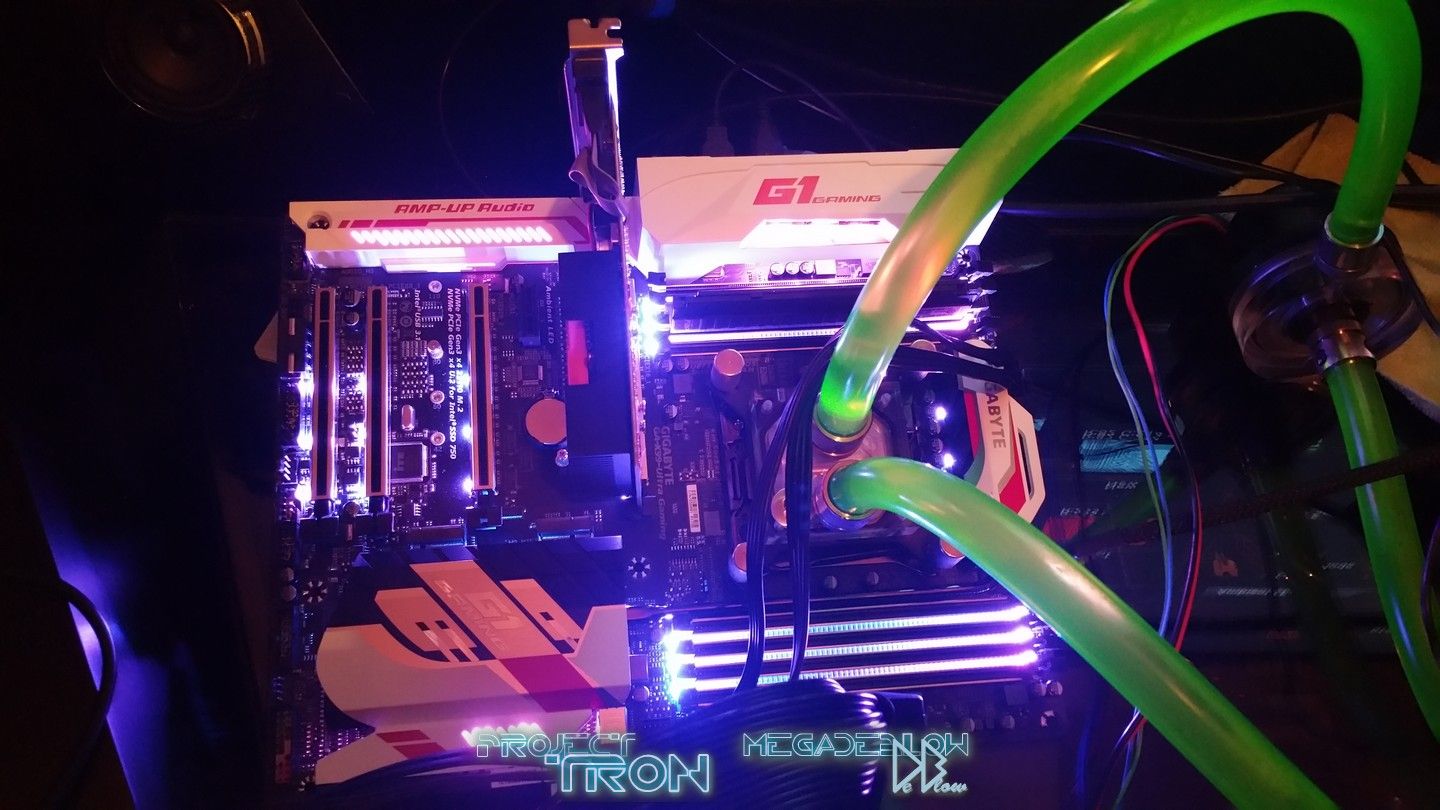
The lighting is going to be a nice blue and I've also got some white,blue and UV dyes to play with for the cooling.
As always, please do let me know your thoughts as I progress.
SPECS:
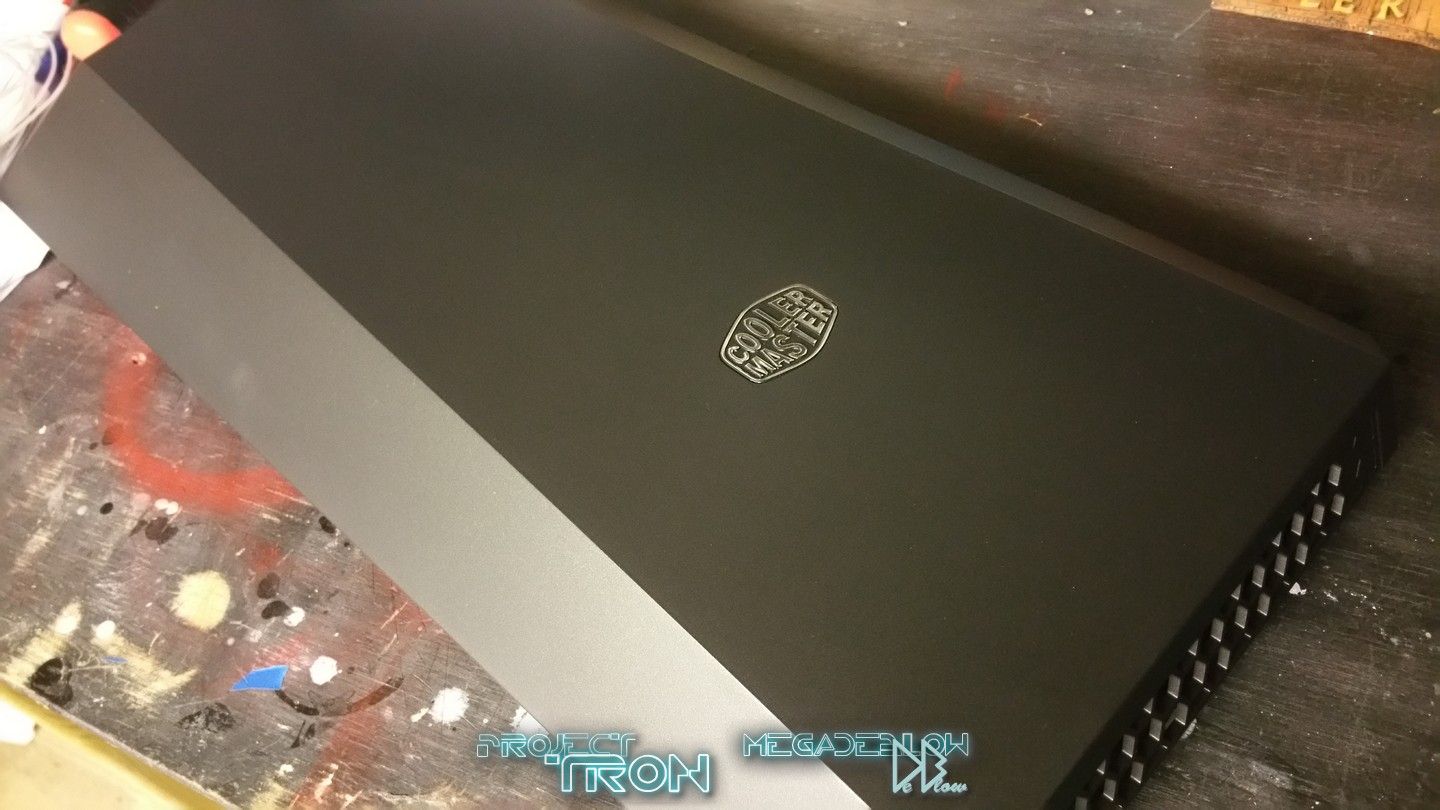
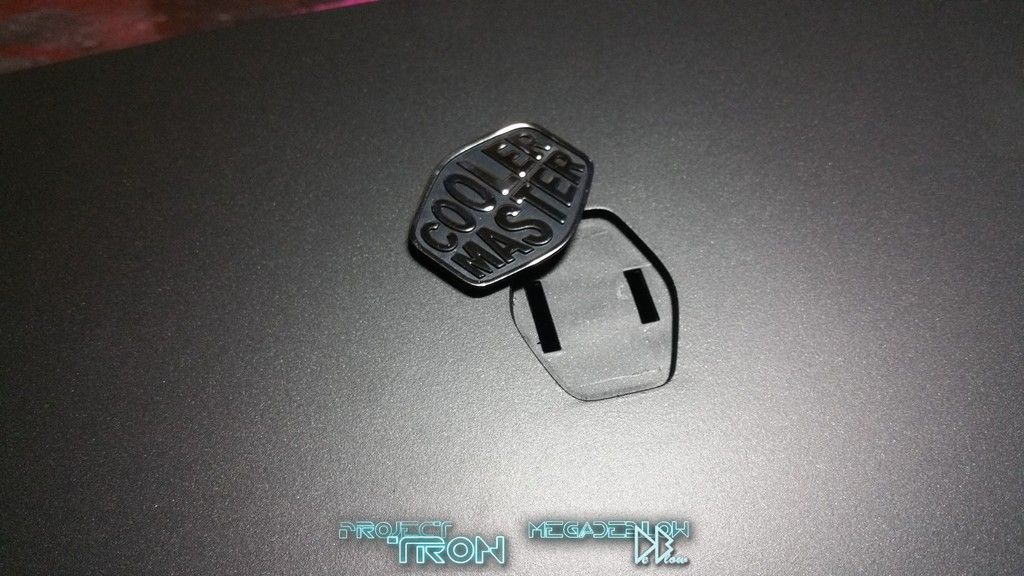
Case: Cooler Master, MasterCase Maker5
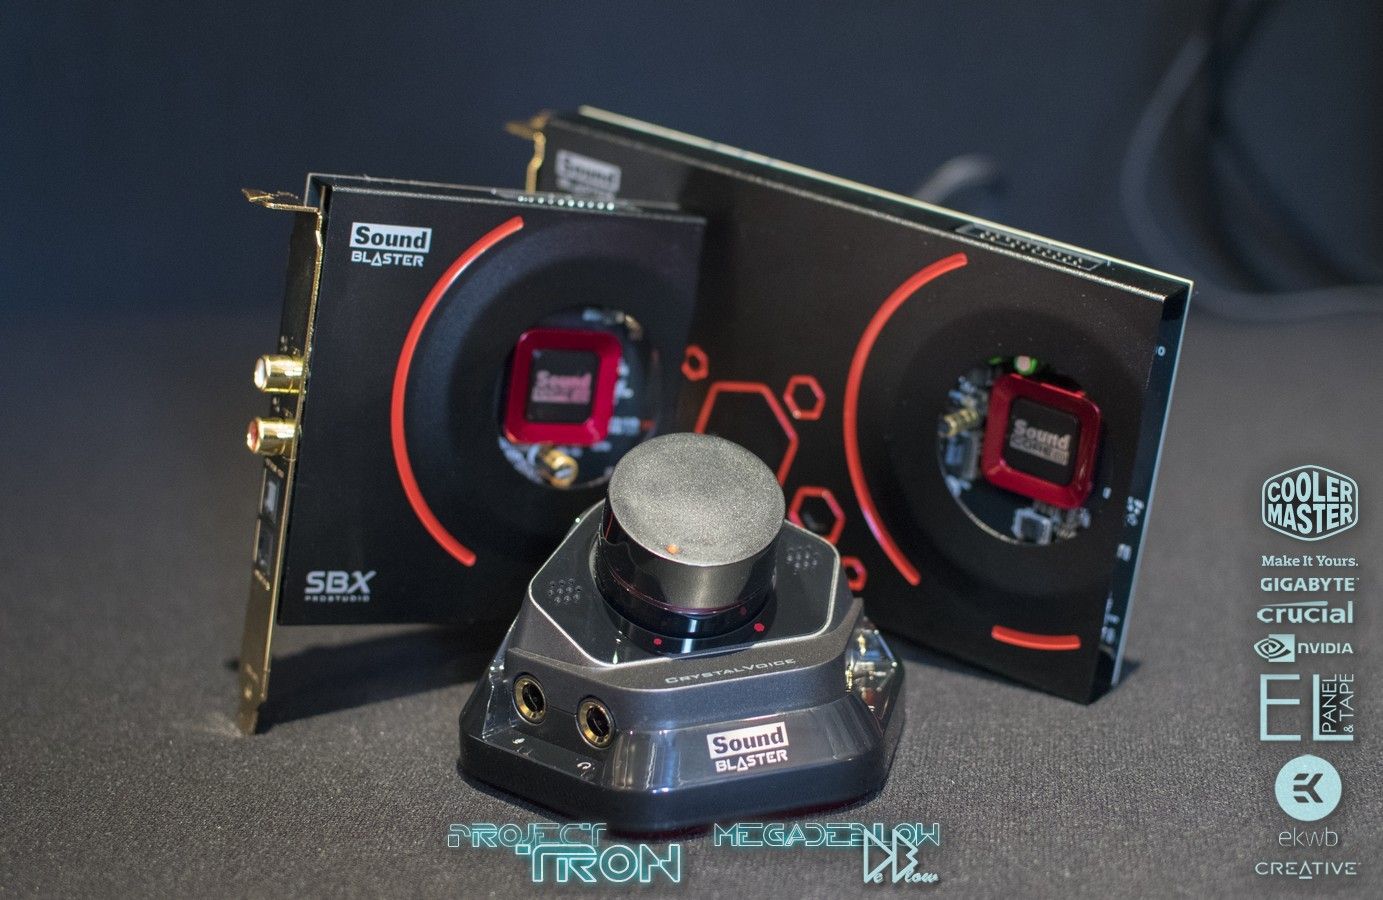
Sound: Creative Sound Blaster ZXR
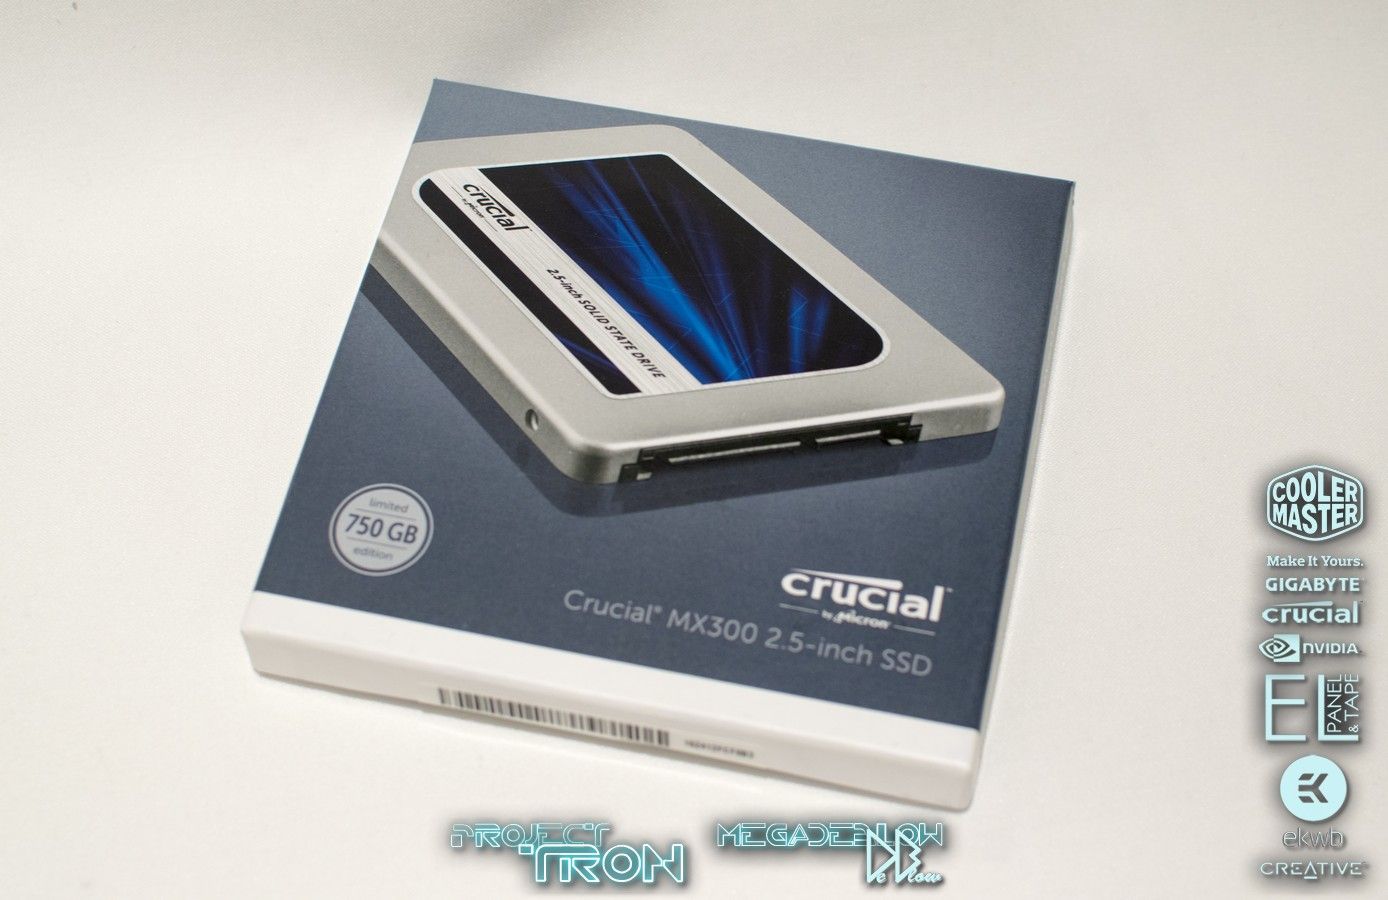
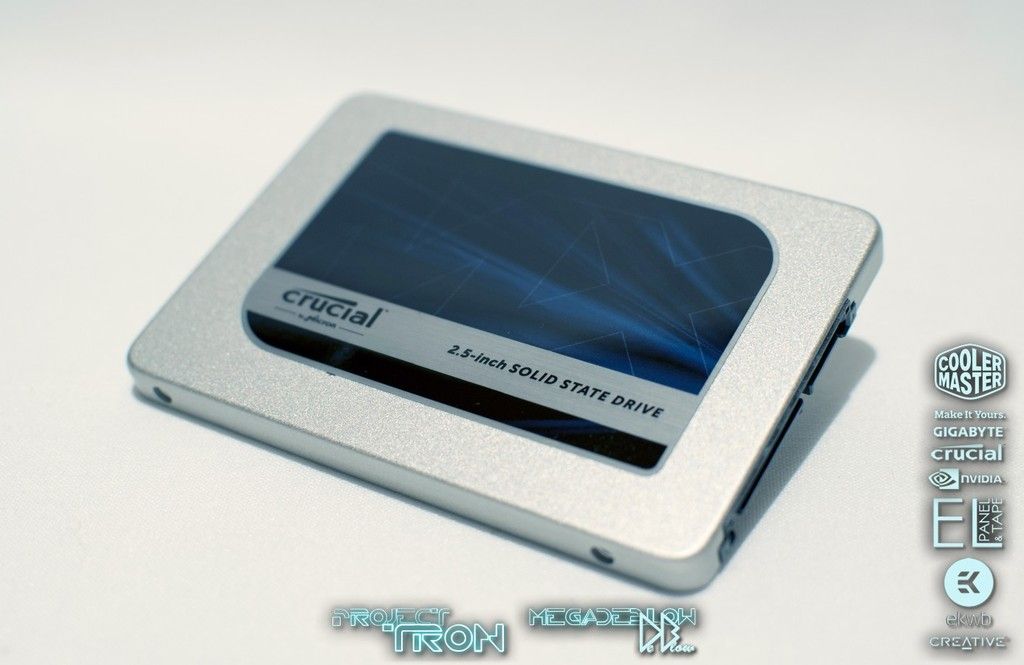
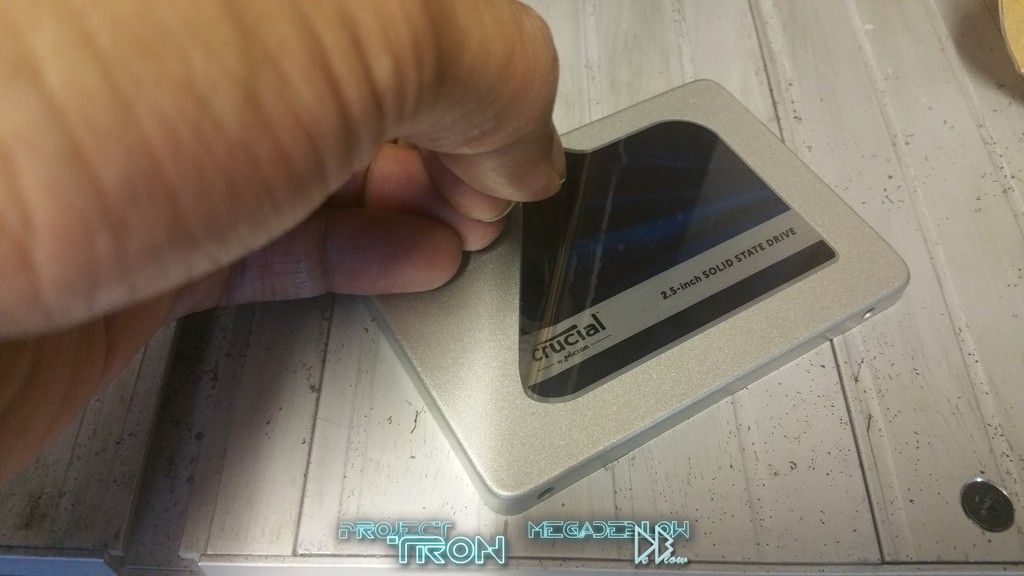
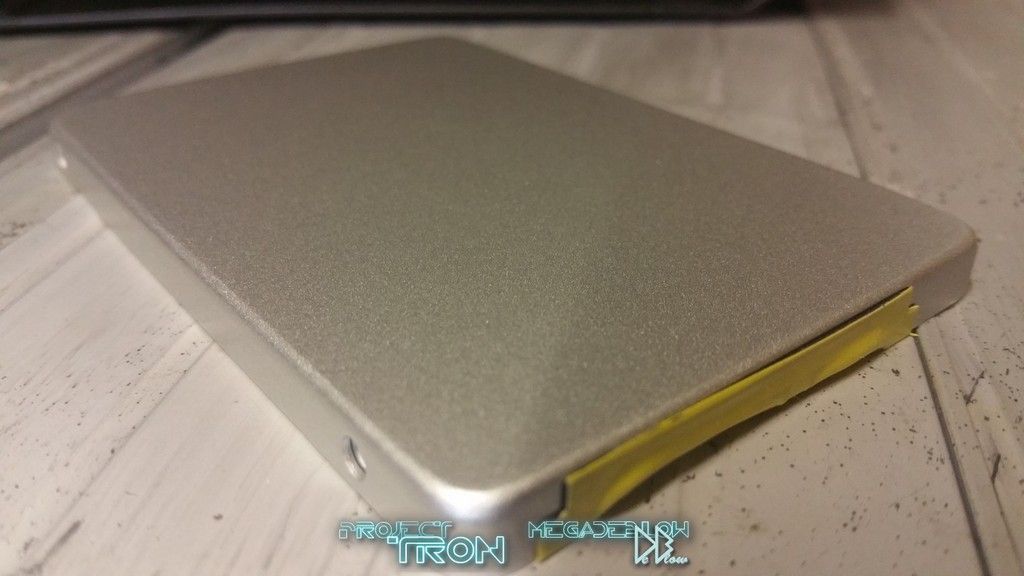
Storage: Crucial, MX300 750GB SSD
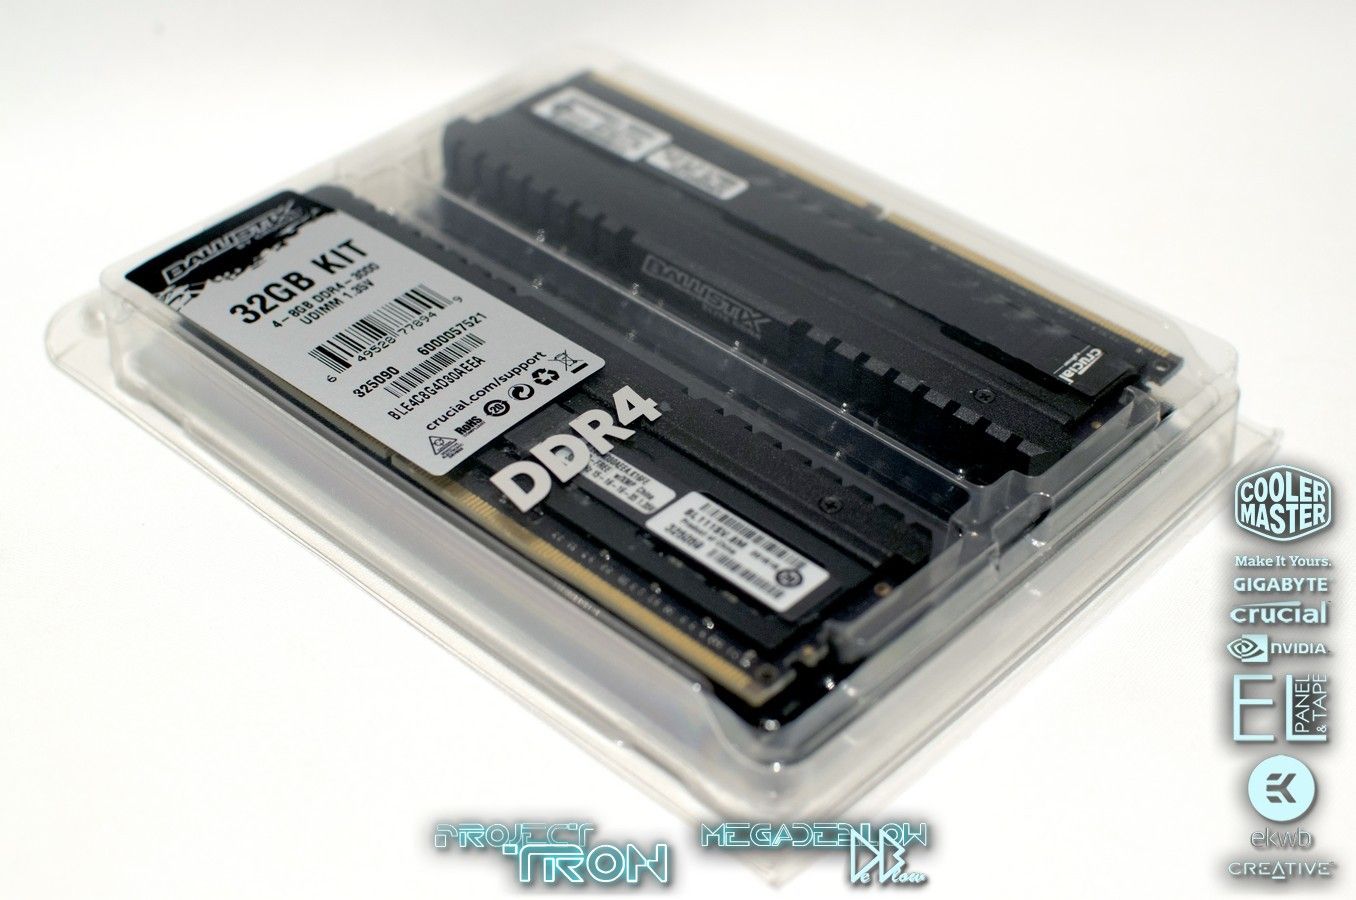
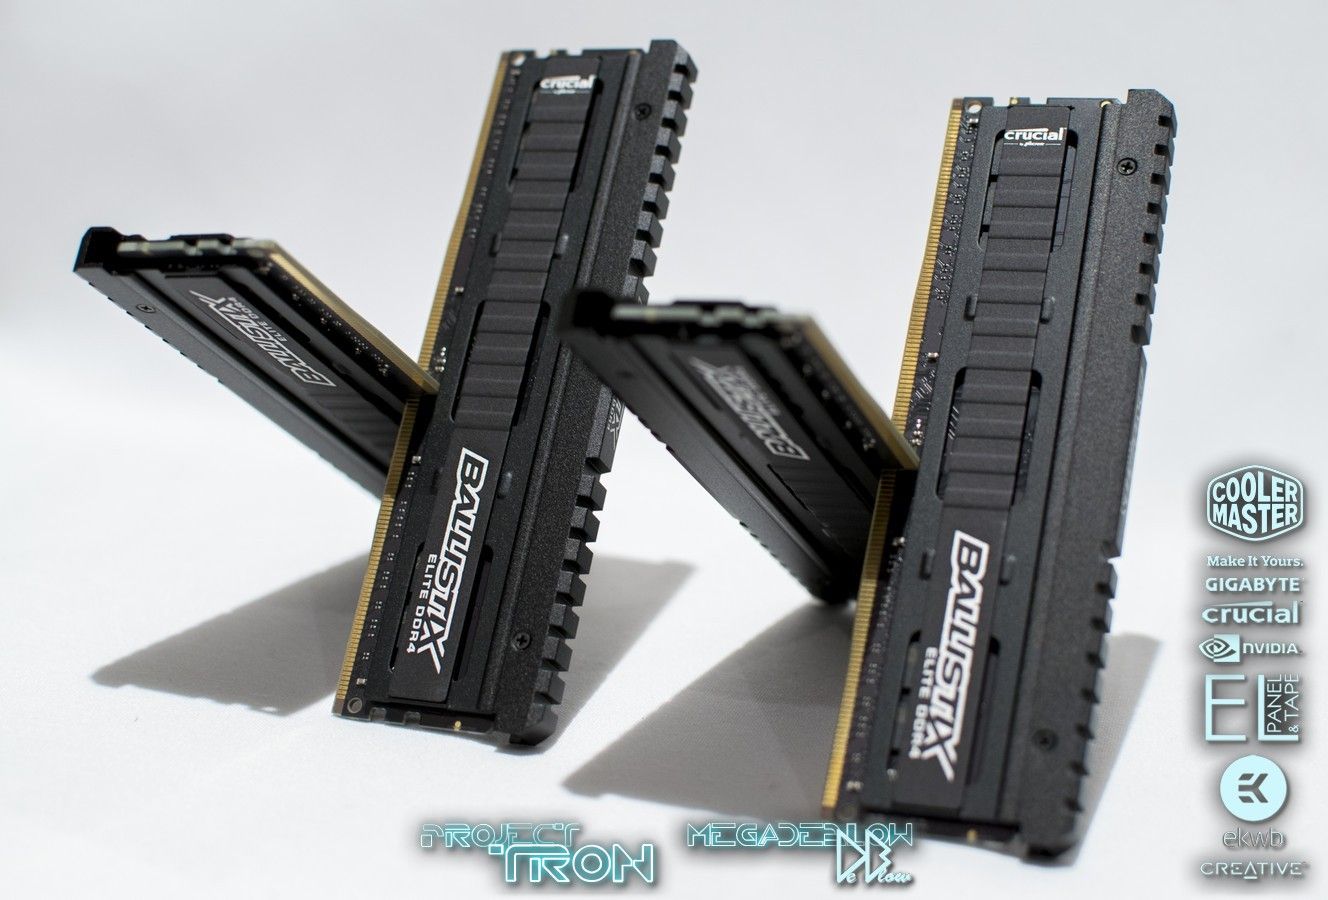
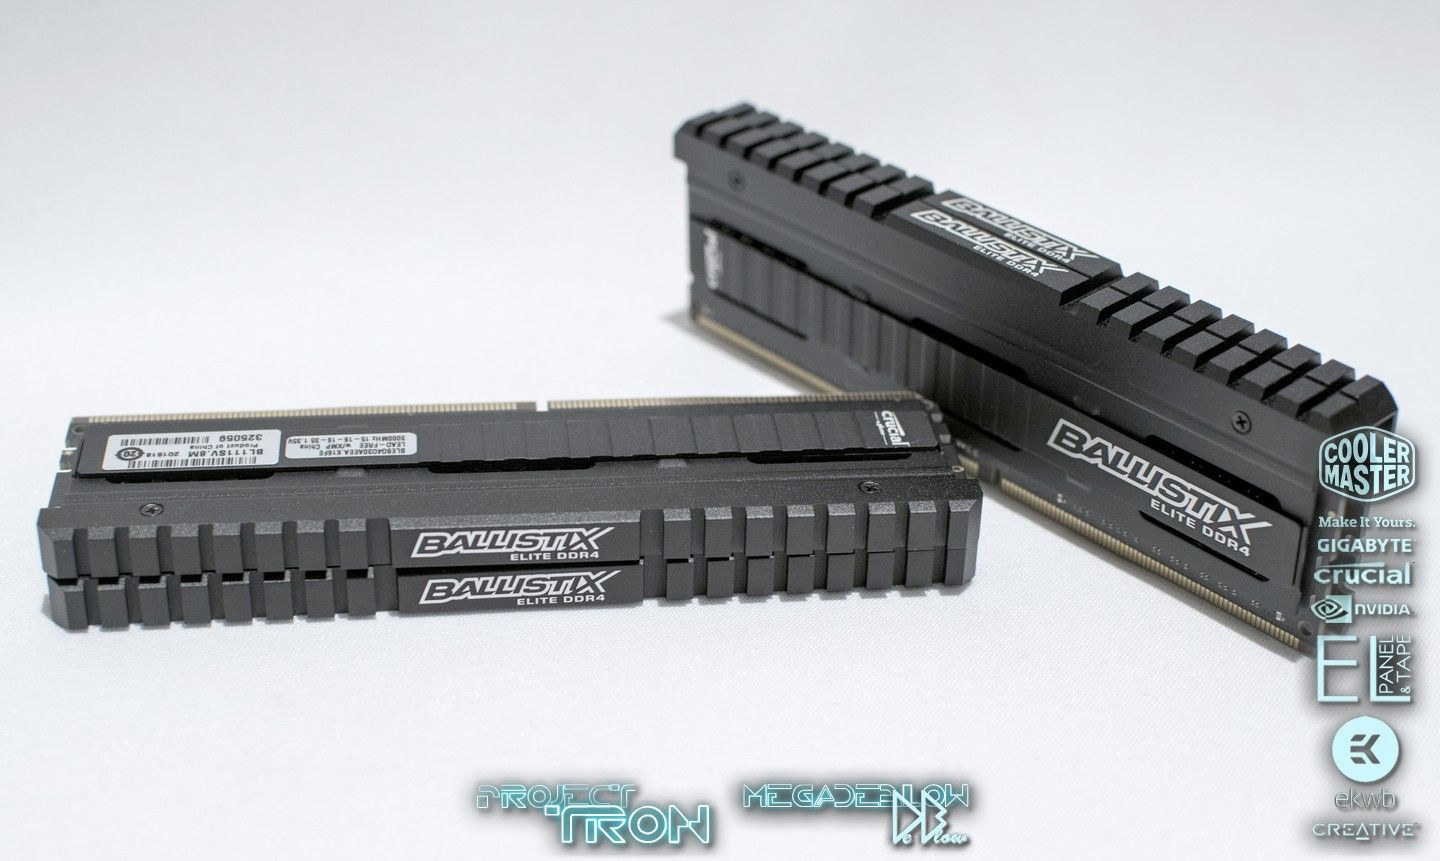
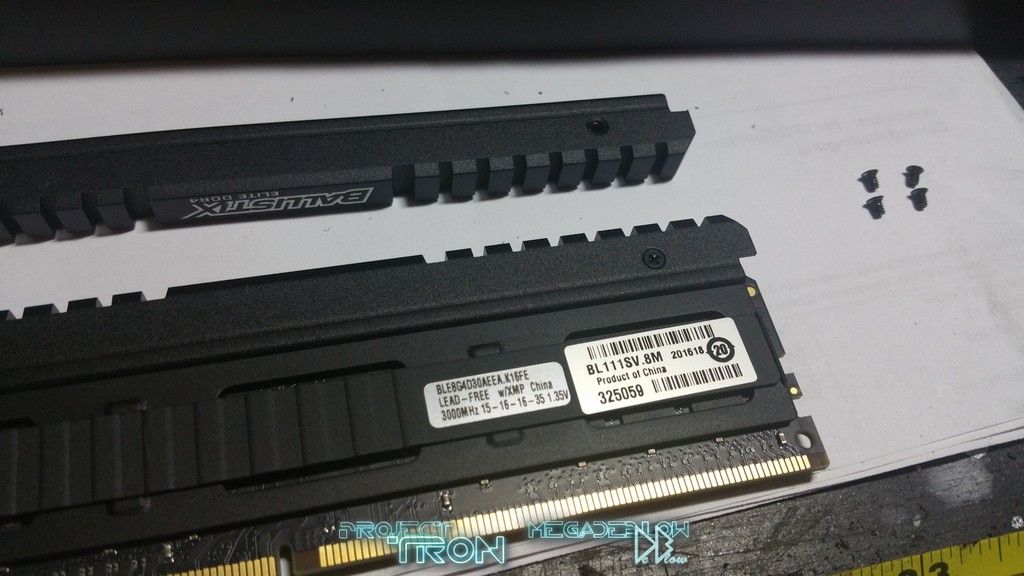
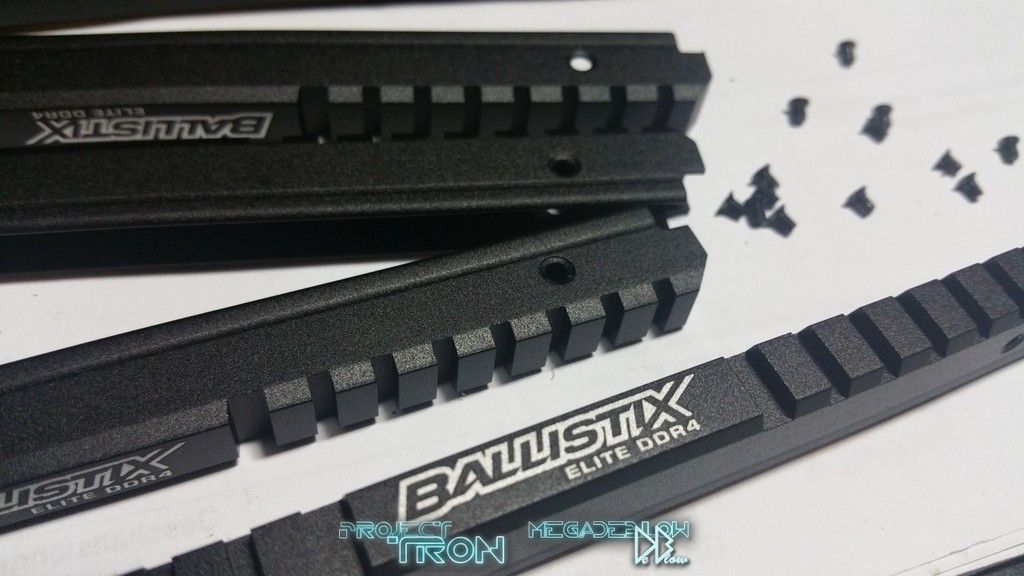
RAM: Crucial, 32GB kit, DDR4-3000
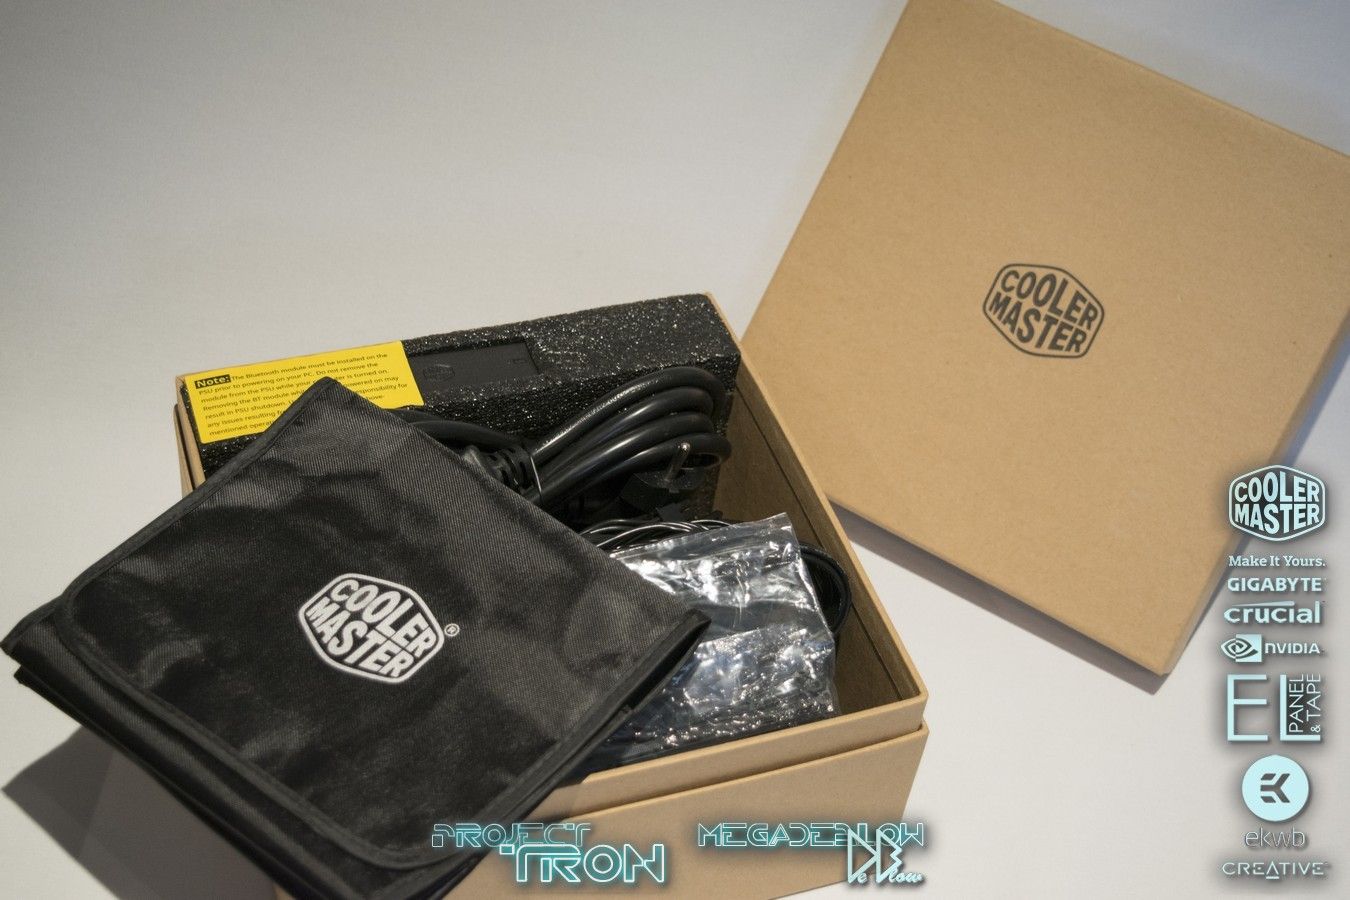
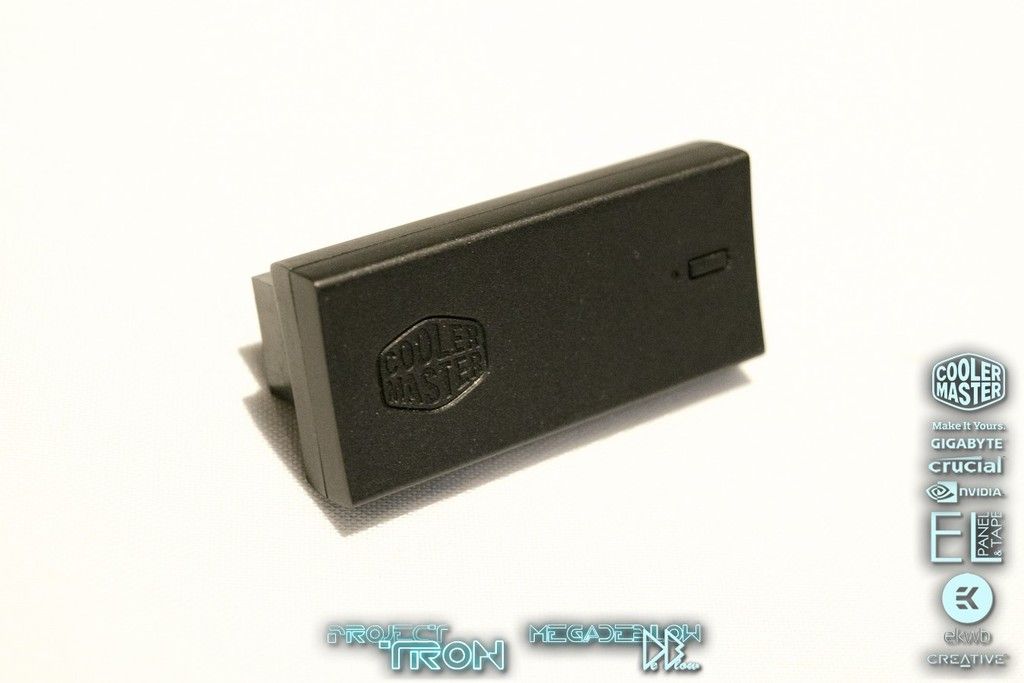
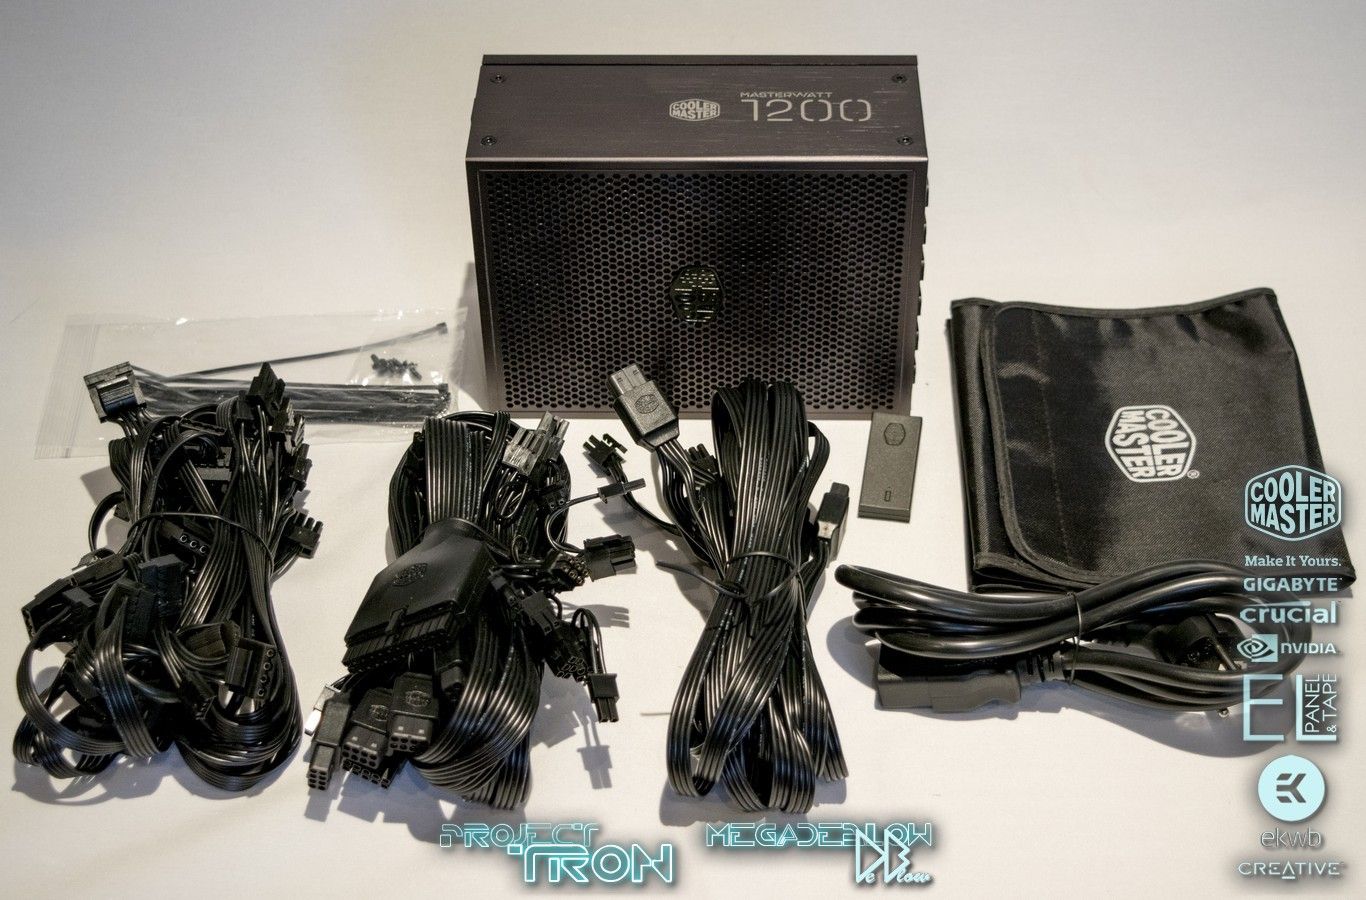
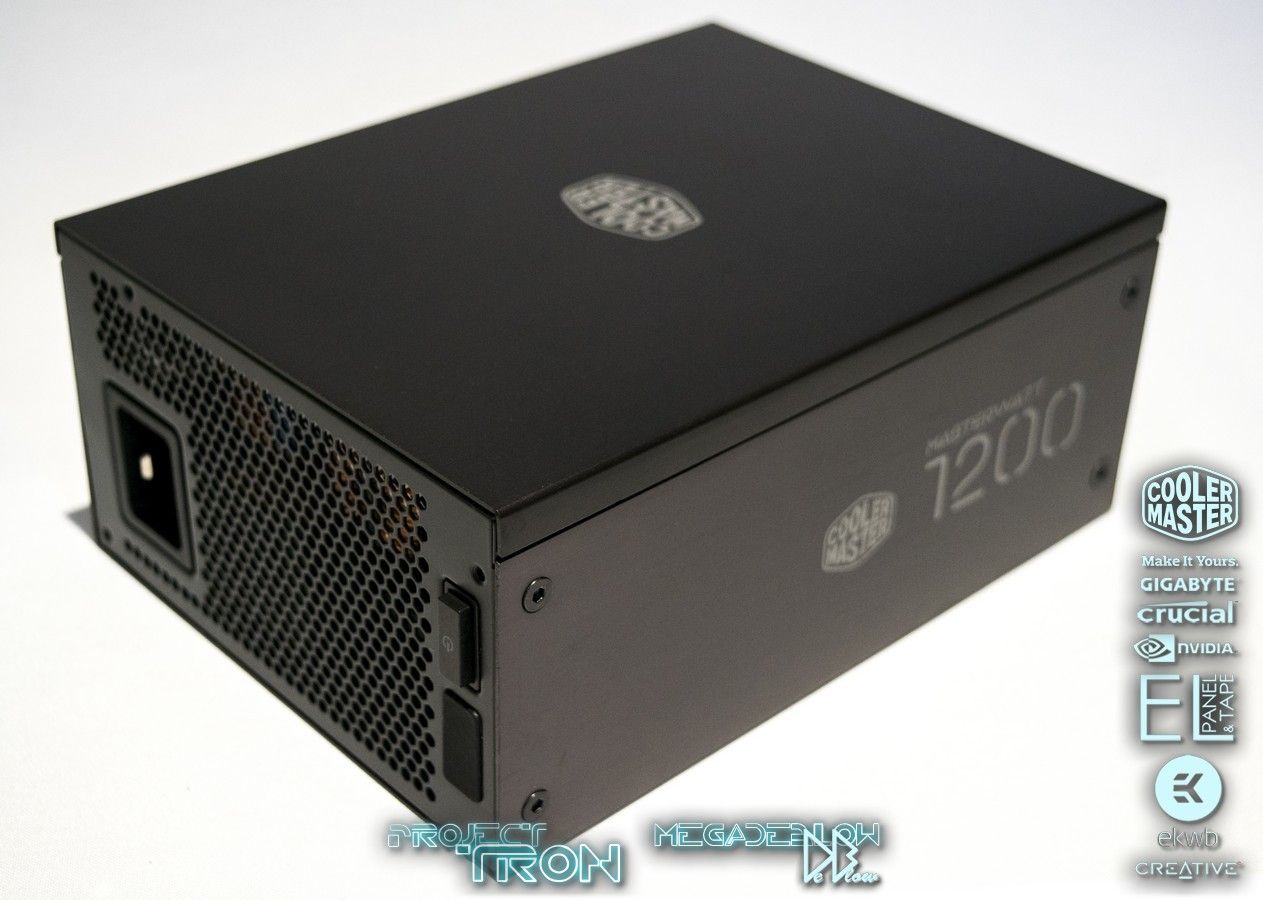
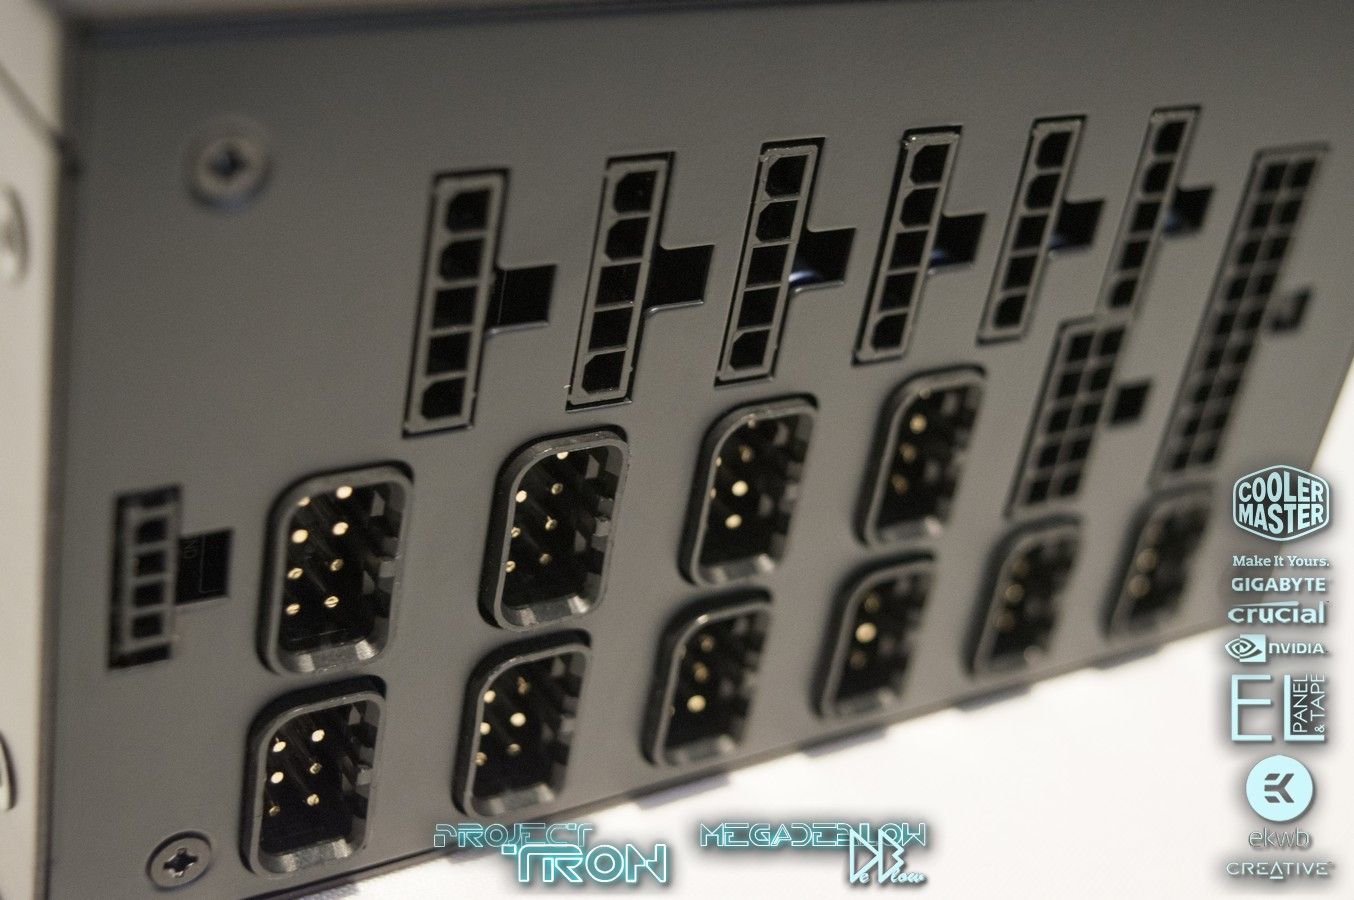
PSU: Cooler Master, MasterWatt Maker 1200
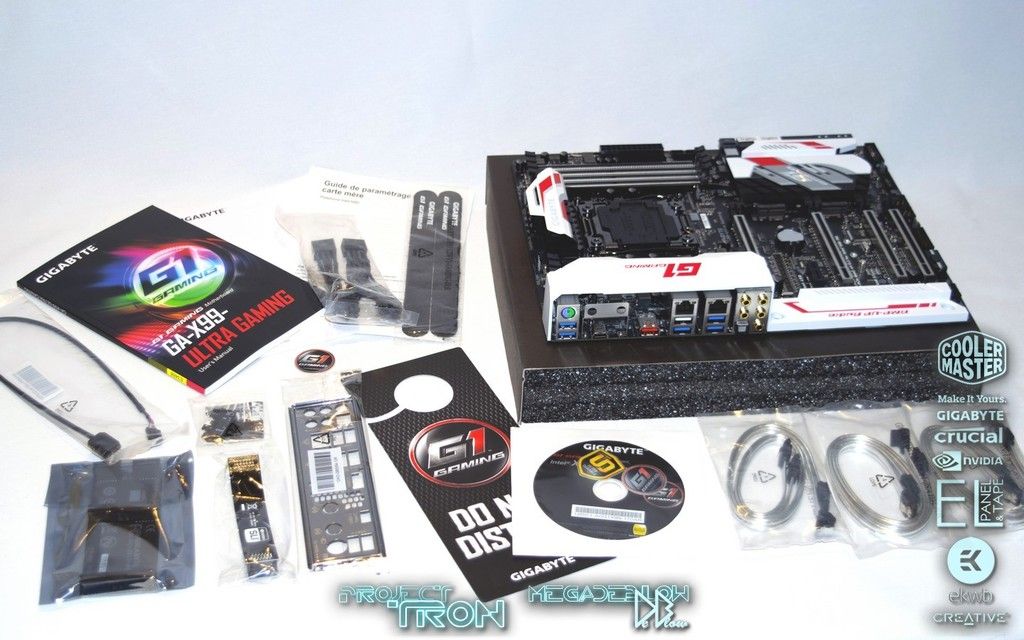
INCOMING:
GPU: Nvidia gtx1080 Founders edition
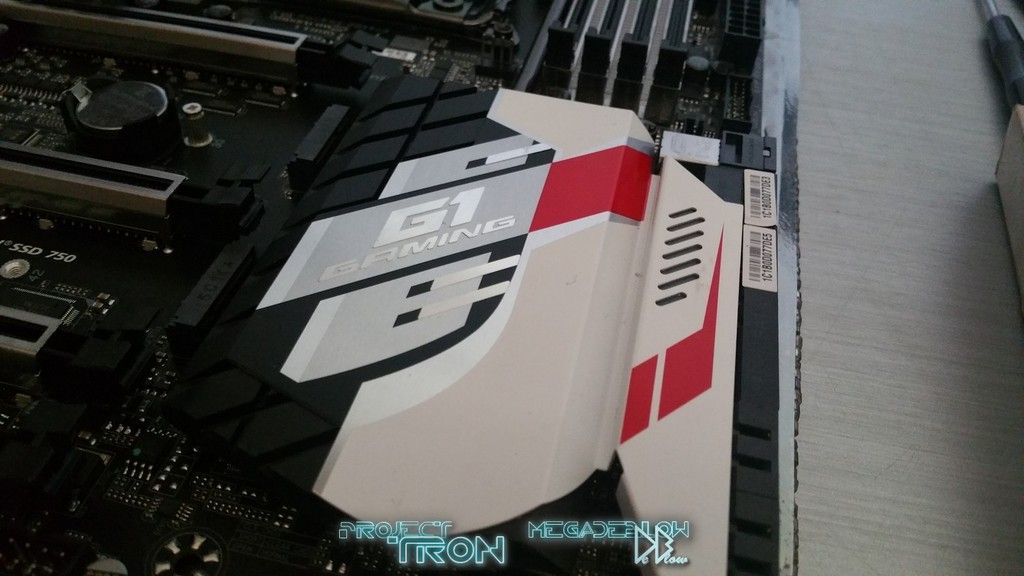
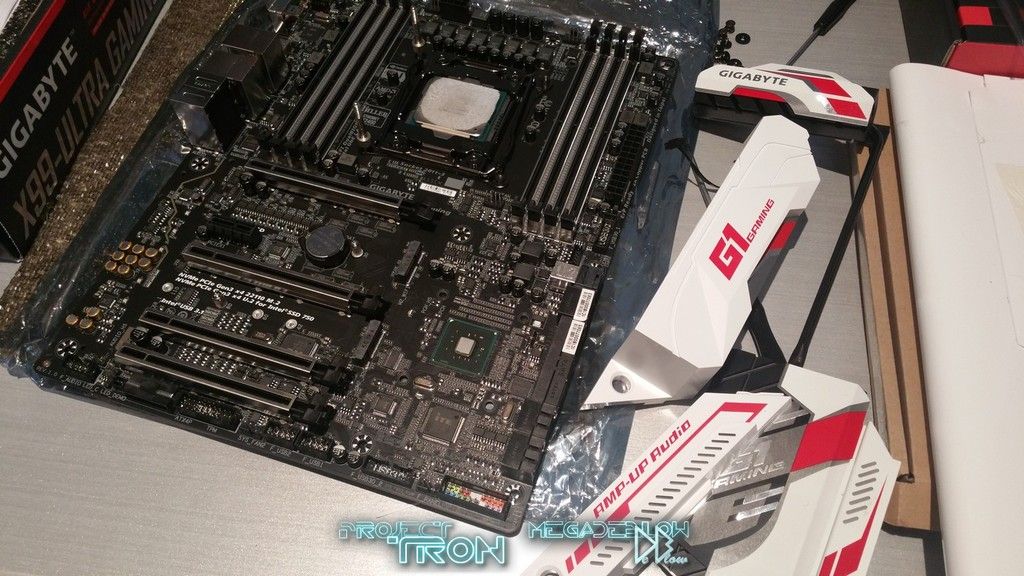
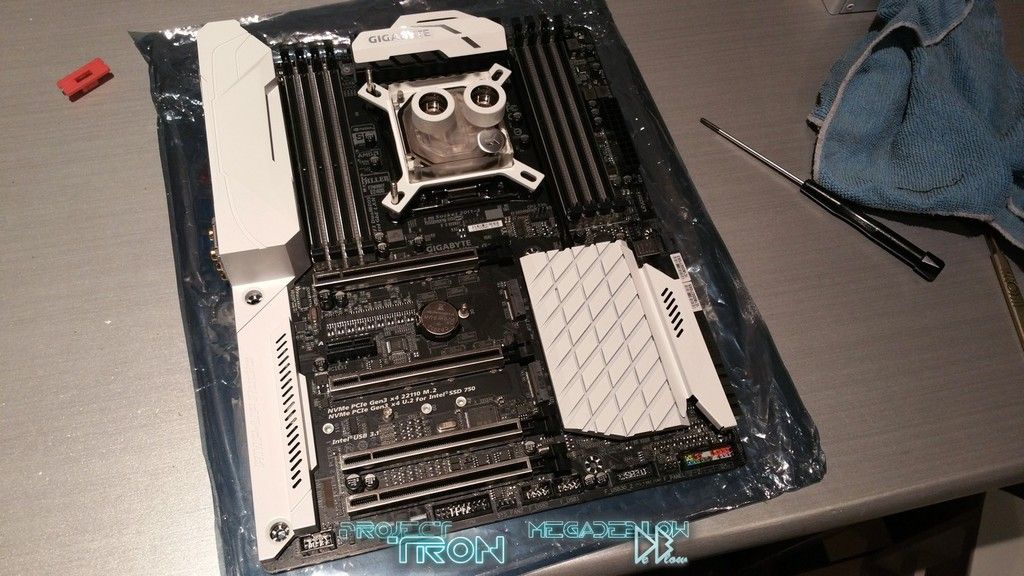
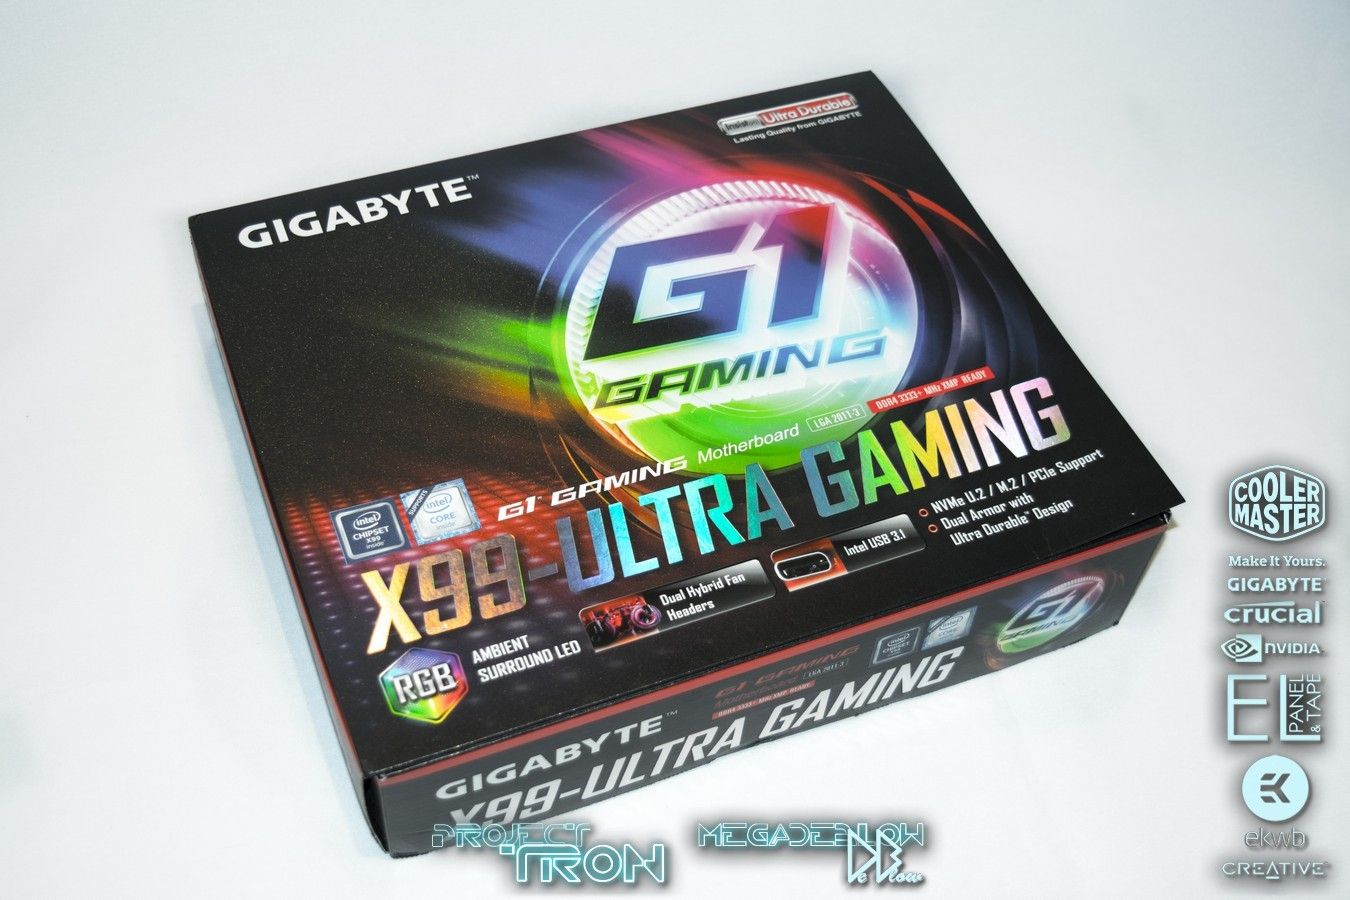
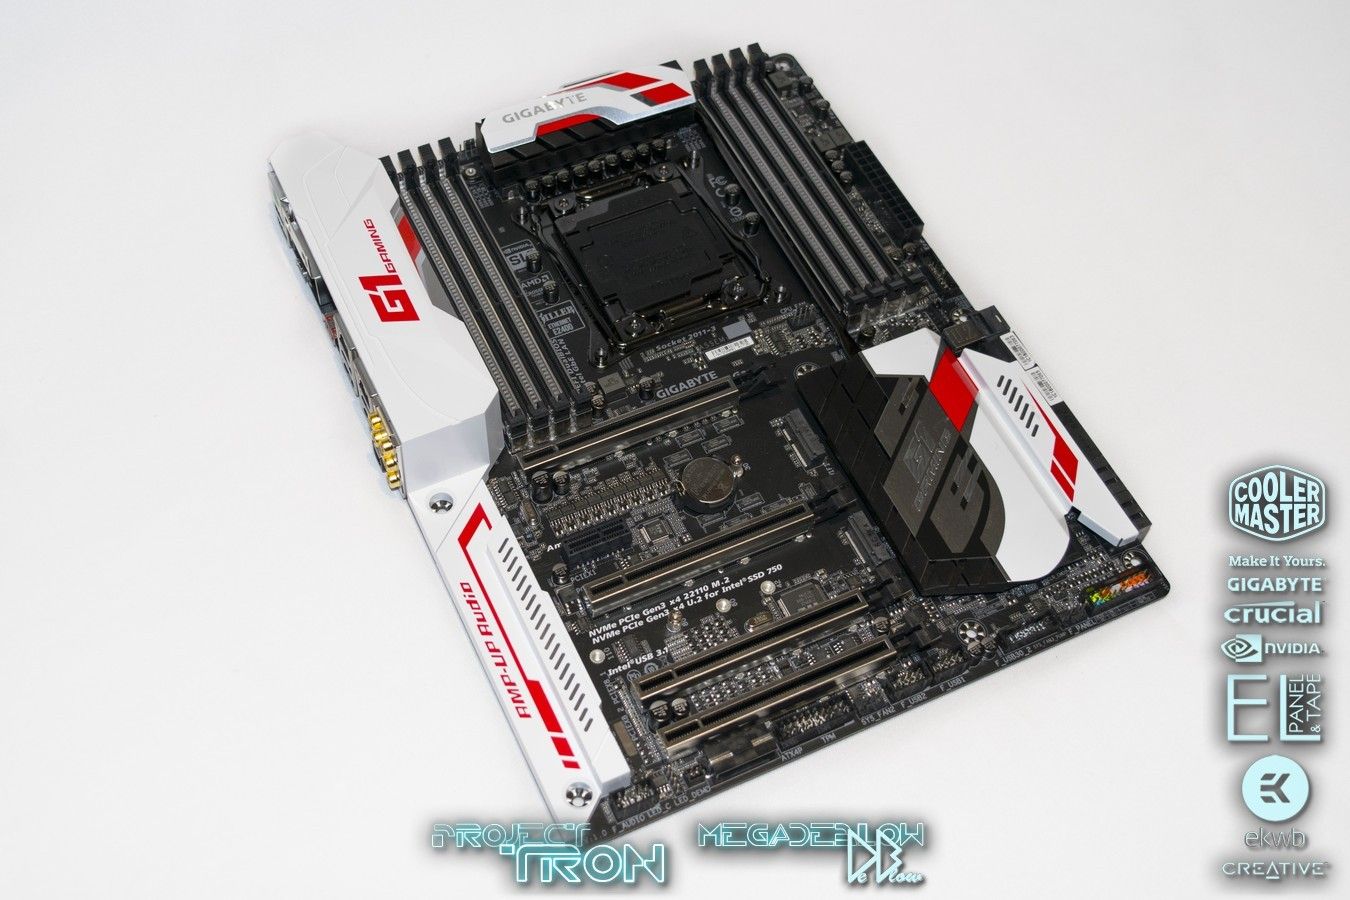
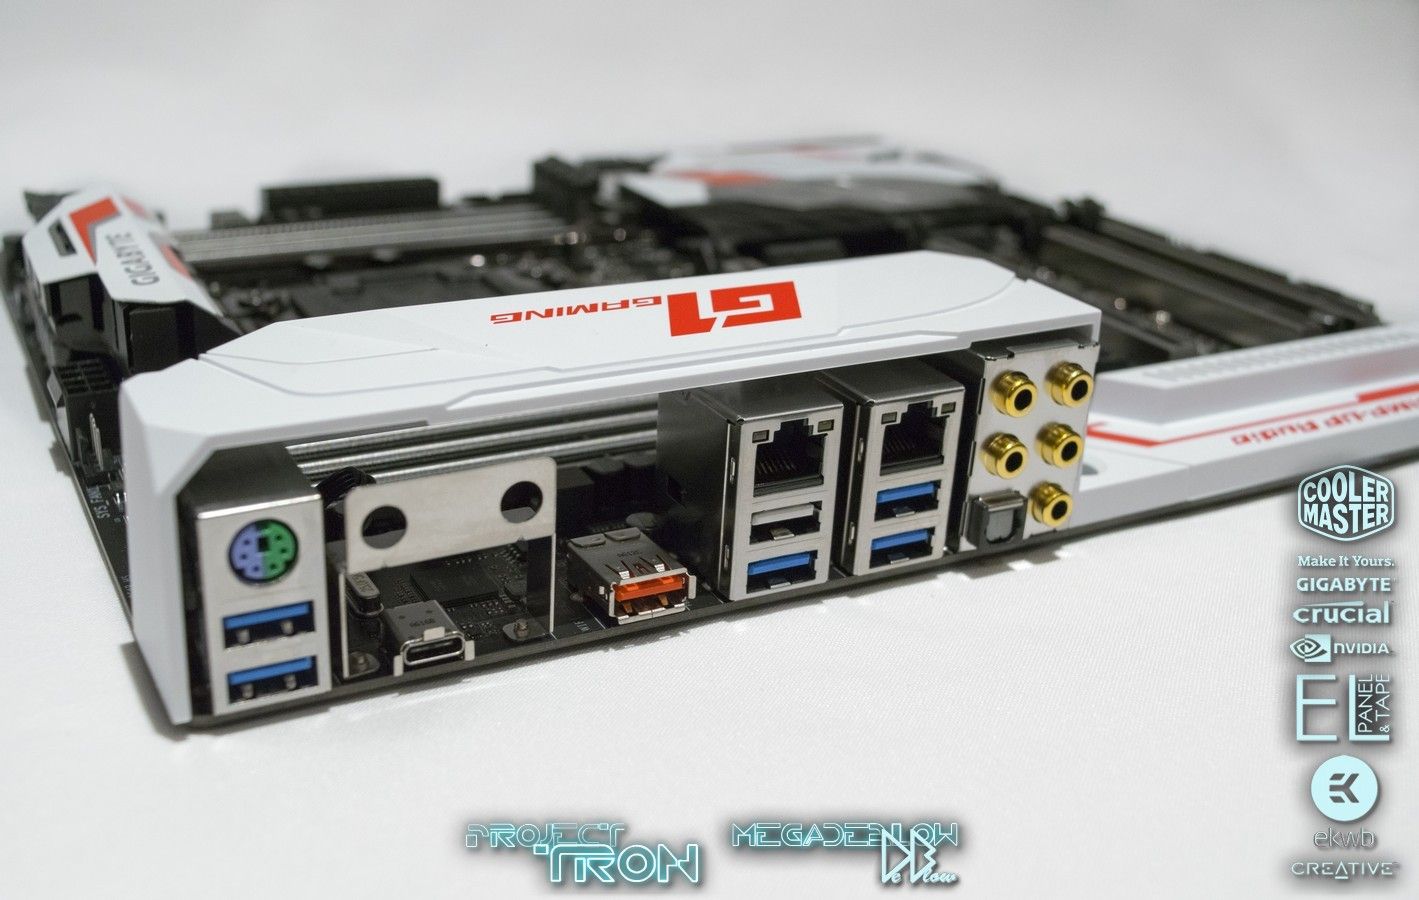
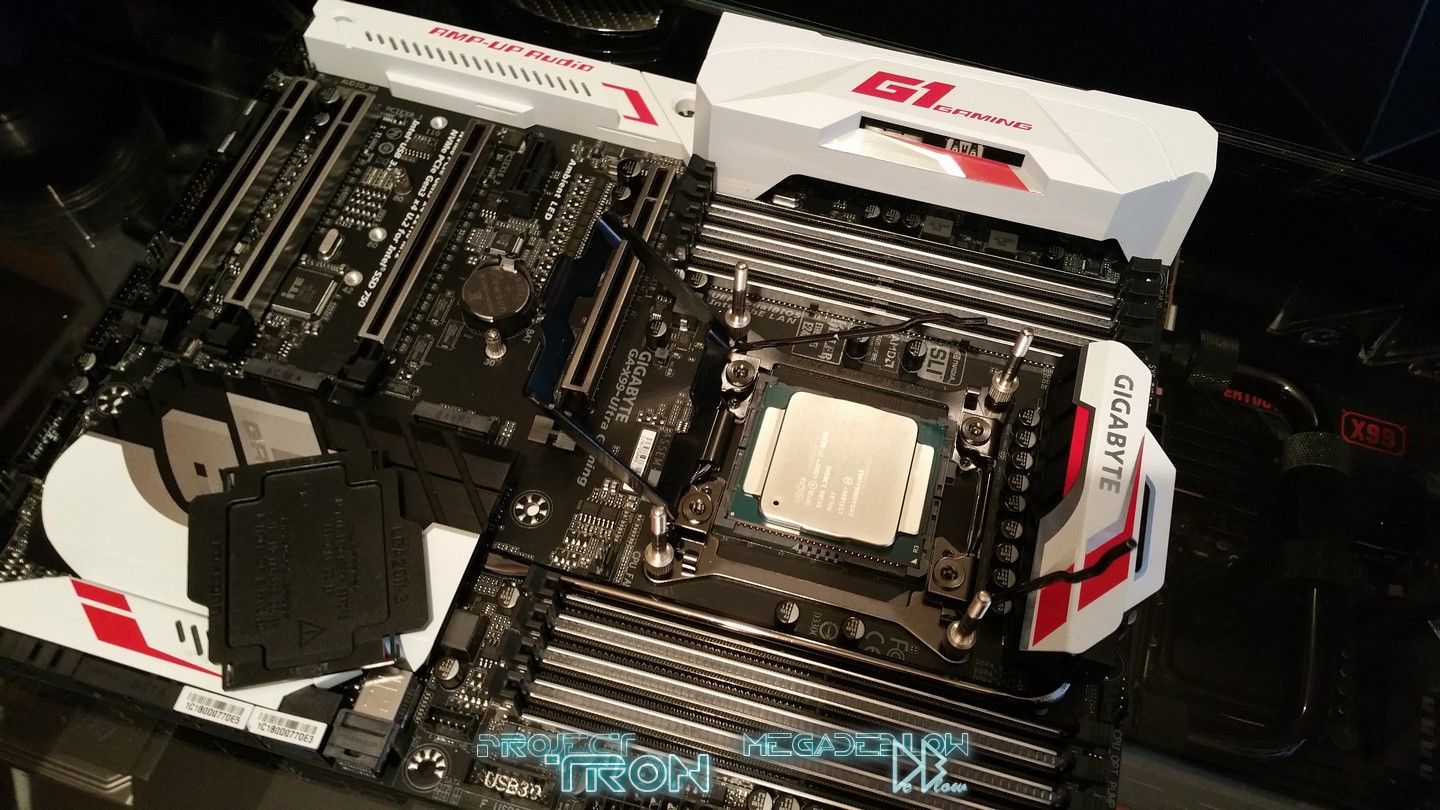
Motherboard: Gigabyte x99 ultra gaming
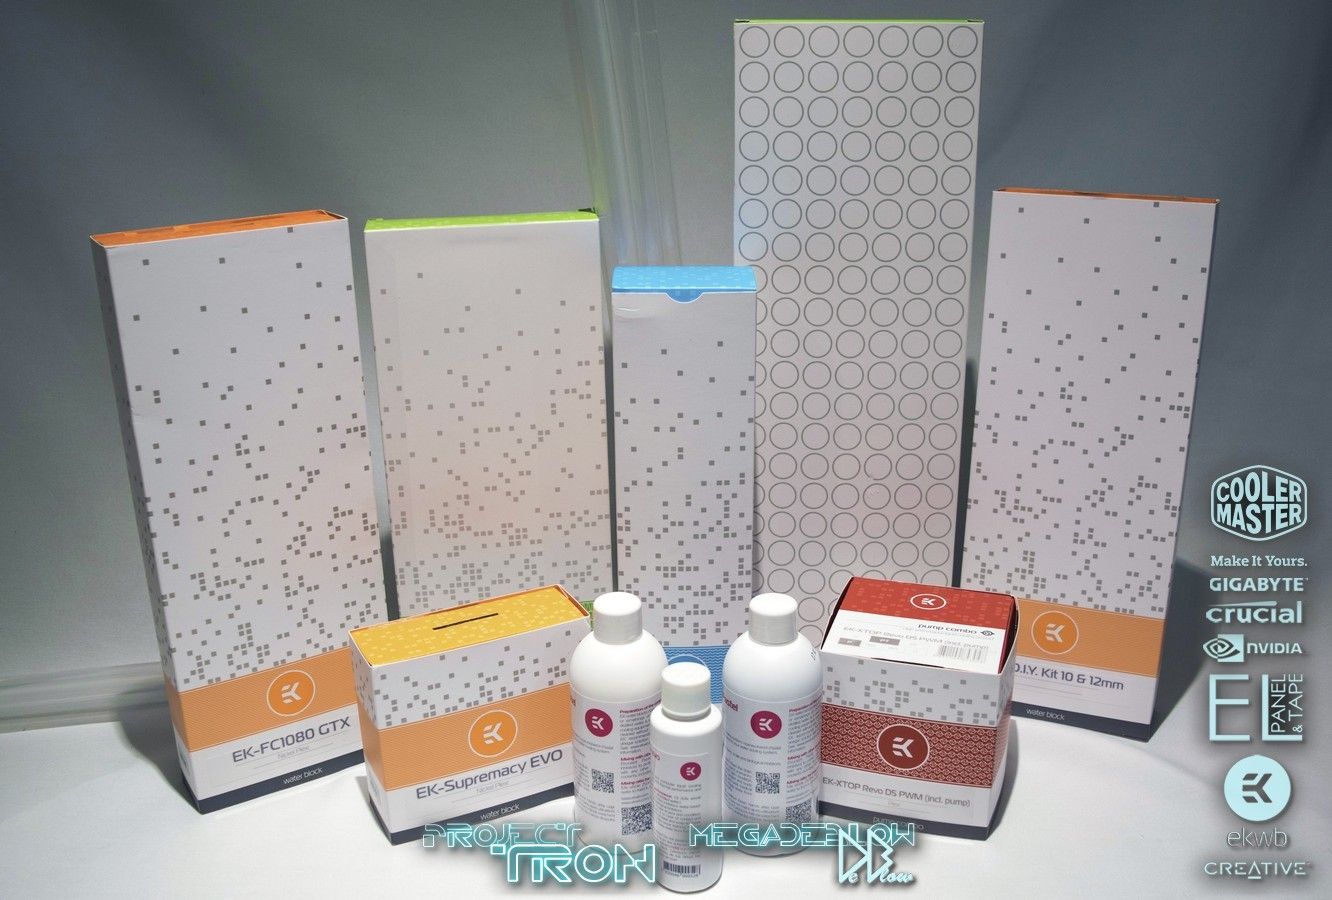
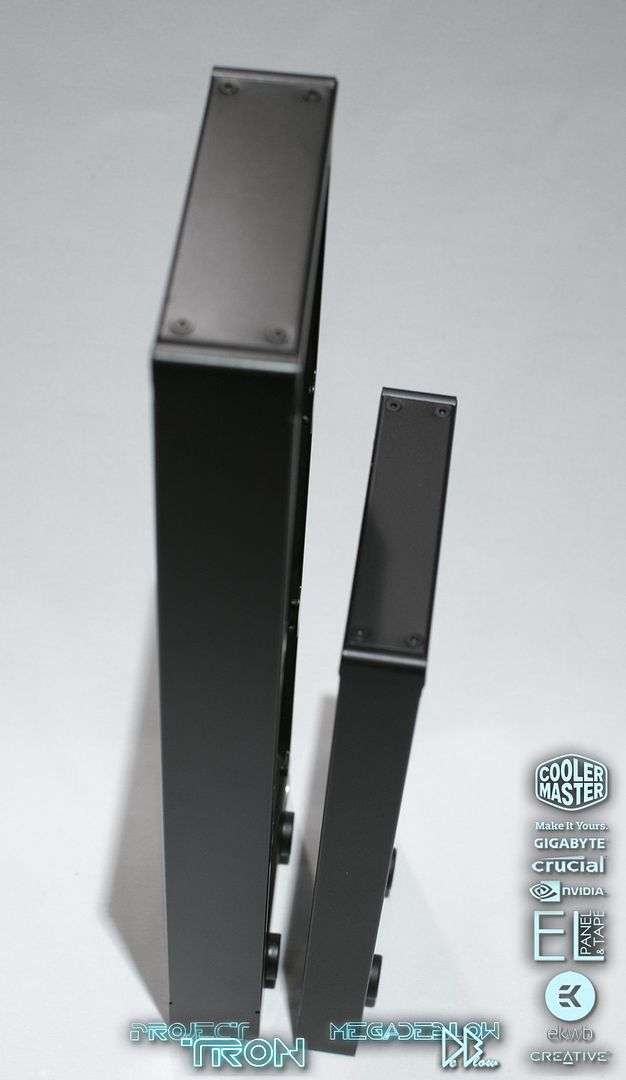
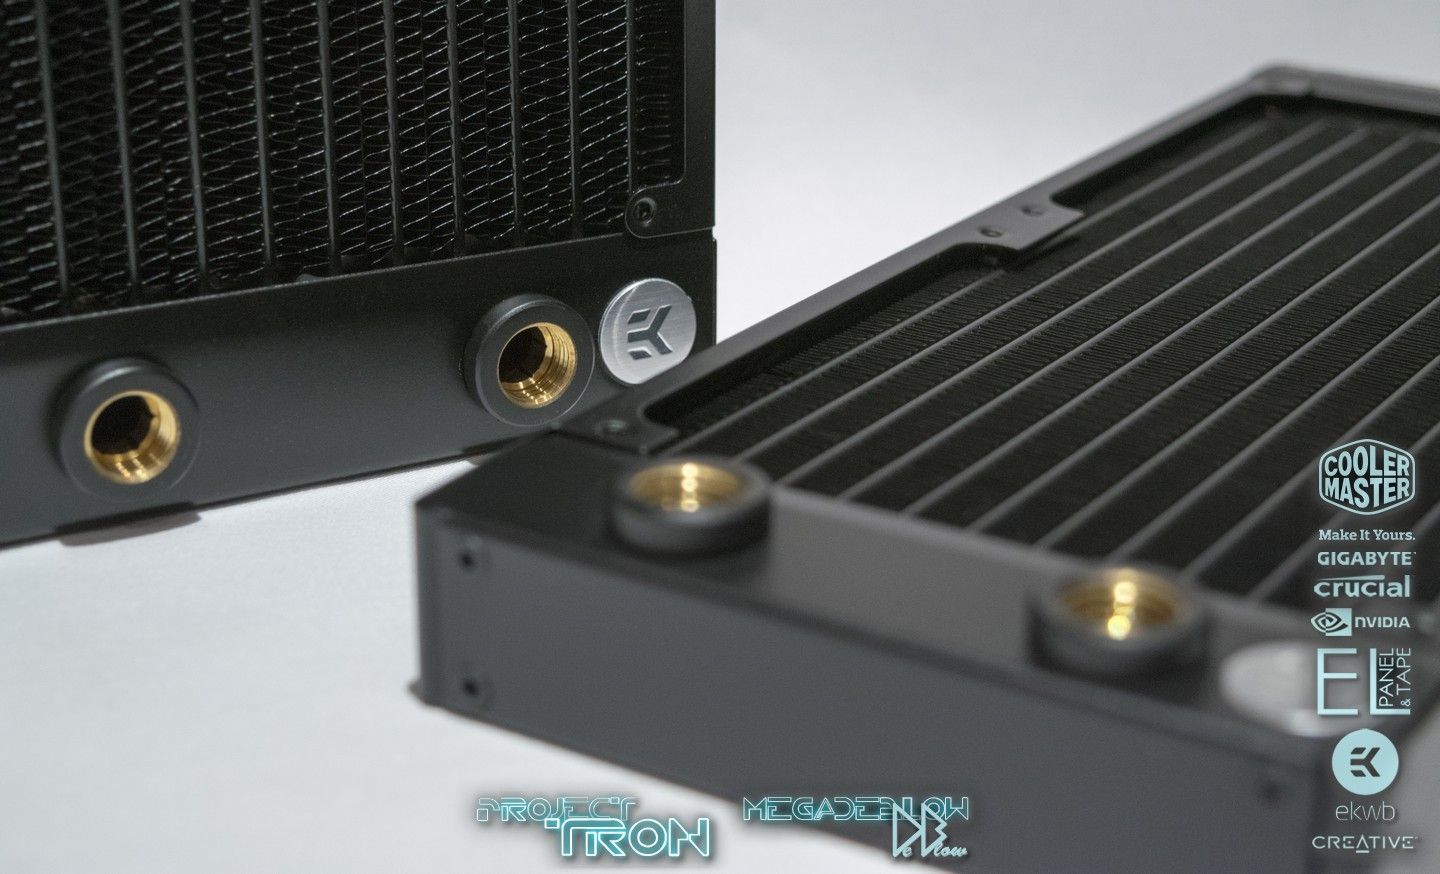
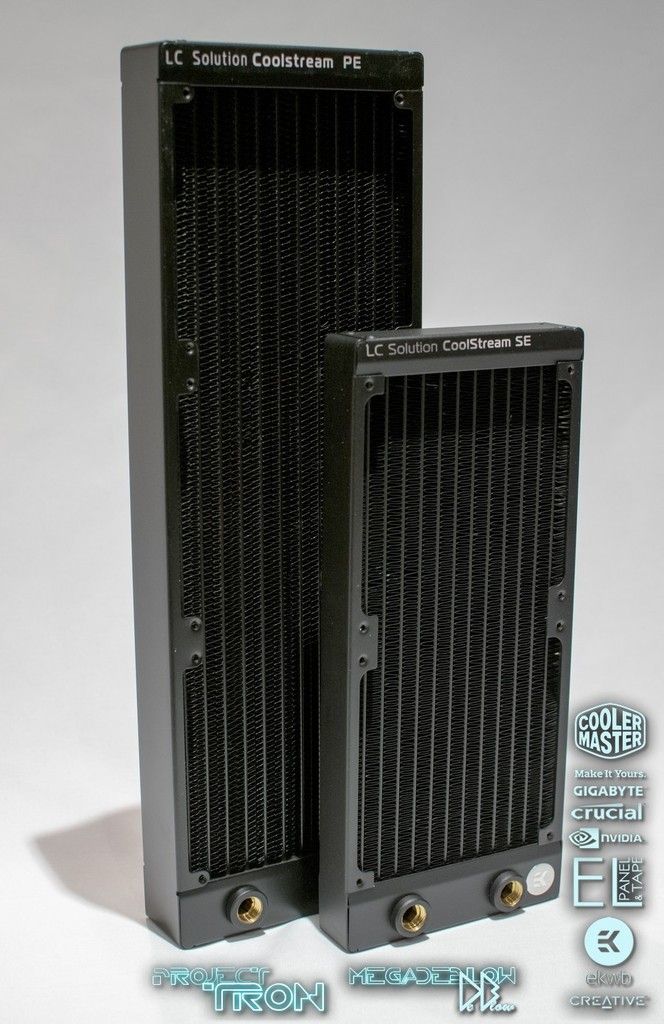
COOLING -
RAD's: EK, Coolstream SE 240 and Coolstream PE 360.
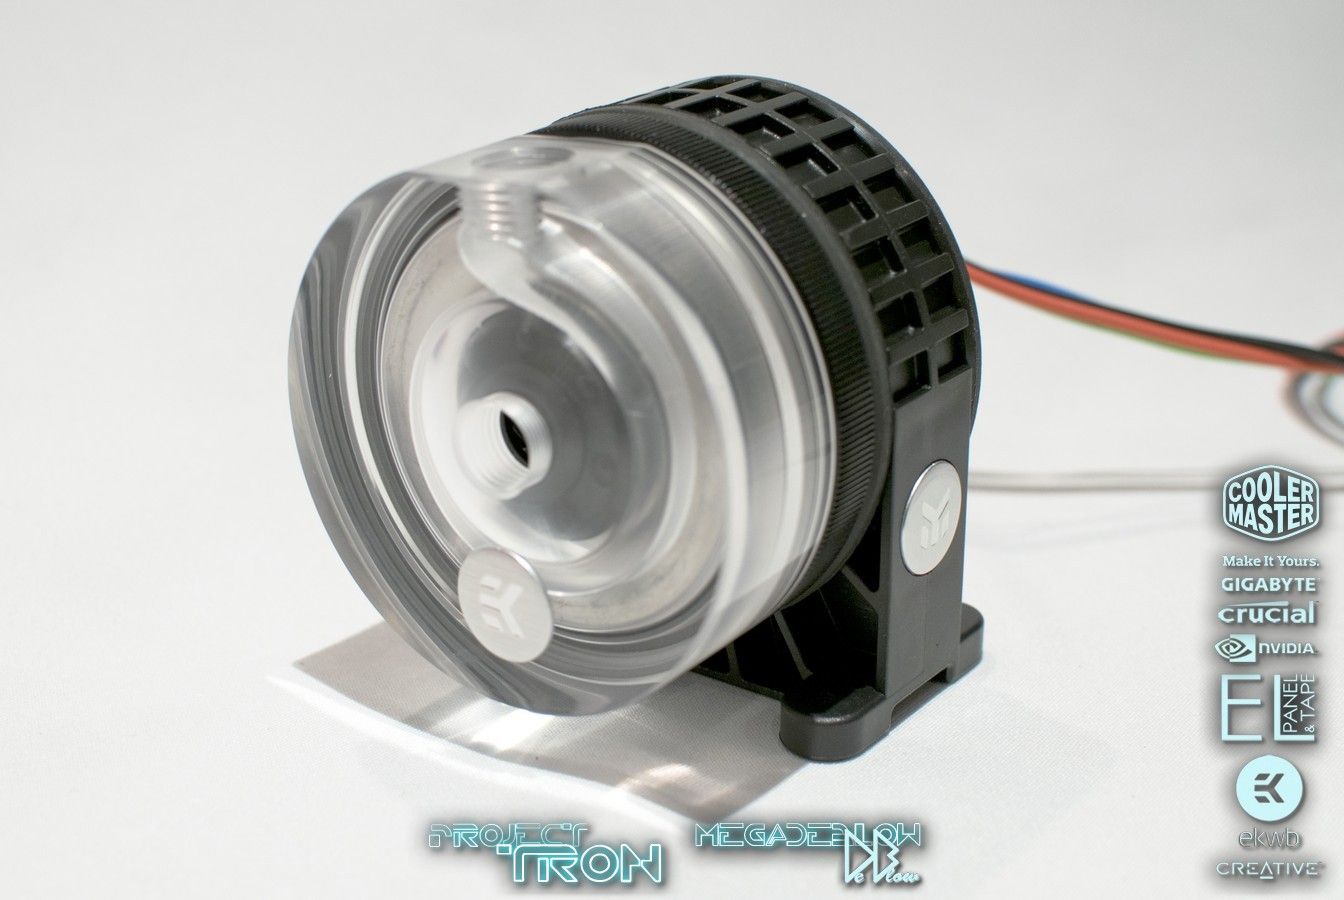
Pump: EK, XTOP Revo D5 PWM
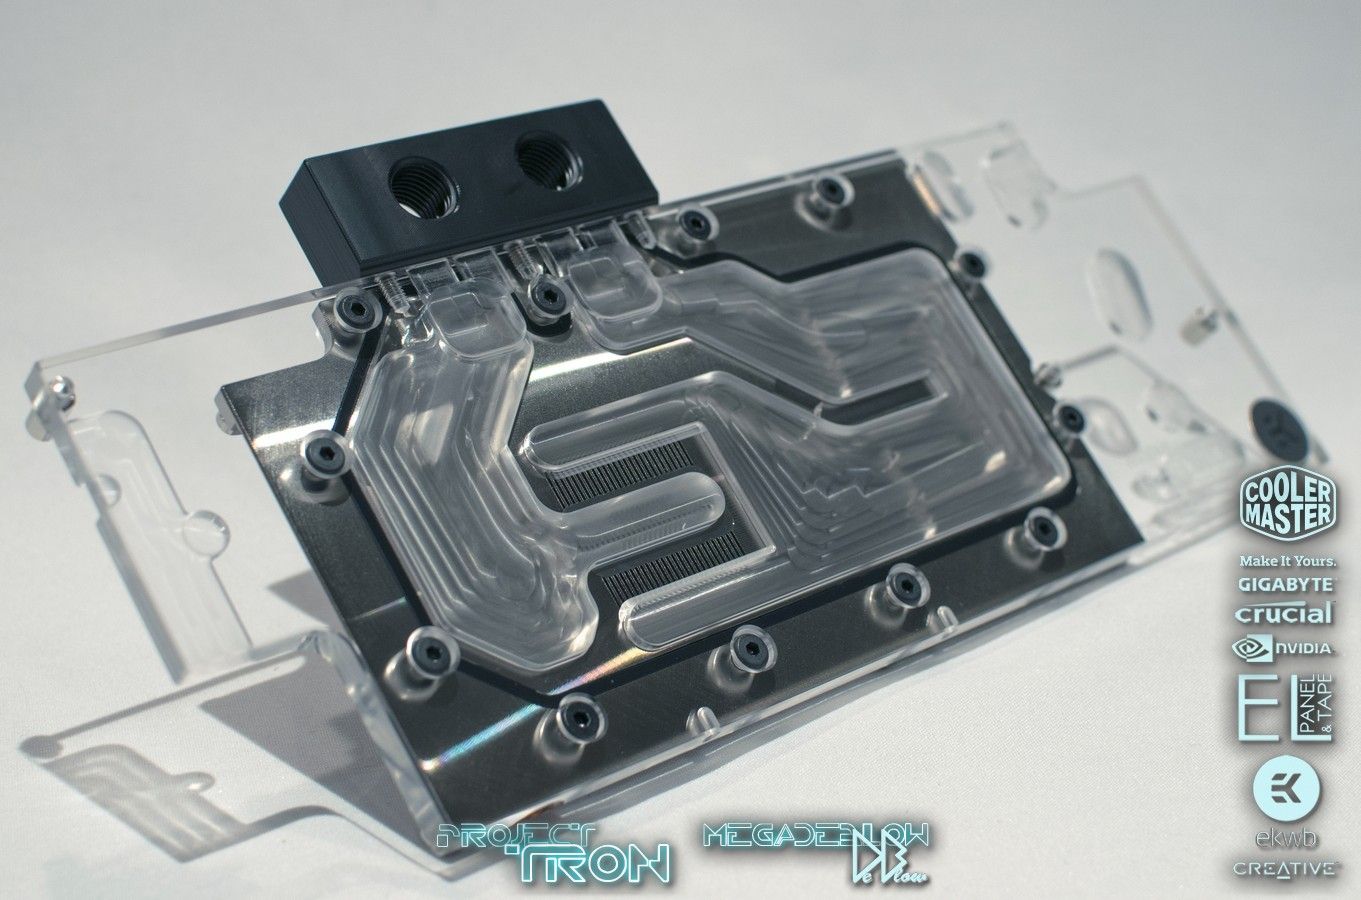
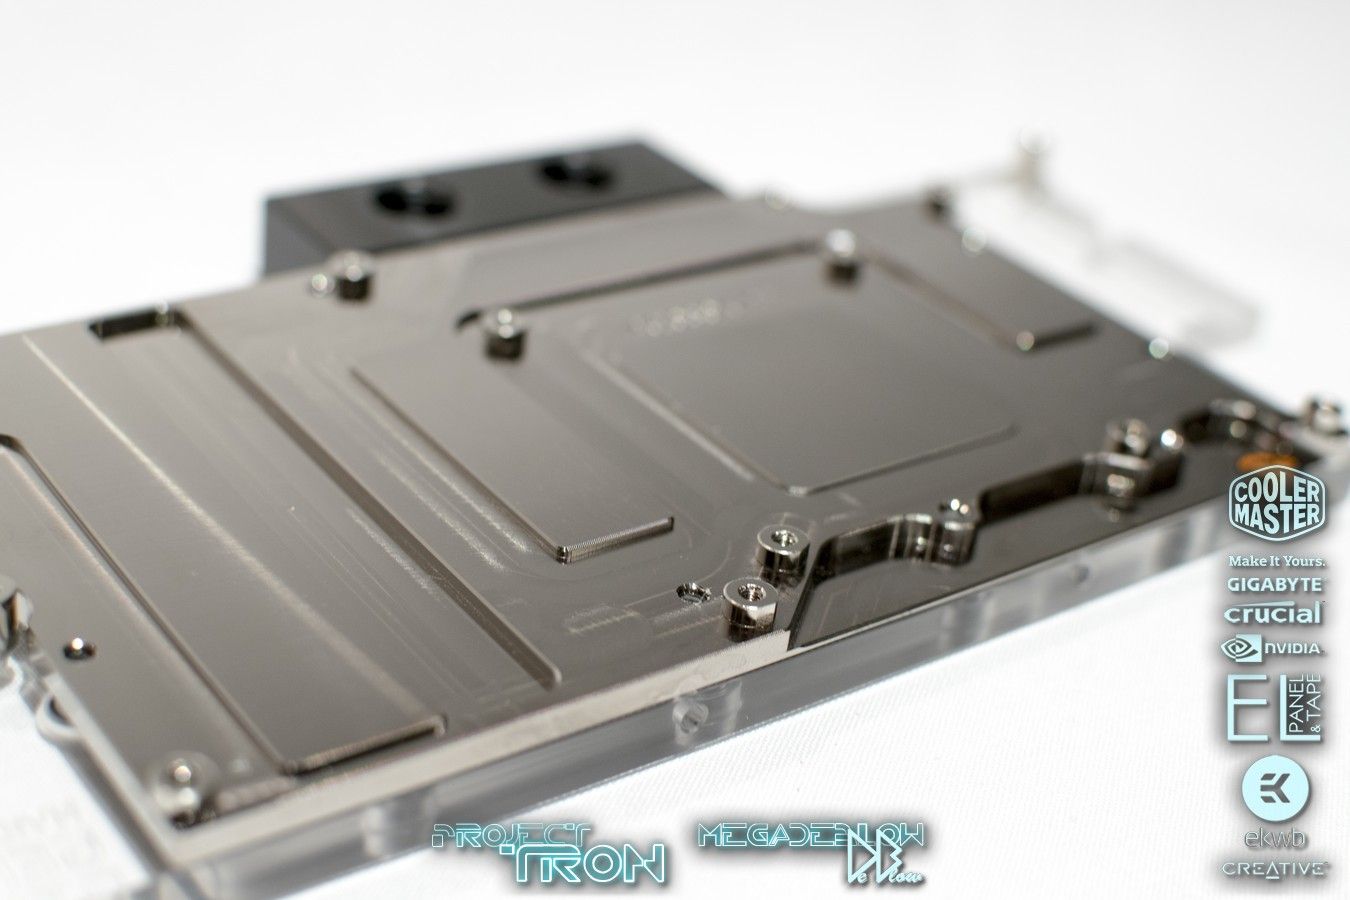
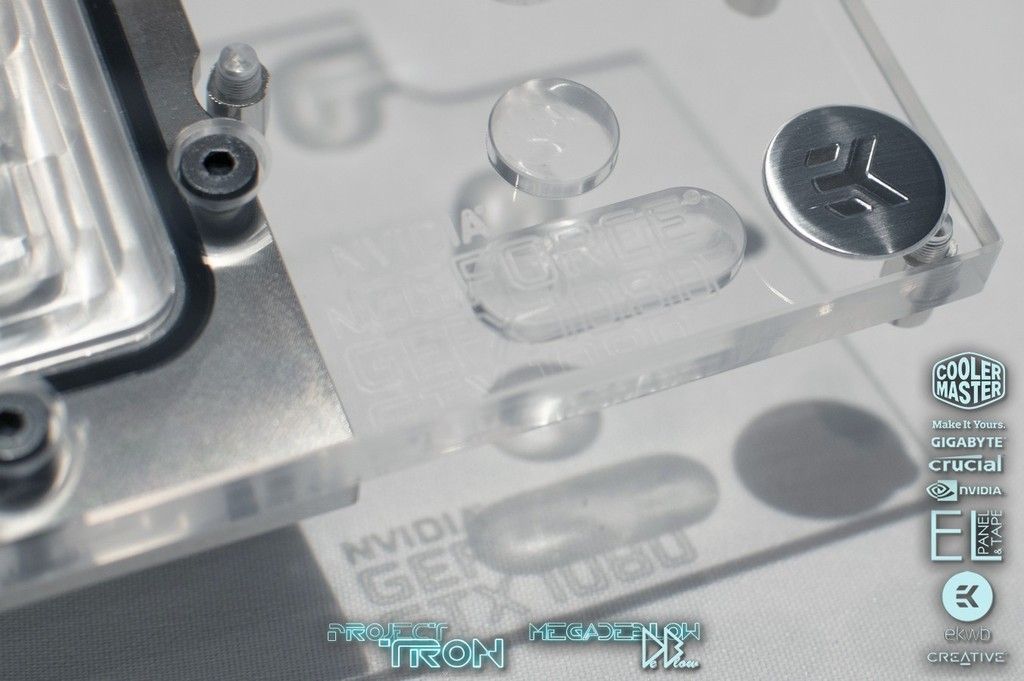
GPU Block: EK-FC1080 GTX
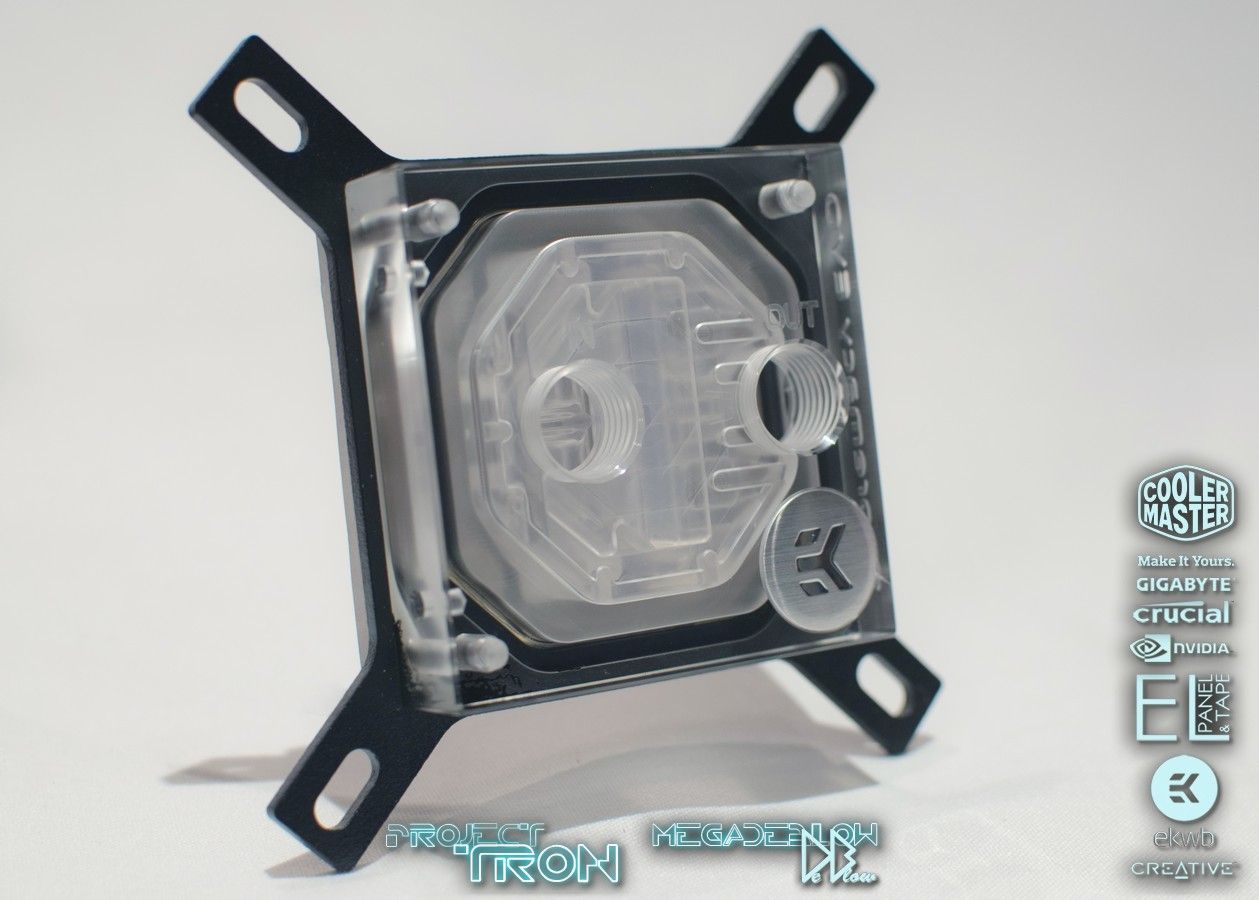
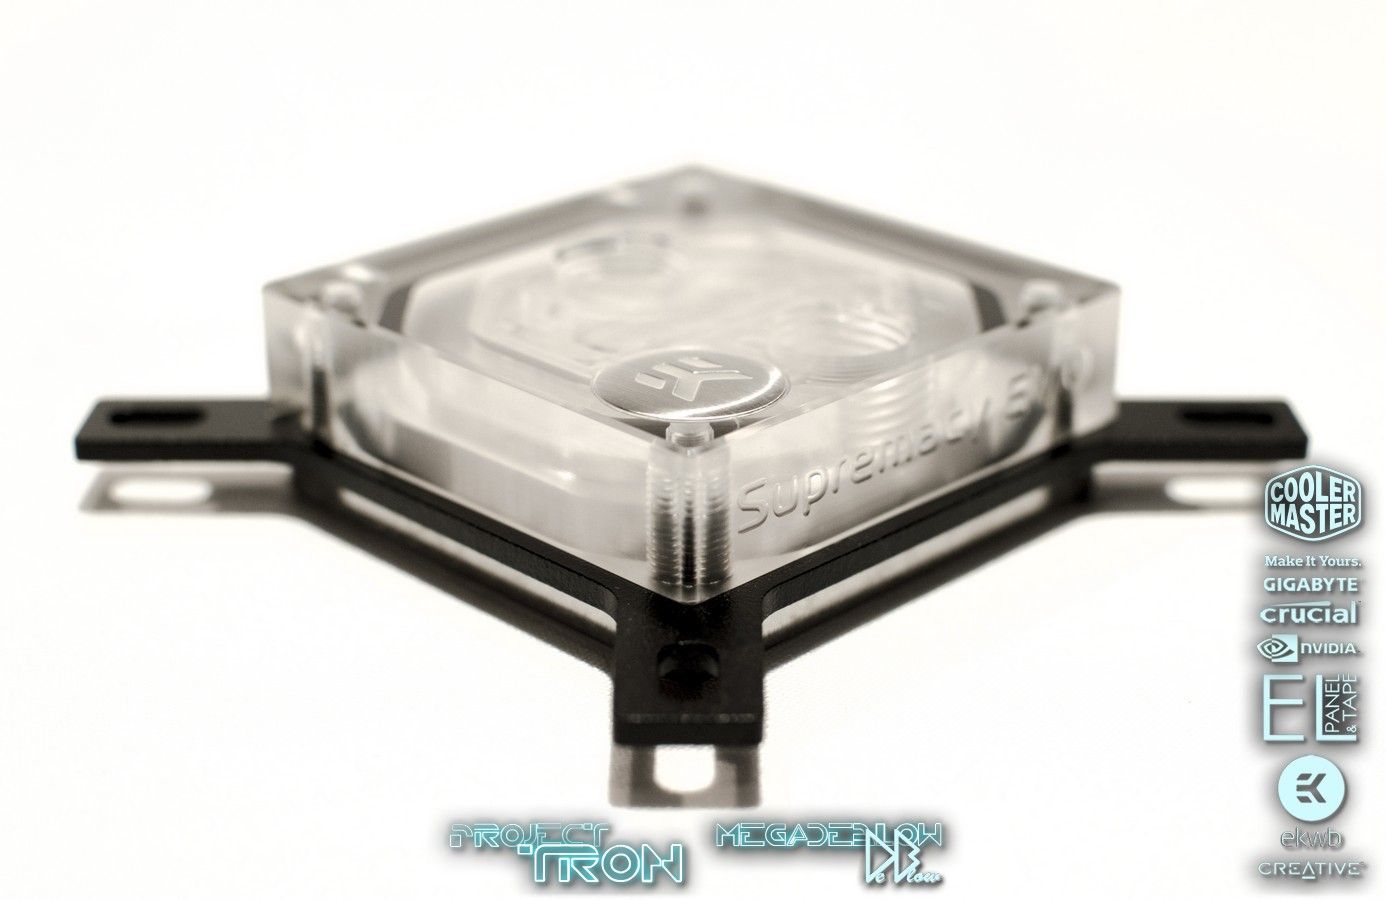
CPU Block: EK, Supremacy EVO
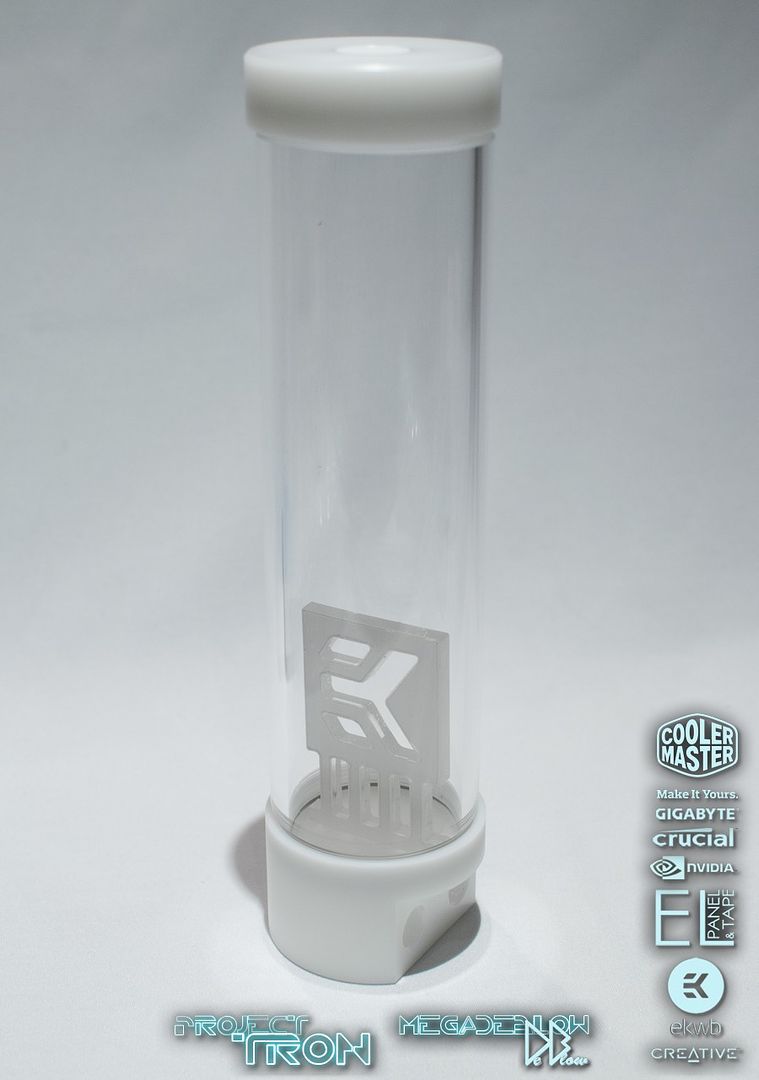
RES: EK-RES X3 250
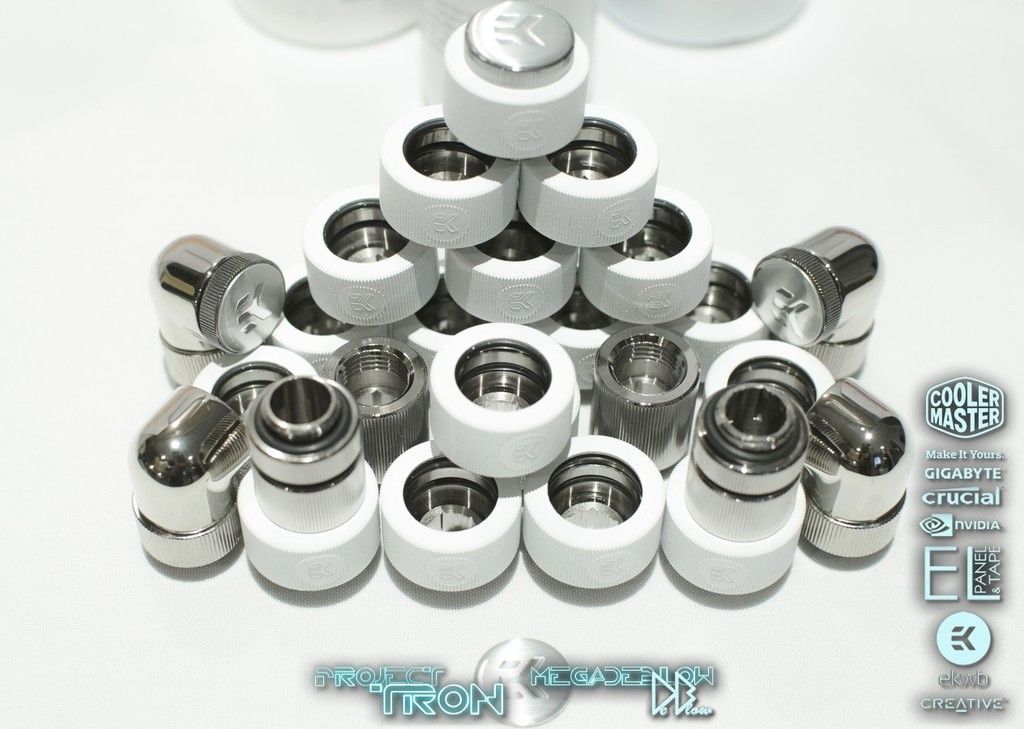
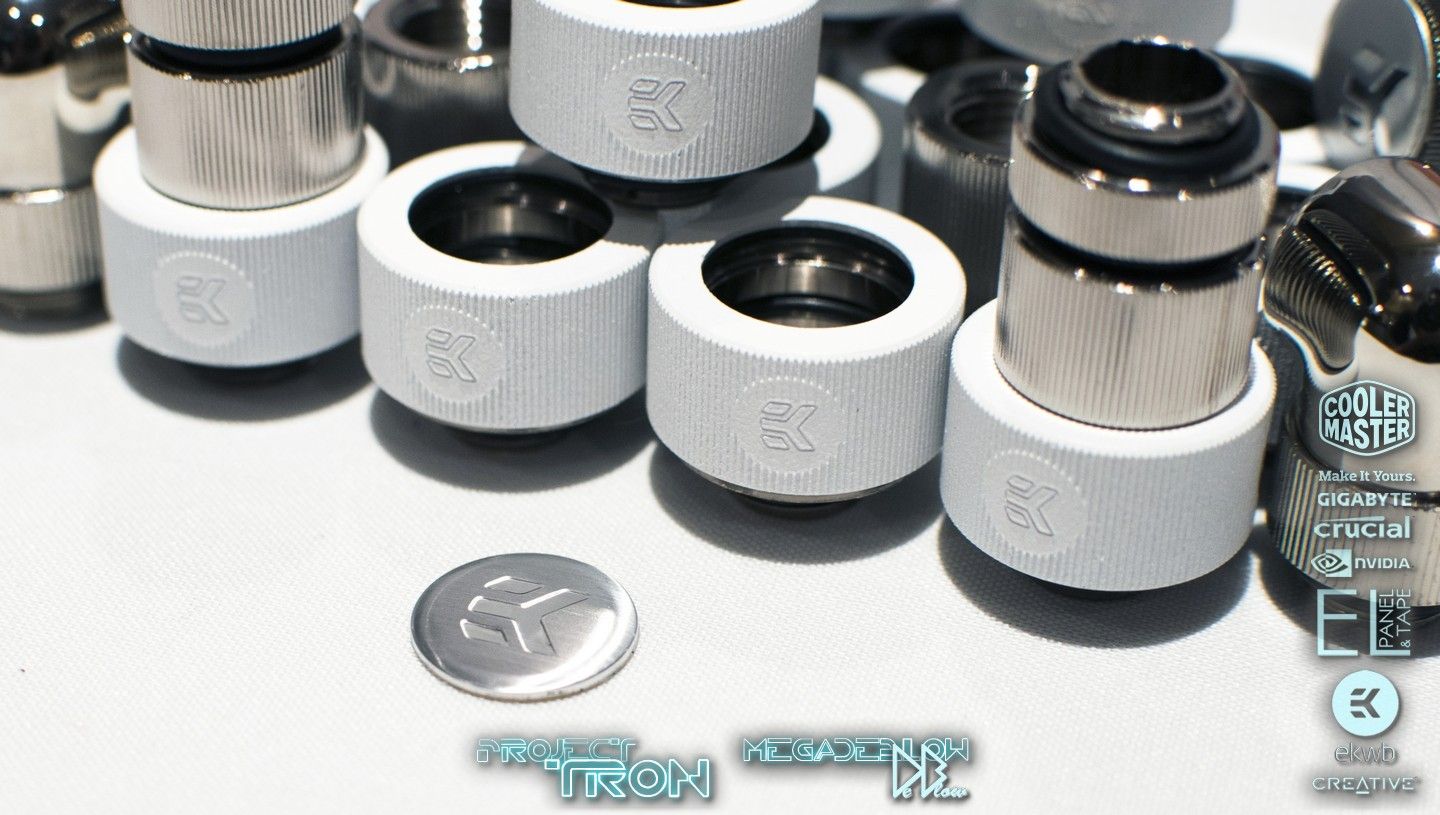
EK Hard Tube, compression Fittings and dyes.
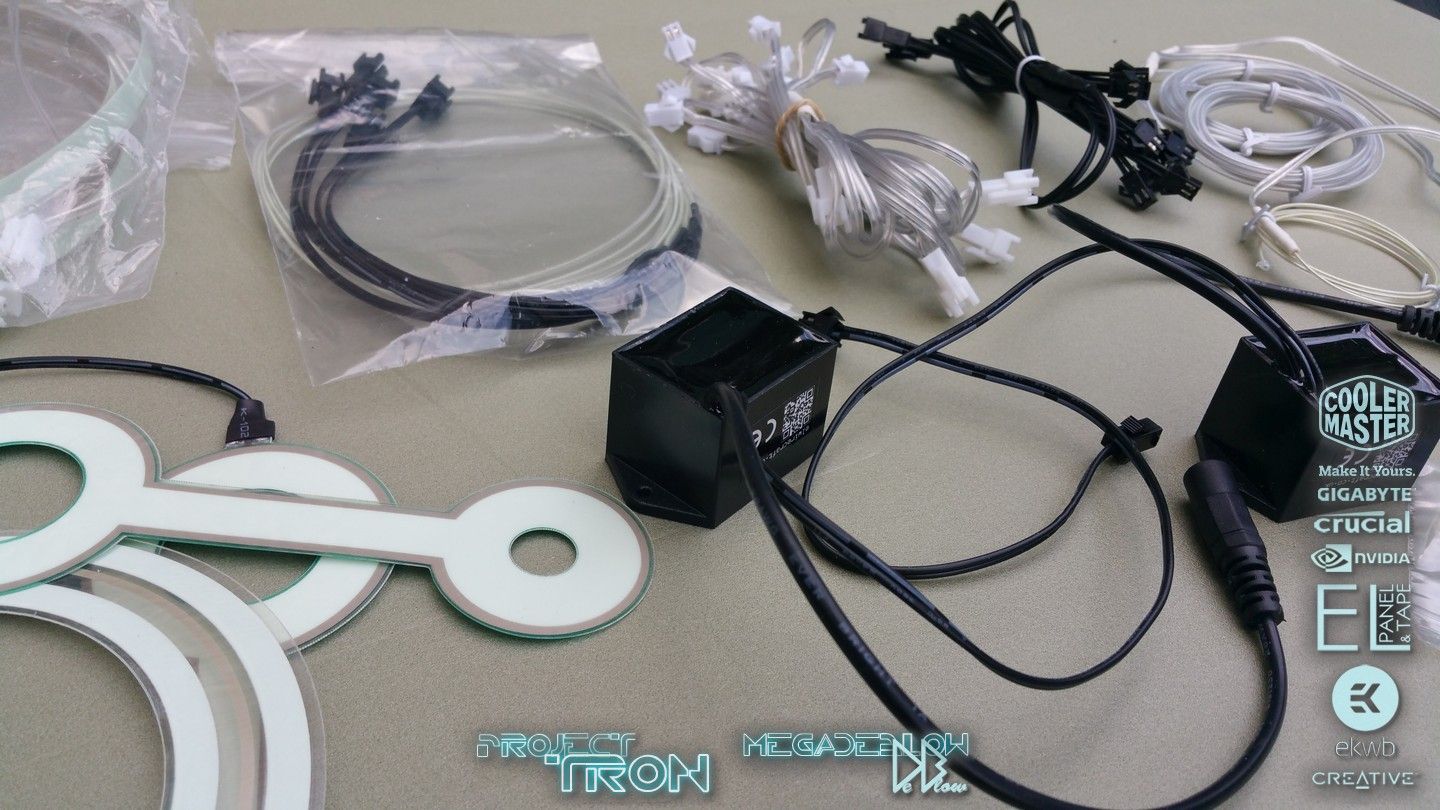
LIGHTING -
EL Panel and Tape kindly provided the EL lighting for the project.
Drivers
Extensions & Splitters
EL tape's
EL wire
Big Thank You to all my sponsors and followers
Links.

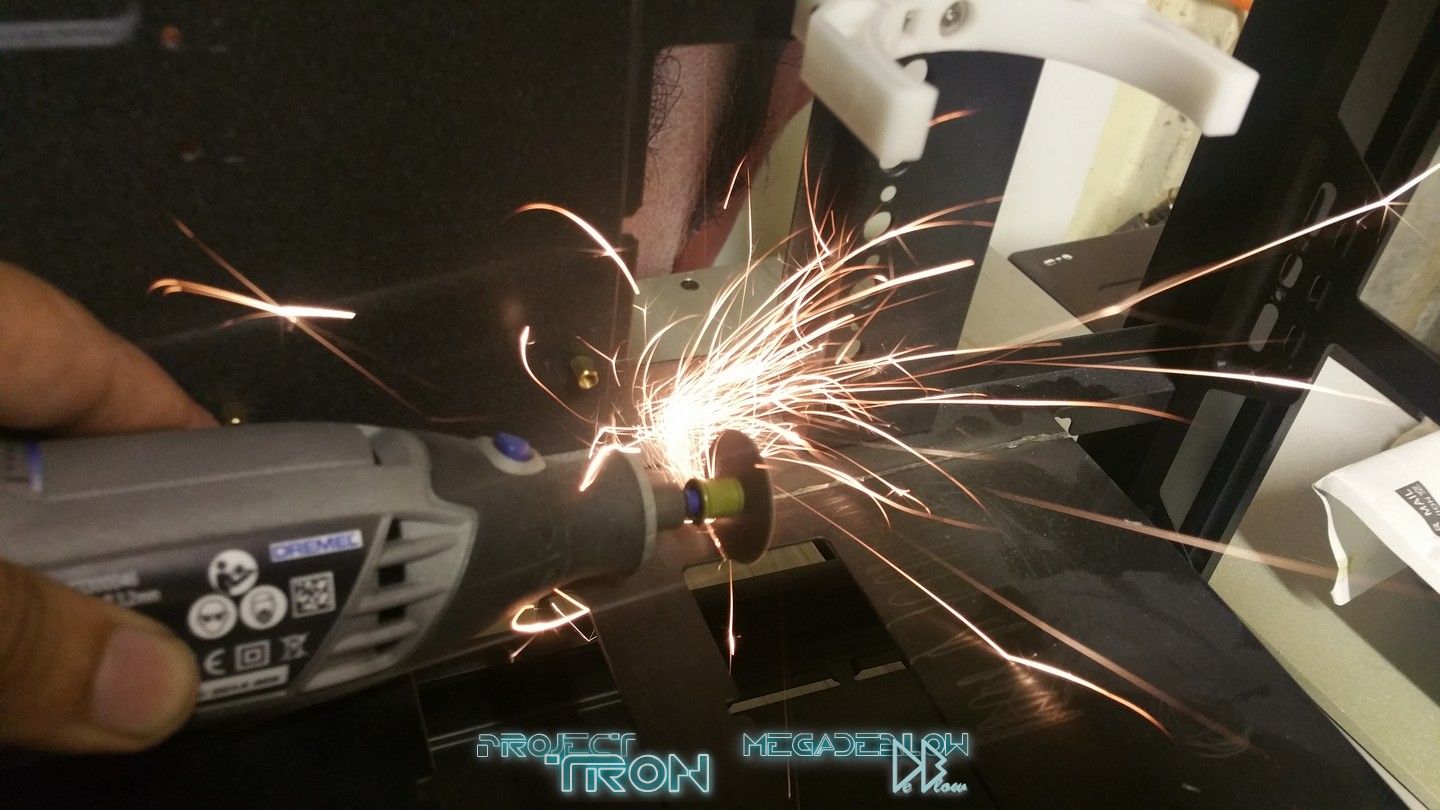
Time to crack on!
")
Last edited:


")