CM 690 First time water cool

Associate
Joined
7 May 2011
Posts
214
Location
Nr Basingstoke
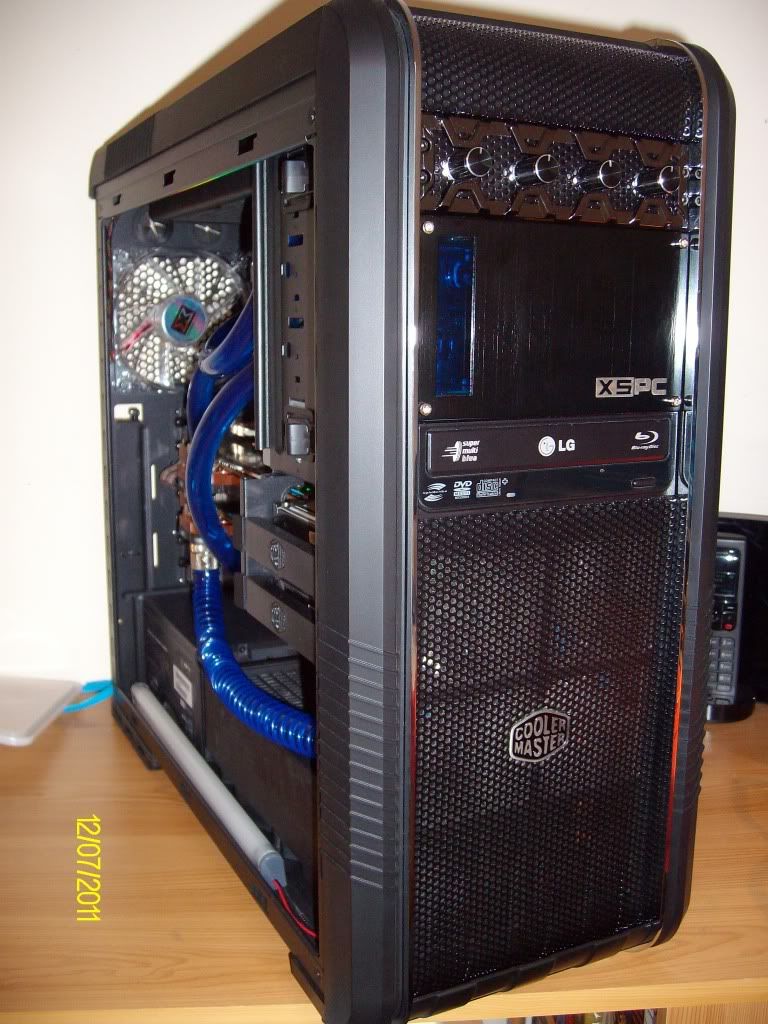
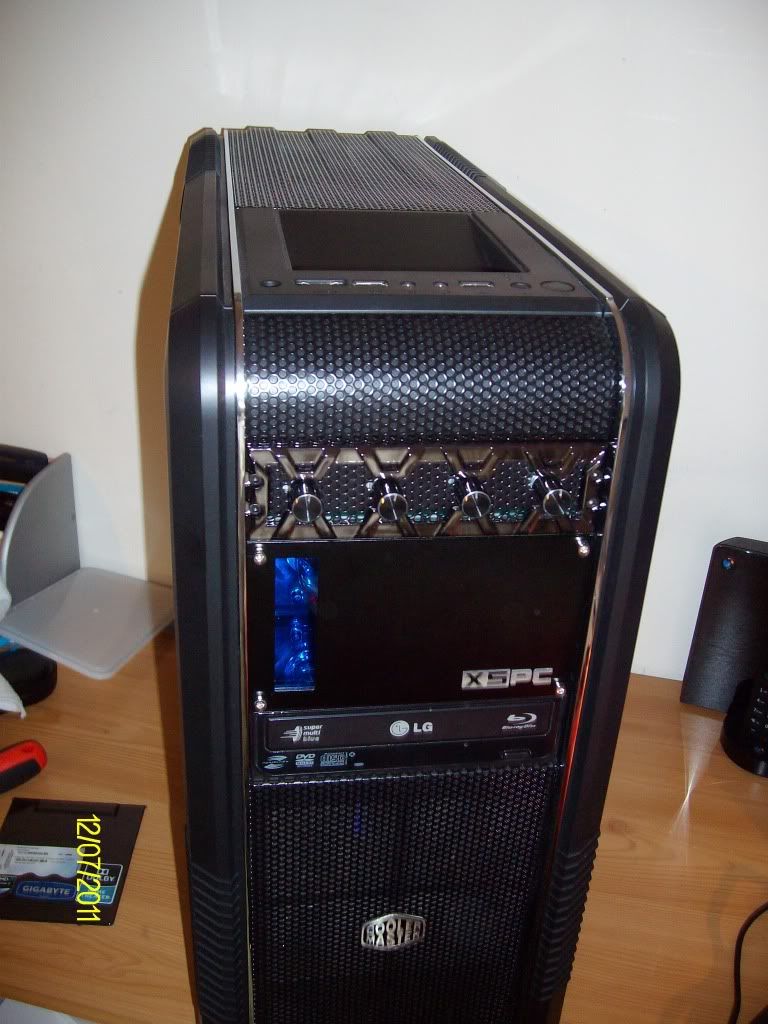
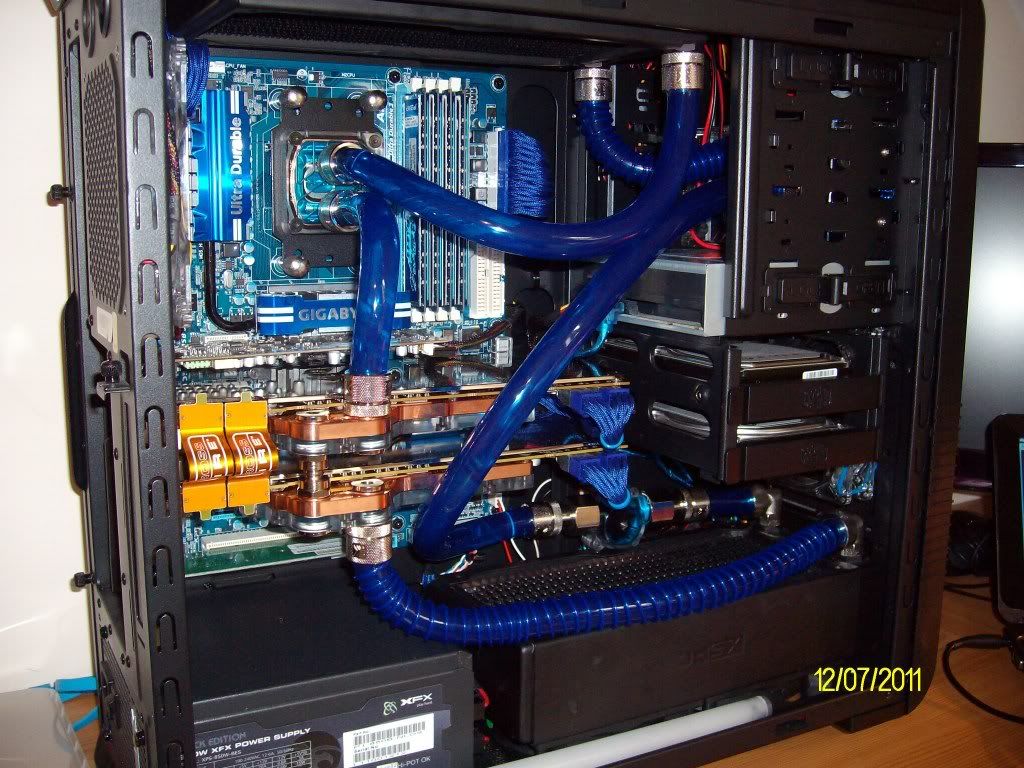
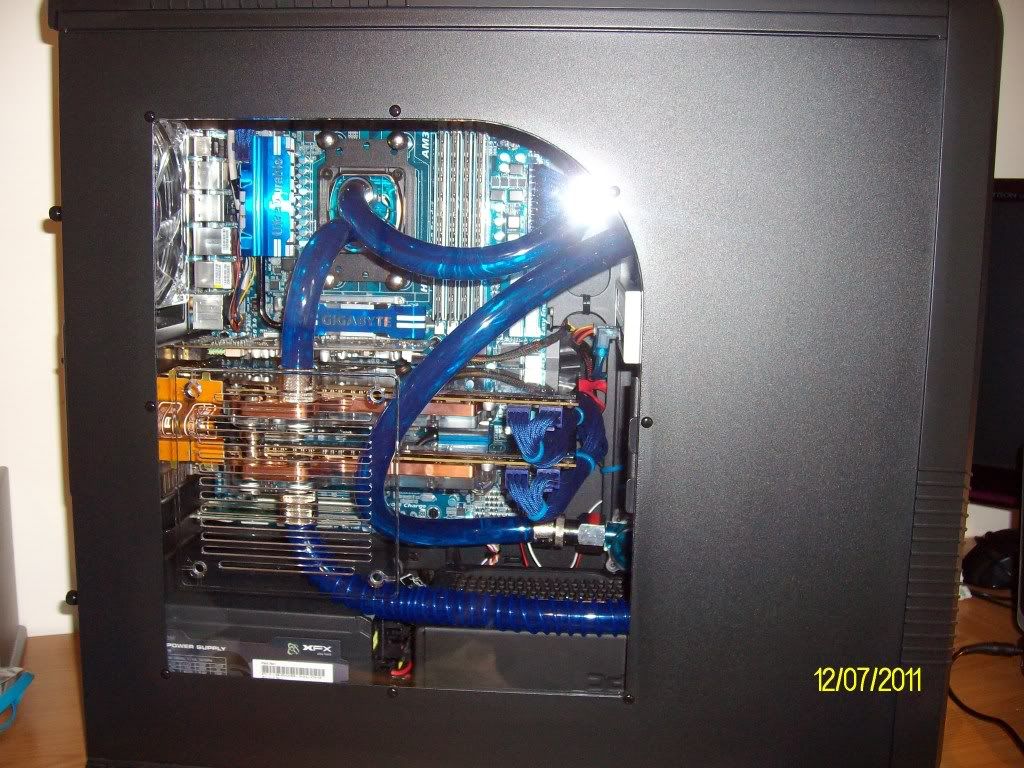
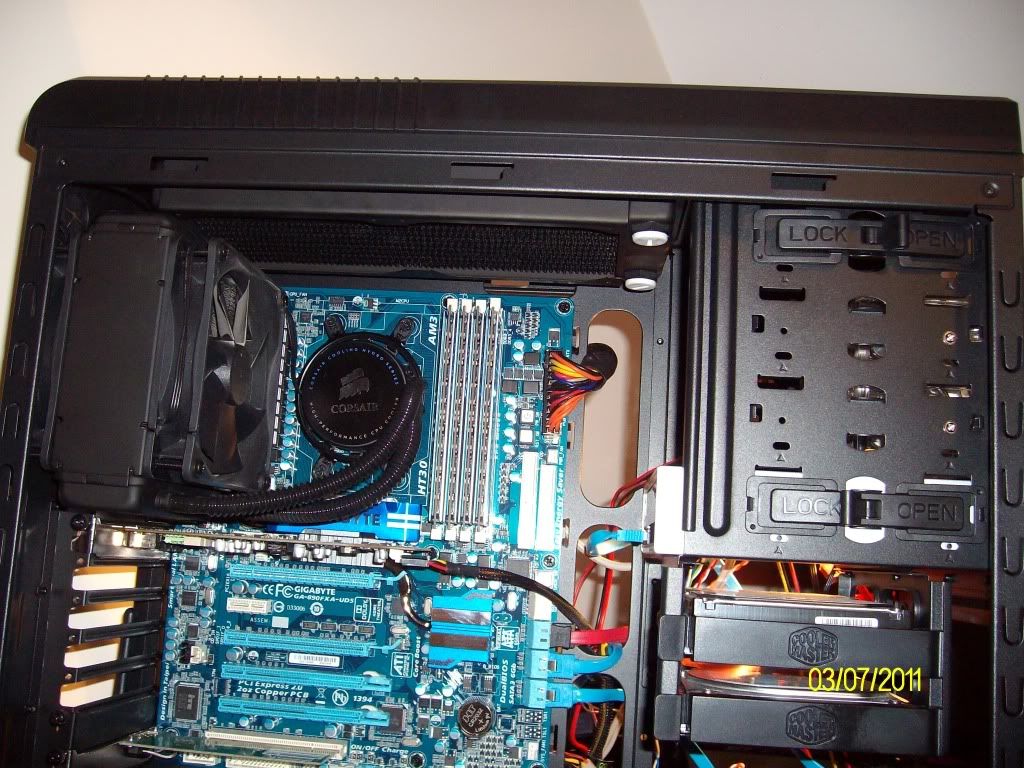
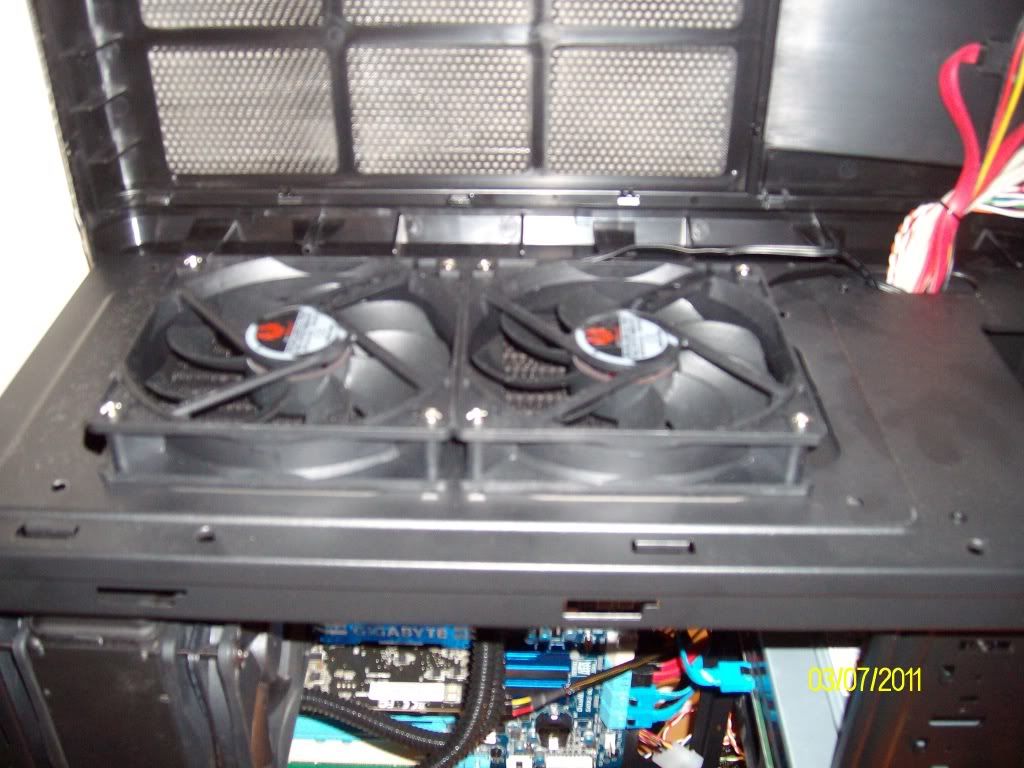
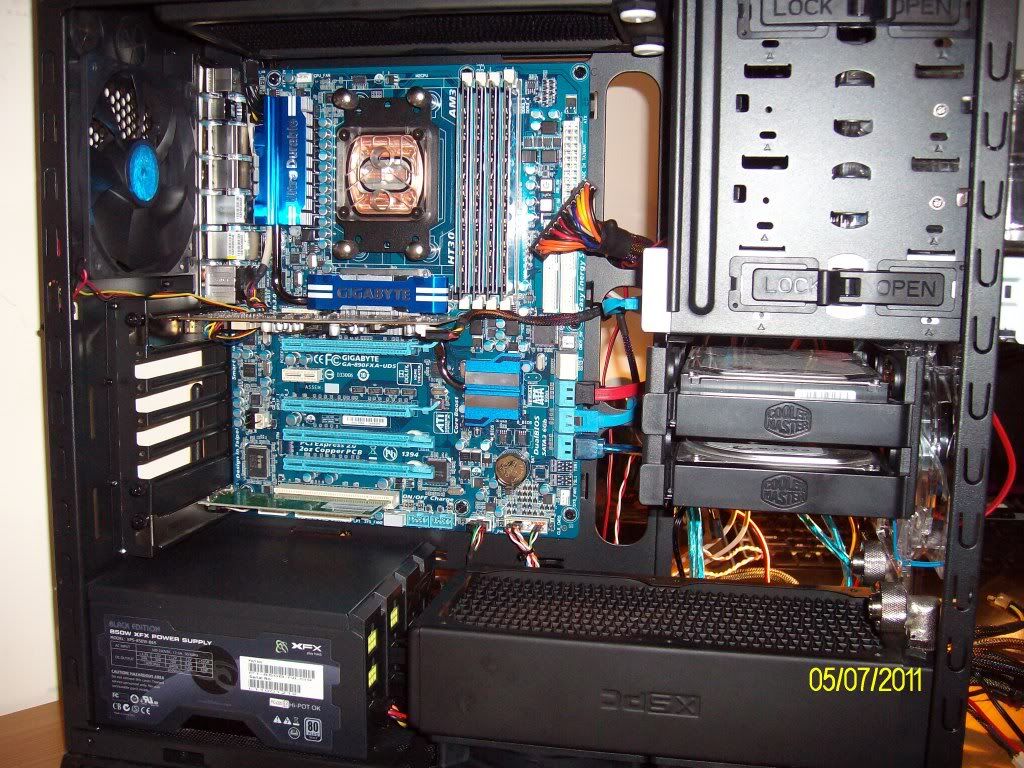
Hi all as promised a build log for my air and watercooled pc, to a cpu gpu watercooled loop. The case i am using is the CM690 II Advanced case.
Hope this helps other people out with there CM cases.
As this is my first time to use watercooling please bare with me and any questions and advice would be appreciated.
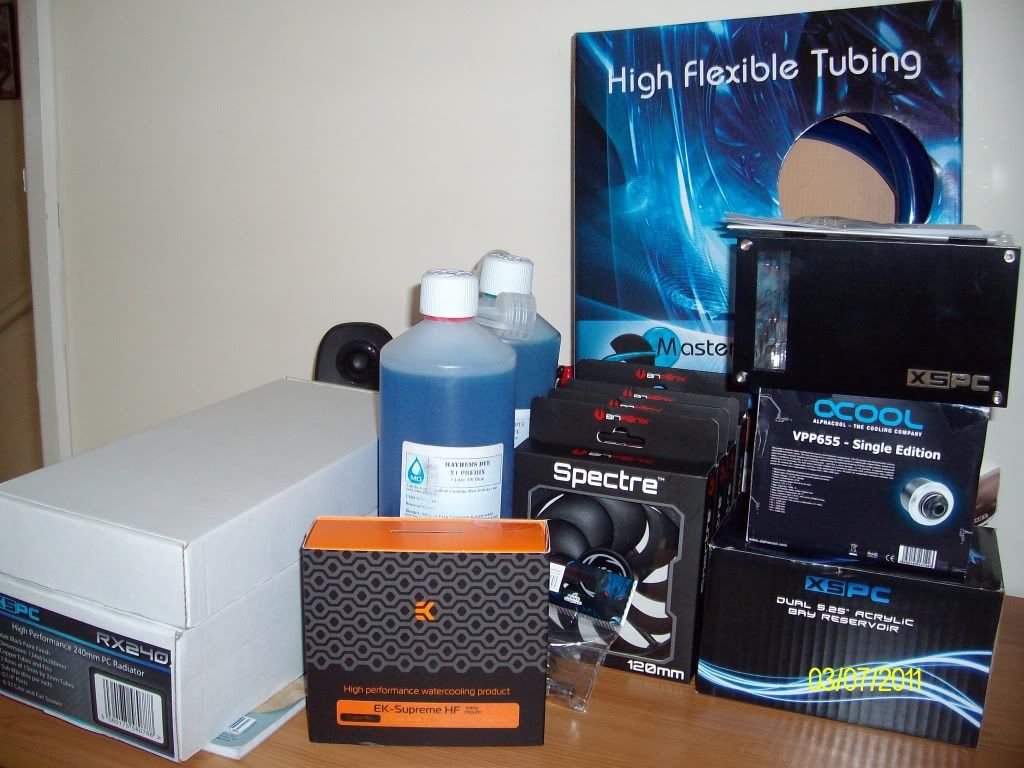
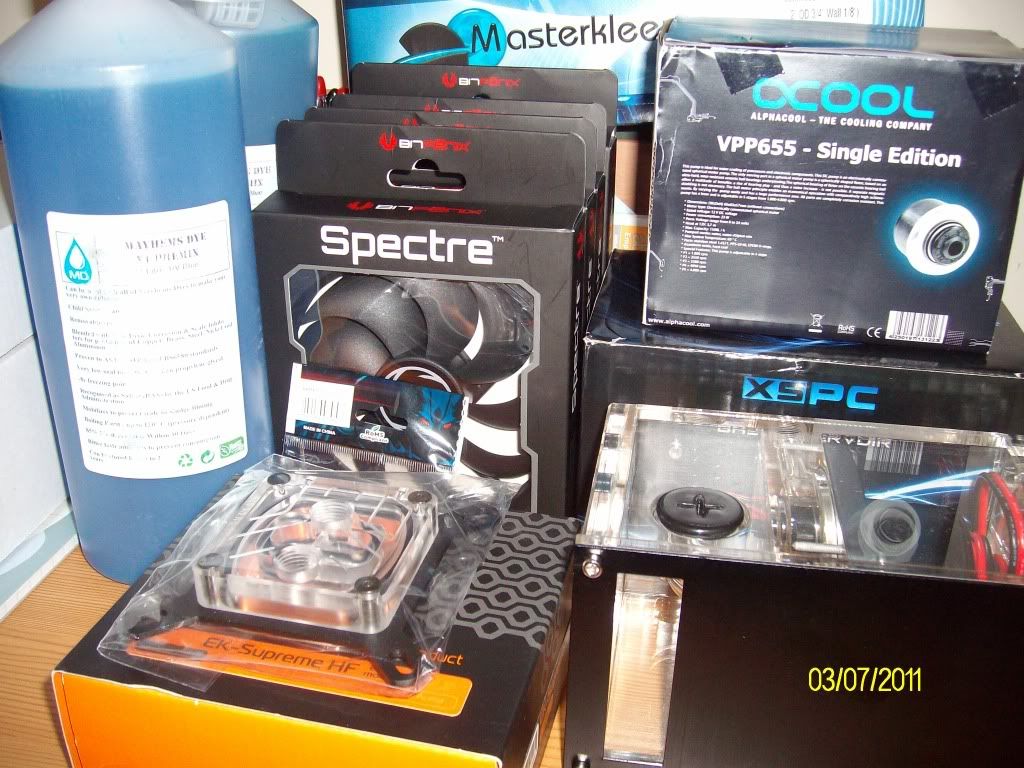
Here is what i am cooling with my loop.
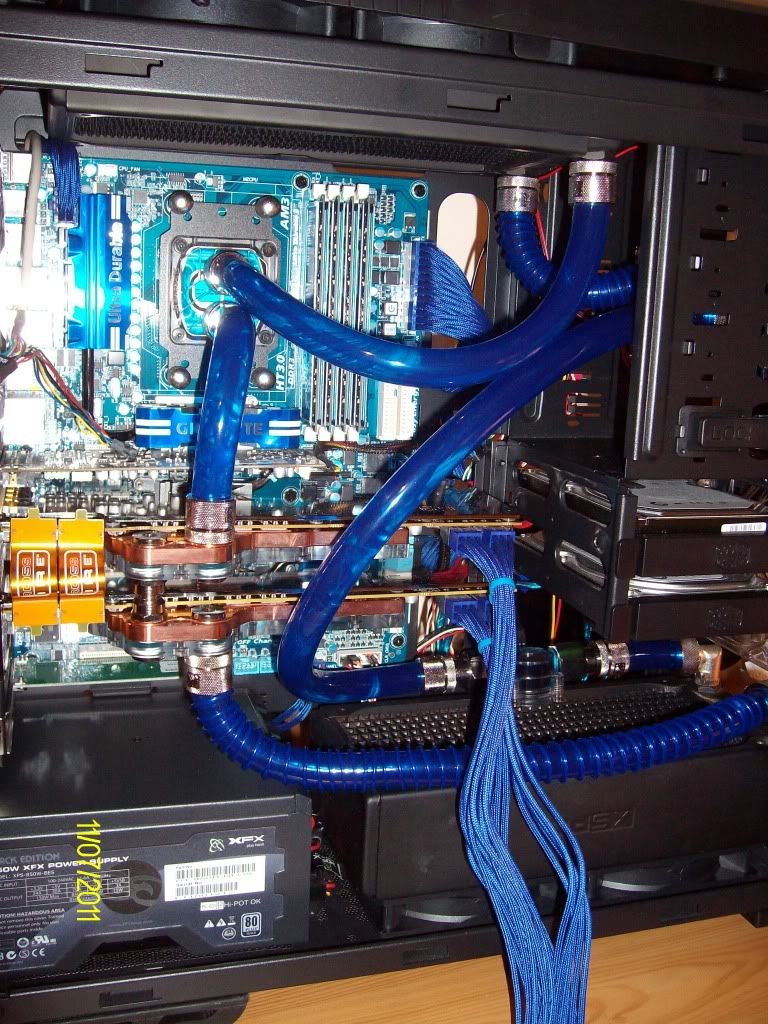
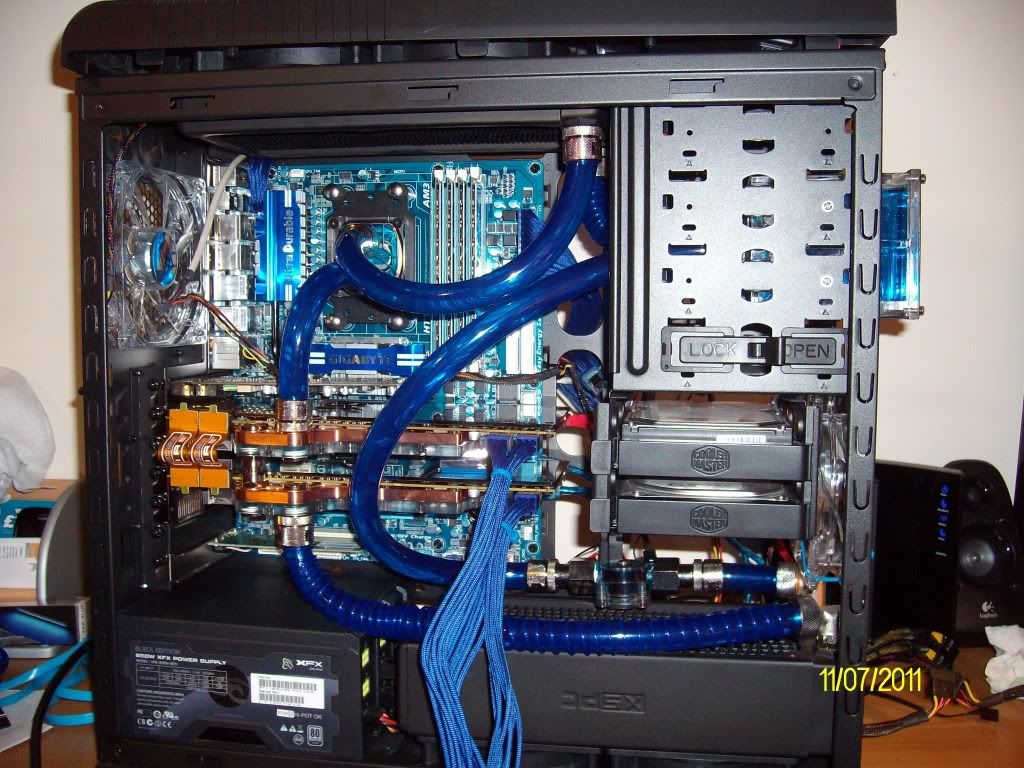
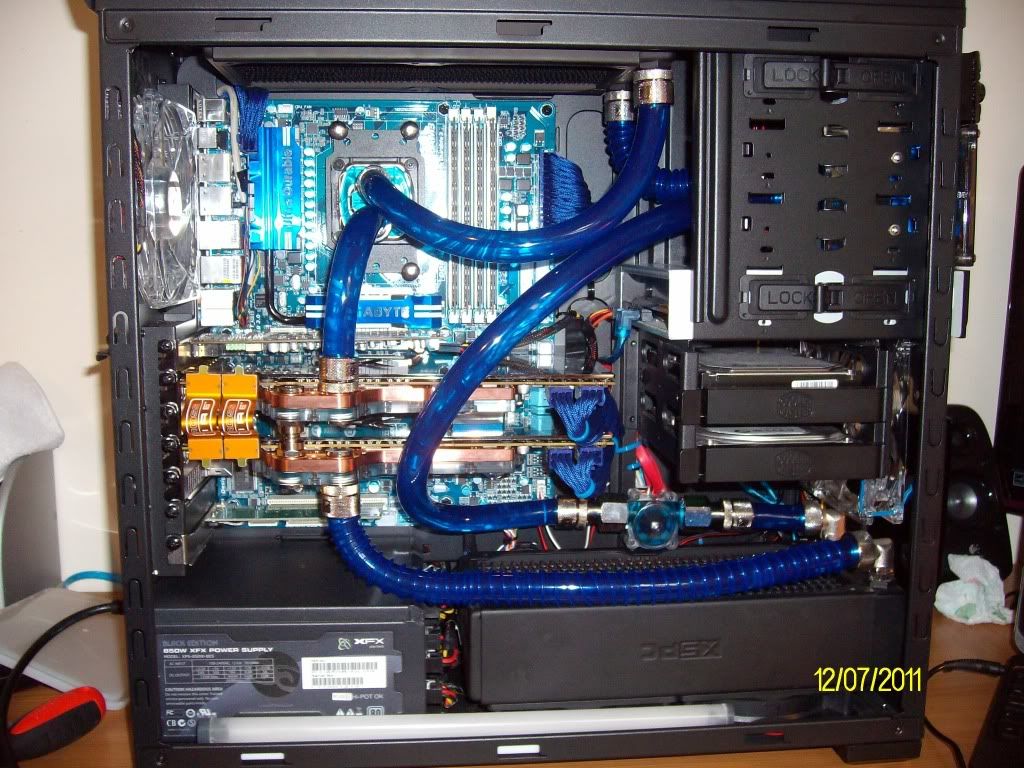
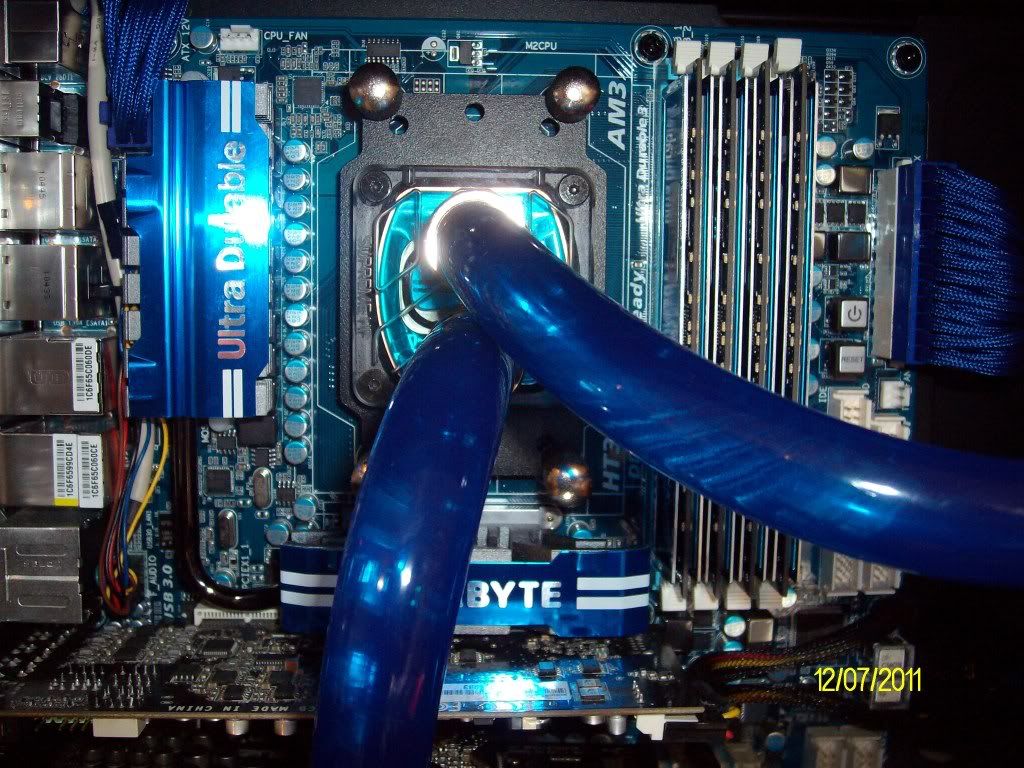
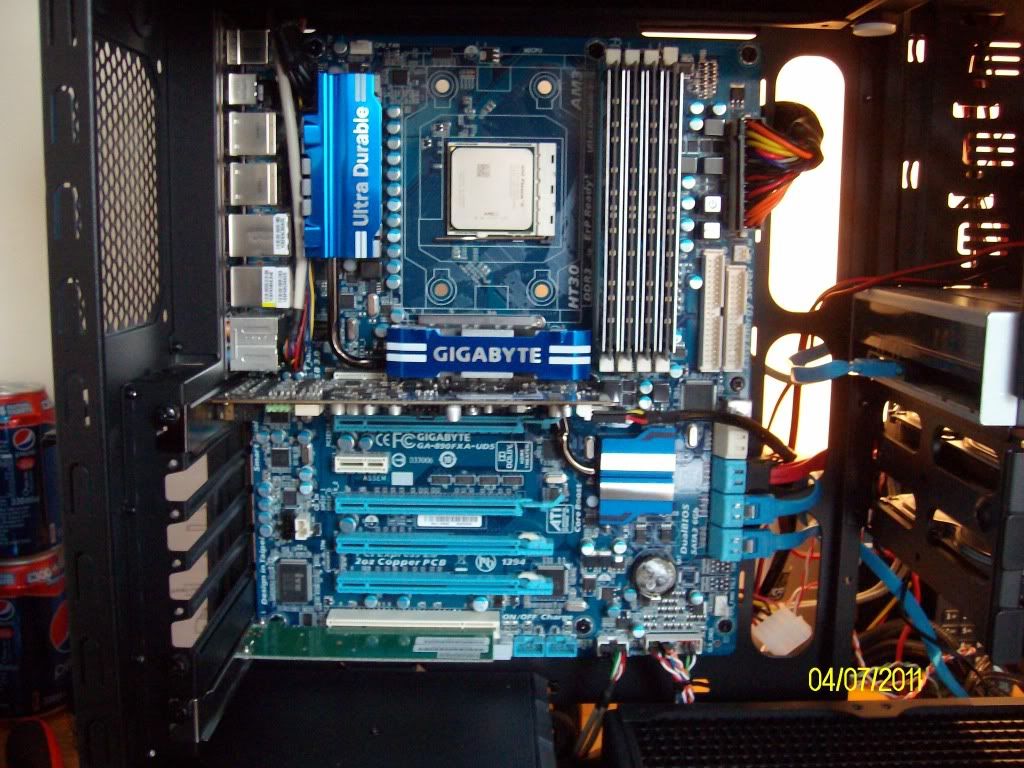
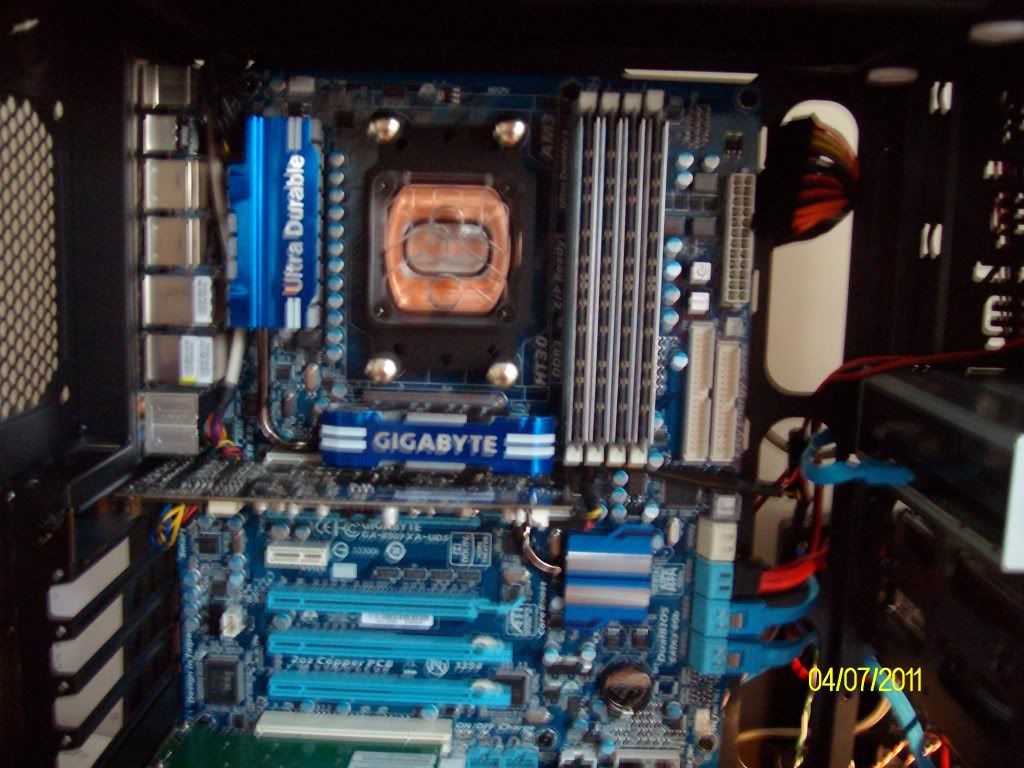
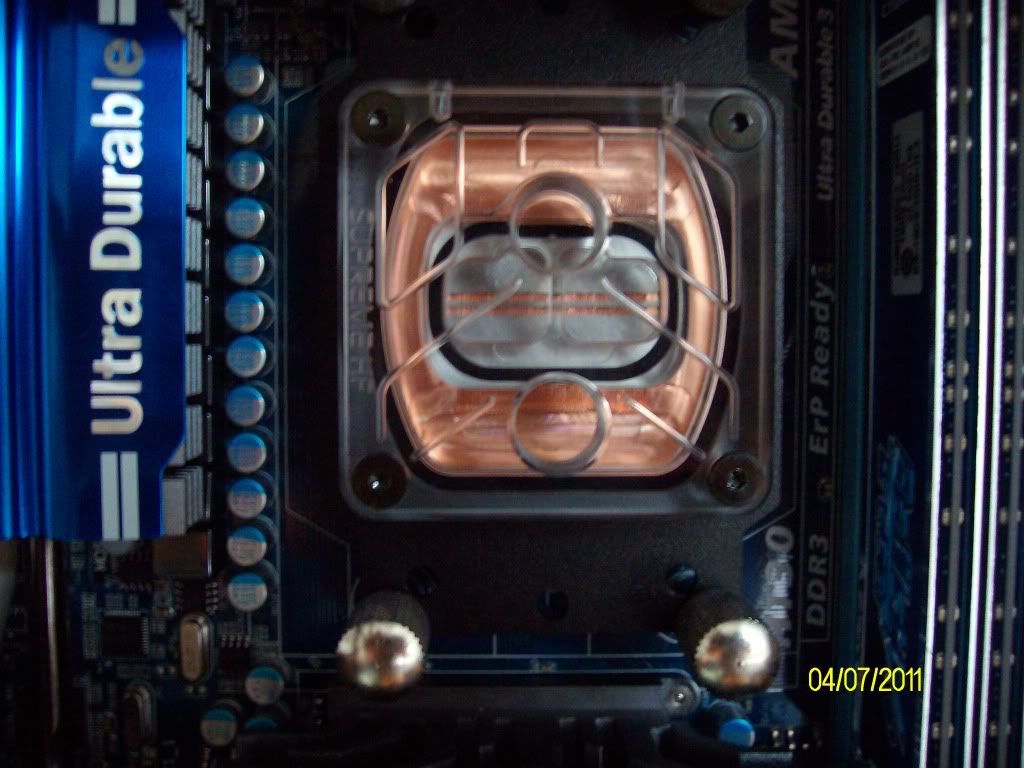
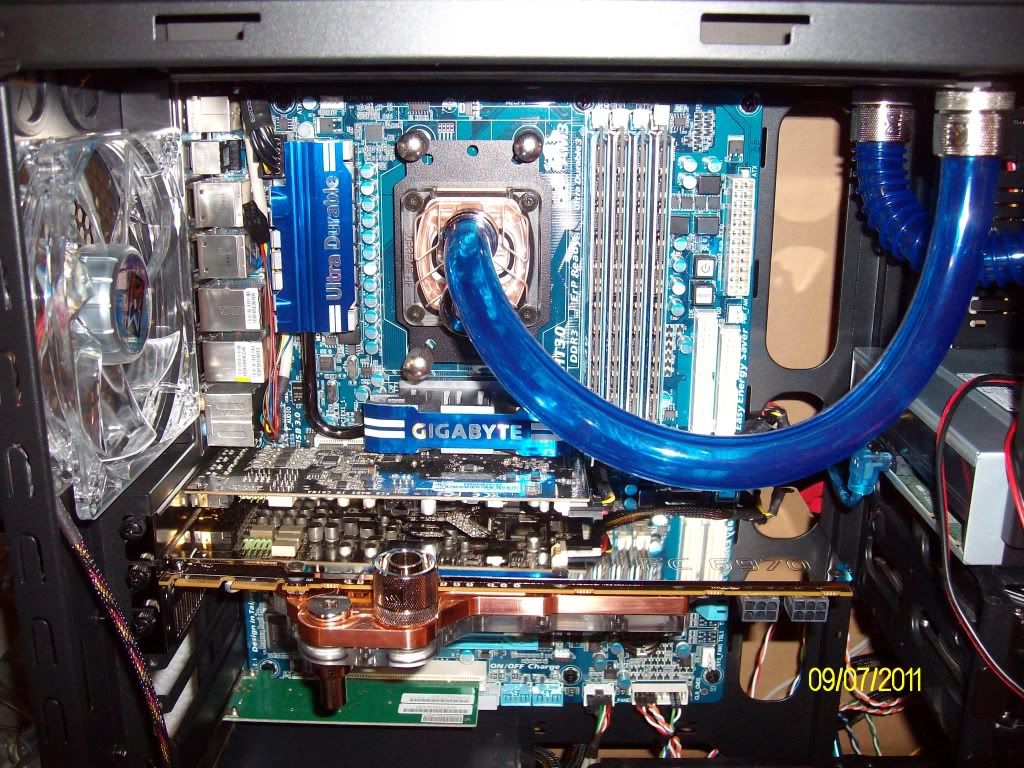
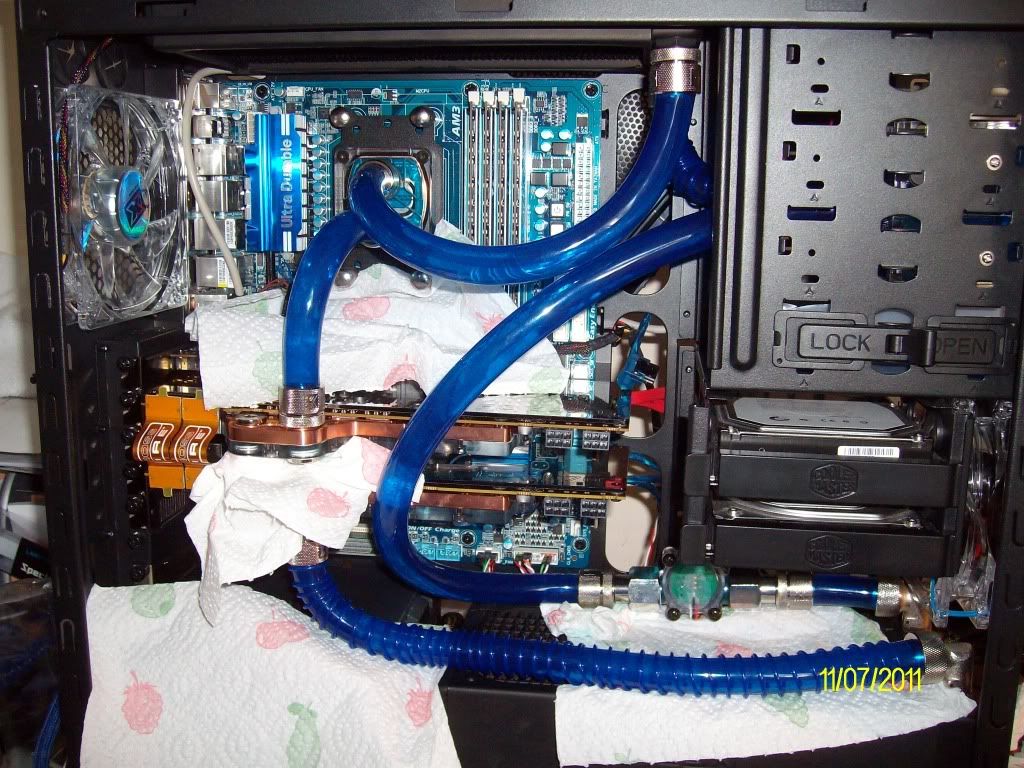
AMD 1090T Hex core cpu
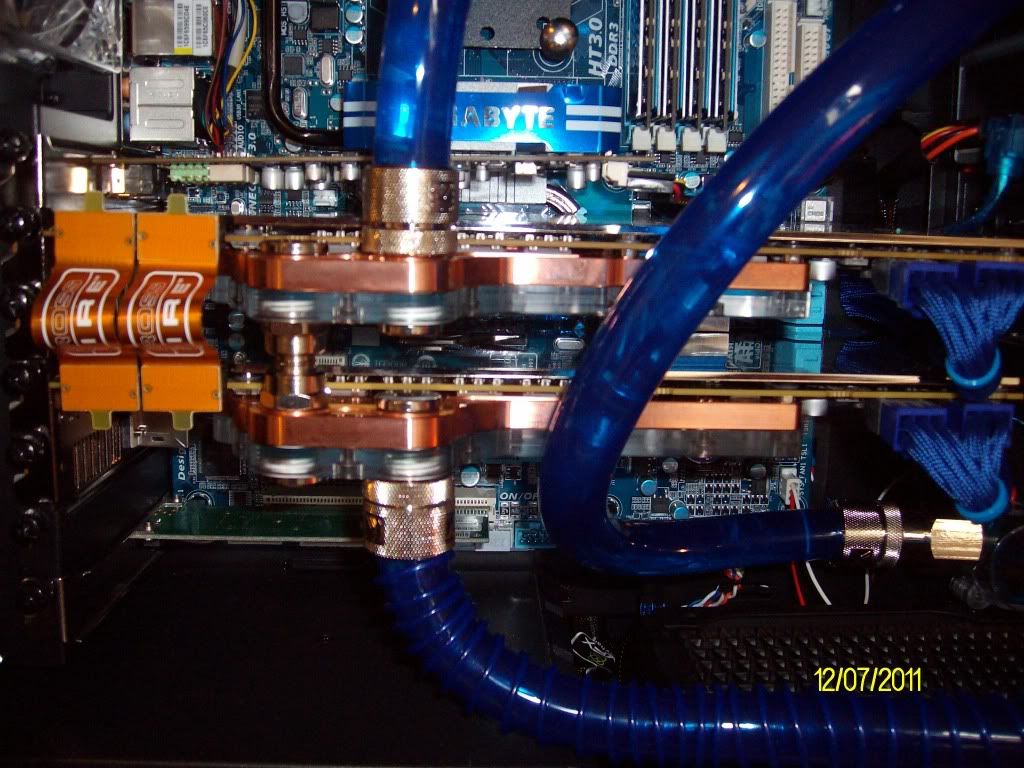
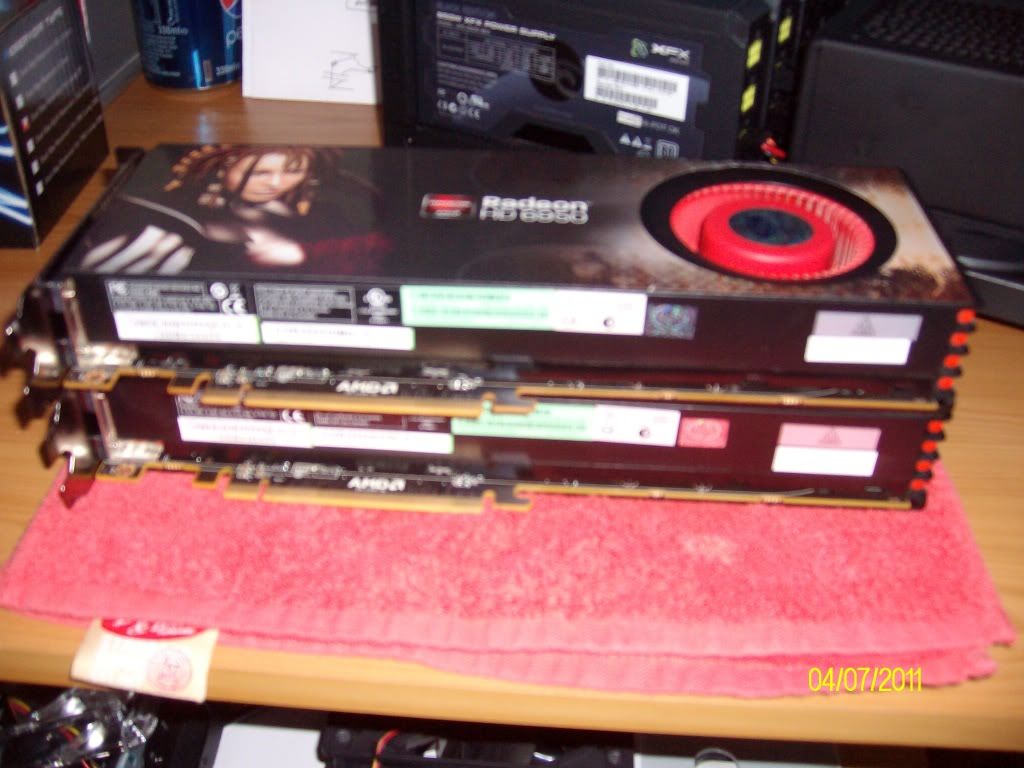
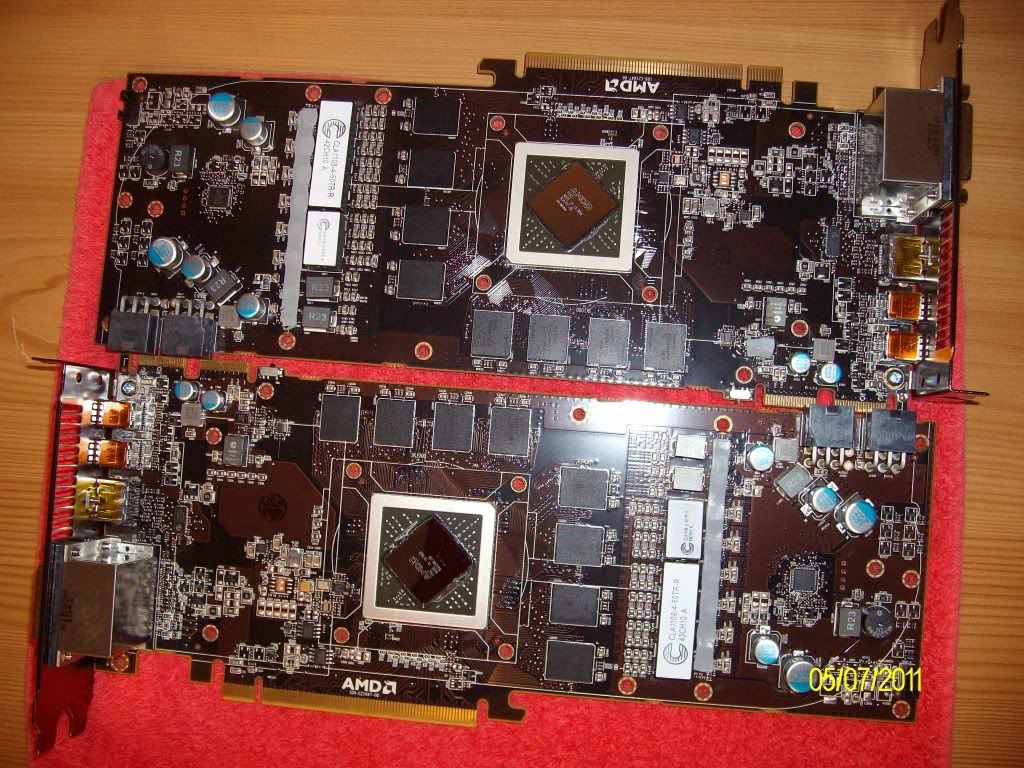
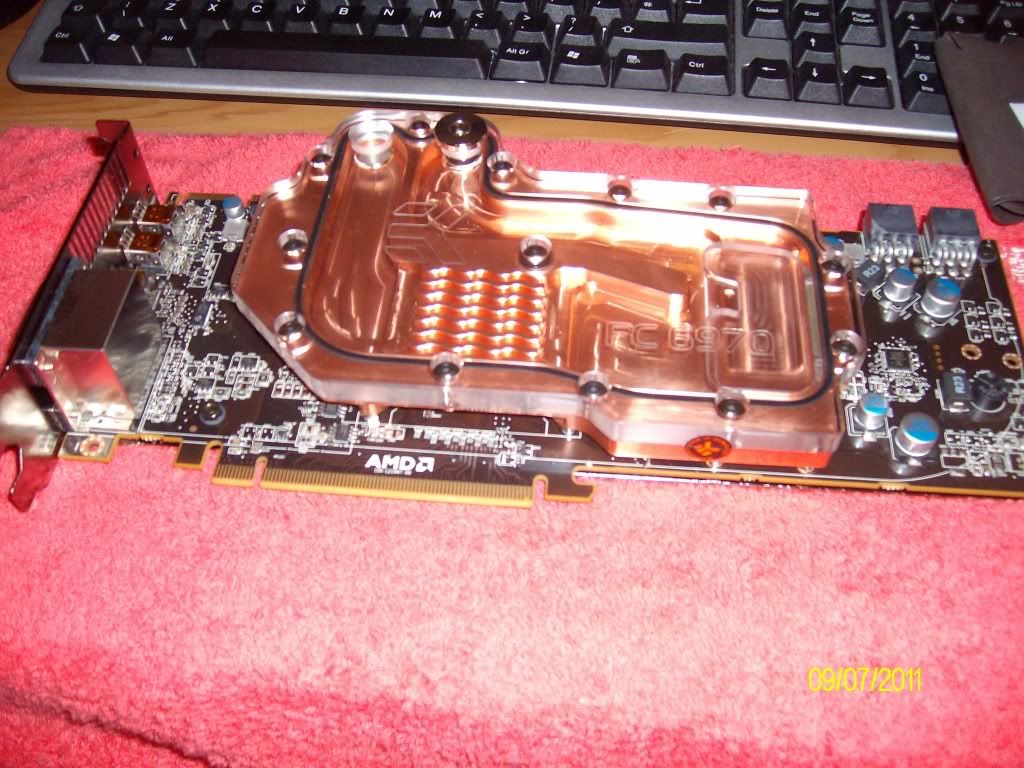
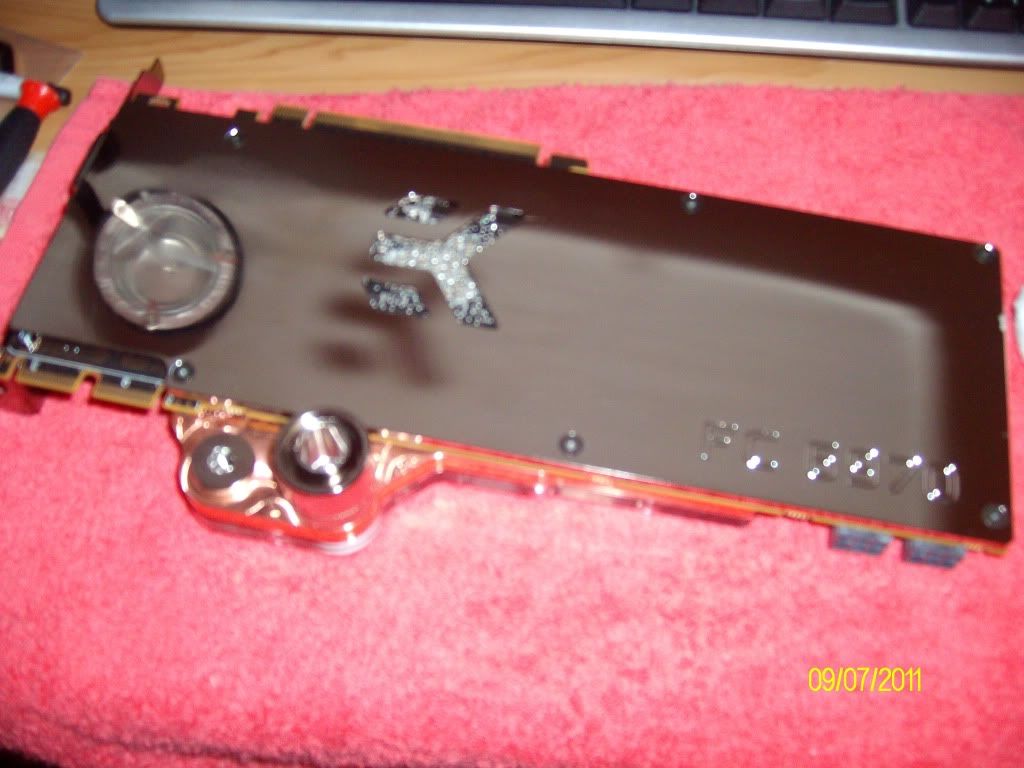
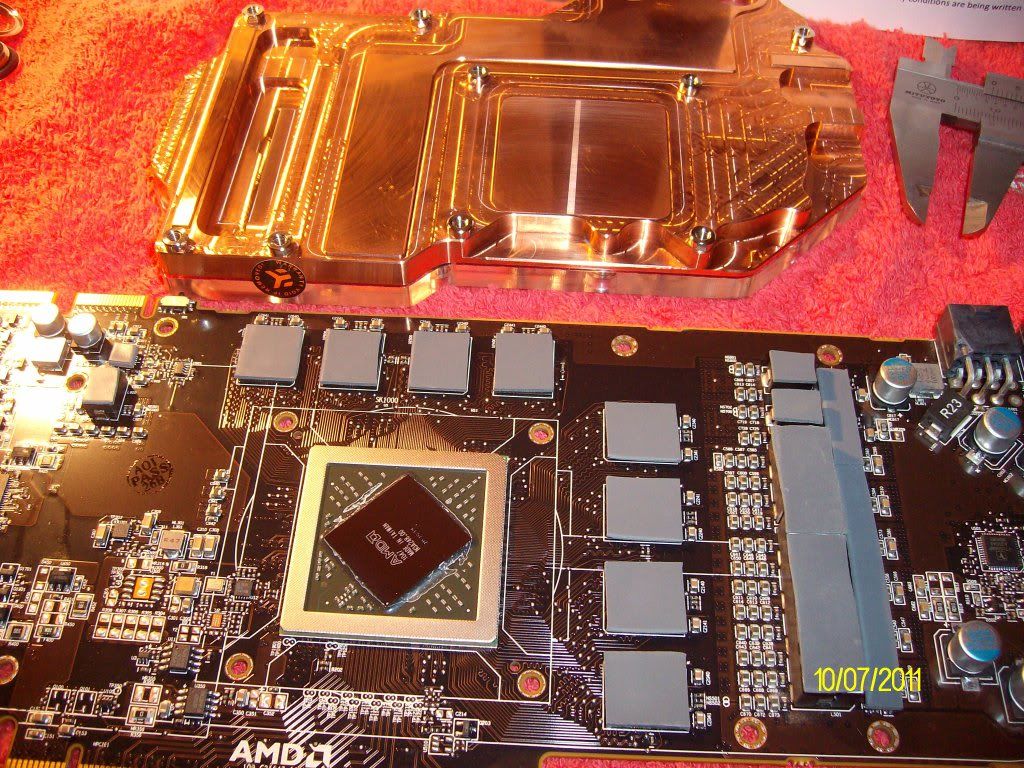
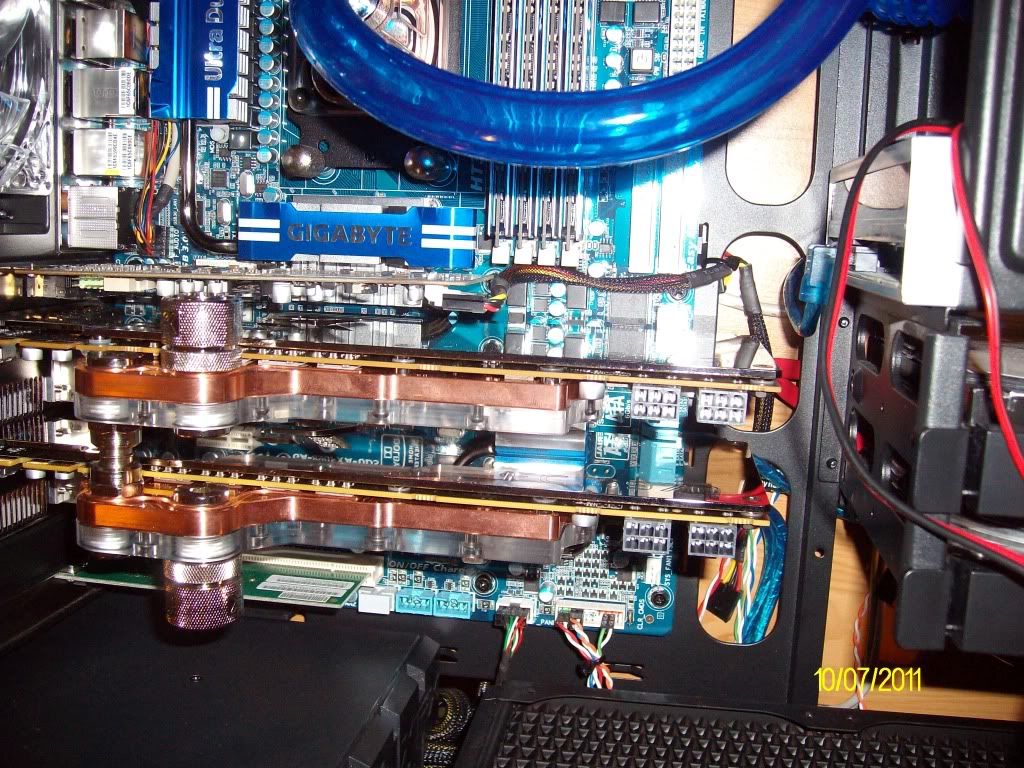
Dual 6950's (Bios flashed to 6970) in Xfire
ALIM1024.jpg

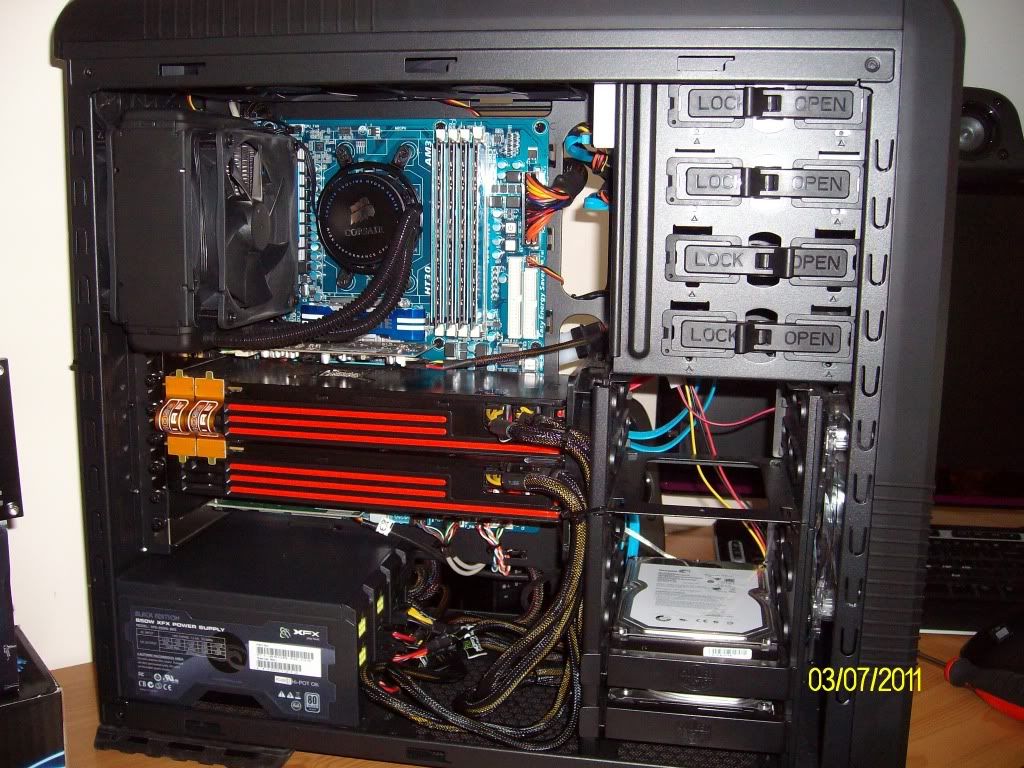
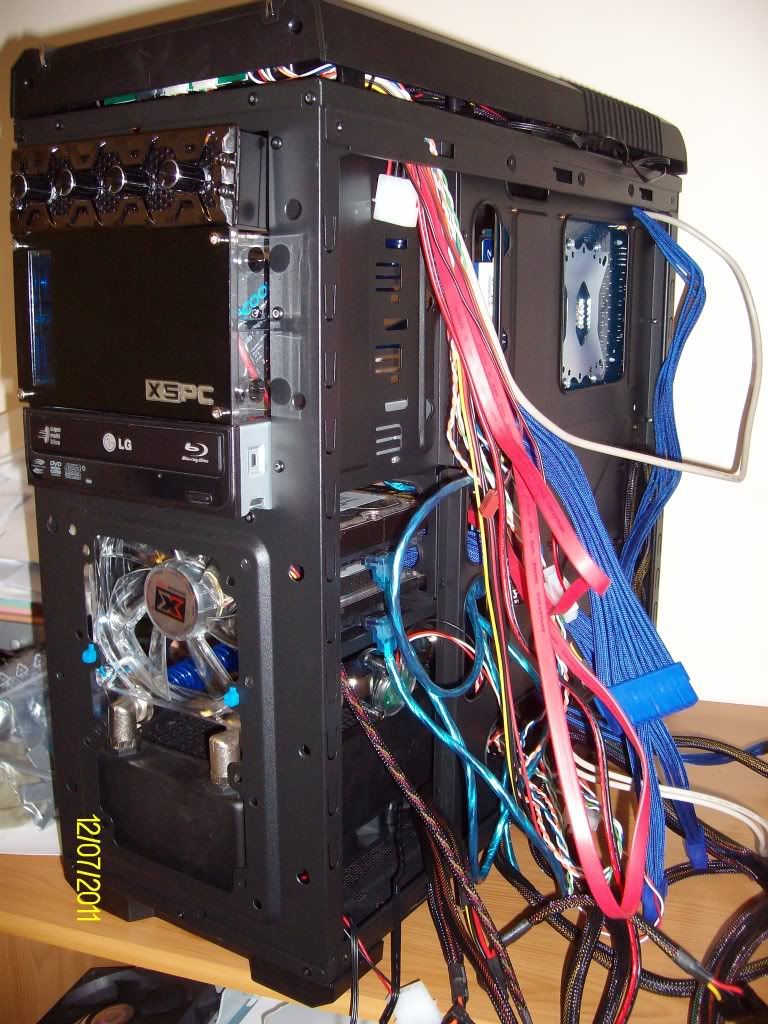
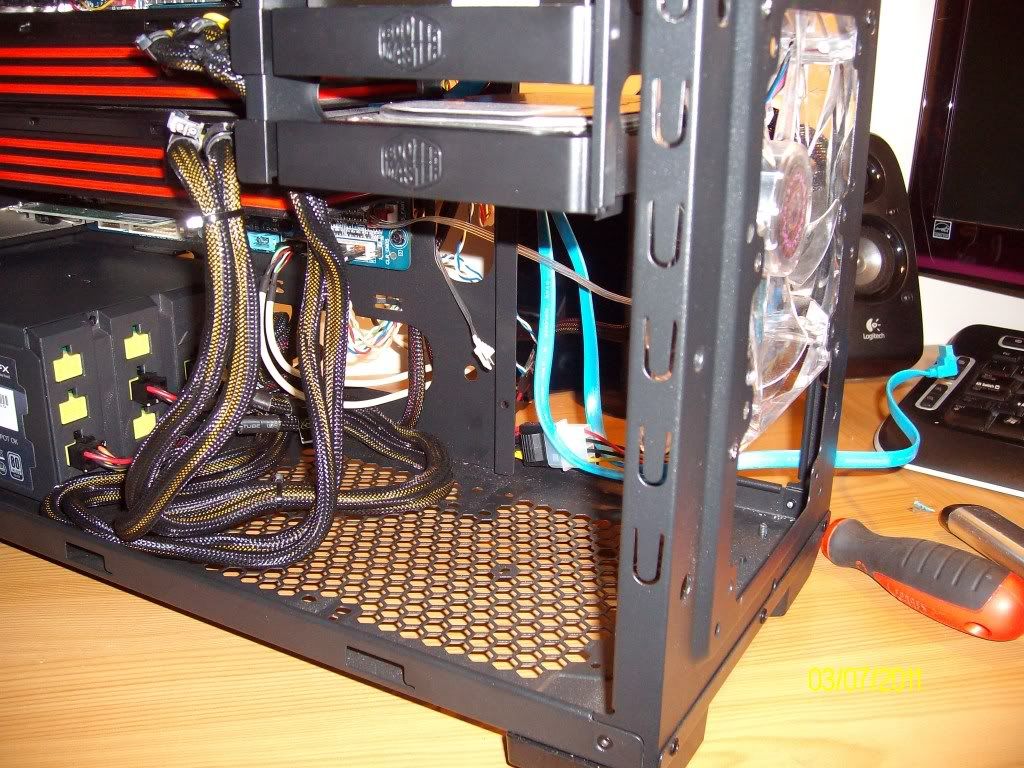
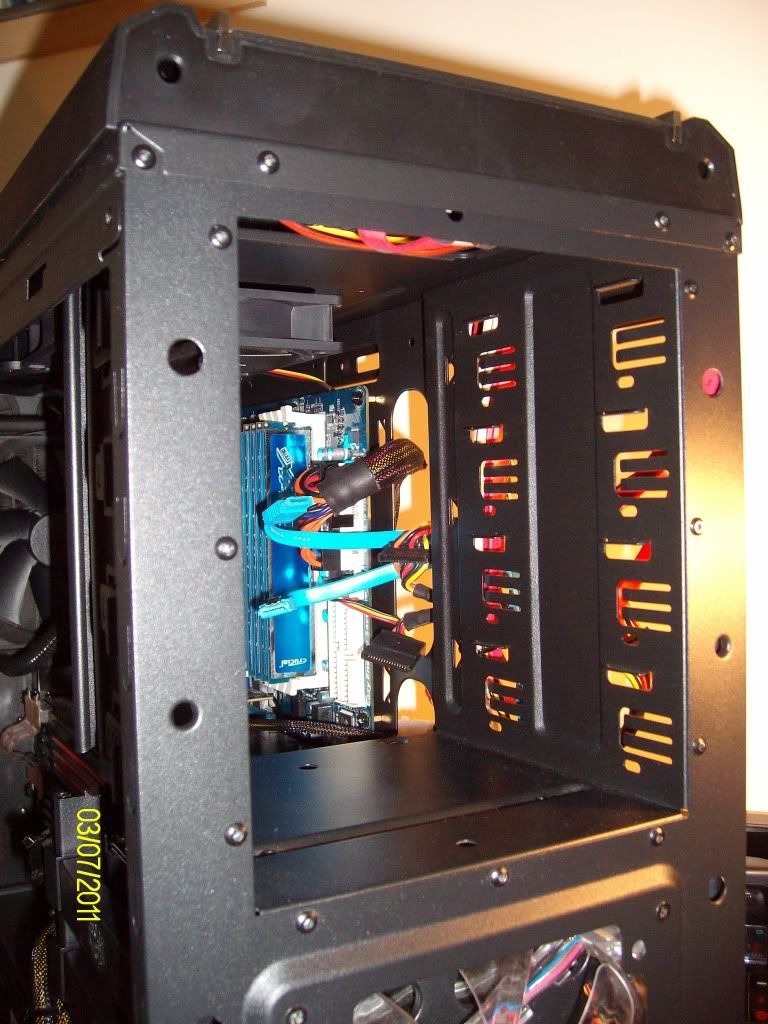
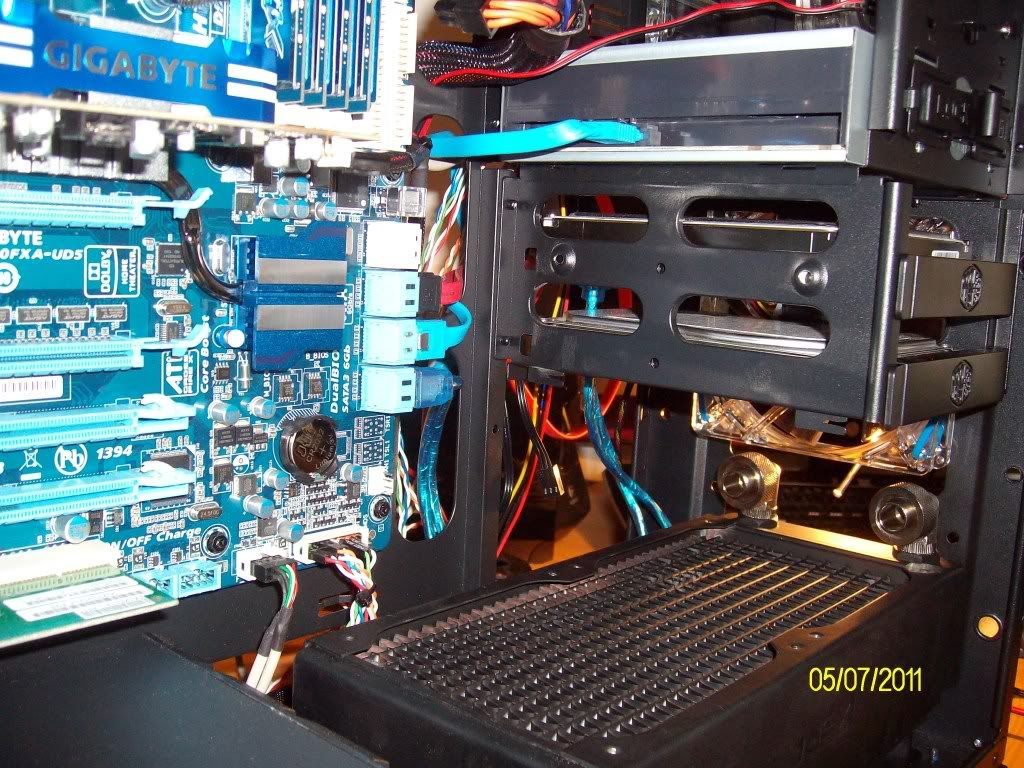
Case before anything removed, apart from some cable ties to mesure and check spaces for rads and res.
 
Associate
OP
Joined
7 May 2011
Posts
214
Location
Nr Basingstoke
Some parts i have recived before i started this thread. What i have so far.
EK Supreme HF CPU block
Alphacool VPP655 pump only
XSPC Dual 5.25" bay res for the D5 pump
XSPC Rads, 1 RS240 for the top. 1 RX240 for the bottom
Masterkleer uv blue tubing
Mayhems X1 premix fluid.
ALIM1025.jpg

ALIM1027.jpg

Also i have recived a nice clear side panel for the case, to show it all of when finished :)
ALIM1026.jpg
 
Associate
OP
Joined
7 May 2011
Posts
214
Location
Nr Basingstoke
First thing first. time to start removing parts and get ready for install.
The first thing i took apart was the bottom drive bays. In the CM 690 i had to remove all the HDD's and the trays first, then lay the case on its back, remove dust filter. Underneath there is four screws to remove, once removed stand case back up and there are three more screws in the back, then the two sides just pull forward slightly and pull out.
ALIM1028.jpg

The next thing i have removed is the dvd drives and card reader to make way for the res and a fan controller. I will have to leave one of the dvd drives out and also the card reader. i have an external card reader anyway.
ALIM1029.jpg
 
Associate
OP
Joined
7 May 2011
Posts
214
Location
Nr Basingstoke
Hi all, the next task i thought i would do is to remove the GPU's and get them stripped cleaned and ready for the waterblocks, which i have on order ( HK FC6970 Full cover; copper plexi ) to match my CPU block.
ALIM1036.jpg

ALIM1046.jpg

GPU's ready
 
Last edited:
Associate
OP
Joined
7 May 2011
Posts
214
Location
Nr Basingstoke
Now i am ready to remove the CPU cooler and get the cpu cleaned and rady for the new block.
ALIM1040.jpg

Cooler removed, thanks to the hole in the motherboard tray replacing the back plate on the mobo was a breeze. Which made the fitting of the new block an easy task to do.
ALIM1042.jpg

ALIM1041.jpg

GPU block in place and looking good. Even a facility on that block to put LED's but with my tracers beside it i thought i would not need.
 
Associate
OP
Joined
7 May 2011
Posts
214
Location
Nr Basingstoke
Now for the placement of the rads and res. The top rad went in easy. for there i used the XSPC RS240 with 2 120mm Bitfenixfans under the top cowl.
ALIM1031.jpg

ALIM1032.jpg

The bottom rad though was a bit more of a problem and the XSPC RX240 that i used was a very snug fit, with the same 120mm Bitfenix fans underneath. The fitting end of the rad had to go to the front of the case, where the 140mm fan had to be replaced with a 120mm fan and a home made harness for it to lift clear of the fittings.
ALIM1033.jpg

ALIM1048.jpg

ALIM1049.jpg

Now it is fitted it looks good.
 
Associate
OP
Joined
7 May 2011
Posts
214
Location
Nr Basingstoke
Everything on hold now for a couple of days. Waiting for the rest of the parts to arrive and back to work, waiting on the GPU blocks and fittings. as soon as they arrive i will update.
 
Associate
OP
Joined
7 May 2011
Posts
214
Location
Nr Basingstoke
Update, new parts turning up today. GPU blocks and all the fittings.
As for the cables it does need a lot of planning as the back looks like a birds nest at the moment :)
 
Associate
OP
Joined
7 May 2011
Posts
214
Location
Nr Basingstoke
At last the rest of my parts have turned up.
ALIM1050.jpg

ALIM1052.jpg

Anti kink coils
Lamptron fan controller.
Lamptron spectral bar (blue)
EK FC-6970 water block's.
EK FC-6970 Nickel back plates
EK compression fittings
Xigmatek 120mm clear fans (blue LED)
 
Associate
OP
Joined
7 May 2011
Posts
214
Location
Nr Basingstoke
Hi all, i have had chance to do a little more to my project. To tackle the GPU's and fit the water blocks on them, a task that needed quite a lot of care and attention. To make sure you have the right thickness and right size thermal pads fitted to the right places. but for my first attempt i am very happy with the look and the outcome of them.
See the pics of them below and the first one installed in my build with the first bit of tubing connected to the top rad and CPU.
ALIM1055.jpg

Block fitted.
ALIM1056.jpg

Backplate fitted
ALIM1058.jpg

The first one in place.
The next GPU i will take some pictures of the placement of the thermal pads to help others.
Sorry about some of the pics, as i have a slightly tempramental camara, i think i will have to invest in a new one at some point :D
 
Associate
OP
Joined
7 May 2011
Posts
214
Location
Nr Basingstoke
Update, connected all the tubing to the blocks and res with loads of kitchen roll :D Ready to leak test.
ALIM1066.jpg

Ran the system all day and and i must admit i had one small leak :( soon fixed though.
Once i had checked for any more leaks and got all of the air out, i am very impressed with the Alphacool D5 pump and the XSPC bay res. Peace at last :) Apart from a slight background hum it is almost silent.

Now time to start to organise the cables. A bit of a task ahead
ALIM1068.jpg

ALIM1069.jpg

ALIM1071.jpg
 
Associate
OP
Joined
7 May 2011
Posts
214
Location
Nr Basingstoke
Cables out of the way as best i can, still needs little work at some point but looking good so far. glad i put the big rad at the bottom, room to hide lots of the cables. And to put the back on was a bit of a squeeze.
ALIM1072.jpg

Hard work trying to hide all of them.
 
Associate
OP
Joined
7 May 2011
Posts
214
Location
Nr Basingstoke
Almost there, time to put the front and side on.
ALIM1073.jpg

ALIM1074.jpg

ALIM1075.jpg

ALIM1076.jpg

ALIM1077.jpg

ALIM1078.jpg

Now time to check everything over and switch on. Fingers crossed !!
I will do the in the dark shots and the temp check later to check all is running well.
 
Back
Top Bottom