So some quick background to my proposed build;
I am about to move out into my own flat for the very first time, and of course like any other technologist some of my first thoughts naturally orientate around Internet, TV, Computer and PlayStation (not necessarily in that order).
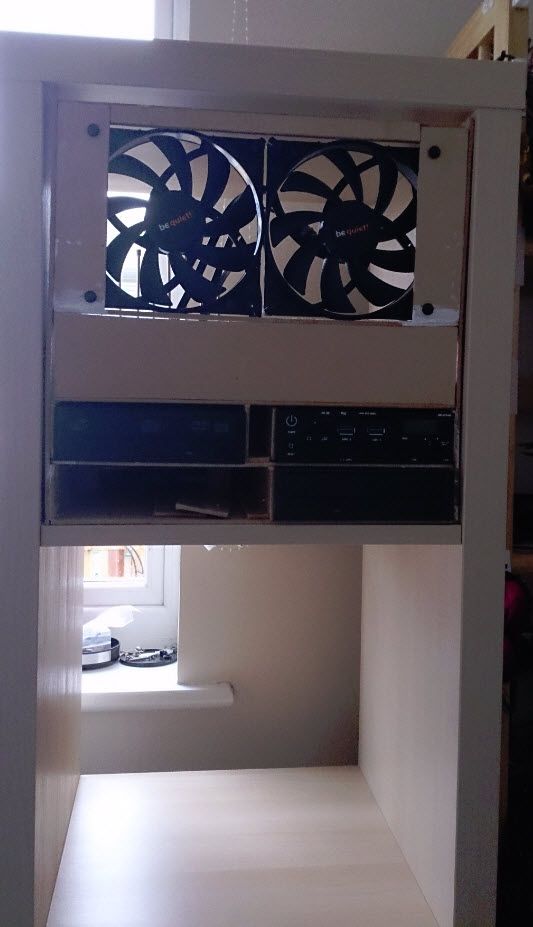
Something I am looking likely to get is a 'cube' shelving / storage unit from Ikea known as 'Kallax' (previously known as Expedit). As space will be at a premium I am looking at making maximum use of this unit for most of my storage, including, hopefully, my computer.
I did some quick googling and came across another similar project on a different forum but it looks like it had to come to a premature end. It is likely that I won't be moving out until December at the earliest, so currently I am only posting here to get some thoughts from the wealth of experience here so I have a better idea of how I will progress this after I move in.
Some initial scope / requirements:
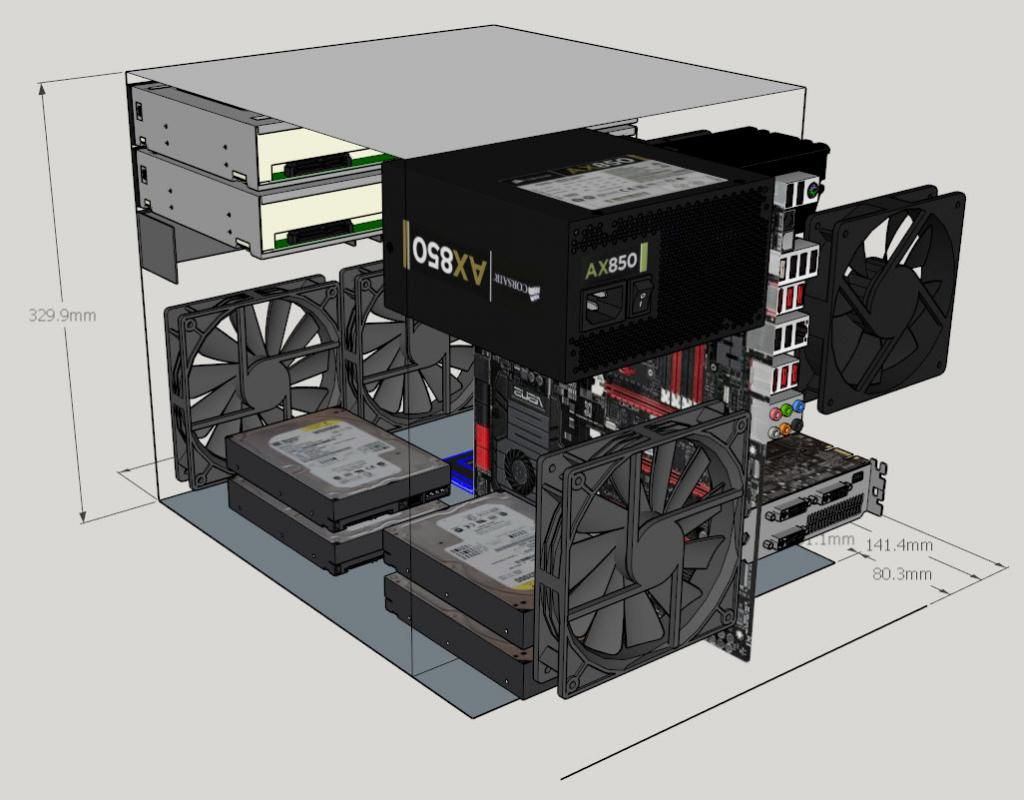
- Each cube in KALLAX is 33cm square, so the entire PC has to fit within this space. The unit will be up against the wall but with probably an inch or two space so the length isn't too critical, but if I want to get a perfectly flush fit the depth needs to be under 37cm
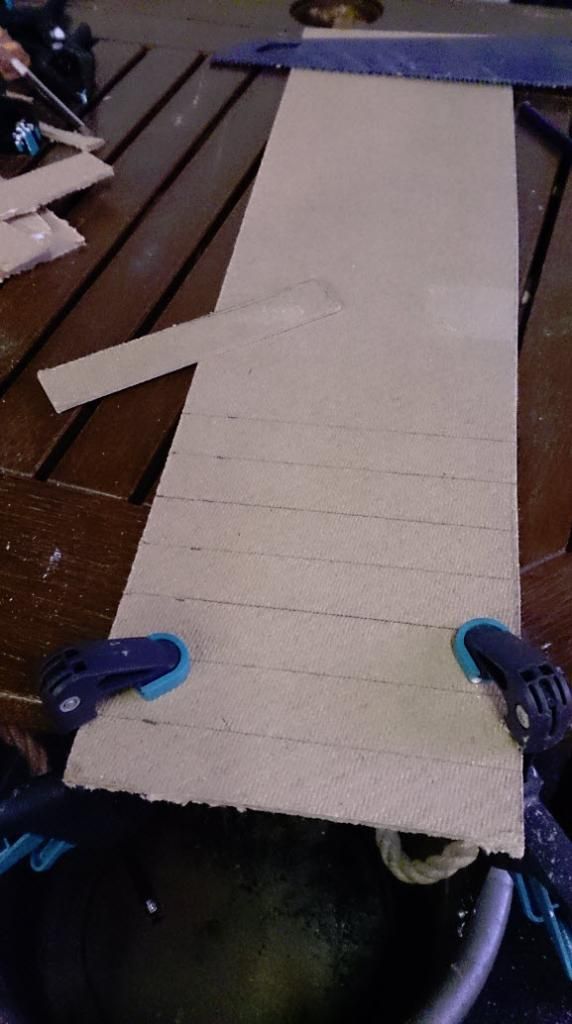
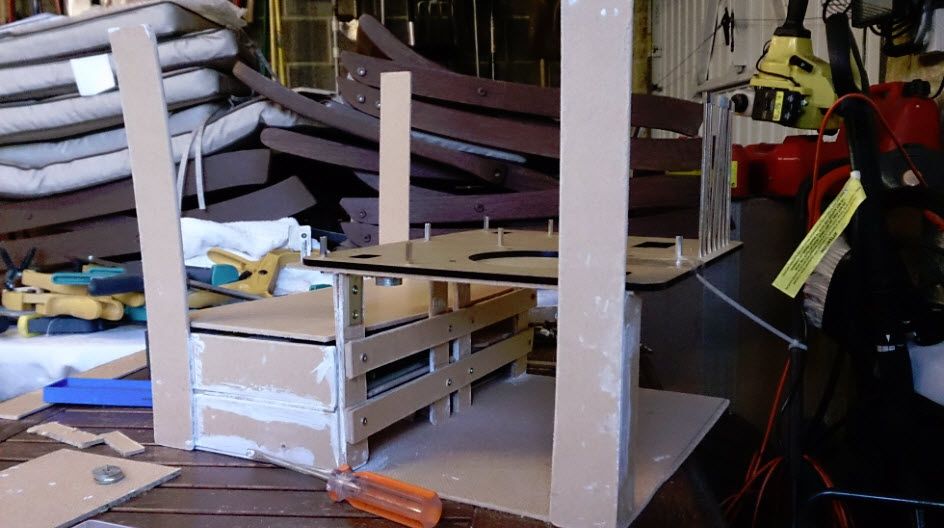
- The unit will be in a light beech style wood, so I am tempted to build the computer case out of a similar wood to help it blend in
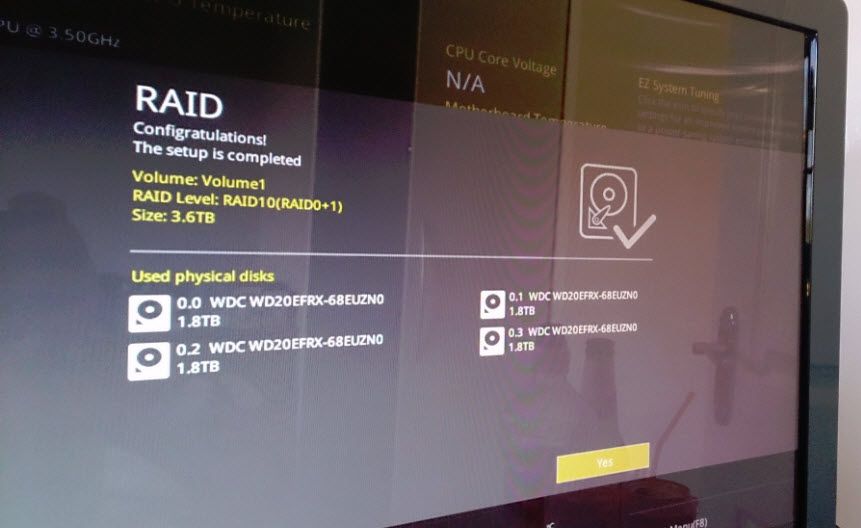
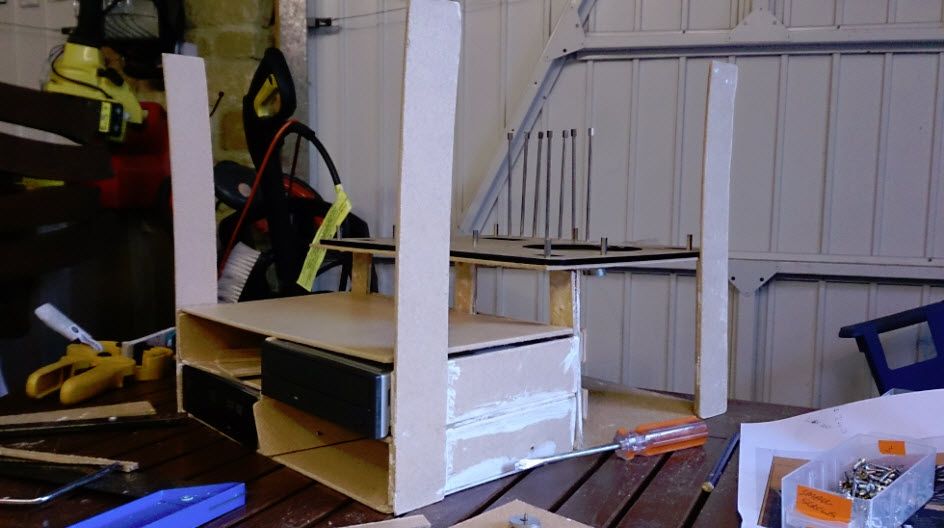
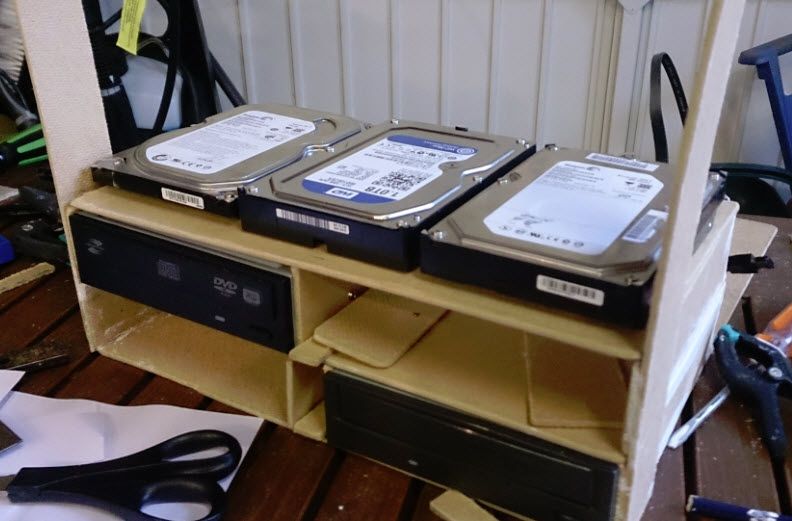
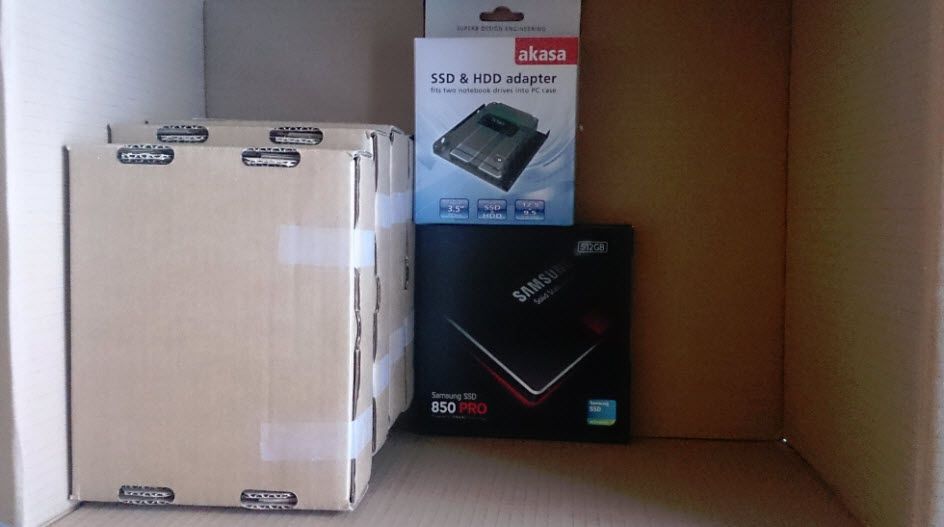
- The case should fit at least 4x hard drives (RAID 10) and an SSD (operating system)
- Will need room for a dual slot graphics card and a TV tuner (my PC will be my TV tuner / recorder as well)
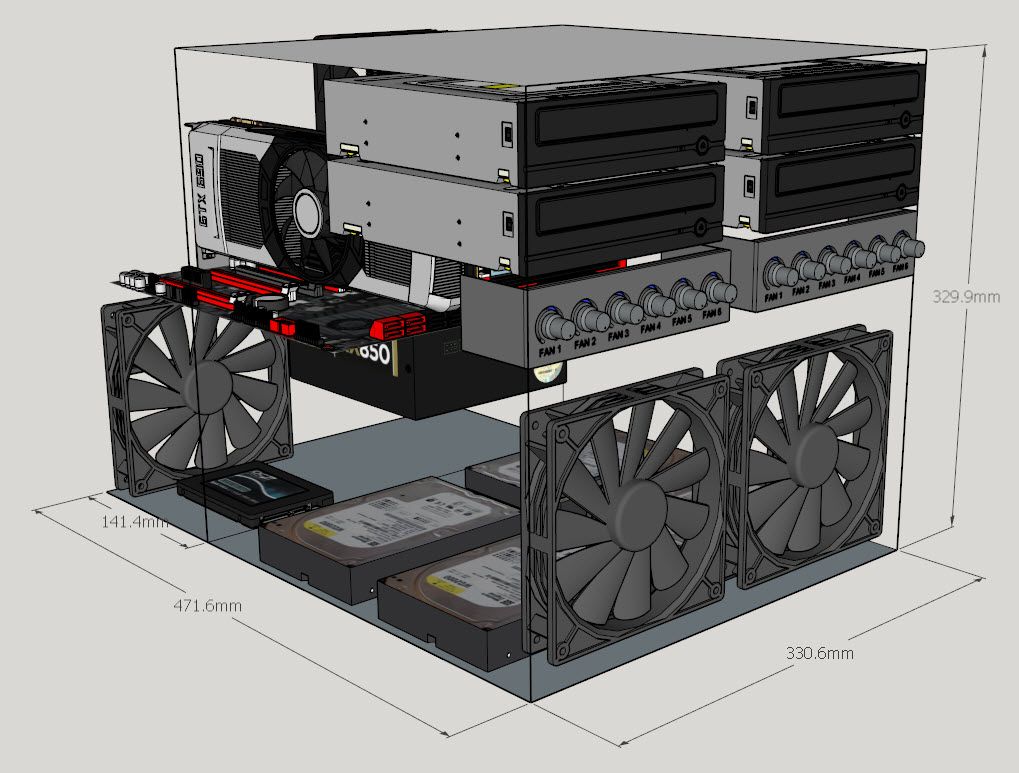
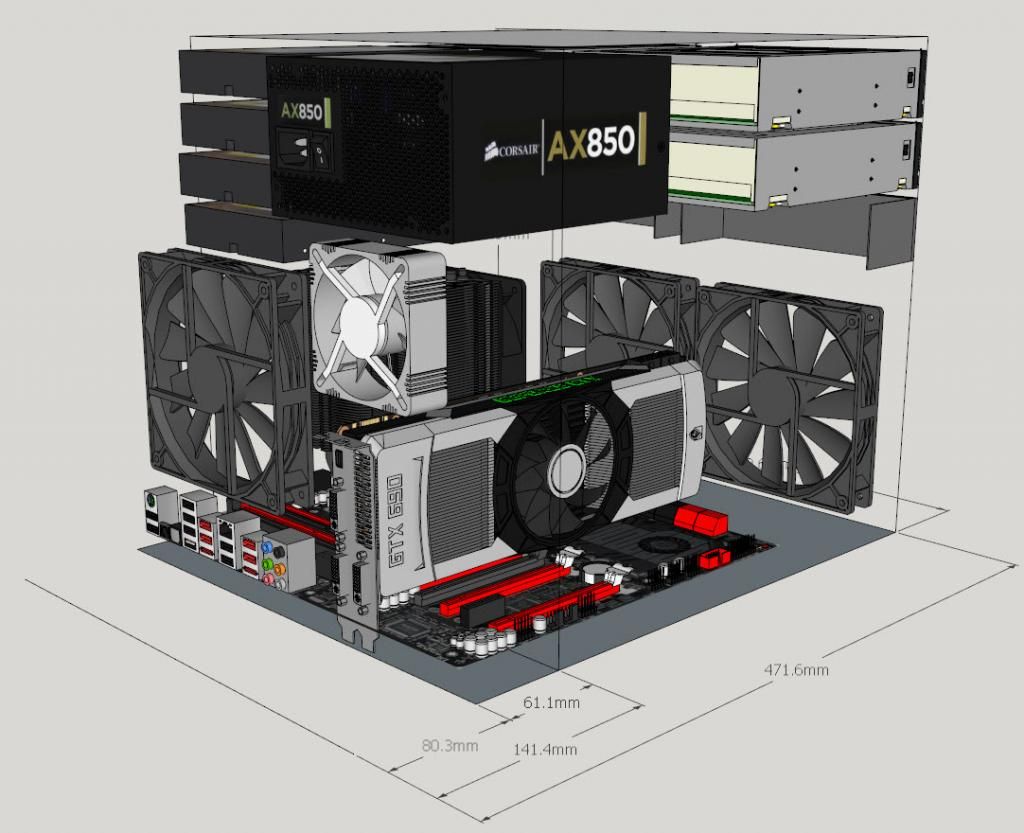
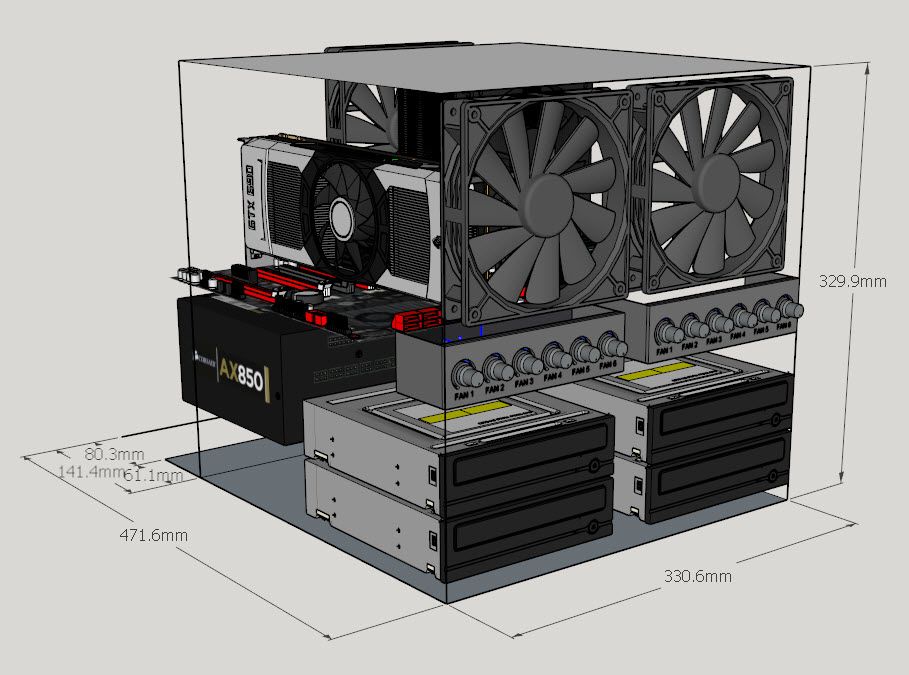
My initial idea is to build something along the lines of (apologies, I am not an avid CAD user, so these are just some mock ups from Visio - but things should be relatively in proportion with each other):
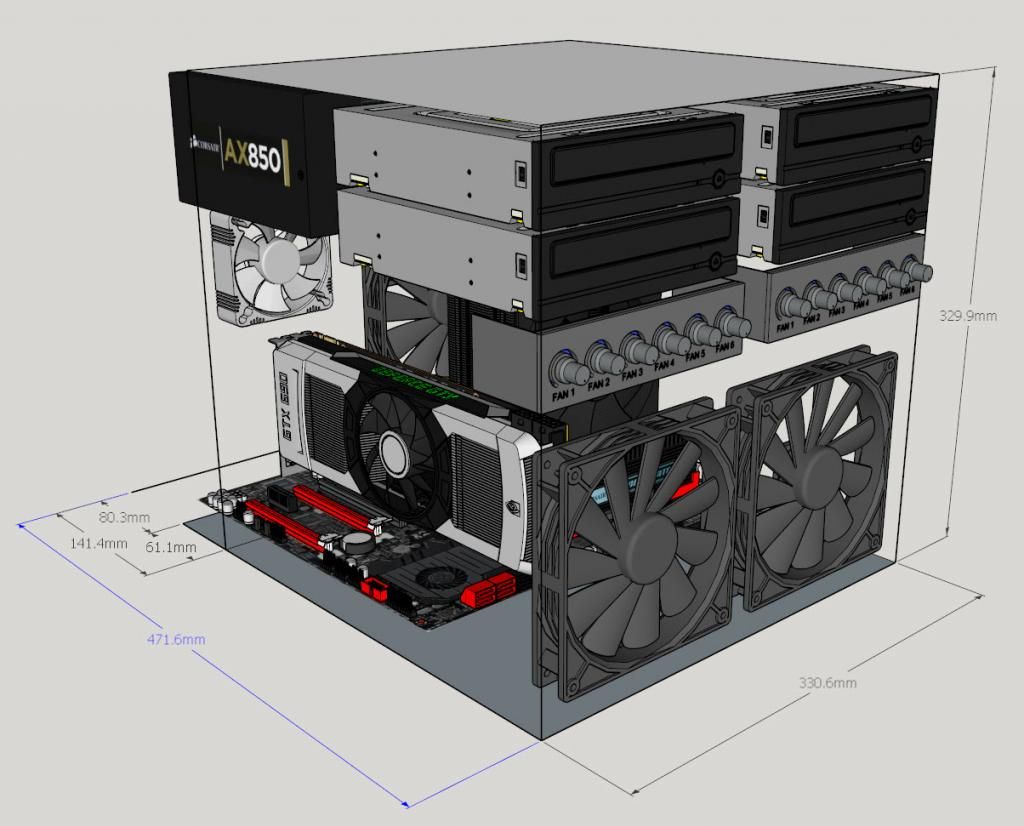
From the front:
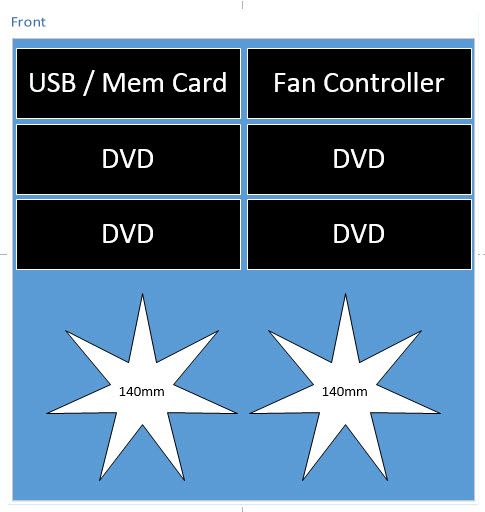
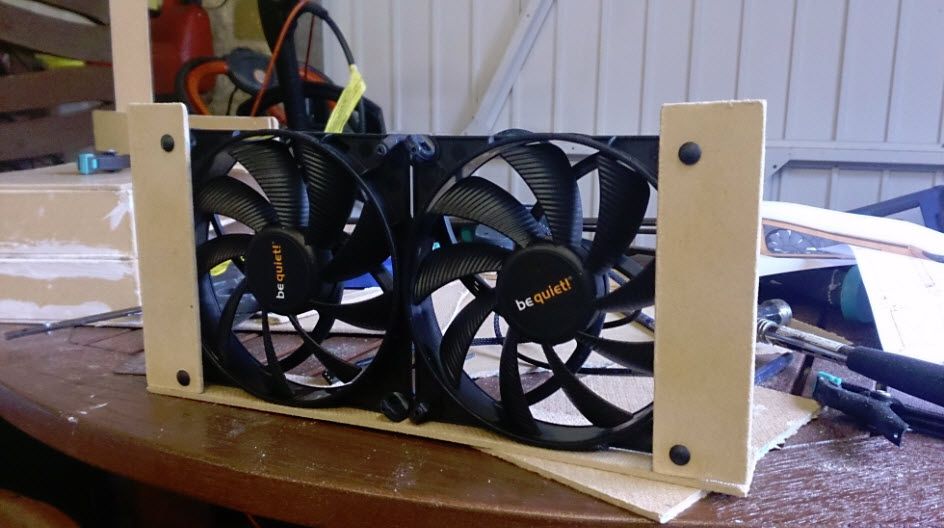
I reckon there should be enough room for four optical drives (I do some part time work in media editing / video production so being able to burn four discs simultaneously makes the process much easier), along with memory card reader and fan controller. The two 140mm fans should hopefully provide enough cool air intake.
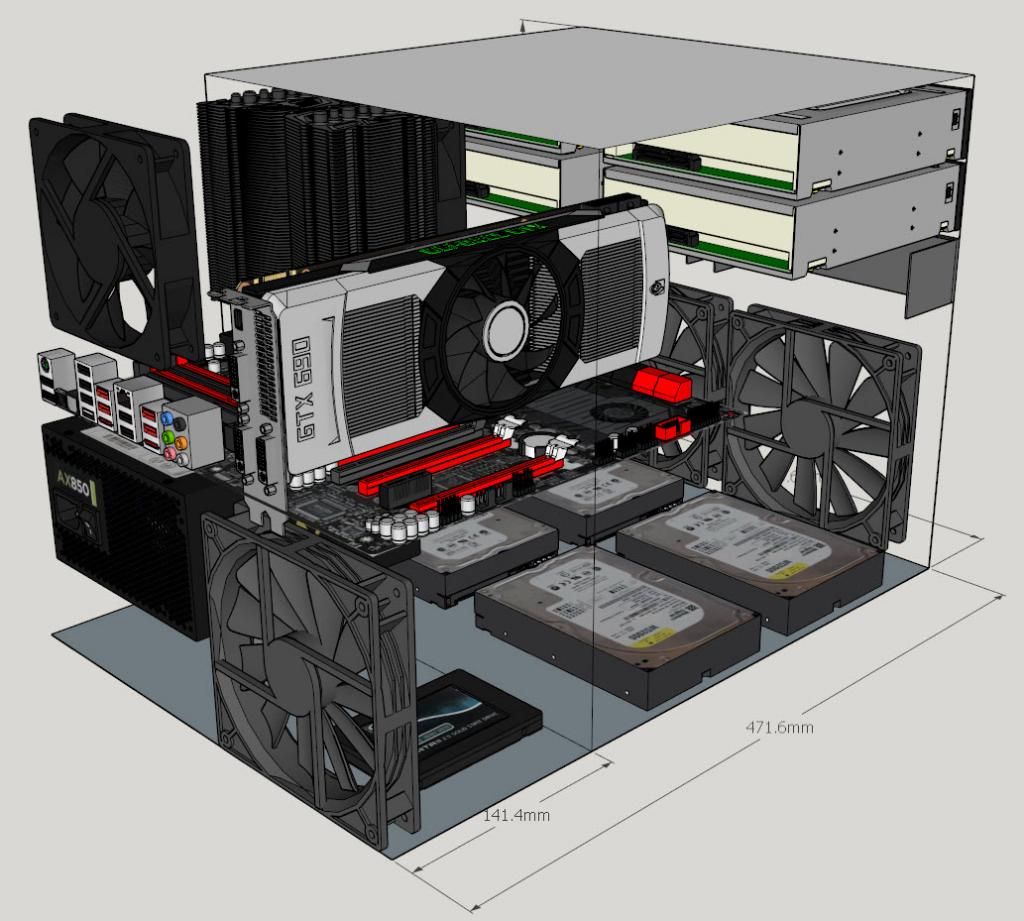
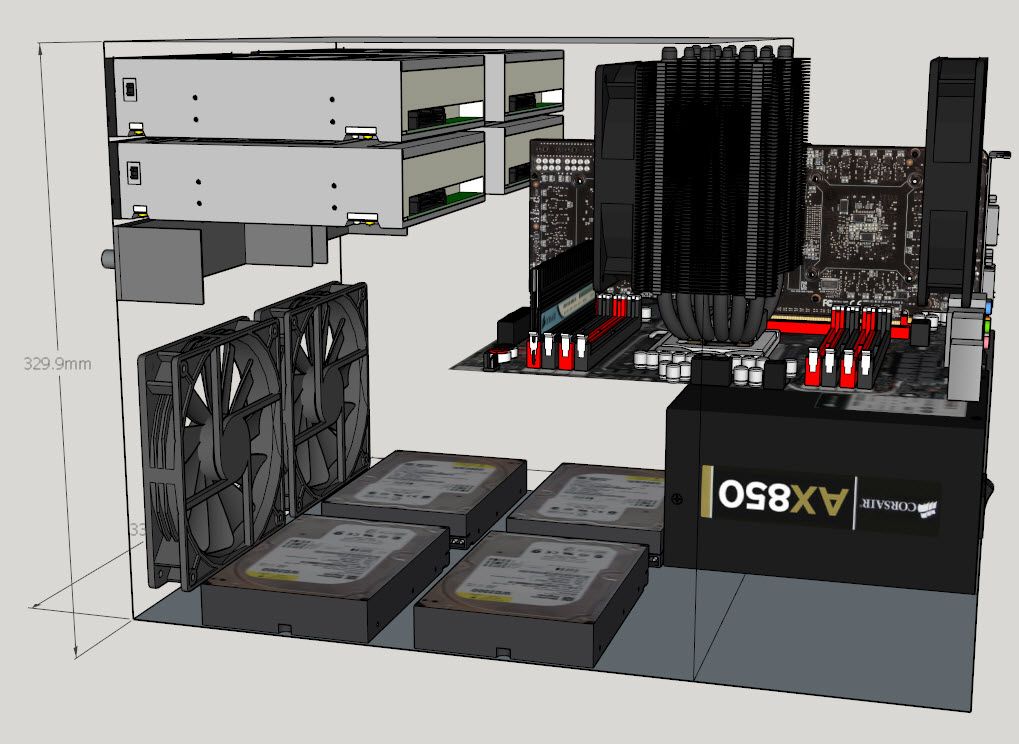
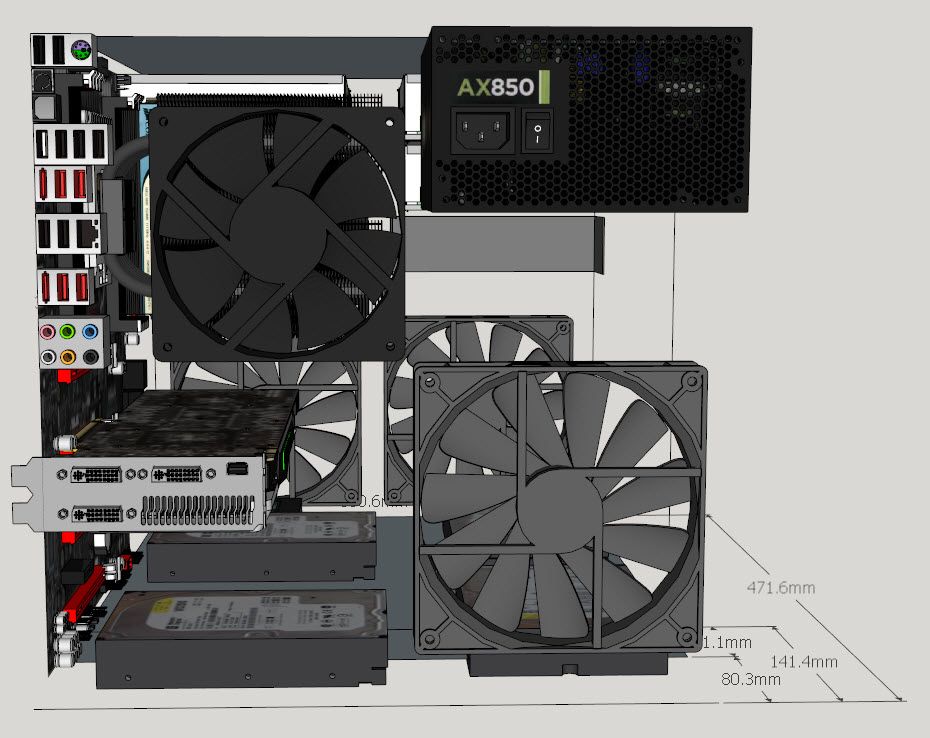
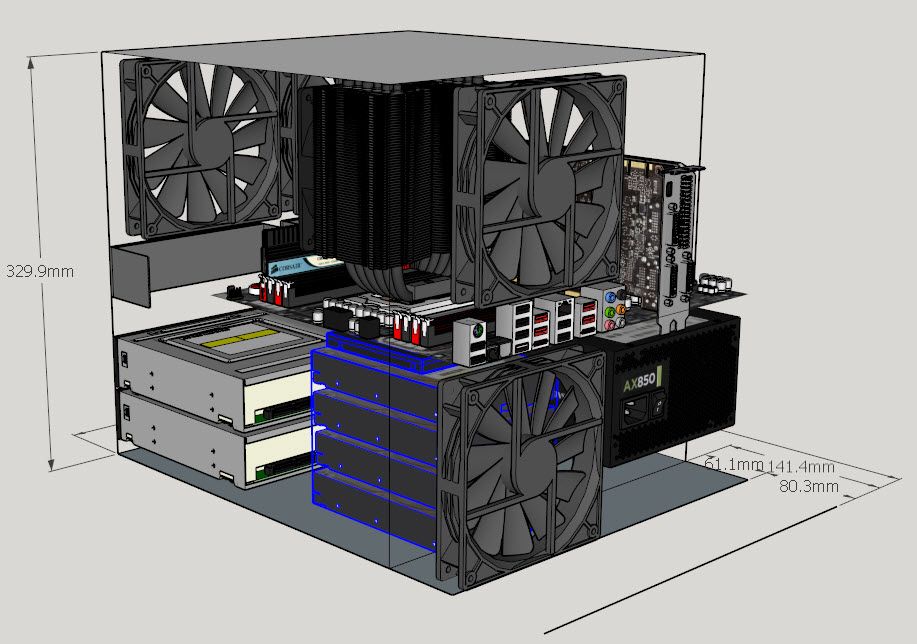
From the back:
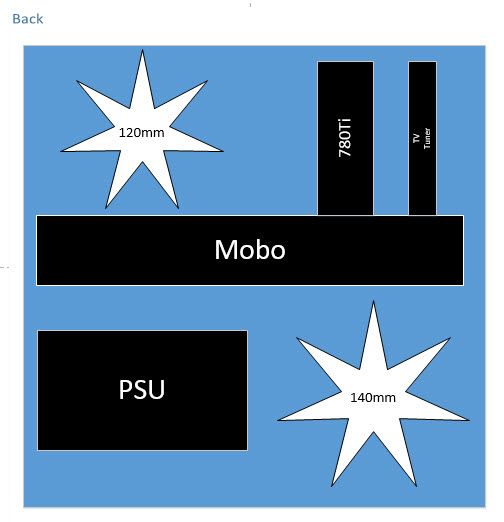
I would have the motherboard somewhere across the middle laying horizontally, providing some amount of segregation between the PSU (which I'm not sure if I should 'box' in more or not). I would mount the PSU as high as possible so that the underside fan has enough cool air to push through, along with another 140mm fan for exhaust. Above the motherboard there would only be room for a 120mm fan unless I get a bit more creative perhaps.
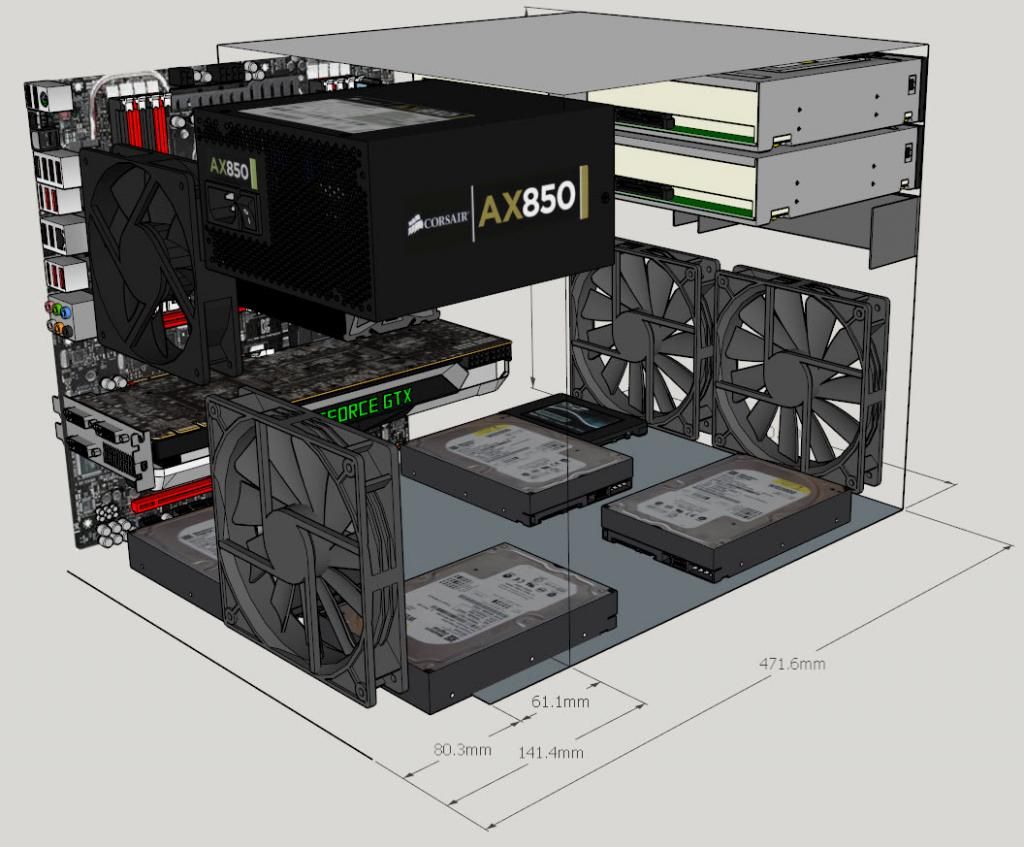
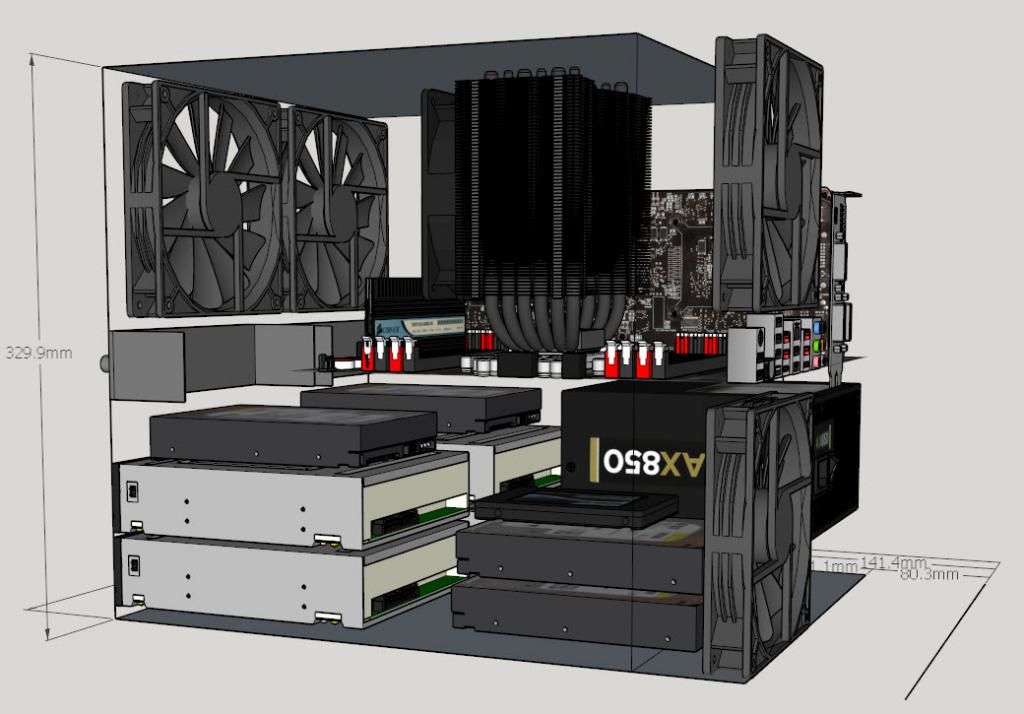
Finally from the side:
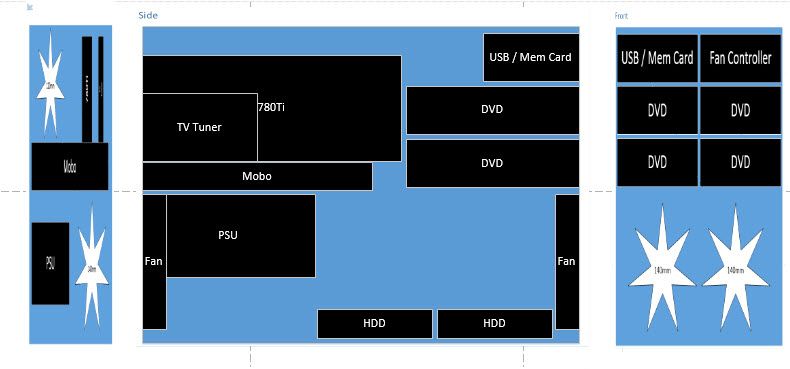
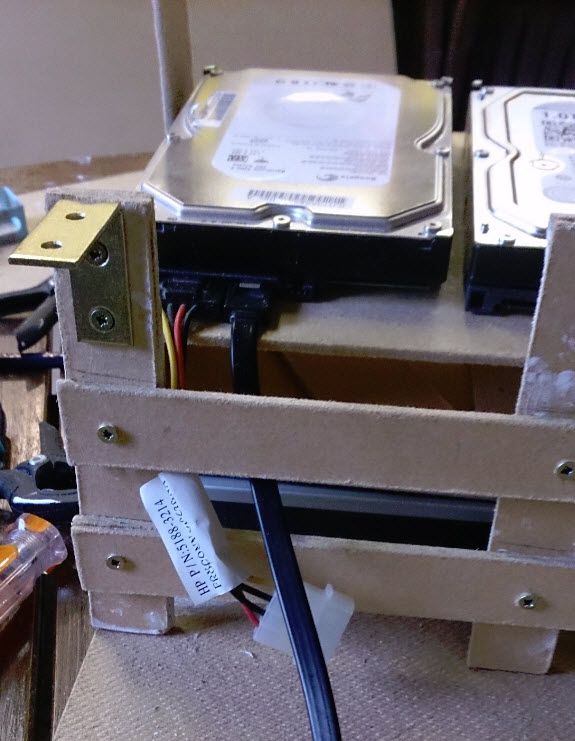
So I would have the four hard drives on the bottom of the case, probably with cables pointing inwards (between the two front fans so as to not block too much airflow). Not sure were to put the SSD though; either under the PSU, or slide the hard drives back and put the SSD at the front, or somehow mount it under one of the DVD drives?
Haven't given too much thought around components yet, but my starter for 10:
Any thoughts / comments / suggestions / tips are most welcome as I think I'm being pretty ambitious for my first ever custom build!
I am about to move out into my own flat for the very first time, and of course like any other technologist some of my first thoughts naturally orientate around Internet, TV, Computer and PlayStation (not necessarily in that order).
Something I am looking likely to get is a 'cube' shelving / storage unit from Ikea known as 'Kallax' (previously known as Expedit). As space will be at a premium I am looking at making maximum use of this unit for most of my storage, including, hopefully, my computer.
I did some quick googling and came across another similar project on a different forum but it looks like it had to come to a premature end. It is likely that I won't be moving out until December at the earliest, so currently I am only posting here to get some thoughts from the wealth of experience here so I have a better idea of how I will progress this after I move in.
Some initial scope / requirements:
- Each cube in KALLAX is 33cm square, so the entire PC has to fit within this space. The unit will be up against the wall but with probably an inch or two space so the length isn't too critical, but if I want to get a perfectly flush fit the depth needs to be under 37cm
- The unit will be in a light beech style wood, so I am tempted to build the computer case out of a similar wood to help it blend in
- The case should fit at least 4x hard drives (RAID 10) and an SSD (operating system)
- Will need room for a dual slot graphics card and a TV tuner (my PC will be my TV tuner / recorder as well)
My initial idea is to build something along the lines of (apologies, I am not an avid CAD user, so these are just some mock ups from Visio - but things should be relatively in proportion with each other):
From the front:
I reckon there should be enough room for four optical drives (I do some part time work in media editing / video production so being able to burn four discs simultaneously makes the process much easier), along with memory card reader and fan controller. The two 140mm fans should hopefully provide enough cool air intake.
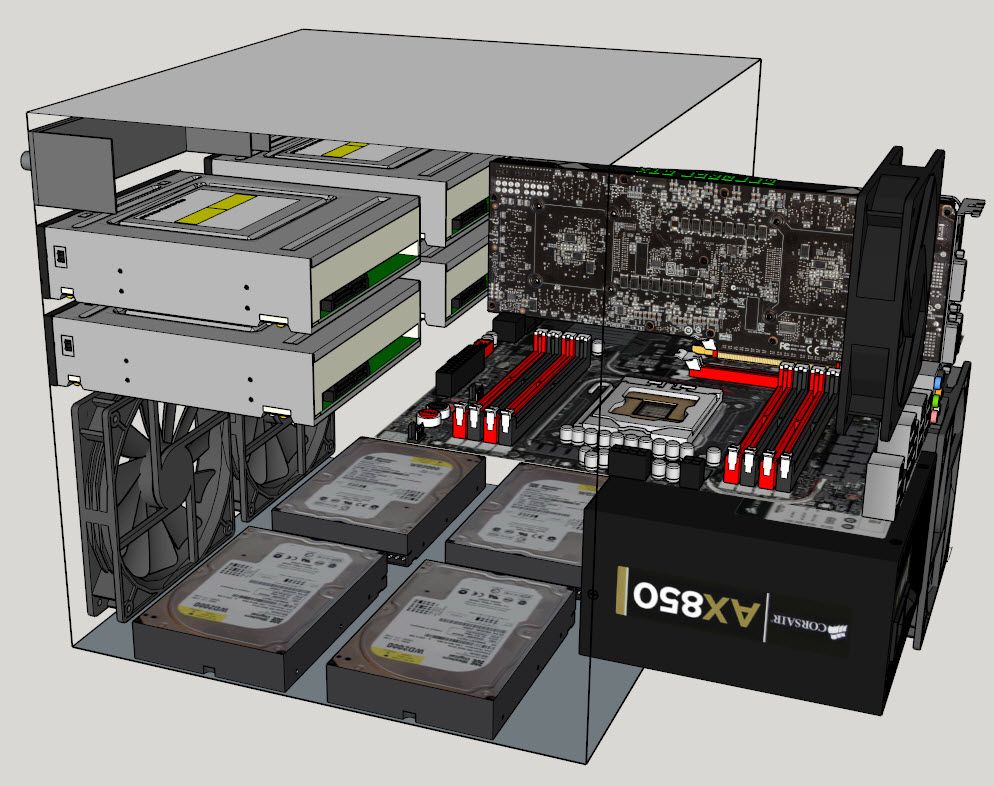
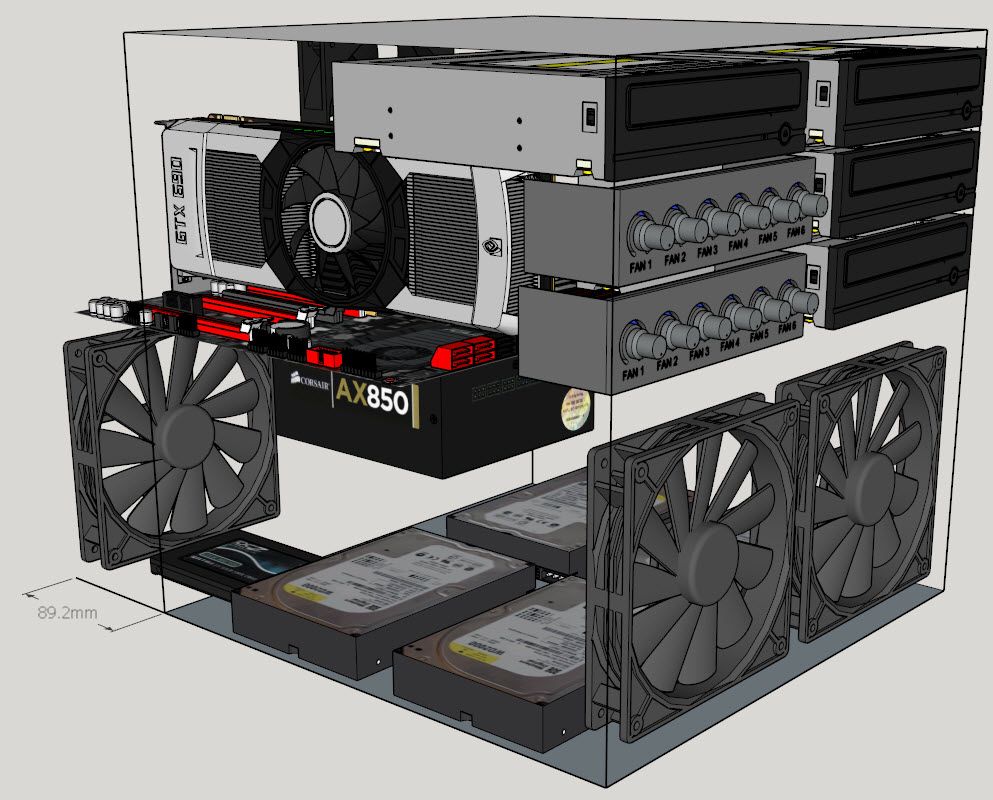
From the back:
I would have the motherboard somewhere across the middle laying horizontally, providing some amount of segregation between the PSU (which I'm not sure if I should 'box' in more or not). I would mount the PSU as high as possible so that the underside fan has enough cool air to push through, along with another 140mm fan for exhaust. Above the motherboard there would only be room for a 120mm fan unless I get a bit more creative perhaps.
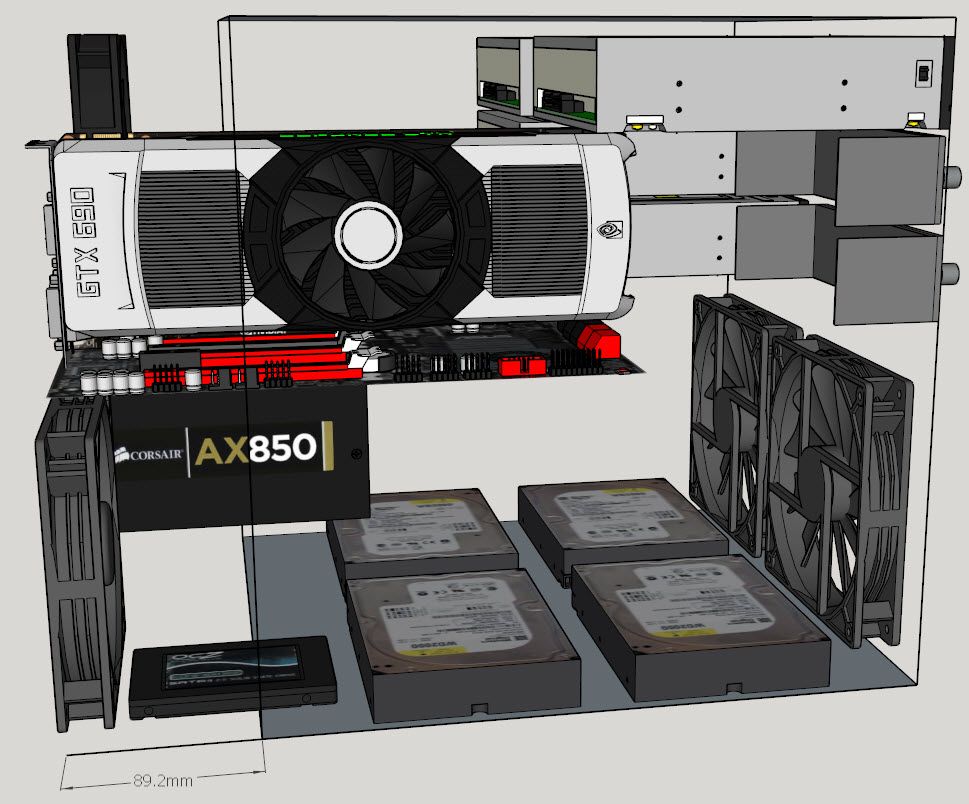
Finally from the side:
So I would have the four hard drives on the bottom of the case, probably with cables pointing inwards (between the two front fans so as to not block too much airflow). Not sure were to put the SSD though; either under the PSU, or slide the hard drives back and put the SSD at the front, or somehow mount it under one of the DVD drives?
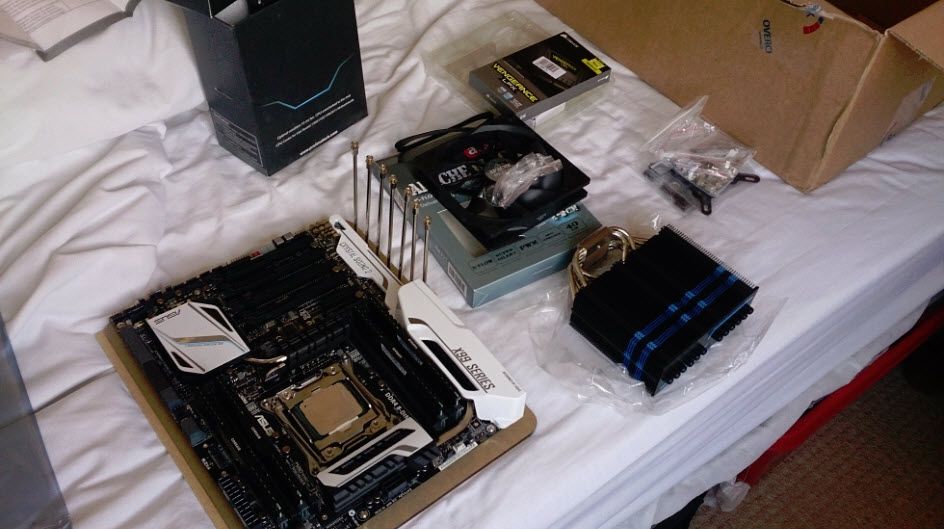
Haven't given too much thought around components yet, but my starter for 10:
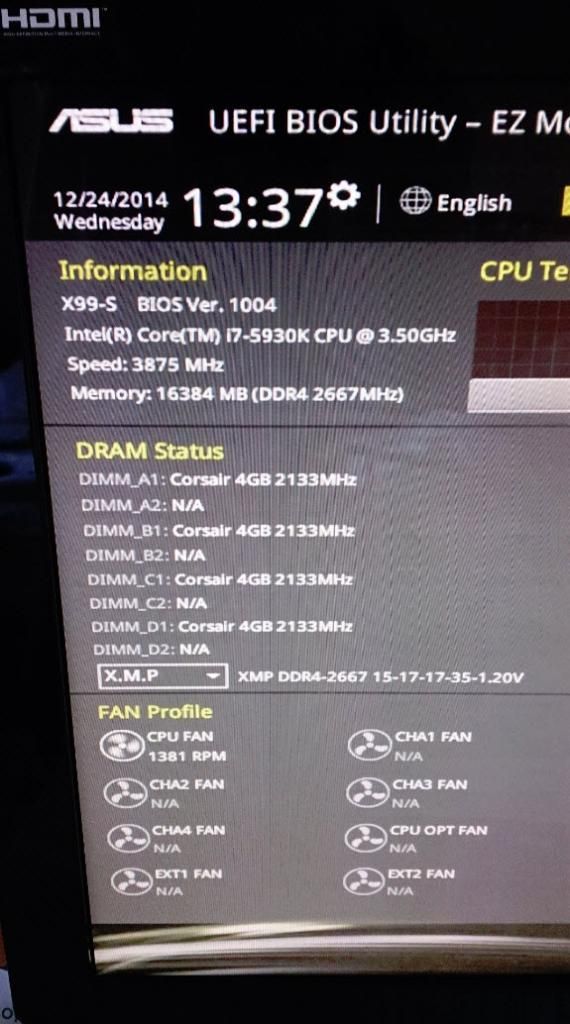
- Motherboard, CPU and RAM bundle from overclockers: http://www.overclockers.co.uk/showproduct.php?prodid=BU-022-OG&groupid=2833&catid=2512
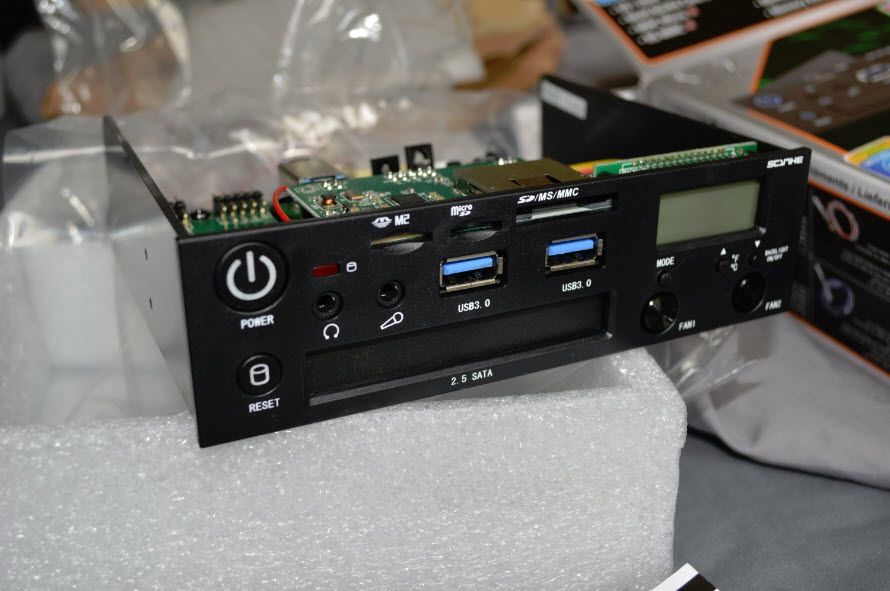
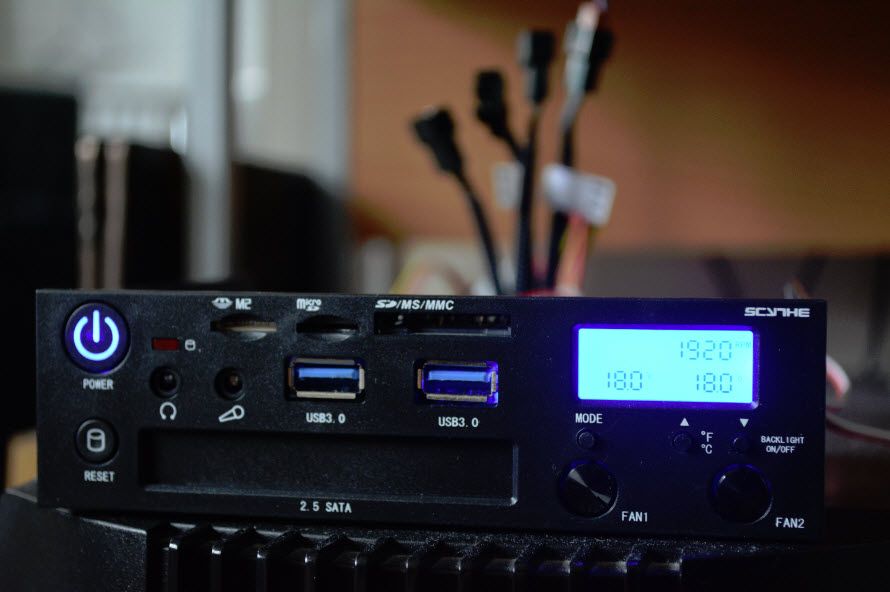
- Akasa InterConnect Ex memory card reader and front IO
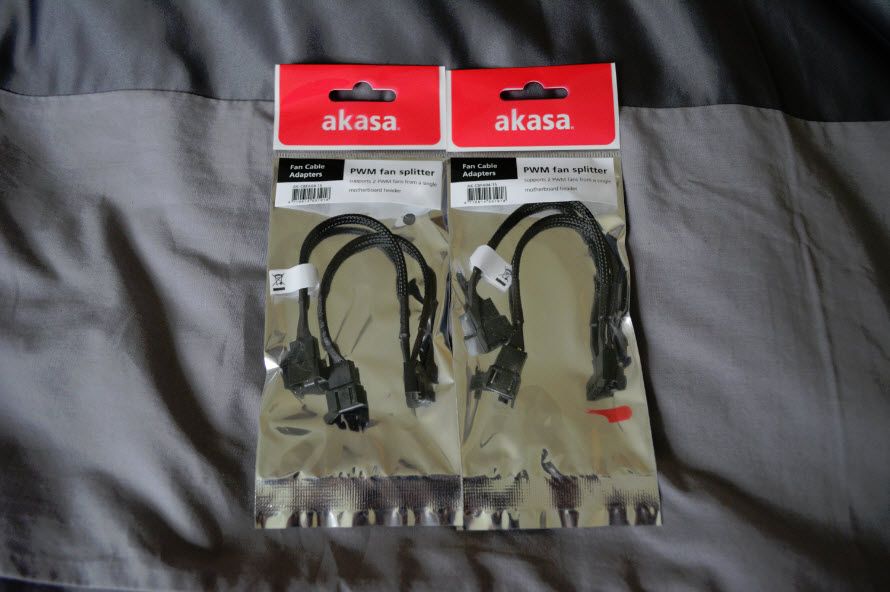
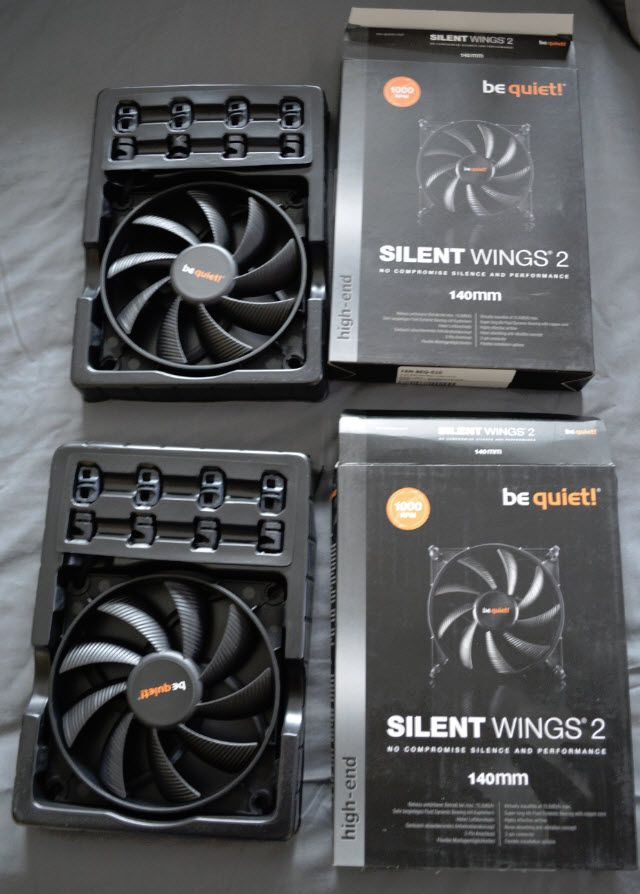
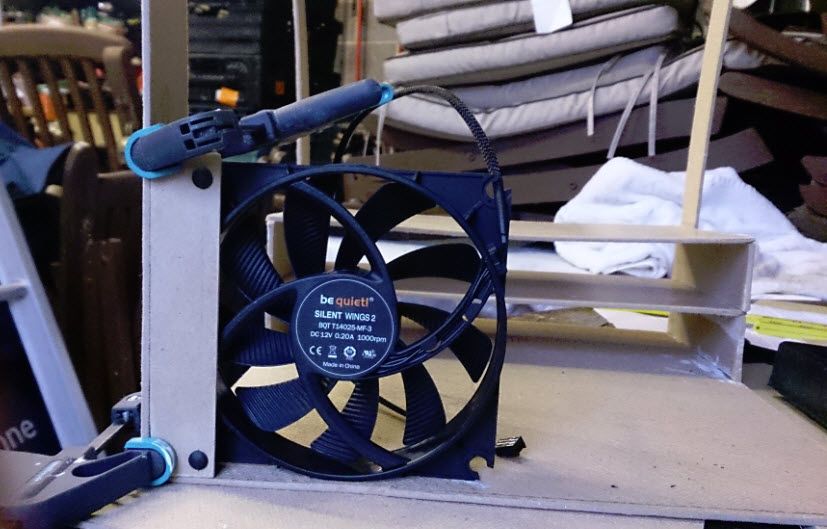
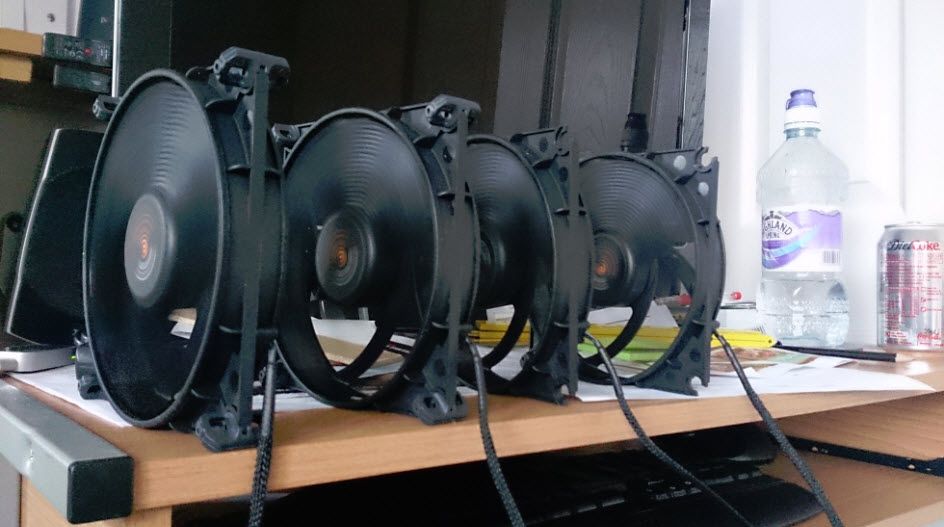
- Be Quiet SilentWings 2 for the fans
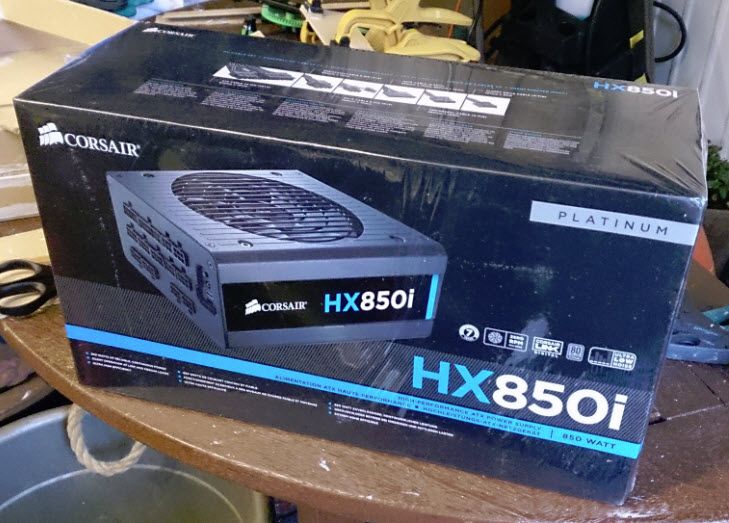
- Corsair HX750i for the modular PSU
- Nvidia 780 or 780Ti GPU
- TBS Dual DVB-S2 for TV tuner to get UK Freesat (and HD) channels
Any thoughts / comments / suggestions / tips are most welcome as I think I'm being pretty ambitious for my first ever custom build!
")

 )
)