Project Equilibrium.

Associate
Joined
2 Oct 2008
Posts
137
Location
Newcastle upon Tyne
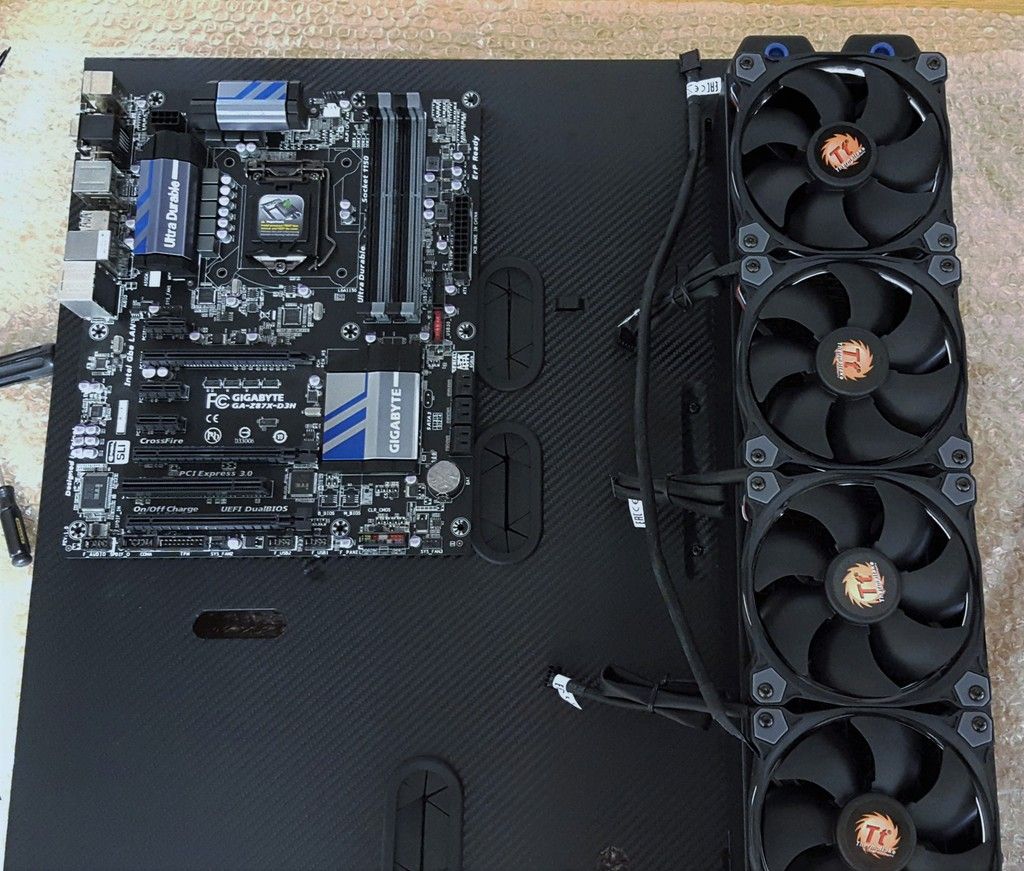
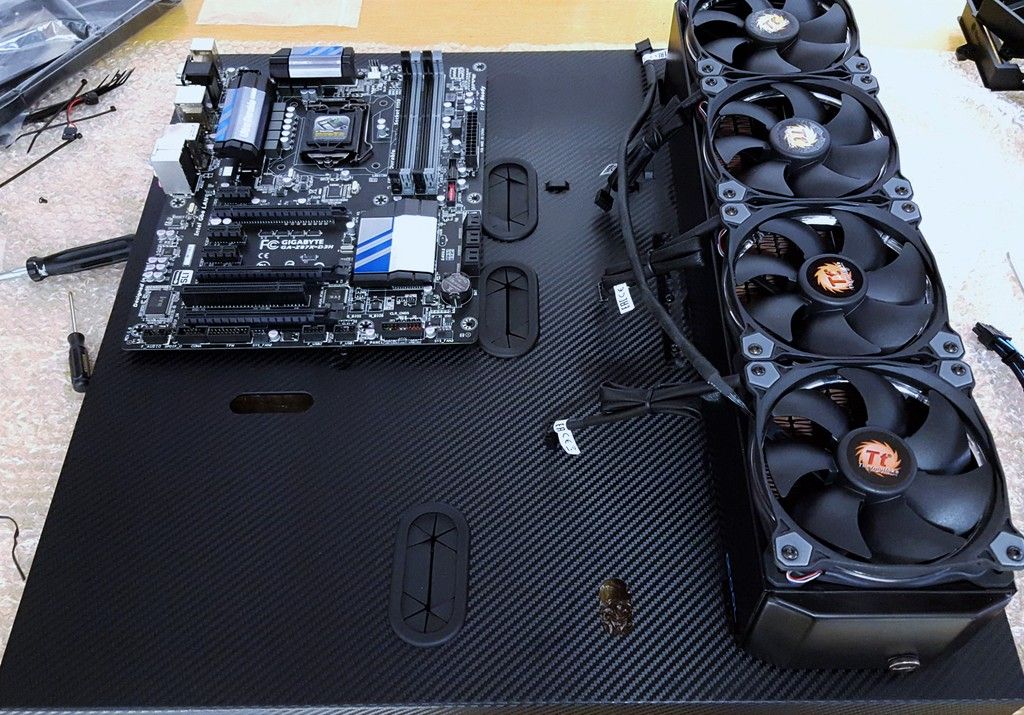
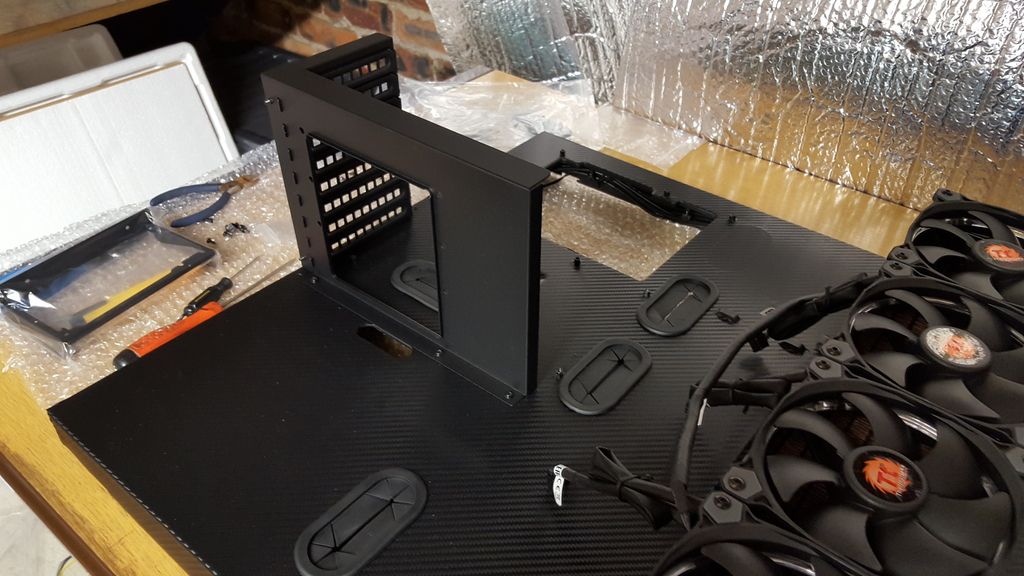
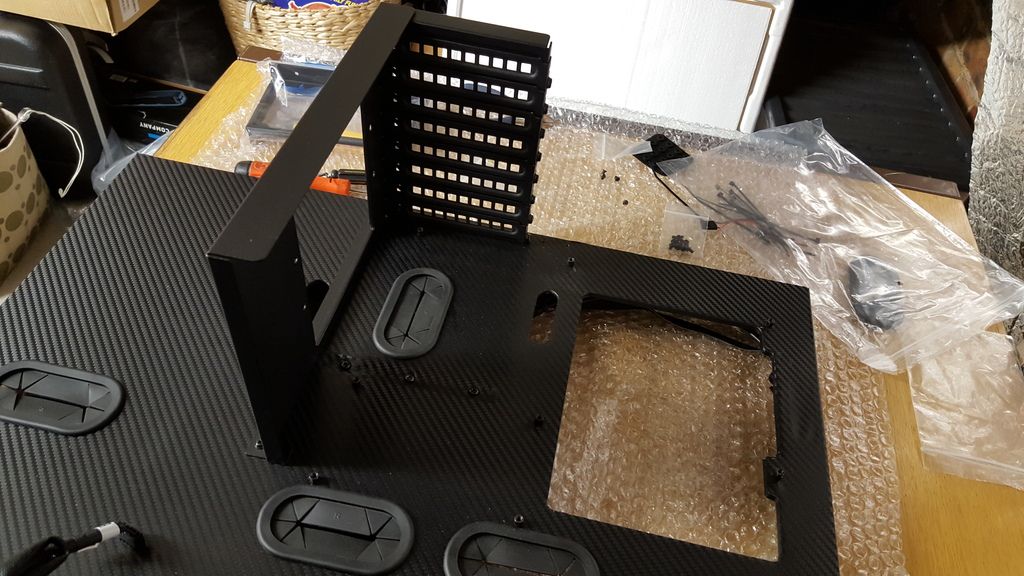
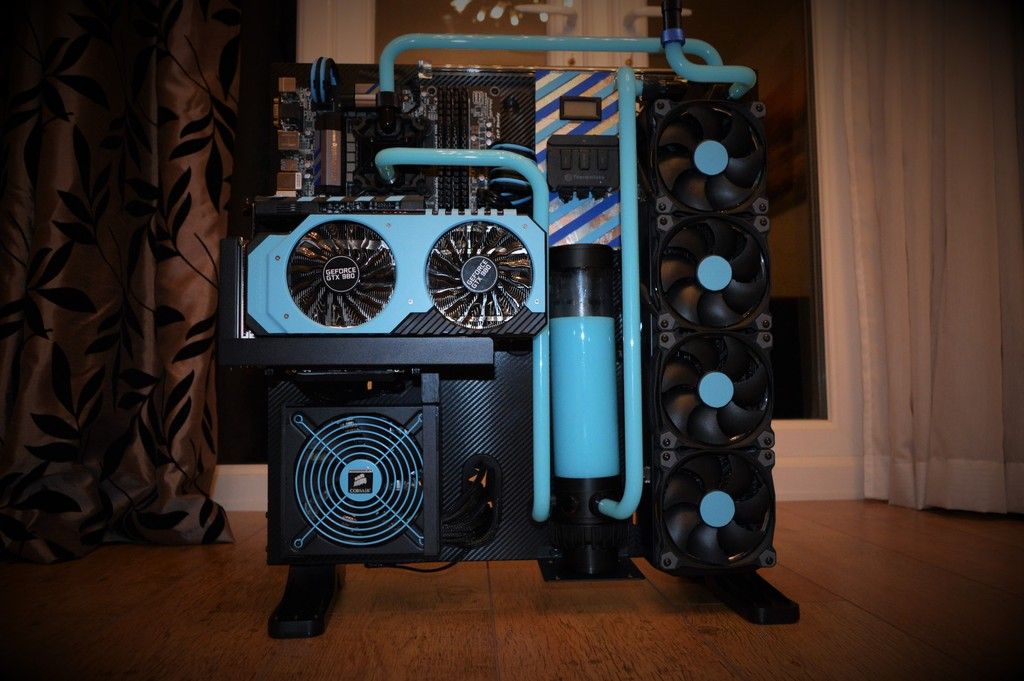
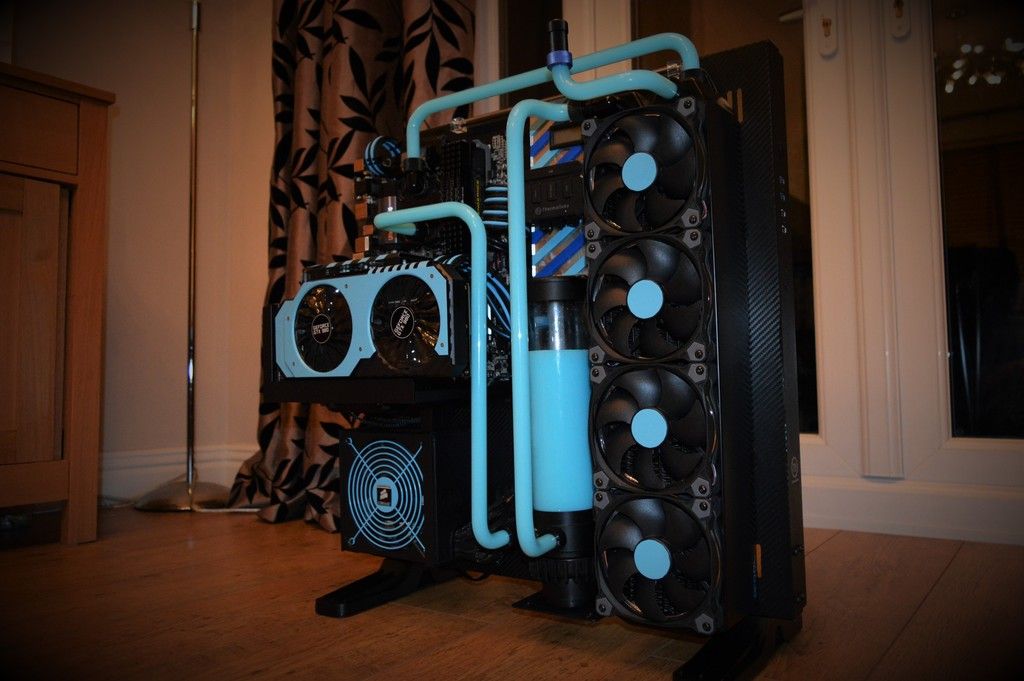
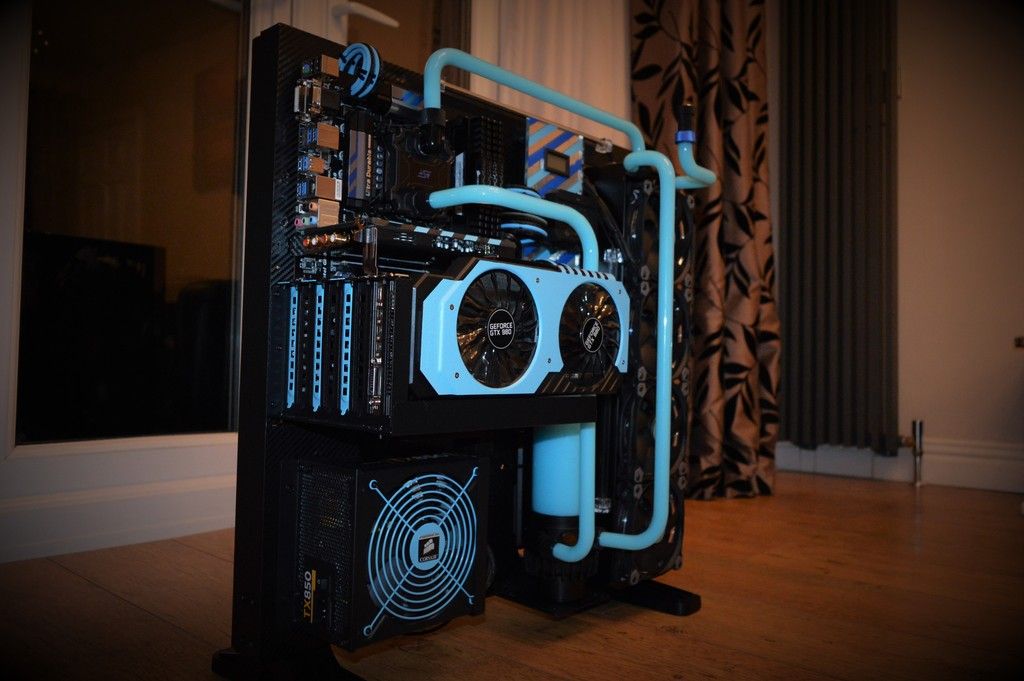
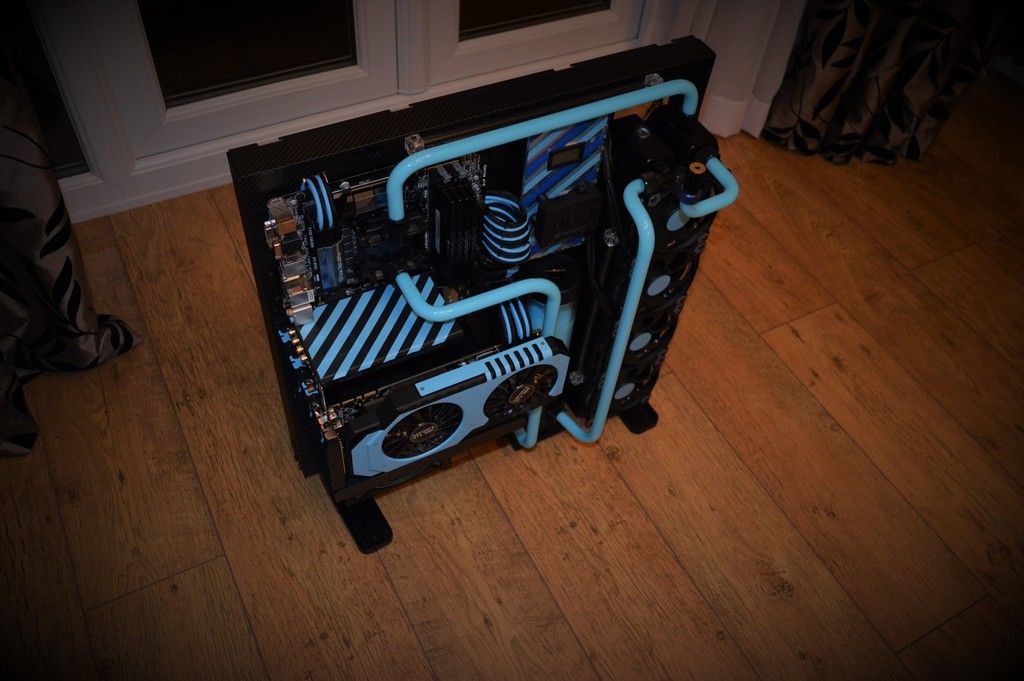
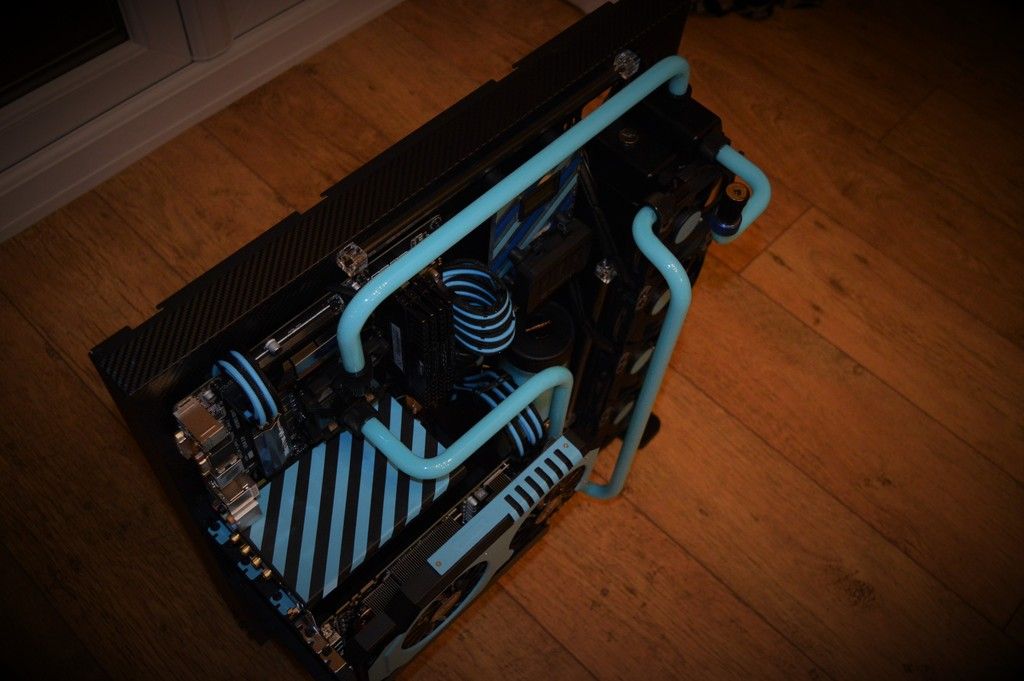
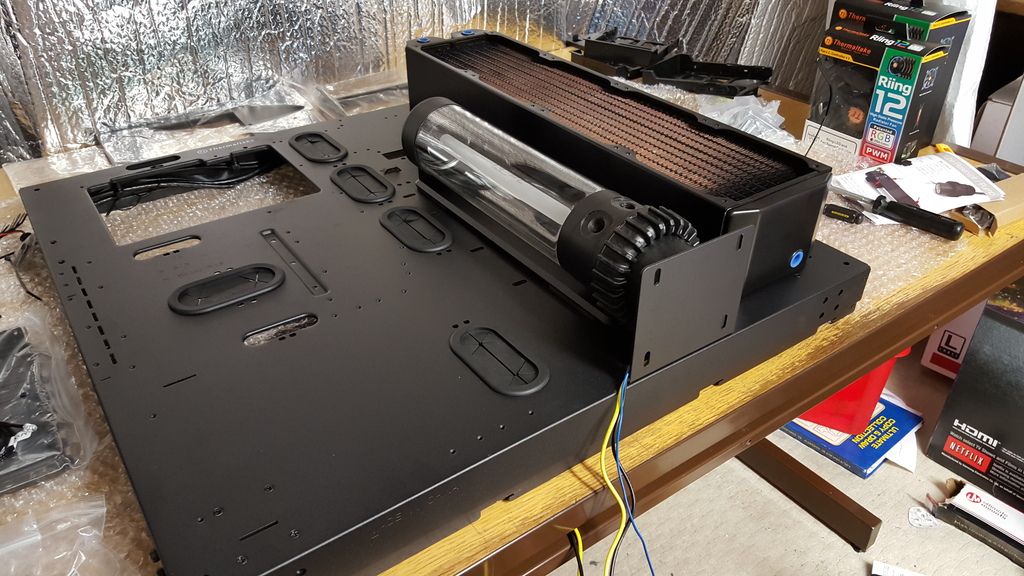
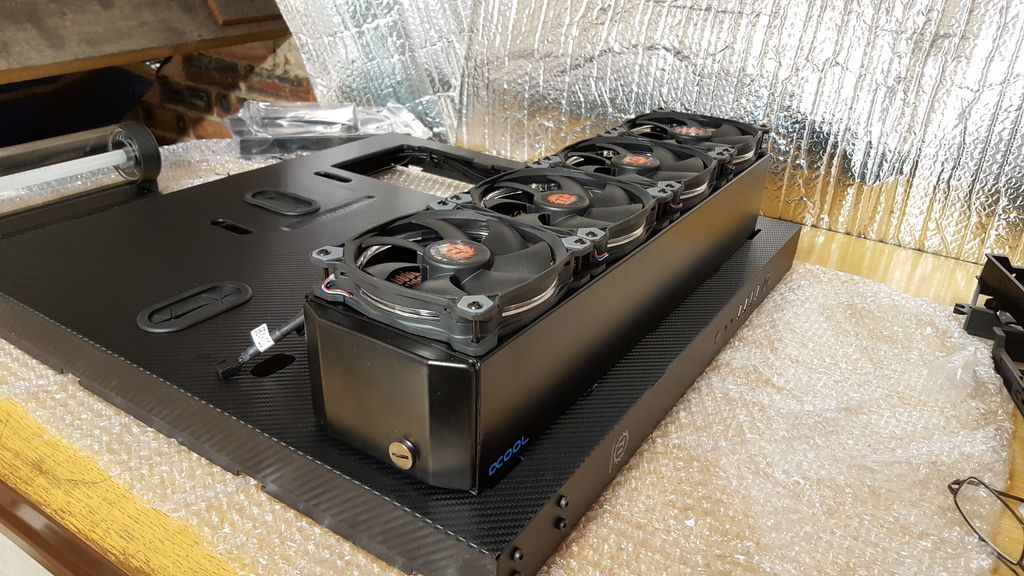
Based on a Thermaltake P5 design open air case, my new build will be based around a Haswell 4770k set up which i already have.

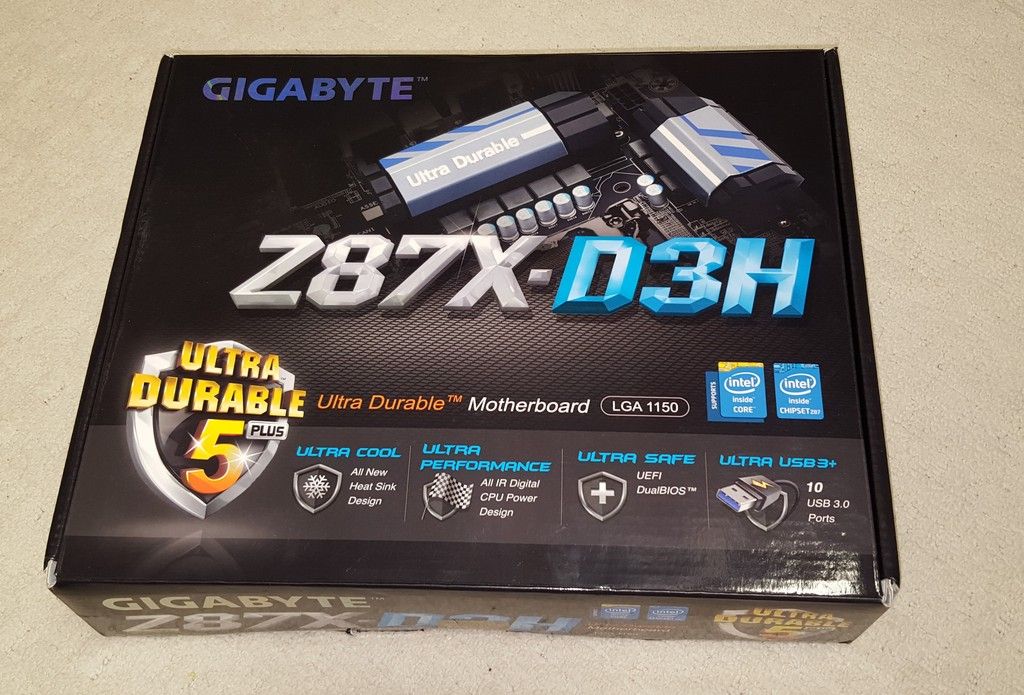
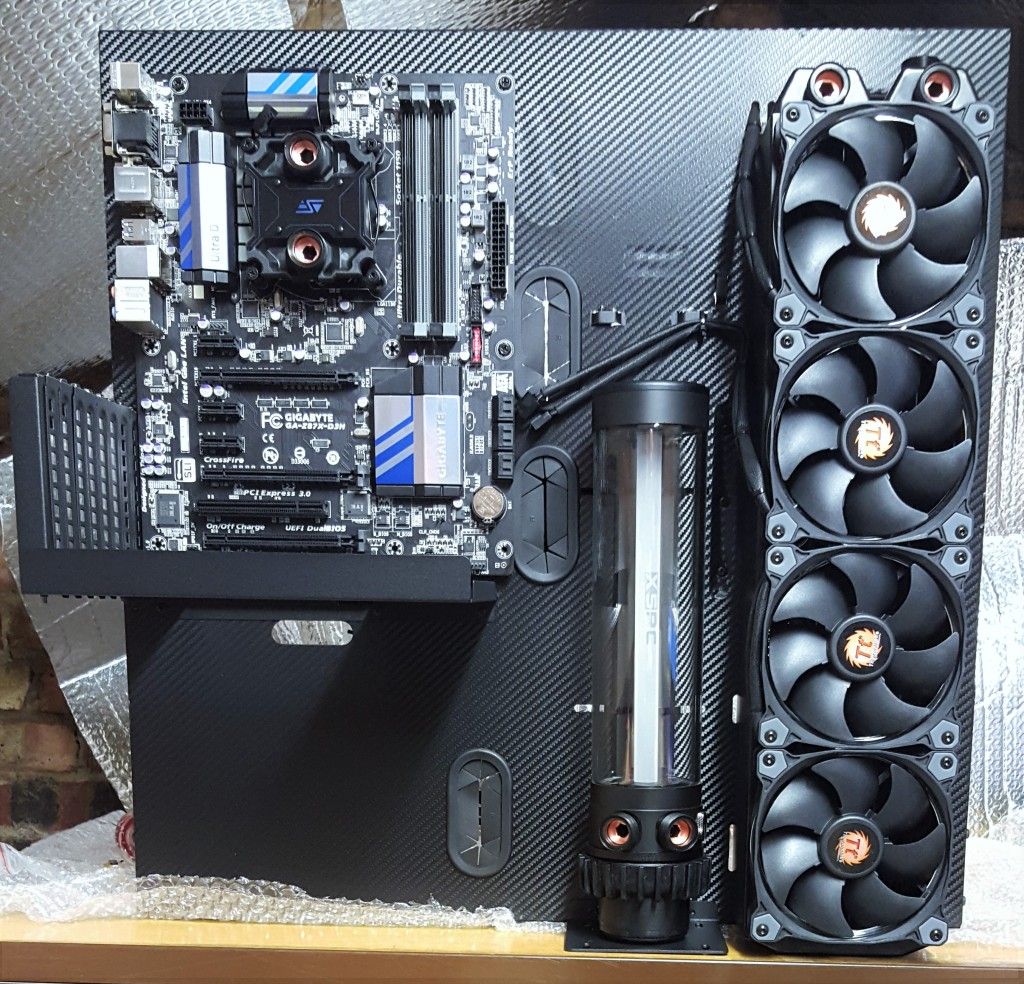
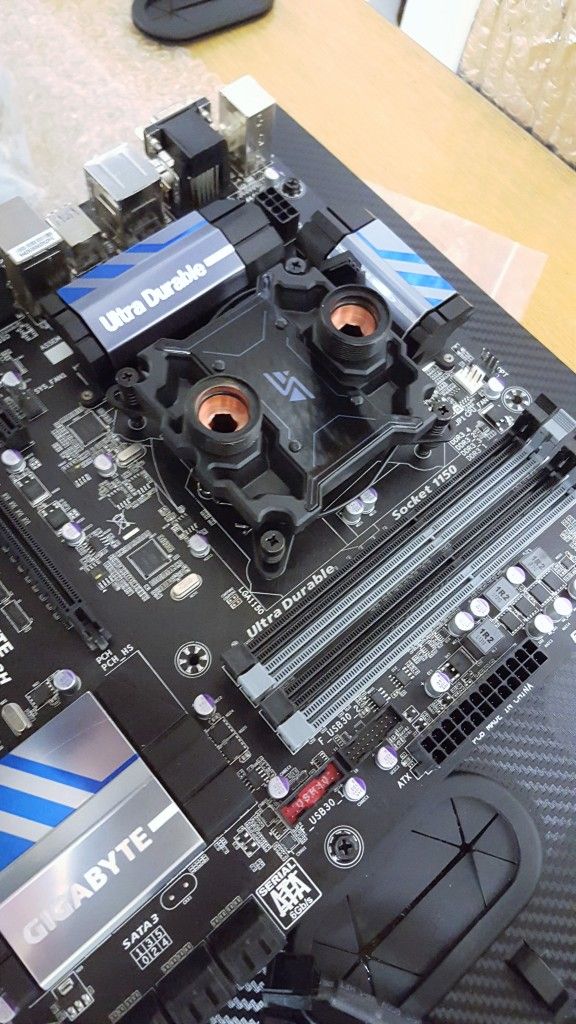
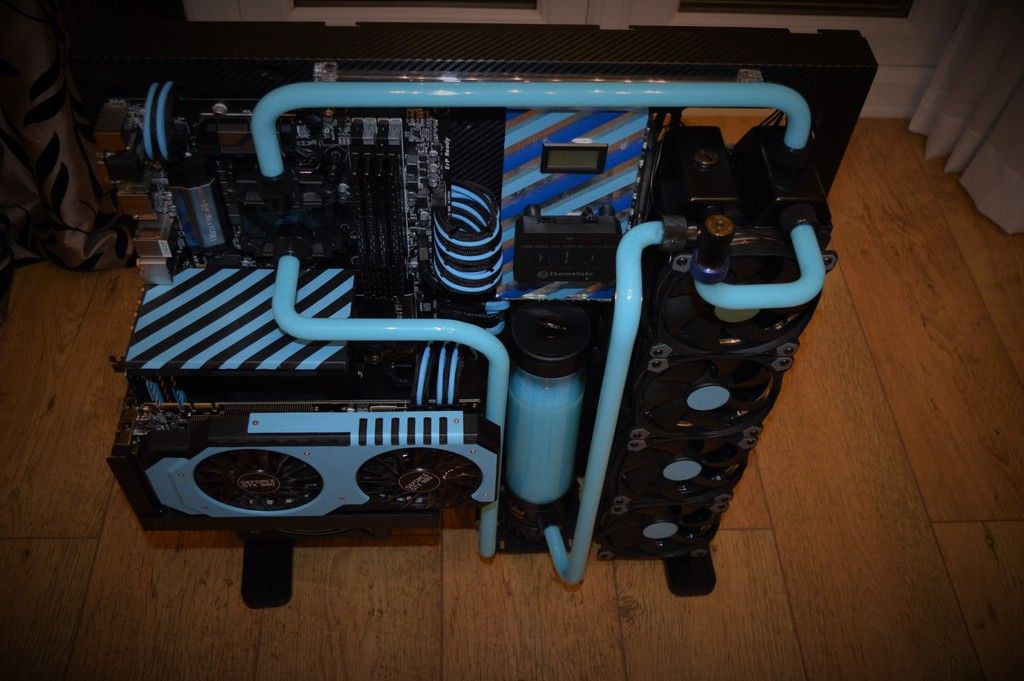
First issue is the Msi Z-87 G45 gaming mobo i already have is Red, and i want it to be blue..... i will be using a custom Pastel liquid which i will be mixing myself so it matches the cables i have already purchased.....so i need the north and south heatsink bridges to be blue.

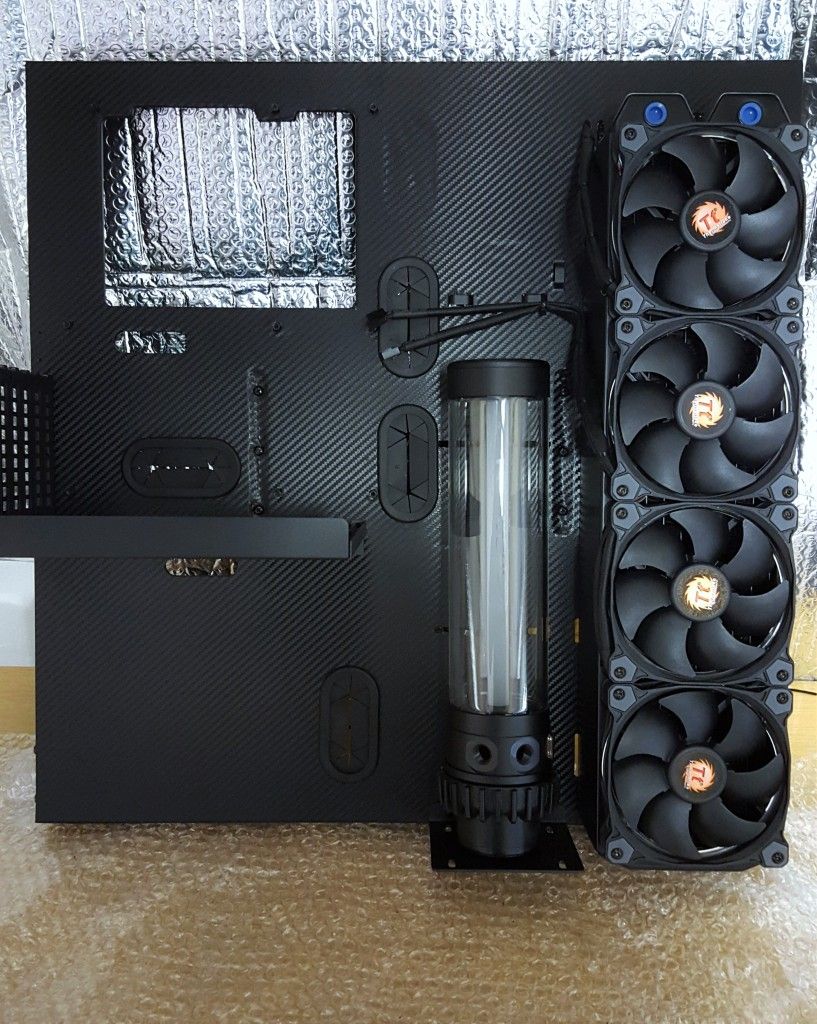
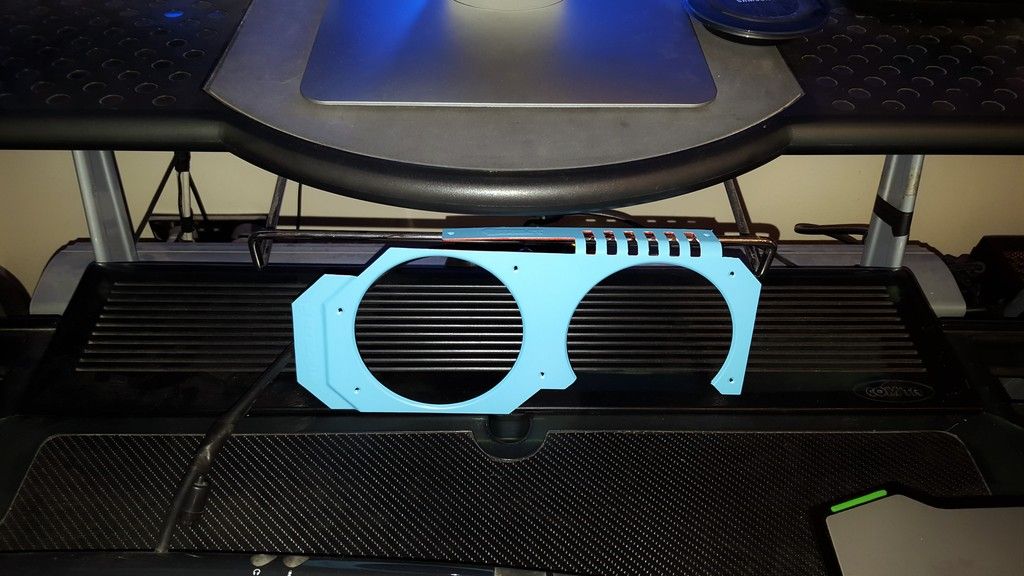
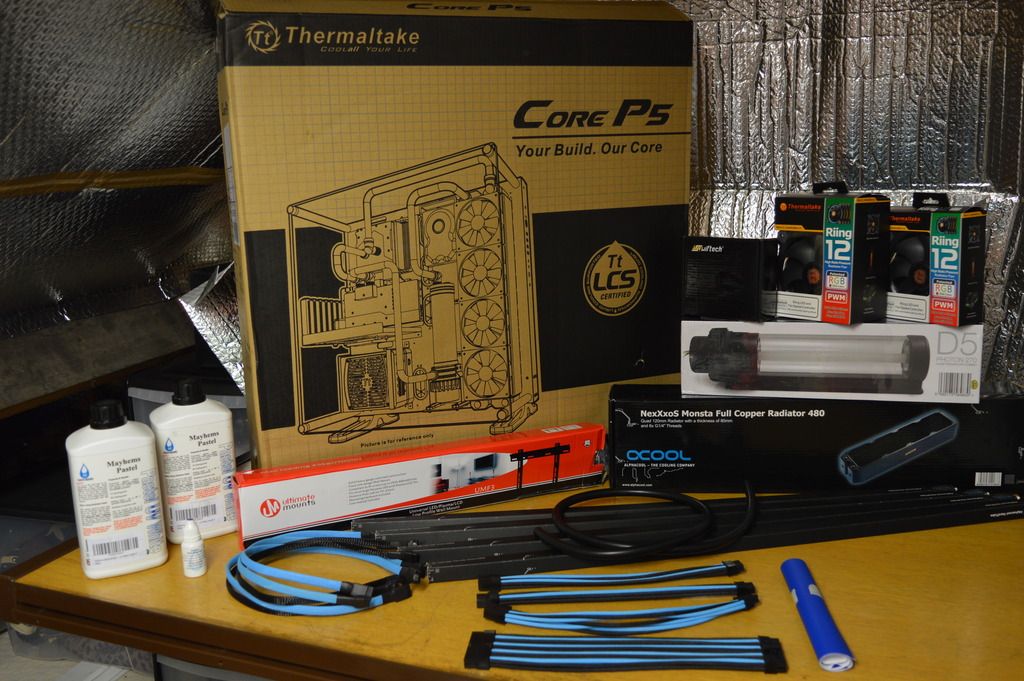
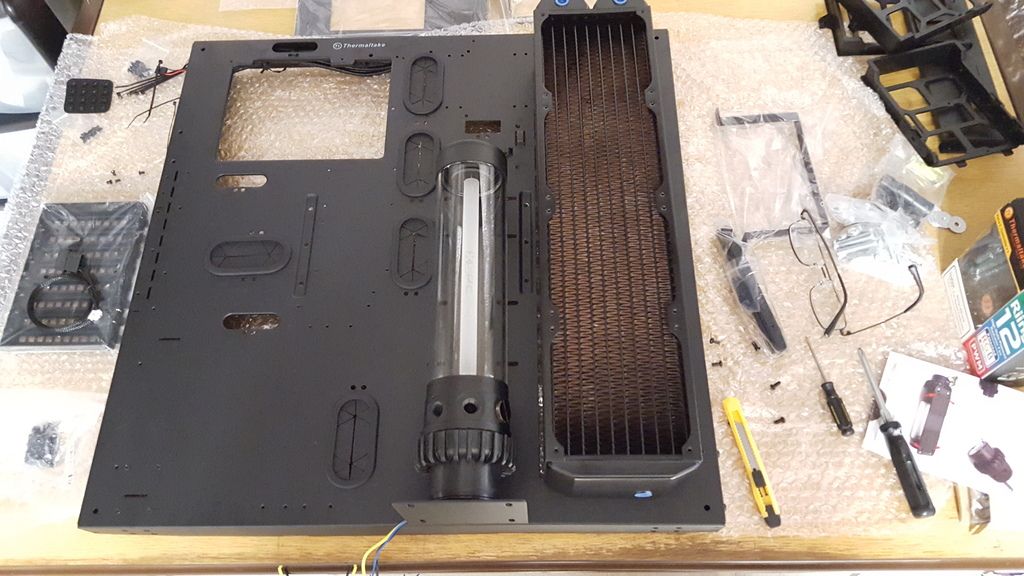
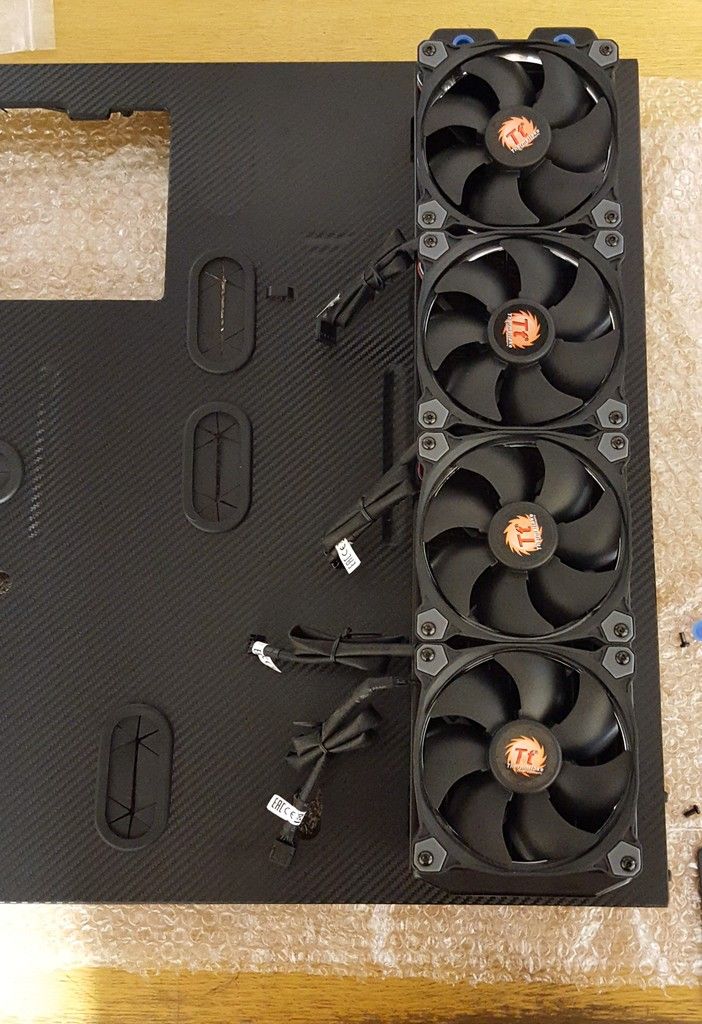
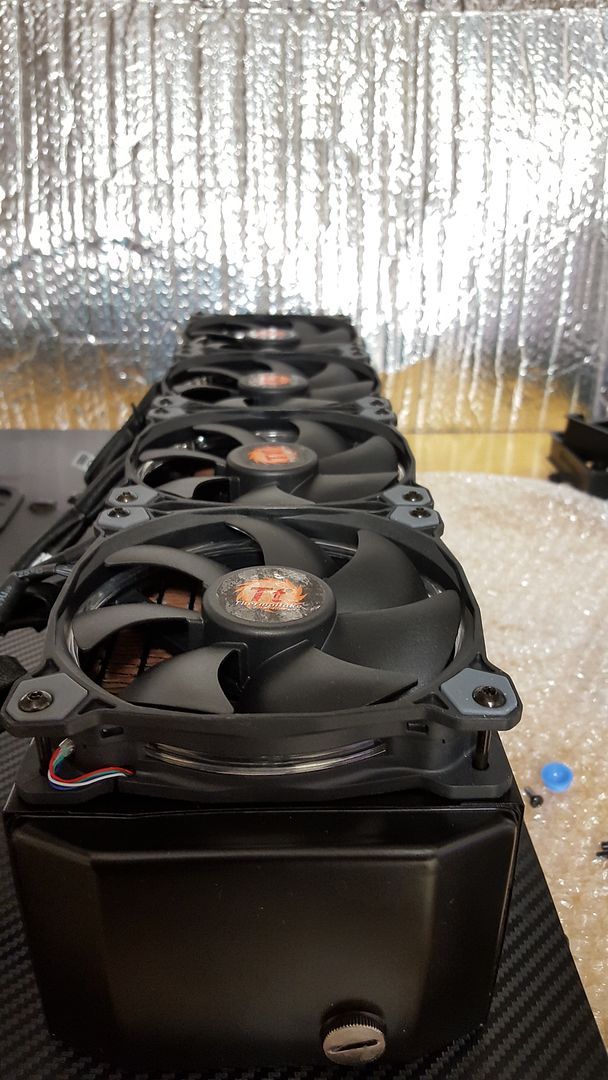
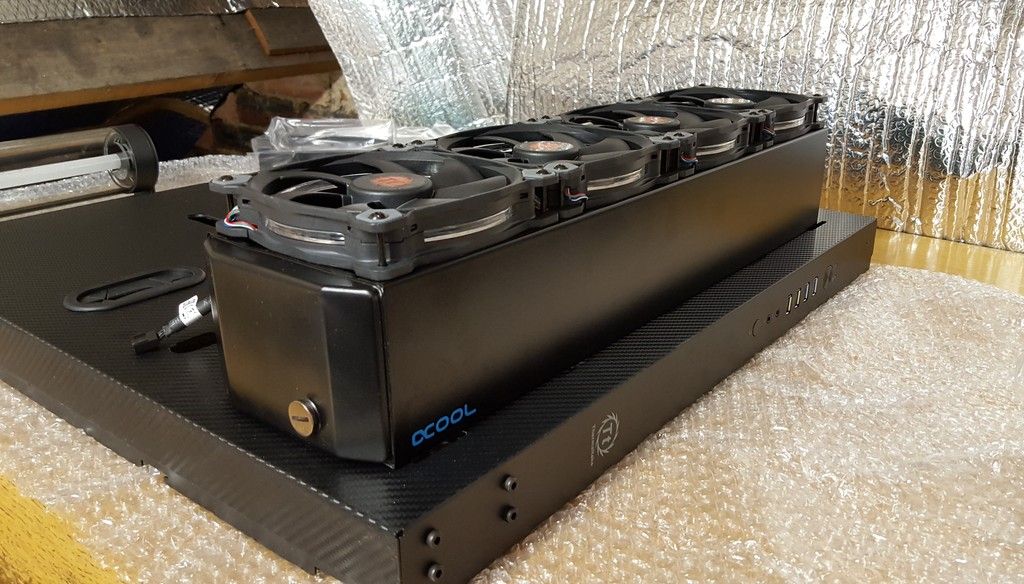
I have got the case and purchased a quad Alphacool nexxus Monsta 480 Rad which i also have received.

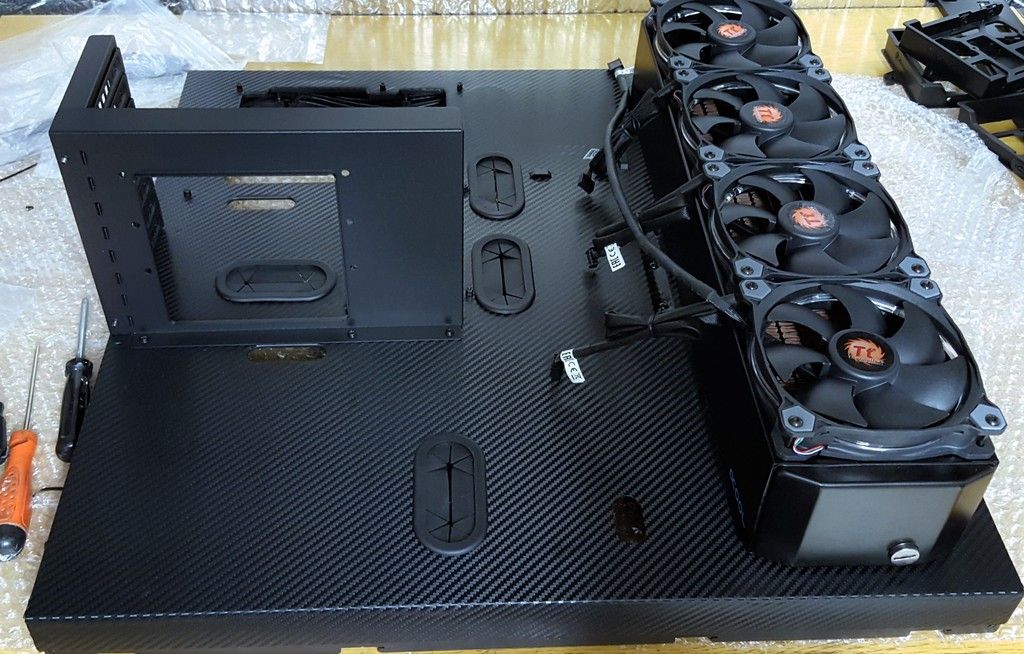
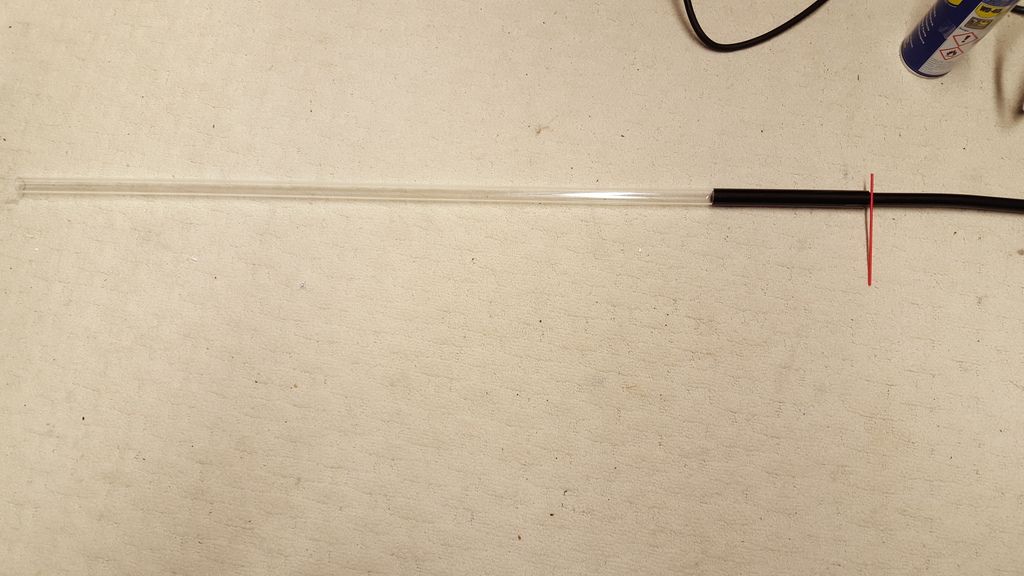
I am also using Acrylic hard tube with 16mm tubing and black compression fittings. ;)

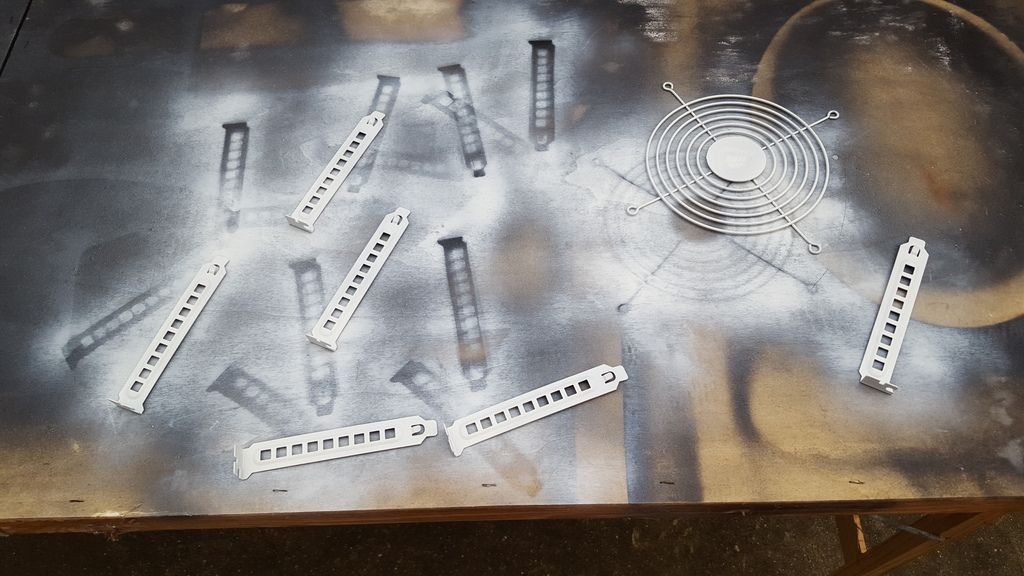
I have most of the parts now....just waiting for the Alphacool compression fittings and some light blue vinyl to arrive....gonna do some measurements tomorrow and order some perspex and leds.

DSC_0001_zps93tyvdic.jpg
 
Associate
OP
Joined
2 Oct 2008
Posts
137
Location
Newcastle upon Tyne
Decided to go with some carbon fibre vinyl wrap to spruce up the back ground....most of it will be hidden but i think it will look a bit more hi-tech than just plain black.

It was a bit of a PITA to put on (needed another pair of hands tbh) but i persevered with the wifes trusty hairdryer to stretch it into place and get rid of the creases and bubbles......the 3 sticky up lugs that most people remove was a challenge but i didnt want to dremel them off. :)

20160111_150739_zpsdsqd2onn.jpg


20160111_150758_zpso81q2ctl.jpg


I have rinsed out the rad just in case there was any unwanted deposits or filings so i will fit that tomorrow. :)
 
Associate
OP
Joined
2 Oct 2008
Posts
137
Location
Newcastle upon Tyne
Got the rad mounted today with fans.....i should have maybe mounted the fans first so i could have routed the fan cables through one of the side slots.....then again i need to find a decent place to mount the fan controller, it's gonna be a tight squeeze as i have purchased an Acrylic sheet and some Leds to showcase the fan controller.

20160113_110833_zpsruaw7sgv.jpg


20160113_110906_zpswhv0f6a9.jpg


20160113_111044_zpsm3ydkuir.jpg


20160113_111102_zpstr4y2ebh.jpg
 
Associate
OP
Joined
2 Oct 2008
Posts
137
Location
Newcastle upon Tyne
This is a very interesting build and it should look great when it's finished. You've done a really nice job with the carbon wrap is it seems to be spotless :D
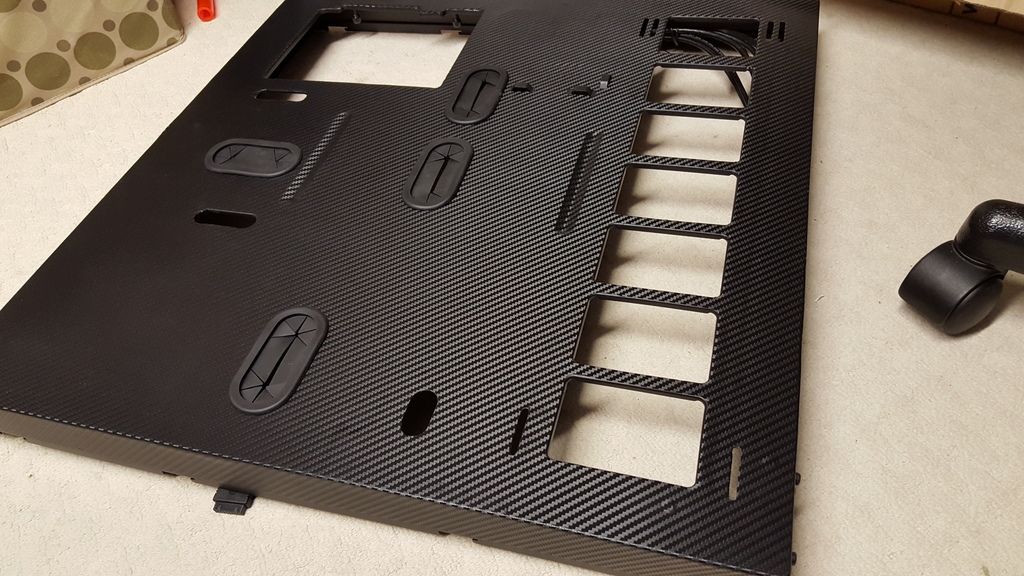
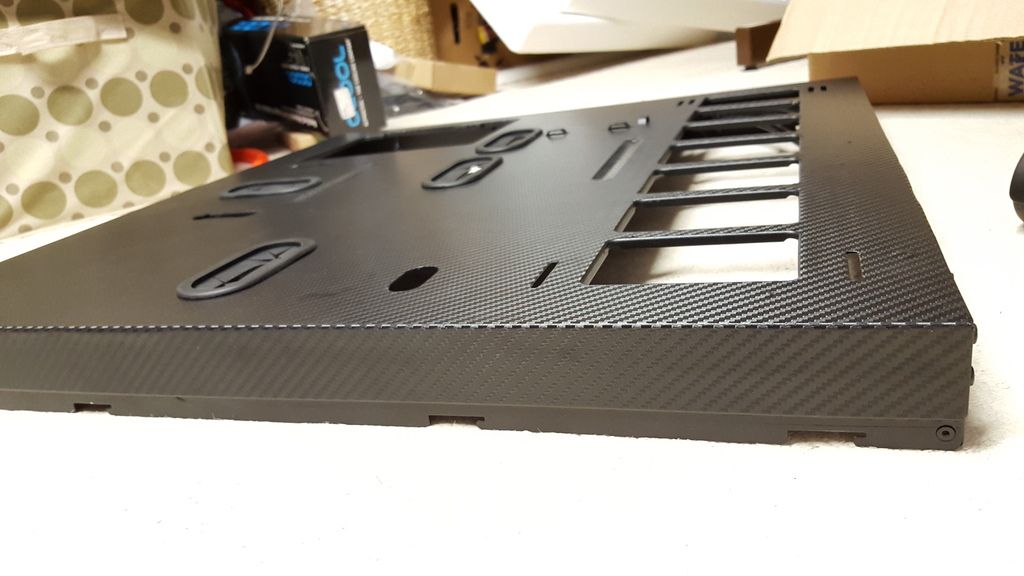
. Do you know if they sell it other colours/styles and if so is it easier than painting?

Great work and I look forward to more updates :)

Thanks. Yes you can get carbon vinyl in all different colours.

I would say it is possibly easier to paint it rather than put vinyl on especially if you haven't done it before....i even contemplated getting it Hydro dipped but the expense outweighed how much of it you will actually see when it is completed, so i decided to go the vinyl route as i have dabbled a bit using vinyl doing my centre console on my Nissan Pathfinder a year ago.

You tube videos can show you how to apply it, but believe me they make it look so easy lol.
 
Associate
OP
Joined
2 Oct 2008
Posts
137
Location
Newcastle upon Tyne
really interesting case!

Seems absolutely perfect for water-cooling and a seriously good show off case for all the hard work.

The CF effect vinyl is a nice touch - some of that stuff is really good, especially the textured 3D matt stuff. I have used it in the past on other stuff and was pleasantly surprised how well it conforms to curves and shapes with a little heat from a hair drier.

Think this is going to look very nice indeed, but that case really does give you no where to hide! Every little detail will be visible - look forwards to the end product :)

Tell me about it.....i have spent days on cable tidying on previous builds, but this one is even harder as you rightly pointed out "but that case really does give you no where to hide!" :)
 
Associate
OP
Joined
2 Oct 2008
Posts
137
Location
Newcastle upon Tyne
Motherboard semi fitted with Swiftech Apogee XL CPU block semi fitted onto the plastic cpu cover just for acrylic tube measuring purposes.

20160122_142728_zpszvbj6fwh.jpg


20160122_142557_zpsylmaakni.jpg


20160122_142832_zpsohmaotqo.jpg


20160122_142843_zpsjxjabpmu.jpg


Will have to make a 90 degree template for tube bending and buy a heat gun tomorrow.
 
Associate
OP
Joined
2 Oct 2008
Posts
137
Location
Newcastle upon Tyne
Well the tubing was a no go......the Nitrile solid rubber cord which you have to push inside the Acrylic tubing to stop kinking was too thick.....i ordered 12mm for my 12mm id tubing but after speaking to another supplier there is apparently a thickness tolerance of 0.65mm either way which is the problem.....normally being a tight fit is usually a good thing in other types of insertions :D ....but in this case it is not. :(
I managed to get it in about 4" after about 10 minutes using warm soapy water then wd40, then it just wouldn't budge at all.

I have had to order 11mm Cord from another supplier and hope that does the job.

20160125_121206_zpsuhztgpc9.jpg


In the mean time i decided to do something else after wasting my time with the tubing episode.

I was going to spray paint my GPU alloy cover but decided to go down the vinyl route for when i come to sell it on.... it will be the original colour so as to not effect resale value.

20160125_150143_zpsqy30ymac.jpg


I also Primed up the PSU fanguard and pcie slots ready for painting.

20160125_150229_zps8neaabqc.jpg
 
Last edited:
Associate
OP
Joined
2 Oct 2008
Posts
137
Location
Newcastle upon Tyne
Taller res? This thing is humongous, im not sure anyone actually makes a bigger one apart from maybe the water company lol......This case is huge btw so maybe it makes the res/pump look smaller than it actually is. :)
 
Associate
OP
Joined
2 Oct 2008
Posts
137
Location
Newcastle upon Tyne
Thanks. :)

I had to put it on hold as i had car trouble.......Acrylic pipe bending is a bit of a mare if you havent done it before....not enough heat it kinks the tubing....too much and you get bubbles.....i have wasted 2 lengths so far but also have 2 good runs....a third run from the rad to cpu block is about 90% perfect apart from a little kink which you probs wont notice when the water is in it but it would do my head in, so i have decided to do it again.....its a pain when you get 2 perfect bends and then goosh the last one. :(

Will post some pics up soon. :)
 
Last edited:
Associate
OP
Joined
2 Oct 2008
Posts
137
Location
Newcastle upon Tyne
ok.....finally got some time to work on it again......still not finished yet.

Went to fire it up today and nothing? Long story short, the PSU is dead......i only took the fan cover off to paint it lol......contacted Corsair and put an RMA through.

I have changed a few things here and there when things looked naff or i came up with a better idea.......Here is what i have so far.


DSC_0093_zpslzag6brj.jpg


DSC_0096_zpsltlirdtx.jpg


DSC_0090_zpsph5mxnh3.jpg


DSC_0081_zps8sgh1kqu.jpg


DSC_0100_zpsj5fogawy.jpg


DSC_0098_zps2hm8pbqg.jpg
 
Associate
OP
Joined
2 Oct 2008
Posts
137
Location
Newcastle upon Tyne
Thanks everyone. :)

I have redone the perspex (where the fan controller and temp guage sit) and replaced the darker blue vinyl with carbon fibre vinyl.

Added some more leds and UV lighting.......i'm not sure about the UV, will probs bin that idea as it might make it look naff?

@ P4Clock.....Dimensions (mm) 570 x 333 x 608 (W x D x H)

Will hopefully post some more pics up this week. :)
 
Associate
OP
Joined
2 Oct 2008
Posts
137
Location
Newcastle upon Tyne
Well it just keeps getting worse.....bought a 2nd hand mobo off ebay (needed to have blue in it) and i noticed it had a bent pin where the cpu sits.....long story short it only works with 1 stick of ram and the audio is knackered.

I have had to buy another x97 mobo which arrived today....will fit tomorrow.
 
Back
Top Bottom