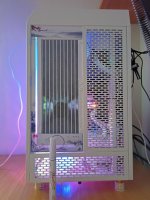
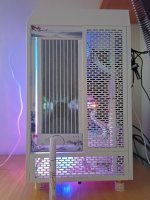
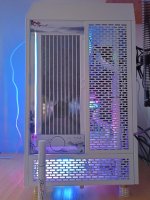
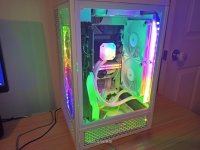
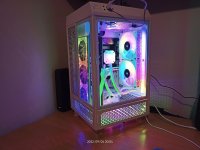
Welcome to my Tower 100 MOD build & Crystal/Diamond Theme

PC Specs
Case:-----------Thermaltake Tower 100 ITX Case (White Edition)
CPU:----------- Ryzen 5800X
CPU Cooler:----Corsair iCUE H100i Elite CAPELLIX 240mm AIO (White Edition)
Motherboard:--Asrock B550 Phantom Gaming-ITX/AX Motherboard
GPU:----------- Palit GeForce RTX 3070 Ti GameRock
Memory:-------G.SKILL Trident Z Royal 16gb 3200mhz
PSU:-----------Coolermaster SFX 850W (White Edition)
OS SSD:------- Crucial P5 2TB M.2 CT2000P5SSD8
Storage:------ Crucial CT2000X6SSD9 X6 2TB Portable SSD – Up to 800 MB/s – USB 3.2 – External Solid-State Drive, USB-C
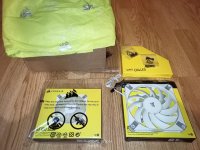
Case Fans:---- Coolmoon ARGB PWM Crystal/Diamond Fans Max CFM 65
Case Feet Mod
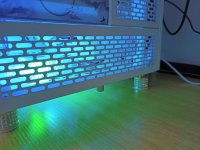
To go with the theme of the Build Crystal/Diamond
Diamond feet Look great & offer more height 30mm/3cm + 5mm of soft white Pad,
This Height also serve for a Bottom 120mm Crystal case fan for even better air intake,
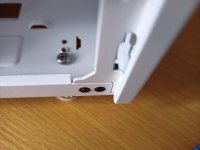
Also taking the small bottom case panels off with better access room to undo thumb screws.
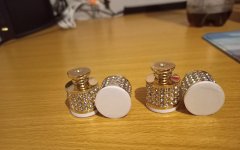
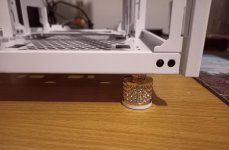
The case holes for the Machine Screws are slight smaller so just forced/Re-thread the hole using the new feet Screws.
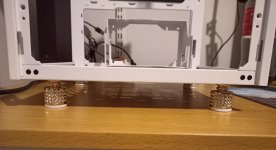
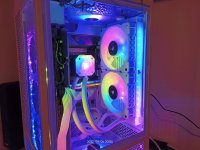
Case 240mm AIO Radiator Mod
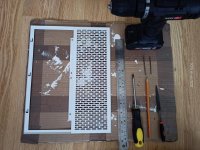
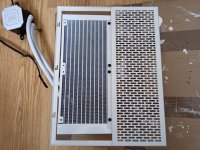
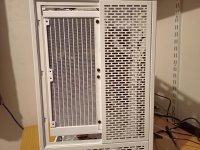
The Tower 100 only supports 120mm AIOs, so I modified the right-side panel by taking out the Tamp glass
from the frame, to remove the Glass you will first have to remove the black screws on the inside of frame & filter,
the glass is hold in tight be hard white paste around all sides, Heater/Hair dryer may help, be careful not to bend the metal frame,
If you do not want to reuse the glass panel then breaking it in a control safe way be easy, like in a box.
Measure the rad screw holes by placing the 240mm rad under the frame & use Cordless drill & 3/4mm metal drill bits.
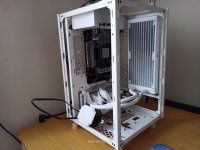
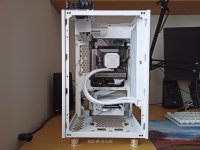
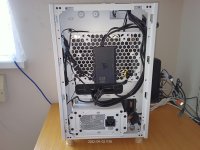
120mm fan Mounted at the bottom of case
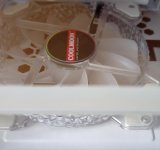
Side Radiator Panel
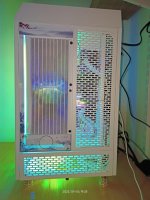
Printed out some art work on glossy white photo paper, Left a line gap covered with clear film so the LEDs shine through.

PC Specs
Case:-----------Thermaltake Tower 100 ITX Case (White Edition)
CPU:----------- Ryzen 5800X
CPU Cooler:----Corsair iCUE H100i Elite CAPELLIX 240mm AIO (White Edition)
Motherboard:--Asrock B550 Phantom Gaming-ITX/AX Motherboard
GPU:----------- Palit GeForce RTX 3070 Ti GameRock
Memory:-------G.SKILL Trident Z Royal 16gb 3200mhz
PSU:-----------Coolermaster SFX 850W (White Edition)
OS SSD:------- Crucial P5 2TB M.2 CT2000P5SSD8
Storage:------ Crucial CT2000X6SSD9 X6 2TB Portable SSD – Up to 800 MB/s – USB 3.2 – External Solid-State Drive, USB-C
Case Fans:---- Coolmoon ARGB PWM Crystal/Diamond Fans Max CFM 65
Case Feet Mod
To go with the theme of the Build Crystal/Diamond
Diamond feet Look great & offer more height 30mm/3cm + 5mm of soft white Pad,
This Height also serve for a Bottom 120mm Crystal case fan for even better air intake,
Also taking the small bottom case panels off with better access room to undo thumb screws.


The case holes for the Machine Screws are slight smaller so just forced/Re-thread the hole using the new feet Screws.


Case 240mm AIO Radiator Mod
The Tower 100 only supports 120mm AIOs, so I modified the right-side panel by taking out the Tamp glass
from the frame, to remove the Glass you will first have to remove the black screws on the inside of frame & filter,
the glass is hold in tight be hard white paste around all sides, Heater/Hair dryer may help, be careful not to bend the metal frame,
If you do not want to reuse the glass panel then breaking it in a control safe way be easy, like in a box.
Measure the rad screw holes by placing the 240mm rad under the frame & use Cordless drill & 3/4mm metal drill bits.


120mm fan Mounted at the bottom of case

Side Radiator Panel

Printed out some art work on glossy white photo paper, Left a line gap covered with clear film so the LEDs shine through.


Last edited:


