

Associate
- Joined
- 24 Feb 2009
- Posts
- 1,758
- Location
- Teesside
My First Mods To My Lian Li (plus a mini build log after)
MAJOR UPDATE AT THE BOTTOM OF PAGE 2!!
WARNING TOO, THERES LOADS OF PHOTOS!
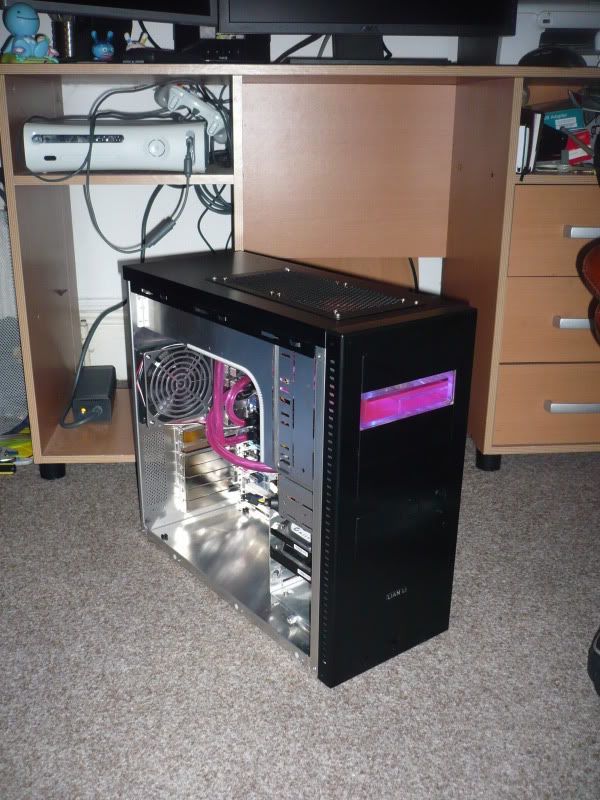
Ive been asking around on here for a while about good cases etc and finally got a Lian Li PC-A07 a few weeks ago. Love the case, great quality, but awful cable management, aside from the big sheet of metal across the top that covers most the mess
Also, I was using a double and single rad in my cooling loop, and fitting these to the case proved a little tricky.
Definately needed modding!! Not used a dremel for about 4 or 5 years by the way, so before we start I'll say the holes arnt amazing, but Im planning on getting some of that plastic edging stuff to put round the cuts to tidy it up a bit")
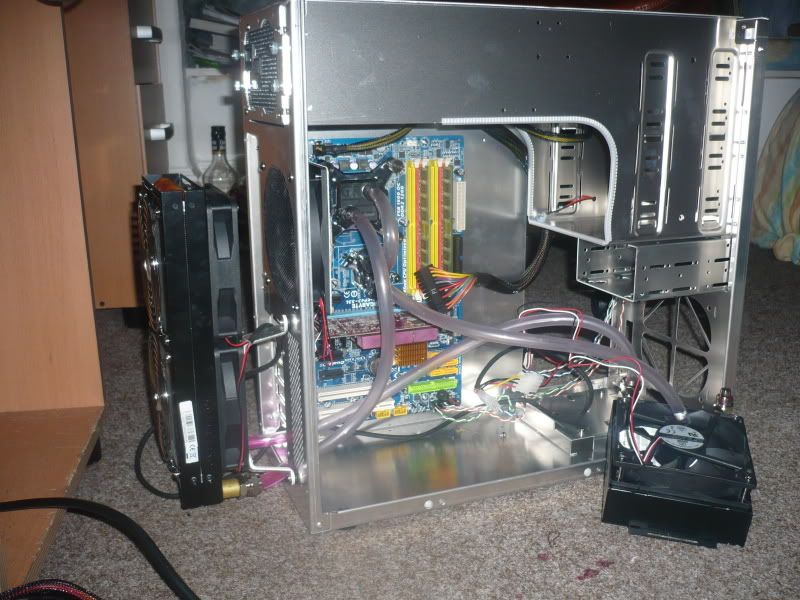
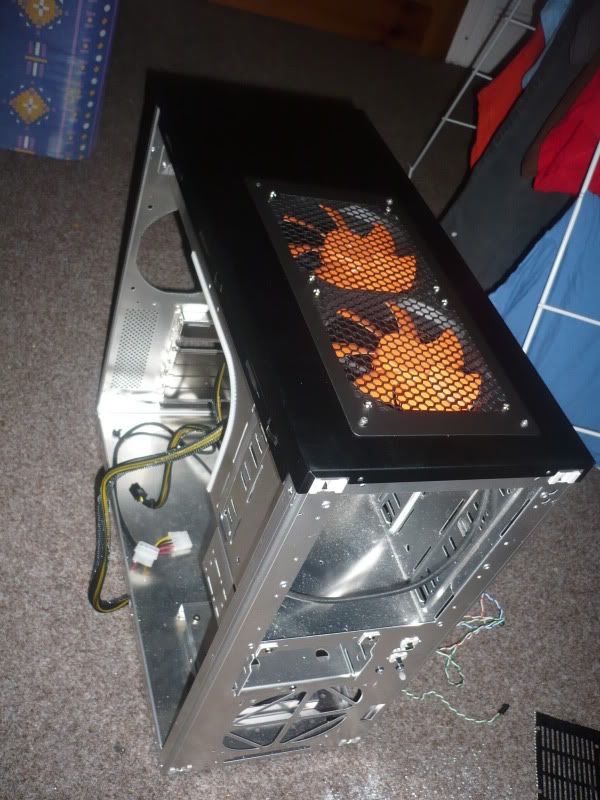
I already drained the system and removed some parts when I started taking photos, but you can see what state it was in. The single rad was fastened to the front fan mount and my HDD's were just resting in the drive bays (1 in the 3.5" bays, 1 in the 5.25" bays )
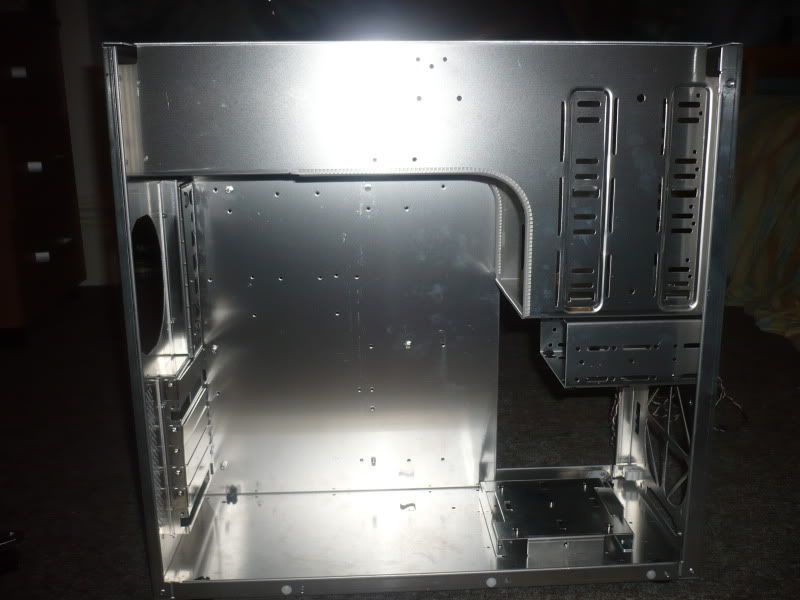
All Emptied
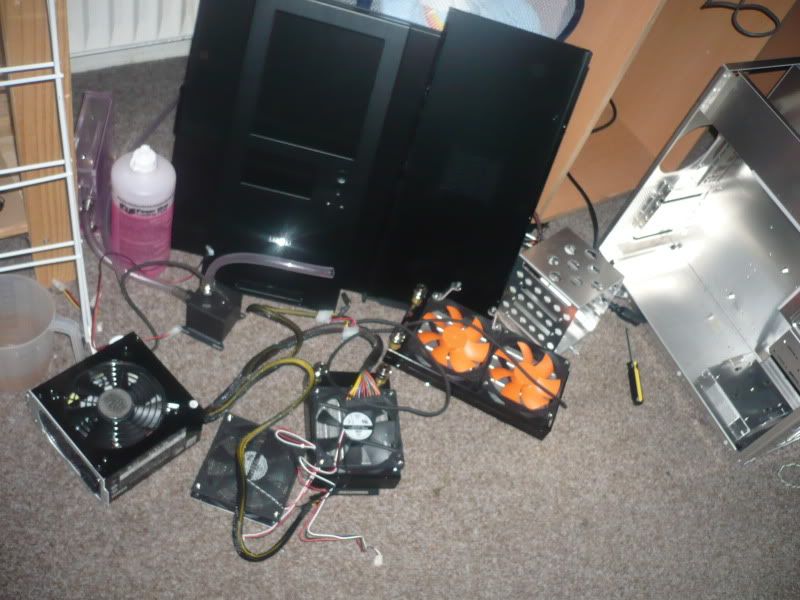
The stuff removed that arent chips Note the awful Thermaltake Rads which were replaced!
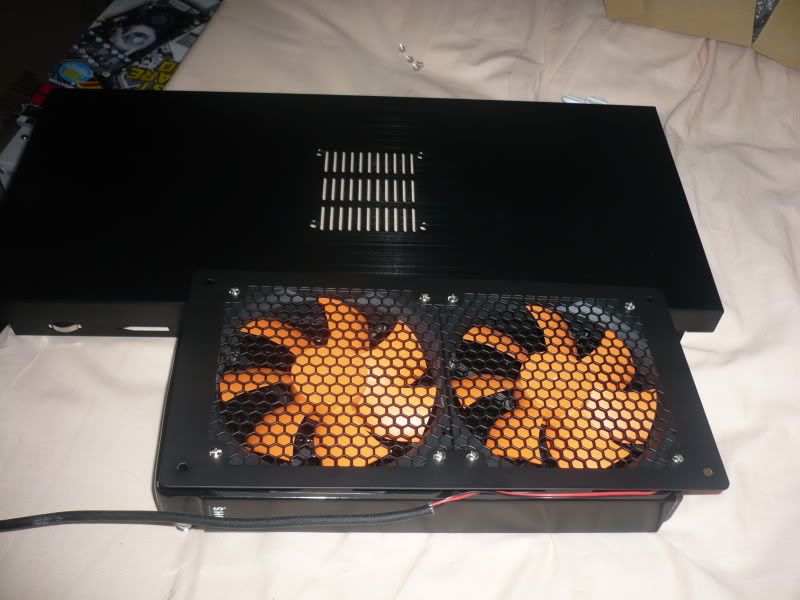
And they were replaced by this, an XSPC RS240 rad. Not the best, but its slim which is what I needed for this mod. However, you can see some of the fins were damaged when I got them, nothing major, but it was a little annoying!

Fans and grill fitted to the rad, sitting next to the case roof where I planned to put it!
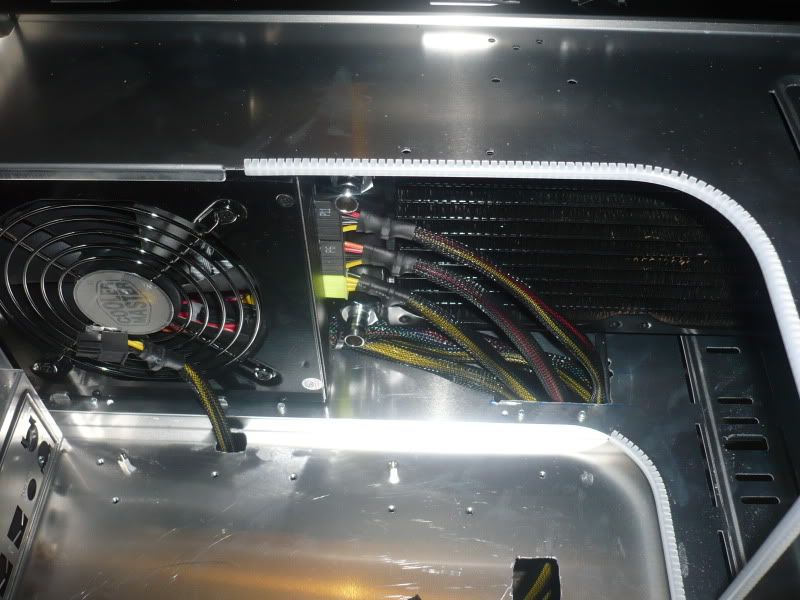
And then magically in place! Need to paint the screw heads black I think
How tight the fit was! Means I cant add any more cables to my PSU!! Ive more than enough at the moment anyway, so should be ok
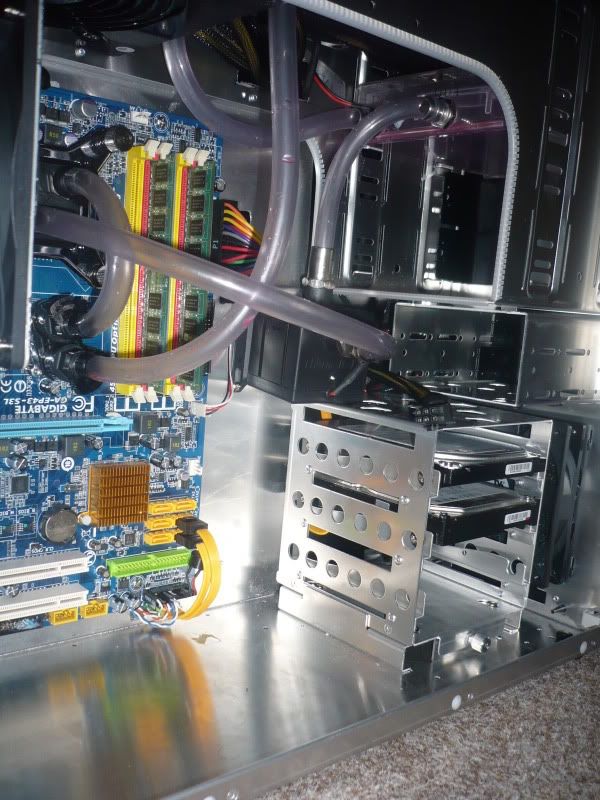
With everything back in place (minus graphics which is currently being RMA'd) and waiting to leak test. Quite please with how tidy I got it!

During leak testing. Not got a side window so got rid of my UV CCFL's and such, just seemed to be adding more wires rather than anything, so now its just dull apart from bay res haha
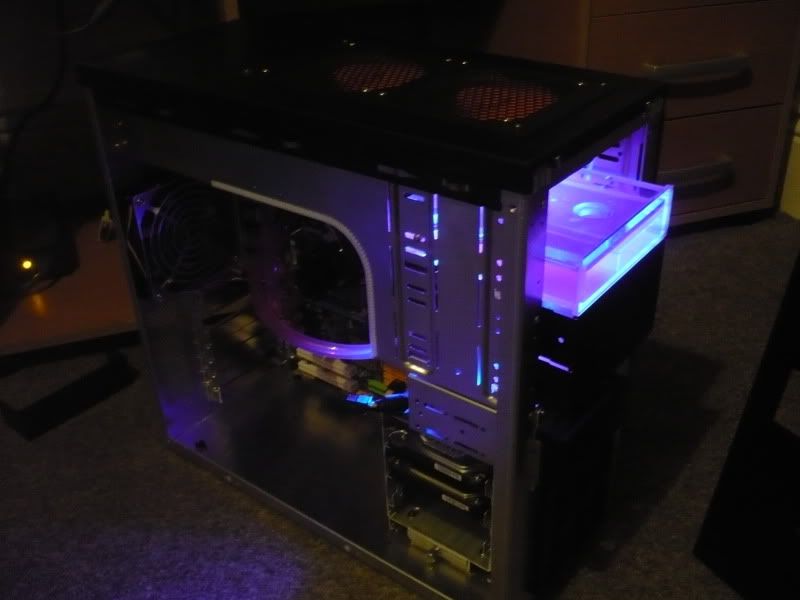
And all finished, just waiting on the graphics card and then it cal all be sealed up and finished
I know its far from being an amazing mod, but its my first and im pretty darn pleased!! Turned out far better than I thought it would when my nervously shaking hand wirst moved towards the case with dremel! Haha
As for temps, after 30mins of Prime95 CPU is around 67C, used to be low 60's so coolings not as good, but I have removed a 120mm of rad Will be upgrading the fans soon, probably to some Enermax Clusters, just love the way they look, plus the specs should improve the cooling a bit
MAJOR UPDATE AT THE BOTTOM OF PAGE 2!!
WARNING TOO, THERES LOADS OF PHOTOS!
Ive been asking around on here for a while about good cases etc and finally got a Lian Li PC-A07 a few weeks ago. Love the case, great quality, but awful cable management, aside from the big sheet of metal across the top that covers most the mess
Also, I was using a double and single rad in my cooling loop, and fitting these to the case proved a little tricky.
Definately needed modding!! Not used a dremel for about 4 or 5 years by the way, so before we start I'll say the holes arnt amazing, but Im planning on getting some of that plastic edging stuff to put round the cuts to tidy it up a bit
I already drained the system and removed some parts when I started taking photos, but you can see what state it was in. The single rad was fastened to the front fan mount and my HDD's were just resting in the drive bays (1 in the 3.5" bays, 1 in the 5.25" bays
)
All Emptied
The stuff removed that arent chips
Note the awful Thermaltake Rads which were replaced!
And they were replaced by this, an XSPC RS240 rad. Not the best, but its slim which is what I needed for this mod. However, you can see some of the fins were damaged when I got them, nothing major, but it was a little annoying!
Fans and grill fitted to the rad, sitting next to the case roof where I planned to put it!
And then magically in place! Need to paint the screw heads black I think
How tight the fit was! Means I cant add any more cables to my PSU!! Ive more than enough at the moment anyway, so should be ok
With everything back in place (minus graphics which is currently being RMA'd) and waiting to leak test. Quite please with how tidy I got it!
During leak testing. Not got a side window so got rid of my UV CCFL's and such, just seemed to be adding more wires rather than anything, so now its just dull apart from bay res haha
And all finished, just waiting on the graphics card and then it cal all be sealed up and finished
I know its far from being an amazing mod, but its my first and im pretty darn pleased!! Turned out far better than I thought it would when my nervously shaking hand wirst moved towards the case with dremel! Haha
As for temps, after 30mins of Prime95 CPU is around 67C, used to be low 60's so coolings not as good, but I have removed a 120mm of rad
Will be upgrading the fans soon, probably to some Enermax Clusters, just love the way they look, plus the specs should improve the cooling a bit
Last edited:

") better than what I can do with a saw
better than what I can do with a saw 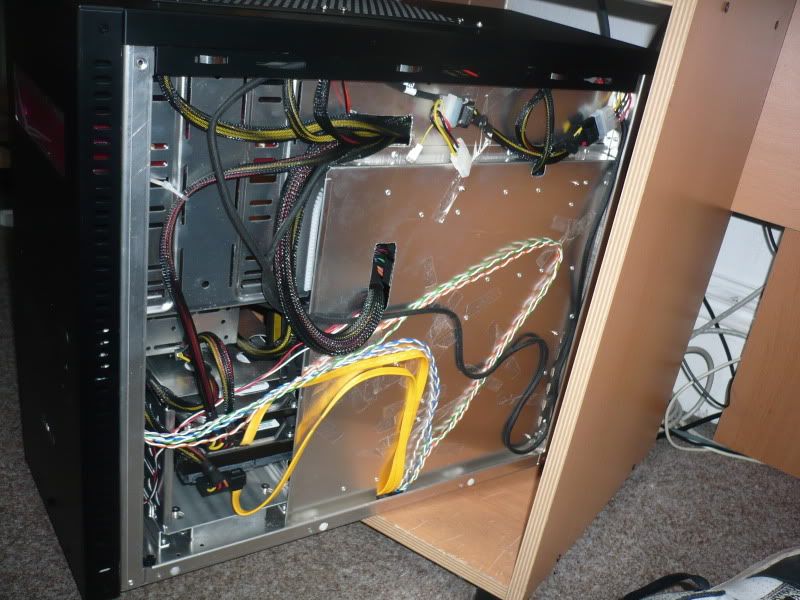
 .
.