Pond filtration upgrade... options options... what to do...

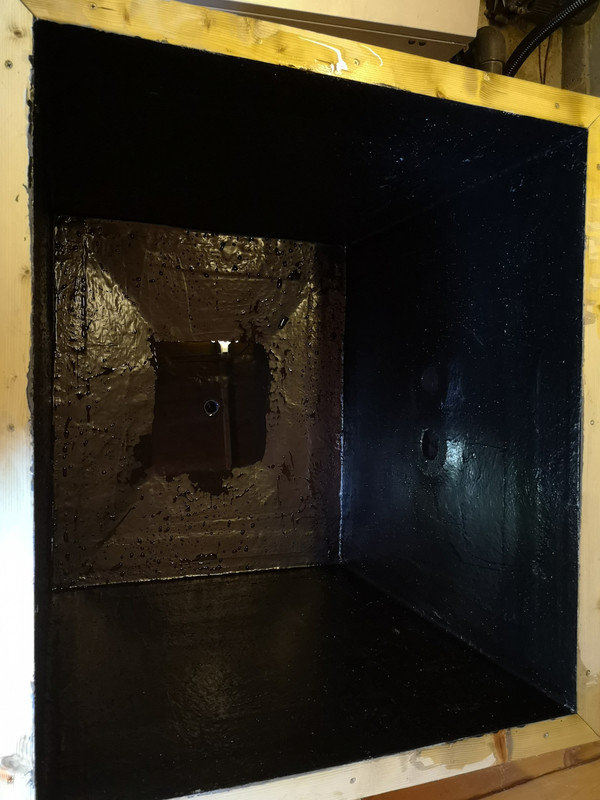
So the issue I had next was the moving bed bay. After looking at some extortionate options including pore made fibreglass chambers, or plastic welded boxes / bio chambers that frankly are an absolute rip off I decided to make my own.

This served 2 purposes, no1 it lets me maximize the amount of media and no2 it keeps the cost down.

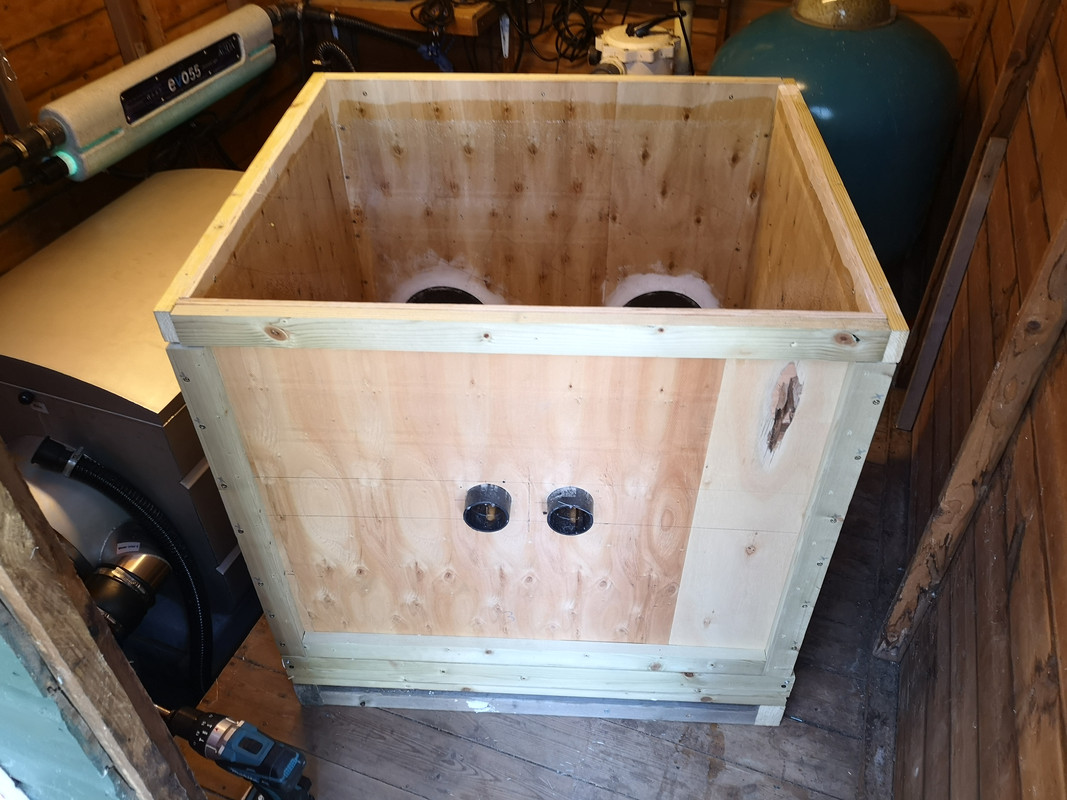
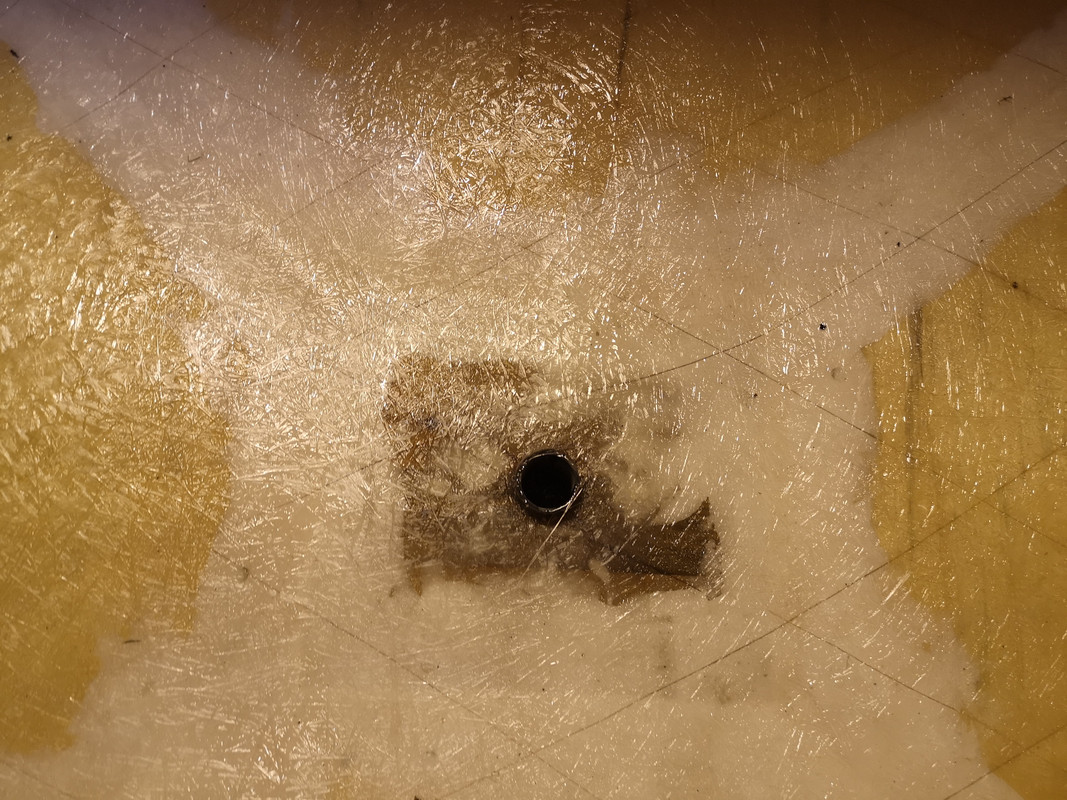
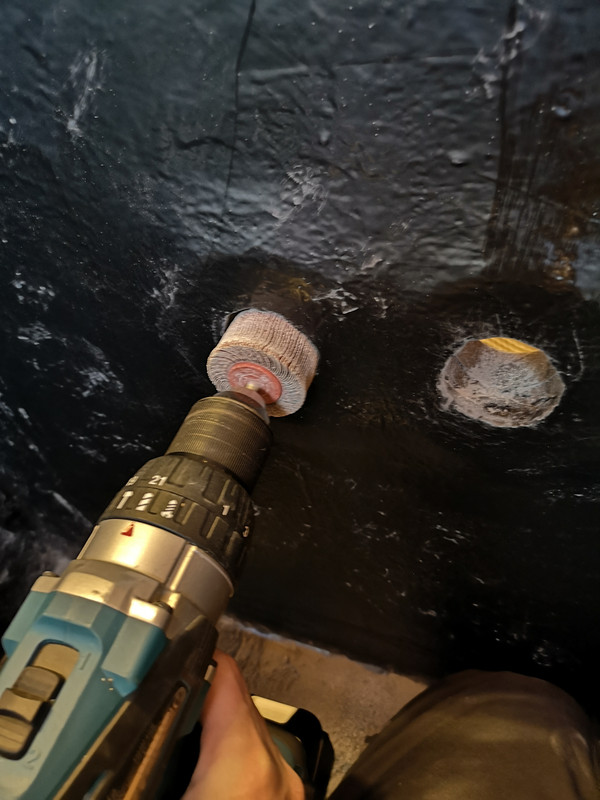
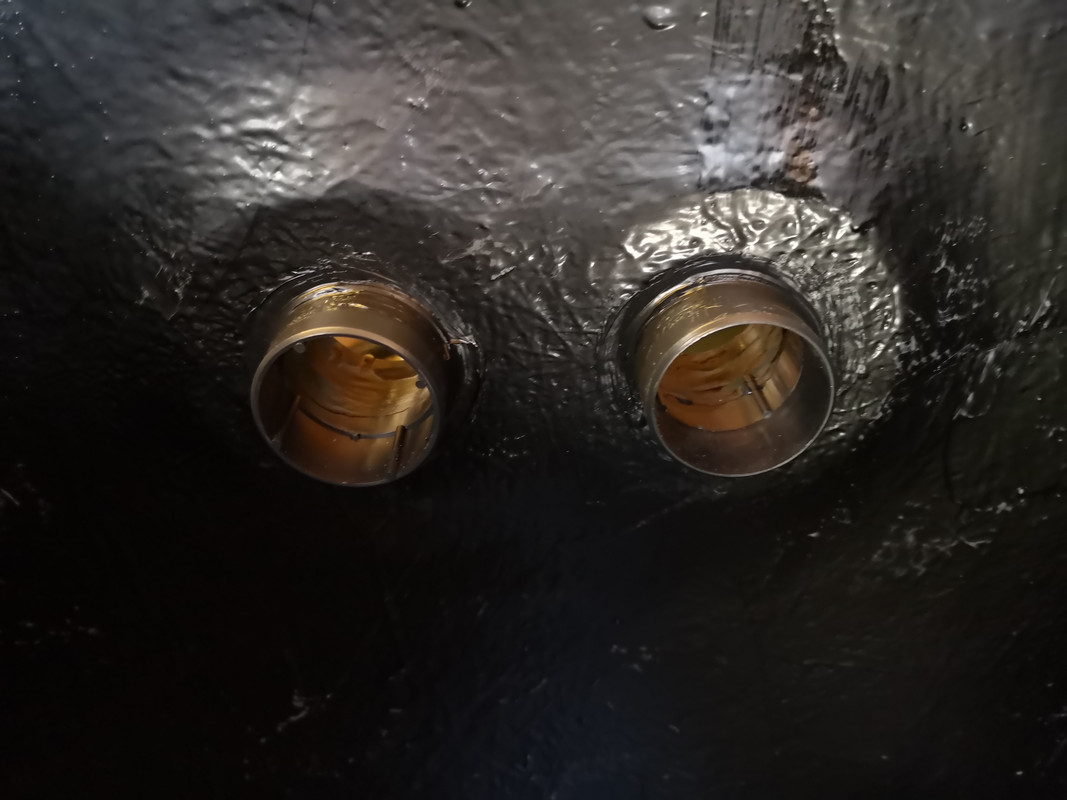
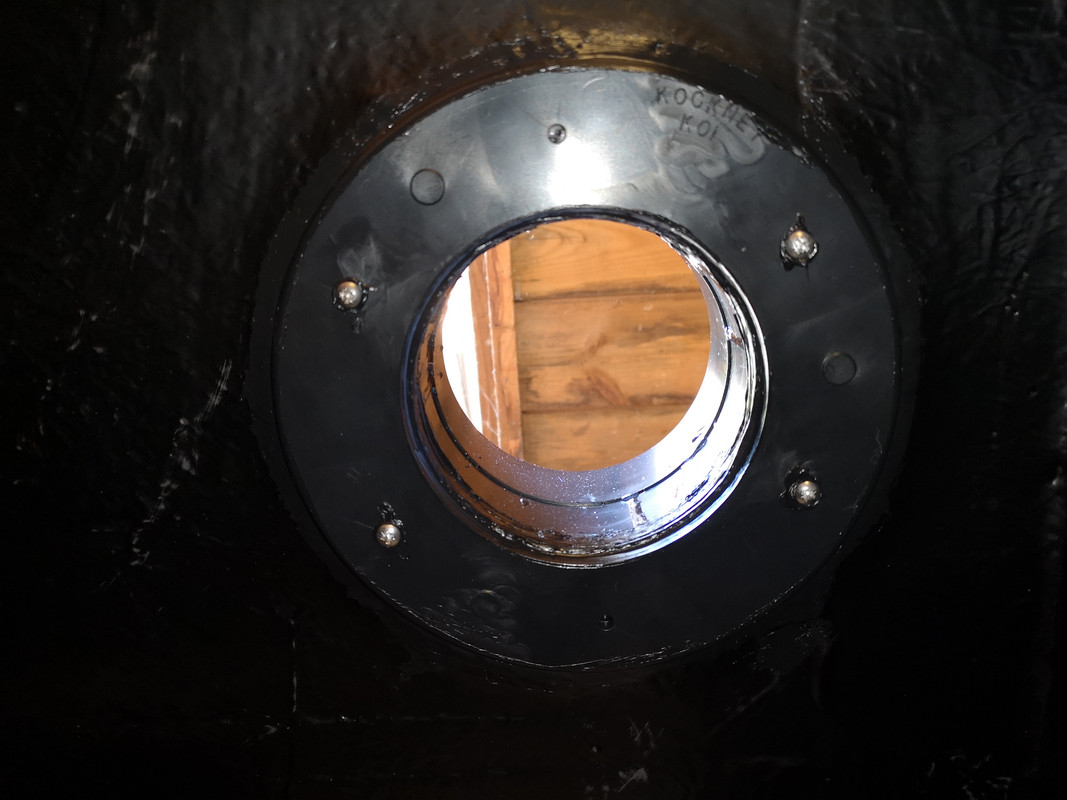
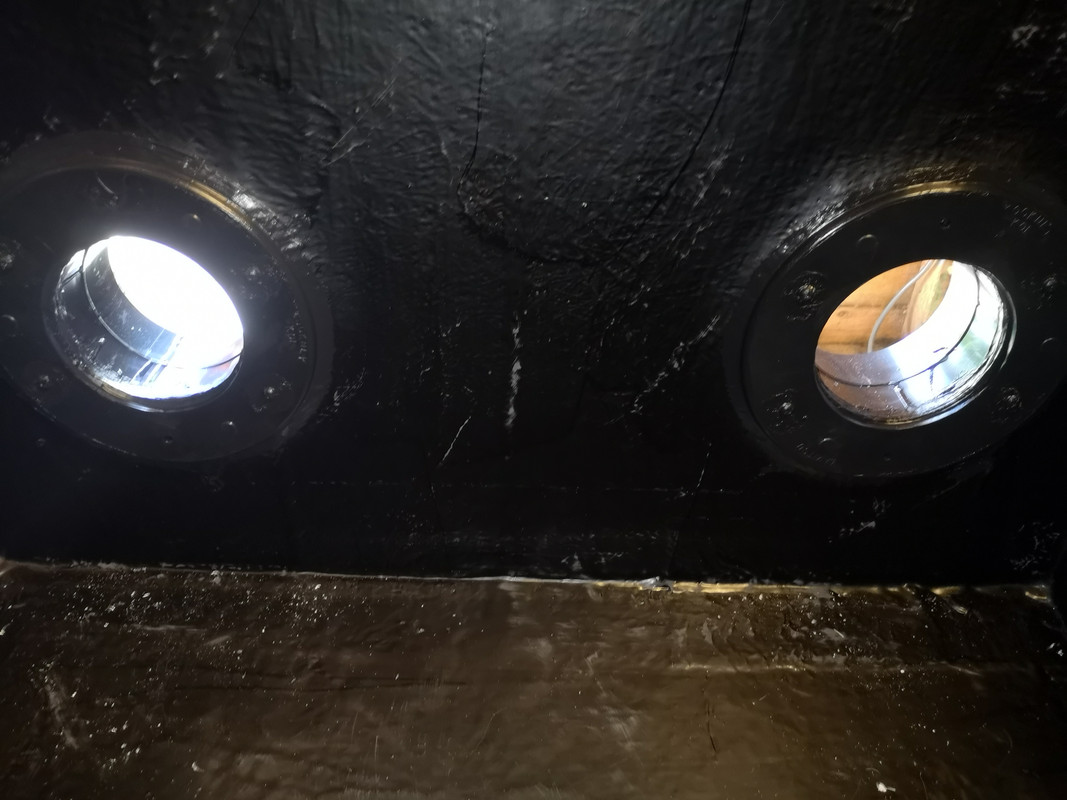
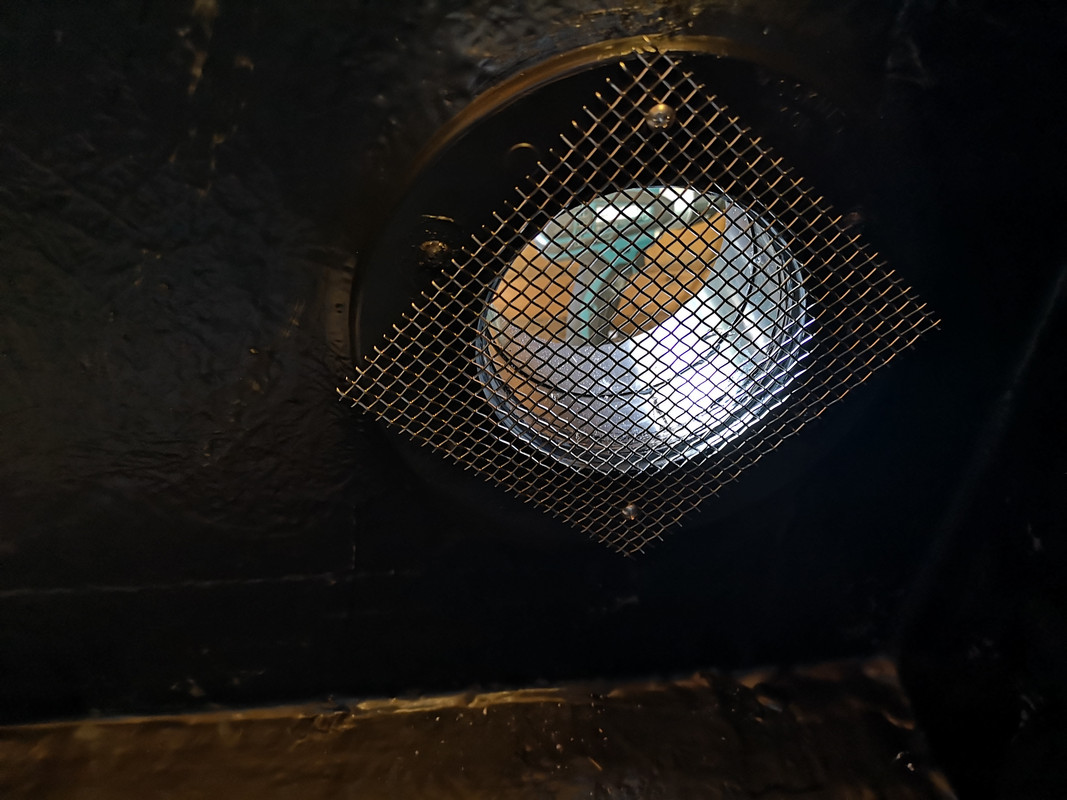
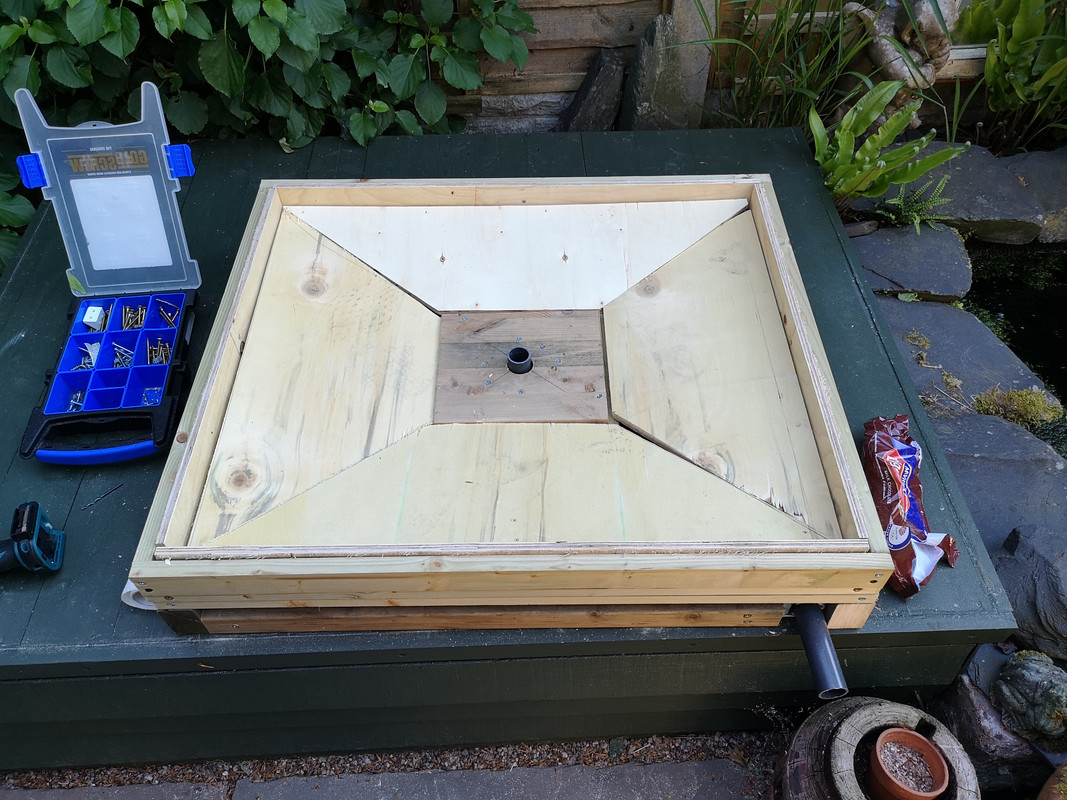
First up the base and bottom pipework

IMG-20200503-171012.jpg


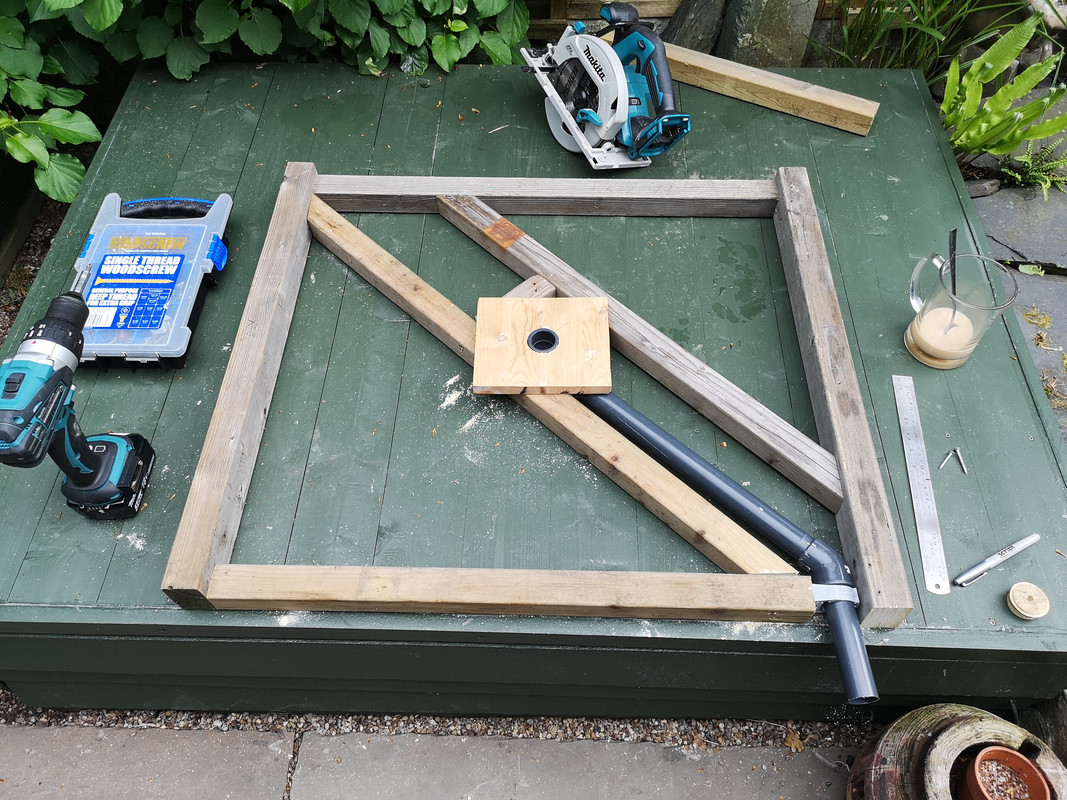
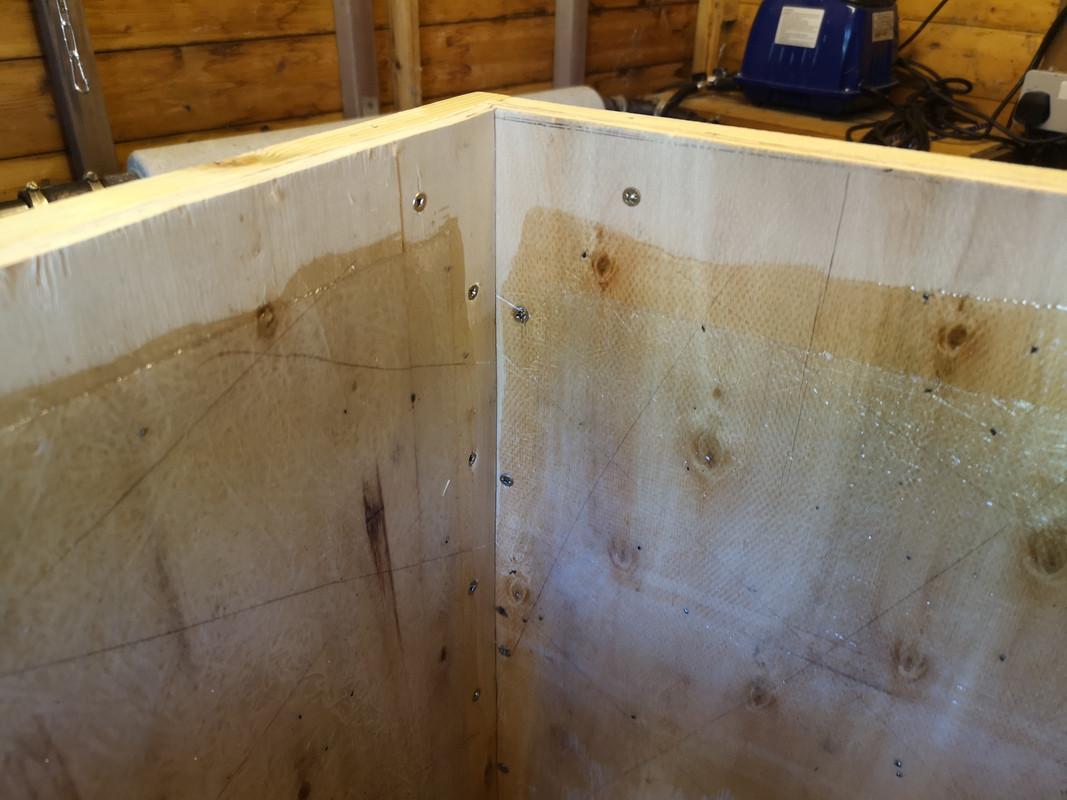
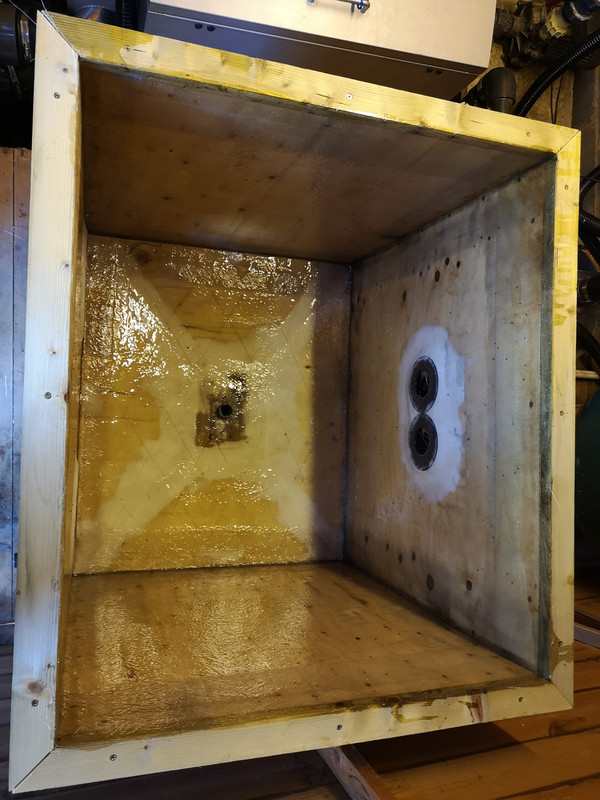
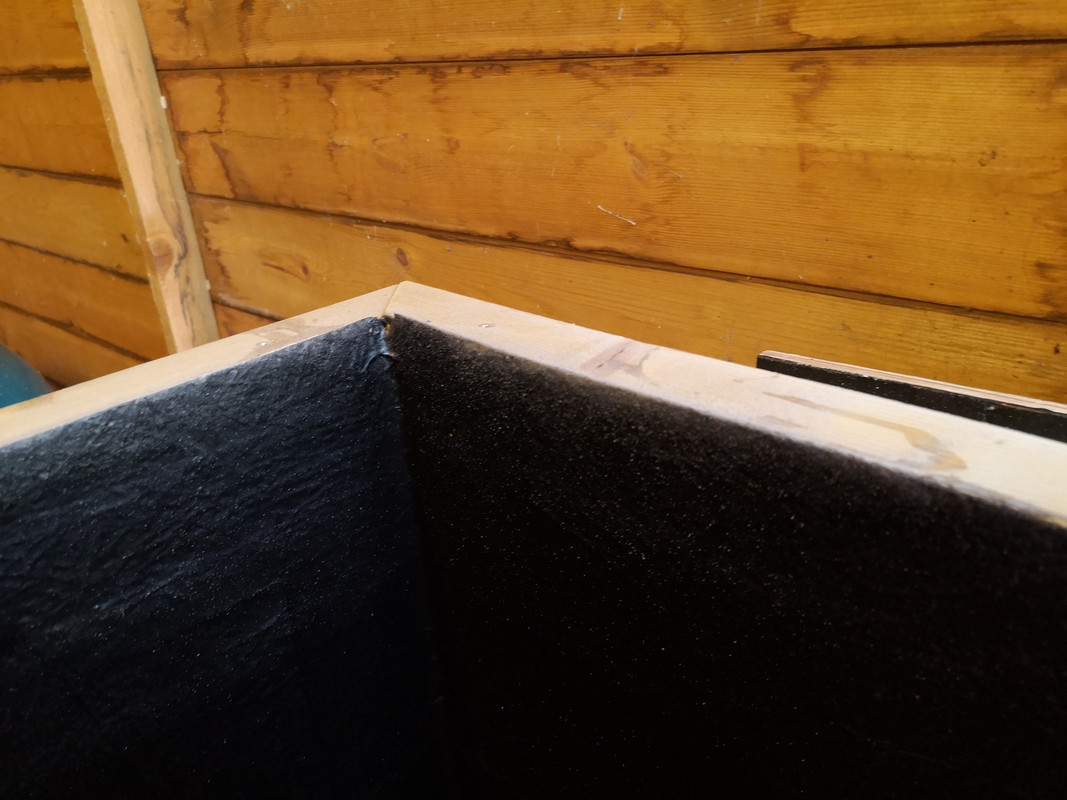
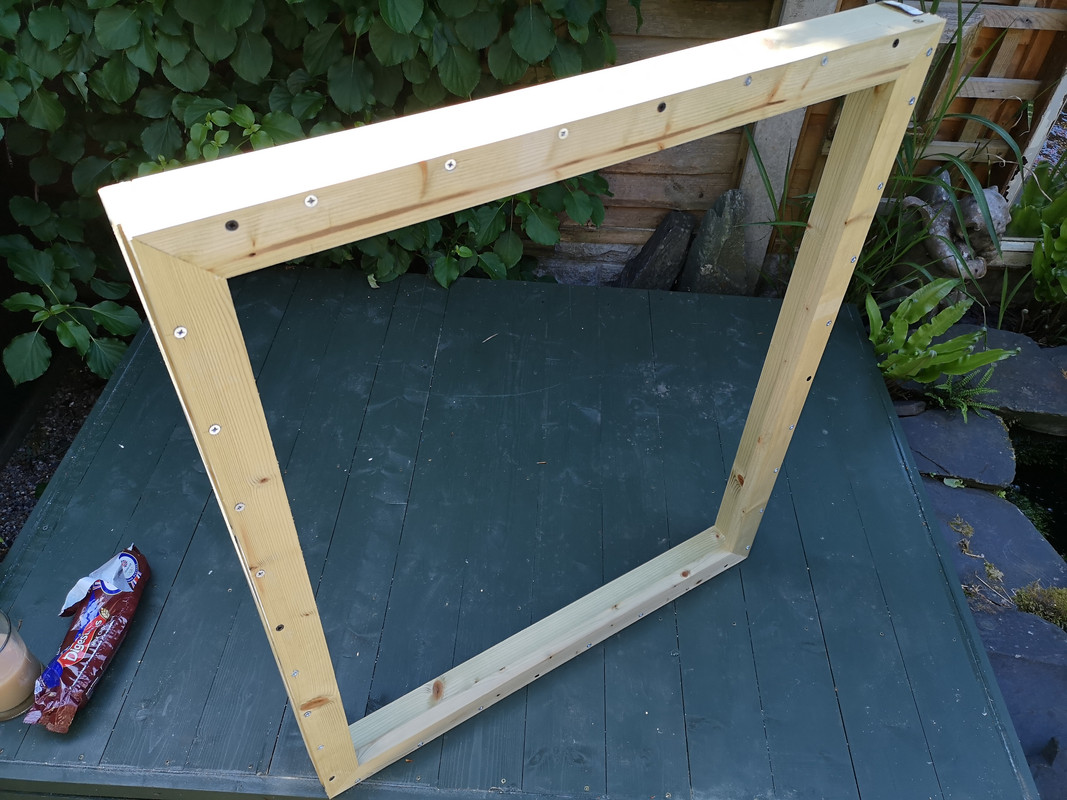
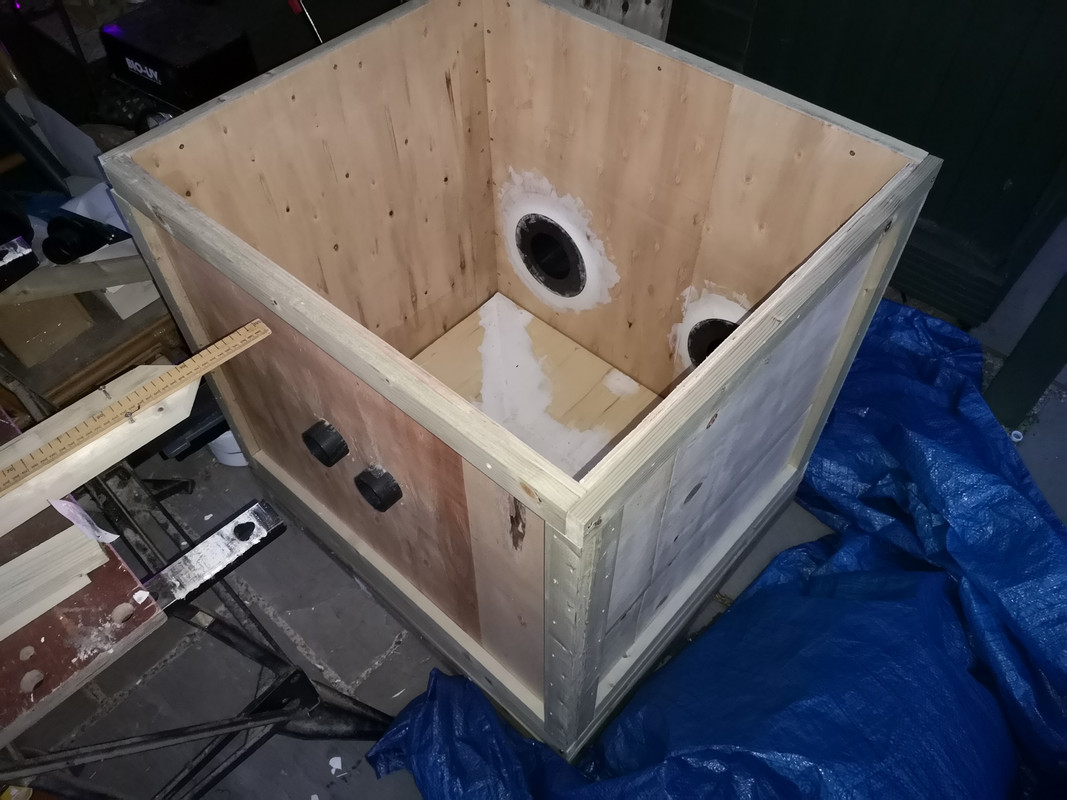
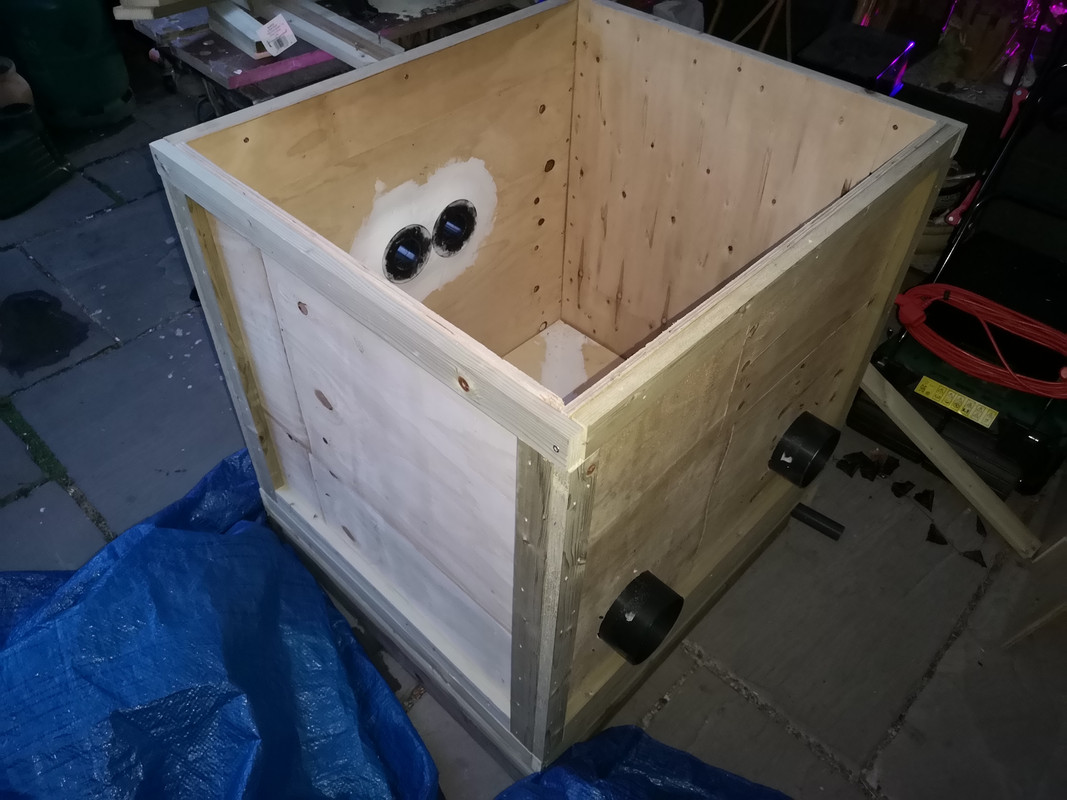
Next a frame to support the sides

IMG-20200505-131140.jpg


IMG-20200504-161448.jpg


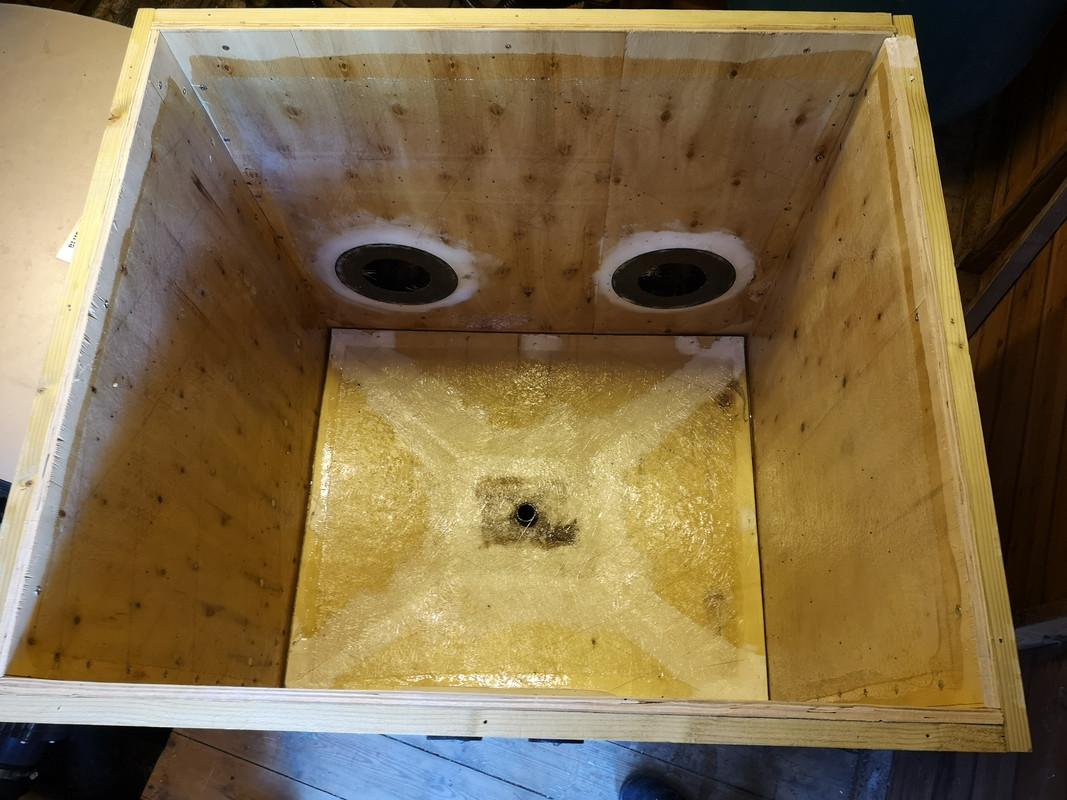
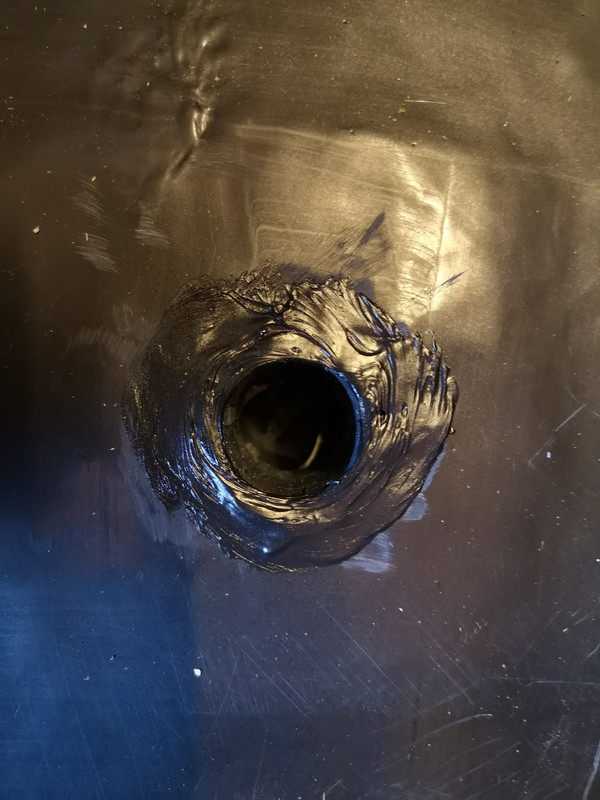
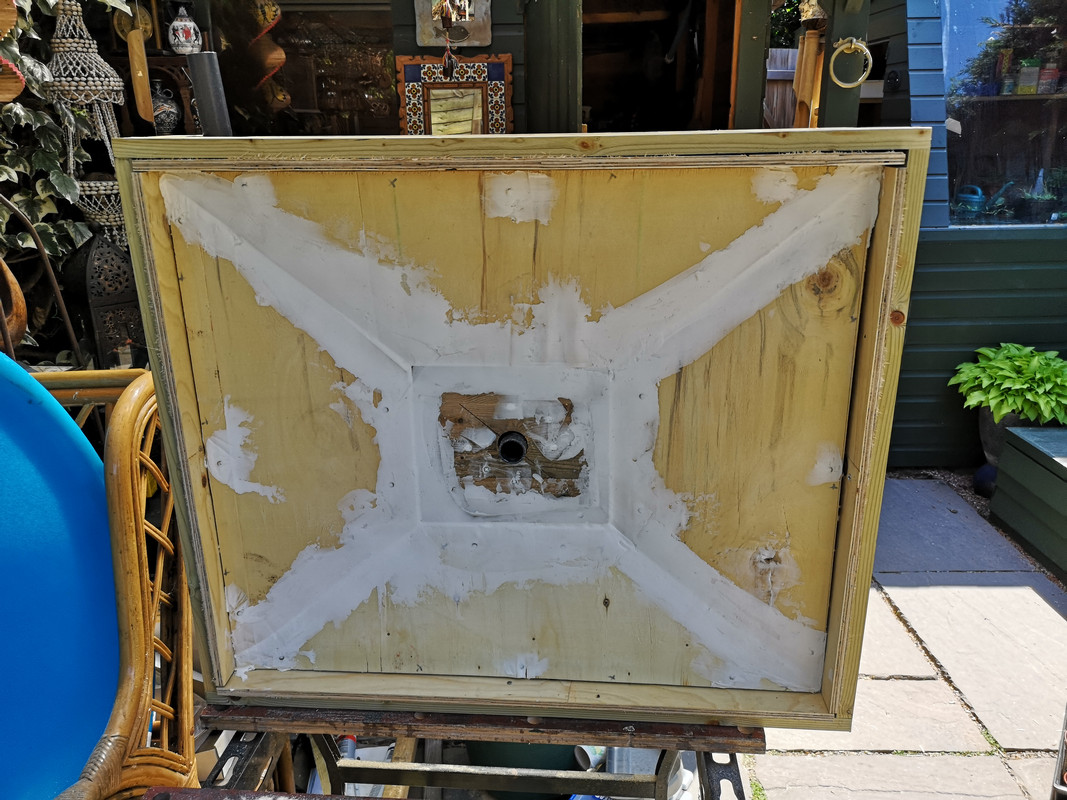
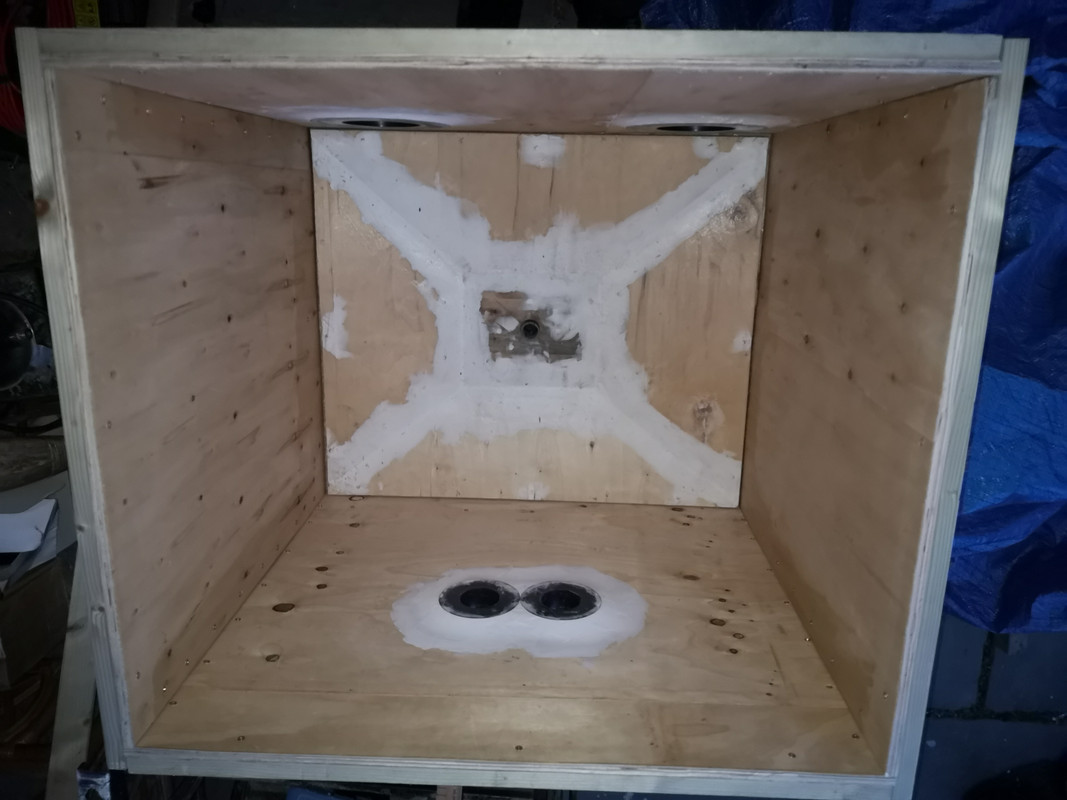
Slope the base towards the middle.

IMG-20200505-170057.jpg


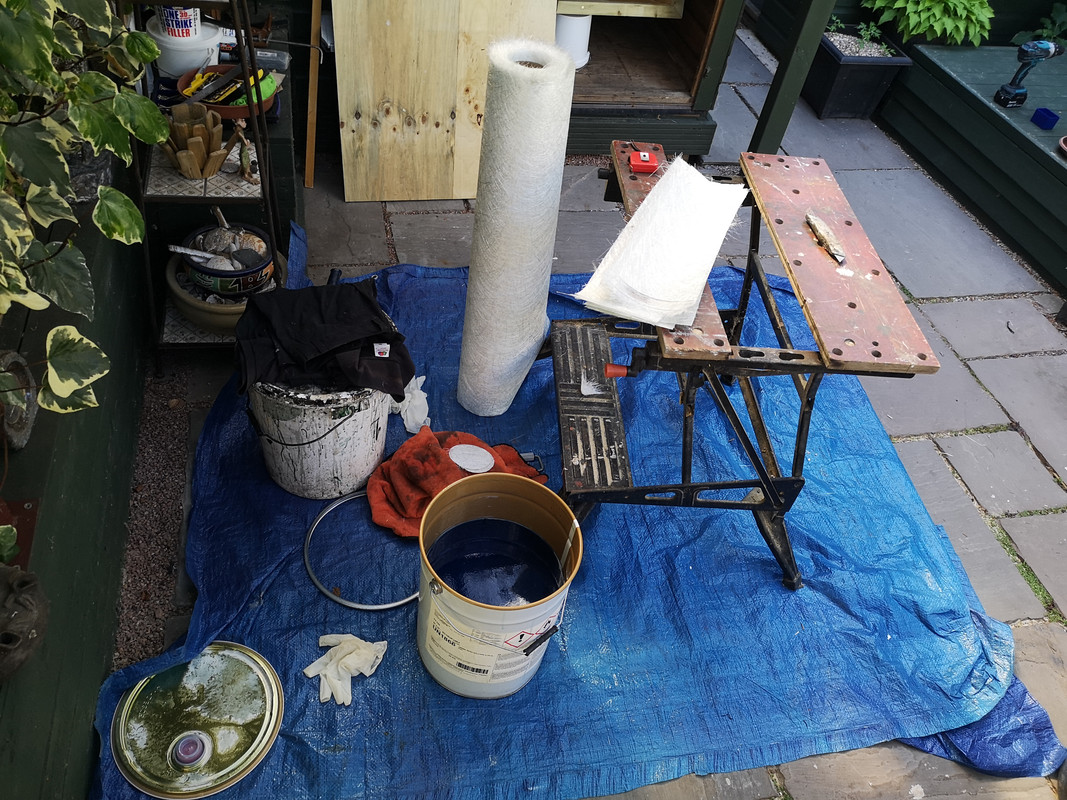
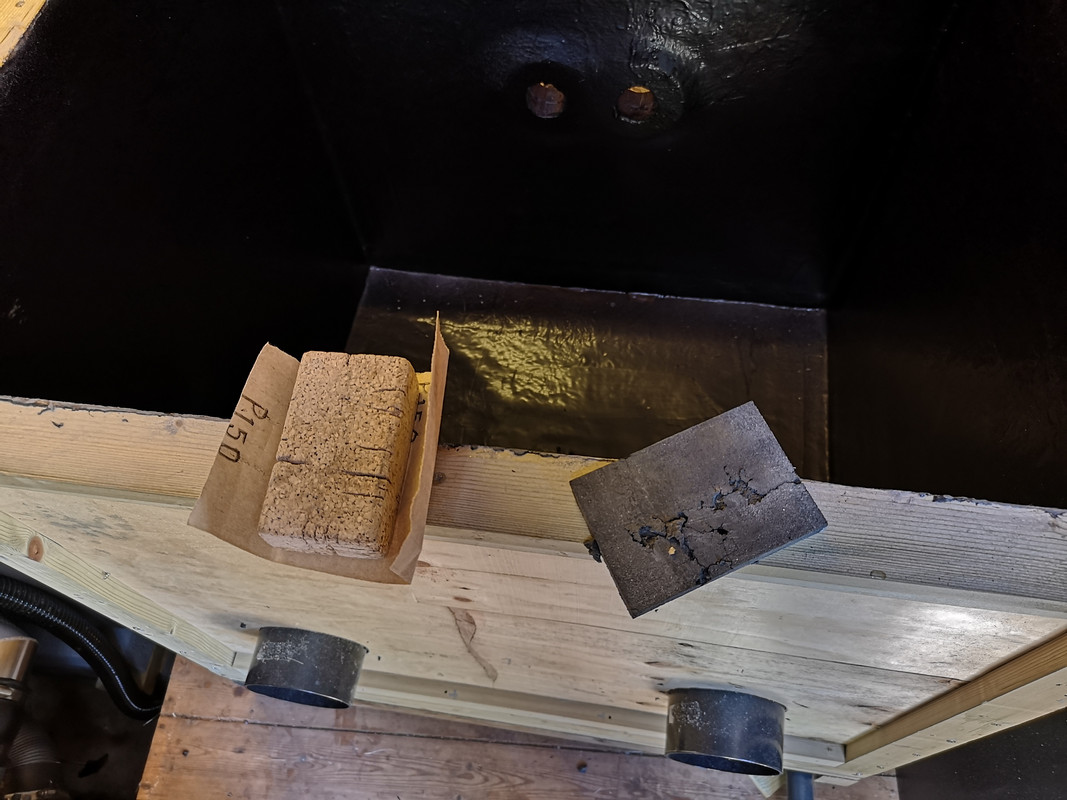
Some fillter to smooth it all and the base is ready.

IMG-20200507-122917.jpg
 
4 sides made in a similar way with tank connector flanges ready fitted.

IMG-20200527-170155.jpg


Slot them into the base screw together and the box is ready for fibreglassing on friday.

IMG-20200525-214219.jpg


IMG-20200525-214230.jpg


IMG-20200525-214240.jpg


Now if you compare to https://queni-koi.co.uk/qk150-bio-chamber---78500-1674-p.asp

Mine cost less than £120 to make, holds about 1/3 more water and media and the inlets and outlets are perfectly positioned to my setup.

Even after paying for the fibreglass, im going to be 500 quid better off.
 
Fiberglass day!

Started early to get it done before the temperature makes it unworkable.

IMG-20200529-101738.jpg


The 4 sides were individually fiberglassed leaving a 1 inch key around the edges. The box was then assembled in the shed.

IMG-20200529-101325.jpg


IMG-20200529-101330.jpg


IMG-20200529-101340.jpg


The corners were then layered and overlapped with a healthy dollop of resin. This needs to be functional not pretty so we only used the strand and resin, no tissue.

IMG-20200529-101335.jpg


IMG-20200529-105515.jpg


The inside was then flowcoated.

IMG-20200529-115158.jpg


As we had som extra resin and flowcoat left over it was applied to a sheet of wood to act as a potential lid.

IMG-20200529-115137.jpg
 
Nice - did you use a prepared filler or resin+talc?

Filler was done a few days before to allow it to cure off, standard off the shelf stuff. Wouldnt have the working time really today to mix so much up, the flowcoat tub was solid about 3 mins after that photo.
 
Filler was done a few days before to allow it to cure off, standard off the shelf stuff. Wouldnt have the working time really today to mix so much up, the flowcoat tub was solid about 3 mins after that photo.

Yikes. Current heat is concerning me a little - I'll be digging out and blocking the pond end of June timeframe but fibreglassing in temps is a little concerning.
 
Yikes. Current heat is concerning me a little - I'll be digging out and blocking the pond end of June timeframe but fibreglassing in temps is a little concerning.

Unless you can completely cover it with a solid timber or scaffolding frame with blackout covers to keep the sun off, dont even try. I've seen so many fiberglass jobs done wrong because they try to do it in the sunlight in the height of summer and it leads to horrible banding in the finish, even then you will need an extremely experienced glasser to deal with it correctly.
 
Unless you can completely cover it with a solid timber or scaffolding frame with blackout covers to keep the sun off, dont even try. I've seen so many fiberglass jobs done wrong because they try to do it in the sunlight in the height of summer and it leads to horrible banding in the finish, even then you will need an extremely experienced glasser to deal with it correctly.

It's the UK.. the summer will be firmly over and the issue will be rain :D
 
With the fibreglass dry, time to sand down the rough edges and denib. do I need to do this? No. But could I leave it so unpolished. Also no.

Tops and sides first.
IMG-20200530-132825.jpg


IMG-20200530-132836.jpg


Next had to get in there and do the inlets outlets and sand down the drain pipe. Working in a 1m x 1m box not fun.

IMG-20200530-140824.jpg


IMG-20200530-142524.jpg


Safety first, these masks do come in handy :D

IMG-20200530-142740.jpg


Lots of dust, nothing a quick wash down the hole wont fix.

IMG-20200530-144154.jpg


IMG-20200530-150134.jpg


Finally, exit pipes solvented in and sealed to the fibreglass. Lots of mastic around and into the drain hole. Double seals on the inlet side.

IMG-20200530-175618.jpg


IMG-20200530-175721.jpg


IMG-20200602-145419.jpg


IMG-20200602-152552.jpg


And added the 316 stainless mesh to the inlets.

IMG-20200602-170148.jpg
 
Back
Top Bottom