Ok so i'm not dead... I hath returned and been making some purchases!
Firstly, I confess the build i'm working with was a 'temporary' case due to life just getting in the way of ever finishing my big build which you can read about here. I did a lazy job of the temporary solution, I just did the quick not the OCD ideal of everything so forgive me for my sins .
.
The kit:
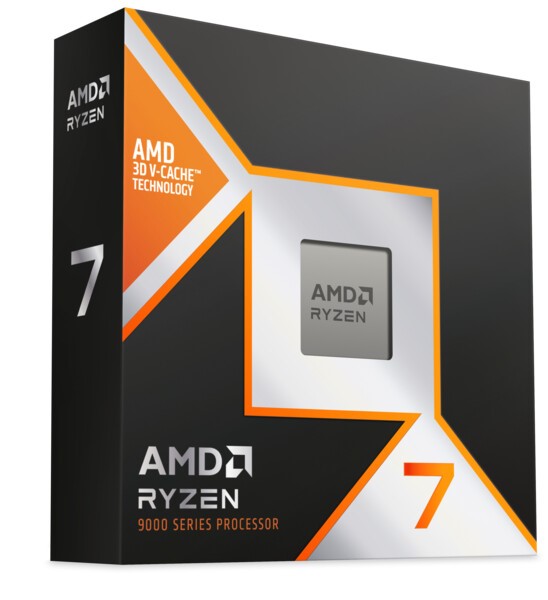
1. 9800X3d CPU (link)
2. Asus Strix 870-E Motherboard (link)
3. 32GB Corsair Dominator Titanium DDR5 (link)
And in true OCUK fashion this shopping list escalated... It now includes:
4. Asus Strix 1200W PSU (link)
5. Nvidia 5080 GPU (Reference)
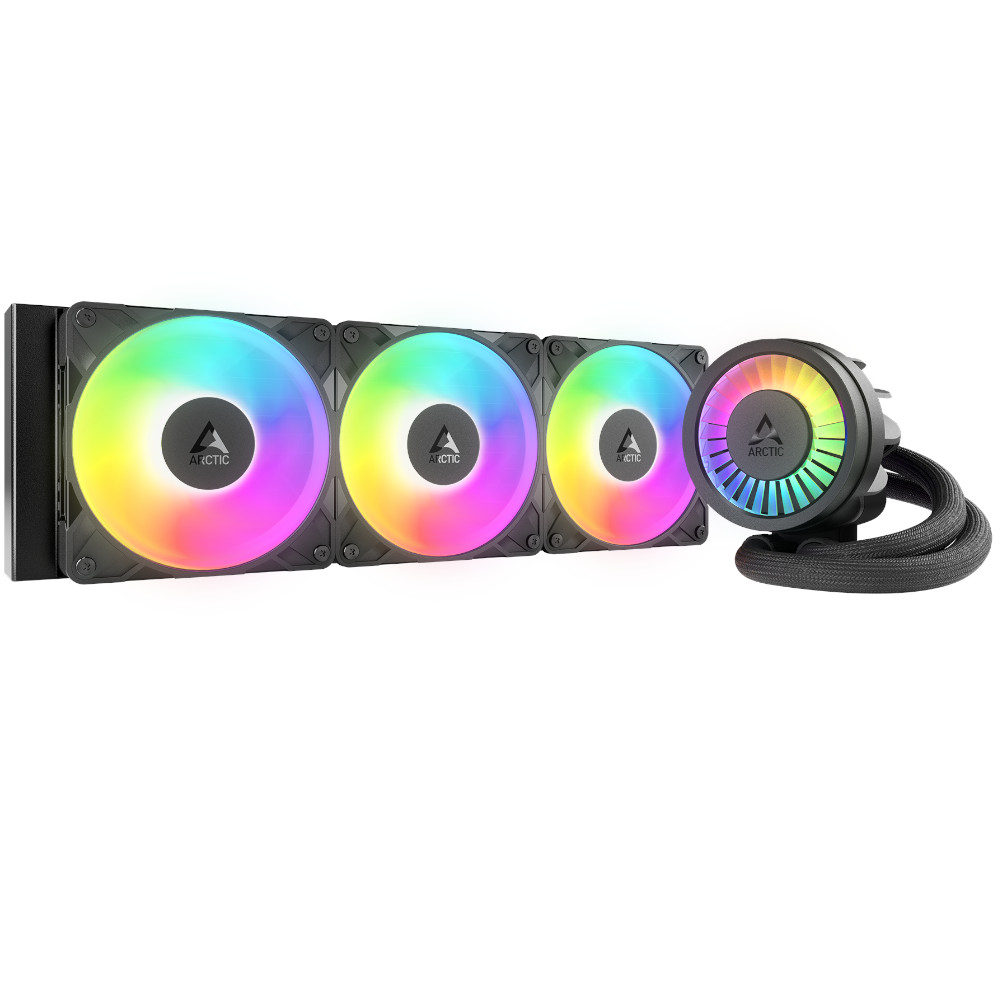
6. Artic Freezer III Pro 360mm AIO (link)
Case: Lian Li 011D EVO (FREE I OWNED IT ALREADY! Woo)
Now anyone who remembers me is probably not that surprised it got out of control, but its not my fault I swear . Firstly when I received the goodies (7:30pm - DPD here the route is utterly insanity) I only had an hour to install it before I was due to meet a friend, i'm out of touch but I rose to the challenge or removing old and installing new. Job done (still lazy), the main ridiculousness being my original build was a custom 1000D so i'd hand made pretty long cables to fit that which in short... Means they were REALLY long, and wow the girth. Bhahaha. See the photos below, a few snaps crammed in cables and the RGB vomit swapped in:


Finding out you need to hunt some extra power connectors for the CPU was good fun, digging out the old boxes of endless kit:

So anyway, I built the initial thing and of course since i'd taken a look at it again I couldnt escape that I really should deal with the fact its not really a temp case if its been up for about 4 years...
Firstly I had decided I would start by making right sized cables and actually adding some fans to the build since it actually didnt really have anything, the bottom fans not even connected lol. This seemed like a good idea, and I will tell you its been a while but muscle memory kicked in I just grabbed the kit and started crimping cables, braiding without really thinking about it. In fact when I stopped I thought, how the hell did I just do that. See some pics below, firstly this is my box of custom wired eLoops, I had in total about 30 I think from the big build:

Each one is rewired and braided in to groups to 4 way connectors, these then fit single wire connectors which were made to use in 2 x commander pros. Ridiculously long motherboard cable:

The braid is paracord the wires are thick as hell, but if you follow this method for me its a lot less frustrating and the finish is good so if it helps anyone here is my approach.
Step 1: Stretch braid down wire and cut the two the same size in one, lighter the end and when you release it will naturally slightly recoil.

Step 2 strip wires and crimps on:


Step 3: Grip tight and run your fingers up the wire, the paracord will shift back up. Once it overlaps the crimp, grip it tight and get the lighter on it to melt it and pinch it with your fingers (yes is burns lol)

Finish is neat, no faffing trying to crimp a sleeve in the connector and it will never move once its melted over the rear of the crimp:


So next I was talking to a mate and I said 'you know what i might see if i can snipe a 5080 reference card on nv direct some time', not really expecting it to work so fast. Next day I'd managed to score one and thus the next impulse purchase of the PSU was born lol. So I got confirmation to my surprise pretty fast the GPU was heading my way, I did some reading because lets be real I did it a bit impulse, I decided I didnt really fancy daisy chaining 4 PSU slots to allow the maximum power and so PSU shopping commenced... In the end I snagged the new one for £200 so not really too bad (for me).
A few snaps of the supply, its smaller than the Thor but actually losing a lot of the redundant stuff you really don't need many sockets anyway (1 connector 600W GPU helps).

Stickers, apparently some people want to put them on a £270 PSU...

I had never seen this before but the level of cardboard that the 5080 came in was pretty hilarious:

A lot slimmer than the 3090:

So I put it altogether and it works, happy days. Then suddenly it doesnt work, CPU temps gone mad, turning off. I start to think ok i've made a mistake and killed something, but stripping it down it turns out the EK AIO in amongst all this had decided to die out of nowhere, pump failure. See below, stripped it down testing and it was clear nothing wrong but the pump so I took it apart and yep its PCB cooked and derailed my whole fun:

And so we went shopping again, there is a rainforest very near to me... So I ordered an Artic Freezer 3 Pro which came by 9am the next day. Sadly I was working away but while everything sat there I decided I would finish the job right, and so when I returned I started wiring fans again, and again and again. Now my lazy build was starting to have some care and attention, banks of 3 fans top, bottom, rad and a rear fan. Example of how this looks:

(short wire as header right there, fans to 4 pin losing 2xTach line for right RPM read, neat header wired one show).
Despite adding a ton of fans the wiring was now no longer horrific and tons of airflow moving around:

Still a bit messy but its hidden behind a screw on plate
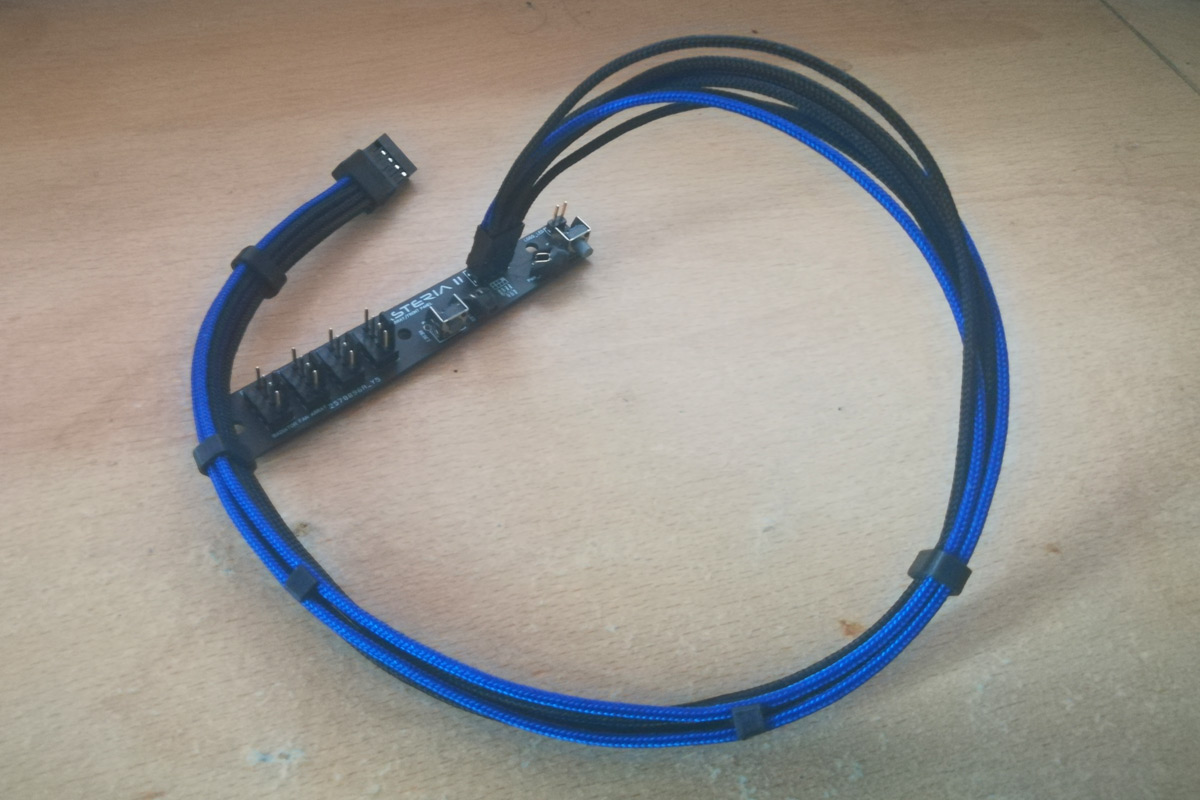
Even the wiring kit got organised:

So thats it... For now, i'll probably tinker some more since i've risen from the dead. The finished build snaps below without the VRM fan on the CPU block (kinda clean) and with, i'm most likely going to replace those fans on the AOI rad with eLoops as you can see I have some spare in stock lol. Less RGB. Also ordering the right crimps for the block which connects the pump VRM fan to the headers, the plan there is to replace annoyingly long horrible wires, lose the 'fan' link and take fan link direct from the rad to CPU header since its literally next to it.
Inverted block mount as M2 Heatsinks are too large on this board, inverting is ok just don't mess with L and R brackets and the offset is still good.


Temps are now absolutely cracking as you can imagine, noise is low, life is good. Remember, it wasnt my fault.
Firstly, I confess the build i'm working with was a 'temporary' case due to life just getting in the way of ever finishing my big build which you can read about here. I did a lazy job of the temporary solution, I just did the quick not the OCD ideal of everything so forgive me for my sins
 .
.The kit:
1. 9800X3d CPU (link)
2. Asus Strix 870-E Motherboard (link)
3. 32GB Corsair Dominator Titanium DDR5 (link)
And in true OCUK fashion this shopping list escalated... It now includes:
4. Asus Strix 1200W PSU (link)
5. Nvidia 5080 GPU (Reference)
6. Artic Freezer III Pro 360mm AIO (link)
Case: Lian Li 011D EVO (FREE I OWNED IT ALREADY! Woo)
Now anyone who remembers me is probably not that surprised it got out of control, but its not my fault I swear
 . Firstly when I received the goodies (7:30pm - DPD here the route is utterly insanity) I only had an hour to install it before I was due to meet a friend, i'm out of touch but I rose to the challenge or removing old and installing new. Job done (still lazy), the main ridiculousness being my original build was a custom 1000D so i'd hand made pretty long cables to fit that which in short... Means they were REALLY long, and wow the girth. Bhahaha. See the photos below, a few snaps crammed in cables and the RGB vomit swapped in:

Finding out you need to hunt some extra power connectors for the CPU was good fun, digging out the old boxes of endless kit:

So anyway, I built the initial thing and of course since i'd taken a look at it again I couldnt escape that I really should deal with the fact its not really a temp case if its been up for about 4 years...
Firstly I had decided I would start by making right sized cables and actually adding some fans to the build since it actually didnt really have anything, the bottom fans not even connected lol. This seemed like a good idea, and I will tell you its been a while but muscle memory kicked in I just grabbed the kit and started crimping cables, braiding without really thinking about it. In fact when I stopped I thought, how the hell did I just do that. See some pics below, firstly this is my box of custom wired eLoops, I had in total about 30 I think from the big build:

Each one is rewired and braided in to groups to 4 way connectors, these then fit single wire connectors which were made to use in 2 x commander pros. Ridiculously long motherboard cable:

The braid is paracord the wires are thick as hell, but if you follow this method for me its a lot less frustrating and the finish is good so if it helps anyone here is my approach.
Step 1: Stretch braid down wire and cut the two the same size in one, lighter the end and when you release it will naturally slightly recoil.

Step 2 strip wires and crimps on:


Step 3: Grip tight and run your fingers up the wire, the paracord will shift back up. Once it overlaps the crimp, grip it tight and get the lighter on it to melt it and pinch it with your fingers (yes is burns lol)

Finish is neat, no faffing trying to crimp a sleeve in the connector and it will never move once its melted over the rear of the crimp:


So next I was talking to a mate and I said 'you know what i might see if i can snipe a 5080 reference card on nv direct some time', not really expecting it to work so fast. Next day I'd managed to score one and thus the next impulse purchase of the PSU was born lol. So I got confirmation to my surprise pretty fast the GPU was heading my way, I did some reading because lets be real I did it a bit impulse, I decided I didnt really fancy daisy chaining 4 PSU slots to allow the maximum power and so PSU shopping commenced... In the end I snagged the new one for £200 so not really too bad (for me).
A few snaps of the supply, its smaller than the Thor but actually losing a lot of the redundant stuff you really don't need many sockets anyway (1 connector 600W GPU helps).

Stickers, apparently some people want to put them on a £270 PSU...

I had never seen this before but the level of cardboard that the 5080 came in was pretty hilarious:

A lot slimmer than the 3090:

So I put it altogether and it works, happy days. Then suddenly it doesnt work, CPU temps gone mad, turning off. I start to think ok i've made a mistake and killed something, but stripping it down it turns out the EK AIO in amongst all this had decided to die out of nowhere, pump failure. See below, stripped it down testing and it was clear nothing wrong but the pump so I took it apart and yep its PCB cooked and derailed my whole fun:

And so we went shopping again, there is a rainforest very near to me... So I ordered an Artic Freezer 3 Pro which came by 9am the next day. Sadly I was working away but while everything sat there I decided I would finish the job right, and so when I returned I started wiring fans again, and again and again. Now my lazy build was starting to have some care and attention, banks of 3 fans top, bottom, rad and a rear fan. Example of how this looks:

(short wire as header right there, fans to 4 pin losing 2xTach line for right RPM read, neat header wired one show).
Despite adding a ton of fans the wiring was now no longer horrific and tons of airflow moving around:

Still a bit messy but its hidden behind a screw on plate

Even the wiring kit got organised:

So thats it... For now, i'll probably tinker some more since i've risen from the dead. The finished build snaps below without the VRM fan on the CPU block (kinda clean) and with, i'm most likely going to replace those fans on the AOI rad with eLoops as you can see I have some spare in stock lol. Less RGB. Also ordering the right crimps for the block which connects the pump VRM fan to the headers, the plan there is to replace annoyingly long horrible wires, lose the 'fan' link and take fan link direct from the rad to CPU header since its literally next to it.
Inverted block mount as M2 Heatsinks are too large on this board, inverting is ok just don't mess with L and R brackets and the offset is still good.


Temps are now absolutely cracking as you can imagine, noise is low, life is good. Remember, it wasnt my fault.
SAVE 26%

£540
(incl. VAT)
£400
(incl. VAT)
SAVE 9%

£470
(incl. VAT)
£430
(incl. VAT)

£170
(incl. VAT)

£270
(incl. VAT)

£90
(incl. VAT)
Last edited:


 "
"