You are using an out of date browser. It may not display this or other websites correctly.
You should upgrade or use an alternative browser.
You should upgrade or use an alternative browser.
[Project Log] "Parvum|Beast" - Semi Sponsored Build
- Thread starter DeuS1
- Start date
More options
Thread starter's postsThanks a lot, i am pretty sure that they are, knowing that they support allmost all types of ddr4 and ddr3 memory sticks.
but dont hang me up on it.. instead try the EK waterblocks Cooling Configurator
that should help you out
i will meassure that when i wake up again, its in the middle of the night now and i HAVE to sleep !
but dont hang me up on it.. instead try the EK waterblocks Cooling Configurator

that should help you out

i will meassure that when i wake up again, its in the middle of the night now and i HAVE to sleep !

Test Mounting of the Waterblocks, and modding the flipped GPU.
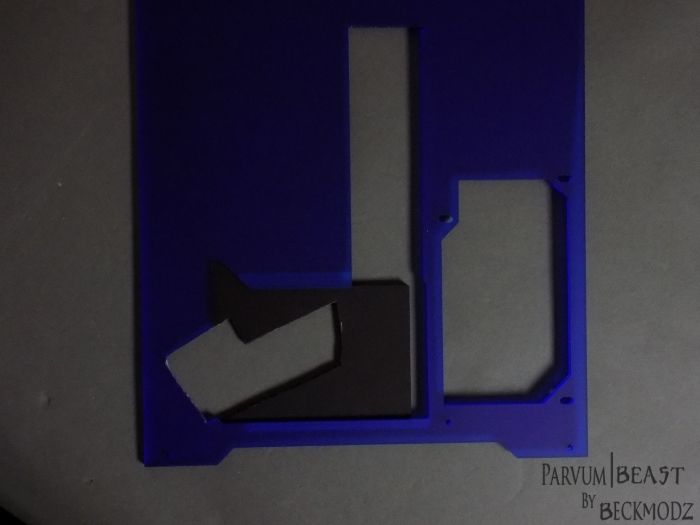
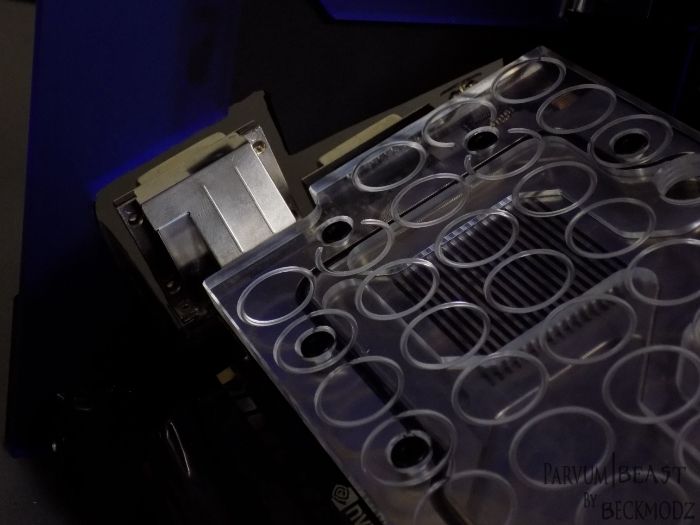
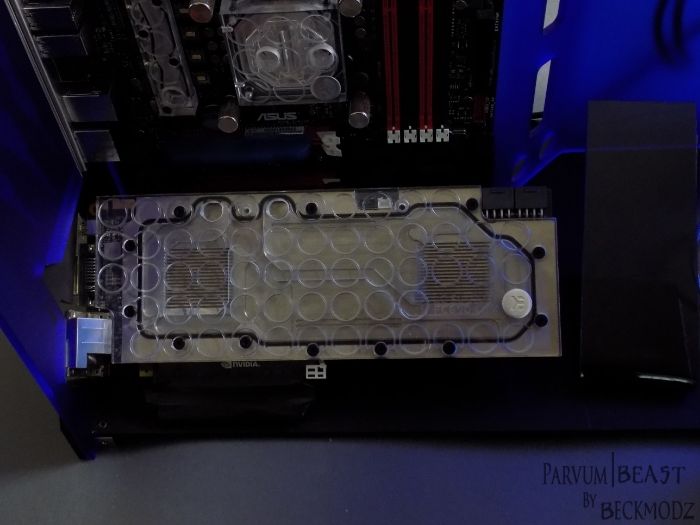
Allright, got a lot of work done last few days. Test mounted the blocks to see how it looked best,
then flipped the gpu, bend some acrylic sheets to act like supporters for the gpu, and added some velcro tape to hold it in place.
after that, it was time to figure out how i wanted the cut in the case and pci slot cover to be.
Then after the cut i saw i cut too big of a hole, but still its okay
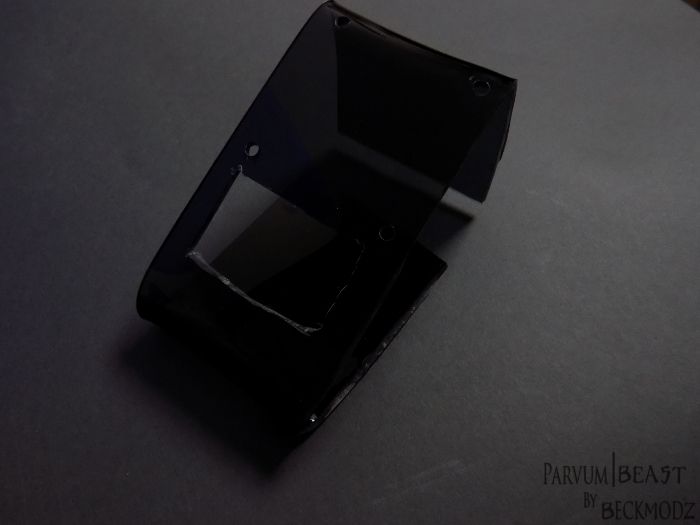
I also was thinking a lot about the pump placement, if i wanted it next to the 120mm rad, mounted in the back at the mobo tray, or where to put it for the best looks..
Then i thought maybe i could make another acrylic piece bended in the angle of the GPU, so that the Pump actually is tilted in same angle as the GPu, and i must say it's got the look i was hoping for ..
..
Also cut out a hole for the LCD temperature display..
But still awaiting the final piece from Parvum, so maybe i will change it later or redo it,
but for now it works out great i think
I also drilled holes for the reservoir mount, and shot a few pics with everything in its place, and also with the window on to see how it looked
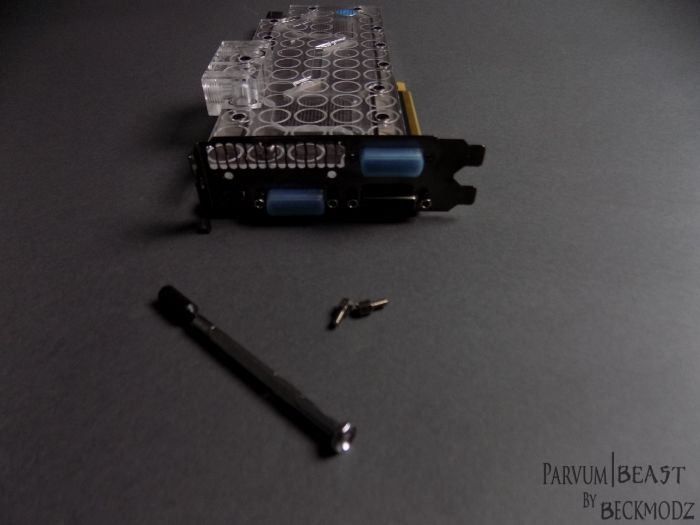
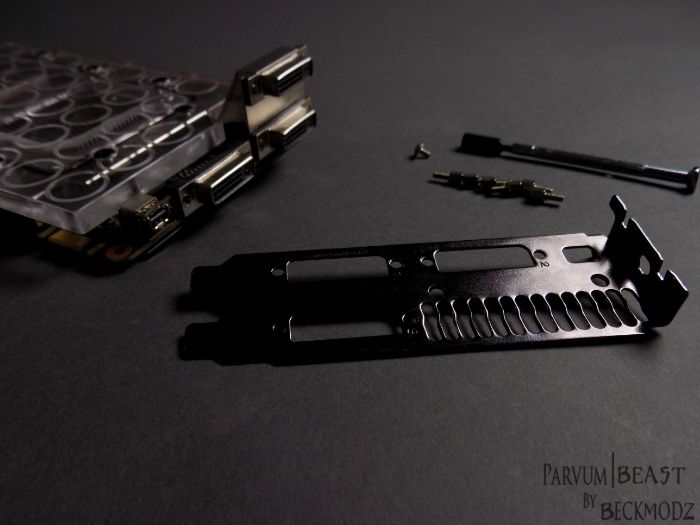
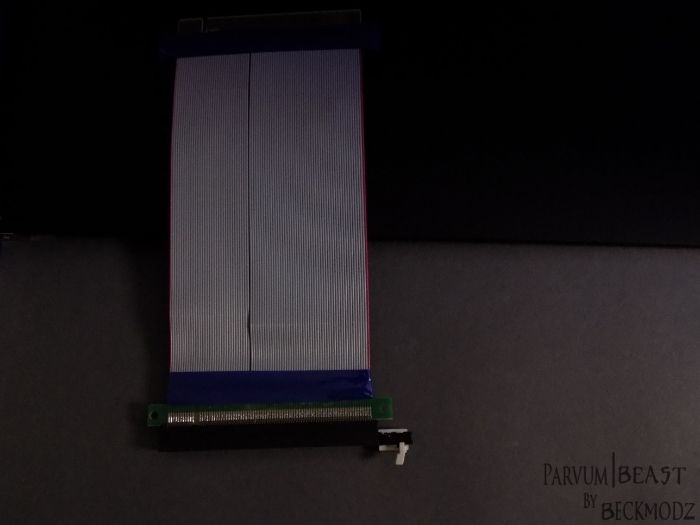
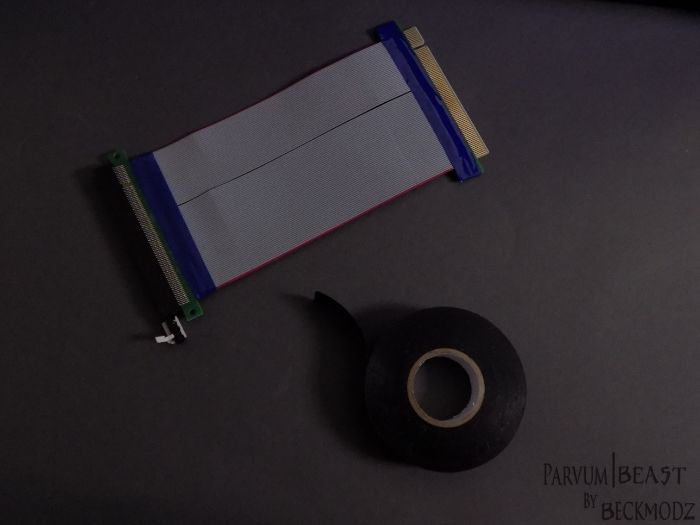
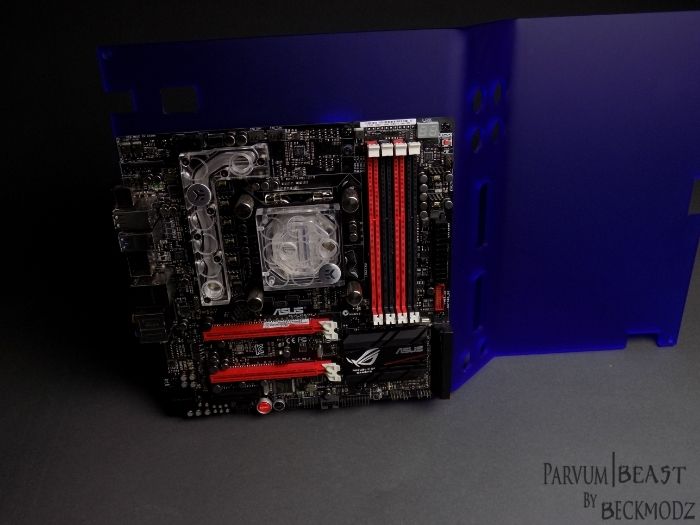
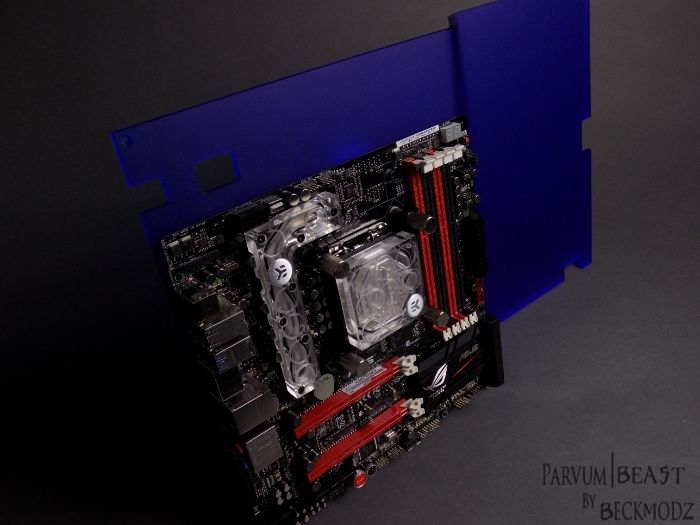
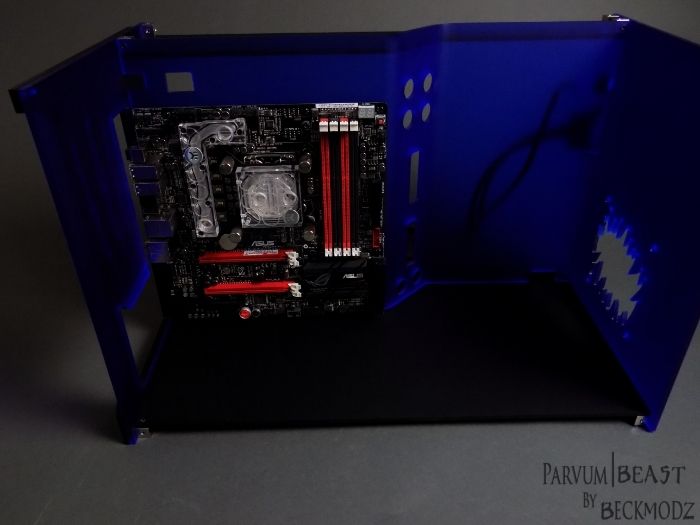
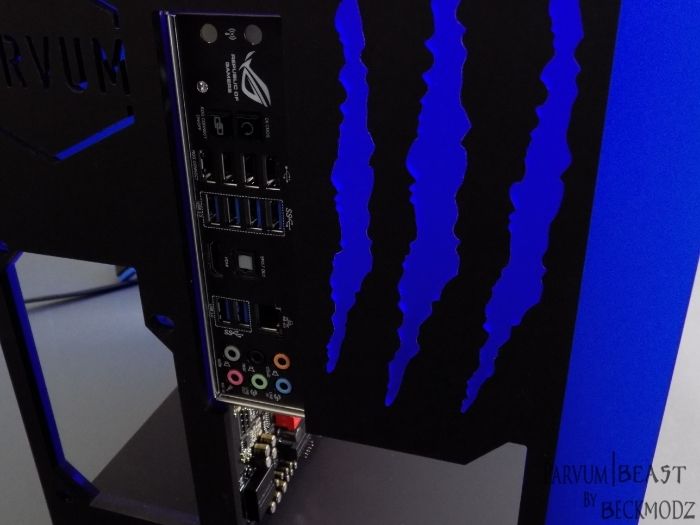
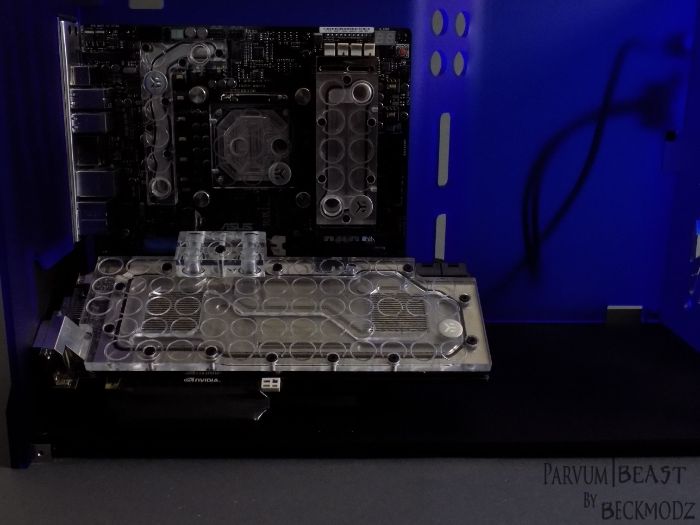
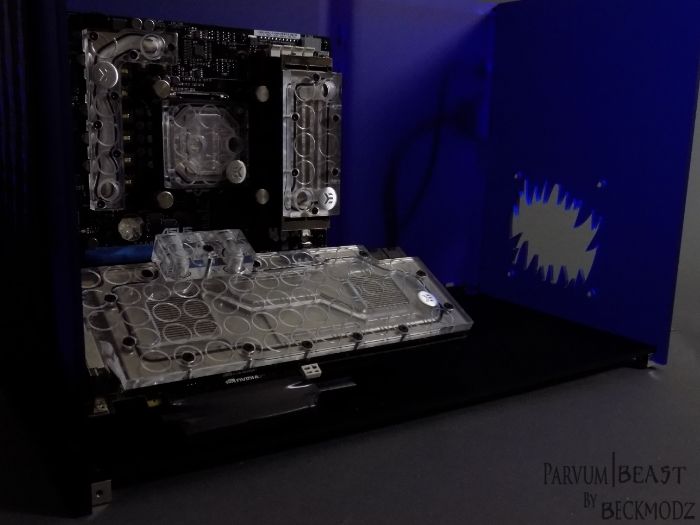
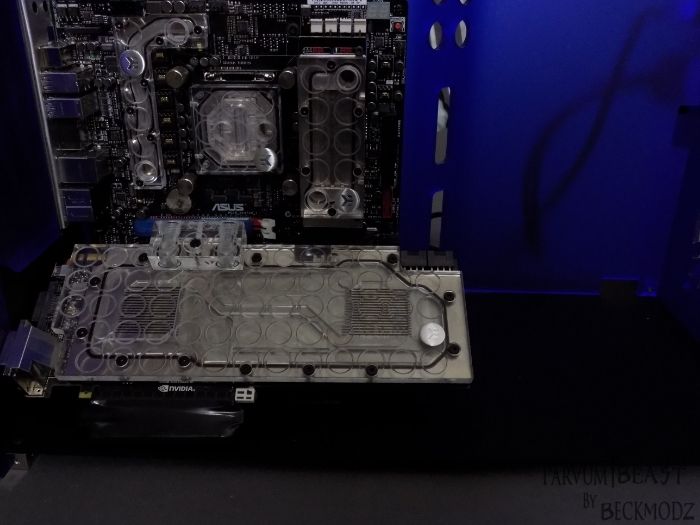
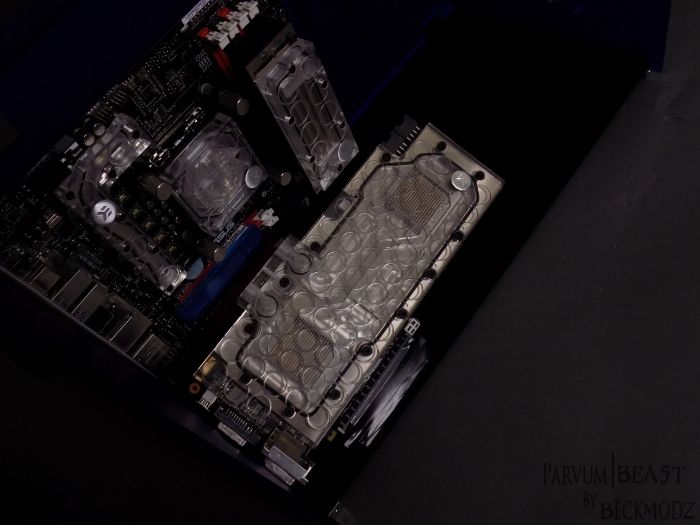
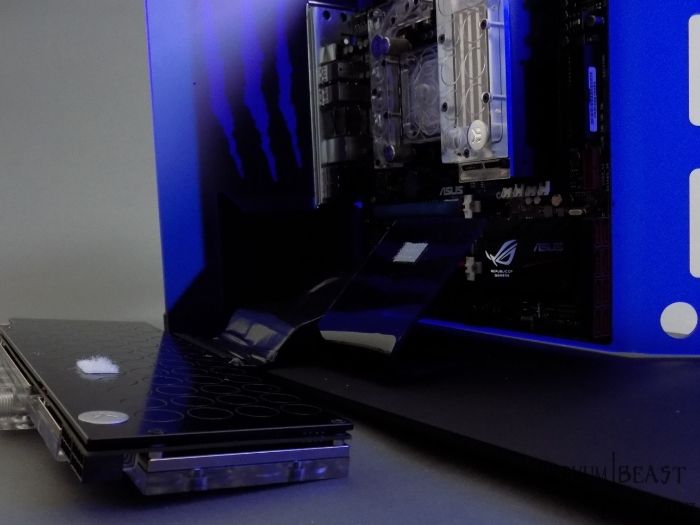
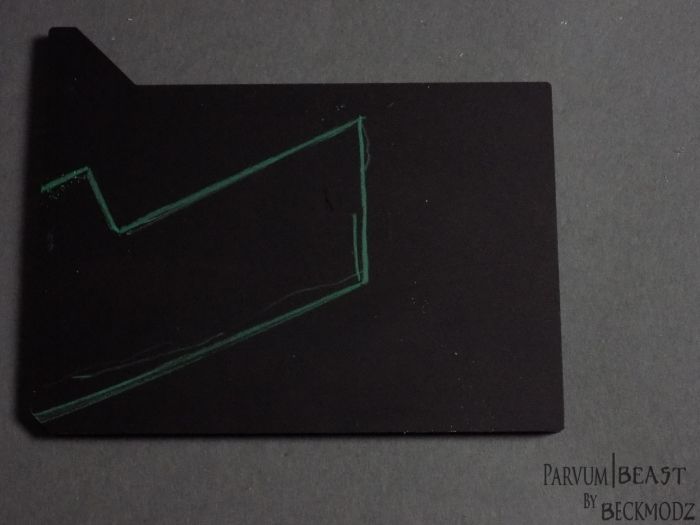
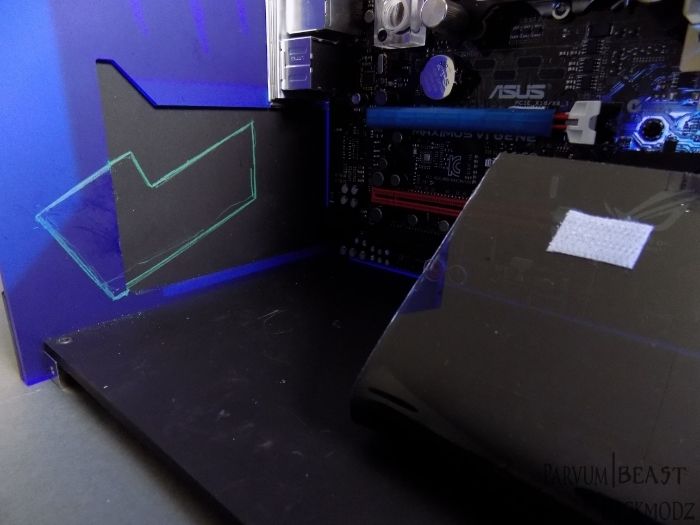
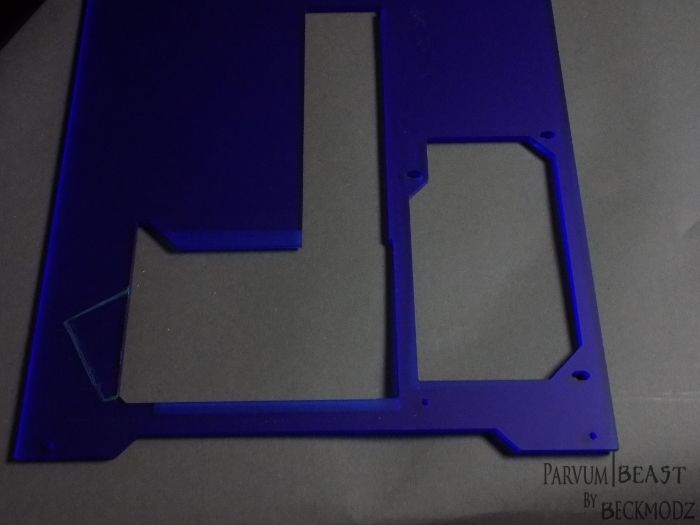
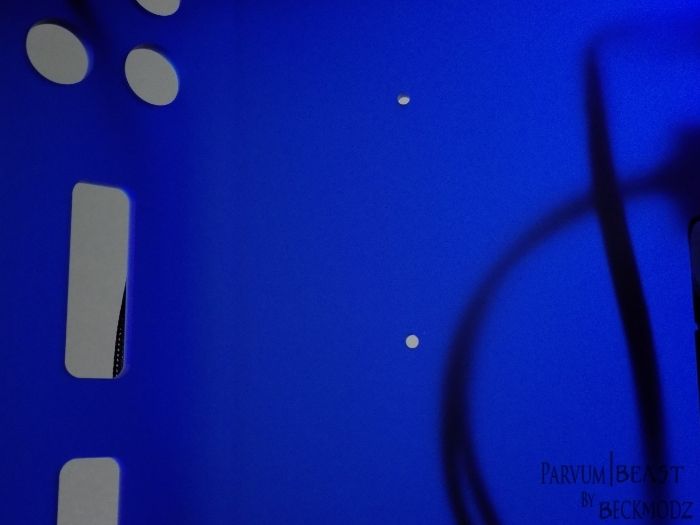
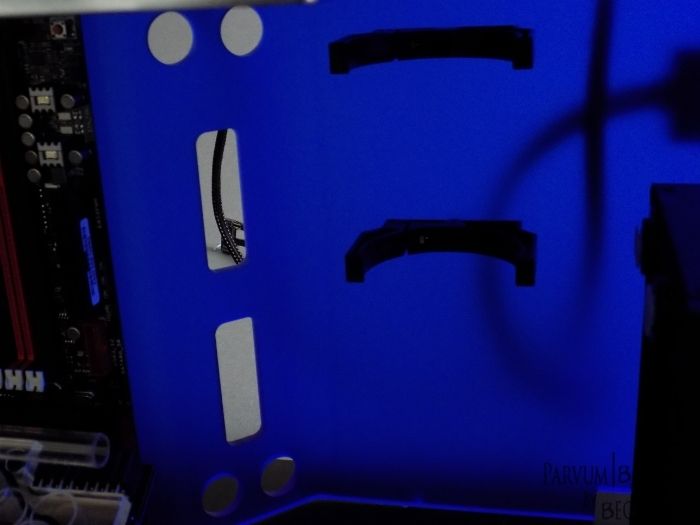
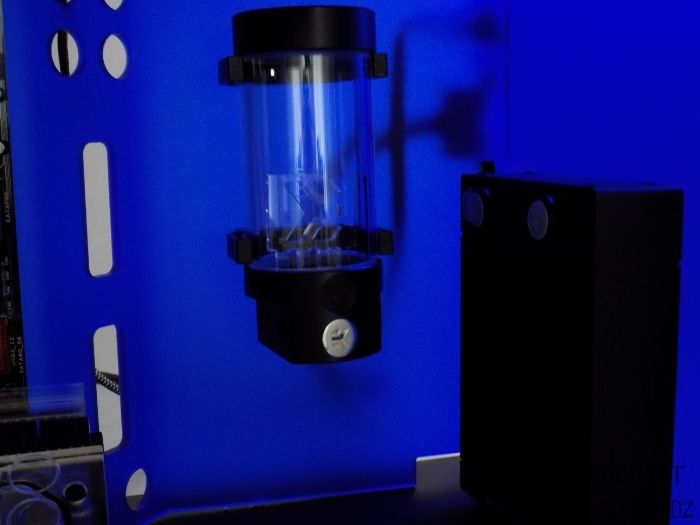
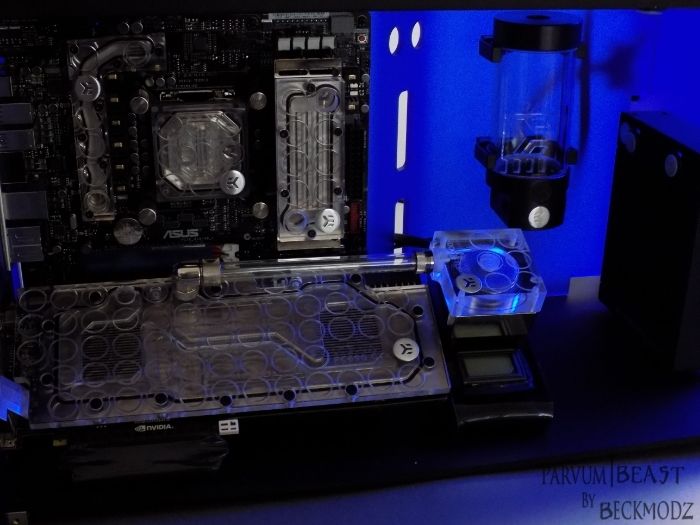
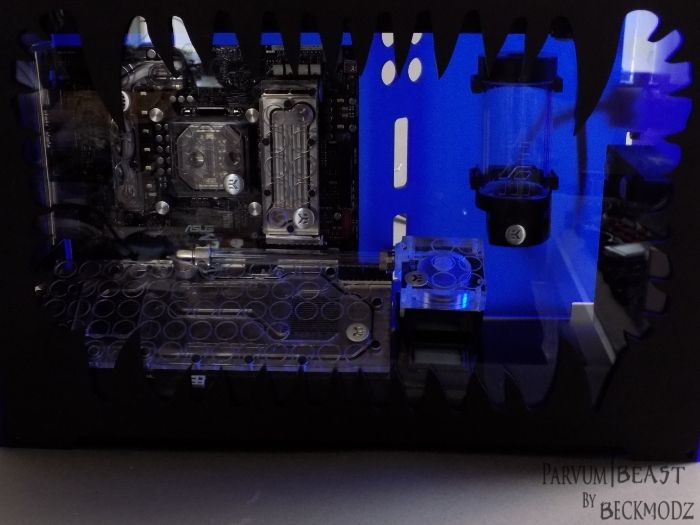
So what do you think guys ? .. next up will probably be installing fittings and tubing and figuring out the loop
Allright, got a lot of work done last few days. Test mounted the blocks to see how it looked best,
then flipped the gpu, bend some acrylic sheets to act like supporters for the gpu, and added some velcro tape to hold it in place.
after that, it was time to figure out how i wanted the cut in the case and pci slot cover to be.
Then after the cut i saw i cut too big of a hole, but still its okay

I also was thinking a lot about the pump placement, if i wanted it next to the 120mm rad, mounted in the back at the mobo tray, or where to put it for the best looks..
Then i thought maybe i could make another acrylic piece bended in the angle of the GPU, so that the Pump actually is tilted in same angle as the GPu, and i must say it's got the look i was hoping for
 ..
..Also cut out a hole for the LCD temperature display..
But still awaiting the final piece from Parvum, so maybe i will change it later or redo it,
but for now it works out great i think

I also drilled holes for the reservoir mount, and shot a few pics with everything in its place, and also with the window on to see how it looked


So what do you think guys ? .. next up will probably be installing fittings and tubing and figuring out the loop

Just had to try this since its a monster blue energy inspired build 
So i just finished my Moster Blue Energy Drink, and decided maybe i should cut it and try to fit it over the reservoir, as a reservoir
sleeve .. And i have to say, i actually think it looks kindda awesome.. Maybe i should try do mod it a bit, and see if i can cut out the logo and
make the "M" light up with the UV blue liquid in the res ?
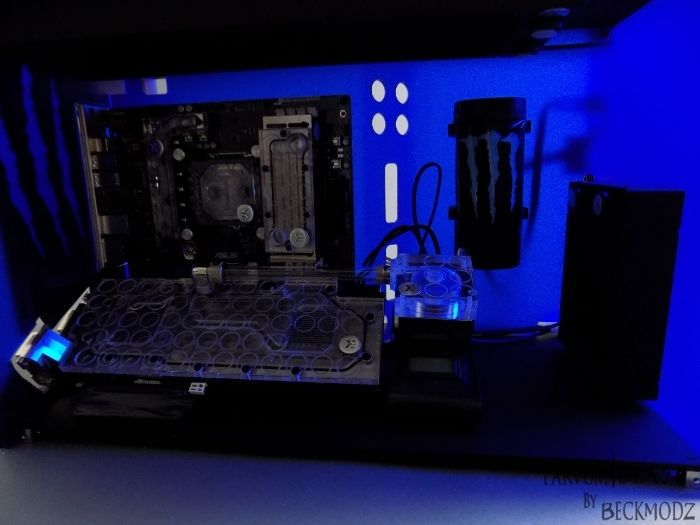
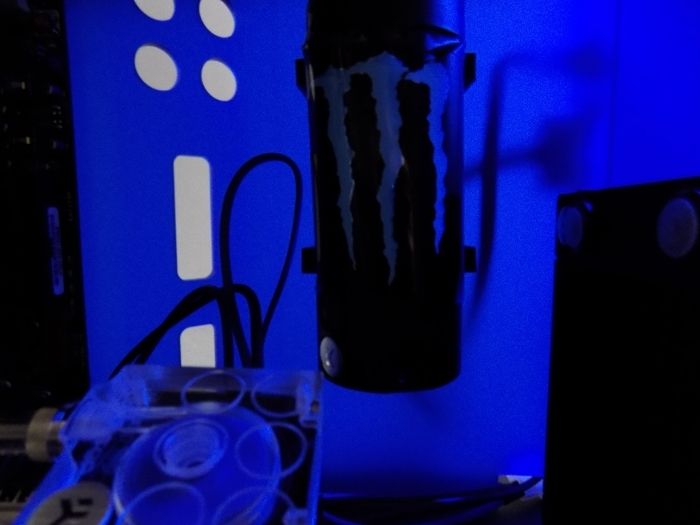
So what do you think guys ? ..worth doing, or just looks to lame ? .. Keep in mind i have monster logo on case also, and that this build is a monster
tribute build to the blue energy drink that i love so much

So i just finished my Moster Blue Energy Drink, and decided maybe i should cut it and try to fit it over the reservoir, as a reservoir
sleeve
 .. And i have to say, i actually think it looks kindda awesome.. Maybe i should try do mod it a bit, and see if i can cut out the logo and
 make the "M" light up with the UV blue liquid in the res ?


So what do you think guys ? ..worth doing, or just looks to lame ? .. Keep in mind i have monster logo on case also, and that this build is a monster
tribute build to the blue energy drink that i love so much

Associate
yes!!!! definitely do it! it'll be worth it
yes!!!! definitely do it! it'll be worth it
Haha awesome !
 .. will see how its possible, kindda hard working my dremmel with all those details
  ..
..bloody sweet
Thank you !! : D
Soldato
Look at it this way: if you make a mistake with the Dremel, you'll just be 'forced' to drink another can to 'reset' and try again 

Look at it this way: if you make a mistake with the Dremel, you'll just be 'forced' to drink another can to 'reset' and try again
Haha thats true.. and when i get to mistake #14 i will be crawling around on the ceiling thinking i'm spiderman

OR worse, go racing with cars on the highway thinking i'm the flash !

Soldato
- Joined
- 19 Nov 2011
- Posts
- 4,854
Wow, this log is boss. Great to see new things, awesome things I may add. 

Wow, this log is boss. Great to see new things, awesome things I may add.
hehe Thx man !
 .. happy you like it
UPDATE: The fans and the rest of the sleeving just arrived <3<3 ..
Will take images of it monday where i will also try to cut out the monster energy drink can, and see if i can make it beautiful as reservoir sleeve,
or if i have to try something else
Will take images of it monday where i will also try to cut out the monster energy drink can, and see if i can make it beautiful as reservoir sleeve,
or if i have to try something else

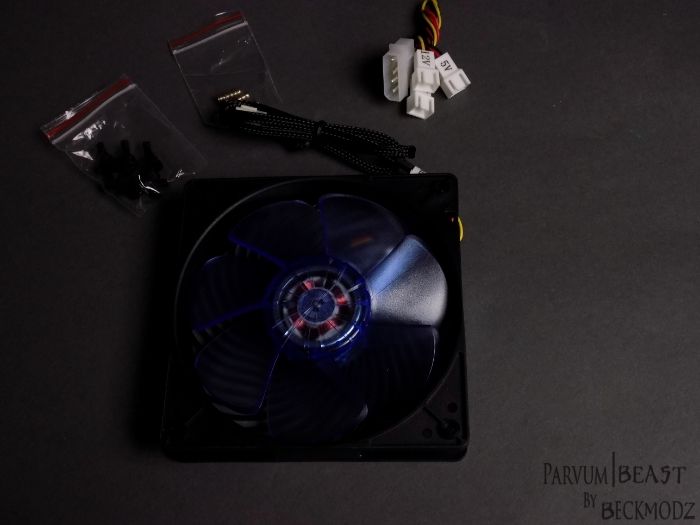
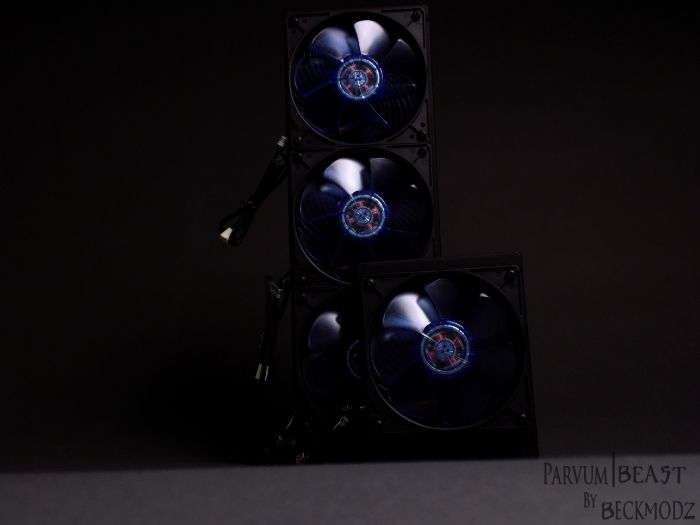
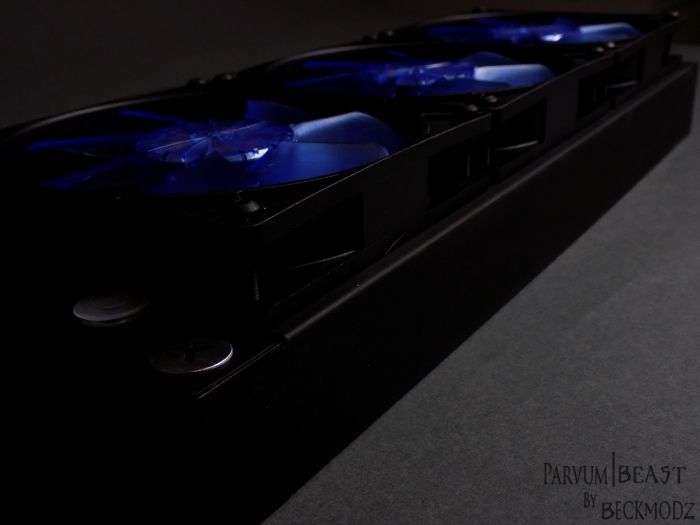
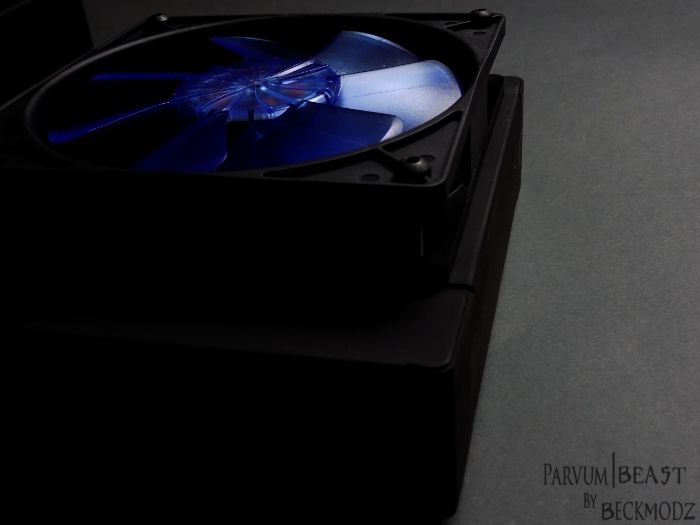
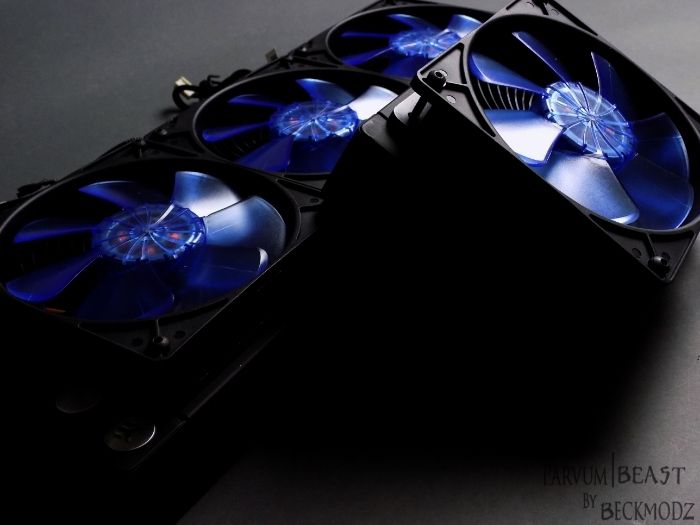
The Fans, Silverstone AP121 Uv Blue Blades
So the new fans just came in ! The Silverstone AP121 with Uv Blue Blades <3 ..
Originally i was going for the other version with blue led and transparent blades, and silver housing. But after trying them out i disliked it
a lot.. NOT the fans themselves, but only the way it fit my color theeme.. So obviously i had to get the black housing ones with blue blades instead,
and i am pretty sure it will look sweet with uv blue blades along with the uv blue liquid from ekwb
Also i tried to mount them on the EK Radiators, as a temporarily solution.. just to see how it looks..
Will take them off again later when i re-sleeve the wires from them
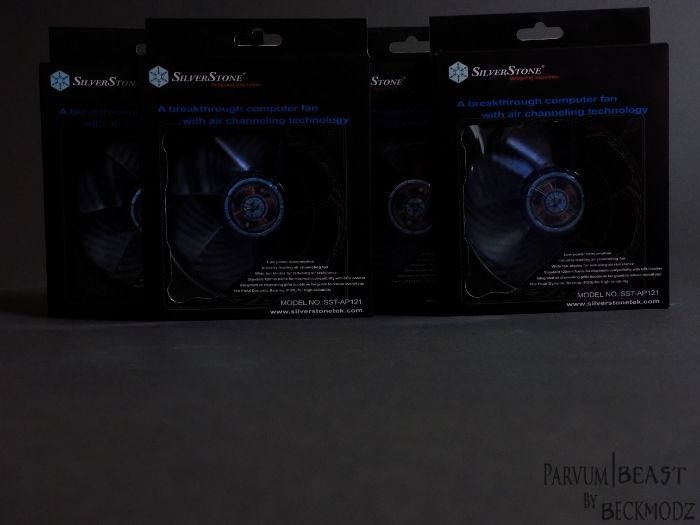
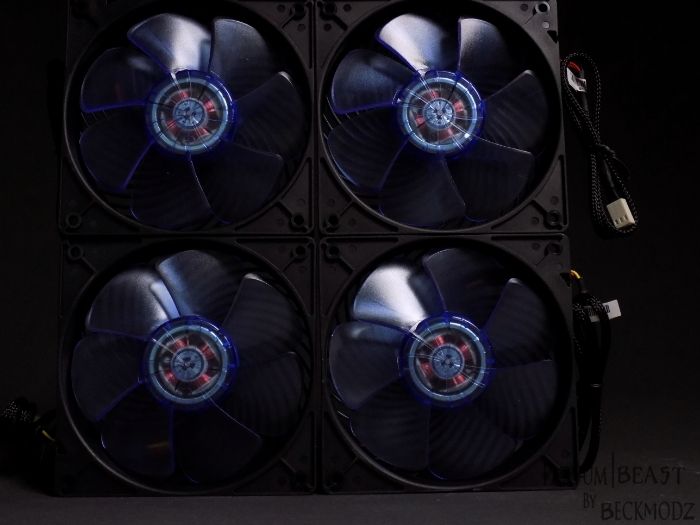
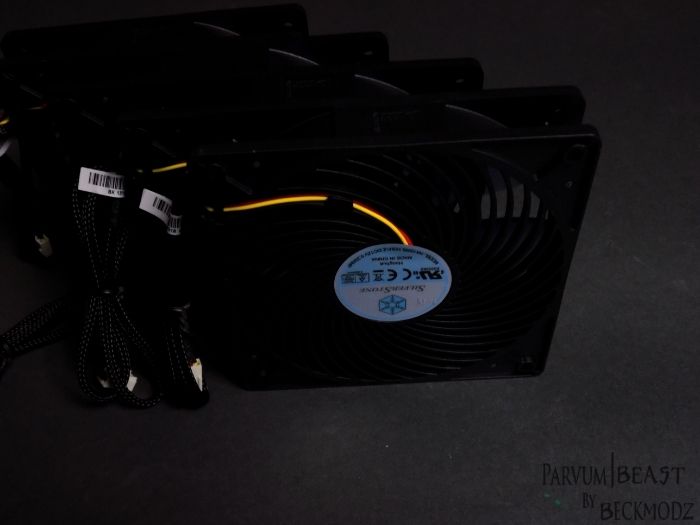
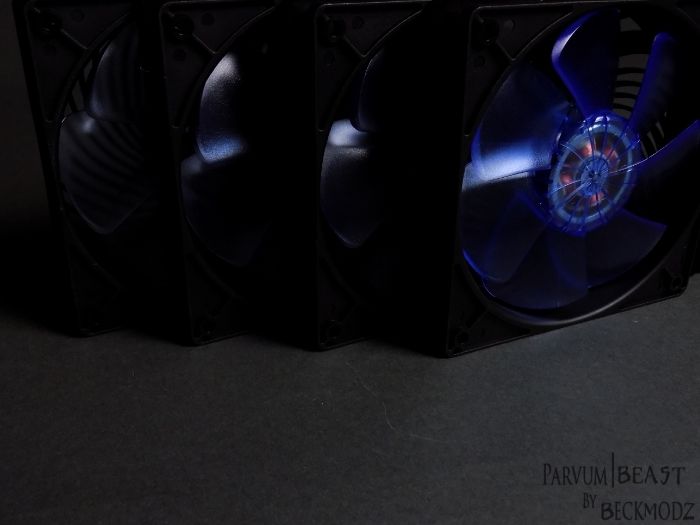
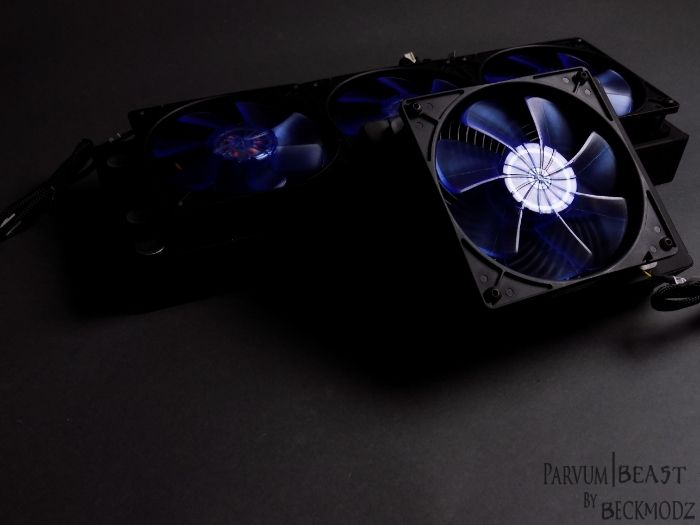
Love how it looks.. Tho i know i HAVE to re-sleeve the fan wires, looks okay from stock, but thats just not good enough for me
Pictures of all sleeving progress will follow very soon guys !
So the new fans just came in ! The Silverstone AP121 with Uv Blue Blades <3 ..
Originally i was going for the other version with blue led and transparent blades, and silver housing. But after trying them out i disliked it
a lot.. NOT the fans themselves, but only the way it fit my color theeme.. So obviously i had to get the black housing ones with blue blades instead,
and i am pretty sure it will look sweet with uv blue blades along with the uv blue liquid from ekwb

Also i tried to mount them on the EK Radiators, as a temporarily solution.. just to see how it looks..
Will take them off again later when i re-sleeve the wires from them


Love how it looks.. Tho i know i HAVE to re-sleeve the fan wires, looks okay from stock, but thats just not good enough for me

Pictures of all sleeving progress will follow very soon guys !
Figuring out the Loop
Okay, so this Update is all about the Loop. I took all my beloved fittings from EKWB and CoolerKit, and just went crazy with them
At first i was going to use minimal amount of fittings and instead do a lot more of Bending the tubing, But these fittings just look so awesome, that i
decided to use as many of them as i could instead hehe ..
I tried many different loop ideas, and after an hours work i am pretty sure that this one is how i think it looks the best, and cleanest
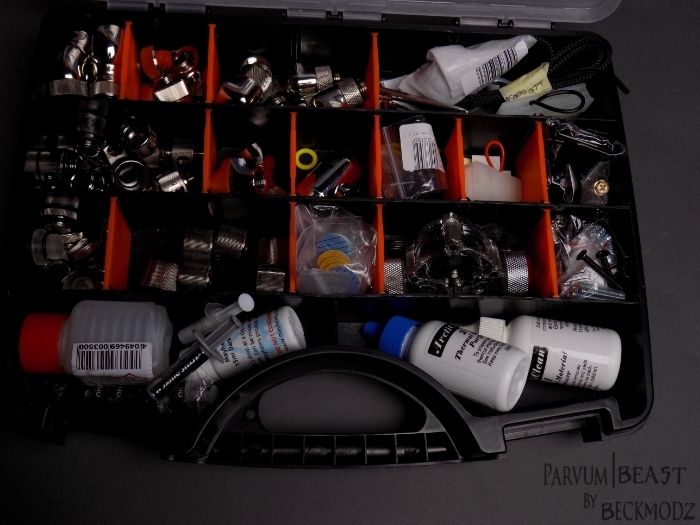
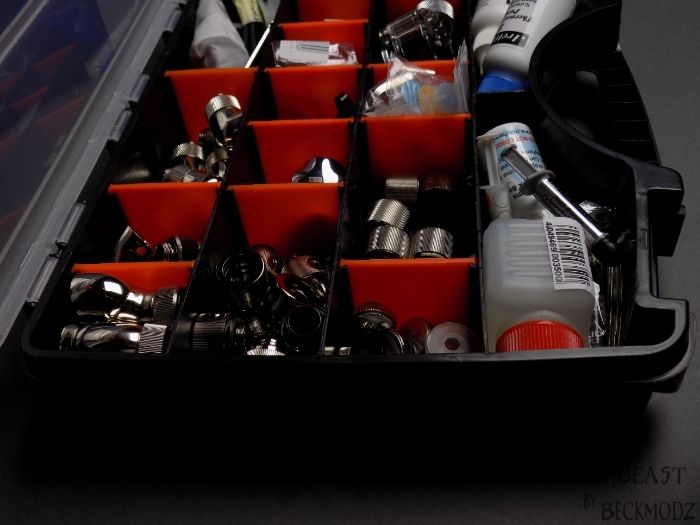
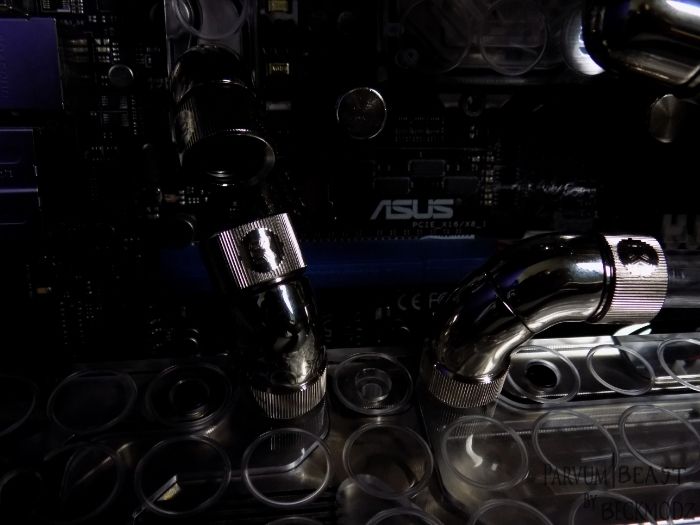
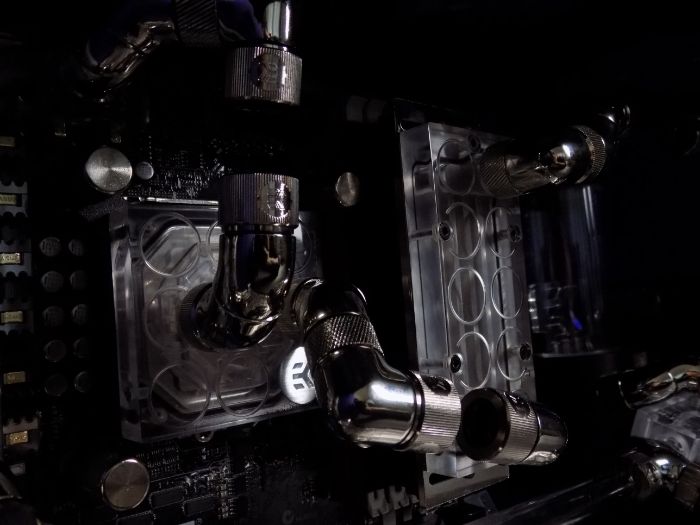
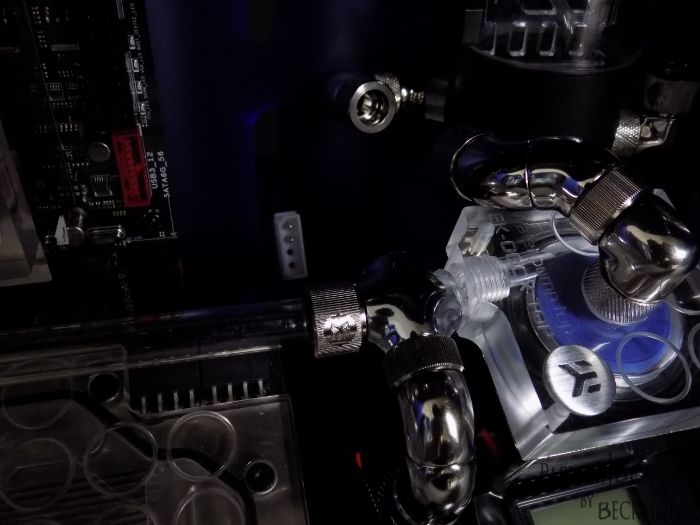
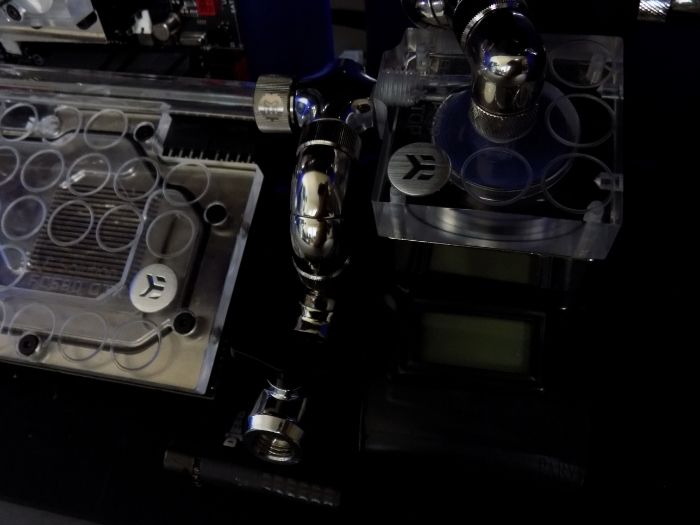
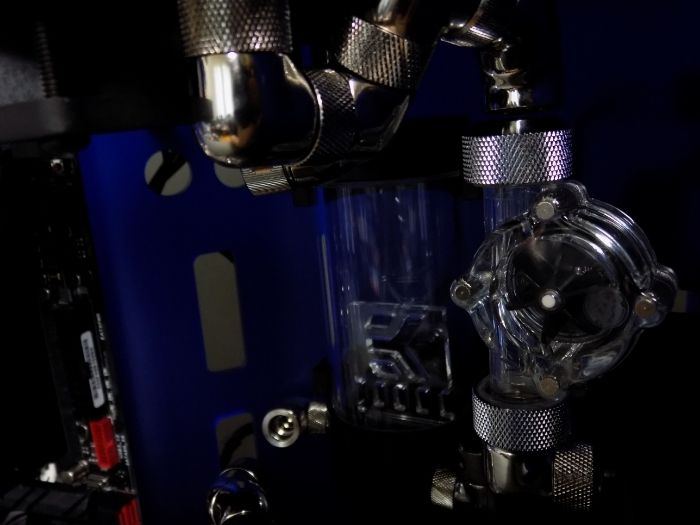
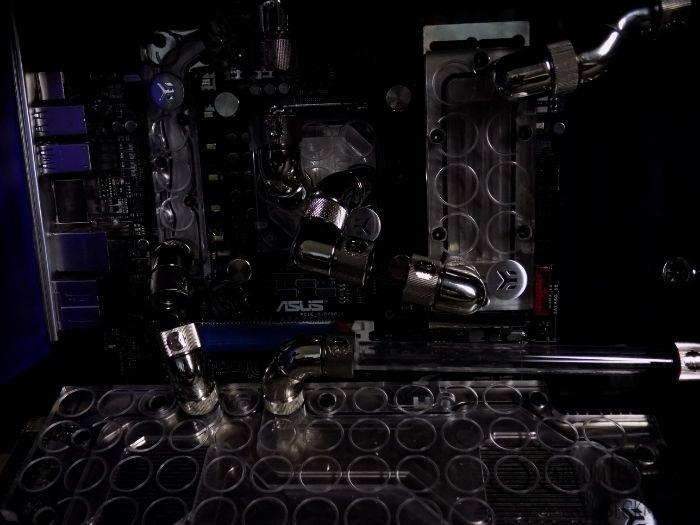
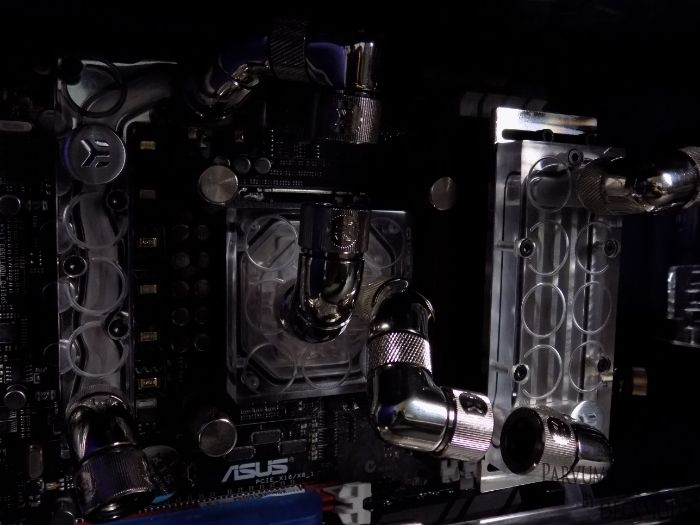
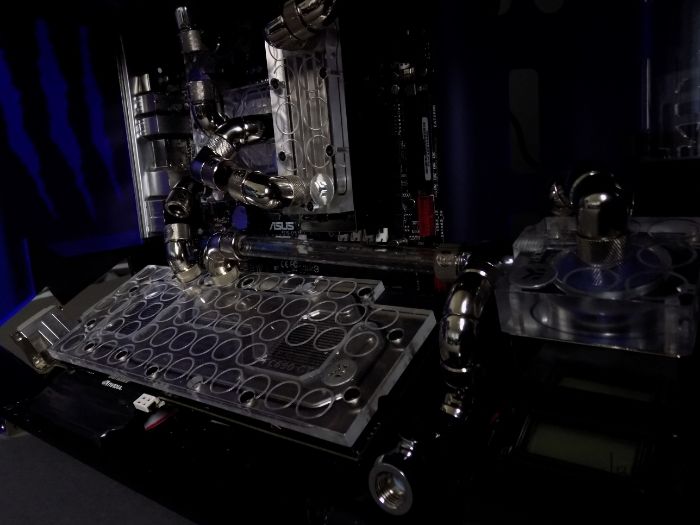
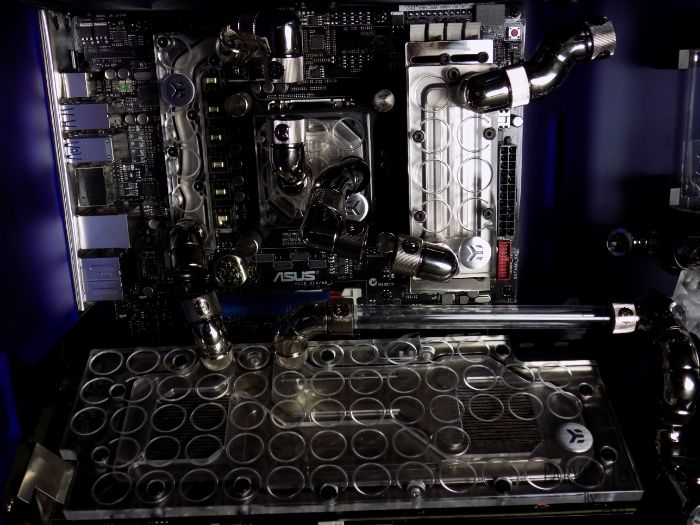
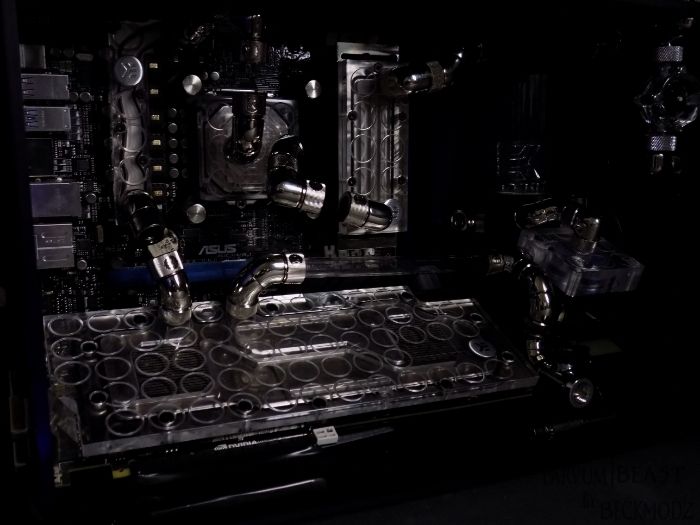
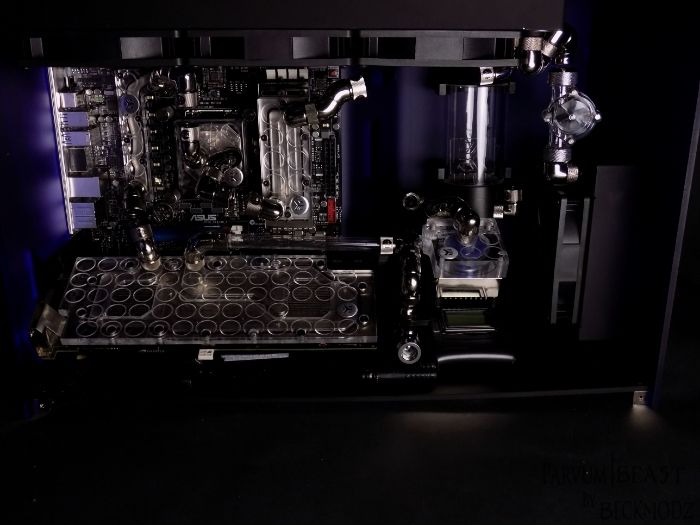
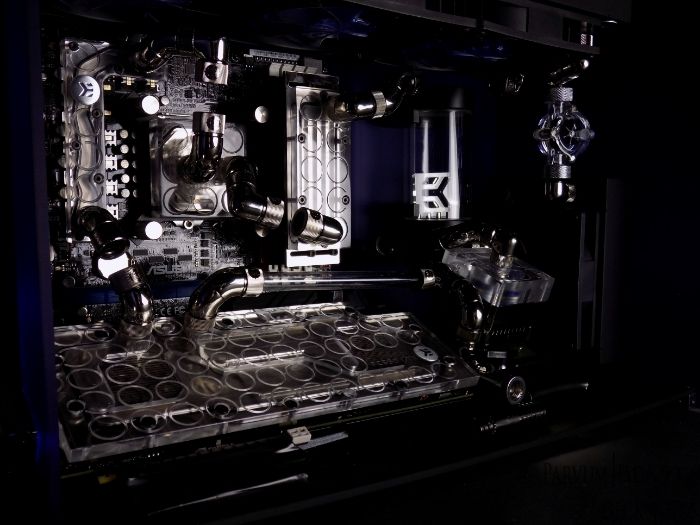
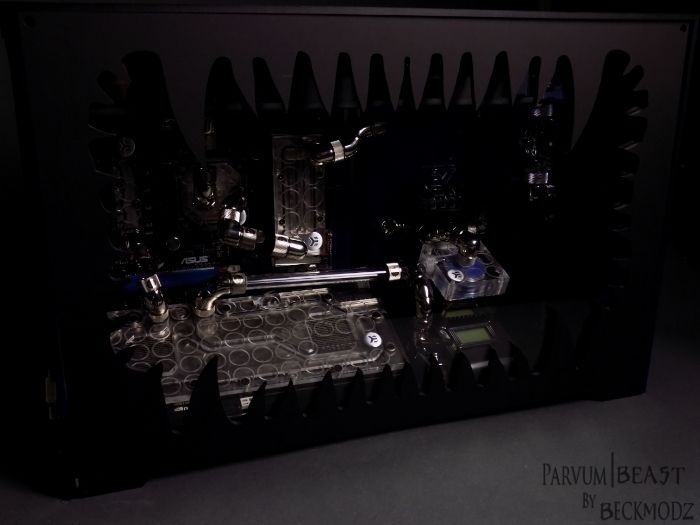
Am pretty happy with how this could turn out!...
Next up is probably tubing it, and making reservoir cover out of something.
and then a lot of sleeving later !
Hope you like it !!
Okay, so this Update is all about the Loop. I took all my beloved fittings from EKWB and CoolerKit, and just went crazy with them

At first i was going to use minimal amount of fittings and instead do a lot more of Bending the tubing, But these fittings just look so awesome, that i
decided to use as many of them as i could instead hehe ..
I tried many different loop ideas, and after an hours work i am pretty sure that this one is how i think it looks the best, and cleanest


Am pretty happy with how this could turn out!...
Next up is probably tubing it, and making reservoir cover out of something.
and then a lot of sleeving later !
Hope you like it !!
Soldato
Do like what you've done to mount the gfx card. Always thought that they build them upside down. Nice to see the block you've actually spent money on rather than the back of the PCB.
Do like what you've done to mount the gfx card. Always thought that they build them upside down. Nice to see the block you've actually spent money on rather than the back of the PCB.
Thank you very much, and yes i fully agree, makes no sence to spend so much money on a plexi gpu block, and u have to flip pc over to see it : D..
Reservoir Vinyl Sleeve
Allright, so i was going back and forward in my head with ideas on how to make the reservoir sleeve.
I tried to cut out the Monster logo from the Blue energy can, and seriously i tried like 6 times and just couldnt get it to be pretty enough!
Then i was thinking about some other options, first one was to cut out the logo in a alu tube, but my dremel was tired of living and decided to die
Next was to find some Plastic tube, but couldnt fint it in the right thickness, so had to figure out something else.
Thats when i came up with using some of my Matt Black Vinyl Sticker, and cutting the logo into the vinyl and then just stick it on the res.
Actually i'm quite happy with the result, the matt black vinyl sticker thing actually matches the case acrylic to perfection.
So anyways, here's some pics of the progress of the making.
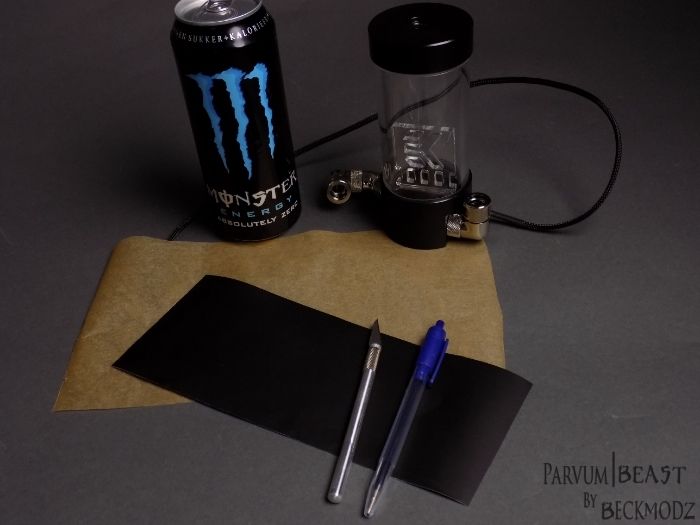
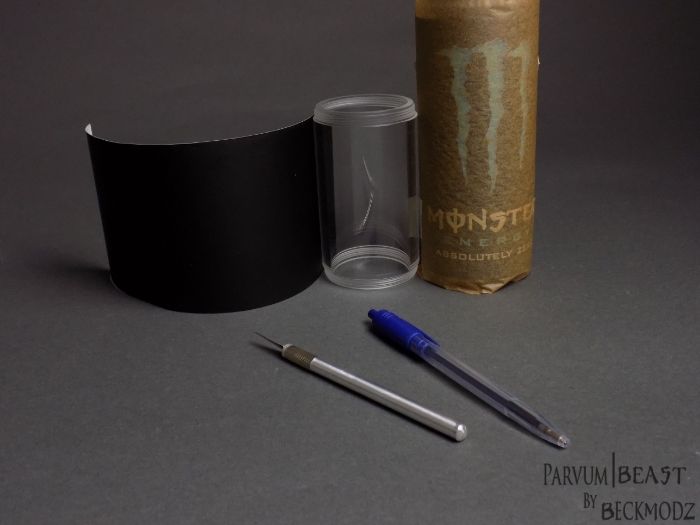
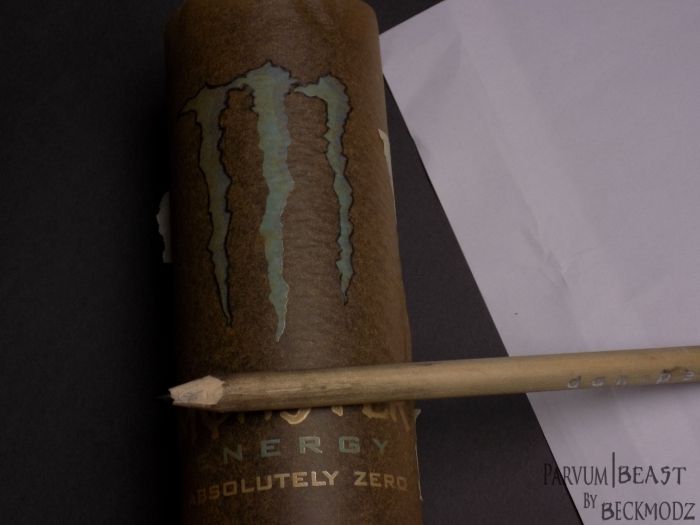
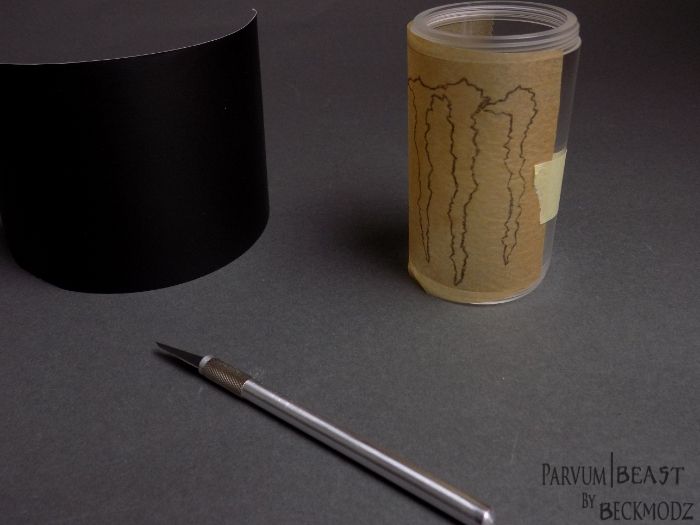
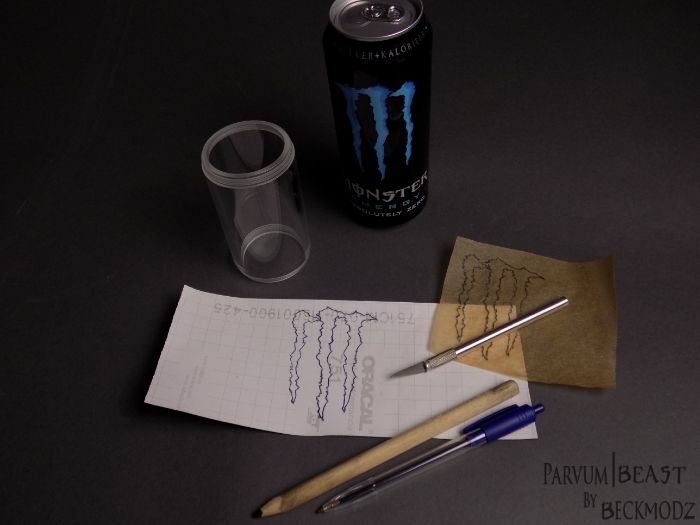
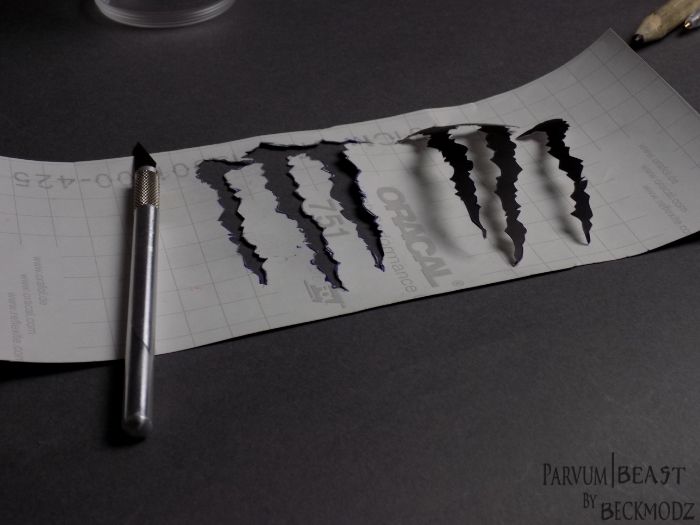
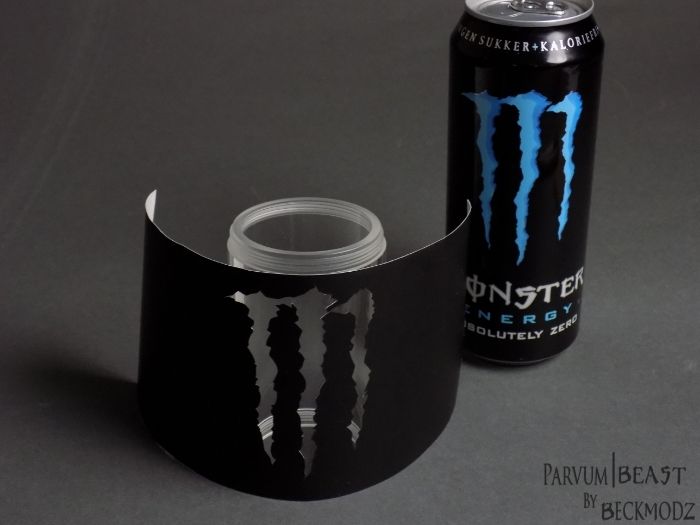
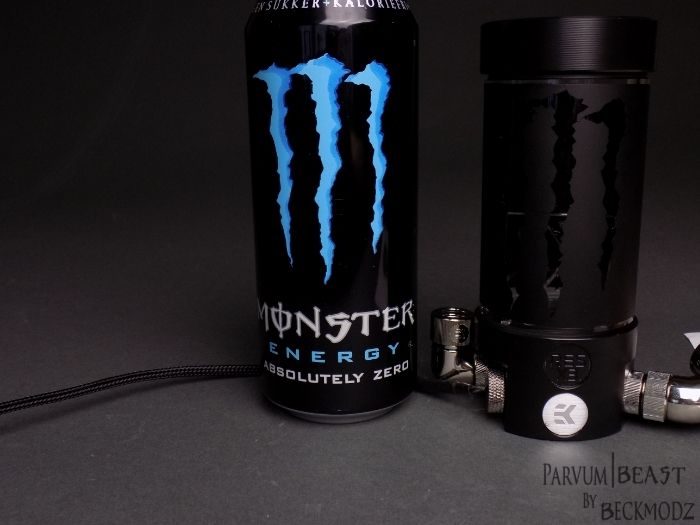
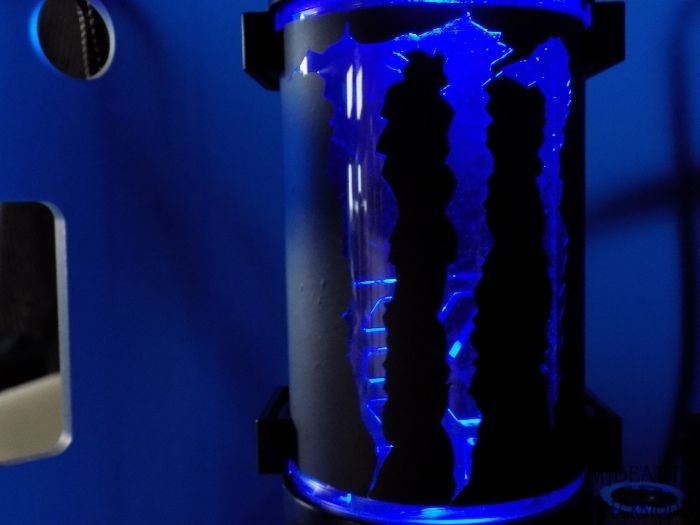
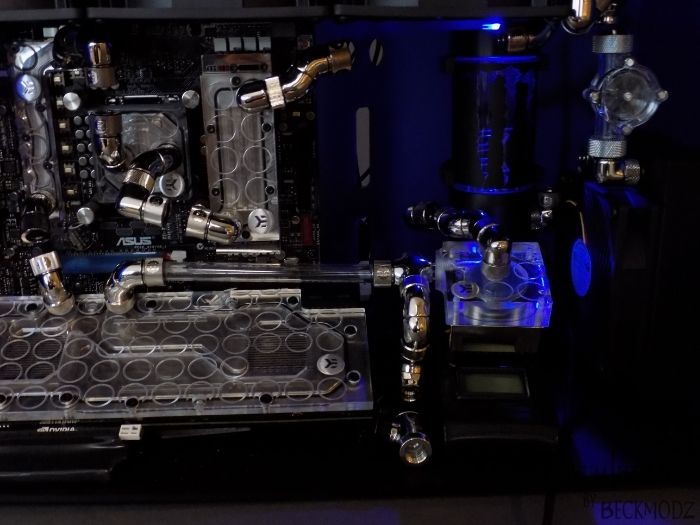
Hope you like it, i threw some light in it to give you a better idea of how it's going to look.
Obviously a little different once the UV Blue liquid fills the reservoir, but i think it's going to look awesome,
and fit the Monster Energy Lo-Carb build theme pretty good..
And YES i see there are some air bubbles that i have to get fixed, but that will be done later
Allright, so i was going back and forward in my head with ideas on how to make the reservoir sleeve.
I tried to cut out the Monster logo from the Blue energy can, and seriously i tried like 6 times and just couldnt get it to be pretty enough!
Then i was thinking about some other options, first one was to cut out the logo in a alu tube, but my dremel was tired of living and decided to die

Next was to find some Plastic tube, but couldnt fint it in the right thickness, so had to figure out something else.
Thats when i came up with using some of my Matt Black Vinyl Sticker, and cutting the logo into the vinyl and then just stick it on the res.
Actually i'm quite happy with the result, the matt black vinyl sticker thing actually matches the case acrylic to perfection.
So anyways, here's some pics of the progress of the making.


Hope you like it, i threw some light in it to give you a better idea of how it's going to look.
Obviously a little different once the UV Blue liquid fills the reservoir, but i think it's going to look awesome,
and fit the Monster Energy Lo-Carb build theme pretty good..
And YES i see there are some air bubbles that i have to get fixed, but that will be done later


