Soldato
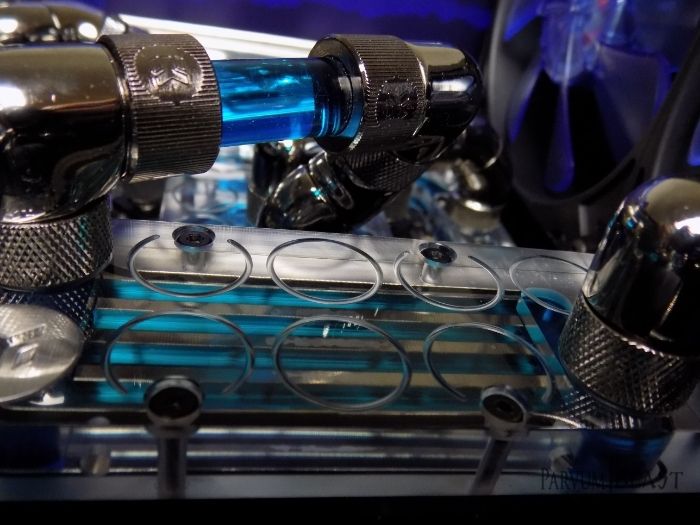
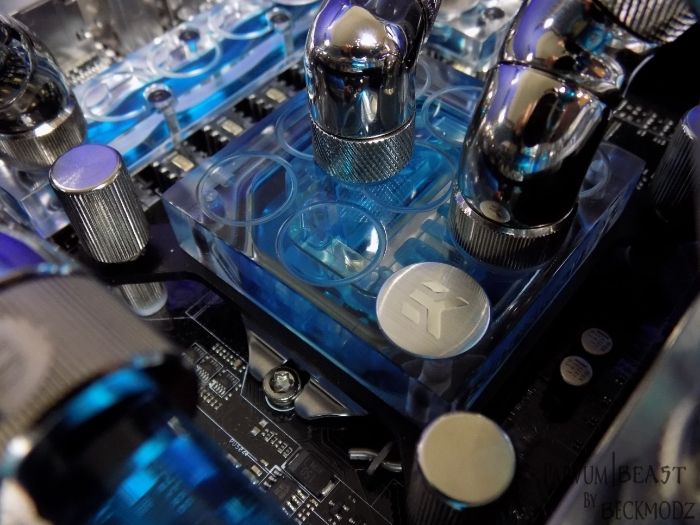
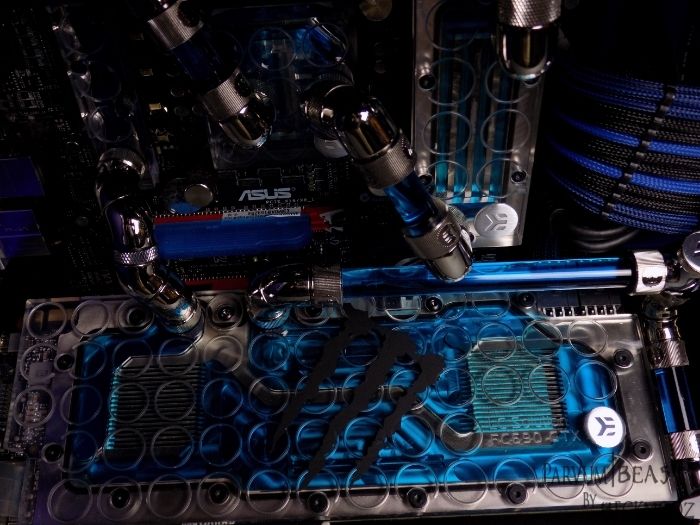
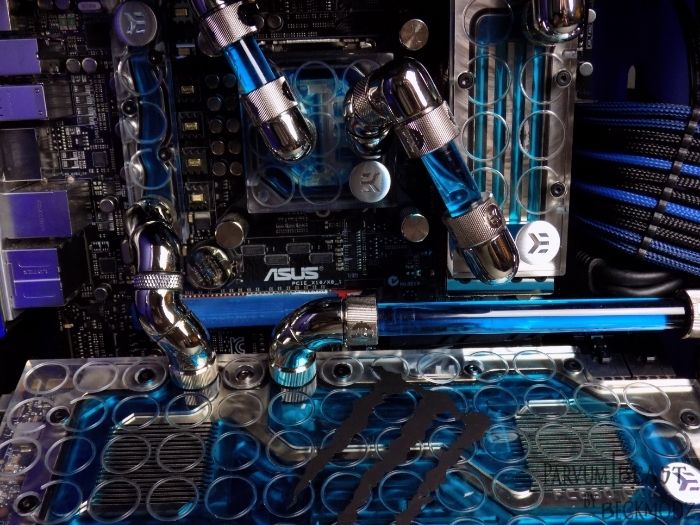
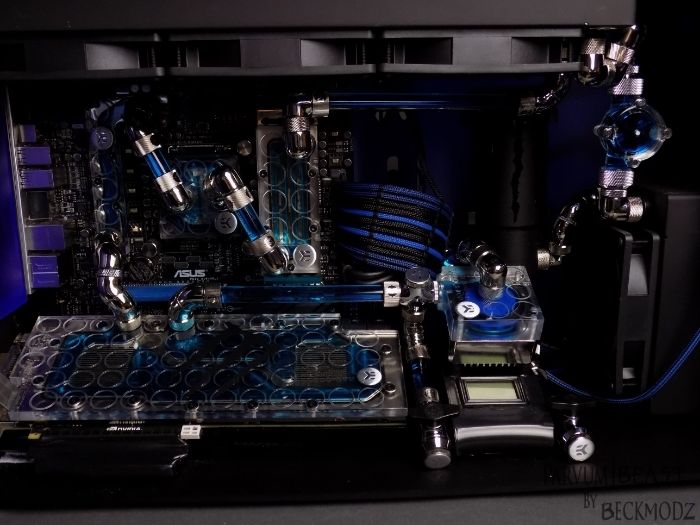
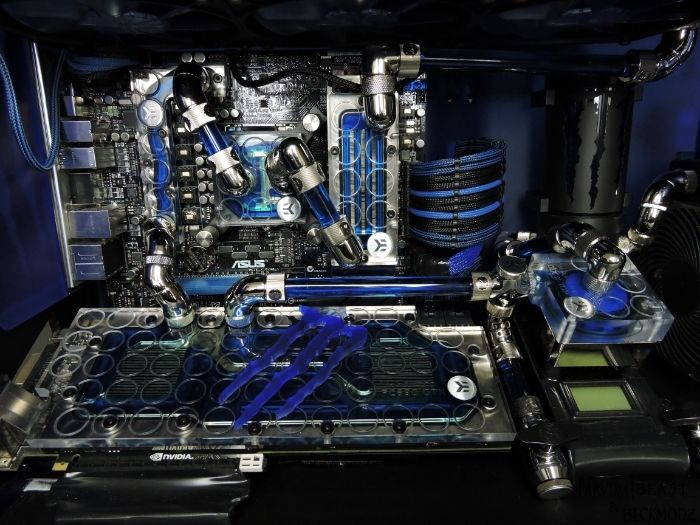
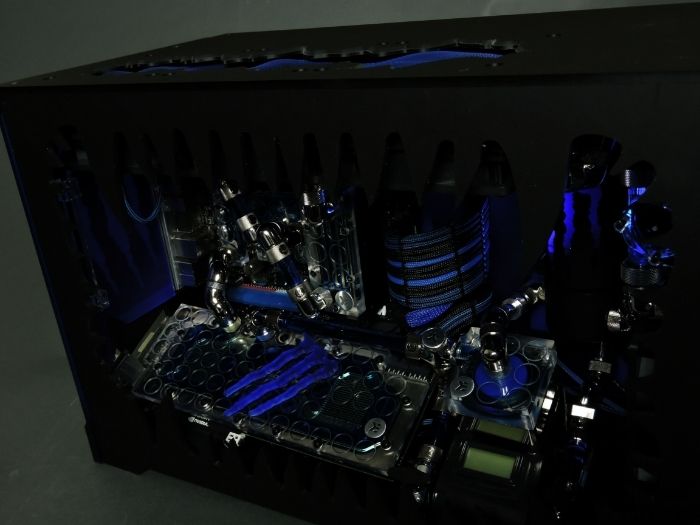
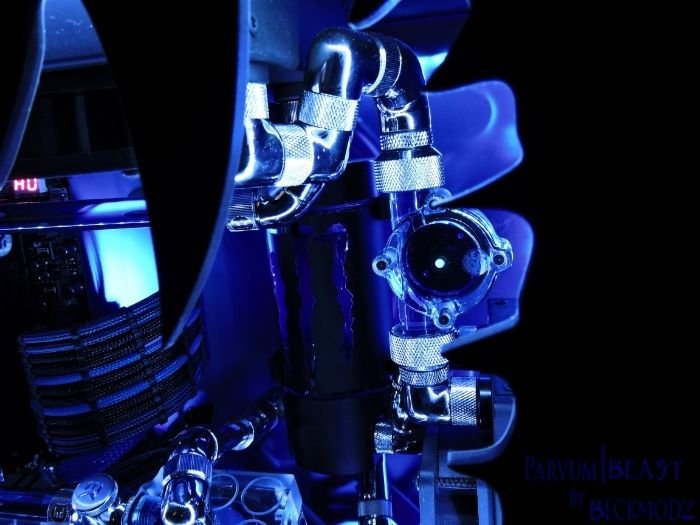
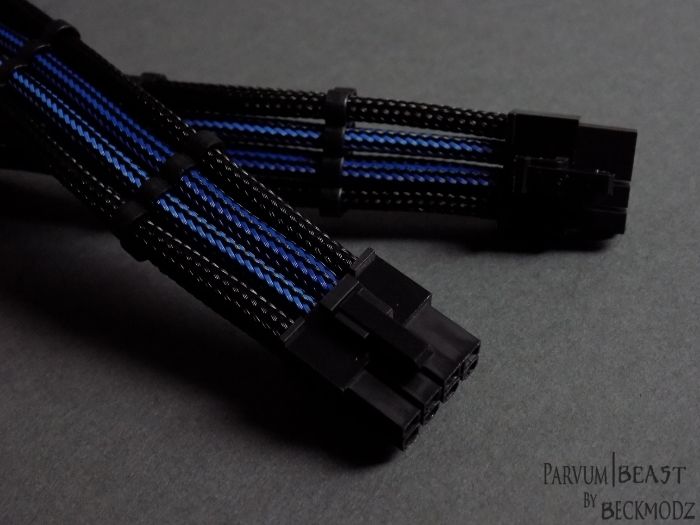
Genius! Looks good too. You might end up having to take out the anti-cyclone EK logo if the new fluid isn't opaque. Looks a bit odd peering through the holes otherwise....although in the flesh it might not be noticeable.
If you're near the Watford area, you're welcome to borrow a Dremel. I've got two now as one of mine refused to let go of the Tungsten Carbide bit I was using on the back of a case to widen the res mounting holes. Must be something about Dremels and res's!
If you're near the Watford area, you're welcome to borrow a Dremel. I've got two now as one of mine refused to let go of the Tungsten Carbide bit I was using on the back of a case to widen the res mounting holes. Must be something about Dremels and res's!
")
 .. so thx for that ! ..

")