Hi folks

I hope you're all on a great start in to the new year! I'd like to get started on a project that has been in the 'messing about' stages for a while with ideas and hardware that have changed over the time to arrive at where we are now.
Project ICEGOD is now officially in the works and the amazing guys at MSI UK, Parvum, and Super Flower have all agreed to get on board. LET'S BANG.
Swiggity swooty bits:
Intel Haswell-E 5960X 8-Core 4.7 chip
MSI X99A Godlike Gaming Carbon
2 x MSI GeForce GTX 1080 GAMING X
HyperX Predator Pro M.2 480GB SSD
4 x HyperX Savage SATA SSDs in RAID 0
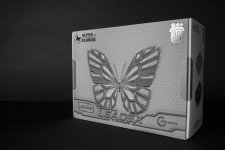
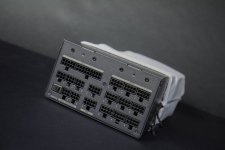
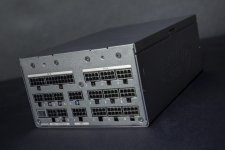
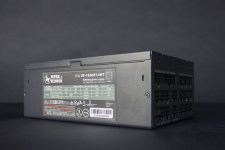
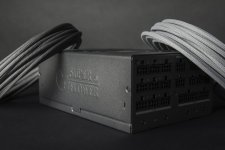
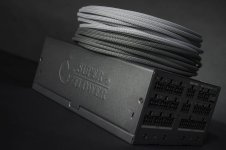
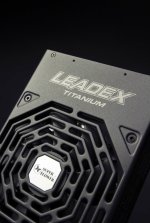
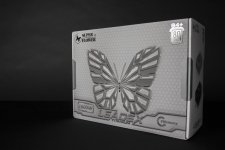
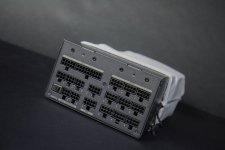
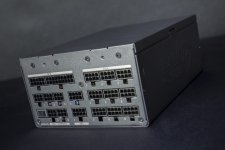
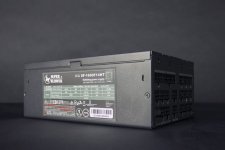
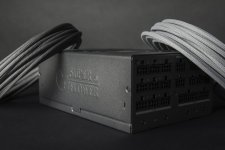
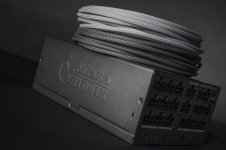
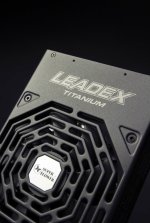
Super Flower Leadex Titanium 1600W PSU
Metric ton of Noctua NF-F12 Industrial 2000rpm 120mm IP67 fans
The case is a modified Parvy L1.0 - Front panel and mid-plate pass-throughs will be incorporated to make hardlines as sleek as possible and the reservoir is placed in the front panels, along the iconic accent placements on Parvum cases. With the majority of the design finished, here is the current render.
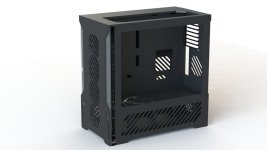
If you're familiar with Parvum cases, you'll instantly notice the thickness of the front layers and the choice to swap out the top radiator mounting for a window. More images will come, showing off the interesting side of that plate
 JR23 is an incredibly talented designer and I have him to thank for implementing the changes and this doesn't actually do him justice when it comes to what he's really capable of (Check out Furia). Cheers Joe fam
Lets get these first pics on the road!
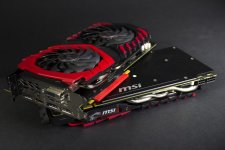
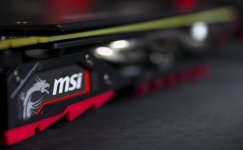
Off with their heads! (Sorry Twin Frozr
 ) Let's block these S.O.Bs up.
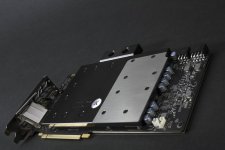
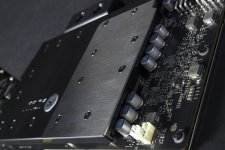
Sorry (not sorry).
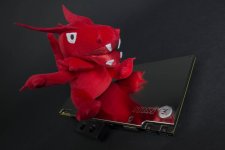
Godlike with big red pupper.

Oh?
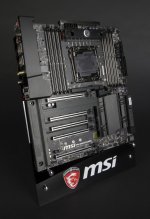
Yep. The EK X99 XPOWER mosfet block fits the Godlike Carbon! Now, officially, not everything screws in (the two motherboard holes to be precise) but the three screws for the top and backplate along the bar piece provide plenty enough grip and contacts everything nicely, clamping down on the thermal pad nice and tight (ayyy).
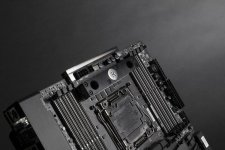
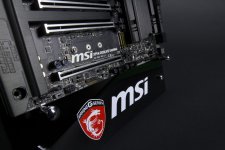
Tasty M.2 slot - With the build being inverted, this will be at the top so should show off that Predator nicely

Dat rear doh
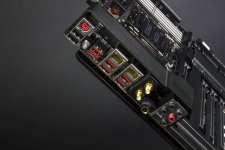
The full 6.25mm jack is actually my favourite feature of the I/O
 Although a novelty with lots of decent audio on my desk, it's nice to see a focused approach to more audio options and the presence of a decent onboard dedicated amp.
Flip and bosh.
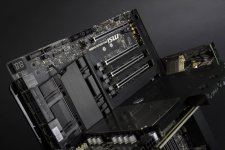
So that's my first post! Plenty more coming and let me know what you think about hardware choice, bit's you like the look of (and the bits you don't!). You'll notice I have stripped the board of the carbon print and heavy lettering. I feel this creates a much sleeker look for the board and fits with the idea of a tidy and CLEAN build perfectly. See you soon

Last edited:


