From the outset I want to say unlike my other projects I'm not planning any mods to this chassis (not yet anyway).
I want to keep things as stock as possible.
That said, I'm not sure I'm going to be able to resist the urge as the build progresses.
I'm planning to review this case as I go along with the build, and bring my final thoughts together at the end. I know there have been many many reviews of this case, and that it has a well respected place in the community, however most reviews are written by people who aren't actually building it or using it. As I am building into it and will be using it I hope my little missive may be able to add something.
All build logs should start with a Kit list so here goes.
CM690 II Advanced in black with window
XSPX Rasa 750 RS240
Intel i7 920 @4.2
Asus P6-T Deluxe V2
Patriot 6 GB
Antec truepower New 750 PSU
GPU to be confirmed.
Most of the hardware has come out of my Black ops Skelly build and although strictly speaking a generation old it's still mighty fine kit and clocks to 4.2 on air so may well go higher with the water (depending on how brave i'm feeling)
Stage 1 The strip down. (Afternoon of 26.03.11)
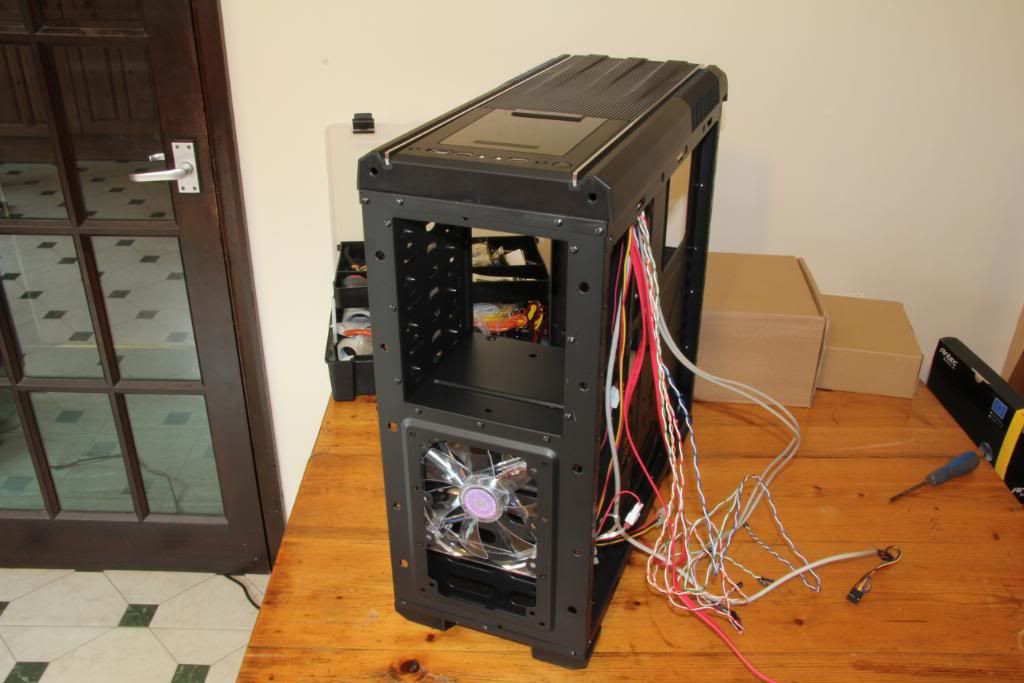
Let the Strip down commence

Sides and front panel removed
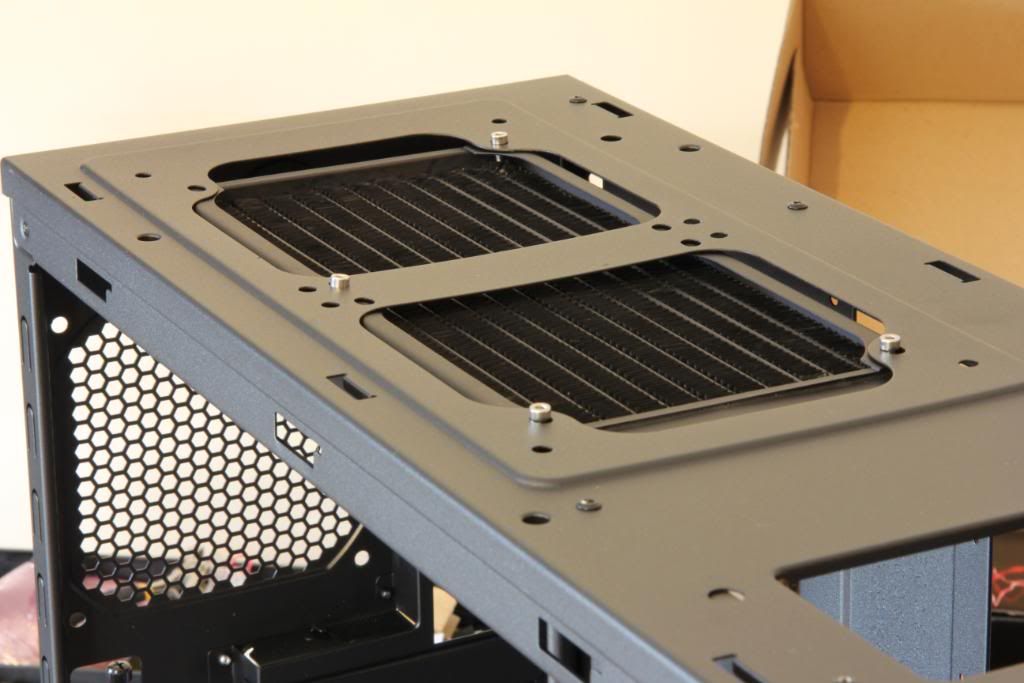
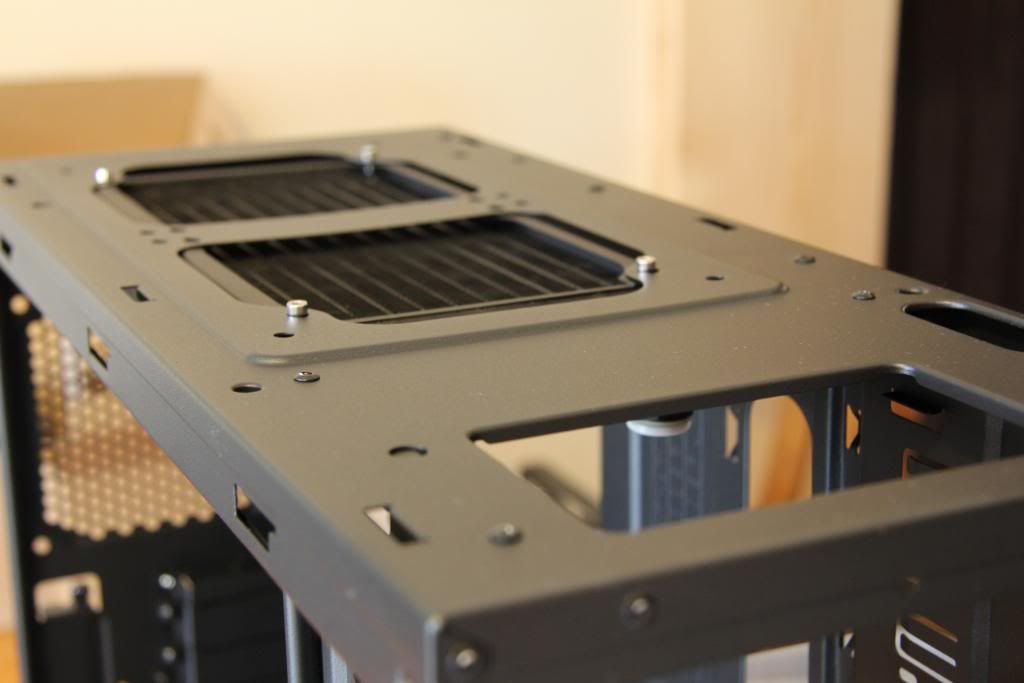
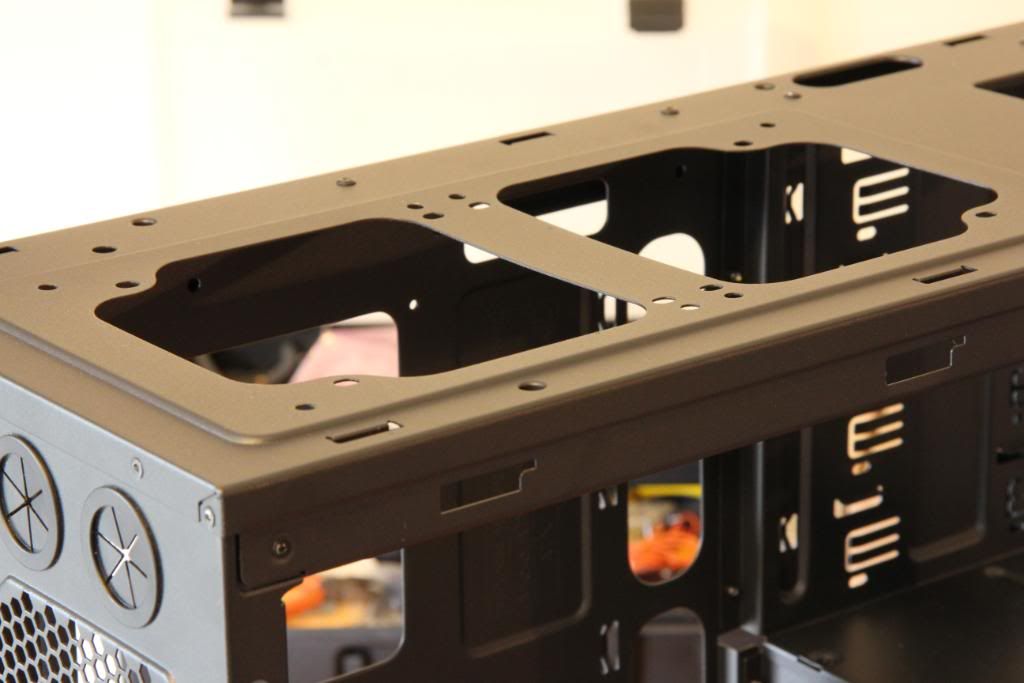
Top removed (this took some working out)

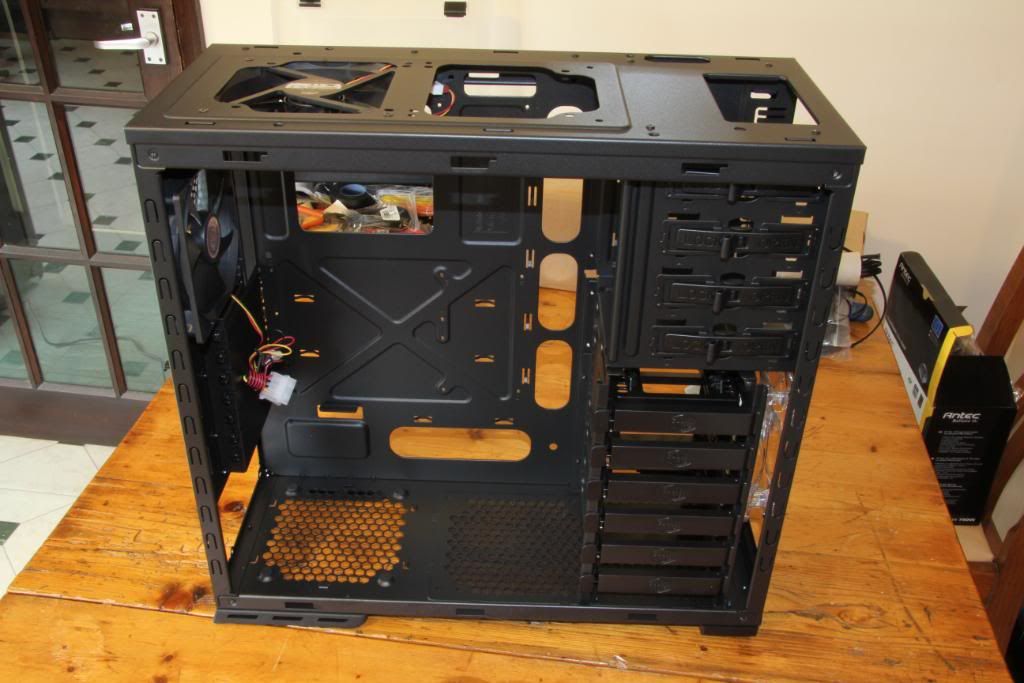
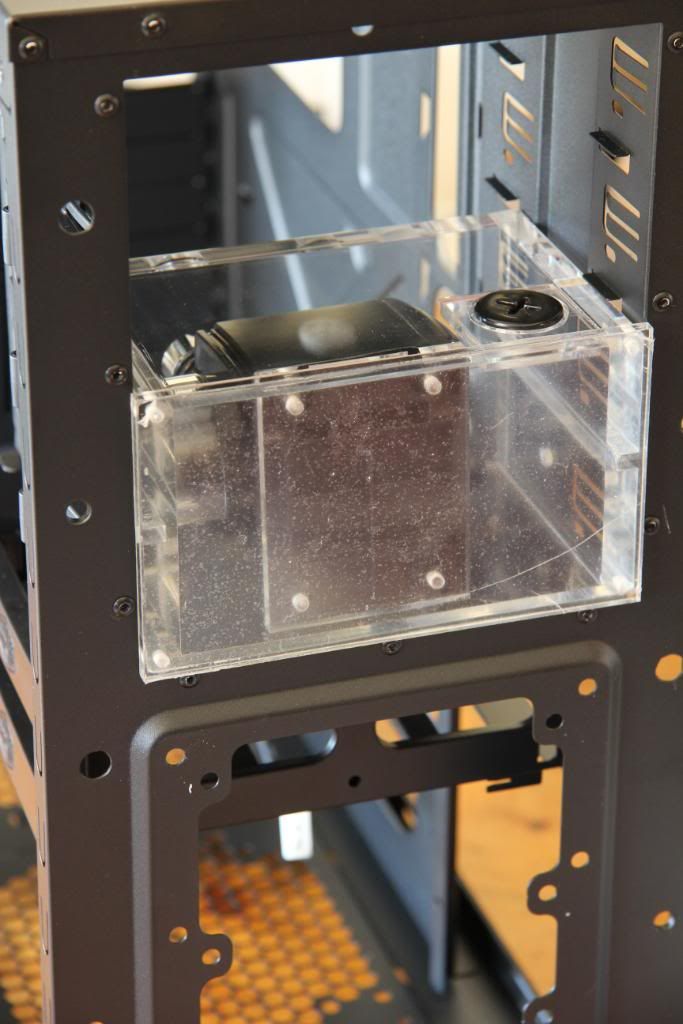
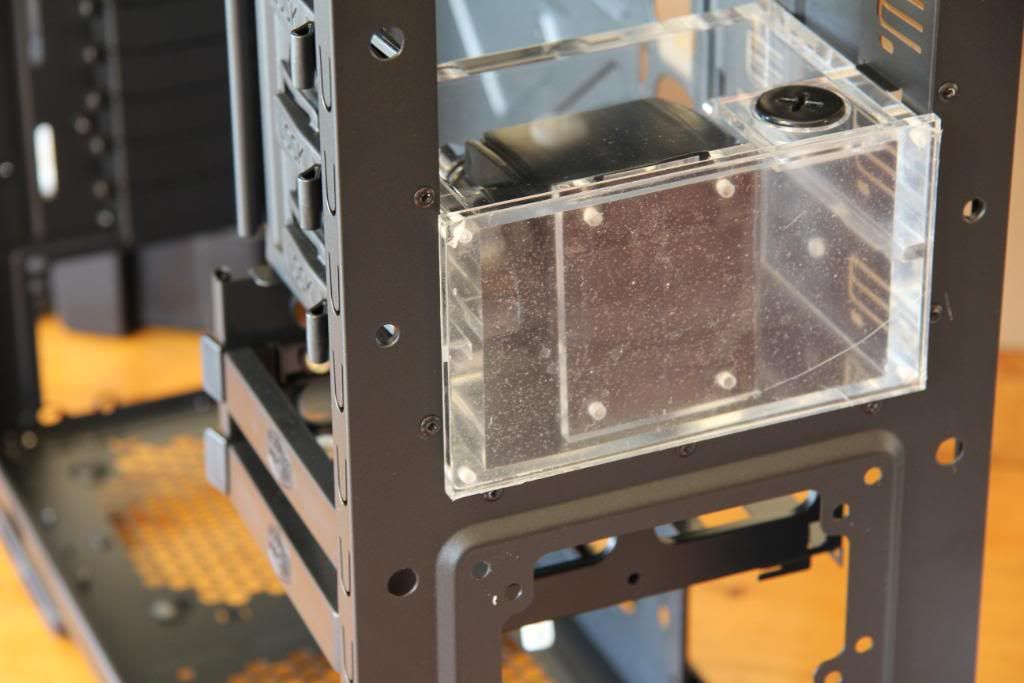
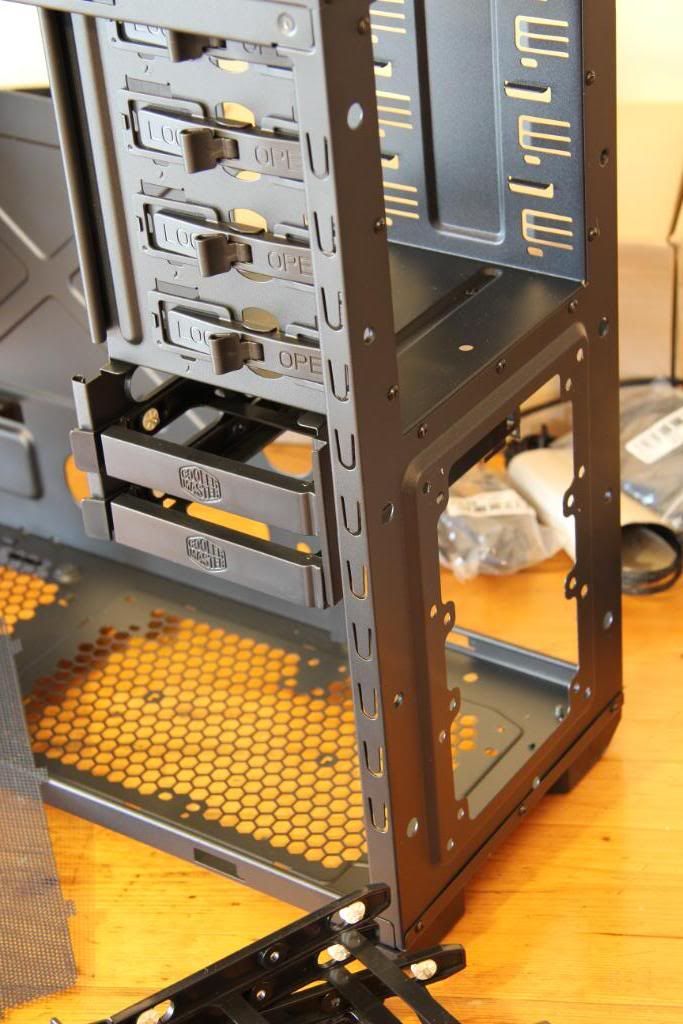
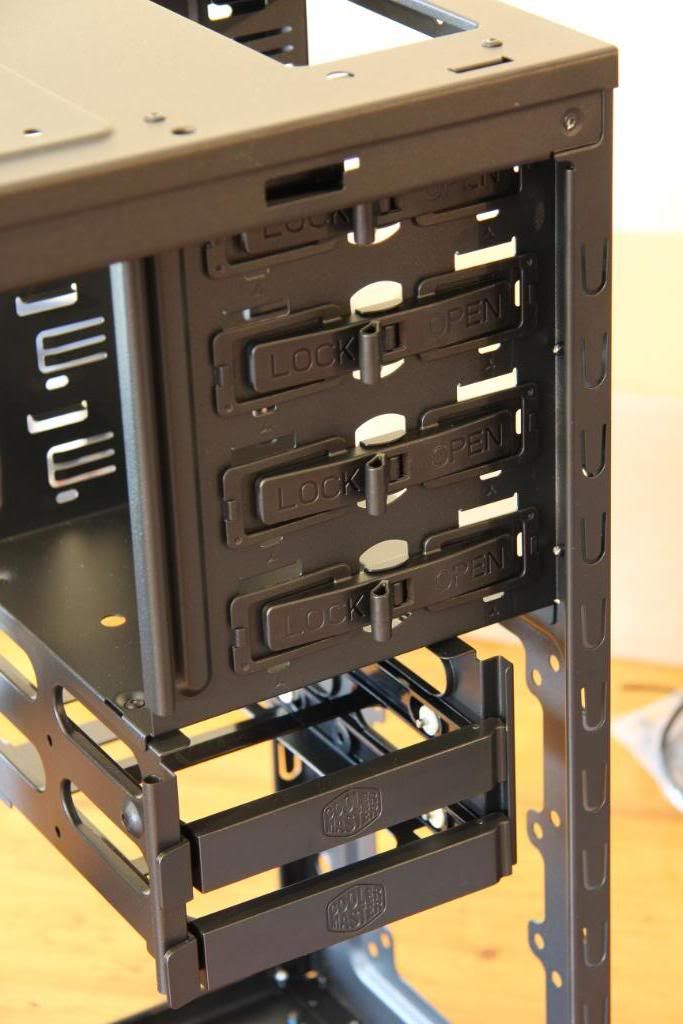
Lower HDD rack removed.
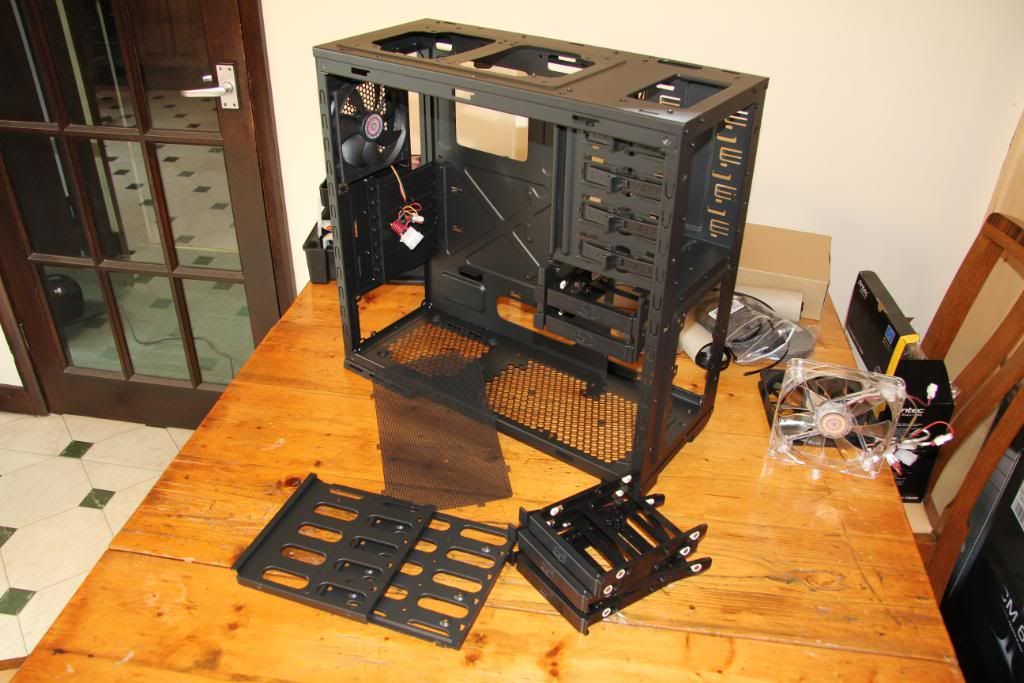
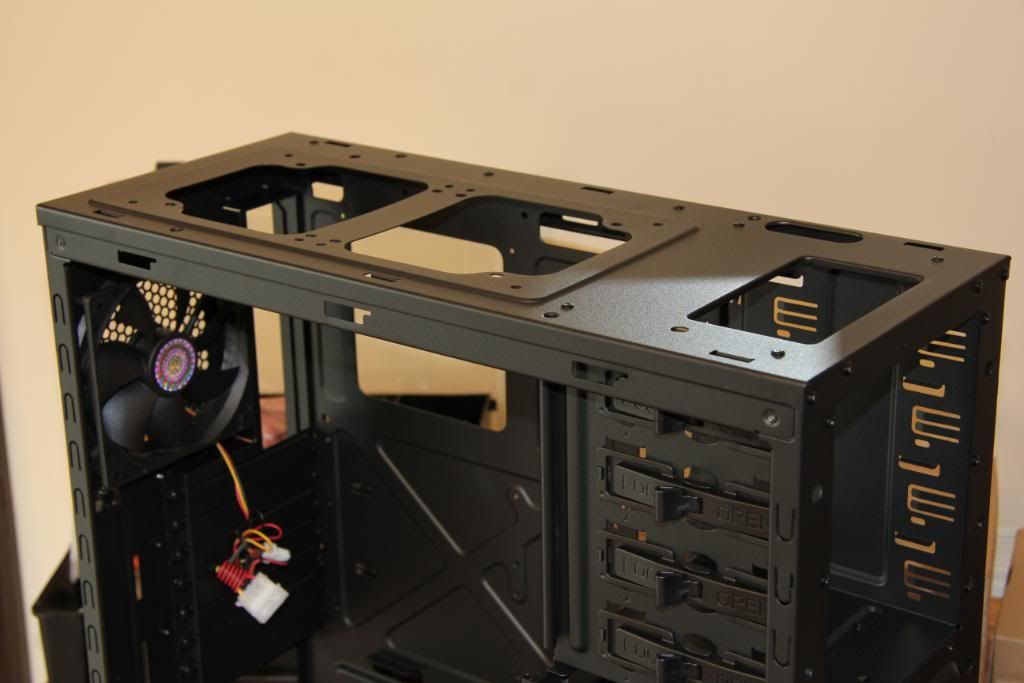
Some general photos of case detail etc.
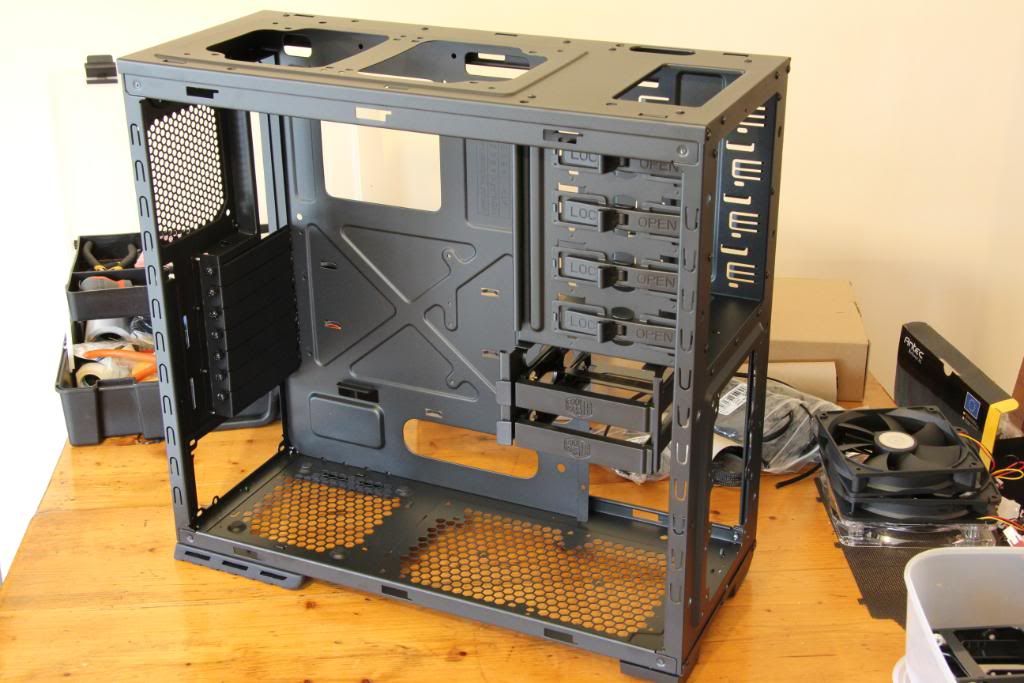
Beer stops play. The strip down complete A beer to reward myself and to help cushion the verbal blows I know i'm going to get when my wife gets back from town and sees the state of the kitchen

Thoughts on the case so far then, well it's reputation appears deserved, it is well built and well put together. Whether it's metal or plastic everything feels sturdy (with the possible exception of the HDD rack tool less mount flappy door things which feel a bit flimsy)
The case comes apart easily with minimal need to refer to the instructions. I did find it quite hard to work out how to release the clips to remove the top section, and also to actually remove the clips once I'd worked out where they were and how to do it.
There is real attention to detail in this case, a feeling that the project team wouldn't let it go out to market until it was "just right"
Now all i've got to do is put it back together...now where did I put all those screws I took out????
next stage is to work out how to mount the RASA kit and to mock up a loop to see where everything is going to go.
Also thinking of using compressions rather than the barbs the kit comes with. Only a few quid more.
I want to keep things as stock as possible.
That said, I'm not sure I'm going to be able to resist the urge as the build progresses.
I'm planning to review this case as I go along with the build, and bring my final thoughts together at the end. I know there have been many many reviews of this case, and that it has a well respected place in the community, however most reviews are written by people who aren't actually building it or using it. As I am building into it and will be using it I hope my little missive may be able to add something.
All build logs should start with a Kit list so here goes.
CM690 II Advanced in black with window
XSPX Rasa 750 RS240
Intel i7 920 @4.2
Asus P6-T Deluxe V2
Patriot 6 GB
Antec truepower New 750 PSU
GPU to be confirmed.
Most of the hardware has come out of my Black ops Skelly build and although strictly speaking a generation old it's still mighty fine kit and clocks to 4.2 on air so may well go higher with the water (depending on how brave i'm feeling)
Stage 1 The strip down. (Afternoon of 26.03.11)
Let the Strip down commence
Sides and front panel removed
Top removed (this took some working out)
Lower HDD rack removed.
Some general photos of case detail etc.
Beer stops play. The strip down complete A beer to reward myself and to help cushion the verbal blows I know i'm going to get when my wife gets back from town and sees the state of the kitchen
Thoughts on the case so far then, well it's reputation appears deserved, it is well built and well put together. Whether it's metal or plastic everything feels sturdy (with the possible exception of the HDD rack tool less mount flappy door things which feel a bit flimsy)
The case comes apart easily with minimal need to refer to the instructions. I did find it quite hard to work out how to release the clips to remove the top section, and also to actually remove the clips once I'd worked out where they were and how to do it.
There is real attention to detail in this case, a feeling that the project team wouldn't let it go out to market until it was "just right"
Now all i've got to do is put it back together...now where did I put all those screws I took out????
next stage is to work out how to mount the RASA kit and to mock up a loop to see where everything is going to go.
Also thinking of using compressions rather than the barbs the kit comes with. Only a few quid more.
")

")

 love the case though! Will keep an eye on this.