Soldato
Blimey. So obviously this isn't a PC build or a mod. People have posted their carpentry projects though and we all like bass, so here goes.
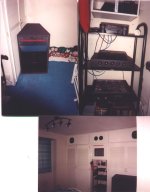
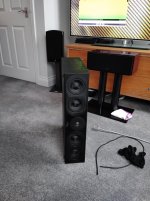
For the past three years I have been very slowly building up my cinema rig. It has lots of Tag Mclaren. I was happy with the 8" sub I had for ages, but then I decided to add my first purchase speakers and amp to the system as well. I originally bought these Sonus Fabers as my front speakers, but then I had a result and ended up with some Revel M105s. Which cost three times as much (the ones on taller stands)

Then I recently bought the 70" TV there and it came with a new sound mode for my Tag to chew on. Instead of it using just the centre for the most part it uses the two front speakers far more. Hence why I fancied adding the Fabers to the array. Well the problem is it sounded so good that I decided to keep them there. Just one problem, the sub is basically gone. It had large boots to fill and it's done its job well. I wanted something a bit bigger, though.
I looked around at cinema subs but they all seem to be sniffing something. I've had a lot of experience with speakers and especially subs (used to compete back in the 90s) and whilst I understand that nice subwoofers are nice, the prices in cinema audio seem to be a bit of a joke given that subs are just air pistons, and their capabilities are far more physically based than being posh. Bottom line? the drop and the bass is not something people should get all SQL and snake oily about. As I said, it's an air piston it doesn't need to do it in some audiophile form. The fact is car subwoofers have had more R&D and become more and more mean over the years. They are also pretty damn cheap now for a ton of noise too.
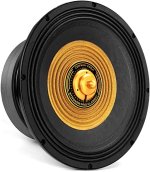
So my first idea was to make a cheeky offer on a car built sub, then make the box look nice. So I ended up paying £21 for this cabinet over the cost of just the woofer.
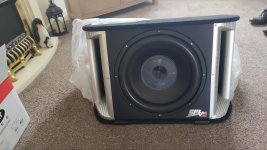
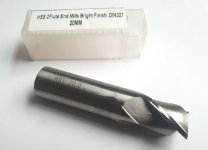
My goal was to take out the vents, paint them black, and then cut off the horrid lip and veneer it. Only problem? router malfunction. Well actually not the router, the bit. The bearing came off and before I knew it it was game over.
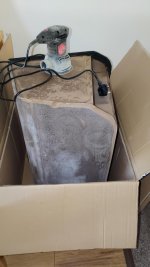
Whoops.
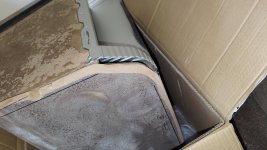
Now a part of me was pretty angry given my experience that I tried to do a cheap hack like that in the first place. So once I had asked someone to take it to the tip I decided not to be so lazy and just do it properly. 32hz down to 24.
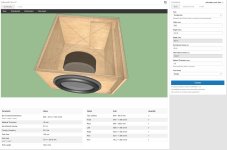
I then went on a tool buying spree. I also sent the design to a local place with a CNC saw, for super precise cuts. I went with 18mm hidrafugal MDF. It is water proof, fire proof, and much harder and less fluffy than regular MDF.
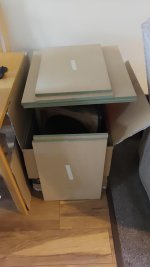
Build port duct.
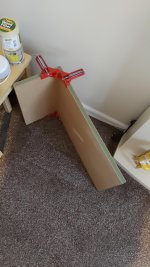
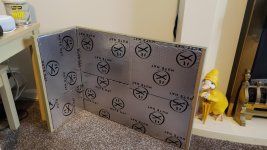
Port said port duct to reduce chuffing and turbulence.
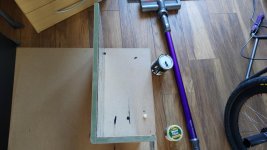
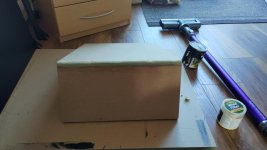
Paint said port duct.
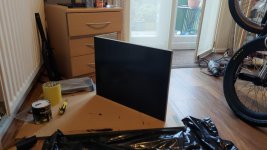
Paint inside of right, put right on bottom and port duct on front and left.
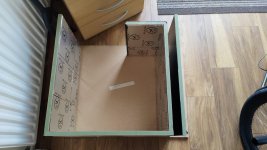
Realise you wasted half a day painting the bottom too soon and that it would need a F ton of holes drilled and countersunk into it.
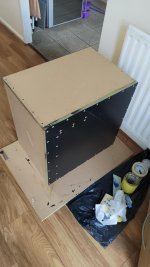
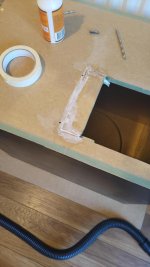
Mark out sub hole and place top on.
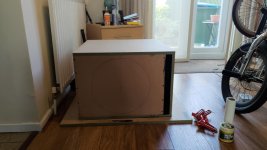
Put back on.
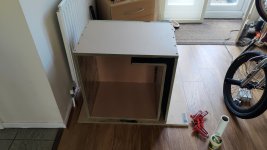
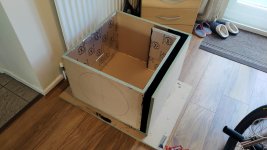
Fill twice.
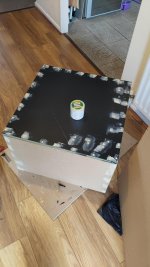
Sand like buggery.
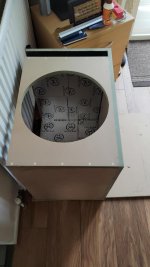
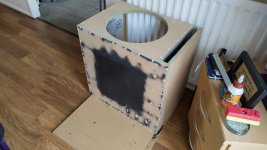
Pre drill and sink top.
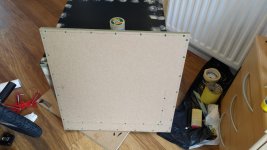
Fit top and return to filling like buggery.
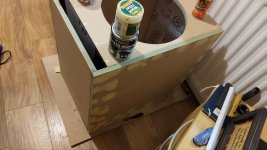
Then sand like buggery again.
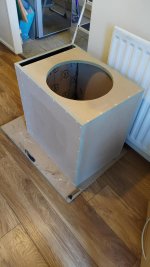
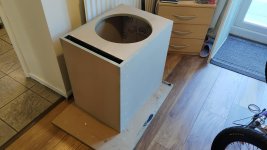
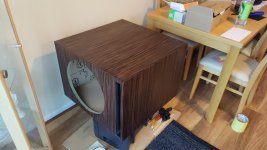
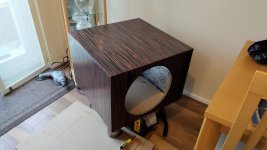
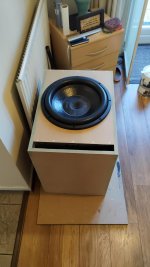
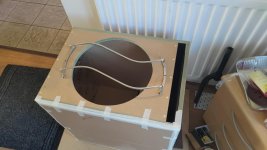
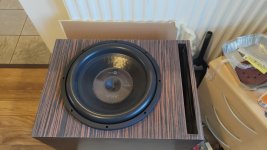
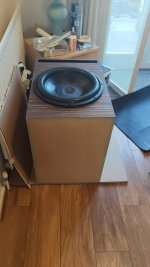
Fit woofer and feel elated but quite terrified.
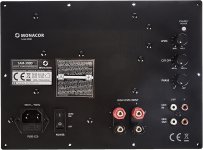
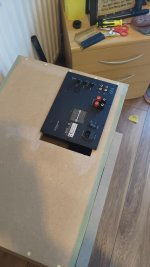
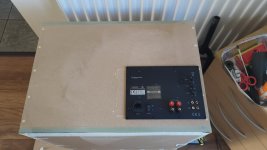
Buy amp.
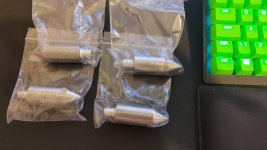
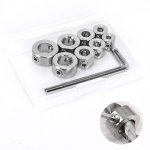
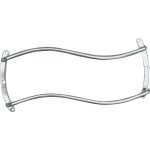
And bars.
Repaint bottom.
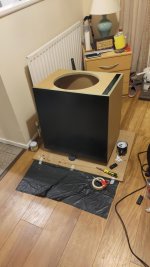
Then sit and watch it dry for a bit..
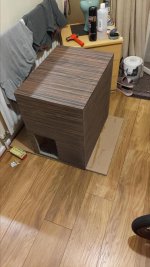
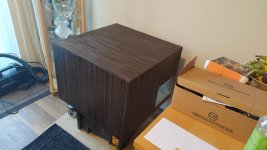
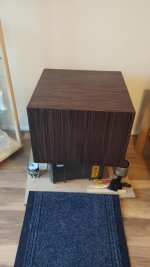
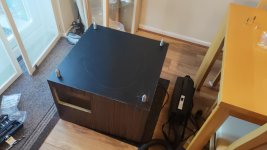
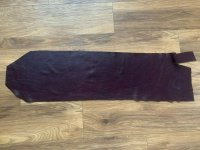
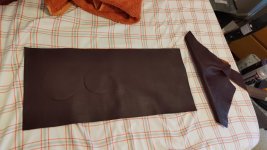
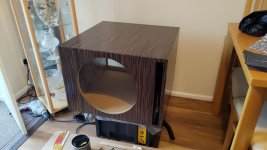
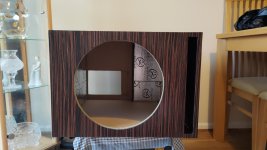
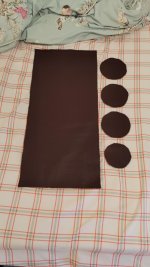
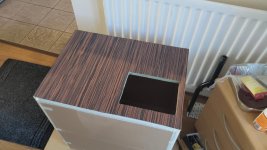
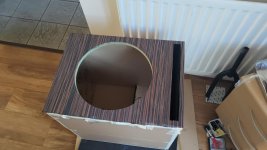
Things to come. Ebony veneer starts tomorrow.
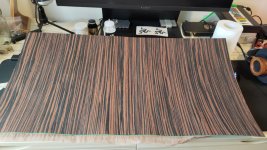
Then.

Before finally putting two layers of sound deadening in the top and bottom. I haven't done it now because it is heavy as balls already and the deadening adds another 5kg or so.
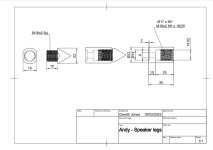
Ask friend to make posh legs with spikes.
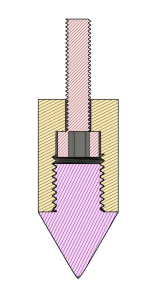
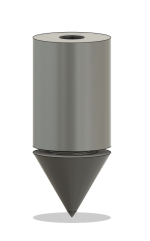
And wait for said friend to make them for you
For the past three years I have been very slowly building up my cinema rig. It has lots of Tag Mclaren. I was happy with the 8" sub I had for ages, but then I decided to add my first purchase speakers and amp to the system as well. I originally bought these Sonus Fabers as my front speakers, but then I had a result and ended up with some Revel M105s. Which cost three times as much (the ones on taller stands)

Then I recently bought the 70" TV there and it came with a new sound mode for my Tag to chew on. Instead of it using just the centre for the most part it uses the two front speakers far more. Hence why I fancied adding the Fabers to the array. Well the problem is it sounded so good that I decided to keep them there. Just one problem, the sub is basically gone. It had large boots to fill and it's done its job well. I wanted something a bit bigger, though.
I looked around at cinema subs but they all seem to be sniffing something. I've had a lot of experience with speakers and especially subs (used to compete back in the 90s) and whilst I understand that nice subwoofers are nice, the prices in cinema audio seem to be a bit of a joke given that subs are just air pistons, and their capabilities are far more physically based than being posh. Bottom line? the drop and the bass is not something people should get all SQL and snake oily about. As I said, it's an air piston it doesn't need to do it in some audiophile form. The fact is car subwoofers have had more R&D and become more and more mean over the years. They are also pretty damn cheap now for a ton of noise too.
So my first idea was to make a cheeky offer on a car built sub, then make the box look nice. So I ended up paying £21 for this cabinet over the cost of just the woofer.

My goal was to take out the vents, paint them black, and then cut off the horrid lip and veneer it. Only problem? router malfunction. Well actually not the router, the bit. The bearing came off and before I knew it it was game over.

Whoops.

Now a part of me was pretty angry given my experience that I tried to do a cheap hack like that in the first place. So once I had asked someone to take it to the tip I decided not to be so lazy and just do it properly. 32hz down to 24.

I then went on a tool buying spree. I also sent the design to a local place with a CNC saw, for super precise cuts. I went with 18mm hidrafugal MDF. It is water proof, fire proof, and much harder and less fluffy than regular MDF.

Build port duct.


Port said port duct to reduce chuffing and turbulence.


Paint said port duct.

Paint inside of right, put right on bottom and port duct on front and left.

Realise you wasted half a day painting the bottom too soon and that it would need a F ton of holes drilled and countersunk into it.

Mark out sub hole and place top on.

Put back on.


Fill twice.

Sand like buggery.


Pre drill and sink top.

Fit top and return to filling like buggery.

Then sand like buggery again.


Fit woofer and feel elated but quite terrified.

Buy amp.

And bars.

Repaint bottom.

Then sit and watch it dry for a bit..
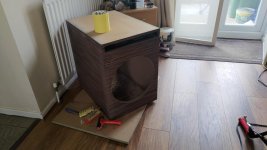
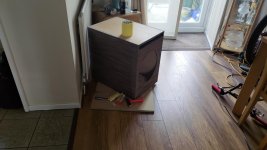
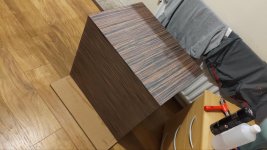
Things to come. Ebony veneer starts tomorrow.

Then.

Before finally putting two layers of sound deadening in the top and bottom. I haven't done it now because it is heavy as balls already and the deadening adds another 5kg or so.
Ask friend to make posh legs with spikes.


And wait for said friend to make them for you


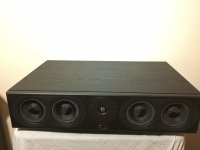
 I would like to know where you would put it. I used to have a normal centre on a stand.
 So bloody cold !