1930s Semi Refurb - Part 8 of ... (Edition: Hall, Stairs and Landing)

No, thanks for the warning - I thought that was just the water based stuff.

I’ve only ever used the shellac based one. It’s magic stuff as sticks to anything but can be a pain to apply. You soon figure it out though. Got to work quick to keep a wet edge as it dries so quick.
 
To be honest a decent wood like that (after sanding it's not so dark!) I'd consider oiling it /similar rather than paint?
Yeah possibly - however the hallway is super dark, so part of the intent here was to paint it glossy white to try and brighten it up a bit. Will consider though...


Plan has been refined into critical path:
* Get sparky in to swap consumer unit
* Strip wallpaper/first fix prep the walls
* Fix pipework boxing - I might strip this off to lag the pipes as well (every little helps?)
* Build stair cupboard
* Caulk/fill gaps in wood
* Final sand on any spots I've missed/imperfections
* Prime walls/mist coat
* Prime stairs
* Paint ceiling
<I expect by this point I'll be getting updates on front door installation date>
* Get front door fitted
* Fix plaster around door / mist coat it
* Paint

Depending on how long the door takes I'll whack the PIR under the boards, but I don't want to go OTT here as I need access for CAT6 to the living/dining room. Maybe I'll put a drain pipe in to act as a cable tray or something.

I'll probably finish my door handle job upstairs as well, just need to swap the master and the "current" bathroom knobs/handles to match the other two rooms.
 
Last edited:
Re that nail close to that pipe
I hope you removed it!It may be ok atm but it `could`rub through the pipe sometime
I would be removing it asap :)
 
Re that nail close to that pipe
I hope you removed it!It may be ok atm but it `could`rub through the pipe sometime
I would be removing it asap :)
A new gas pipe for the hob will be going in when I do the kitchen so I am not checking my luck at this stage, but possibly :D
 
Requirements:
Outrageously big
Too high
A bit bowed

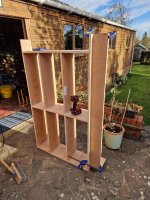
So I set to work on the shoe cupboard:

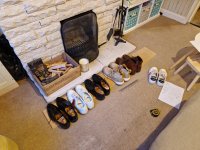
1. Many middle class shoes and a specification document:
Ns80GhJ.jpeg

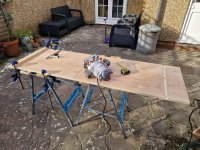
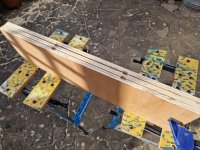
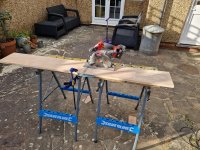
2. I had B&Q do most of the big cuts (1.6m x 0.25m) so set about with the router to make some recesses for the middle bits:
ojsbKcX.jpeg

3. Lines up well (I do not own a Ducati)
JtULhbj.jpeg
IMW9W5a.jpeg

4. Ripped down one of the 1.6m offcuts to create a base:
YOEjURv.jpeg

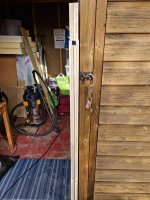
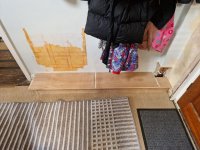
5. First fix, clears skirting - good:
OUqLzgY.jpeg

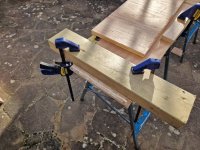
6. Glued and screwed:
wsunGSJ.jpeg

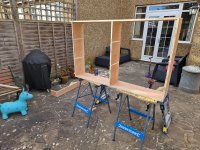
7. It stands!

148yzaG.jpeg

8. Base attached. I screwed up the middle tbh and the shelves are quite a bit different from left to right (5-7mm?). I should have it square then measured the shelves. YOLO
G7k5v0e.jpeg

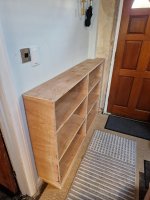
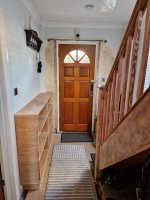
9. Fits good CUB6IX9.jpeg

10. Fin. Annoyingly I wanted to get at least 73-75cm from the staircase but I am 73.5mm without the doors. It isn't noticeable to walk past right now, but I think when the doors are on it may be (as it'll be 1/2cm smaller than a normal door frame ~71cm).
1RtfVFT.jpeg

It'll get clad in MDF and skirting board around the bottom sides/front. Doors will pull open hinged at the bottom with some special shoe cupboard brackets to hold hopefully 6 pairs per cubby.

This may just serve as a prototype --- as at £45 it wasn't a great expense. I'll live with it for a bit whilst I do other jobs and learn what works best.
 
hjeBfi5.jpg

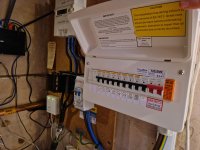
Sparky came. No dramas, we extended the board so that the new CU could tuck right in.

I can now lay a subfloor under the stairs and seal all the draughts - then build a cupboard (y).
 
Back
Top Bottom