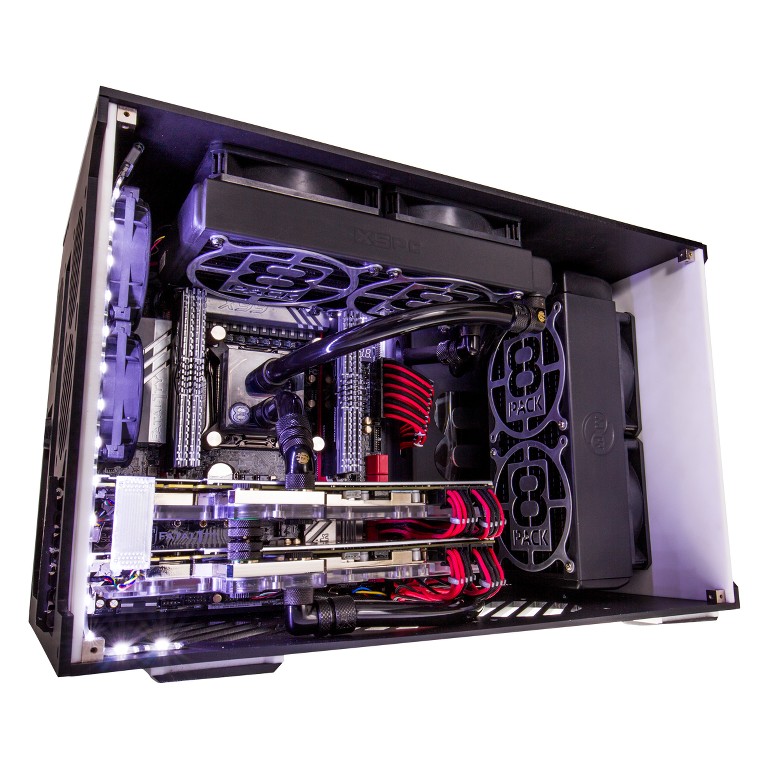
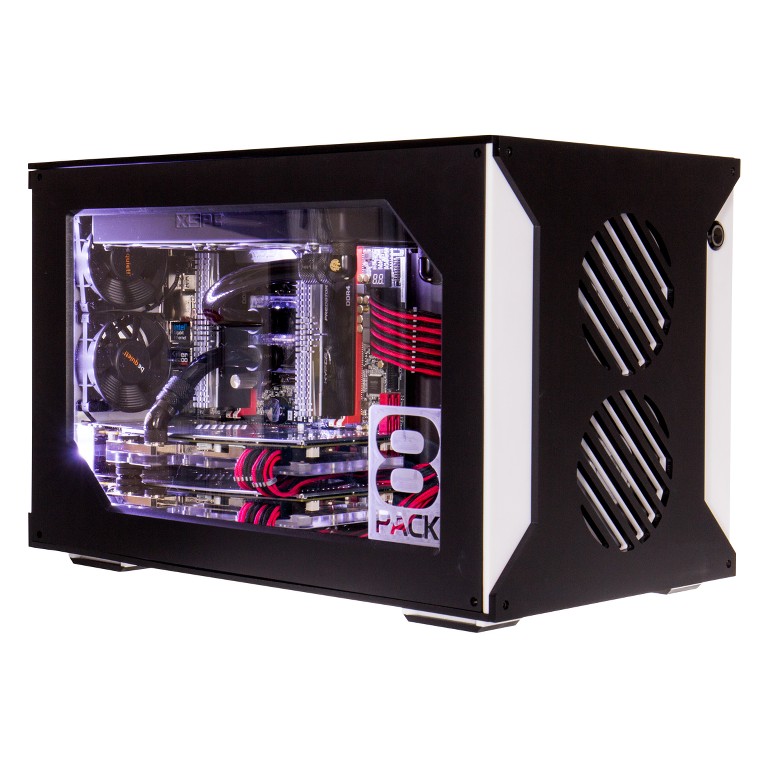
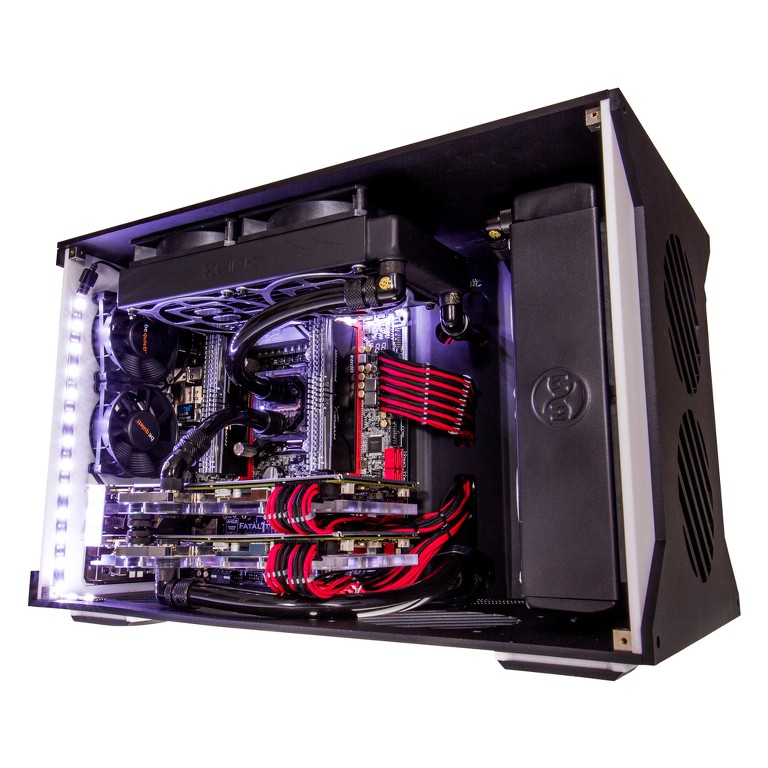
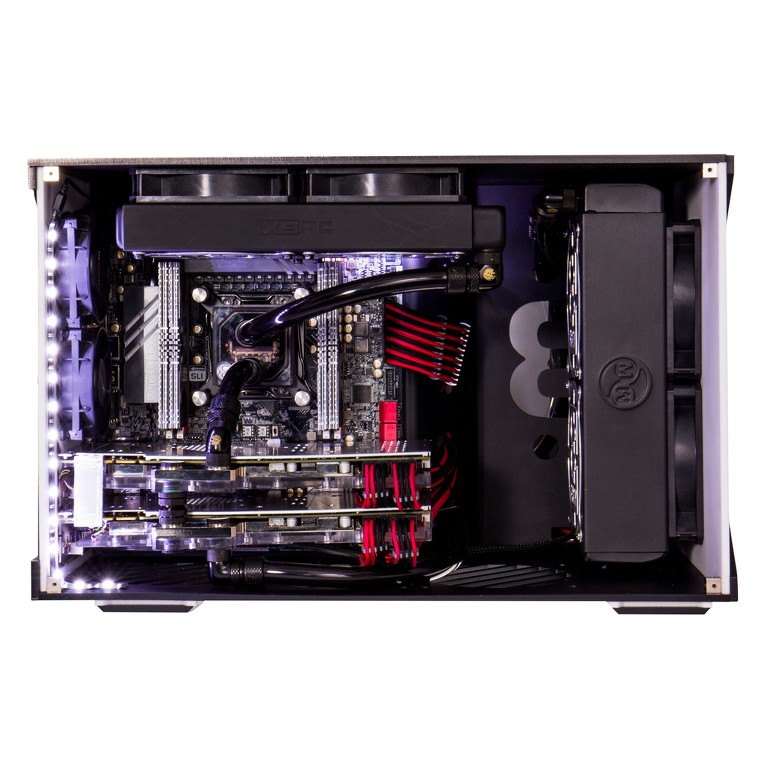
Being a regualr at Iseries I thought it time to upgrade my LAN rig with some of the latest and greatest hardware. I build logged on here my first LAN Box which has lasted me several years and several events.
Here is the pic of my first Rig completed:
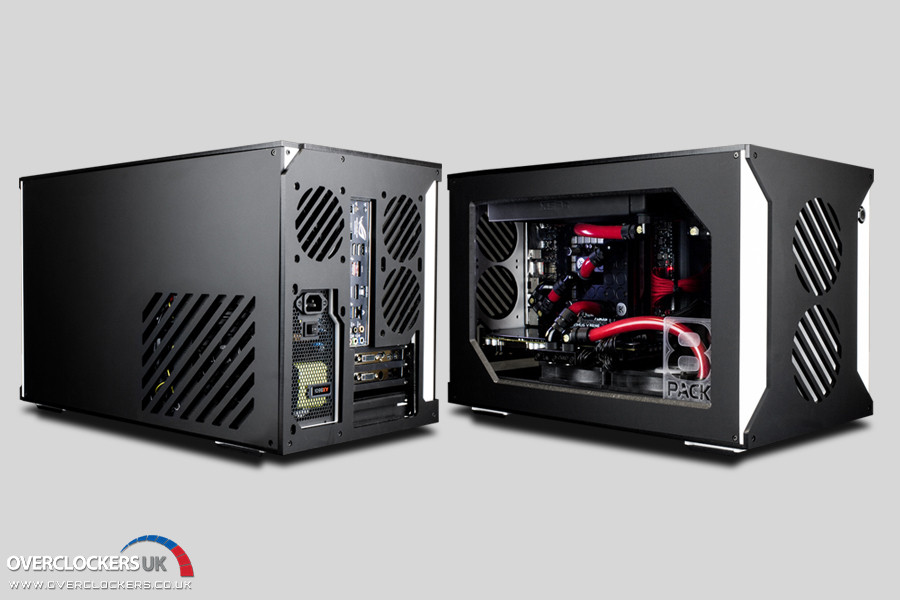
and here is the build log if you guys wanna see how it all began!!
http://forums.overclockers.co.uk/showthread.php?t=18494977
The old rig was based around Z77, i73770K, 8gb 2133mhz RAM and AMD 7990 GPU.
For the new 8lite rig I decided to keep the Parvum case and some watercooling fittings but the rest had to go.
So I added the following basic components to the build:
Intel i7 5960X
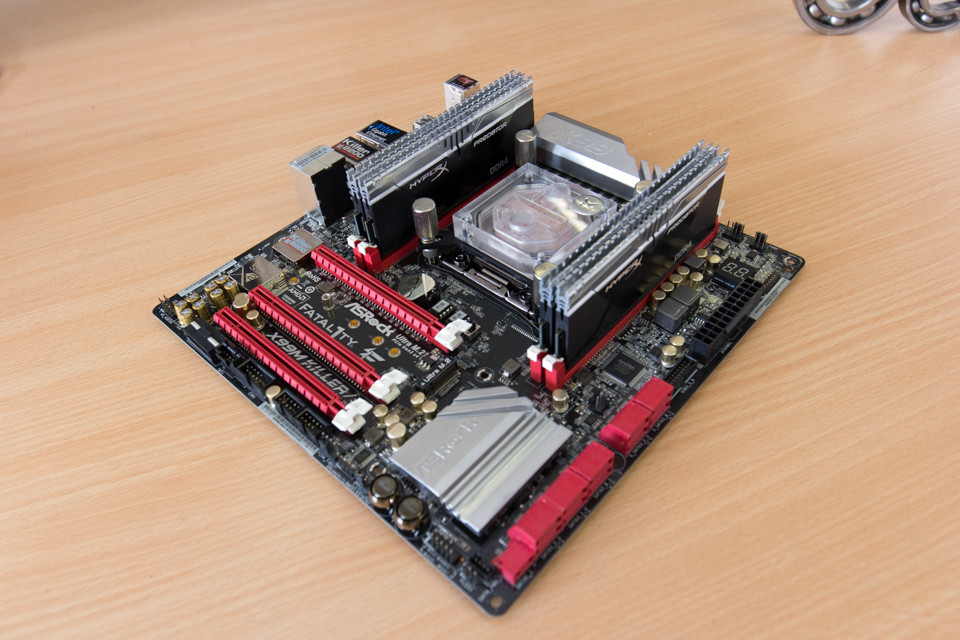
X99 Asrock Killer MATX 3.1 MB with full OC socket and serious OC capabilities.
Kingston 3333mhz 16GB Quad channel Predator mems (Yeah the Asrock is the only MATX X99 doing these justice )
)
980 Ti HOF (Black 8Pack Edition SLI )
)
BeQuiet 1200w PSU (Cable mods Braided Cables)
Aqua Computer Aquero for monitoring.
Aqua Computer in line temp sensors.
The color scheme for this buiild is Silver / Chrome, Black and Red. Keeping this in mind I used the following watercooling parts.
EK Nickel Plexi CPU Block
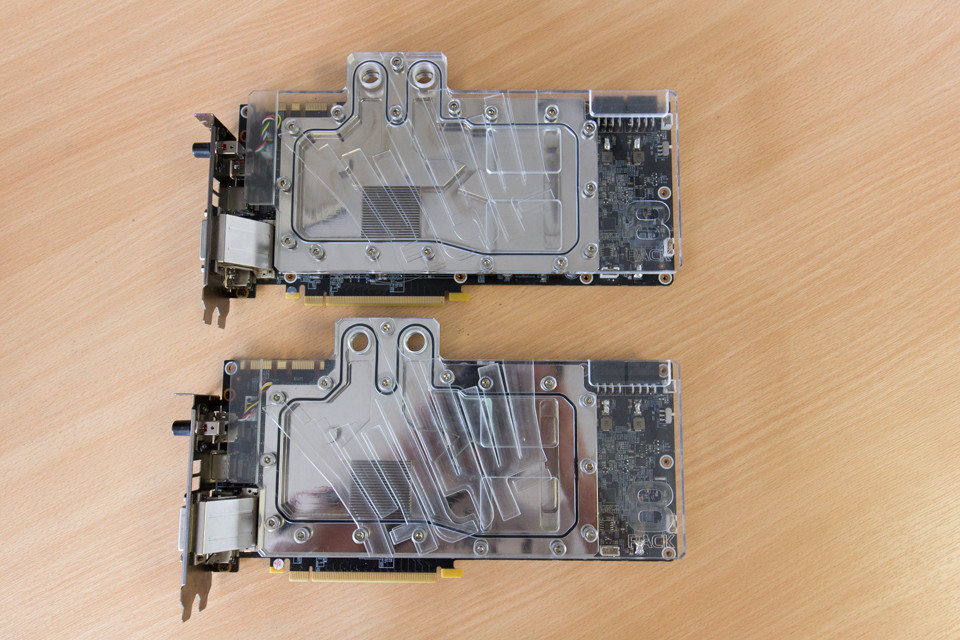
Diamond Cooling Custom 8Pack HOF Nickel Plexi GPU Blocks
Bits Power and EK Black fittings
Primochill Black Tubing
Mayhems Black fluid.
I also added a quad pass dual thickness 240 Mayhems Rad thanks to my old mate Steve for this awesome Rad.
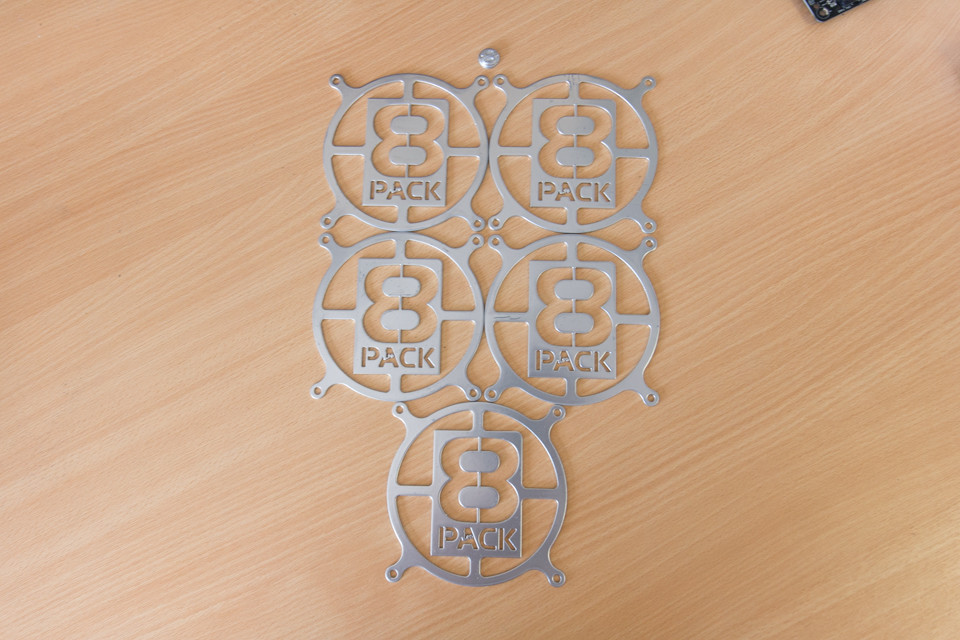
Before I started tearing things appart I thought I would get the exact look of the core components I wanted. So started with Chrome painting some fan grills.
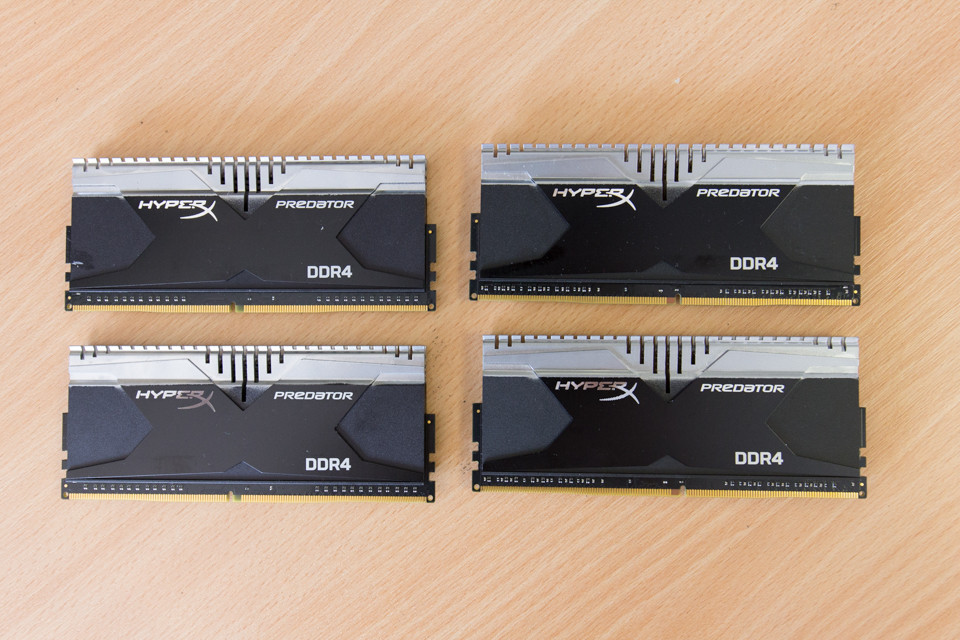
I then Chromed the tops of the memory heatsinks.
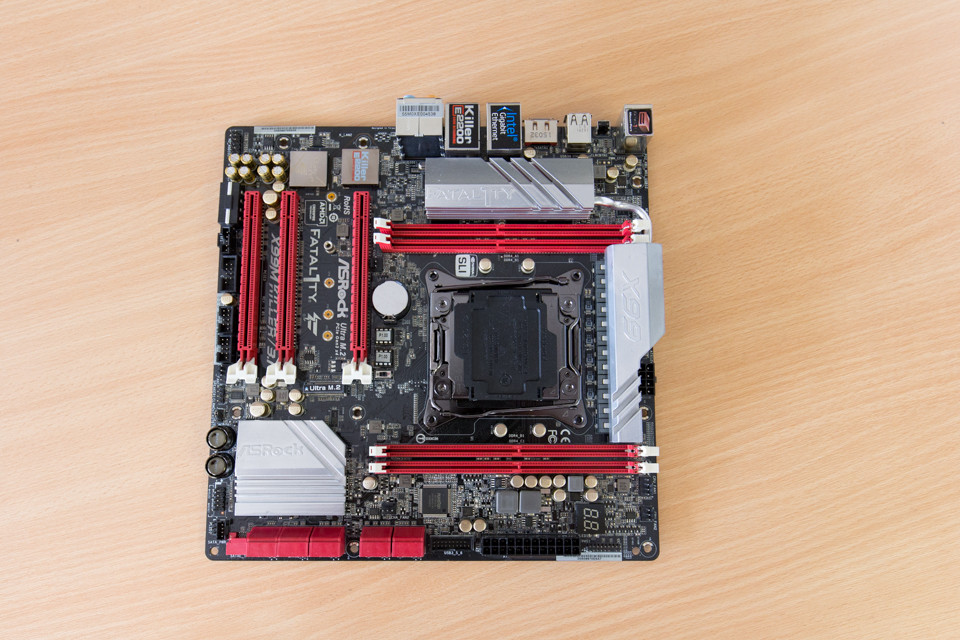
and the motherboard heatsinks
Next I blocked up the cards. Ofcourse I soldered power limit mods before blocking up may wanna OC!!
I then started building up the rig so the desk so I could see what it would look like complete.
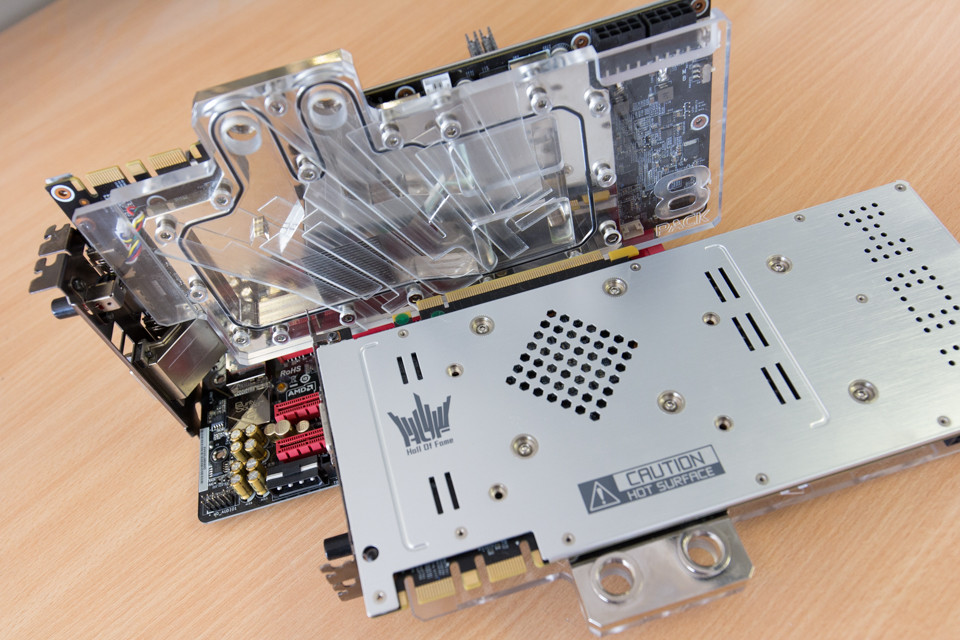
Chrome SLI bridge anyone!!
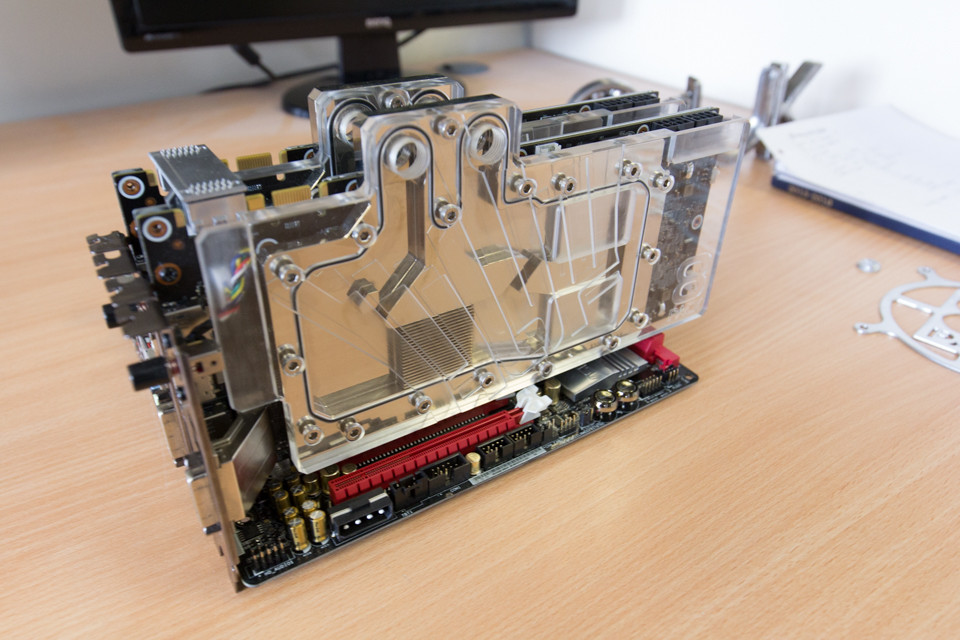
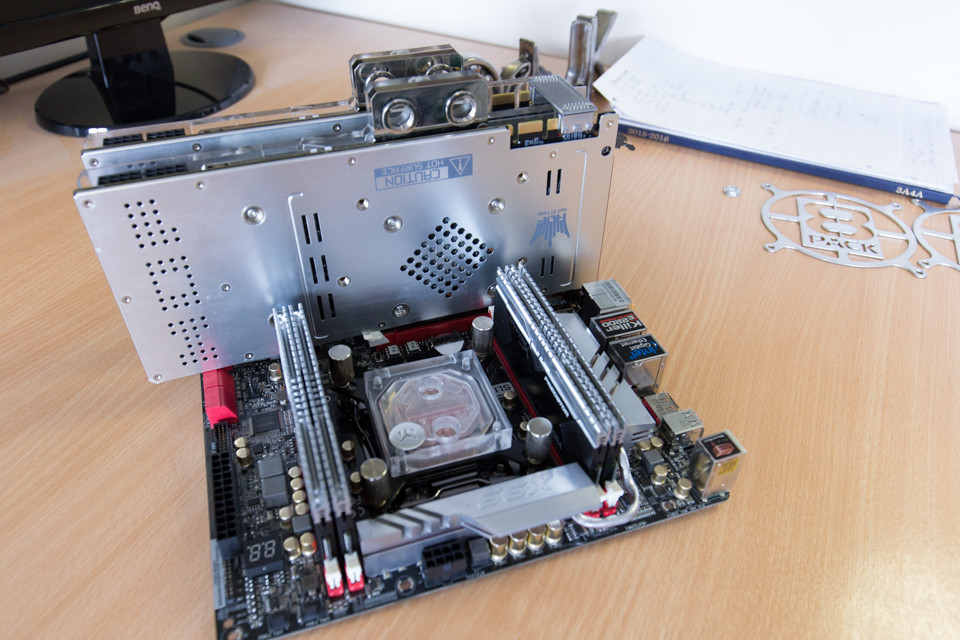
I had achived the basic look I wanted which I would improve on as I built into the case. I wanted to add an "8" to the waterblock also so ask Simon in our shop to try this on the Inno 3D -3D printer we have on display. I then painted it chrome and implemented. Thanks Simon!!
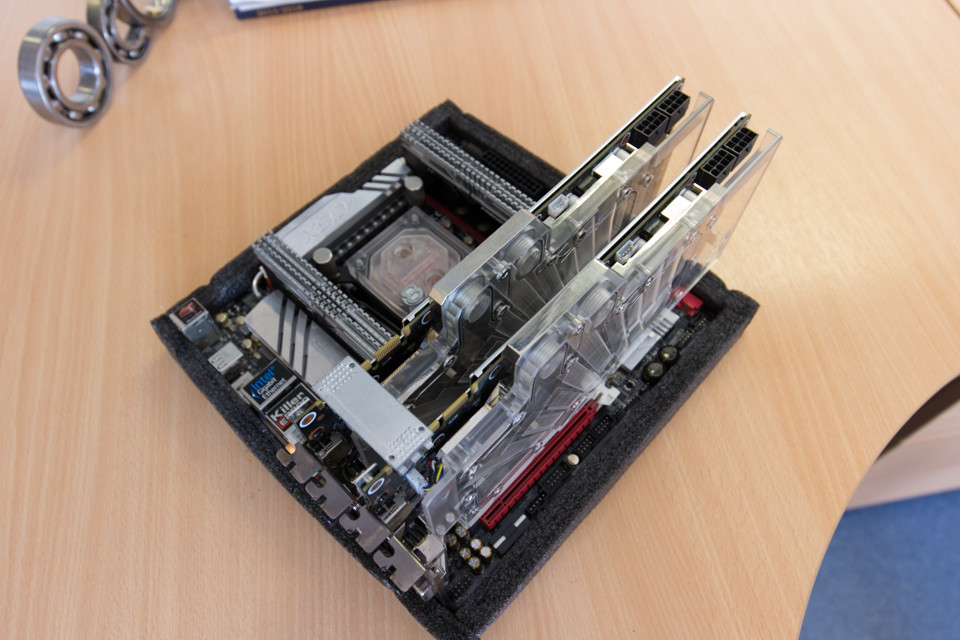
Next to strip the case, add the core components as I built them up above and add the following items ........
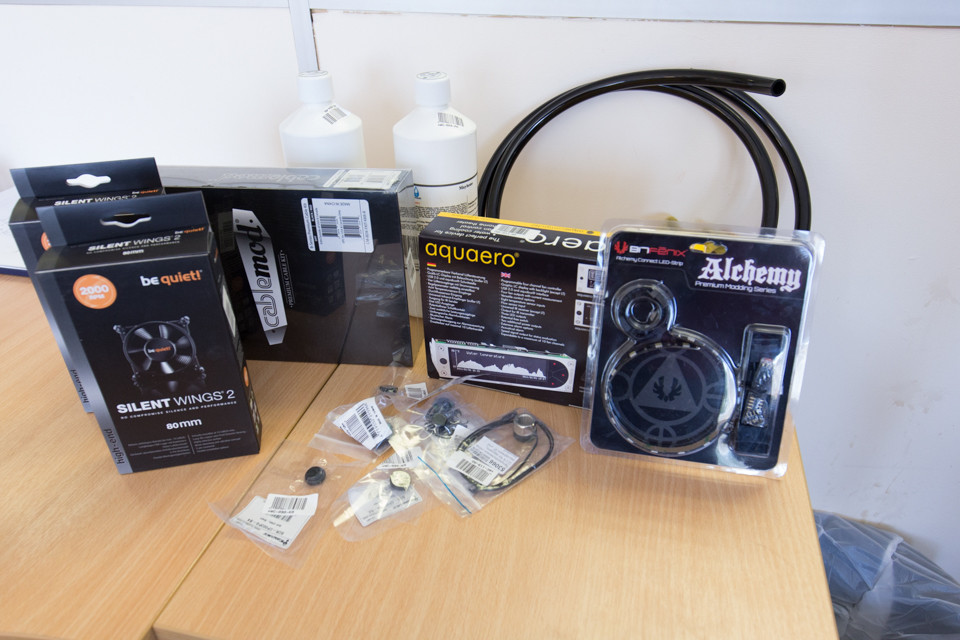
I will do more at this one Monday.............
Here is the pic of my first Rig completed:

and here is the build log if you guys wanna see how it all began!!
http://forums.overclockers.co.uk/showthread.php?t=18494977
The old rig was based around Z77, i73770K, 8gb 2133mhz RAM and AMD 7990 GPU.
For the new 8lite rig I decided to keep the Parvum case and some watercooling fittings but the rest had to go.
So I added the following basic components to the build:
Intel i7 5960X
X99 Asrock Killer MATX 3.1 MB with full OC socket and serious OC capabilities.
Kingston 3333mhz 16GB Quad channel Predator mems (Yeah the Asrock is the only MATX X99 doing these justice
 )
)980 Ti HOF (Black 8Pack Edition SLI
 )
)BeQuiet 1200w PSU (Cable mods Braided Cables)
Aqua Computer Aquero for monitoring.
Aqua Computer in line temp sensors.
The color scheme for this buiild is Silver / Chrome, Black and Red. Keeping this in mind I used the following watercooling parts.
EK Nickel Plexi CPU Block
Diamond Cooling Custom 8Pack HOF Nickel Plexi GPU Blocks
Bits Power and EK Black fittings
Primochill Black Tubing
Mayhems Black fluid.
I also added a quad pass dual thickness 240 Mayhems Rad thanks to my old mate Steve for this awesome Rad.
Before I started tearing things appart I thought I would get the exact look of the core components I wanted. So started with Chrome painting some fan grills.

I then Chromed the tops of the memory heatsinks.

and the motherboard heatsinks

Next I blocked up the cards. Ofcourse I soldered power limit mods before blocking up
 may wanna OC!!
I then started building up the rig so the desk so I could see what it would look like complete.


Chrome SLI bridge anyone!!


I had achived the basic look I wanted which I would improve on as I built into the case. I wanted to add an "8" to the waterblock also so ask Simon in our shop to try this on the Inno 3D -3D printer we have on display. I then painted it chrome and implemented. Thanks Simon!!

Next to strip the case, add the core components as I built them up above and add the following items ........

I will do more at this one Monday.............
Last edited:


