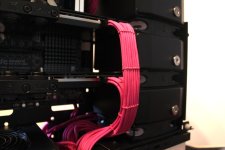
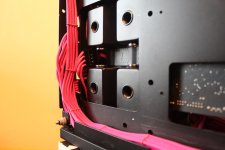
9ine04

Ahhh it was one or the other. I didnt think there was enough orange... Never mind! :p

You may tempt me to be brave and try pink braid if this turns out to look fantastic (which it will of course ;))

After seeing some of my pink sleeving next to the rest of the monochrome build, it looks soooooo much better that I imagined. Everything's quite understated and then BAM! the pink slaps you in the face (in a good way)! :D
 
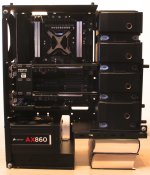
It's been a busy few days and I've got a lot done! I'm still in the process of cutting, crimping, and sleeving my cables so those photos will have to wait until I'm finished, but here's some of the other things I've been working on..

Everything is now blocked up!
Uknw2bJ.jpg

Kinda annoying as I can't use my PC until my project is finished now.. but it's all starting to take shape.

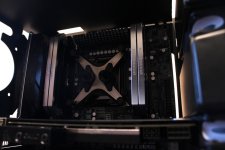
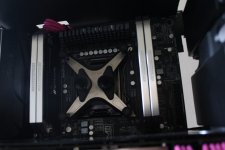
Still in love with my MIPs Iceforce CPU block: best looking block out there and such a shame they aren't made any more. :(
DA4hD3H.jpg
Eagle eyed amongst you may have noticed the Rampage Black edition I/O cover - kindly donated by who ever I fitted a waterblock for lol.

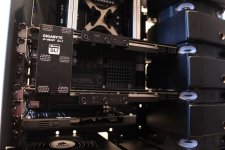
Both cards are now blocked up and look soooooo sleek, nothing but black and silver. The SLi bridge needs some work though - gonna have to remove that white text.
LEzSmLh.jpg

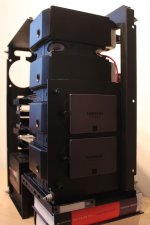
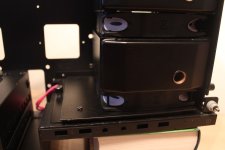
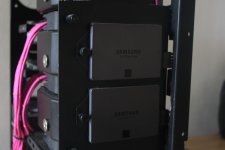
SSDs are gonna take pride of place at the front of the build - though they will be covered by the aluminium shell - I actually keep forgetting that's part of the build as it's been hidden away in storage with the glass sides since I started this build!
FNNp252.jpg
FGJL07m.jpg

You may have noticed that the front I/O has gone…
djycpJD.jpg

Well, most of it has anyway. I'm just keeping the power switch and the front LED for the In-Win logo at the front.
xBxsmeA.jpg
One or 2 USB ports on the front would have been useful, but the cables would have been a nightmare. So I'll have to make do without.

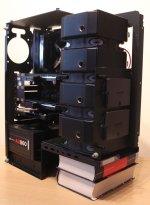
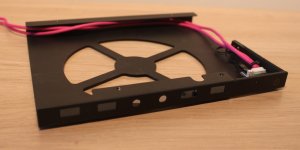
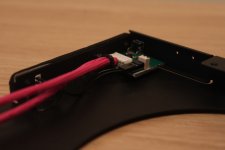
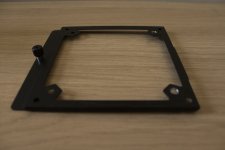
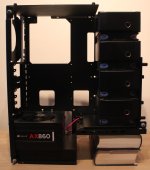
A few posts ago I mentioned the rads needed lifting up slightly to support the graphics cards rather than push them down.. Well I found this handy little contraption today that I'd completely forgotten about. The original design of the case allows you to remove the fan frame to attach the fan, and then fit it to the case by a single thumb screw - pretty handy!
HLqumxB.jpg

So with some metal I scavenged from a 900D, I made a bracket to mount my radiator stack to the fan mount to easily fix the rads in place.
fLaQyER.jpg

Still a little rough around the edges, but I'll fix it up once everything else is sorted.
rmMUmYm.jpg

That's it for today!
Stay tuned for some sleeved cables and some sexy matte black fittings!
 
More awesomeness :D
I am still very interested in that rad stack performance :-)

Might have to wait until the end of next month now - Caseking have changed the ETA on the fittings I've ordered. Unless that means my fittings arrived there and they've already shipped them to OcUK, i won't be getting them 'til the end of April. :(
 
And I love that cpu block.
It really looks sharp.
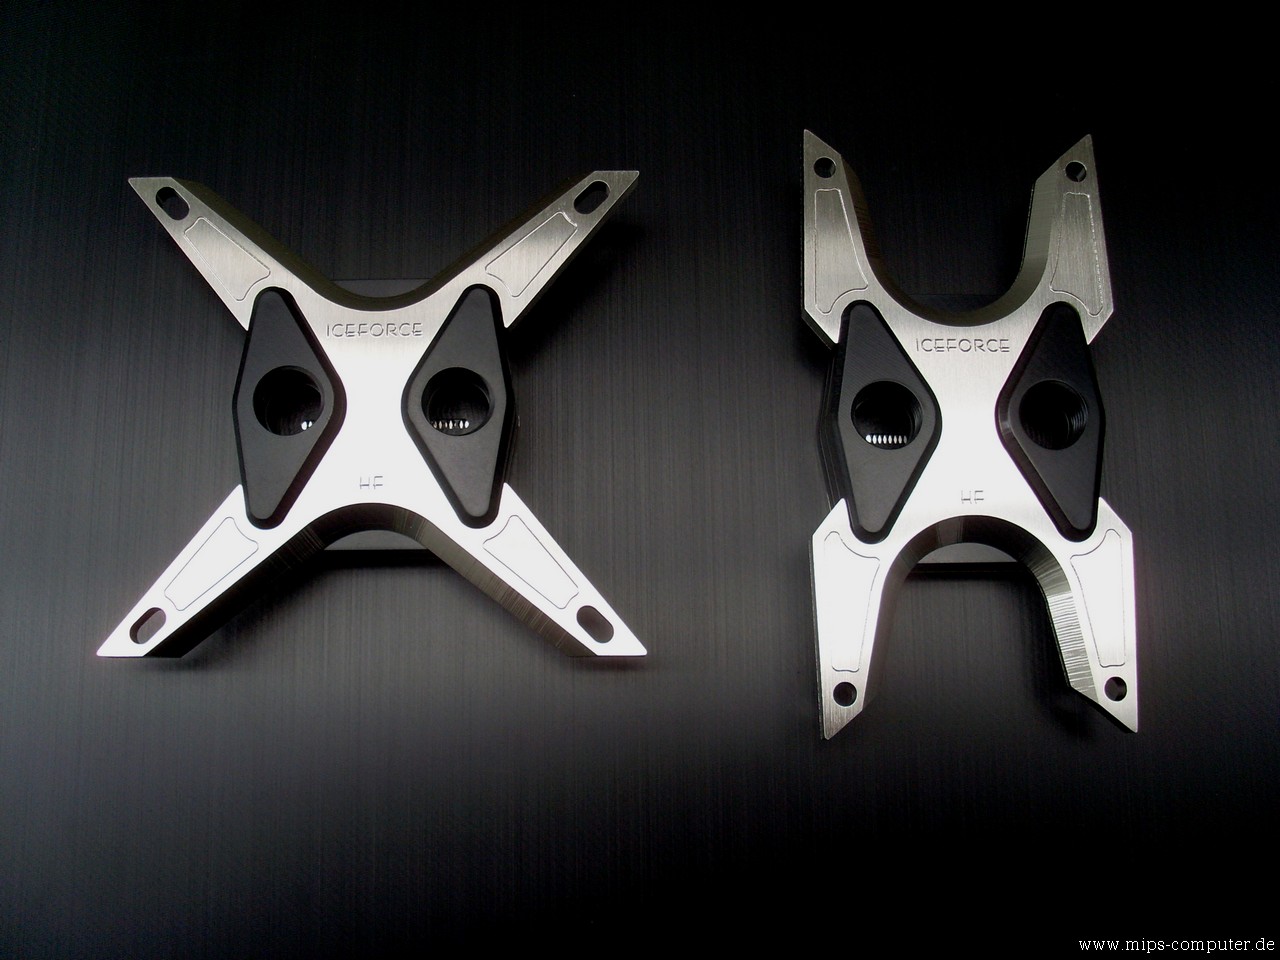
I originally bought the AMD version:
iceforce-hf-duo_highr8xu1r.jpg

Is that the best looking water block you've ever seen or what…?


And on to the next little update - I should warn about the fitting porn you're about to witness..
d5REzjD.jpg
:D

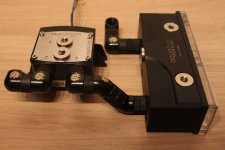
Here's a better look at what's going on:
TTEsZhU.jpg
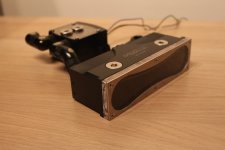
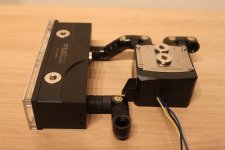
So from the reservoir it goes: male-to-male (nipple) -> 45° double rotary ->10mm extension -> 45° single rotary -> 90° single rotary -> pump > 90° single rotary > 90° single rotary.

And on the other side:
v9BN1gN.jpg
Coming back to the res we have: 90° single rotary -> 10mm extension -> 90° single rotary -> 10mm extension -> 10mm extension -> reservoir.

I've just got the 24pin cable to cut/crimp/sleeve left to do now - been putting it off as long as possible lol - and then some waxed thread to sew the cables together.

After that there's a couple more cuts to be done to the case for cables and tubing, and then as soon as my multi-link fittings arrive I'll be able to get this beauty finished. :D
 
Ok, my net activity starting tomorrow will consist mostly of hunting down that cpu block.
Me love it, me wants it. I assume its universal size, right?

I like that 'mad dream of hydraulics' you are making :D

There's a few AMD ones available still, but no Intel ones left as far as I've found.

Great build so far. Very creative & no wonder I can't get BP 90s anywhere

Really like what your attempting on this one - keep it up

I had to wait about a month for mine - OcUK had some in stock until this morning when I used what was left in an Infinity system. :p
 
Thanks man!

A little sneak peak on what's to come:

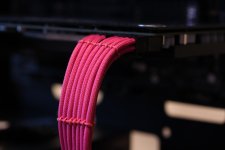
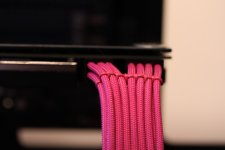
I've been busy sleeving while working on my project, and originally planned on using 'cable combs' to keep the cables nice and straight. I ordered a bunch of them in all different sizes, only to find that they are way too spaced out and look pretty crap imo. So I decided to lace/sew my cables instead, and while I'm not exactly brilliant at it, it's passable - and looks a whole lot better than before.

ByH5CUL.jpg

I originally tried to keep the 6pin and 8pin separate, but it's far easier to sew them together when there's more cables.

EjD4oYm.jpg

Not sure about how they curve off to the side… might have to redo them so they fold backwards instead.

egkYBrx.jpg

That's it for today, I don't really have much time to work on this in the week but I should be able to make some progress tomorrow. Stay tuned. :)
 
Hmmm That EK setup would had be better and easier, not sure if you could just get the EK-SBAY DDC unit itself. And then install your current pump, judging from the EK set-up you could mount the pump upside down?

Another an idea for ya, you could just flip the reservoir upside down so that the outlet and inlet matches better. Though you must fill it right up to the top, and you probably have air bubbles being fed to the pump. :rolleyes:
I could buy it, but then I'd be out of pocket for the pump top, reservoir, and many fittings used to connect it all.

I'm not sure about the pump being upside down. The Laing DDC user manual states not to use the pump inverted.
 
Some good news and some not so good news to report:

The good: I've finally got the last of my fittings! I now have everything I need to complete this project!

The not so good: I don't actually have time to do anything lol.. There's a final push at OcUK HQ for the end of our working year so lots of overtime over the coming weeks. I should be able to finish my cables on sunday, but wont have a decent camera for nearly 2 weeks.

I might be able to post some teasers from my phone camera though...
 
I'll be posting a new thread over in the watercooling forum - there seems to be a lot of interest in how the stacked rads will perform, and it'll be easier to discuss it in a separate thread.
 
Been a while since an update - I haven't had much time to work on this over the past few weeks, but hopefully that's over now and I can start to get this project finished! I have managed to do little bits over the past weeks, mainly sorting out my cables - just the 24pin left once I find out where it's gonna go.

I did try out using some fishing line to lace the cables together, but it was too smooth and didn't grip on the paracord like the waxed nylon that I'm using.

Enough talking. Time for some pictures:
ziojUbZ.jpg

I originally made the 8pin go straight down towards the power supply before realising it would foul the tubing. I later redid it over a mete long to route it out of the way.
CLeJQKC.jpg

It's a little messy where the 2 SATA, the 8pin and the Molex cables meet in the corner:
IscrYWI.jpg
Hopefully I'll be able to sort that out by sewing the cables together once everything is finalised.

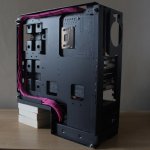
Moving around to the front of the case, the SATA cables are pretty much out of sight. As will the SSDs once the outer aluminium case is installed.
LRkkmMz.jpg

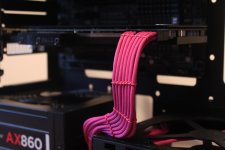
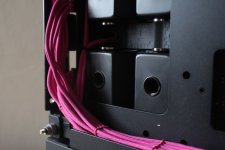
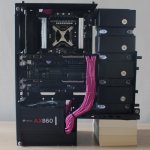
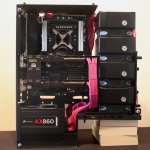
Keep moving around to the front and the PCI power cables add a splash of colour to the otherwise monochrome canvas.
wu0TATh.jpg
They stick out a bit at current, which means they will probably be touching the side panel once it's on.

You can also see the 8pin poking out at the top of the case:
20QwZHK.jpg

The 24pin cable still needs to be done. I'm thinking of routing it in front of the motherboard down between the graphics cards and radiators. It might be a bit of a squeeze and make it rather difficult to fit the SATA cables, but it's the only place where it wont be crossing over any tubing.
bQmgRP6.jpg

That's it for this time, hopefully the next update won't take as long.
 
Cpu block looks great with Dominator P's. I just realised this isn't a R4BE due to the RAM sockets.

Looking very good all-round. Really original build

Haha yeah, I'm just using the I/O cover from it to clean it up a little. I'll remove/cover up the RIVE branding eventually.

Great looking so far.

I have a full MIPs kit for my max gene. So sad they R.I.p.

Keep up the great work.

Love MIPs blocks. I'll be sticking with 2011 for a long time because of that block.

This is probably a stupid question but is there a possibility that the weight of the rads plus the fluid that will be in then could topple the case without the books there for support? Surely that's a lot more weight than the HDDs the case was designed for...

I'm sure this is something both you and InWin have considered, but it's really nagging at me.

Edit. Ignore me, just looked at the case with the aluminium casing on, OBVIOUSLY my concern isn't valid. Nice build!

You got it. :p
 
awesome build.

Thanks!

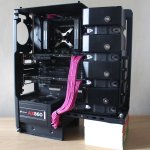
All cables are now sleeved! Good job too as I'm down to about 5m of paracord left from the 60m I bought.

Here's where I'm at now:
QPUwQQ1.jpg

At the last minute, I changed where the 24pin was going to be routed. I had already cut a hole into the motherboard tray for the cable to go through but, as I discovered with the 8pin, it would have crossed the tubing. And I didn't want that. In the end I routed it up and over the radiators, and then out of the case inside the gap between the inside and outside of the case (where the SSDs are). Routing it here will mean that I can't sew it, but it'll mostly be hidden anyway.
Z65Gy8j.jpg
(It'll look better than that when it's finished.)

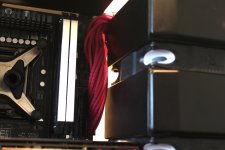
I also changed the PCI cables so they fold back on themselves, instead of angling towards the PSU. I'll need to cut a hole for the cables in the rad mount so I can hide that mess in the unused space behind the original front panel.
s3bSxbT.jpg

I also found a better way to manage the cables behind the radiators. By moving the fan PCB to between the bottom 2 radiators, the 8pin and SATA power cables can fit around the edges better.
dxiGQ8W.jpg
The Molex cable will mostly be hidden underneath the radiators.

The end is now in sight! :D
I still need to cut a hole below the motherboard for the tubing, as well as in the optical drive bay below the PSU. Hopefully everything will line up for me and I can just crack on with the tubing.

Speaking of tubing: acrylic is a lot harder to work with than normal tubing. A lot harder.
 
It's looking great, need finished!

It really does. I've kinda been preoccupied by a certain little vehicle that's consuming all of my time (and money) at the moment:

JVI17GI.jpg

So the PC has taken a temporary back seat for a few weeks.

Projects like this deserve the thought put into it. Results show .
Lush pink.

Thanks! All the thinking is done now and I just need to put it all together now. Still not really sure how I'm going to bend the tubing from the GPU to CPU, or how to fit it? :confused:

Very creative radiator! Liking it a lot :)

i really like this, stealth mode (with pink)

Thanks guys. I'll hopefully have an update some time this week.
 
Back
Top Bottom