A380 Mod

Associate
Joined
9 Sep 2008
Posts
696
Ok, I'll start a project log, This is my first ever case mod. I'm using an old Xclio A380 Plus (Aplus Twin Engine) and a new A380 Colour.
I'm planning on doing something like this (This is still work in progress):
DSC_0570.JPG


DSC_0234.JPG


But I'm going for all matt black, with green LED lights and going to put some green uv sleeves in and green uv paint on some places.

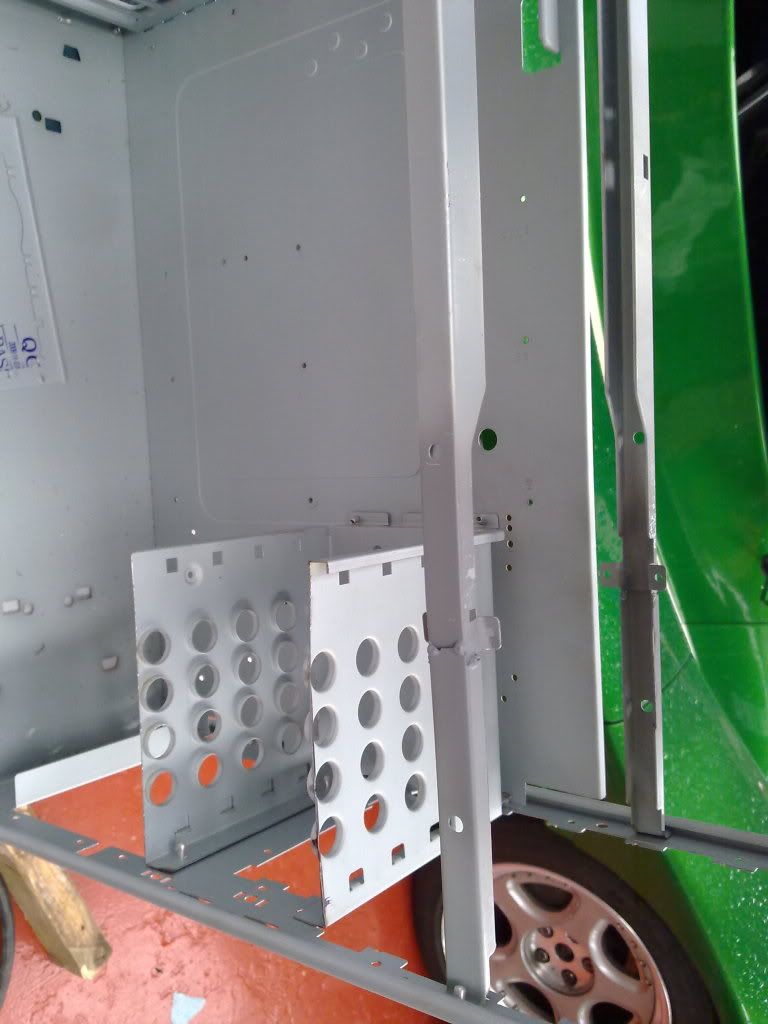
I've started stripping the new case, I've just drilled out the rivets and taken out the 5.25" casing (No room for CD/DVD drive) :D And the floppy cage has been taken out too. The 3.5" case is also out, and I'm going to shrink it abit to increase airflow from the two front fans and mount it somewhere else.

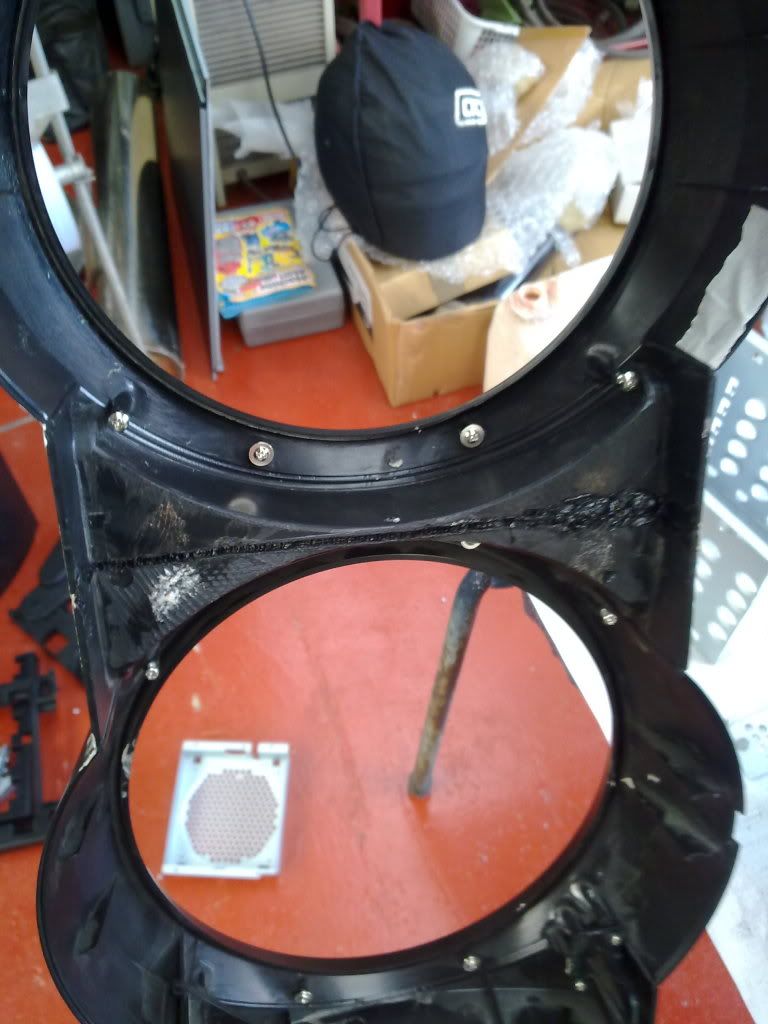
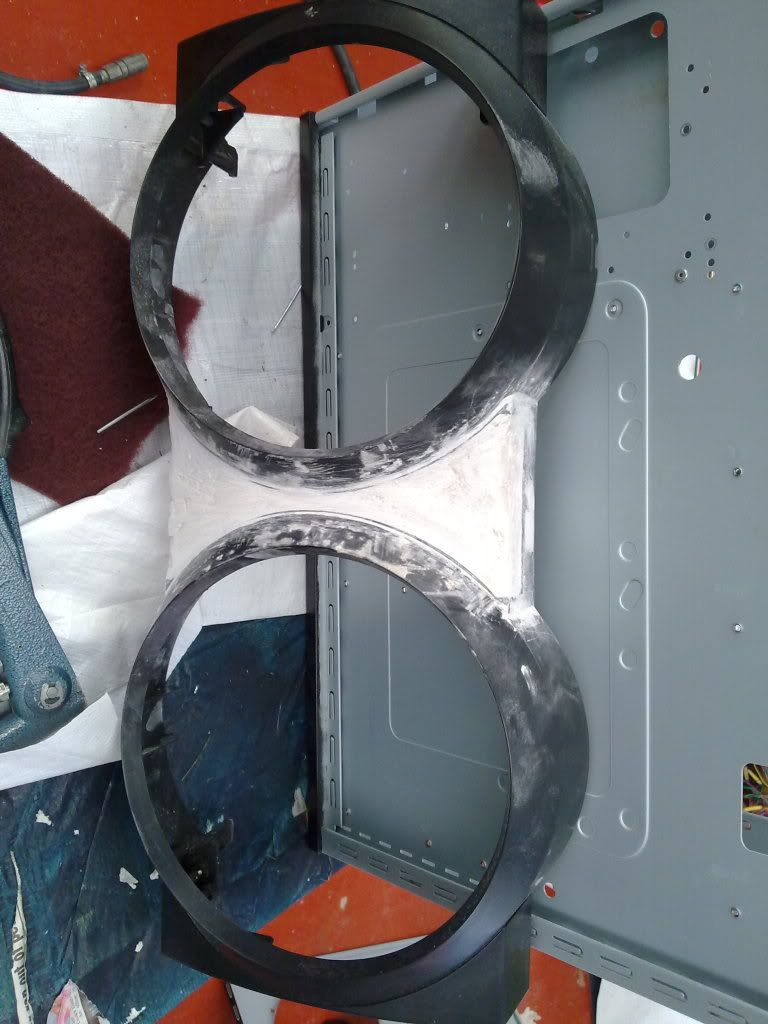
I've cut the front panel and getting ready to put it together. Thinking of getting a steel plate riveted on, then use body filler over the top.

Also trying to extend the two strengthening bars that went accross, as they were attached to the 5.25" cage.

I'll post some pic's of it in about 30 minutes.
 
Last edited:
Ok, heres an update, along with some pictures.

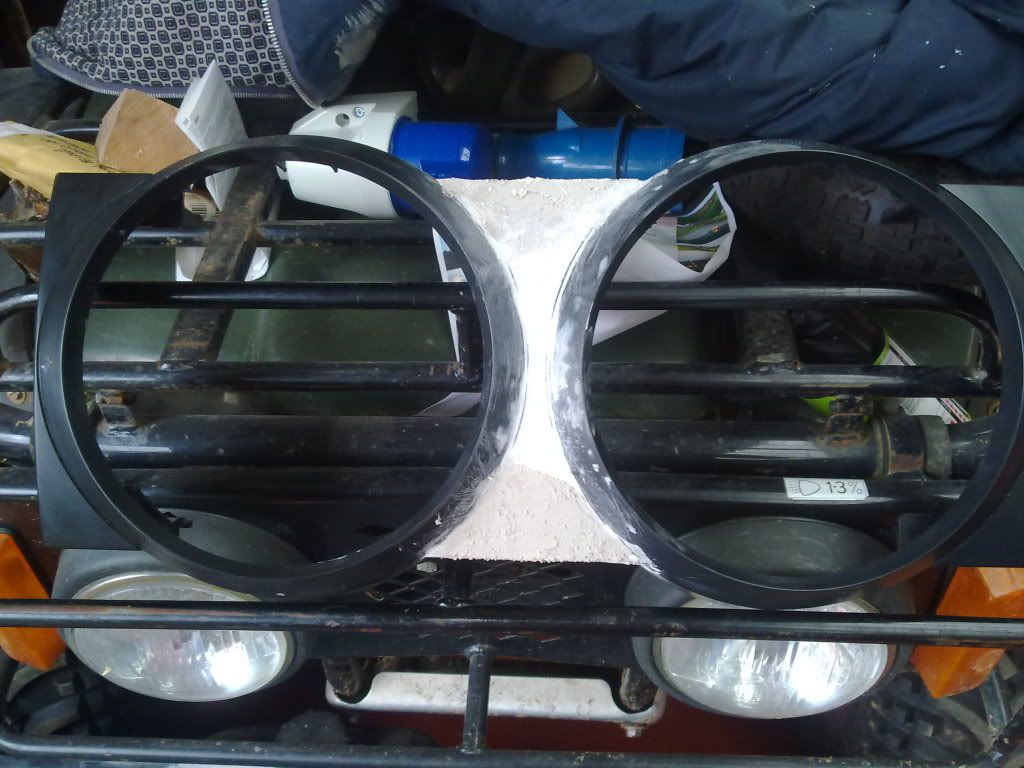
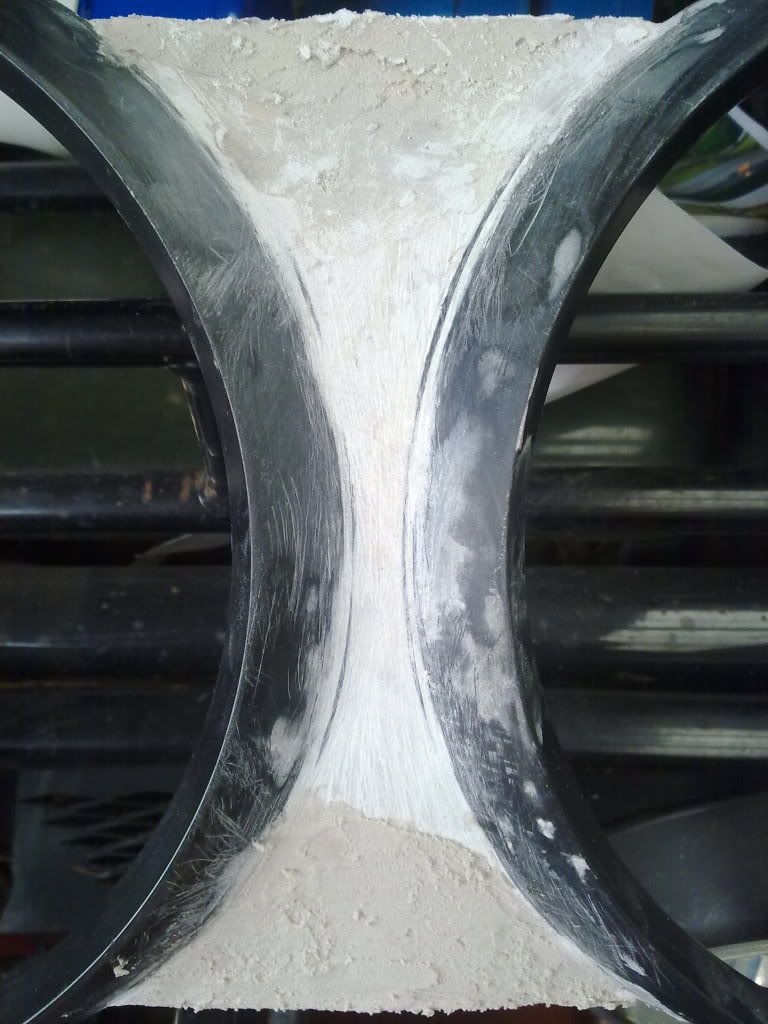
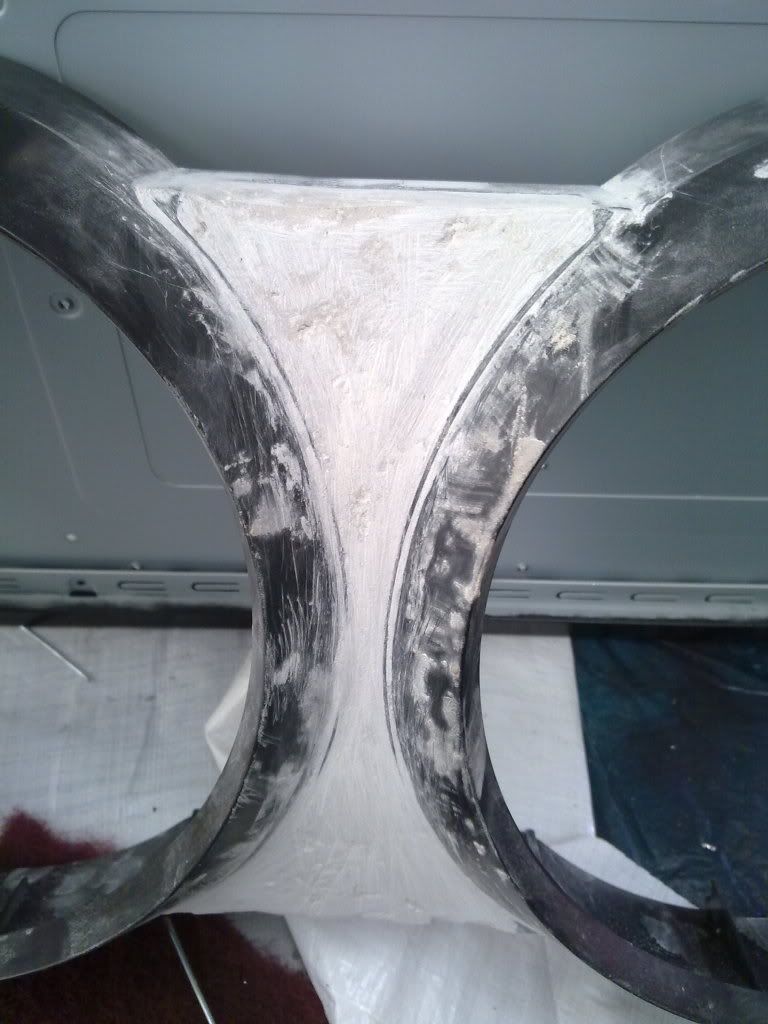
Scrapped the steel plate, and went with some plastic welding using a solder iron:
17082010030.jpg


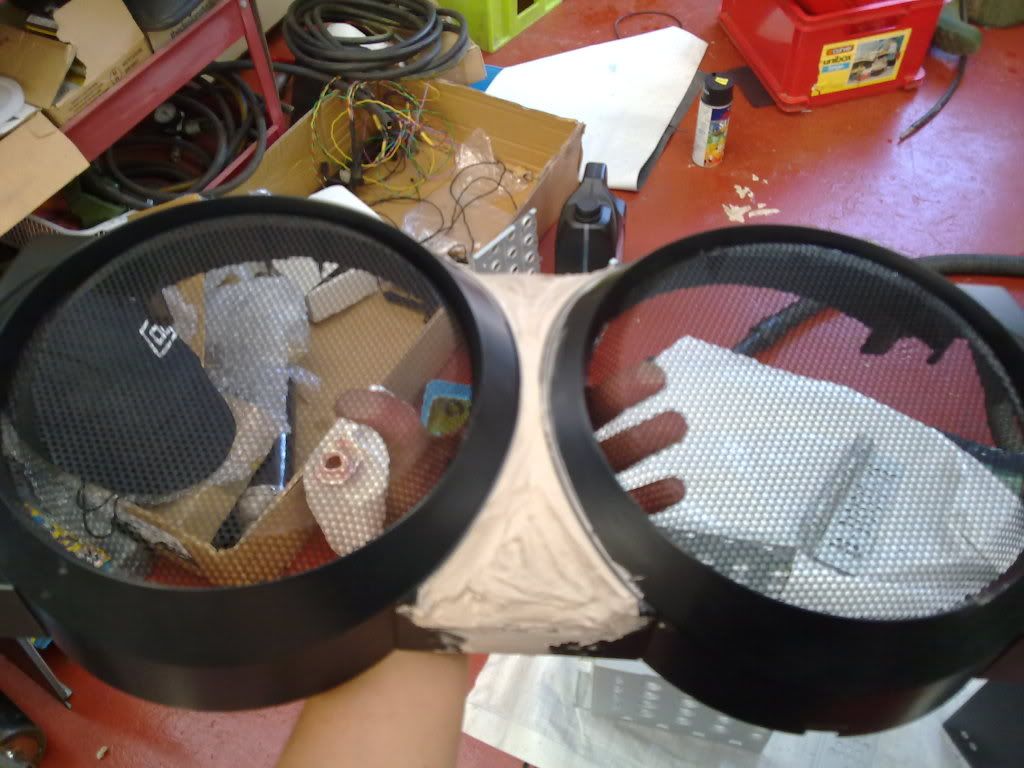
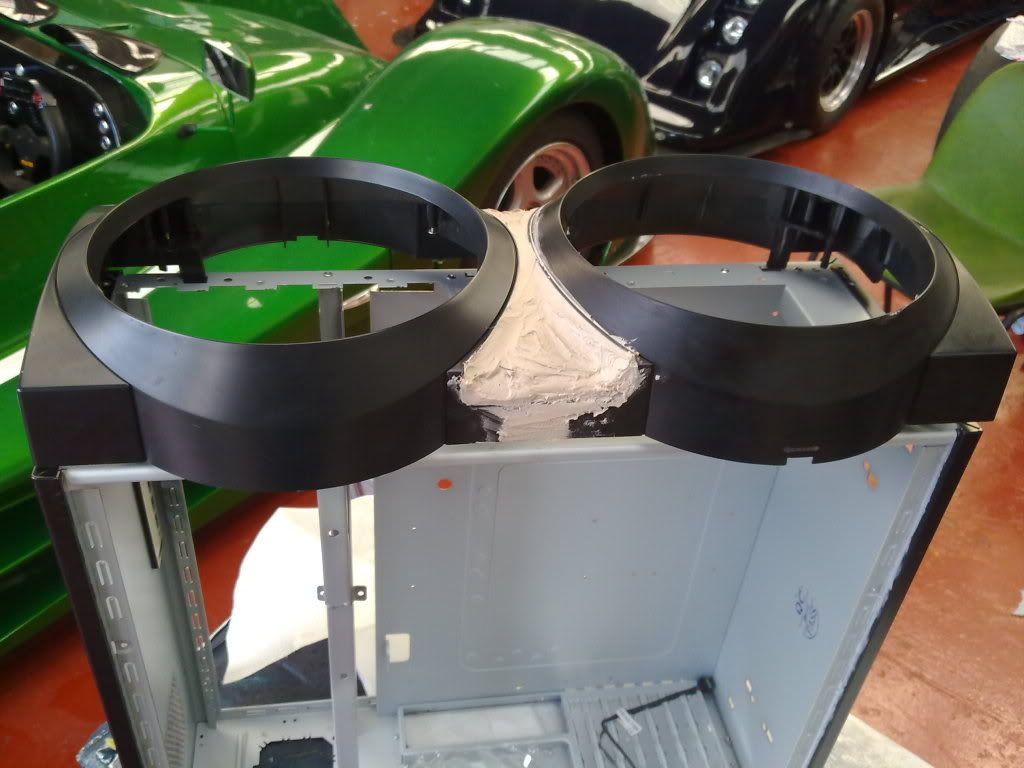
Then some P40 on top, not sure exactly what shape to do. Once it is set I'm going to drill two holes through for the on/off switches.
17082010031.jpg


17082010029.jpg


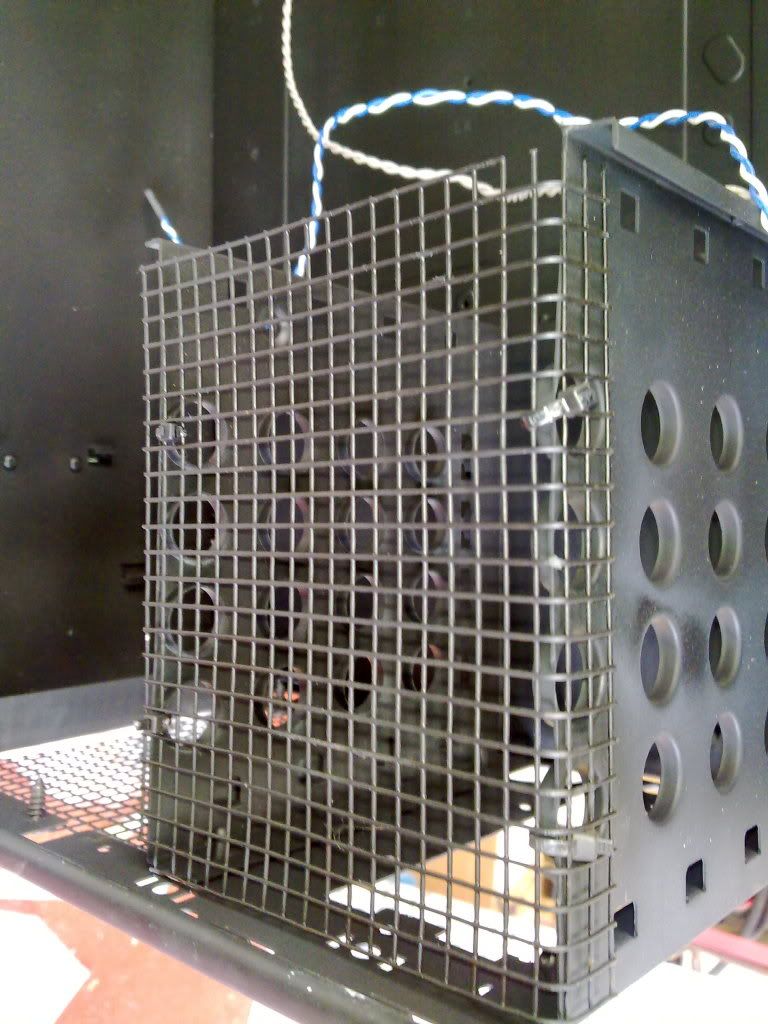
I've finished cutting out the 5.25" cage and cut down the 3.5" cage to make it shorter. Still uncertain where to put that, maybe in the middle on the front, so it doesn't block each fan and airflow too much.

What you guys think?
 
Lol, I'm trying to work with it, I know it ain't beautiful, lol. I need to buy a new acrylic screen. I can only find 1 shop that does it, dont mention competitors please
 
Radical? ha, nah. thats a Jaguar Palmer JP1, road legal. Theres is a radical clubsport in the back though, but you can't see it :P

I've just ordered a screen for side panel. And also some UV stuff and cathodes :P

I might do some cool UV stuff, But I don't know which colour to go with. I was thinking red, cus it will go good with the black. But UV red is really hard to find.
I was thinking pink looks great, but I'm struggling to find that too. I could go for green, but everyone has green
 
Last edited:
Yeah, i liked the origonal. But my CPU heatsink was too big, and had to mount the fan (36cm on the A380Plus) on the outside, and it was just annoying me. This time I'm going to make a new window, with no fan in it :P

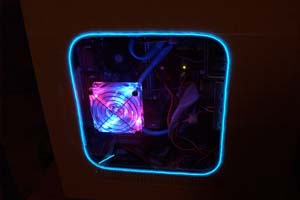
I'm thinking about putting EL wire around the window when I make it, but duno if it will just look tacky.
elneon_0186_copy.jpg

like that, but green, and hopefully wont be a boring round edged window :P
 
lol, theres an old Ford costhworth in the back, waiting for an engine rebuild. A couple of single seaters, ones an old F3000 car. The radical clubsport is mine, :) going to get it's gear box fixed today and gotta put the engine back in.
Back to the case. I'm still figuring out where to put the 3.5" cage, I need to put it somewhere to help strengthen the cage, because the other cages went from the top to the bottom and help the case keeps its shape, but without them It's abit wobbly :P

I'm still not sure of where to put on off switches, was thinking of cutting out old ones, and drilling holes for them in the parts where i have put the P40.
 
Ok, done some more today, filled out the body filler and smoothed it off quite abit. There are some holes that need filling in it.
18082010032.jpg

18082010033.jpg


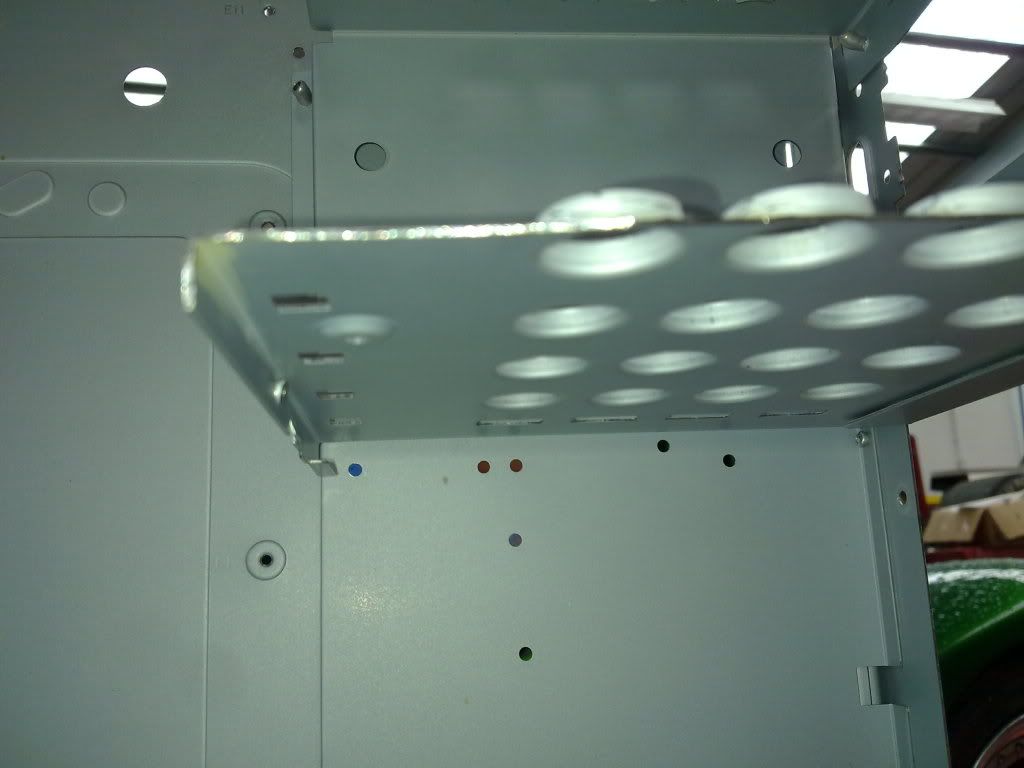
Then I found a place to mount the HDD cage, and drilled holes and riveted it in.

18082010034.jpg

18082010035.jpg


The edge of the cage is abit scrappy, but i think it will look alright when painted, and it will be hidden by the side panel anyway. I mount the cage so when the HDDs are in, air will pass between them, trying not to disrupt the air flow.

http://static.**********/Images/Products/1123760-c.jpg

This is my next problem, that ugly thing there sat on top of the case, and is basically a fan controller, it does fan speeds, fan on/off. fan leds on/off and helps change the colour of the leds on the fans. Also the usual usb, esata.

Now i want to keep this, so i have removed all of the switches and dials, but want them in something else, preferably so it is flush with the top panel.

I was thinking of using a bay covers, and mounting the switches into it. If i do this, i could also add the on/off switch to the same place.
What do you guys think?
 
Last edited:
Just looked at a bay for switches, but went to find some switches, and these vandal resistent switches look good, but they are 10-15 each!!! Looks like ill have to find some cheap ones from m*plins and paint them or something.
 
Last edited:
Ok, i went and got two switches from m*plin, I also got two nobs for the fan controller.
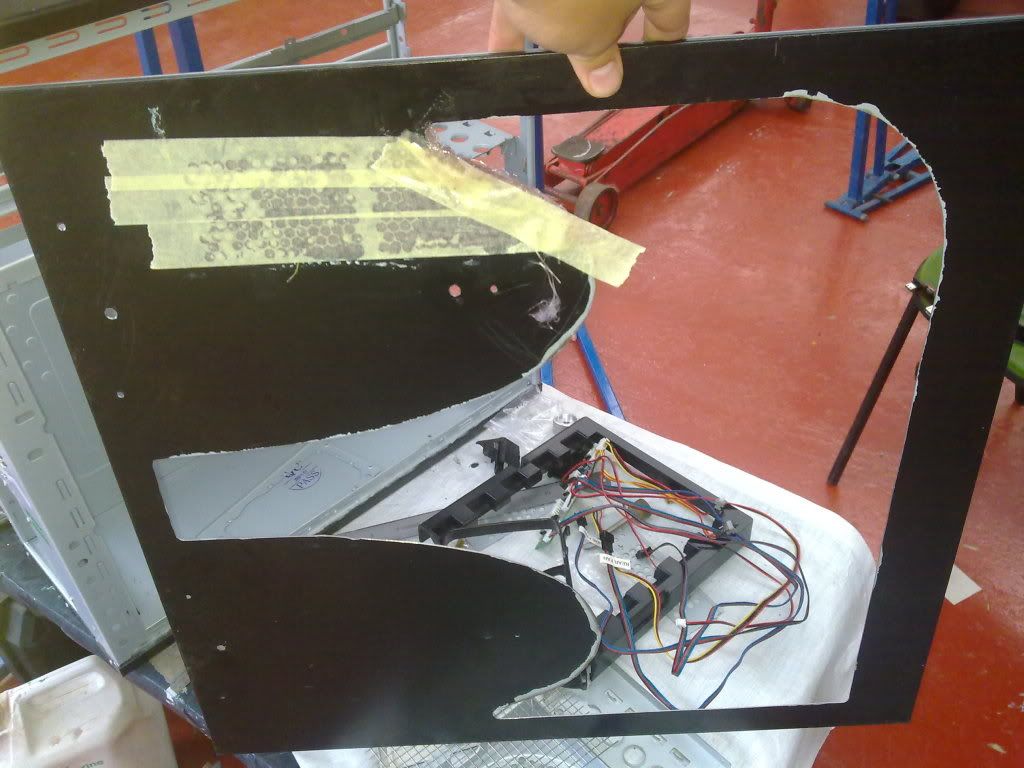
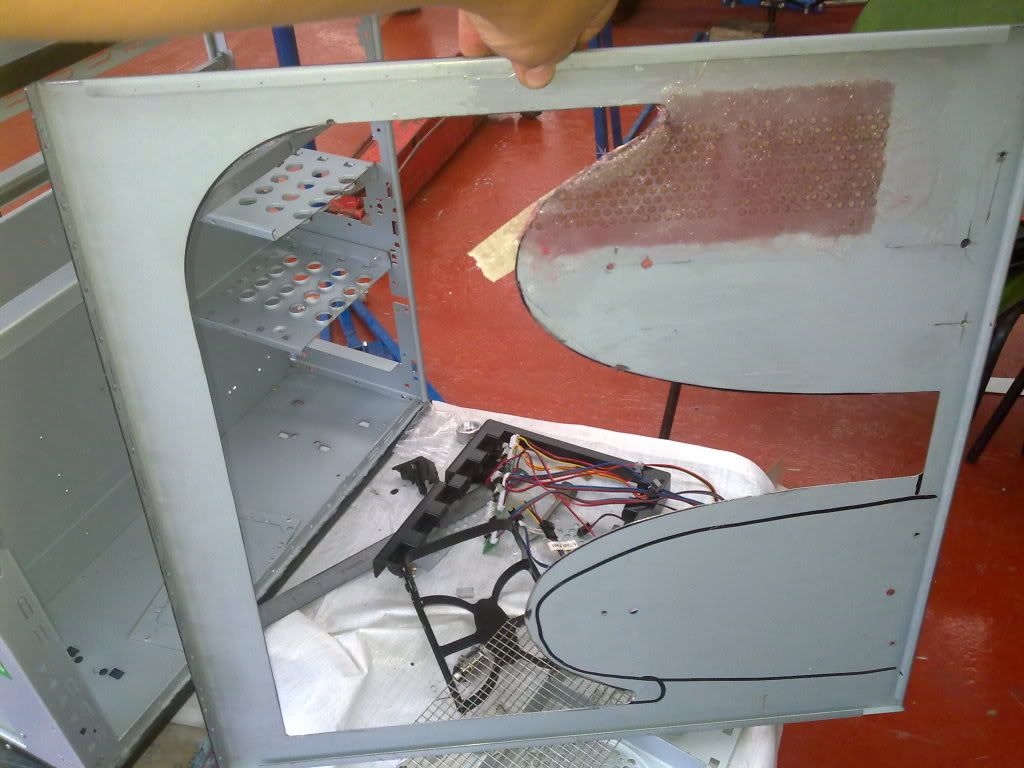
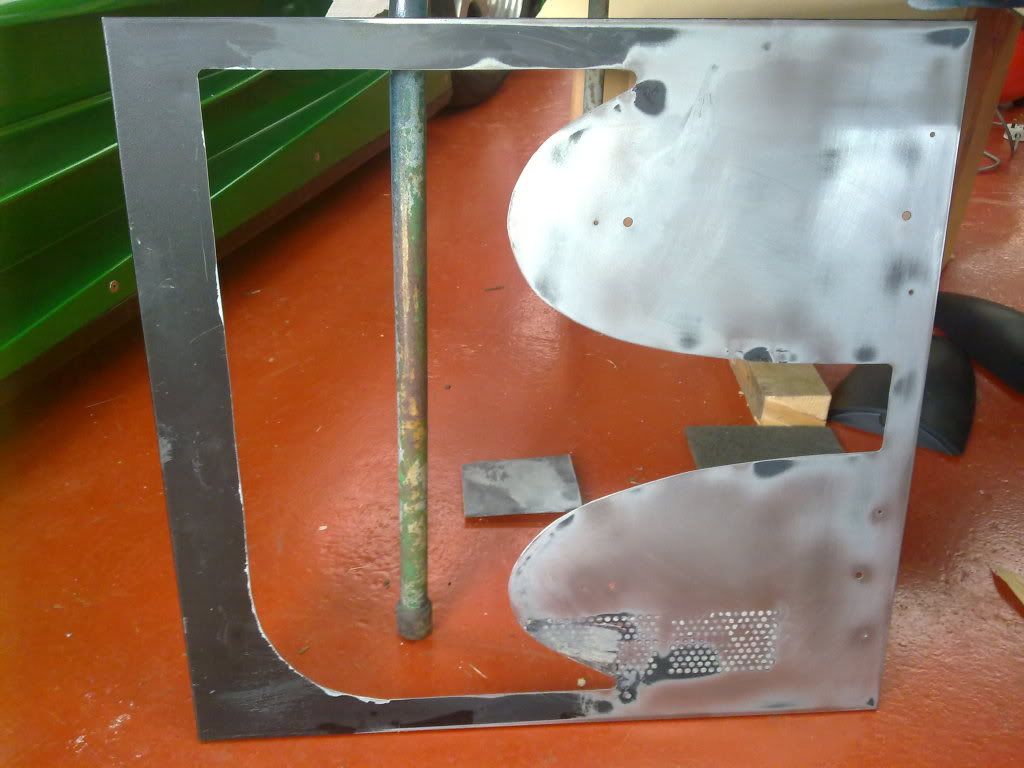
Spent most of the day cutting the side panel from the old case, ready for the new plastic screen, which arrived today.
Did the hole thing with a dremel/air gun dremel thing :P Went pretty well. Filled all the edges down and just checked the lines were all straight.
19082010037.jpg

I'm pretty pleased with the way it looks, managed to drill new holes for the dome shapes on the side.

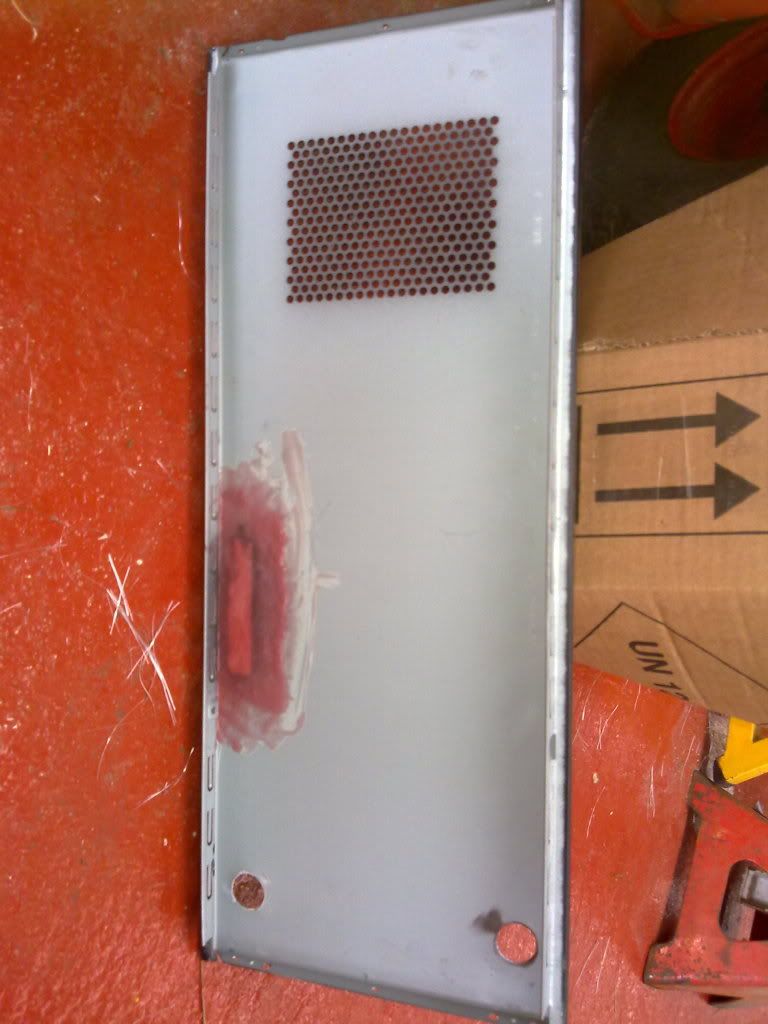
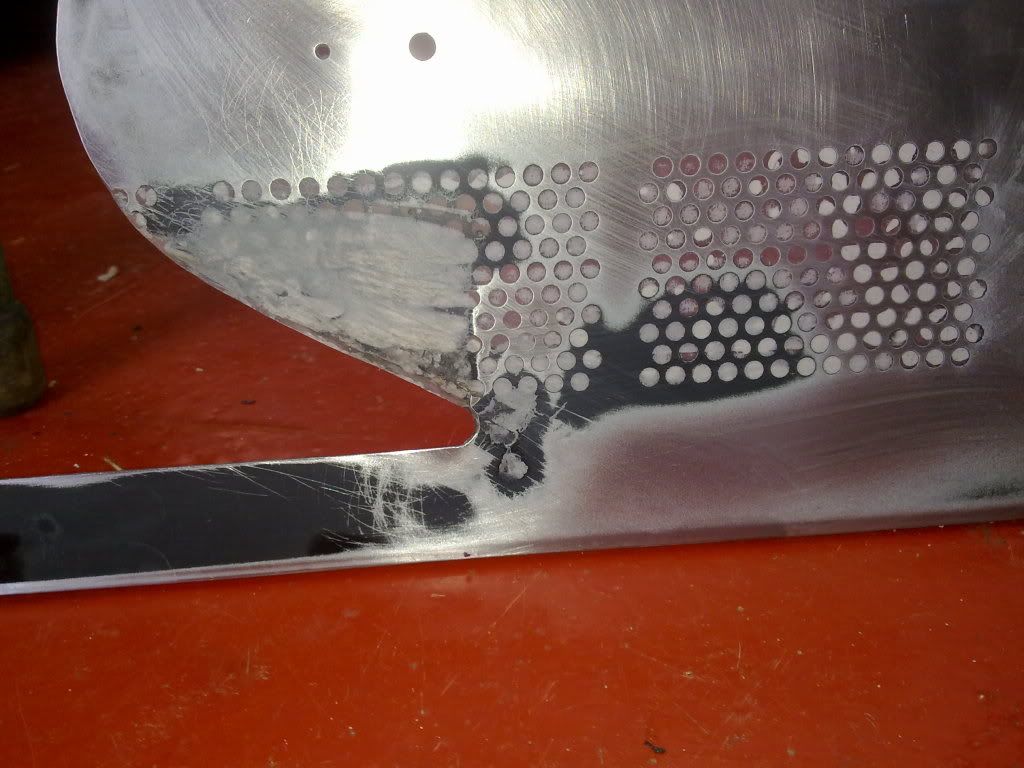
I also had some mesh hole to fill in on the side panel, so I've put some fibreglass behind them, and will use body filler on the other side to fill it in.

19082010036.jpg


Did some more on the front bezel, which should be finished by tomorrow, its taking a lot of filling to get it smooth. Once i've finished that i'll sand the plastic abit and give it a primary coat.

What do you guys think?
 
Some more pics. I'm still trying to smooth off the body filler on the front, I can't seem to get it smooth, not sure what grit to use, only got 320 and 800 atm.

This is another coat of body filler, which i havn't sanded down yet.
20082010038.jpg

Btw, thats a quad it's on :P
20082010039.jpg


I put some more fibreglass on the old whole on top.
20082010040.jpg

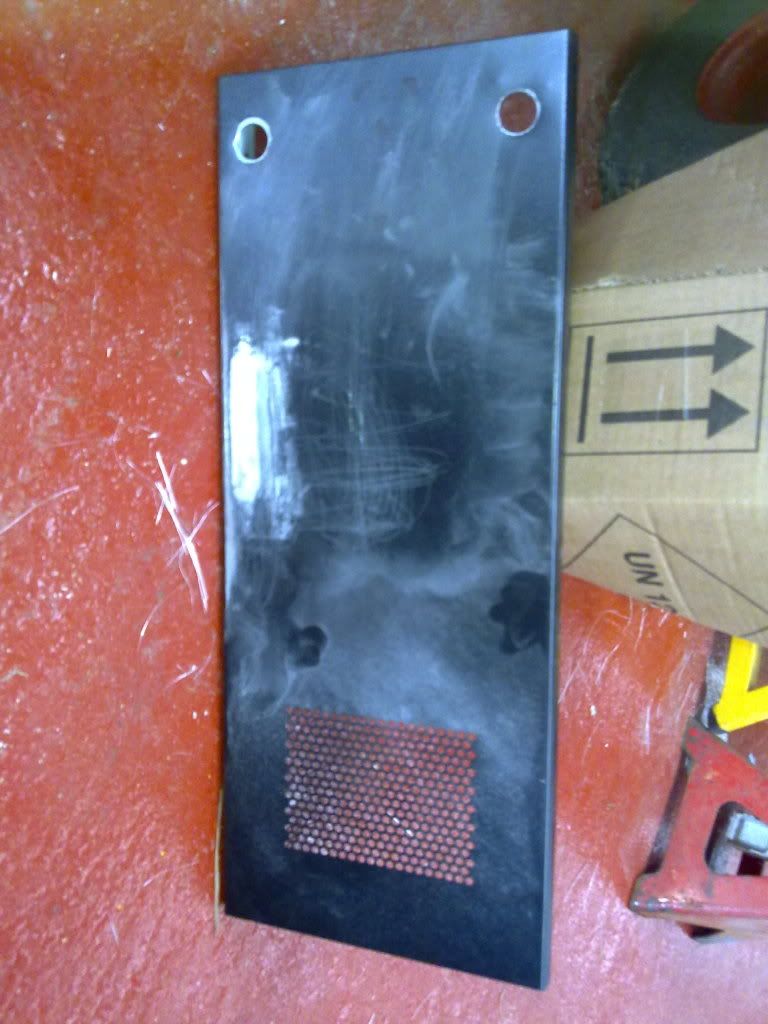
And I've used body filler on the other side to fill it in.
20082010041.jpg

Also I have cut two holes for the on off switches.

Side panel has been filled, looks a lot better down at the grill.
Also started sanding it down, It's taking a while though, took over an hour to do that part. Is this normal? I was using 320 grit and some water.
20082010042.jpg

20082010043.jpg

On that pic, the holes look see-through, but it's kinda pinky from the resin for the fibreglass.

What you guys think, whats best way to sand and with what grit?
 
Last edited:
Ok, i sanded 3 of the panels and primed them, but on one i forgot to drill some holes,lol. and i ran out of primer on the last 1, only an inch left to do aswell,lol.
Will i need to sand the primer? and again what grit? lol.
Thanks!
 
Yeah, i saw his mod and it gave me inspiration, I've been talking to him about it, hes going to steal my HDD mount idea, lol.

CFM - min, max
47.95-95.90

DB - min,max
16.43/32.86

Roughly same db as 120mm, but about 30-40 more cfm.
 
Ok, I've sanded the primer down with 1200 grit, maybe a little too much, and theres some tiny holes that need filling on some parts, should i do another primer coat and sand down again?
 
Yeah, i find the filler is very hard to smooth off, and went i try to sand it, it just flakes in some areas, not filling gaps. The worst place is the front panel i had done. Will matt black hide these imperfections?
 
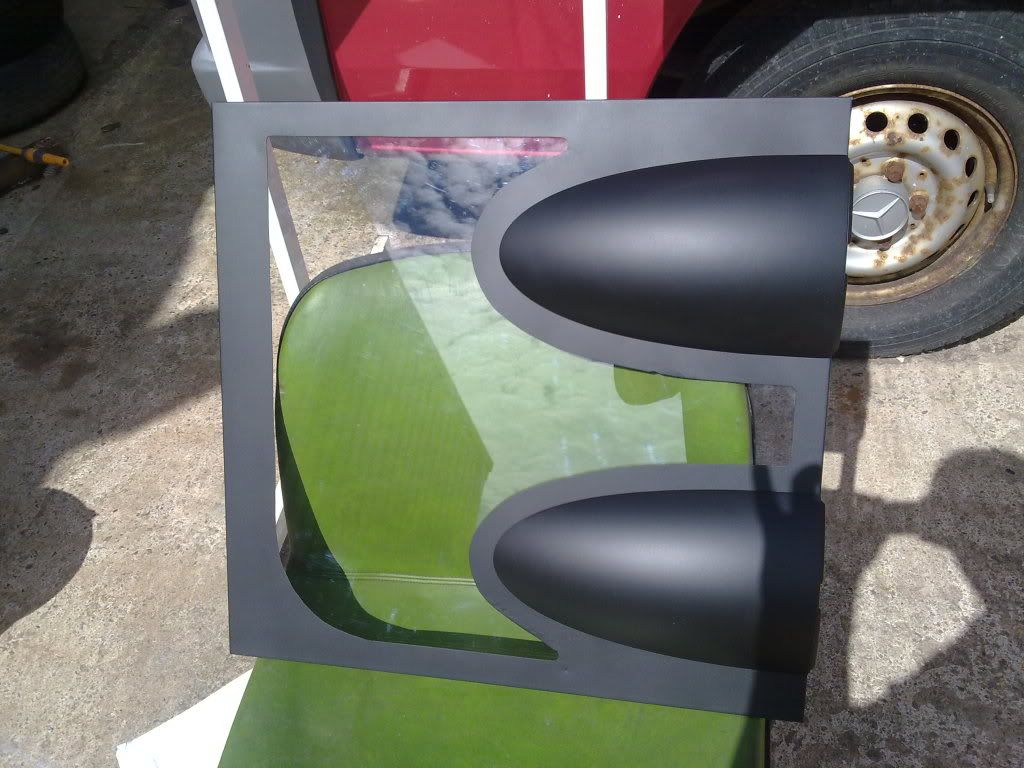
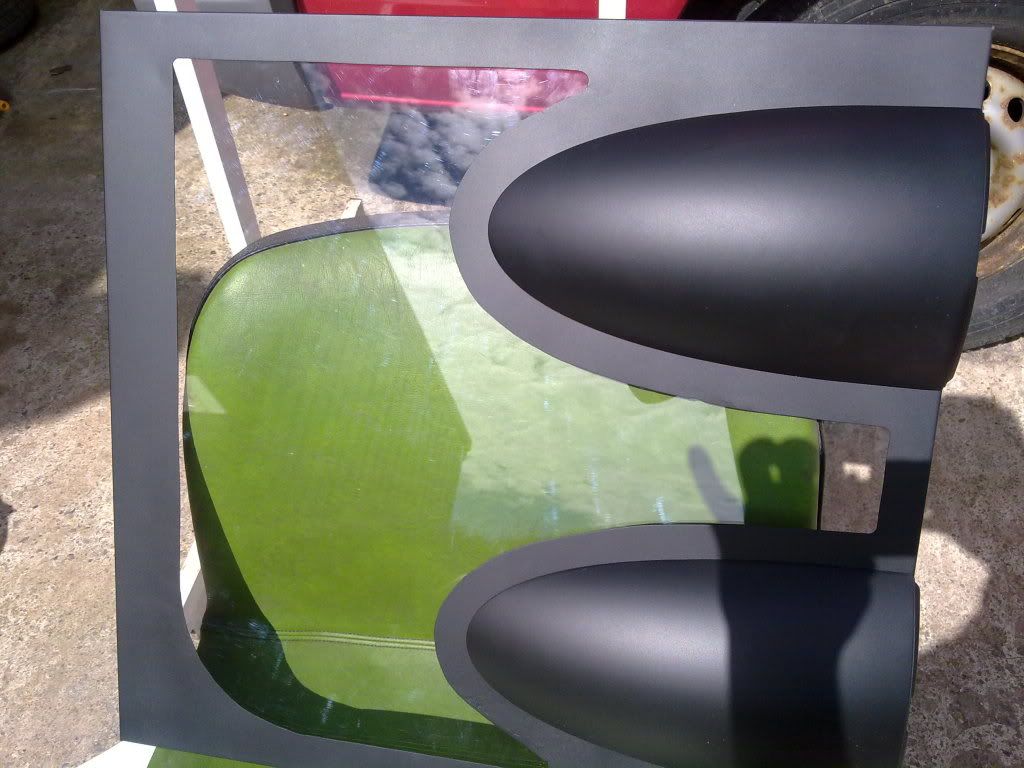
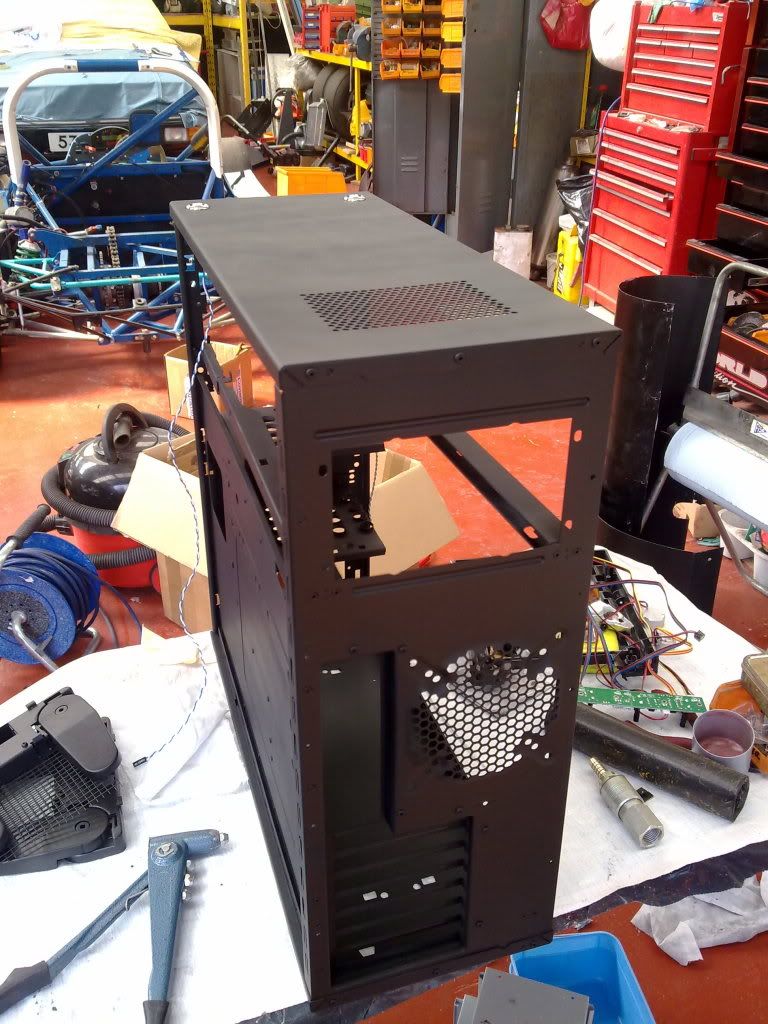
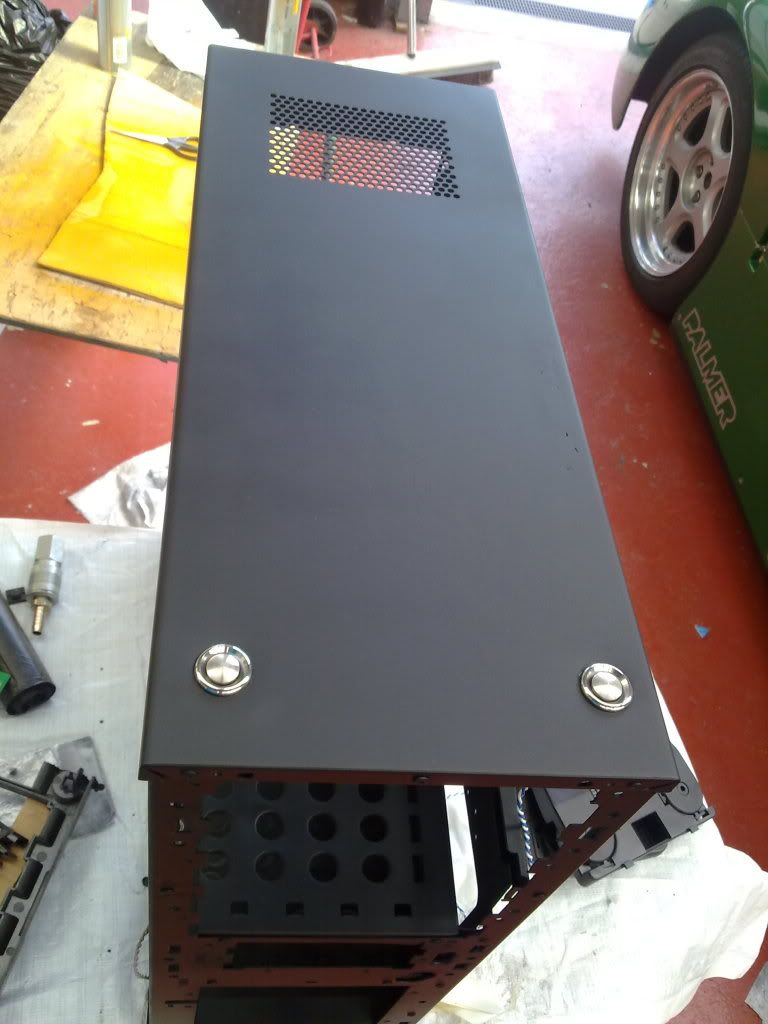
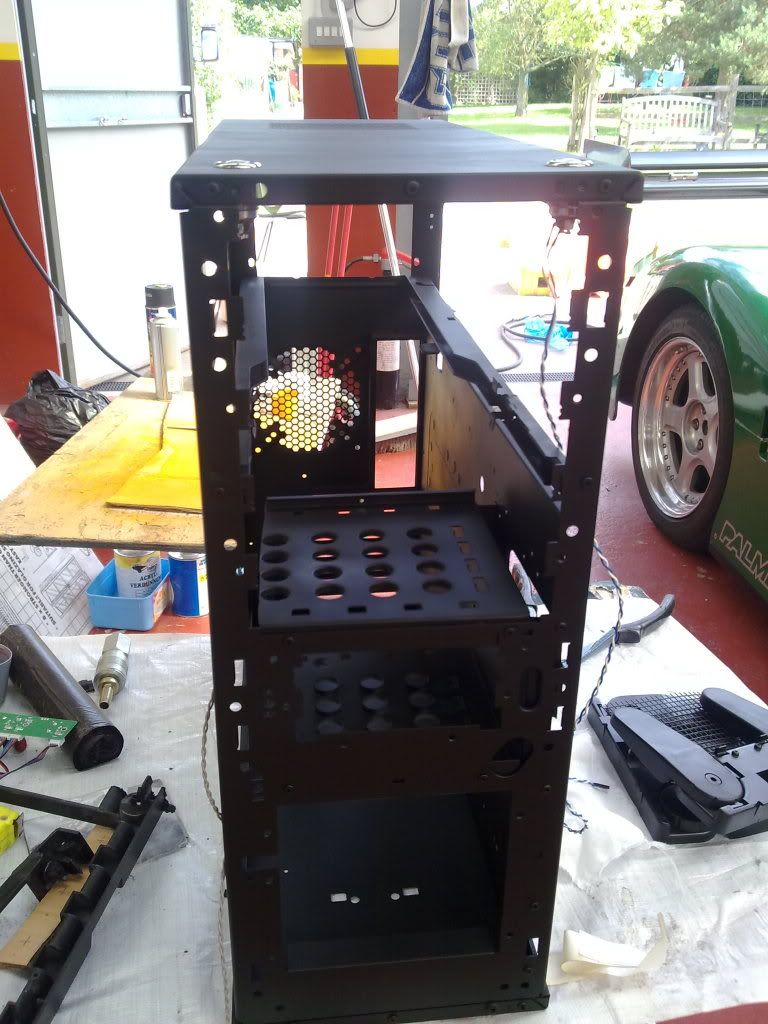
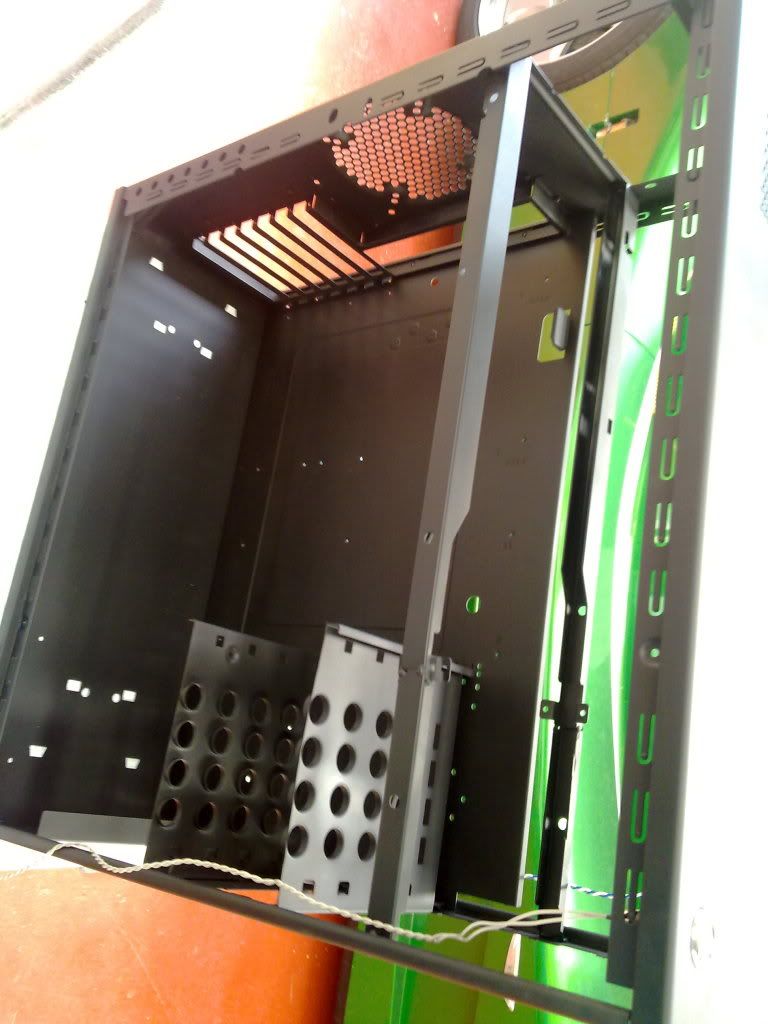
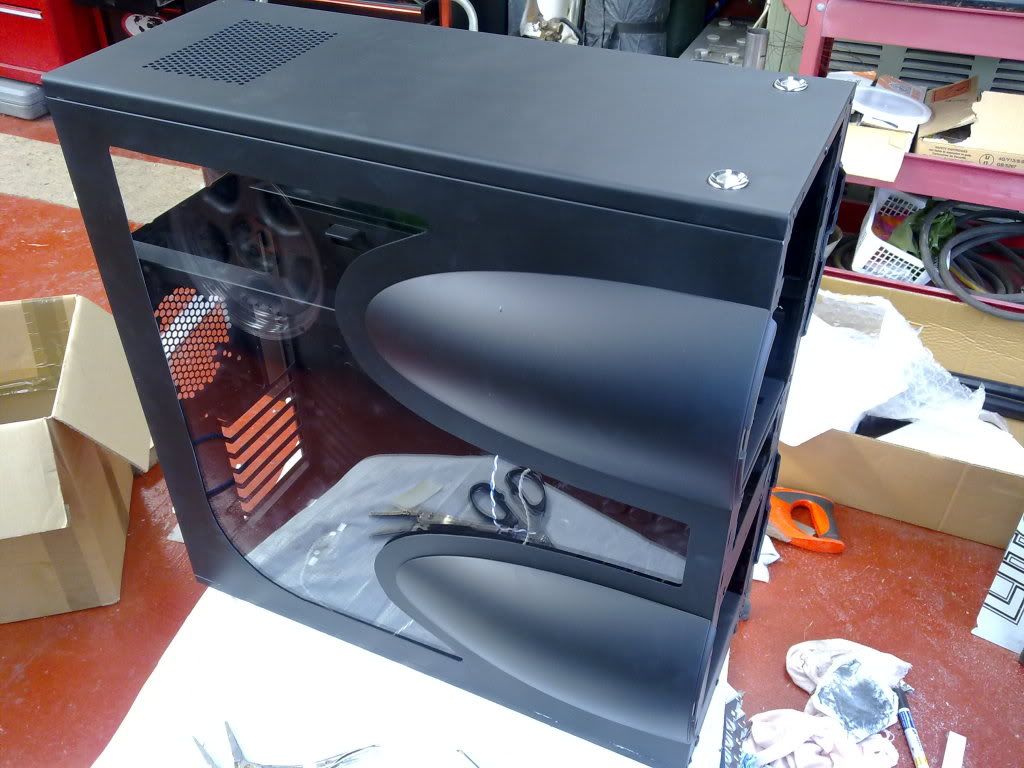
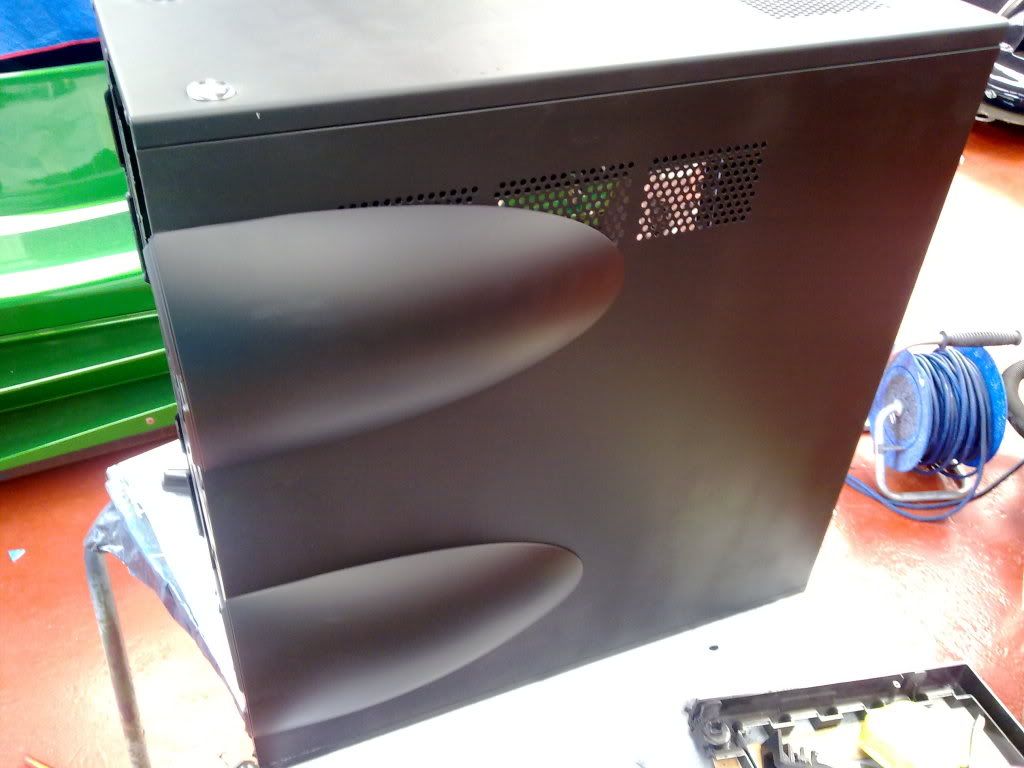
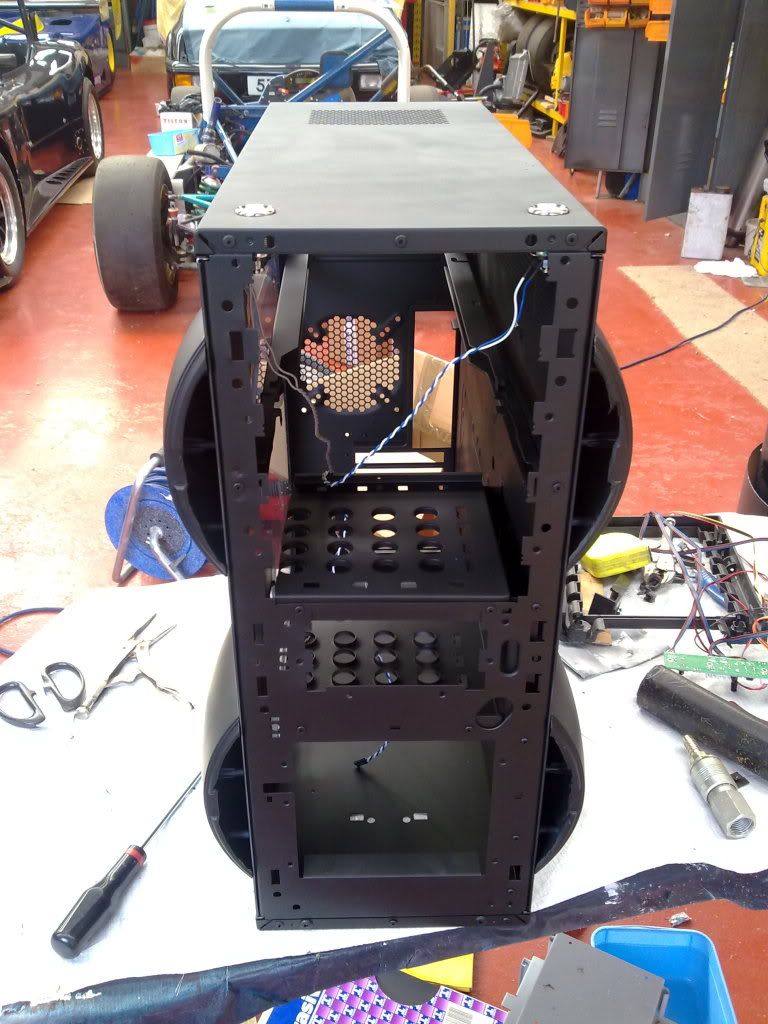
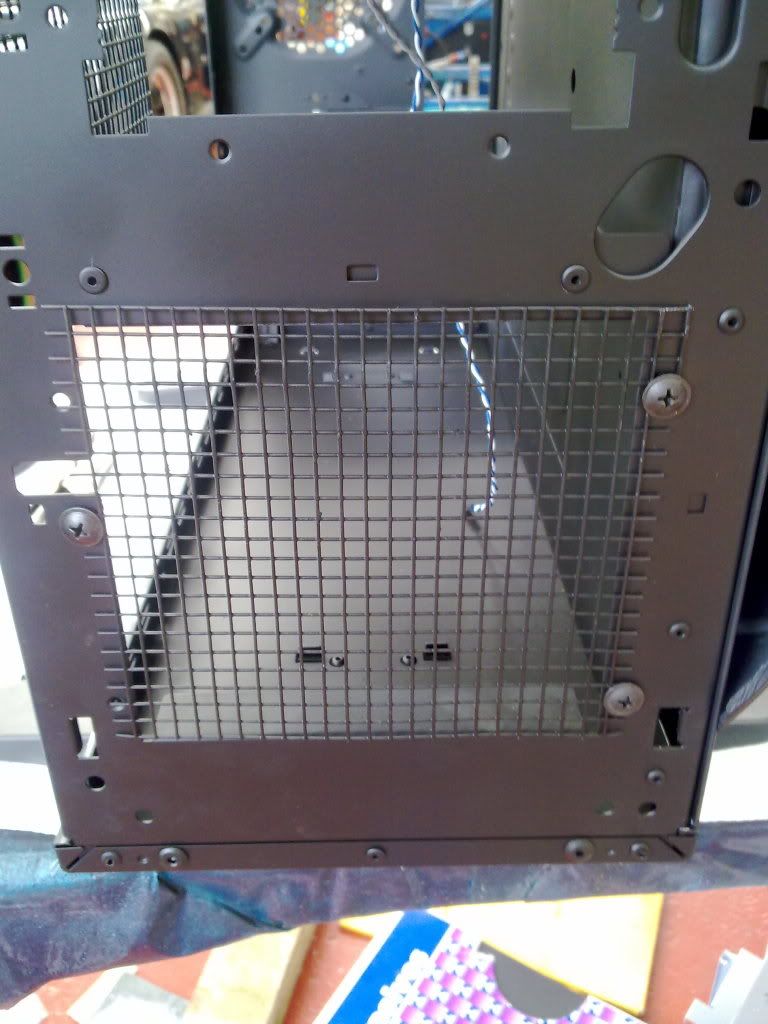
Ok, finished most of the painting, I've used some primer filler on the front panel, which I'm waiting to dry and sand back before painting that. I've started putting things back together, put new switches in. Just re-cut the plastic window. Need to put feet back on soon, I also riveted the top panel back on.

22082010045.jpg


22082010046.jpg


22082010047.jpg


22082010048.jpg


22082010049.jpg


22082010050.jpg


Theres a few bits on the paint which isn't perfect, a couple scratches and a couple of tiny holes on top where i filled it in, but overall I'm pleased, it was quite a rushed job, cus of citylink, had less than a week to get it ready :P
 
Heres some more pictures, Just tried to fit it all together, and had a problem with the acrylic being too big, had to cut that back a couple of times in order to get it to fit.

22082010051.jpg


22082010052.jpg


22082010053.jpg
 
Back
Top Bottom