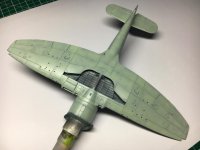
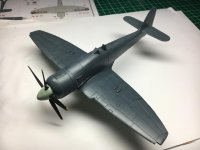
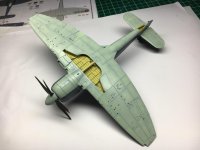
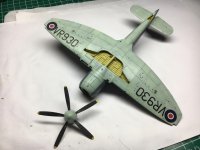
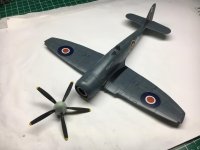
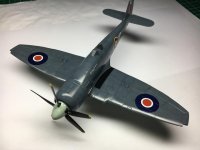
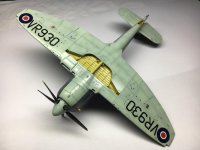
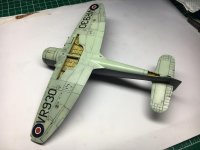
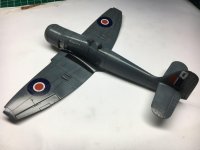
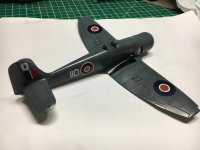
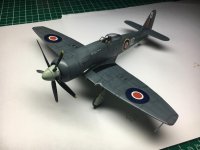
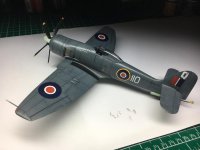
The Hawker Sea Fury is a British fighter aircraft designed and manufactured by Hawker Aircraft. It was the last propeller-driven fighter to serve with the Royal Navy, and one of the fastest production single reciprocating engine aircraft ever built. Developed during the Second World War, the Sea Fury entered service two years after the war ended. It proved to be a popular aircraft with a number of overseas militaries, and was used during the Korean War in the early 1950s, as well as against the 1961 Bay of Pigs Invasion of Cuba.
The Sea Fury's development was formally initiated in 1943 in response to a wartime requirement of the RAF, thus the aircraft was initially named Fury. As the Second World War drew to a close, the RAF cancelled their order for the aircraft; however, the Royal Navy saw the type as a suitable carrier aircraft to replace a range of increasingly obsolete or poorly suited aircraft being operated by the Fleet Air Arm. Development of the Sea Fury proceeded, and the type began entering operational service in 1947.
The Sea Fury has many design similarities to Hawker's preceding Tempest fighter, having originated from a requirement for a "Light Tempest Fighter"; both the Sea Fury's wings and fuselage originate from the Tempest but were significantly modified. Production Sea Furies were fitted with the powerful Bristol Centaurus engine, and armed with four wing-mounted Hispano V cannons. While originally developed as a pure aerial fighter aircraft, the definitive Sea Fury FB 11 was a fighter-bomber, the design having been found suitable for this mission as well.
The Sea Fury attracted international orders as both a carrier and land-based aircraft. It was operated by countries including Australia, Burma, Canada, Cuba, Egypt, West Germany, Iraq, and Pakistan. The type acquitted itself well in the Korean War, fighting effectively even against the MiG-15 jet fighter.[1] Although the Sea Fury was retired by the majority of its military operators in the late 1950s in favour of jet-propelled aircraft, a considerable number of aircraft saw subsequent use in the civil sector, and several remain airworthy in the 21st century as heritage and racing aircraft.
https://en.wikipedia.org/wiki/Hawker_Sea_Fury


