Arcade console cabinet build - build log.

Associate
Joined
31 Jul 2012
Posts
1,016
Location
Cheshire
Arcade console cabinet build log - Project Raptor

I figured this fits into the 'All matters relating to consoles and their games' bracket so I thought I'd post this here; it may give someone some ideas if nothing else. I'm logging it on a couple of other forums as well. If this is not the correct place, please move this thread as appropriate.

So I've already built a Vewlix arcade cabinet for XBOX fighting games ...

IMG_0777.jpg


... and my son wanted me to build him a machine too. It will be modular in the sense that it will have a base unit and interchangeable control panels. The control panel section can be un-docked and moved out of the way when not in use.

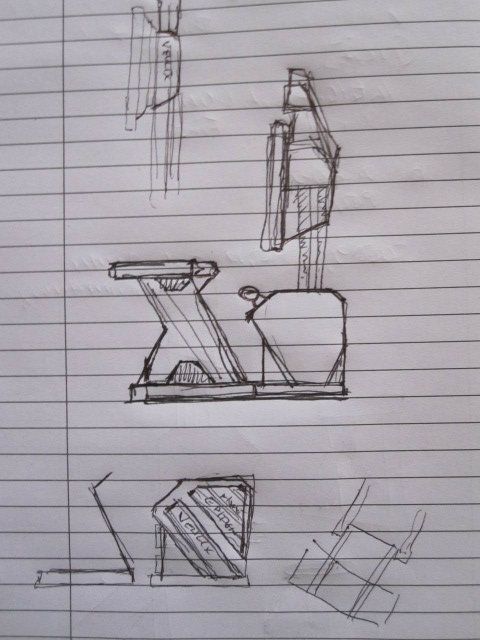
A couple of really bad sketches of what the base unit and control panel profiles will look like:

IMG_1004.jpg


XBOXArcade35.jpg


I need to work on the design of a ‘shroud’ and marquee which will attach to the back of the display. I have some ideas in keeping with the overall design.

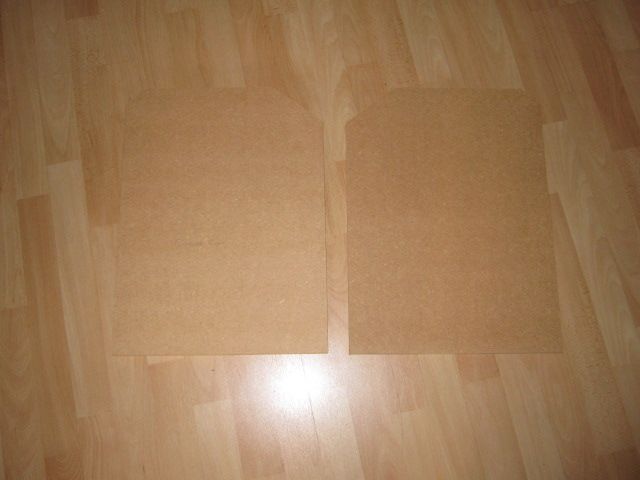
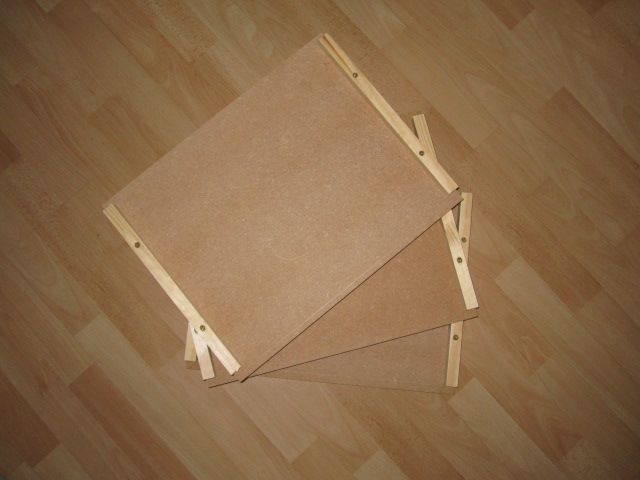
Internal Shelves:
XBOXArcade2.jpg


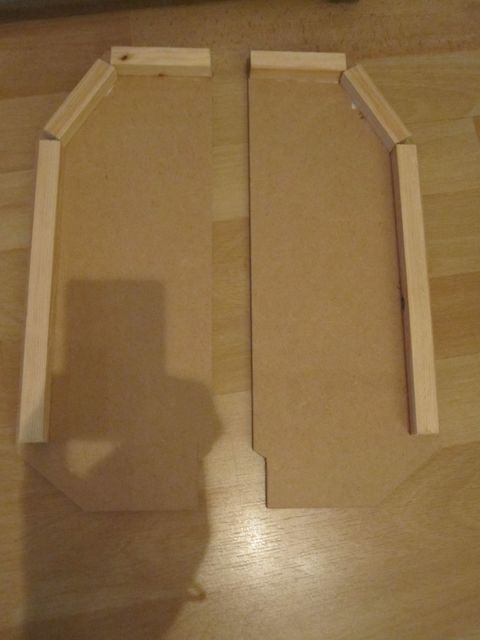
Sides:

XBOXArcade3.jpg


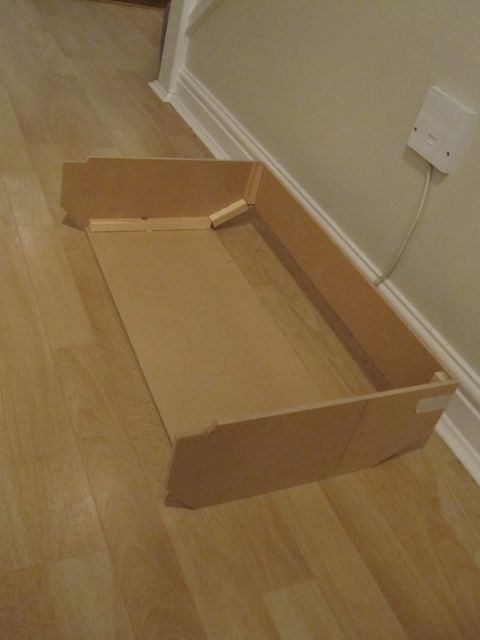
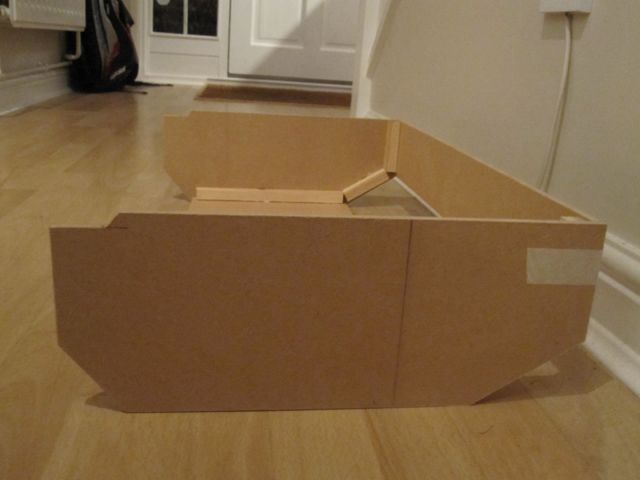
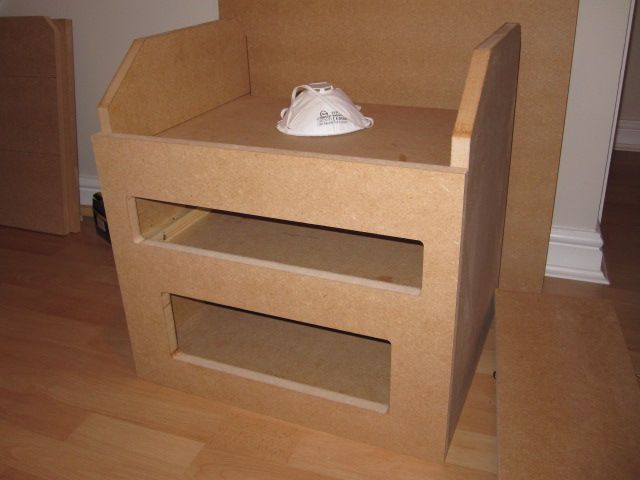
Basic shape of the base assembled (bottom section will house a console, top section the PC components and speakers):
XBOXArcade9.jpg


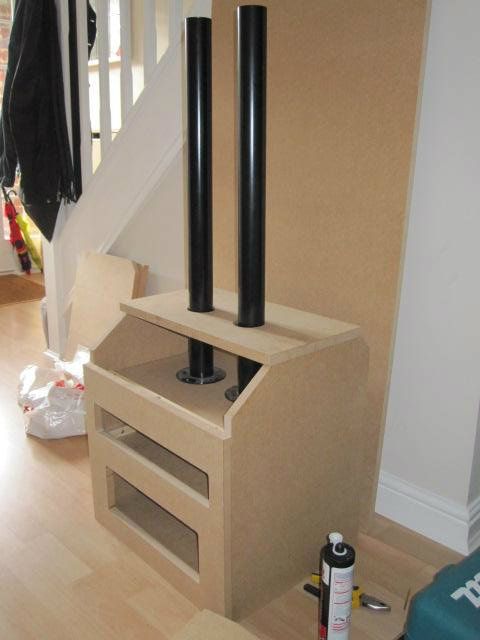
Monitor legs bolted on and the first top piece cut:
XBOXArcade11-1.jpg


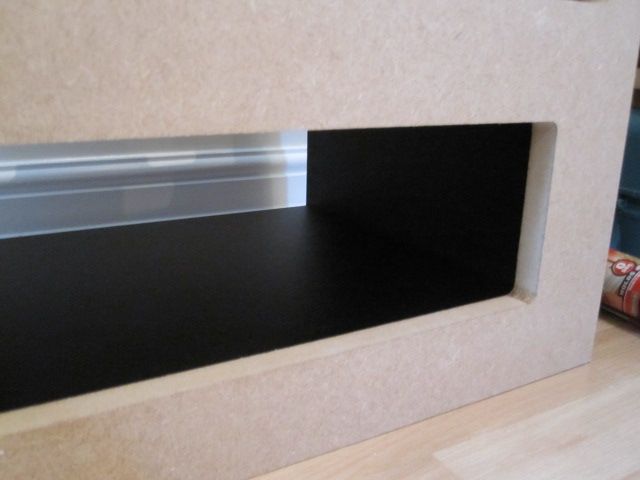
Interior of the base unit skinned (textured vinyl):
XBOXArcade15.jpg


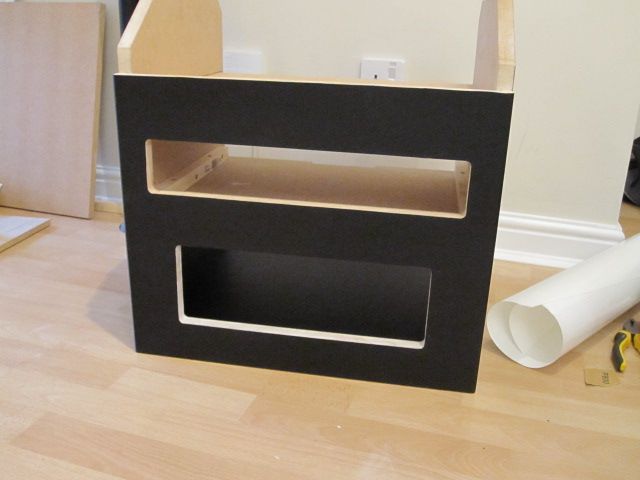
Exterior skinned:

XBOXArcade16.jpg


Top pieces cut:

XBOXArcade20.jpg


Shaped sides added and legs cut:

XBOXArcade29.jpg


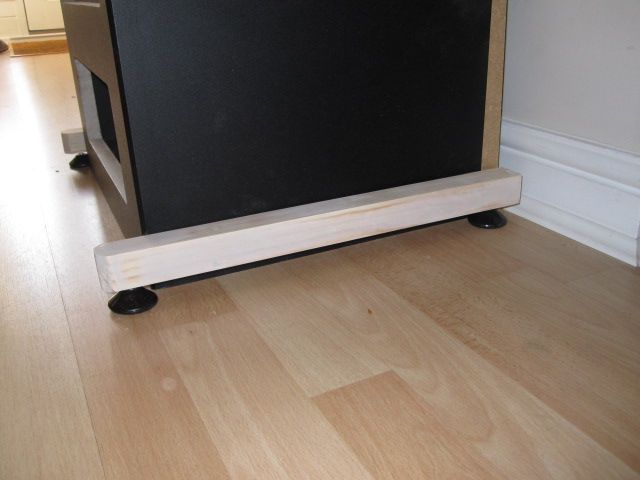
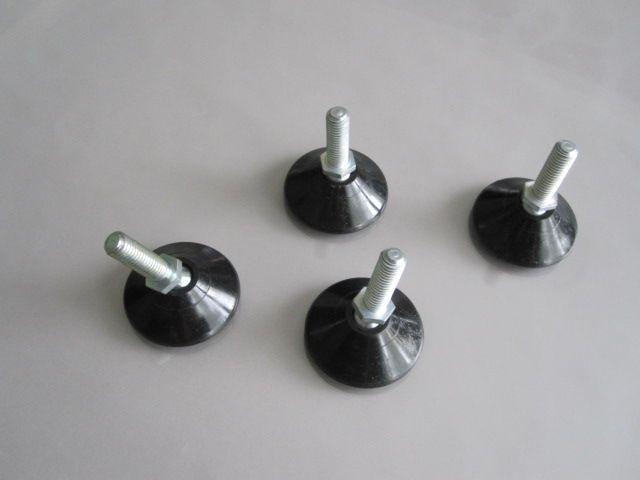
The legs will sit on some adjustable feet:
XBOXArcade19.jpg


Legs not yet attached:

XBOXArcade46.jpg


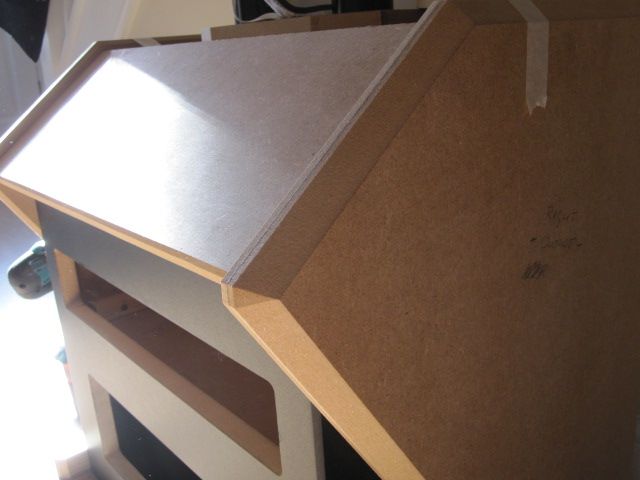
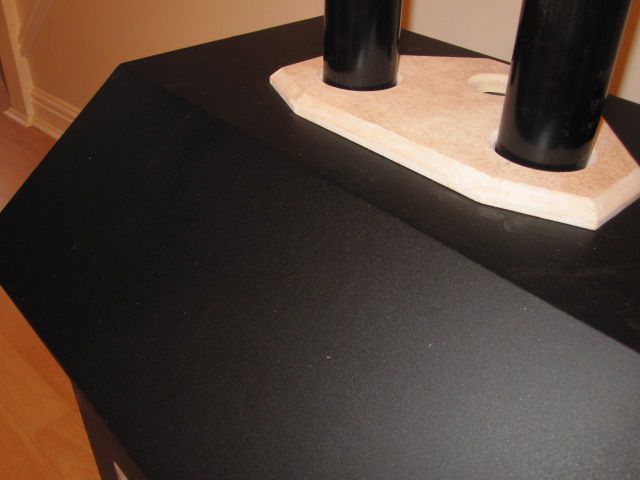
Top retaining section cut and shaped:
XBOXArcade39.jpg


XBOXArcade41.jpg


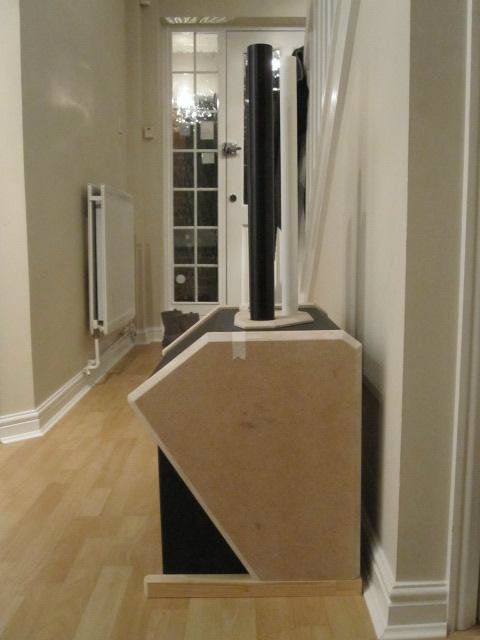
The white tube will act as a conduit to pass the cables through.
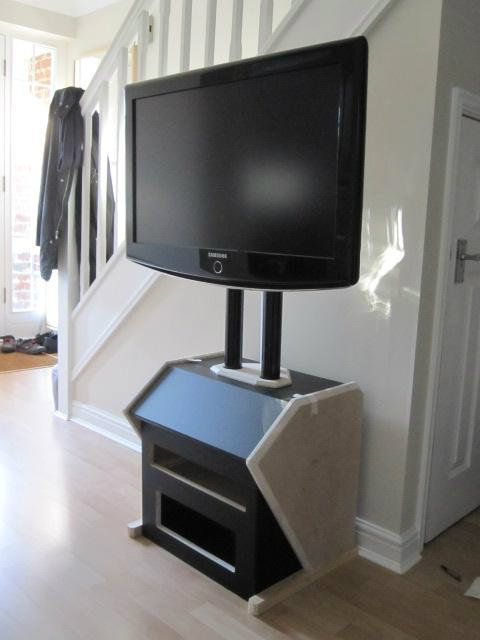
XBOXArcade44.jpg


A new display will be purchased rather than using the current one.

Retaining piece painted and varnished:
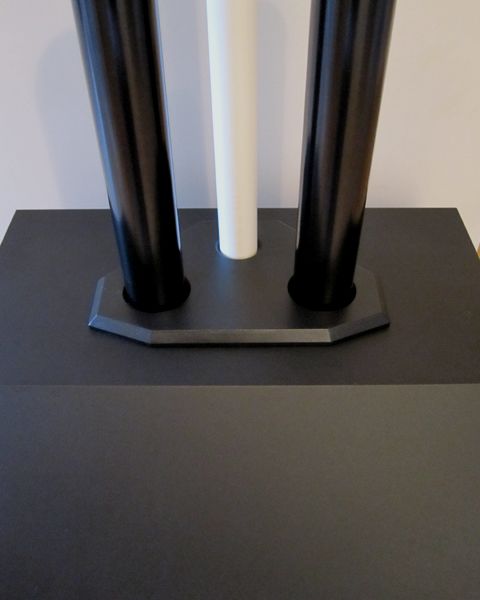
XBOXArcade52.jpg


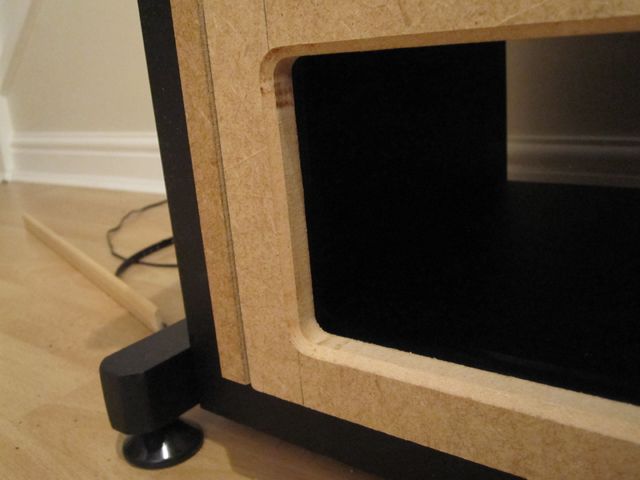
T-molding applied to the lower aperture where the XBOX will sit:
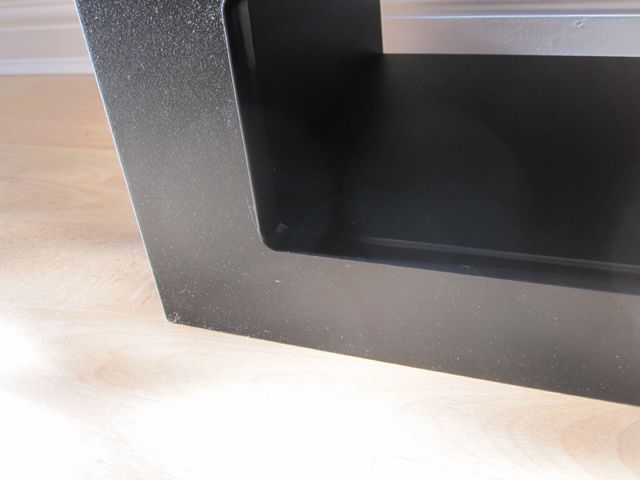
XBOXArcade56.jpg


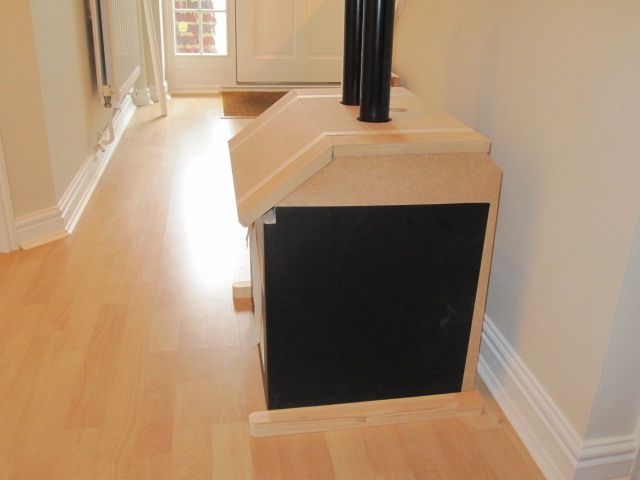
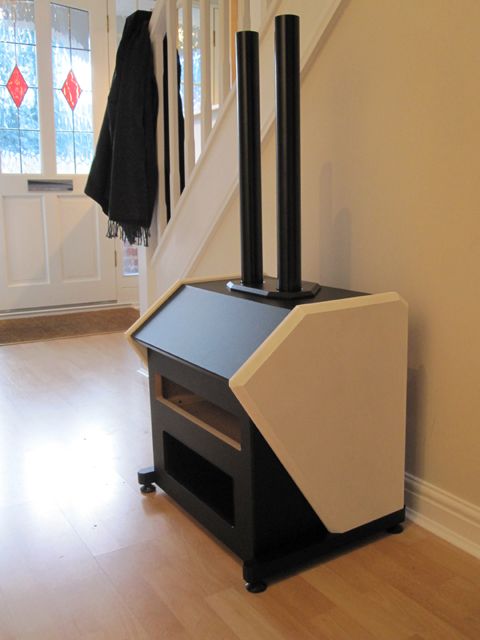
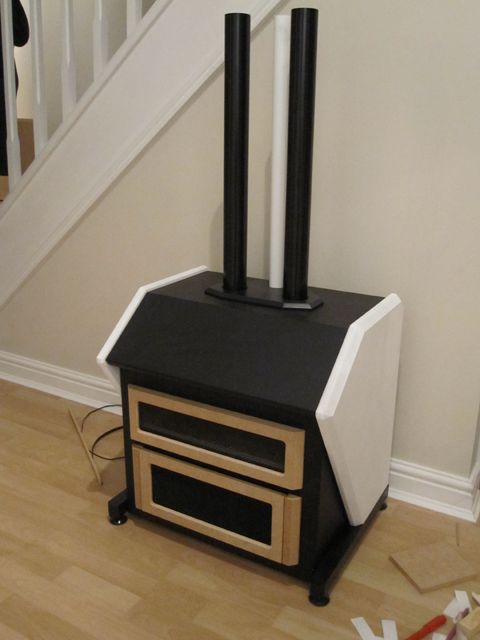
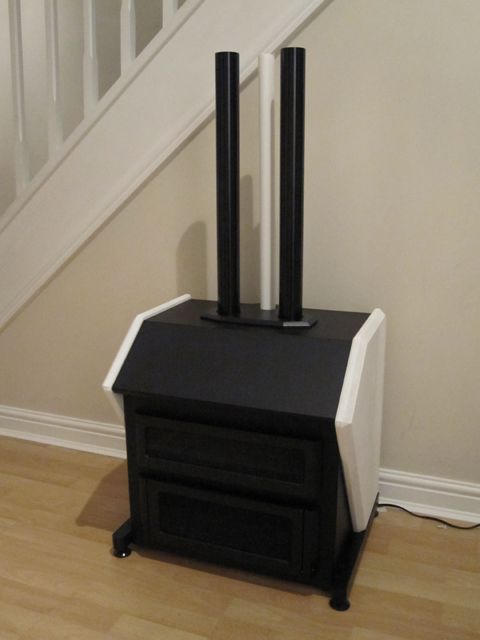
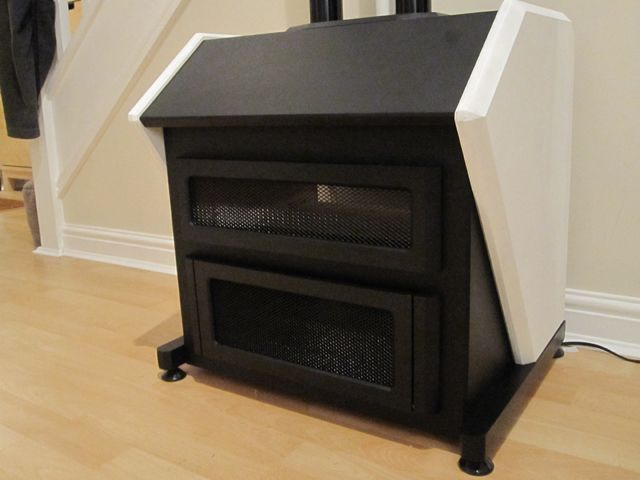
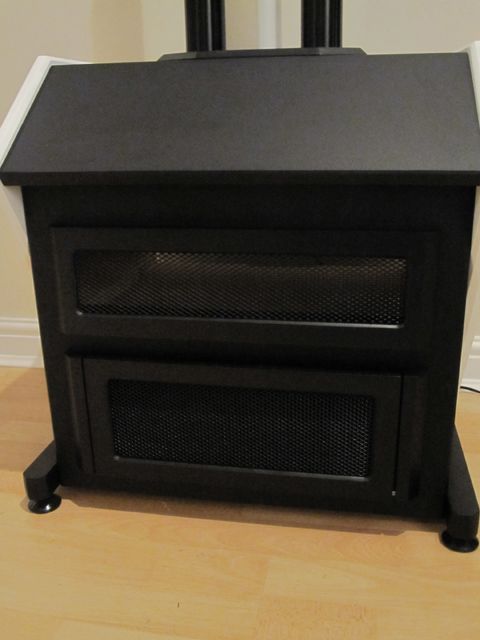
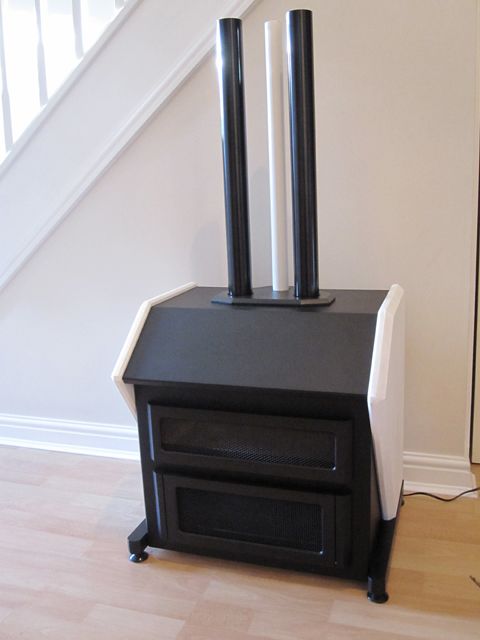
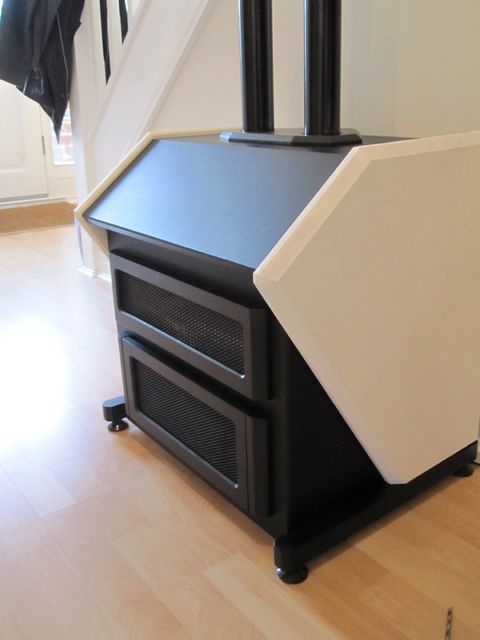
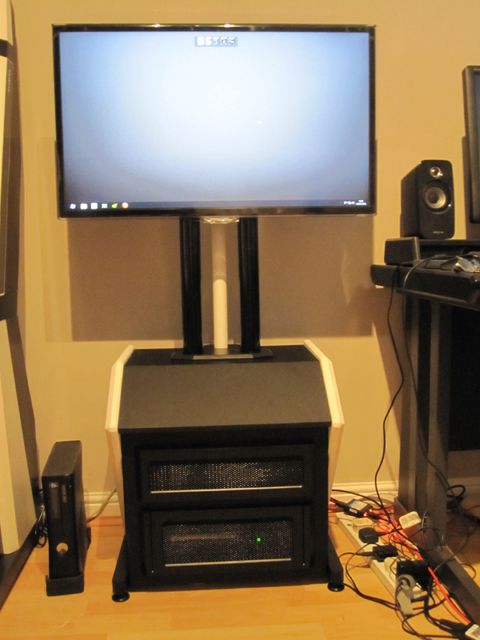
Current state with the legs attached (sides are just primed at this point):
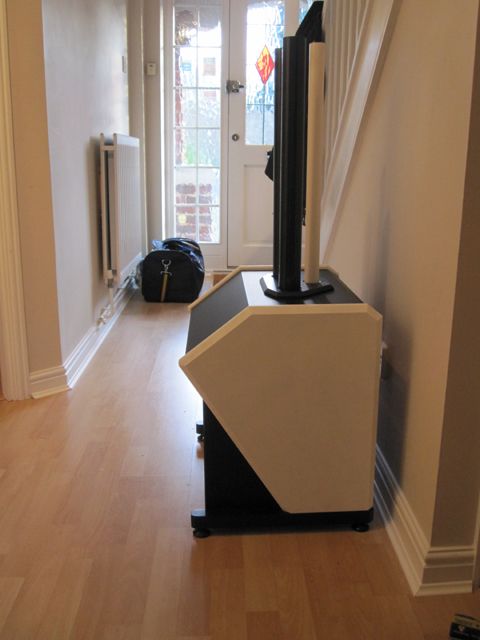
XBOXArcade58.jpg


XBOXArcade59.jpg


XBOXArcade60.jpg


I'm currently working on this at the weekends only. Next activities will be to spray the side pieces, design/add some artwork to the sides and then start working on the control panel. Once I have the new display, I will work on the shroud to fit on the back of it which will hide the tubes.
 
Last edited:
I had though about something like that but this will also have a control panel (arcade sticks etc) made for it. I wanted to have this match the Vewlix and my gaming desk in my games room. I'm also addicted to building stuff :)
 
Thanks for the comments people. I didn't think I had any skills until I took the plunge. The tool that's essential for this type of thing is a router. If you have access to one of those, give it a go!
 
Some more progress on this today if anyone's interested. Will be thinking about the control panel soon ...

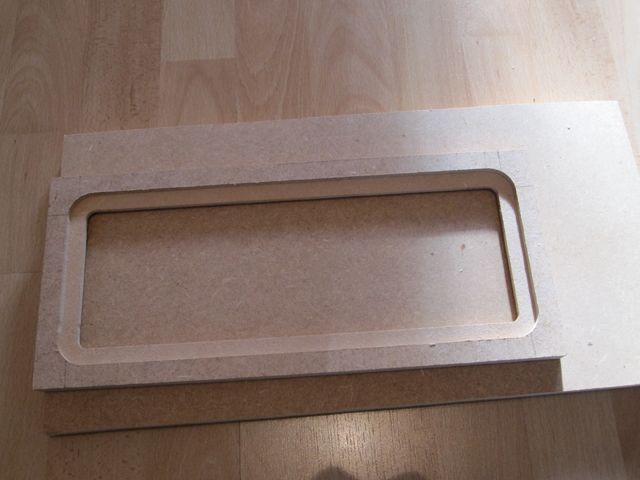
Now comes the fiddly part, making the doors for the cabinet apertures.....

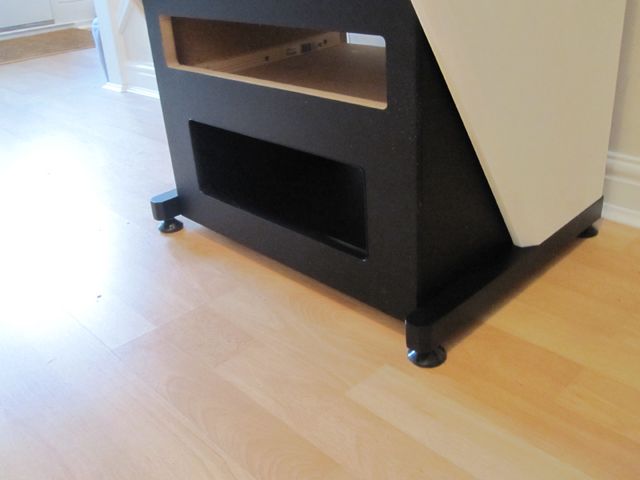
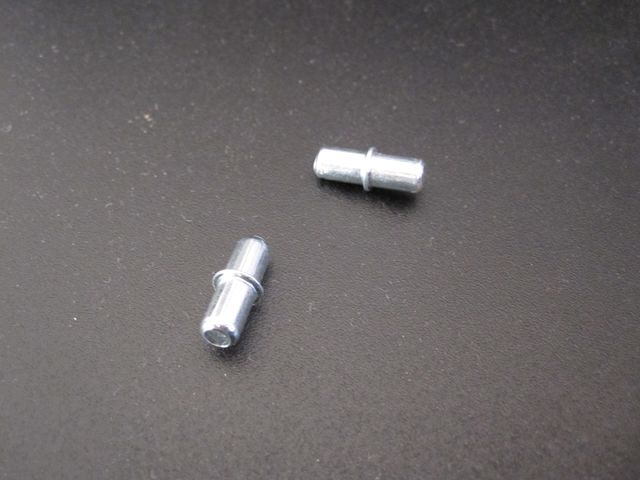
I didn't want to use pin hinges so I had to figure out another method. I had an idea to use some Ikea shelf support pins and use these as a 'swivel hinge' ... that's my term, there's probably a real one.

Made a mock-up to test the design.

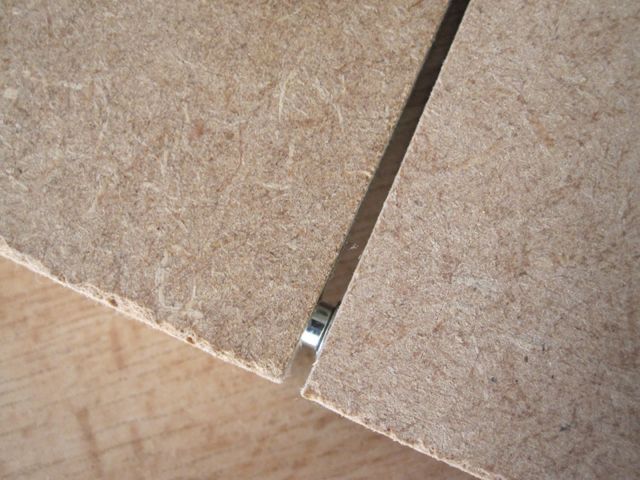
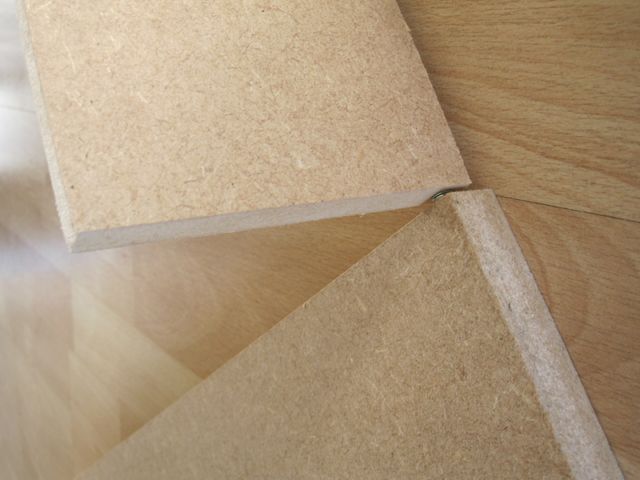
The door/flap is made of 12mm MDF. The side pieces 18mm. This allows the flap to rotate relative to the side piece whilst providing clearance. Hopefully the pictures will make more sense ....

Ikea pins:

XBOXArcade68.jpg


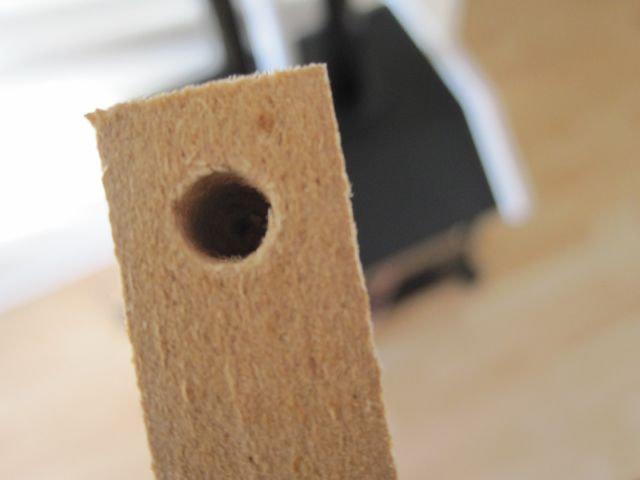
Hole drilled into the side of the flap:

XBOXArcade64.jpg


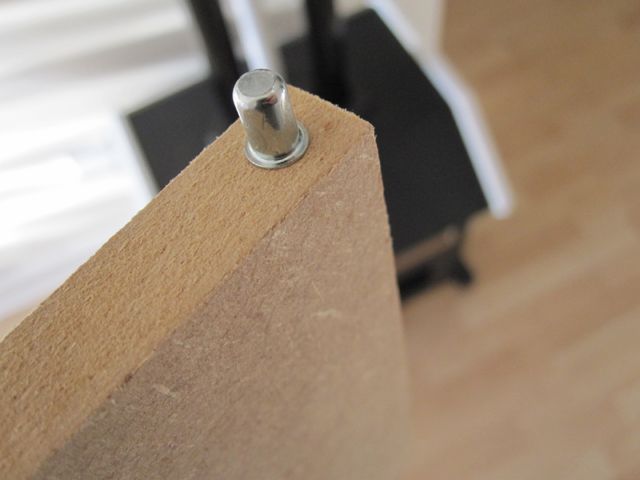
Pin inserted into the hole:

XBOXArcade65.jpg


Hinge in place (depth of hole in the side piece is slightly shallower to allow the flap to clear the side piece when opening/ closing):

XBOXArcade66.jpg


XBOXArcade67.jpg


The door/flap will have magnetic strip at the top to attract to another strip on the cabinet to ensure that it remains shut.

Making sure it opens!

XBOXArcade70.jpg


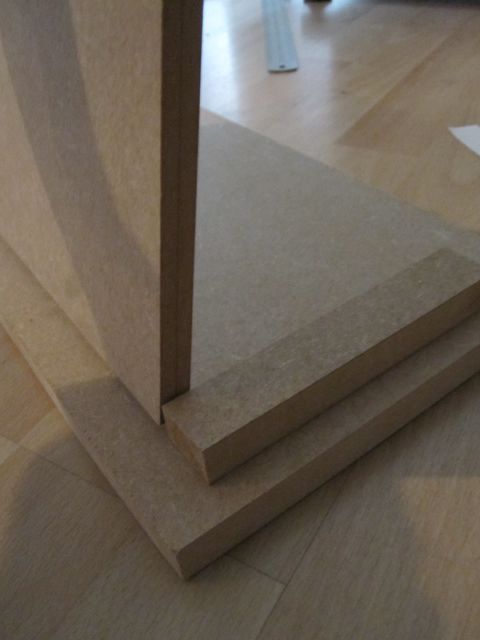
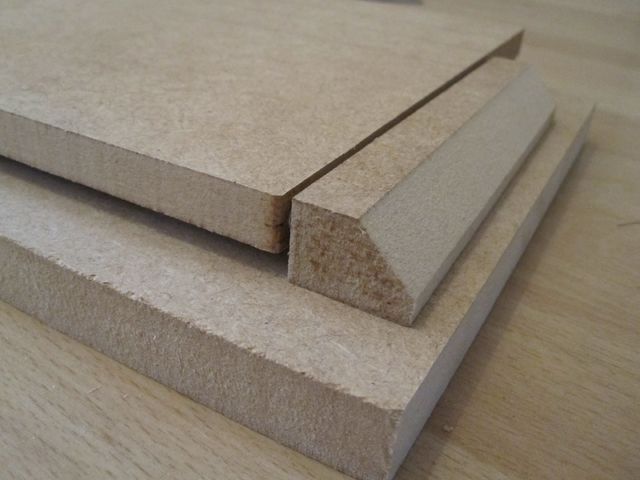
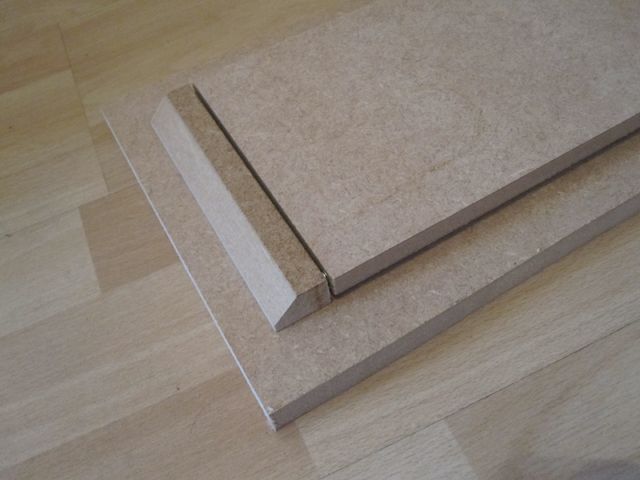
Side pieces beveled:

XBOXArcade72.jpg


Fit looks ok:

XBOXArcade69.jpg


This side pieces will be screwed onto the left and right sides of the lower aperture.

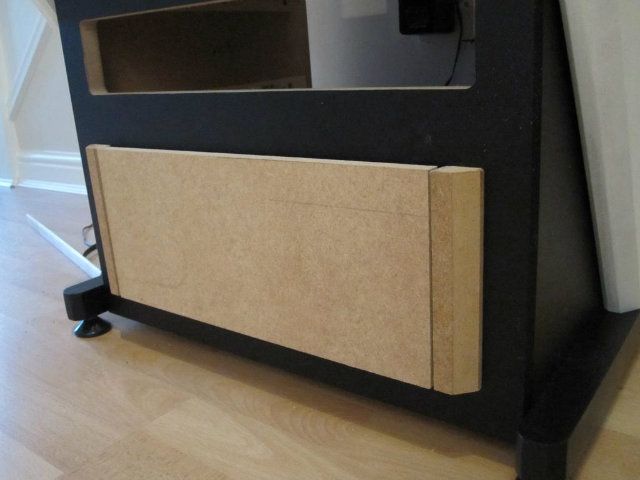
Temporarily attached to the front:

XBOXArcade74.jpg


XBOXArcade76.jpg


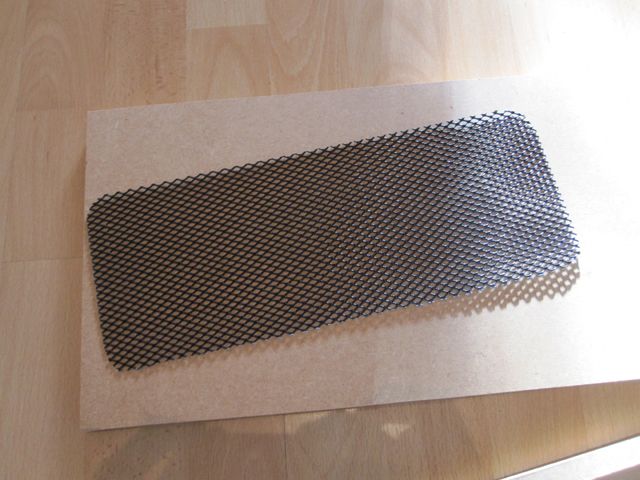
Will concentrate on the mesh insert tomorrow.

XBOXArcade77.jpg


XBOXArcade78.jpg


Very fiddly to do with my meager skills.
 
Thanks. Good question re games. It's for anything stick based (shmups, arcade classics etc) and also pinball (PinballFX2 on XBOX until it comes out for the PC).

It's primarily being built for my son and it will also have a control panel section made for it. If you take a look at the second of the sketches, you will see the profile of the control module I have in mind. This is a sit-down rather than stand up panel - like the Vewlix. The top compartment will likely house a PC as some point.

It's in the hall at the moment as that's where all my projects tend to get built before being moved into my games room.
 
Thanks for the positive comments - I'm one lucky guy as my wife actually encourages me to build these things (providing I don't make too much mess). It was also agreed I could have the dining room for all my stuff as we always eat in the kitchen anyway - it'll be interesting to hear what people say when we come to sell the house.

If I had a CNC and was any good at 3D modelling, I would give making kits of these things a go.
 
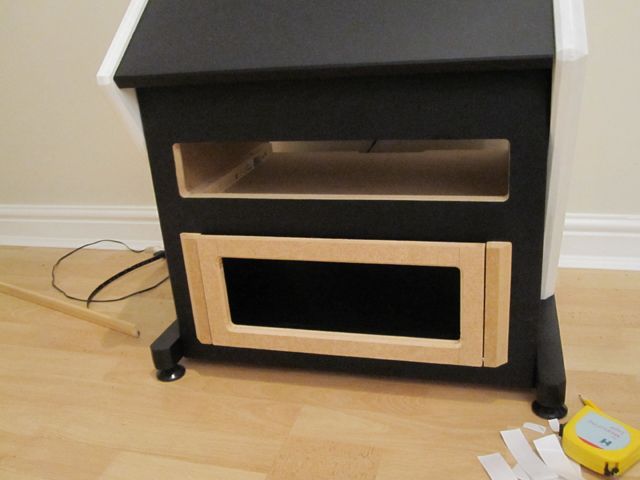
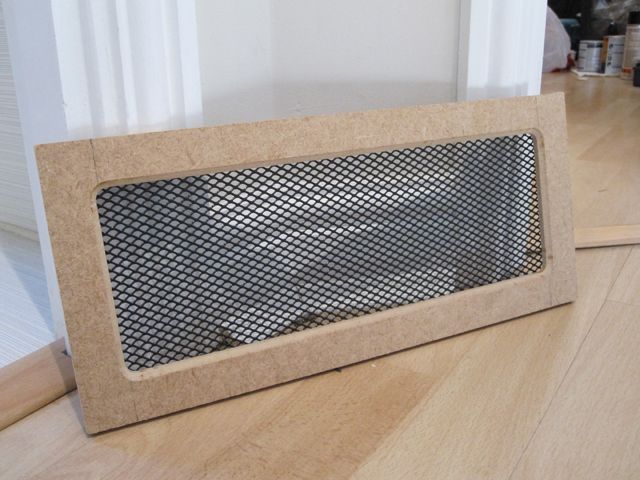
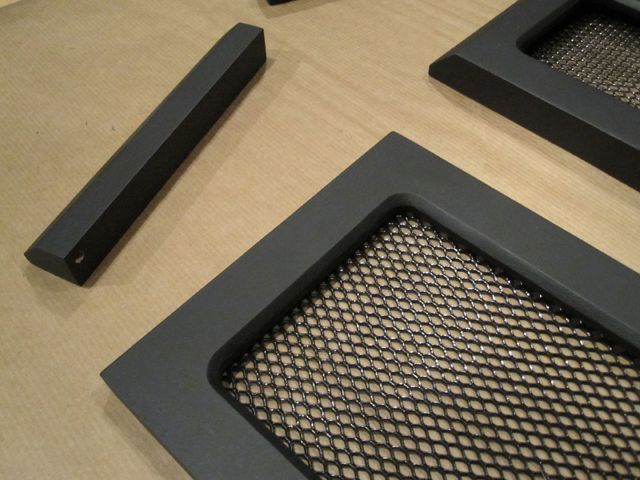
Managed to get the wire mesh and the inset for the door sorted.

XBOXArcade79.jpg


XBOXArcade80.jpg


XBOXArcade81.jpg


Completed the cover for the top section (double sided tape holding it in place atm):

XBOXArcade84.jpg


XBOXArcade85.jpg


That's it for the weekend. Thought these would take some time as they're the fiddliest parts (for now ;) )
 
Thanks people, enjoying building this.

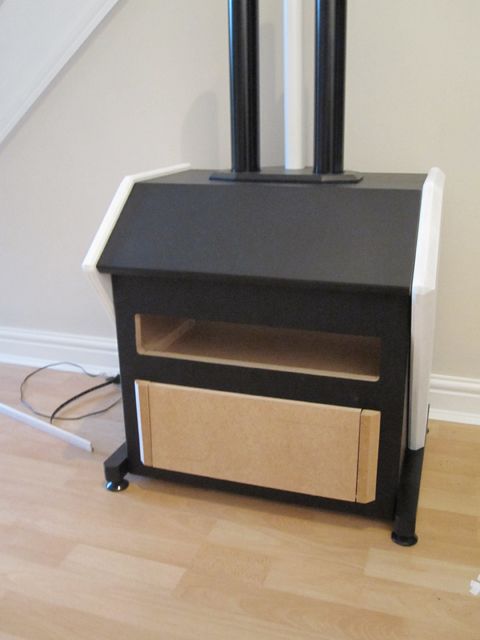
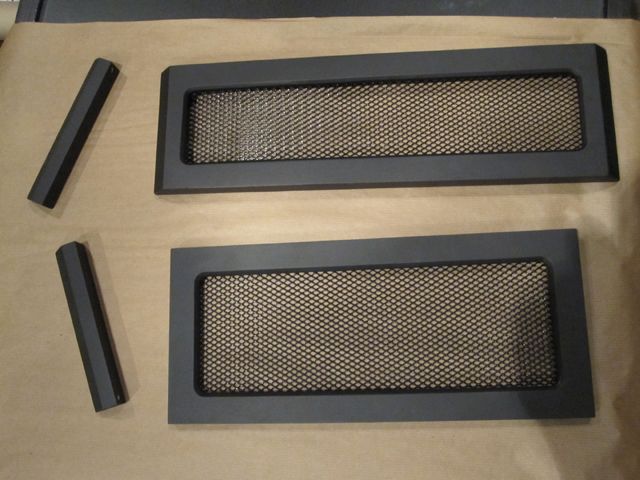
Managed to find some time to fill, prime and apply the base coat to the doors.....

XBOXArcade86_zps4a4d454b.jpg


XBOXArcade87_zps321fd6e9.jpg


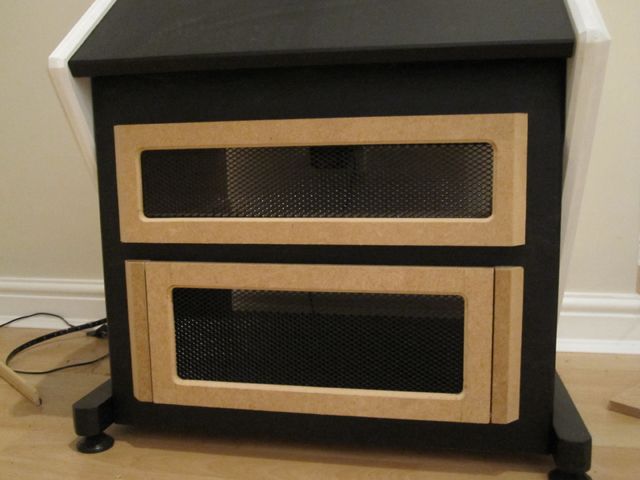
... and then completed the finish and fitted them to the front of the cab. The mesh is held in with hot glue. I need to tidy up the inside of the lower door a little. The photos are a bit rubbish unfortunately.

XBOXArcade89_zpsf9a2ffa4.jpg


XBOXArcade90_zpsa9c36309.jpg


XBOXArcade88_zps82df0083.jpg


The next job will be to fit the magnetic strip I ordered to the top of the door and the cab.

Edit:

A couple of better pics now there's some daylight around.

XBOXArcade92_zps5c068e44.jpg


XBOXArcade93_zpsca7eb947.jpg
 
Last edited:
Thanks BuZ. Hoping to get this part of it complete in the next couple of weeks and then I can start on the Control Panel.

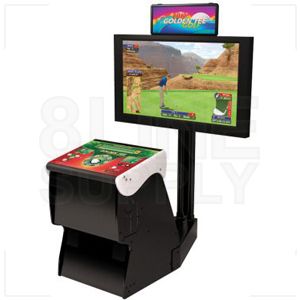
Started on the marquee. I wanted something similar to the Golden Tee machine but a bit sleeker (less height) and chunkier at the back - I'm going to be paying particular attention to the profile of the machine due to the place it will be located (visible sideways through an open door). The width is 40cm and the height 10cm.

The Golden Tee has something a little too big I think.

XBOXArcade98_zpsdecff9ff.jpg


I think the marquee will give a better balance to the cabinet and make it feel much more like a real machine.

XBOXArcade99_zpsfad99447.jpg


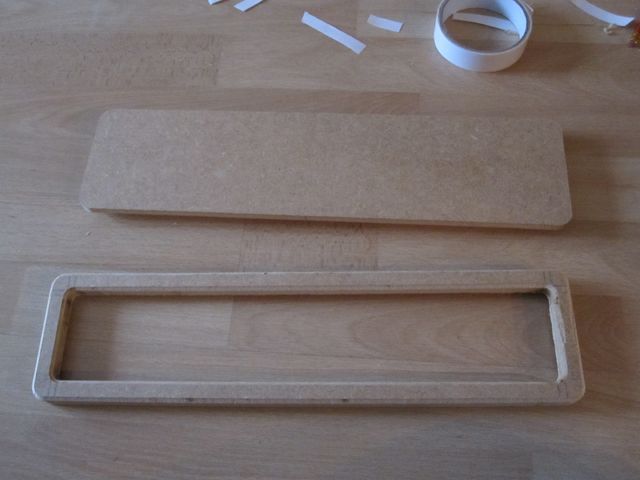
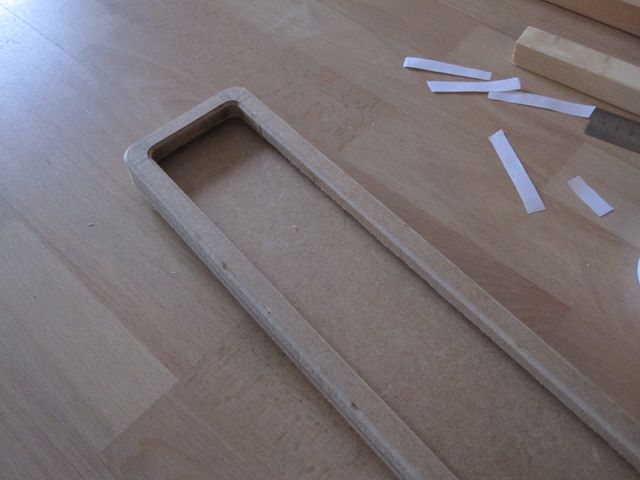
I had a little mishap with the front frame of the I'm making - the MDF split (just a thin 'slice' at the top - didn't go through) and messed up the cuts. Nothing a bit of car body filler cant rectify though. You can see it on the right of the picture.

XBOXArcade103_zps88f91ab1.jpg


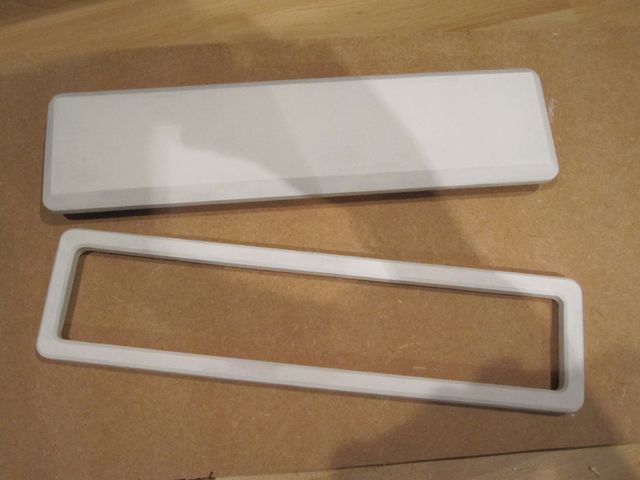
The marquee comes in 2 parts - the front frame and the back. The front will be finished in white and the back in black.

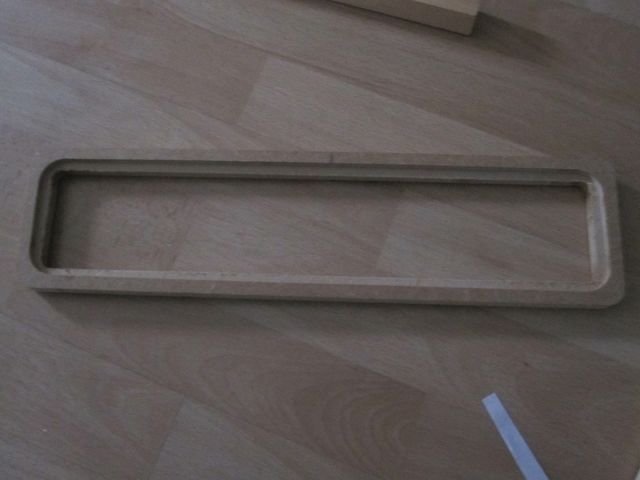
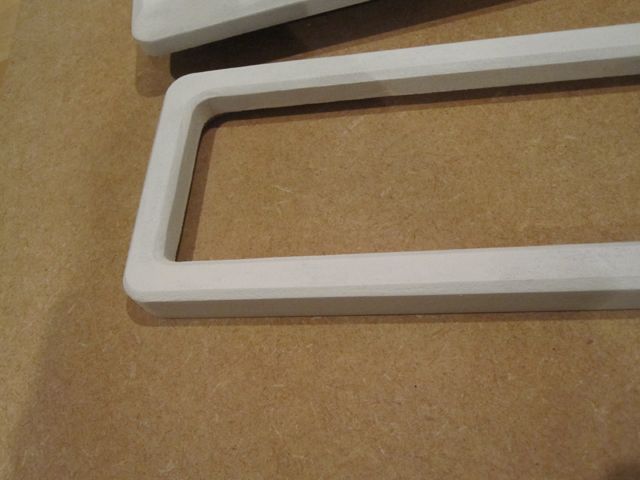
The back of the frame - recessed to allow for some acrylic and artwork:

XBOXArcade100_zps97594702.jpg


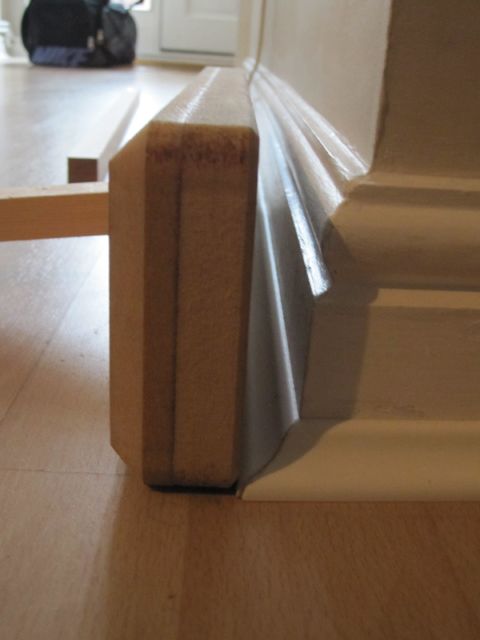
Basic shape:

XBOXArcade101_zpsb4e88ca6.jpg


Profile:

XBOXArcade102_zpsda0793a5.jpg
 
The display is ordered and should arrive next Monday .....

More progress on the marquee.

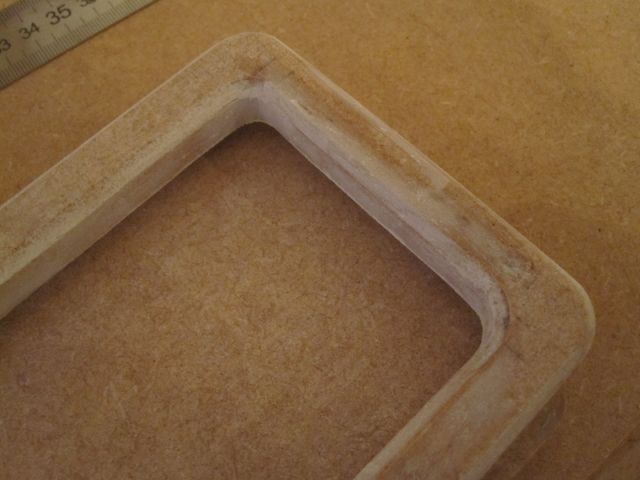
Rectified the mistake with some car body filler and applied some to the rough, routed edges:

XBOXArcade104_zps19e06c0a.jpg


2 coats of primer on the front and back pieces:

XBOXArcade105_zps326c2bfc.jpg


XBOXArcade106_zpsc95bf575.jpg


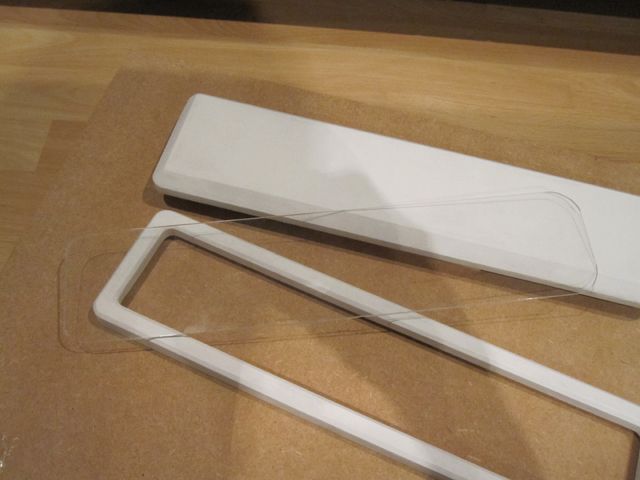
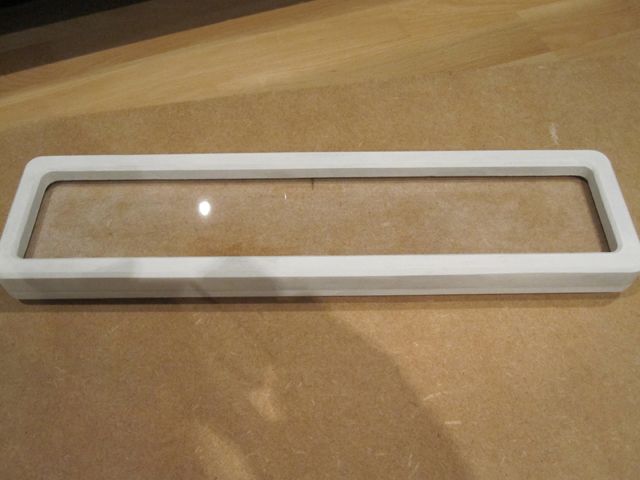
Cut the acrylic:

XBOXArcade107_zpse0c98245.jpg


XBOXArcade108_zps3c52388b.jpg


And designed the artwork (may tweak this a little):

RaptorMarqueeSmall_zpsd14a82e0.jpg


I will be spraying the front piece white and the back black.
 
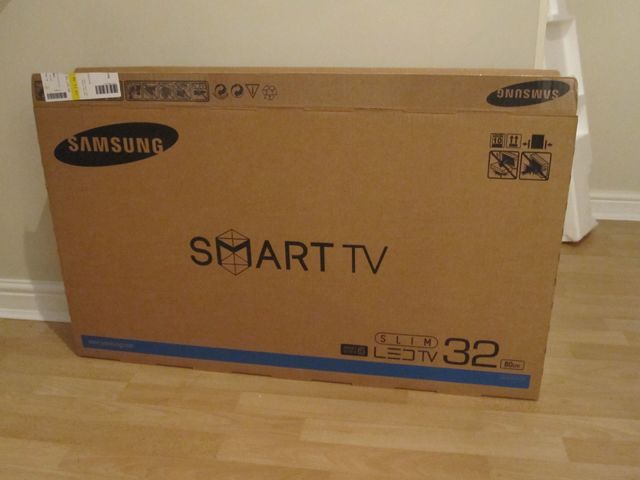
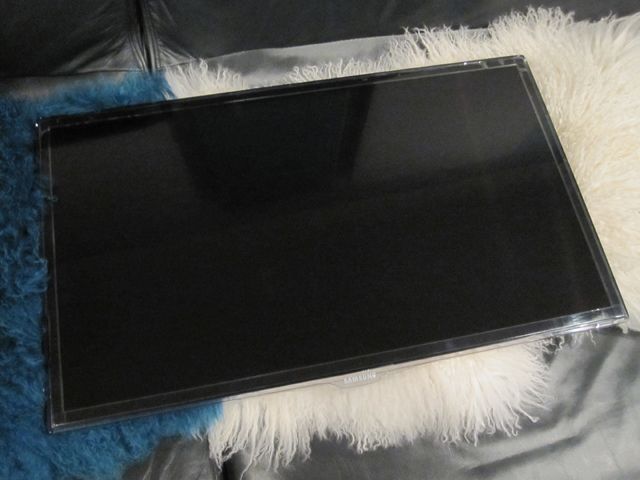
New display has arrived :)

XBOXArcade110_zps443e4fa5.jpg


Light and very slim with a nice thin bezel:

XBOXArcade111_zpscd725ac5.jpg


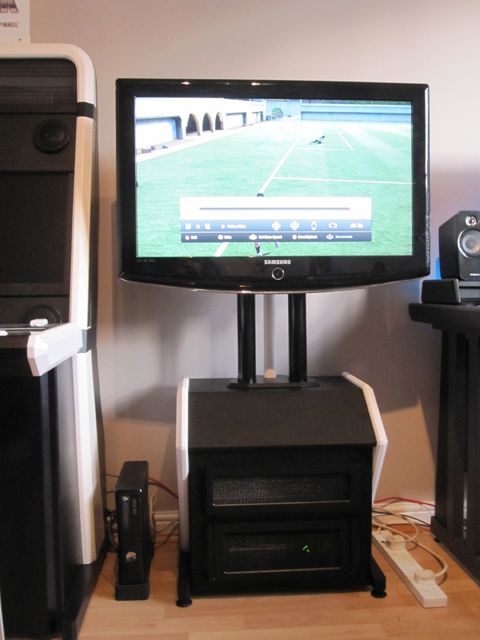
... compared to the current one:

XBOXArcade109_zps44fa7764.jpg


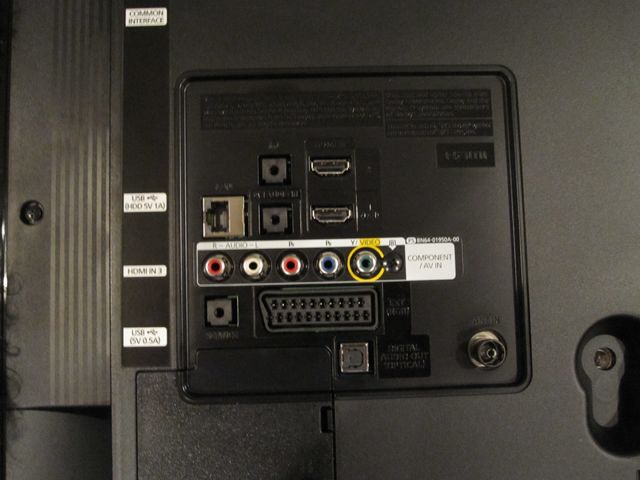
Connections on the back:

XBOXArcade112_zps20357201.jpg


Just have to wait until everyone's awake before I get the router out and start to make a mount for the thing.
 
Thanks mrbell1984. For the finish, time and patience mainly.

Thought about posting it in the project section but that seems to be for PC builds. I did post my modified gaming desk in there though.

Basic display mount has been made but still needs to be adjusted. Cables need to be fed through the white tube ....

XBOXArcade114_zps2334c606.jpg
 
Thanks for the feedback, much appreciated.

I can understand why it's a little confusing! I've build a few cabs before and wanted to do something different and original this time. The idea behind this is to build a modular cab and have it in keeping with the general style of the rest of builds. Effectively, it will be a sit down version of one of these ...

images.jpg


... where I can move the control panel section out of the way when needed. I also want to build multiple control panels for different types of games.

The cabinet will also house a PC in the top section.

The XBOX to the left of the unit (shown in the previous post) is actually dedicated to fighting games for the Viewlix cabinet - I'll be building a small, slim separate stand for this at some point soon. There's a second XBOX in the bottom of this cabinet.
 
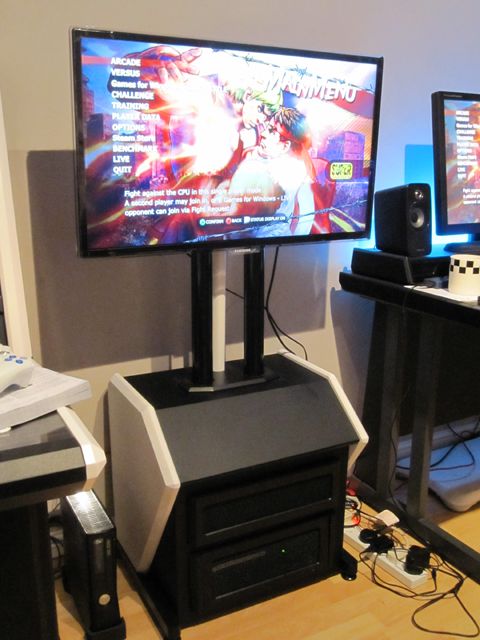
May not look like much but I now have the display oriented correctly (it was leaning to the left slightly and was not completely vertical - I made another retaining piece to sort this out). All the cabling is now fed through the maintenance tube.

I need to stark working on the shroud at the back of the display soon ... I'm running behind my self imposed schedule atm.

XBOXArcade115_zps2aba3bbf.jpg


Have also hooked this up to a PC now as well.
 
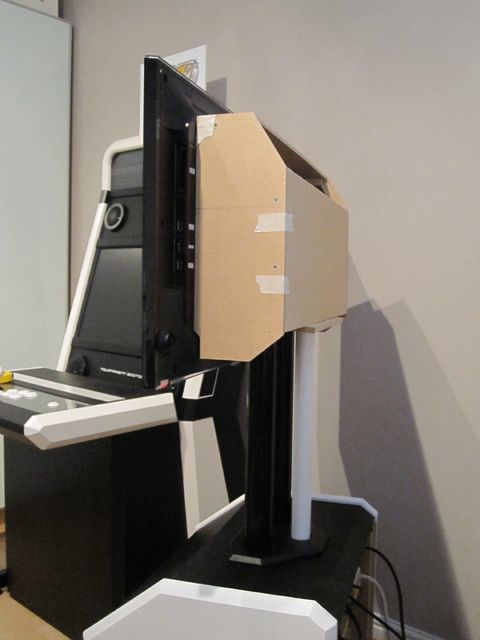
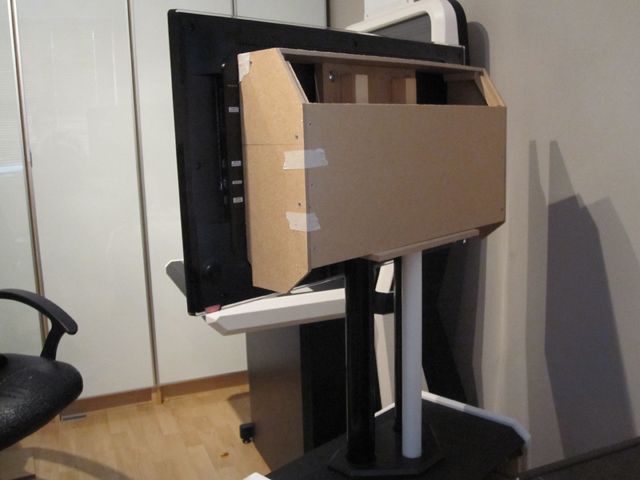
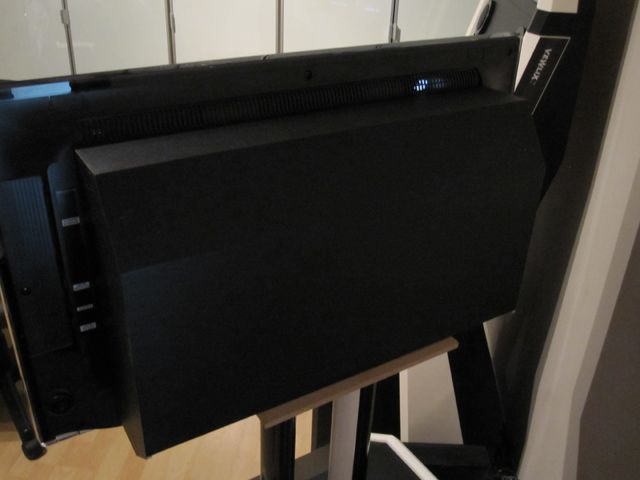
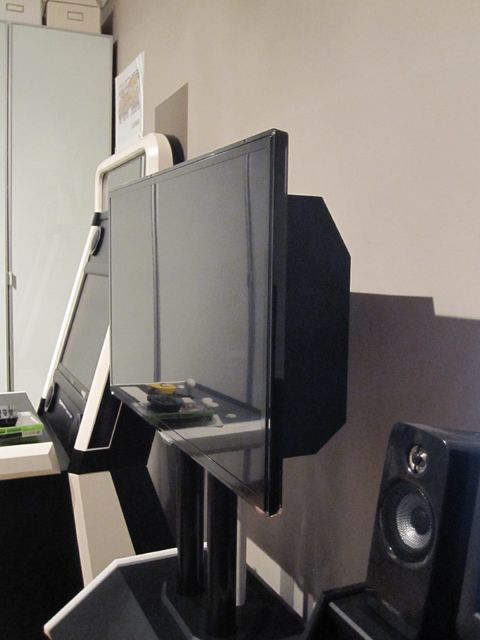
Started working on the cover/shroud for the rear of the display. Sides and 2 of the 3 panels cut and glued in place - these will need to be screwed together. This will hide all the tubes and cables. Hope to get the last panel completed tomorrow.

XBOXArcade116_zps806397d3.jpg


XBOXArcade117_zps1d5bd548.jpg


XBOXArcade118_zps3b8db091.jpg


I didn't want a boxy shape due to where this will eventually be located - the profile will be visible through a door.
 
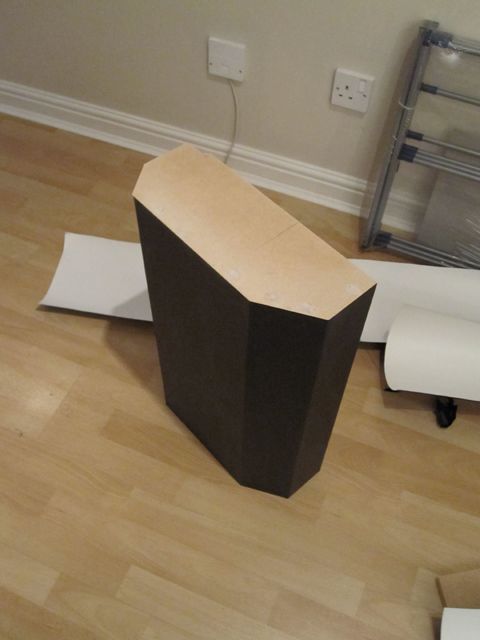
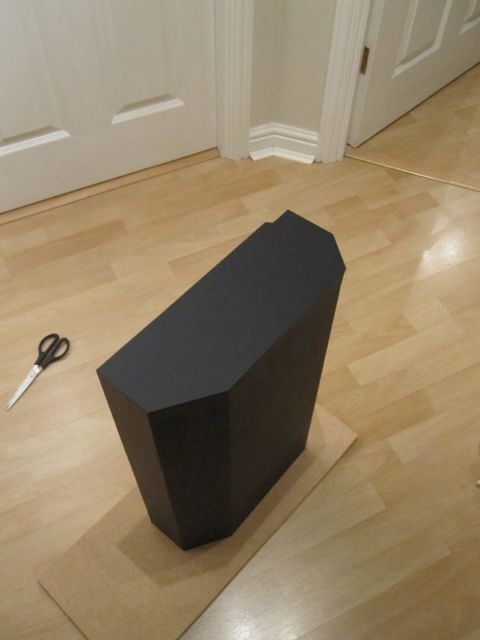
A mini disaster this morning .... when I started drilling the pilot holes, the main back panel fell off! Goes to show that the 6mm MDF and wood glue don't mix particularly well. The quality of this board is different to the regular 12mm and 18mm boards. Managed to rectify the situation though and get the holes drilled and the screws in. I still have a lot to do getting this shaped up, fitting snugly (the cuts are good though) and covered in vinyl. I have been sure to leave the cooling vents on the display unobstructed.

XBOXArcade119_zps404f58f6.jpg


XBOXArcade120_zps7fbe2c93.jpg
 
Back
Top Bottom