Boarding a loft - DIY'able or pay for the work?

Soldato
Joined
8 Nov 2005
Posts
4,557
Currently going through an ASHP install which is removing the cold water tank from my loft, freeing up some much-needed space and allowing me to properly insulate the loft and board it all out for storage use.

The current state of insulation is okay-ish, but in reality it all needs to go and be redone properly to modern specs which I assume means raising the floor to get the insulation underneath and not squish it all down.

I am okay at DIY, but do not have access to the necessary tools to do the job and would likely need to hire equipment and I'm really not sure I could be bothered to DIY, unless the cost savings were insane.

Does anyone have experience with any of the companies that offer the service (Loft Boys were mentioned in passing by a colleague) and/or be able to recommend some resources that I could read about going down the DIY route?
 
Defo DIYable. Did ours. Dont need many tools, just a circ saw and a drill / driver.

Easy job really, CSL on to of joists to build up then chipboard across. A lot of places sell the chipboard in packs. I had some old stuff from a factory mezzanine to use up.
 
You only need an impact driver or electric screwdriver, some loft legs, measuring tape and a circular or jigsaw. Get the Titan stuff from Screwfix, it’s a very easy job once you get going.
 
Last edited:
Don't even need a circular saw really. You'll have a small number of cuts to make, and chipboard is easy to cut through with a handsaw.

You'll definitely want some sort of impact driver/electric screwdriver though, it's not really something that can be done by hand - you'll be in awkward places, straddling across joists etc, you just want to quickly blast a screw in.
 
I'm about to do ours. I've done one at an older property before. The cost savings will be as you describe...insane. But that's the case with anything DIY these days vs hiring trades people on labour alone.
It comes down to only basic tooling, made easier by electric hand held power tools. Drill/Driver and Saws. Circular saw for cutting the main boards then possibly a jigsaw or something more precise for the more intricate areas like around the hatch or around obstacles.

You need to decide on whether you will raise the floor height and by how much.
Modern day insulation "standards" suggest ridiculously large amounts of insulation. Not saying I disagree with it, but it's something like 300mm. That's quite a lot of floor to lose on some lofts like mine, with minimal ceiling height already.
So you could just chuck more insulation on top of the existing, or get all new stuff.
Then decide on loft legs vs timber.
Loft legs are controversial. Some people swear by them, others have awful experiences where they are not sturdy and move/bend causing the boards to warp. They are cheap and get good height and are light...
Timbers are obviously not light. This is the main concern with timbers. If you want to raise it considerably with timber, the extra weight on your ceiling/building may need to be considered.

Imo timber is better and is the way I will be going. I prefer not having to faff about with legs that might fail/move. I like that with timber you have the strength and more forgiveness with positioning the boards.
 
First thing - don't think you have to do the whole thing in a one'er. It could be an insurmountable job otherwise.

I did a handful of boards around the loft hatch initially. I used the loft legs system as it was impossibly simple and effective to retain the full dimension of insulation.

You can counter batten/use timbers but this is overkill IMHO.
 
You only need an impact driver or electric screwdriver, some loft legs, measuring tape and a circular or jigsaw. Get the Titan stuff from Screwfix, it’s a very easy job once you get going.
100% loft legs are more than adequate unless you plan to put a home gym up there.

Don’t fanny around with timber it’ll take longer for the same result. Loft legs, evenly spaced, in straight lines. Drill driver/impact driver and chipboard.

All you need is something to drive screws, a length of string to get your legs in a line, and a saw to cut the boards. Circular is nice, but a handsaw is also fine.

The hardest part about insulating a loft is its hot and itchy, as well getting the chipboard up there is often not fun. The actual work itself is not hard at all and definitely DIY’able.
 
Last edited:
You dont really need many tools. Its a very basic job. The cost saving will be huge even when you factor in buying tools.
 
Definitely DIY - I did mine myself and is a super easy job

Only tools you need are:
- Cordless drill / impact driver. (Ideally both so that you don't need to keep swapping between bits to drill pilot holes vs driving screws) - £200 for a kit e.g. https://www.screwfix.com/p/dewalt-d...-li-ion-xr-brushless-cordless-twin-pack/362jt
- Some sort of Saw. A sliding mitre saw with a big enough cross cut is ideal, but even something as cheap as a wired Jigsaw will do the job (and may also be needed if you have any "odd" cuts to make to get around roof trusses etc in an older house.
- Tape measure and Steel ruler

In terms of materials:
- Loft insulation. Most older houses will have 100mm, so you will need to buy 170mm top up rolls
- Loft Legs. Dead easy to use. Before taking them up into the loft, pre-screw the screws into them slightly
- Loft Boards. I used the OSB versions rather than Chipboard - seem plenty strong enough - https://www.wickes.co.uk/OSB-Loft-Panels---18-x-300-x-1220mm---Pack-of-3/p/234908
- Screws - you'll need at least a couple of boxes


First thing - don't think you have to do the whole thing in a one'er. It could be an insurmountable job otherwise.

I did a handful of boards around the loft hatch initially.
Exactly this, once you've got the first board down, then you just work out from them that in all directions (remembering to stagger your joints between boards)

a length of string to get your legs in a line
Don't even need that imo. Once you've got the first board in place, you then slot the next ones into the tongue and groove, and then just rest the legs underneath the new board to work out where they go.


Edit:
The only point that was even slightly tricky in my loft, was that a couple of joists are spaced slightly differently, meaning that using full loft boards didn't end in the correct place. The solution was to add some 1/3 or 2/3 boards in appropriate places in the row, to move the joins further along, whilst still allowing for the joins to be staggered.
 
Last edited:
I was just posting a thread on this very thing, I'm currently in the middle of it.

I decided on the loft legs and crossbeams from LoftZone for the belts and braces approach. It's strength and the height for added insulation just made sense to me.

It's definitely diy-able and I would suggest making sure you have enough light to work in. And mind your head on the beams!
 
Did mine and doubled up the joists from 75mm to 150mm.
Fitted 140mm Celotex. Only took a single weekend.
Chose not to use loft legs as I wanted to stiffen up the floor and maximise space.
 
pay extra for torx screws. much better grip and very low chances of getting stripped
the difference when using an impact driver is huge

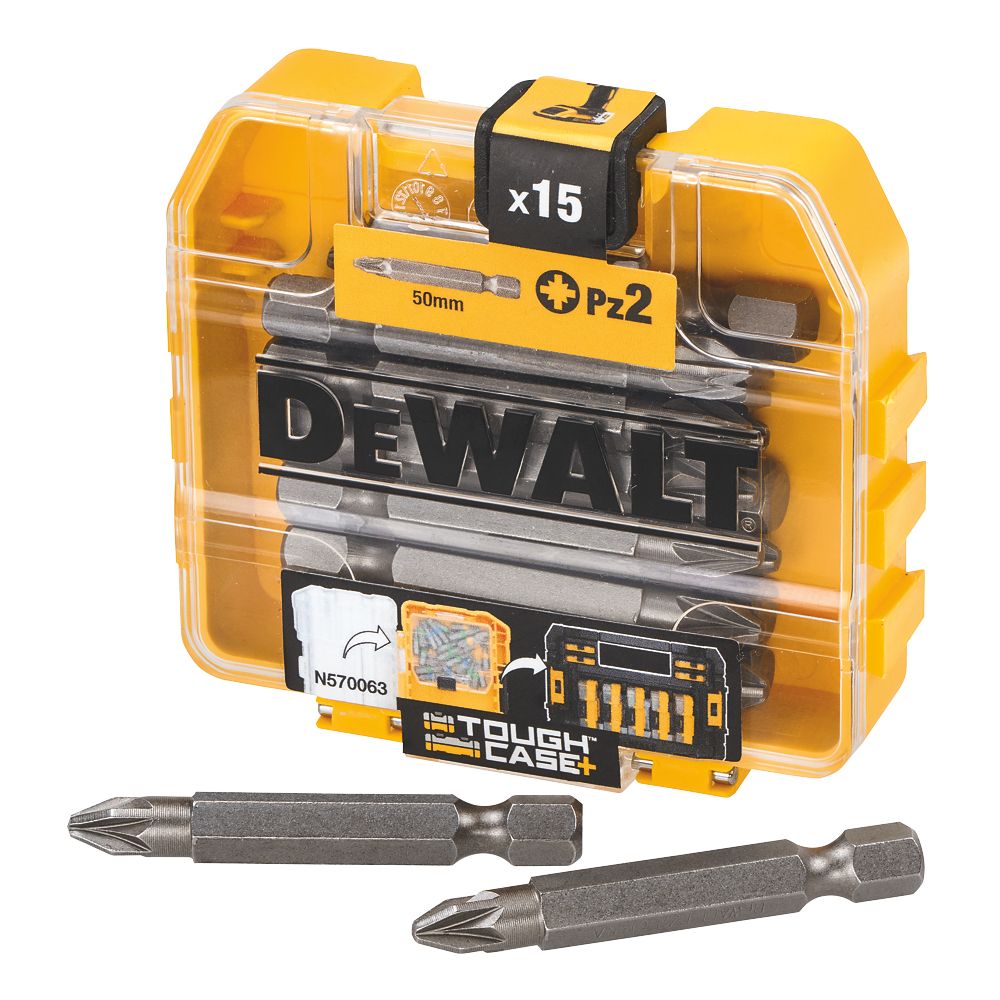
I don't remember stripping a single screw when putting mine down (and pretty sure they were just standard wickes single thread wood screws), however I did go through numerous PZ2 screwdriver bits

(Somewhat humorously up until that point I wondered why screwdriver bits came in packs of 10 or 15 - I mean I'd never "worn out" a screwdriver in my life, by the time I'd finished I'd probably gone through most of the below pack)

Hah yeah I did think that too. I never once had one explode (used the famous DeWalt mini-set) until switching to Milwaukee Impact Bits and they exploded like mad. Most recent "bit box" I got cheap from DeWalt also has a box of 50.
 
Last edited by a moderator:
Nope I used them in a drill driver at the time, as that's all I had.

Rest assured I have proper impact rated bits now I have an impact driver as well :)
They're the ones I had predominantly explode, ironically.
 
They're the ones I had predominantly explode, ironically.
Yep - I had an impact bit shear completely in half the other day. Wasn't even anything particularly strenuous (just a screw through a bit of OSB into a batton in the shed)

Edit:
Think it was a "cheap" Erbauer one though
 
Last edited:
We have a mini loft above our old garage which is now a converted bedroom. I need to redo the shocking job someone did before as semi boarding it. The timbers are 35 x 70mm and are placed at 600mm centres apart.
The trouble is that it's obviously a tiny garage so the maximum ceiling height in the centre is only about 46 inches. I can just about kneel up fully in there. I obviously want to maximise ceiling height but still insulate it well.

I'm thinking of trying Celotex @robj20 like you did by doubling up the timbers. Did you go perpendicular to your existing timbers or run them straight along the length of the existing ones? Also, did you tape the Celotex along each timber to create a seal? I feel like it might become a faff cutting out around our ceiling downlights in that room.

Then I need to sort the loft hatch. It's one of those where you have to push a piece of wood up and into the loft and out the way, with no ladder. Sigh. Think I need me a whole new hatch that swings down.
 
Back
Top Bottom