

first off here, let me say a big thanks to overclockers for getting this case to me pronto, thanks guys
i was having hassle with invisible stock at another online retailer, i wont be using them again.
and as i purchased this case here i thought i wuld share a build log with your guys.
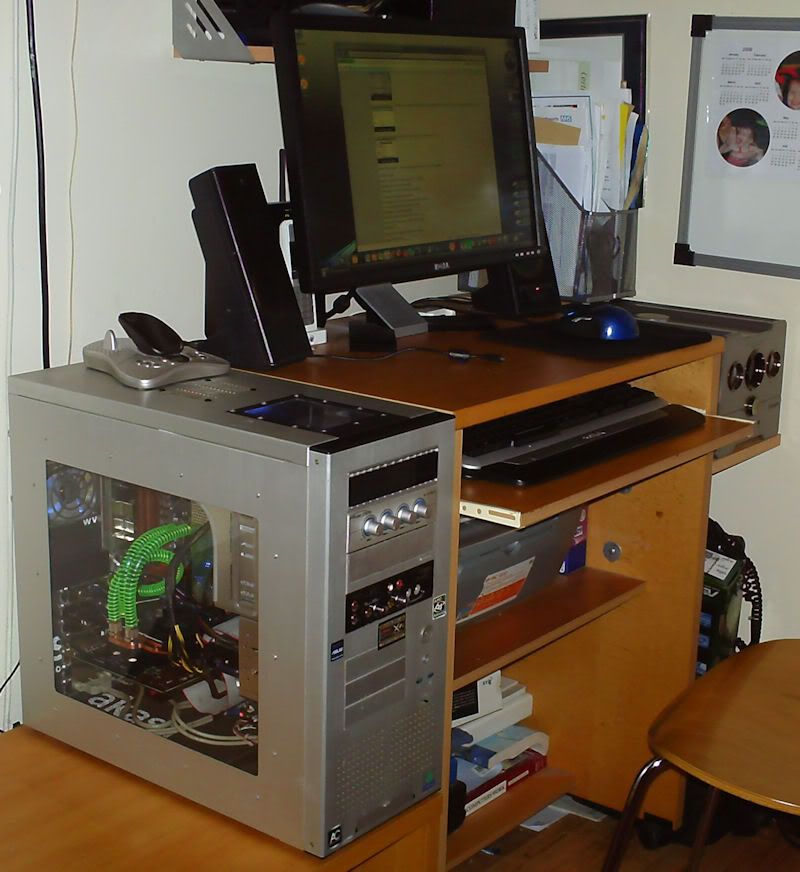
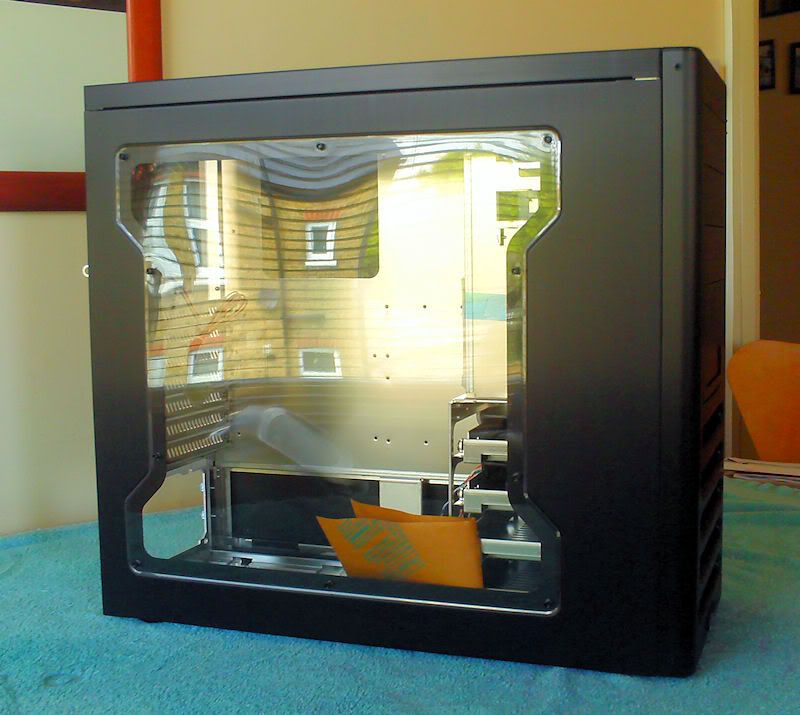
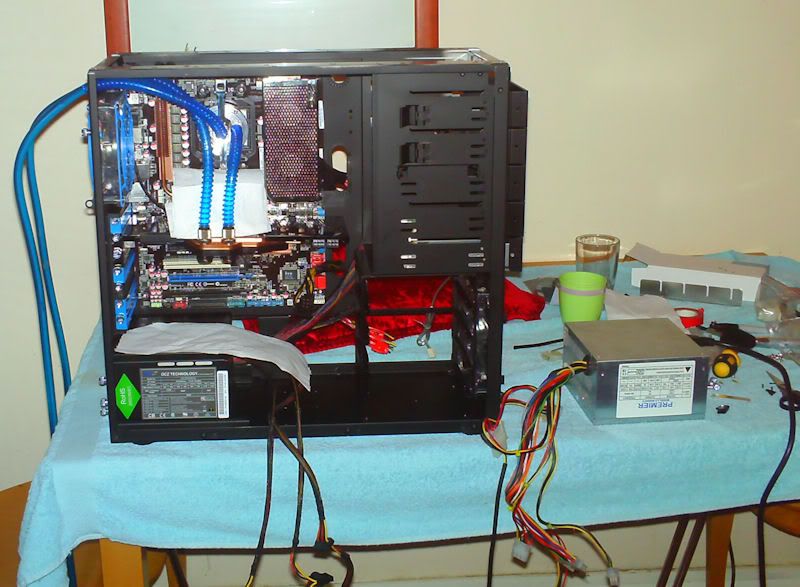
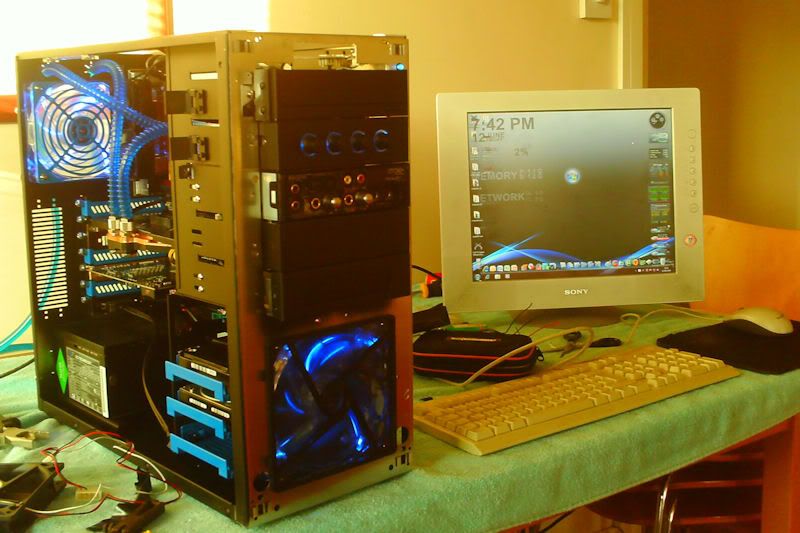
Well I am getting a bit bored of my Lian Li PC65, over the years it has been drilled and modded to death, and really looking the worse for wear. it is also silver and at the moment it doesn't fit the colour scheme of things. here's a pic taken recently, but it has took a further beating since this was taken.
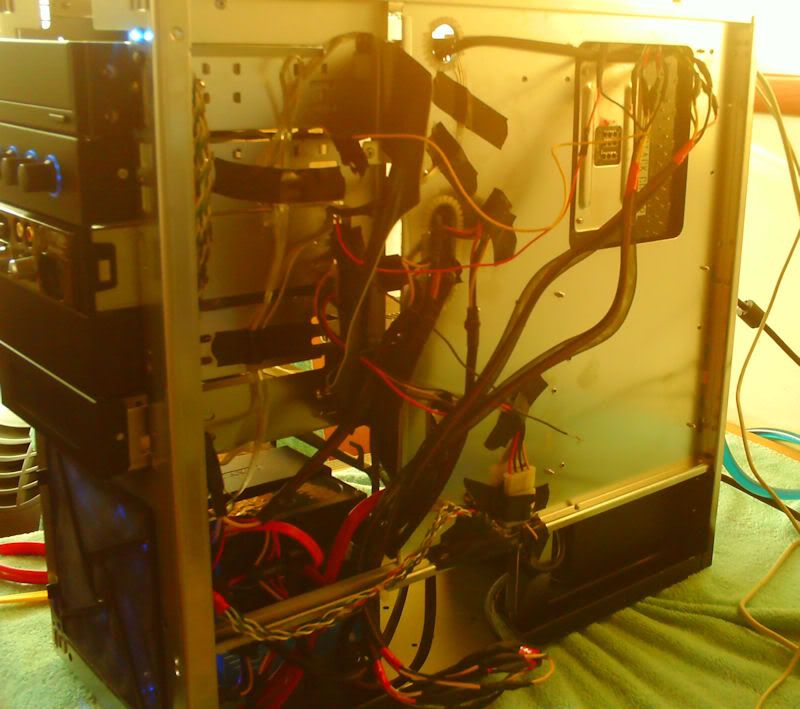
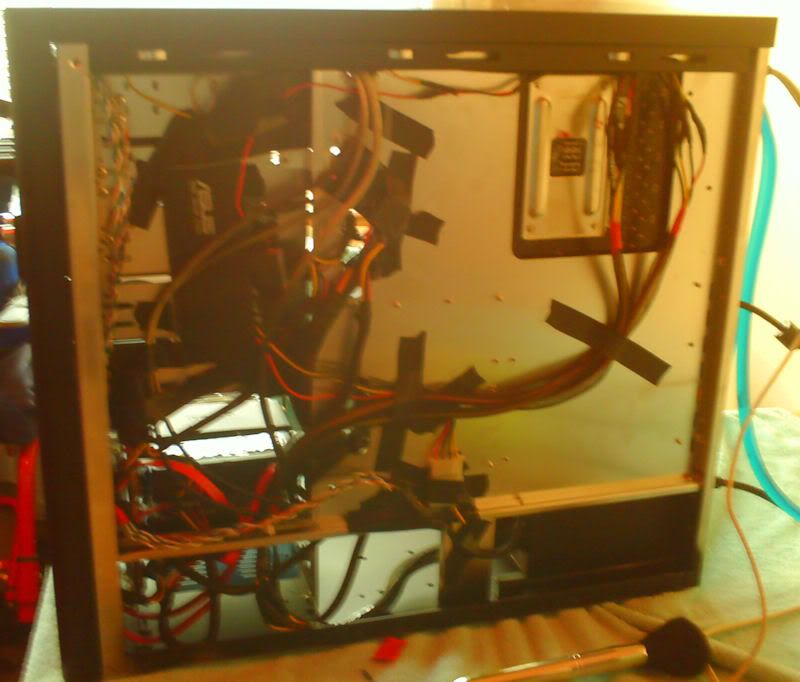
over the last few months my cable management has also took a nose dive so this is the perfect opportunity to sort that out too. now also let me stress here that will not be any super extreme mod going on, but more of a simple case change with a few touches.
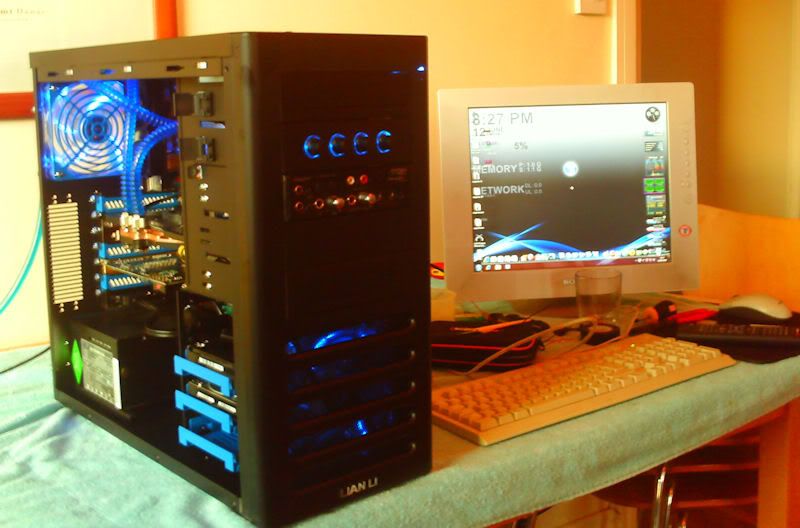
I was on the lookout for a case that would fit the dimensions of the PC65 exactly as I have a custom built computer area that really needs the height to be spot on, so it sits flush with the top of the desk my monitor is on. and funny enough another Lian li case fits the bill, the PC-7FW. to be honest this case seems more like the same case a few generations on. so was really the perfect choice for me. it also suits my watercooling needs (external)

link: http://www.pureoverclock.com/review.php?id=668&page=1
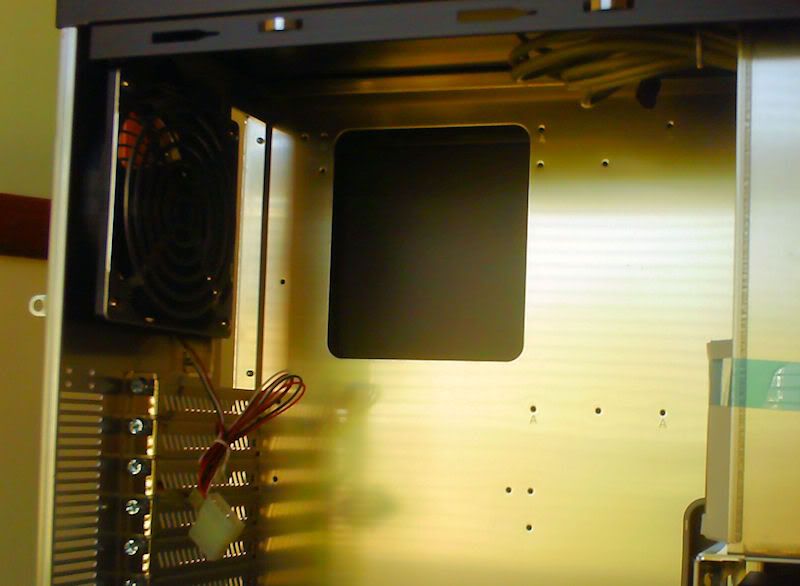
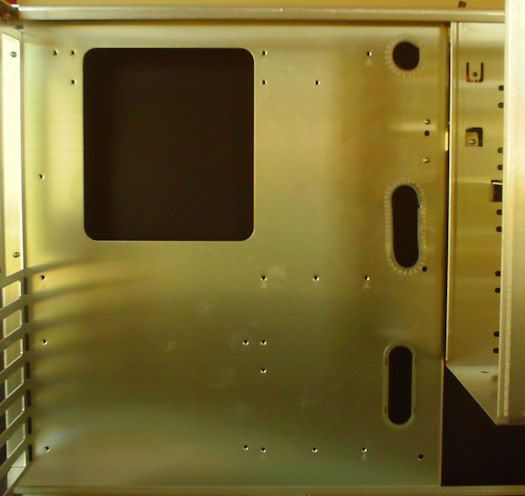
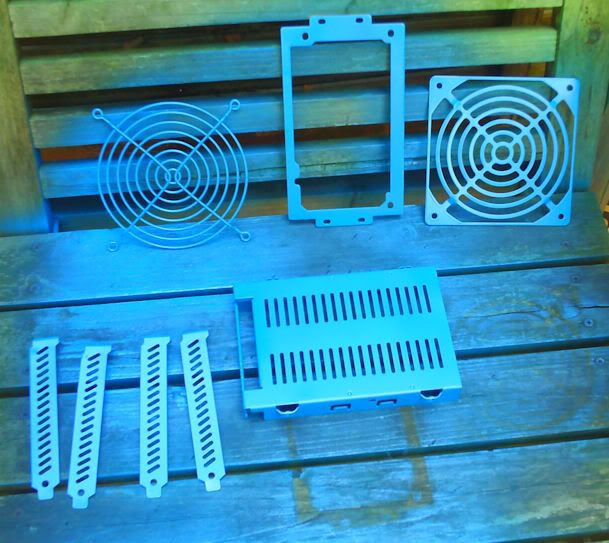
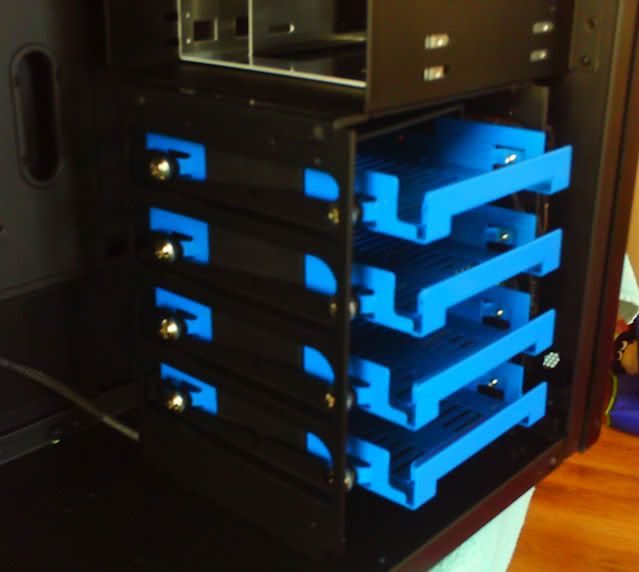
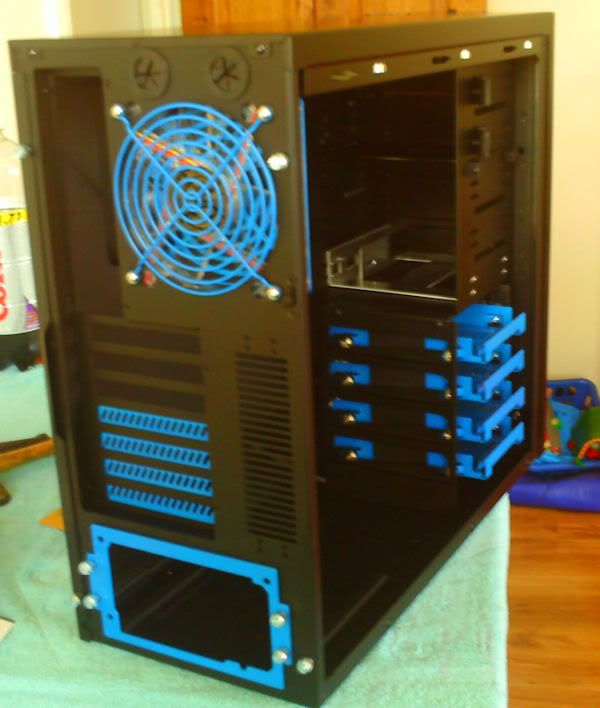
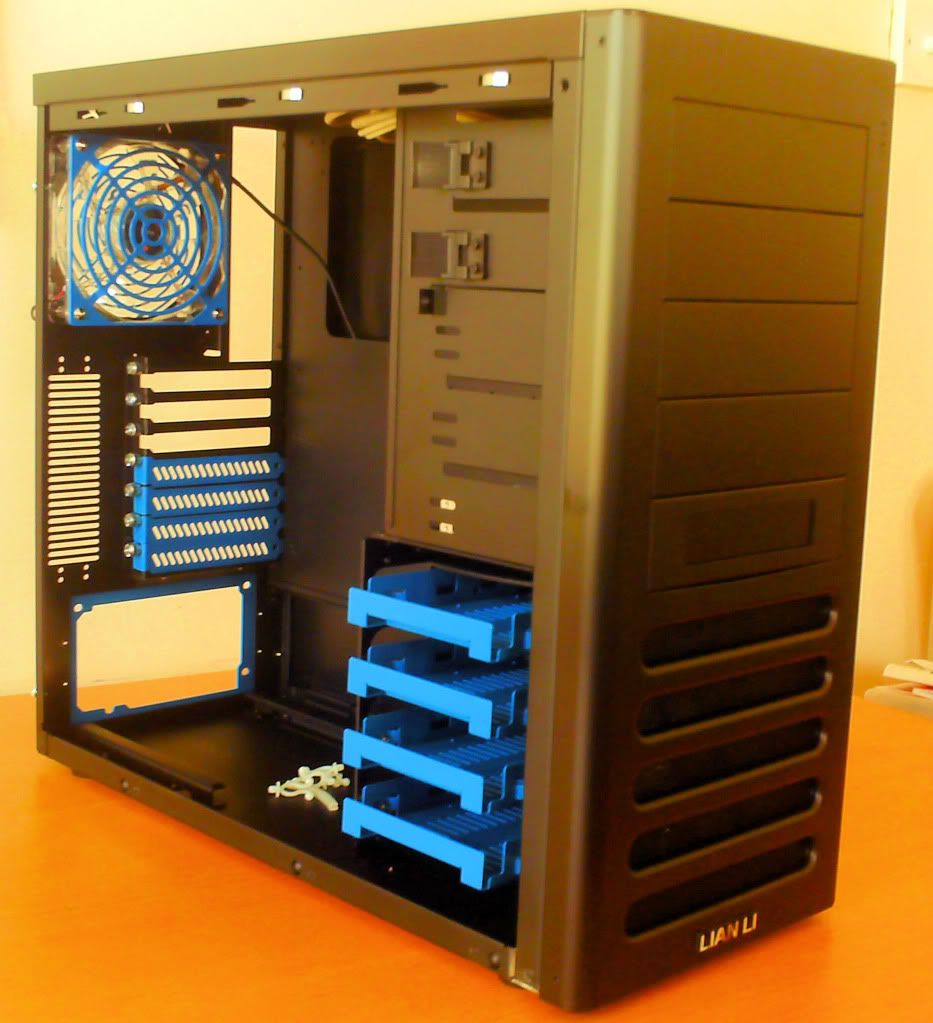
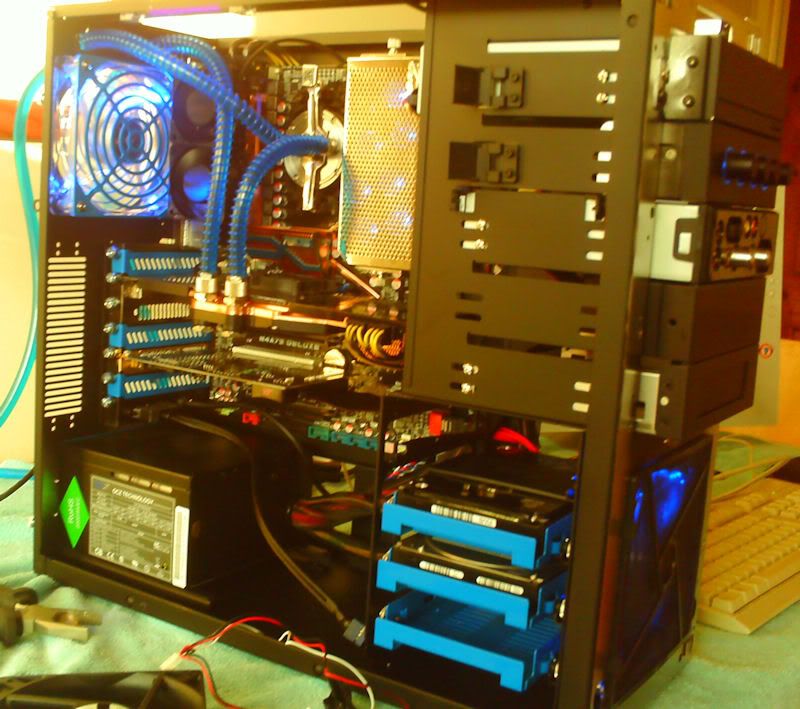
my colour scheme is going to be black and blue, so a few minor mods need to be done, I also would like a couple more holes for cable routing, this will also be done. one thing I am disappointed in is that the interior is silver aluminium, would be great if it could have been black, but hey its £5.99 for a can of matt spray, so that is what is going to happen. the inside will be sprayed black with the exception of the hard disc cage. that will be blue /black.
I will also be replacing the black rear 120 mm fan with a blue led one to match the front, this will be a Yate loon D12 1350 rpm. various other parts have been ordered including the case, these are including the fan,
black braiding
black heatshrink
4 way manual fan controller
blue spray paint
black spray paint
new tubing and UV blue coils
now on to the internal hardware, this is all existing in present case, but will be changed over the coming months.
ASUS M4A79-Deluxe
Phenom 940
2 x 2 gig OCZ PC8500 Platinum's
Sound Blaster Fatality X-Fi (with front panel)
BFG GTX 260 OCX
OCZ 700W PSU
2 x WD Rapters 150 gig
CPU and VGA watercooled by a Zalman reserator XT (modded)
any suggestions at this point in time would be greatly appreciated, as will at any point in the build, about what I am trying to achieve here, I would like to make this as simple looking as possible to match the simple and elegant style of the case. and also show that maybe you don't need laser cutters and big machine tools to achieve a nice build.
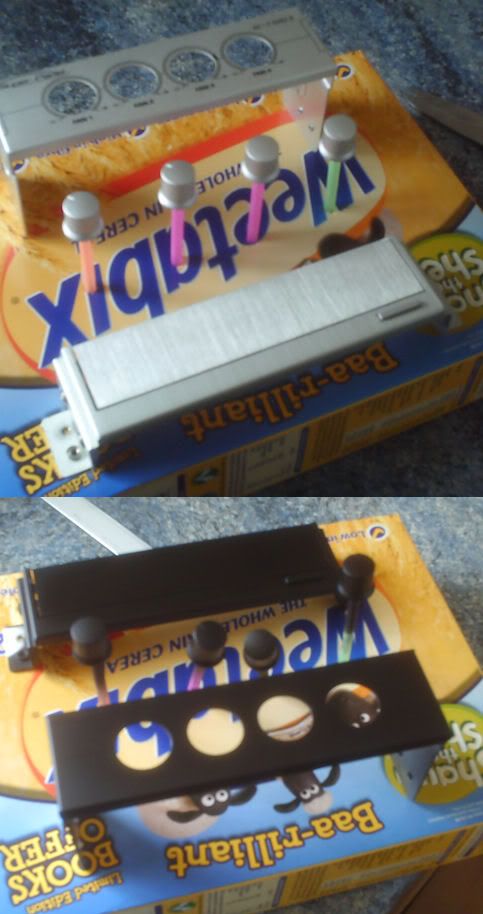
in prep i have cleaned and sprayed the CD cover and fan controller, (i was getting new fan controller, but didnt)
here are some pics, you cant see it too well, but it has retained the 'brushed aluminium look' under the paint, this paint is great, two coats and its solid.
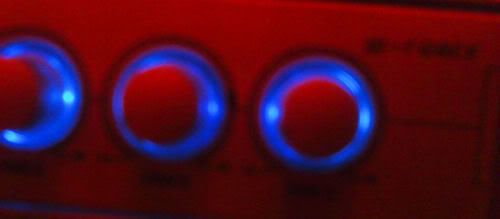
also here is a pic of the fan controller lit up, sry about quality, i will have another camera for finished build,
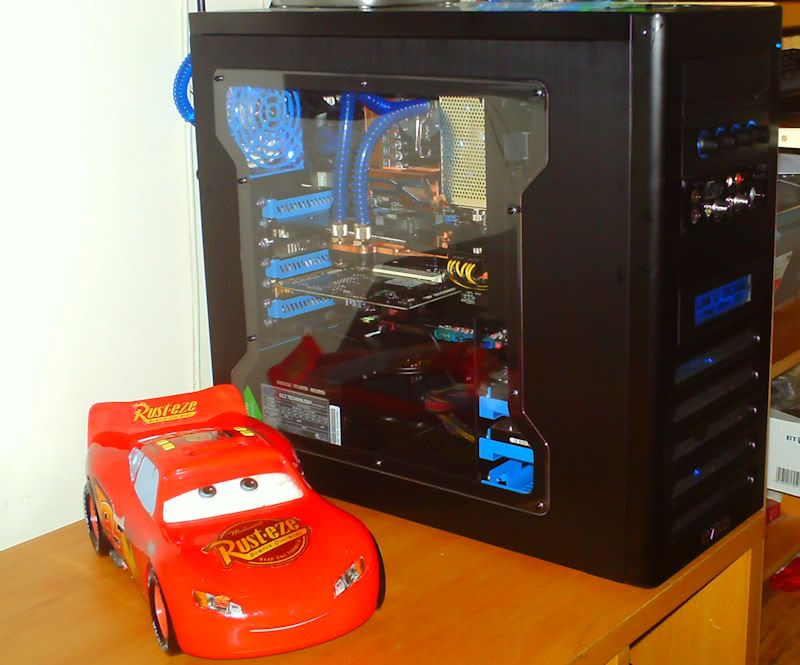
and done, although in old case,

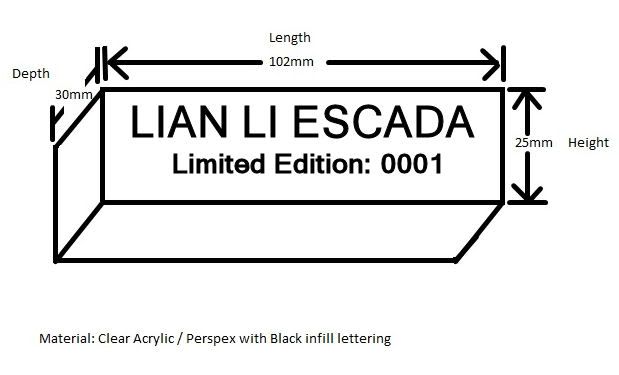
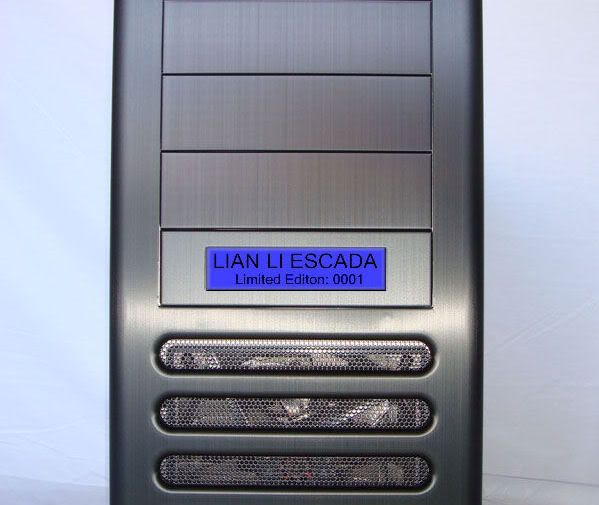
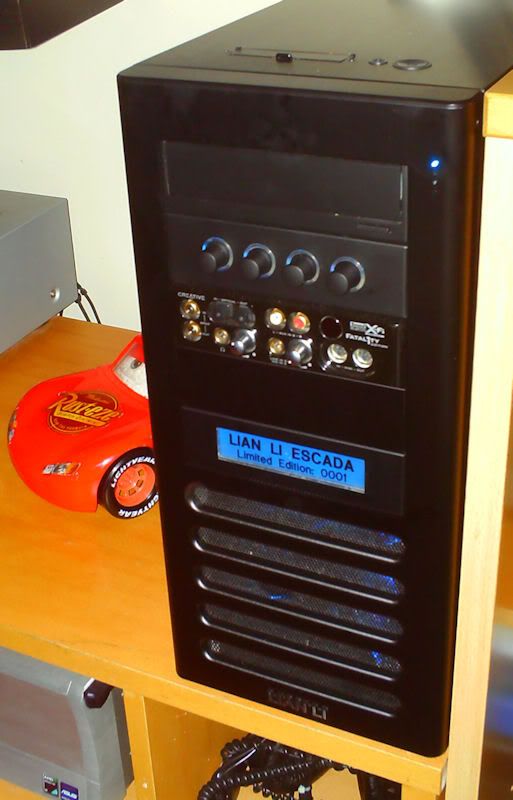
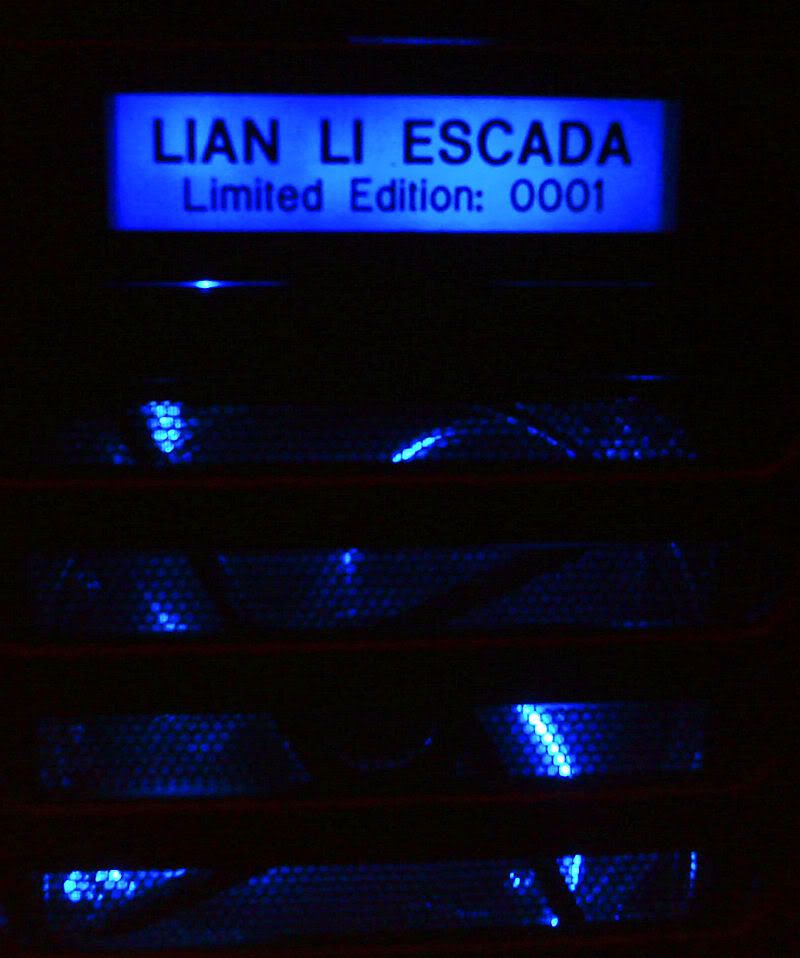
well i also have been thinking of a name for the build, im like that, i like it to have a name, and have settled for 'ESCADA', the LIAN LI ESCADA to be exact
now i have also been thinking of what to do with the little 3.5 inch panel on the front panel, i was going to stick a card reader in there, but thought that might be boring, so i have opted for a name badge
this has just been ordered, it is made of acrylic and will be back lit, with either some blue LED's or a coupe of colour changing ones, we will see on that...literaly.
heres some pics of where its going and how it should look,
and heres a quik mock up, i think i will back light it in just blue
OK i was trying to source someone to make the plate for me that will sit on the front panel, after various quotes ranging from £75 to £135, i have found someone to do it.
Timpson shoe repairs...lol, they will do exactly what i want from 3 x 10mm acrylic sheets sandwiched together, with the text engraved to the reverse of one of the sheets, with frosted edges and back (for LED's)
cost? £14 +£4.95 postage lol
looking forward to how it looks
i was having hassle with invisible stock at another online retailer, i wont be using them again.
and as i purchased this case here i thought i wuld share a build log with your guys.
Well I am getting a bit bored of my Lian Li PC65, over the years it has been drilled and modded to death, and really looking the worse for wear. it is also silver and at the moment it doesn't fit the colour scheme of things. here's a pic taken recently, but it has took a further beating since this was taken.
over the last few months my cable management has also took a nose dive so this is the perfect opportunity to sort that out too. now also let me stress here that will not be any super extreme mod going on, but more of a simple case change with a few touches.
I was on the lookout for a case that would fit the dimensions of the PC65 exactly as I have a custom built computer area that really needs the height to be spot on, so it sits flush with the top of the desk my monitor is on. and funny enough another Lian li case fits the bill, the PC-7FW. to be honest this case seems more like the same case a few generations on. so was really the perfect choice for me. it also suits my watercooling needs (external)
link: http://www.pureoverclock.com/review.php?id=668&page=1
my colour scheme is going to be black and blue, so a few minor mods need to be done, I also would like a couple more holes for cable routing, this will also be done. one thing I am disappointed in is that the interior is silver aluminium, would be great if it could have been black, but hey its £5.99 for a can of matt spray, so that is what is going to happen. the inside will be sprayed black with the exception of the hard disc cage. that will be blue /black.
I will also be replacing the black rear 120 mm fan with a blue led one to match the front, this will be a Yate loon D12 1350 rpm. various other parts have been ordered including the case, these are including the fan,
black braiding
black heatshrink
4 way manual fan controller
blue spray paint
black spray paint
new tubing and UV blue coils
now on to the internal hardware, this is all existing in present case, but will be changed over the coming months.
ASUS M4A79-Deluxe
Phenom 940
2 x 2 gig OCZ PC8500 Platinum's
Sound Blaster Fatality X-Fi (with front panel)
BFG GTX 260 OCX
OCZ 700W PSU
2 x WD Rapters 150 gig
CPU and VGA watercooled by a Zalman reserator XT (modded)
any suggestions at this point in time would be greatly appreciated, as will at any point in the build, about what I am trying to achieve here, I would like to make this as simple looking as possible to match the simple and elegant style of the case. and also show that maybe you don't need laser cutters and big machine tools to achieve a nice build.
in prep i have cleaned and sprayed the CD cover and fan controller, (i was getting new fan controller, but didnt)
here are some pics, you cant see it too well, but it has retained the 'brushed aluminium look' under the paint, this paint is great, two coats and its solid.
also here is a pic of the fan controller lit up, sry about quality, i will have another camera for finished build,
and done, although in old case,
well i also have been thinking of a name for the build, im like that, i like it to have a name, and have settled for 'ESCADA', the LIAN LI ESCADA to be exact
now i have also been thinking of what to do with the little 3.5 inch panel on the front panel, i was going to stick a card reader in there, but thought that might be boring, so i have opted for a name badge
this has just been ordered, it is made of acrylic and will be back lit, with either some blue LED's or a coupe of colour changing ones, we will see on that...literaly.
heres some pics of where its going and how it should look,
and heres a quik mock up, i think i will back light it in just blue
OK i was trying to source someone to make the plate for me that will sit on the front panel, after various quotes ranging from £75 to £135, i have found someone to do it.
Timpson shoe repairs...lol, they will do exactly what i want from 3 x 10mm acrylic sheets sandwiched together, with the text engraved to the reverse of one of the sheets, with frosted edges and back (for LED's)
cost? £14 +£4.95 postage lol
looking forward to how it looks
Last edited:

")


 Looks great, especially re sprayed with the bits of blue too
 ")
