Build Log: I Am Titanium

Soldato
Joined
31 Dec 2006
Posts
7,224
iamtitanium.jpg

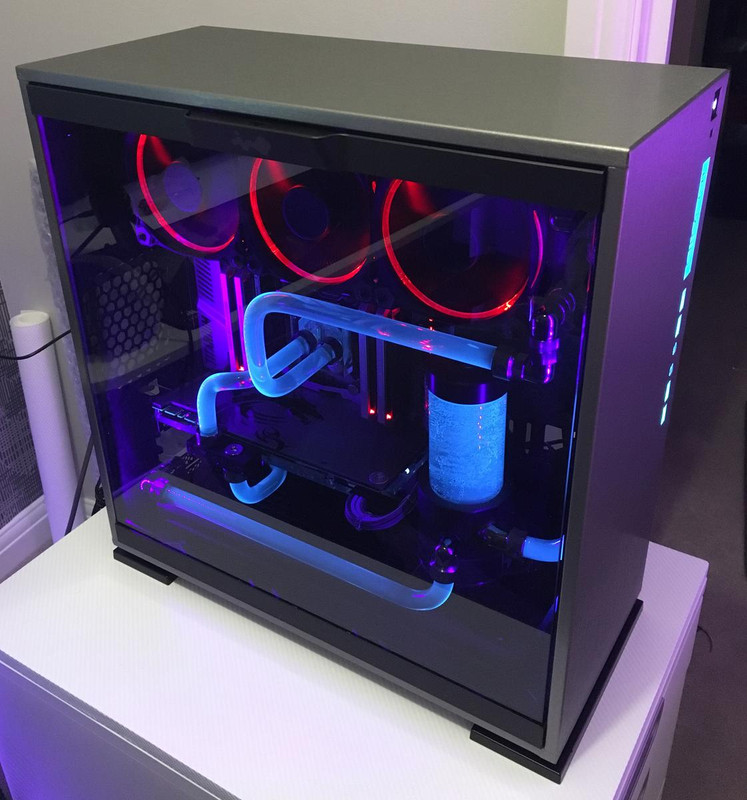
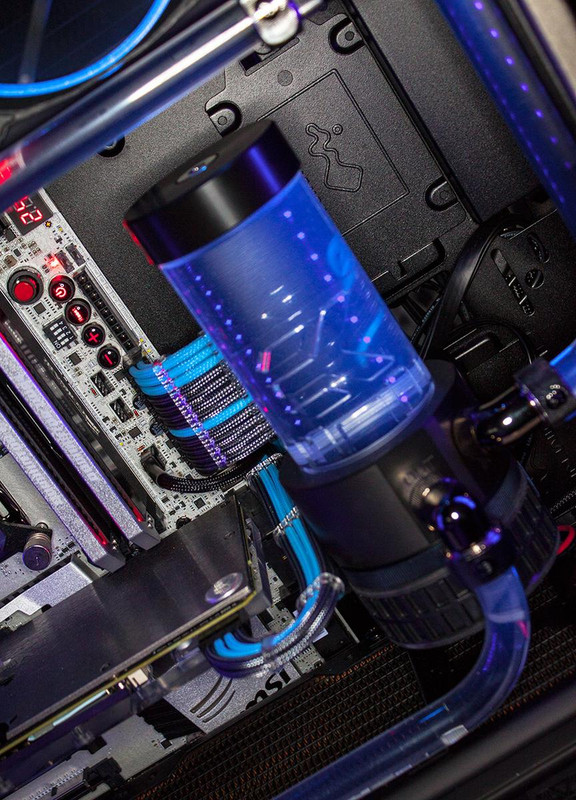
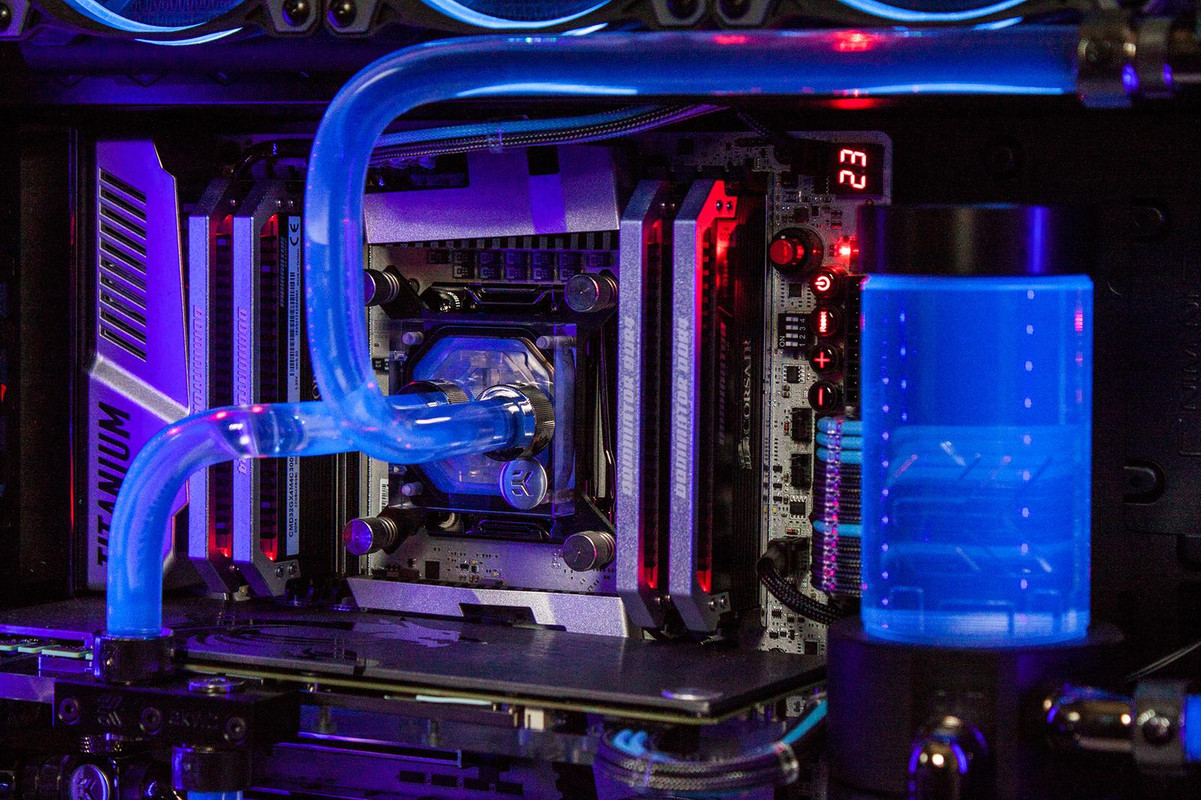
OK, not sure how long this is going to take me, but I at least have all my bits now which consist of the below components with a custom loop (this is my first watercooled build).

• InWin 303 which will wrapped in 3M 1080 BR230 Brushed Titanium (made a start on this already)
• MSI X99A Titanium motherboard (natch ;))
• Intel 6800K w/EK-Supremacy EVO X99 block
• GTX 1080 w/EK-FC1080 GTX - Nickel+Plexi
• 1080 Nickel backplate (probably going to wrap this in the same vinyl as the case to tie it altogether, as I don't think the nickel will quite match)
• EK-XRES 140 Revo D5 PWM pump/res
• 16mm PETG and EK black nickel fittings
• Mayhems X1 Clear Blue UV
• Darkside UV light strips
• x2 Nemesis Black Ice 360 GTS radiators
• x3 Corsair ML120 fans (bottom mounted intake)
• x3 Thermaltake Riing Premium RGB fans (top exhaust)
• Custom cable extensions using Teleios Carbon Fibre sleeving

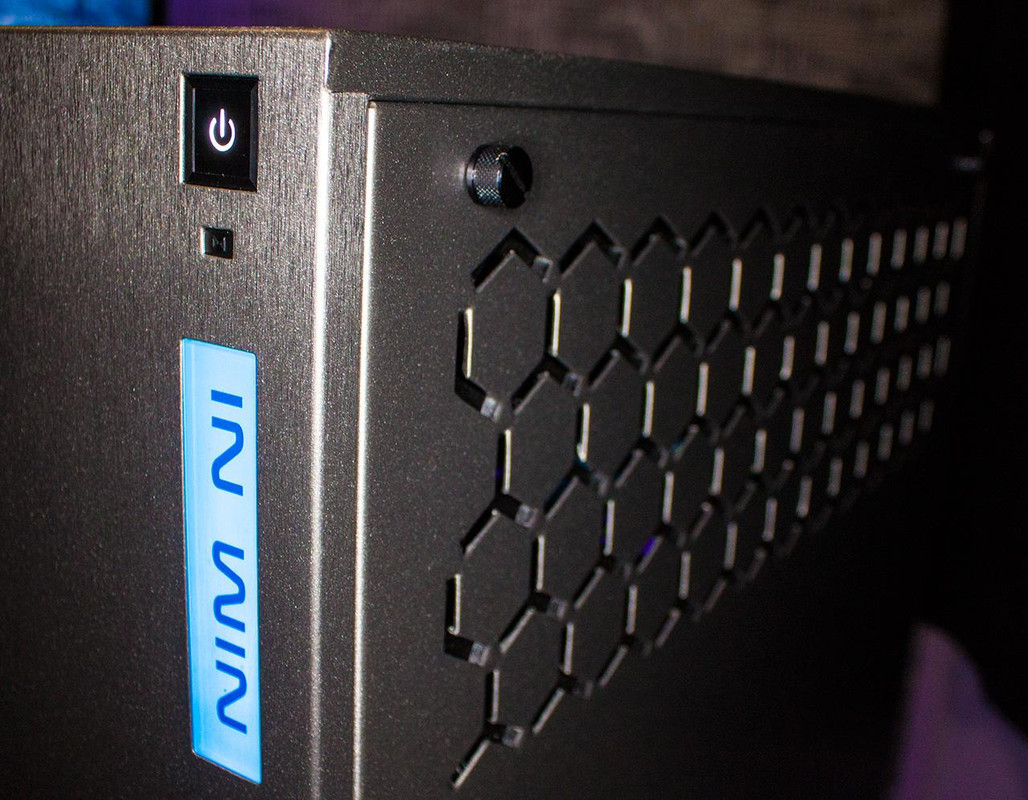
I've only just started wrapping the case which I need to do before anything else... very fiddly cutting out the hexagon vents at the rear, as you can't actually get to them on the inside due to the design (see photo)... definitely going to be a lot of work getting this right as I don't want to just cut out the shape and leave a rough edge, I will do my best to wrap it around. I have some 3M primer which should help but I don't have much vinyl to work with and in a very awkward space. Fingers crossed this works out!

Must say though, this vinyl looks AMAZING! Totally would not know it wasn't metal when applied.

COMPLETED PHOTOS
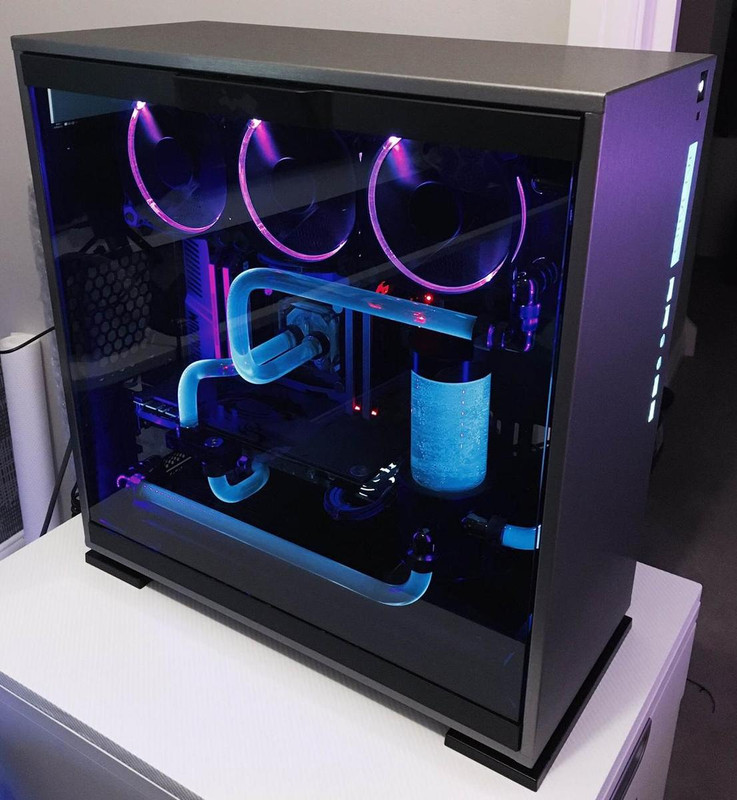
I-AM-TITANIUM-01.jpg


I-AM-TITANIUM-02.jpg


:D
 
Last edited:
Been a bit busy with work lately, but managed to get the rest of the case wrapped. Side panel is a PITA though lol! Because I'm being such a perfectionist about it, I'm doing about 15 cuts per vent hole in order to wrap it around. I could just cut out the shape but it won't look anywhere near as good. At least I can do this at my leisure though and get on with the rest of the build.

303_3.jpg


303_4.jpg


I am having a bit of a dilemma with cables though... not sure if the Teleios Carbon alone is 'wow' enough as it is quite dark (albeit with a nice shine to it)? I have been looking at maybe incorporating some blue or purple in the mix... what do you think??

teleios_BLUE.jpg

teleios_PURPLE.jpg

MDCP_X_Violet.png


This is the coolant I am using
UV_Clear_Blue.jpg
 
Ohhh very nice! I have seen the brush aluminium but not the brush titanium effect in person. Any more details on how you make them cuts please? I have cut vinyl wrap before but the edges didn't look good around the openings.

Another thing, aren't silver colour sleeving slightly conductive? A bit dangerous no? Anyway I vote the middle purple because it goes well with silver IMO.

The cuts on the ports aren't too difficult, just a diagonal cut down from each corner (probably leaving a fraction of a mm at the top part), and then a square, so you end up with 4 'flaps' which you then wrap around and stick down with 3M Primer (which is special glue for vinyl, applied with a small brush). The Primer is essential, especially on the vents on the side panel, as they just pop back up otherwise.

The vents on the side panel are much harder just given the intricacy of the shape and the fact InWin have punched out that shape behind it so you can't access it from behind easily (see first post for picture). Similar process though, just a triangle cut at the top of each 'arm', and then and small cross in the middle. There's just so many of them! I've put a couple of pics below to illustrate, hope this makes sense.

The sleeving is made of PET and I'm not aware of it being conductive... hope not anyway lol, but I'm sure if it is it will be such an infinitesimal amount that it won't be a problem.

For square/rectangle shapes, just cut as per the red lines, remove central section and fold edges around... I guess it's not dissimilar to wrapping a present.
303_cuts.jpg


You can see the cuts, the dots mark the 'flaps' that fold round. You do need 3M Primer though otherwise they don't stick on the rear. Very fiddly!
inwin303_cuts.jpg


:)
 
Last edited:
Good luck with the project.

Can't you heat up the wrapping with a heatgun and make it go over the crosses easier?

You can heat it, but it can do some weird things and start puckering if it gets too hot, so you have to be careful. It can also tear/rip if you start manipulating it too much. The bigger problem is sticking it down behind and keeping it there. At first I didn't use the Primer and it looked good for about an hour then the edges started to come up. With the Primer though it holds it permanently. Circular holes do need heat though... the audio jacks on the front panel were quite tricky given the small area and there is no straight edge to wrap around... you need to heat form that before cutting.
 
Having been away on holiday for a couple of weeks and bust with work, I've fallen a bit behind on this, but I'm working gangbusters now to try and get it finished!

Rads, fans, and some cabling (still have PCI-E and EPS to do) is now complete. Finished my custom backplate today, which I wrapped in same vinyl as used for case and added an MSI dragon decal which I found on the bay for the princely sum of £1.49!

Now all I need to do is to finish the cables and then the hardline tubing... never done that before so fingers crossed!

IMG_1847.jpg


IMG_1859.jpg


IMG_1861.jpg


:D
 
Yeah I never thought I would go with anything on the backplate, but I came across the sticker almost by accident and thought I'd give it a go given it was only £1.50 lol! Cheapest part of this whole build and it turned out better than I thought it would.

And yes, vinyl requires MUCH patience!

Pressure is on now to do a good job with the PETG!
 
Well, your ATX cable puts mine to shame so judging by that I reckon you'll do ok with the bending!

Thanks, I'm pleased with how it turned out... first time I've sleeved a cable, and I'm glad I got a nice tight run... mostly thanks to the cable combs. I tried the E22 ones first, but they felt a bit loose, so I went with the Shakmods ones... I think they are a good fit for the Teleios sleeving... they don't allow for great ease of movement with the cable given how tight they make it, but it tends to stay in position more willingly when you eventually get it there.
 
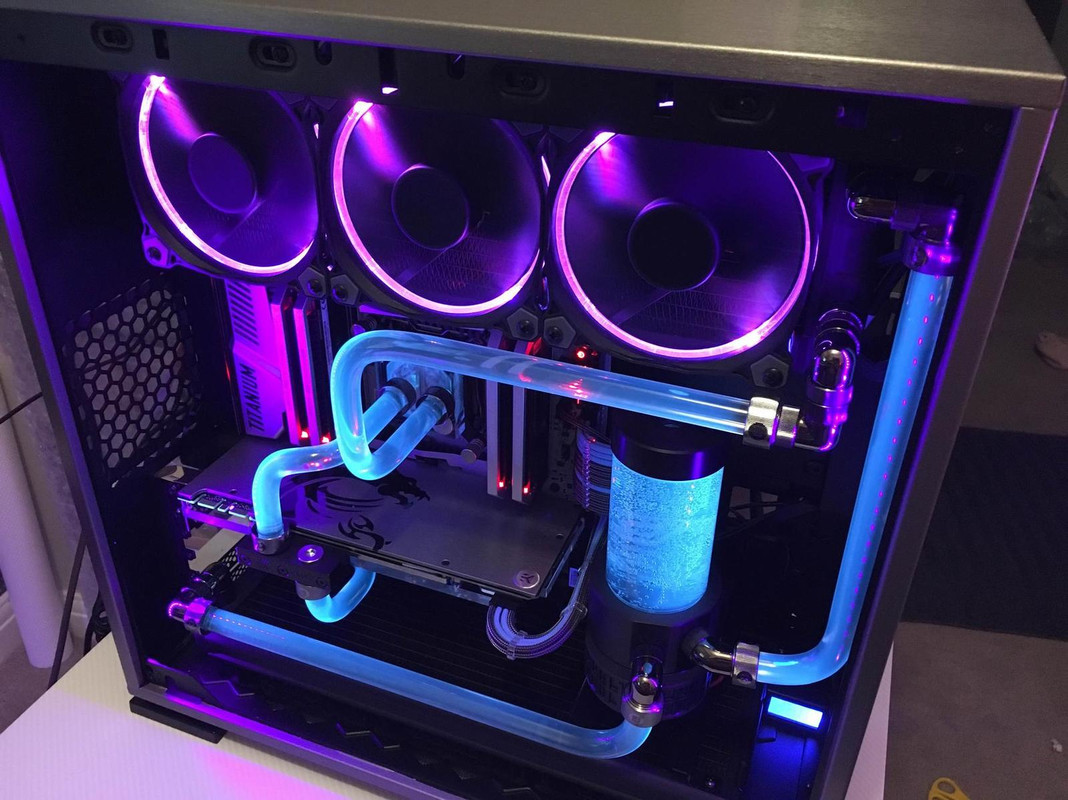
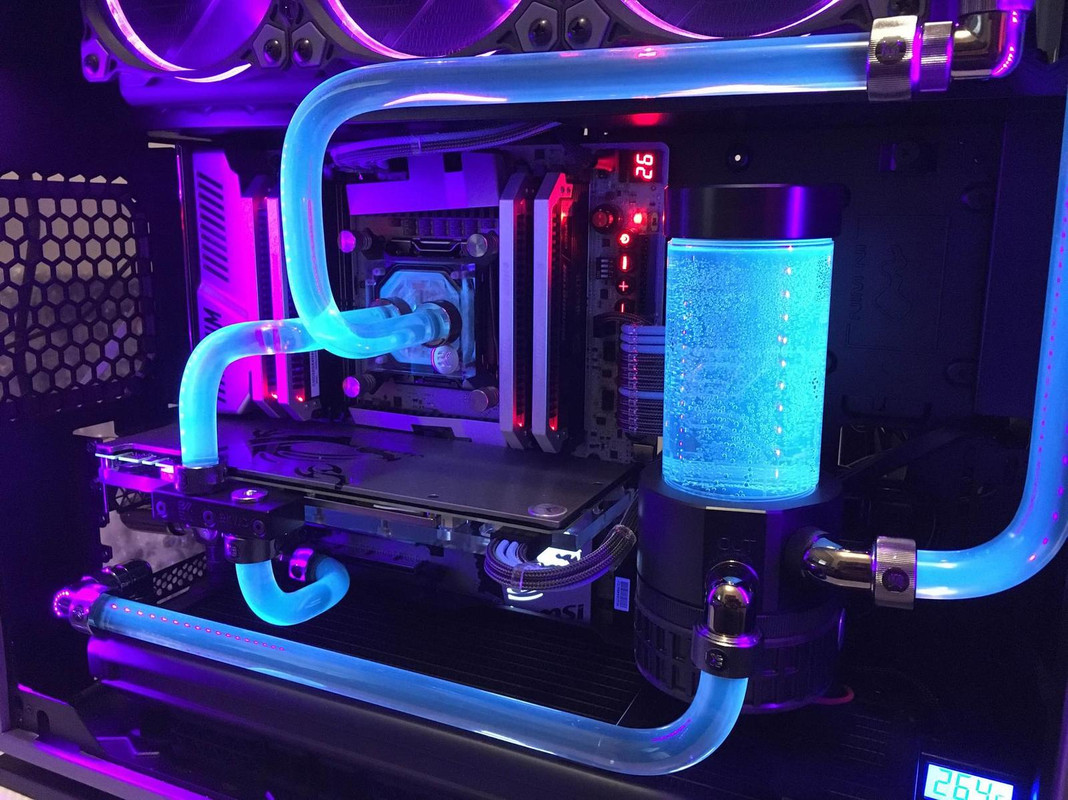
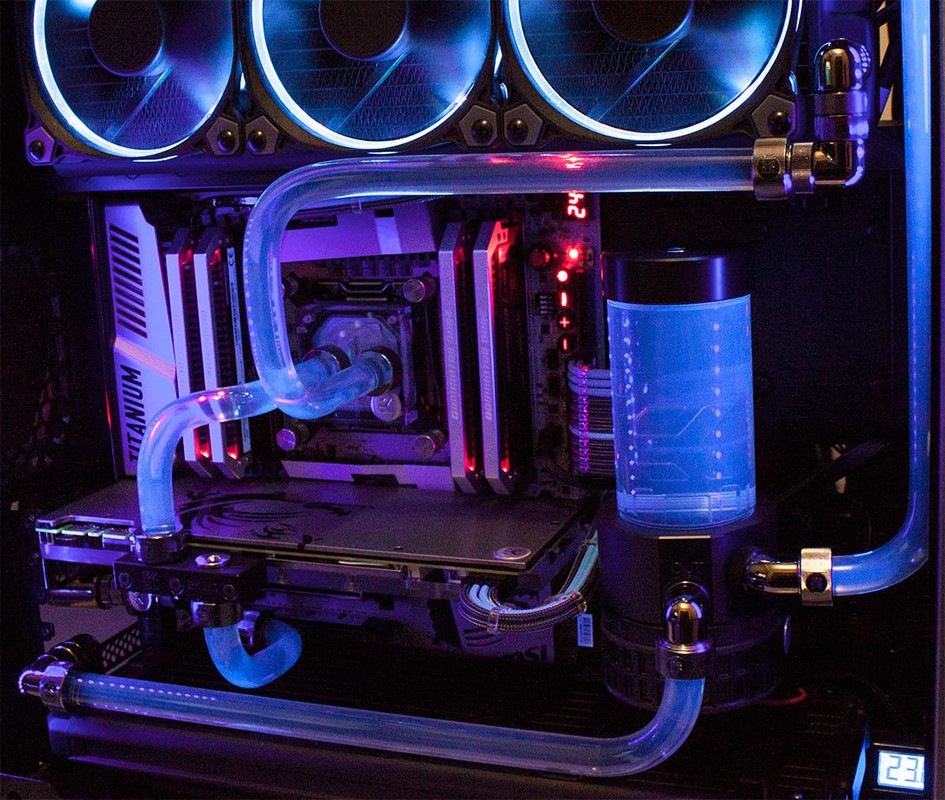
Well I FINALLY got it done.. well, actually I still need to finish off that side panel, real pain that is ha! Anyway, these pics below were just quick ones taken with my phone last night, and I was going to get some better shots today but annoyingly, since taking these pictures the UV effect has faded quite a bit. I've ordered some more concentrate to top it up, which will make it pop more... these pics were taken just shortly after filling, hence all the bubbles in the res. Not sure why it's faded so much already though?

303_build1.jpg


303_build2.jpg


303_build3.jpg
 
Fantastic job mate, you must be really pleased with the finish - looks great! Might have to up my sleeving game, i've been practicing with the removal tools so we shall see!

Thanks, yeah relieved to have it up and running with no leaks haha! Sleeving is definitely a time consuming task. I can see why people opt for the ready made kits now, definitely a BIG time saver, and to be honest unless you're going to keep doing it, investing in the tools etc. for a one off just isn't worth it financially speaking vs buying ready made... plus you need to factor in the time and frustration factor (both of which are in abundance). I'm glad I did it though, definitely learned a lot.

The vinyl is something I really don't think I'd do again though... even with a square case like this it can be very tricky around the corners, and that back panel has been a real slog, and yet to be finished. It looks good, but it's not been easy.
 
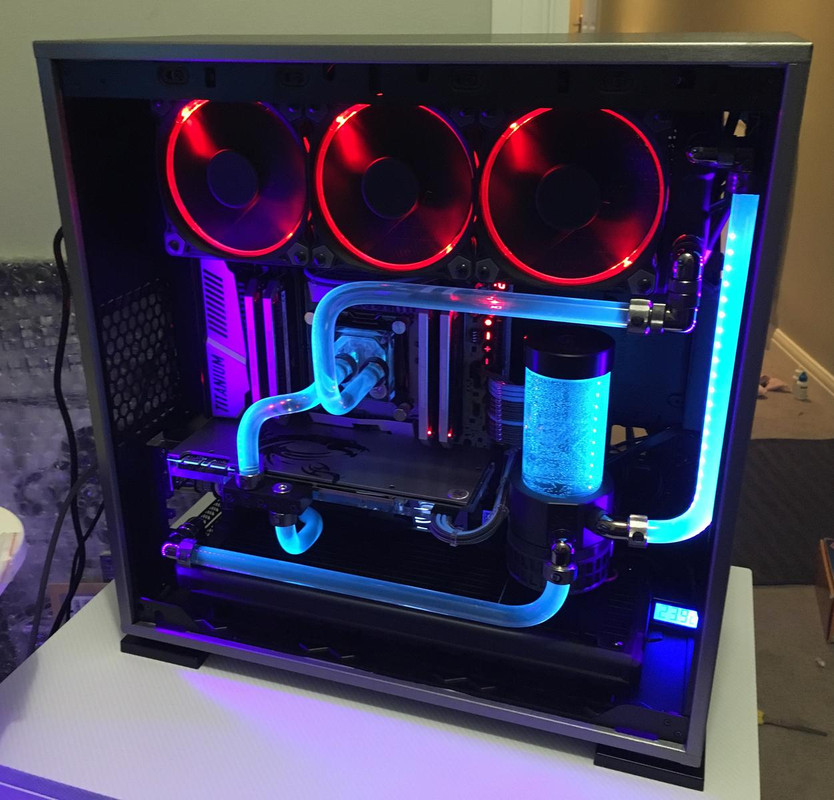
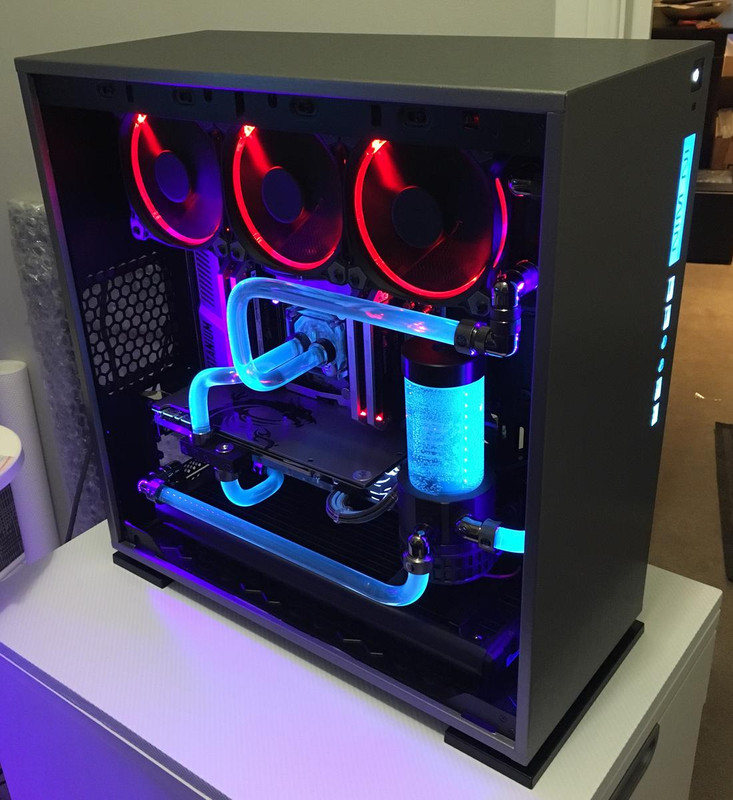
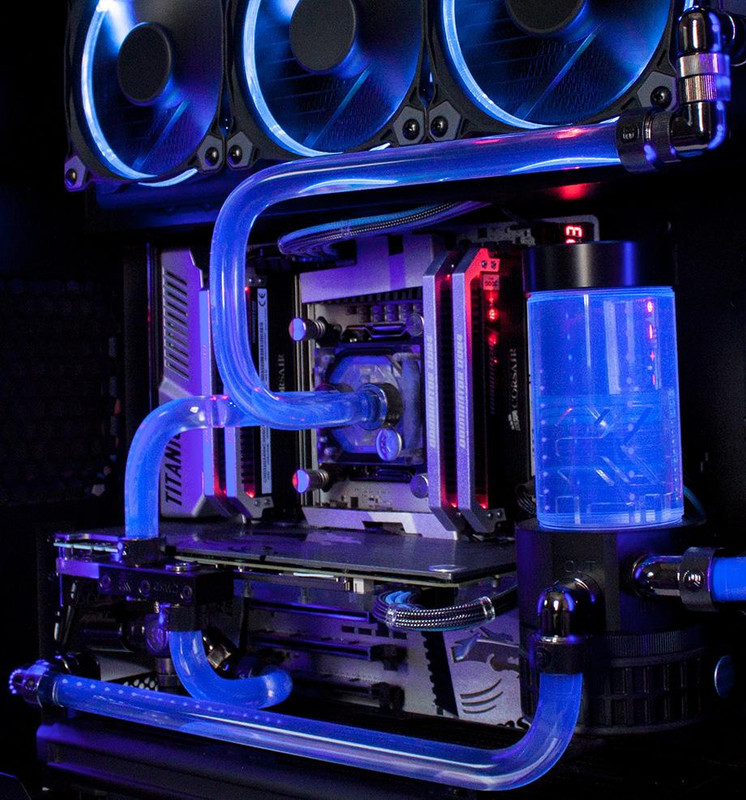
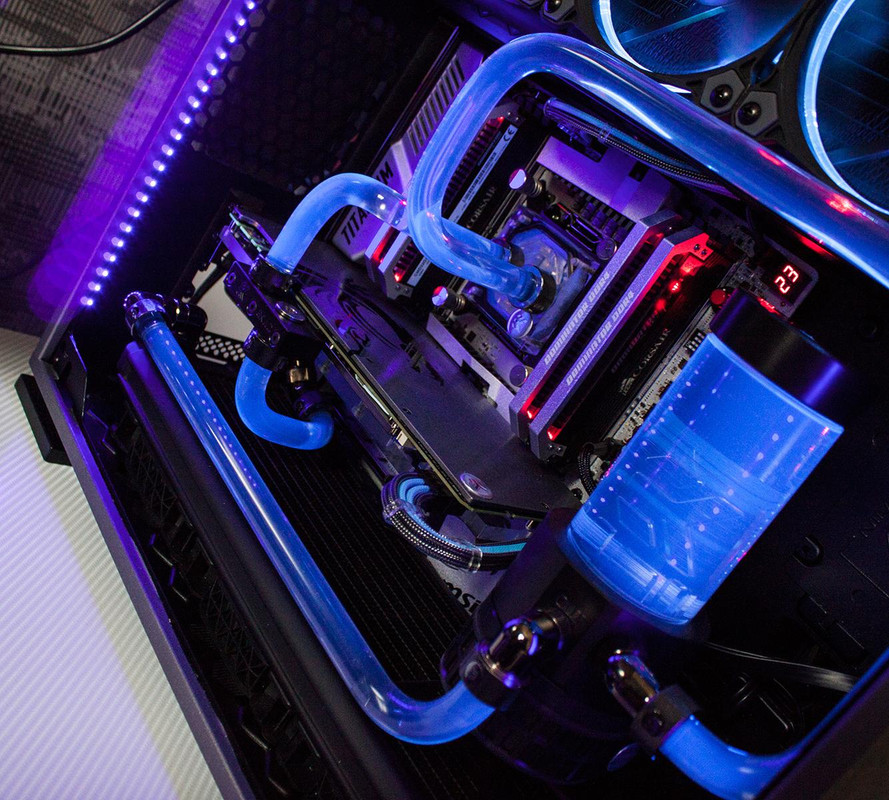
Took some more pictures today, but the blue comes out very different in these pics for some reason. It looks much better in person I think, more like the previous pics... UV is a tricky thing to photograph I'm finding. I also finally finished the side panel vinyl... I am never vinyl wrapping a case again!

303_build4.jpg


303_build5.jpg


303_build6.jpg


303_build7.jpg


side_panel.png
 
It looks like it was a massive amount of work wrapping that case but the quality of the result in just those vents alone speaks volumes. Really good result.
I'm not sure but you might find that (ironically) a UV filter might help your pics. It would take out the glare of the UV and just leave the fluorescence from the coolant t and anything else glowing. Still looks good in the pics even if it doesn't look entirely true to life.

Thanks, and yes lots of work... probably spent longer on the vinyl than the rest haha! Ah, good suggestion on the filter, hadn't thought of that. So would that be a standard UV protection filter? I see there's quite a few on the rainforest for under a tenner.
 
brilliant work! I've totally fallen in love with this case - wouldn't have the skills or dedication to go full water cooled but the side mounting of fans/AIO has so much potential.

would you mind me asking a couple of questions about the actual case though?

Sure, go nuts... :D
 
cheers bud,
simple question really for someone who has seen the internals first hand - I see a few reports online about the spacing at the bottom being a bit tight and the lack of cable management holes to feed through from the top and bottom - in your opinion would it be feasible to take a dremmel and add holes top and bottom if required with relative ease?

Well I never felt the need to do that, but I don't see any reason why you couldn't if necessary. But I think it would be a last resort. As you can see, I have a rad+fans at the bottom, and it was a little tight given proximity to the motherboard the cables that connect down there, but I managed it fine. There are some holes down there, I think you just need to plan it out, and perhaps even bring some cables through before you install the motherboard. The only thing that would pose a problem is if your USB 3.0 connector was on the bottom edge of the motherboard... it simply wouldn't go in with fans there, unless you had one of those flexible extension cables.
 
looks great mate. i love the 303, have my new build in one. great case

Thanks :). Yeah, very easy case to work in and the quick release panel is really clever. I'm surprised more cases haven't incorporated something like this, but I think it's because so many glass panel cases have been retrofitted to an older chassis, so the screw in each corner is the only option. Hopefully we'll see a bit more outside the box thinking going forward though.
 
Looks good.

Are your front panel cables all still plugged or have you had to disconnect the usb 3 as it sticks out a lot?

How did you make the tight bends (going from the GPU to bottom rad) they look tighter than the mandrels available

Thanks. No, they're all still connected. The MSI motherboard has the USB 3.0 header on the right hand side facing outwards (horizontal), so that's not a problem. Were it at the bottom of the board or in a vertical orientation, it would have posed an issue.

The tight bends were done by hand. I do have mandrels, but you're right they wouldn't really have been possible with those, so I just had to measure and do by hand. Got that bottom one right first time by sheer luck actually, as I just eyeballed it lol!
 
Hello sir, i am really wonder how do you make the ATX 24-pin looks cleanly straight outta cable management hole. Most of rig show it have to have a lil bit bend before attaching to the motherboard. Would you mind to shown that lil secret ?


Not sure what you mean exactly? I don't think there's a trick to it, but I did spend a long time manipulating it... they're quite stiff and can be hard to get to go where you want. Cable combs can help in this regard, but I did make it with the intention of having a very sharp turn in it though, so I made the top row quite longer than the bottom. I think you just need to plan where it's going to go beforehand... makes things much easier.
 
Back
Top Bottom